

 Tweet
Tweet
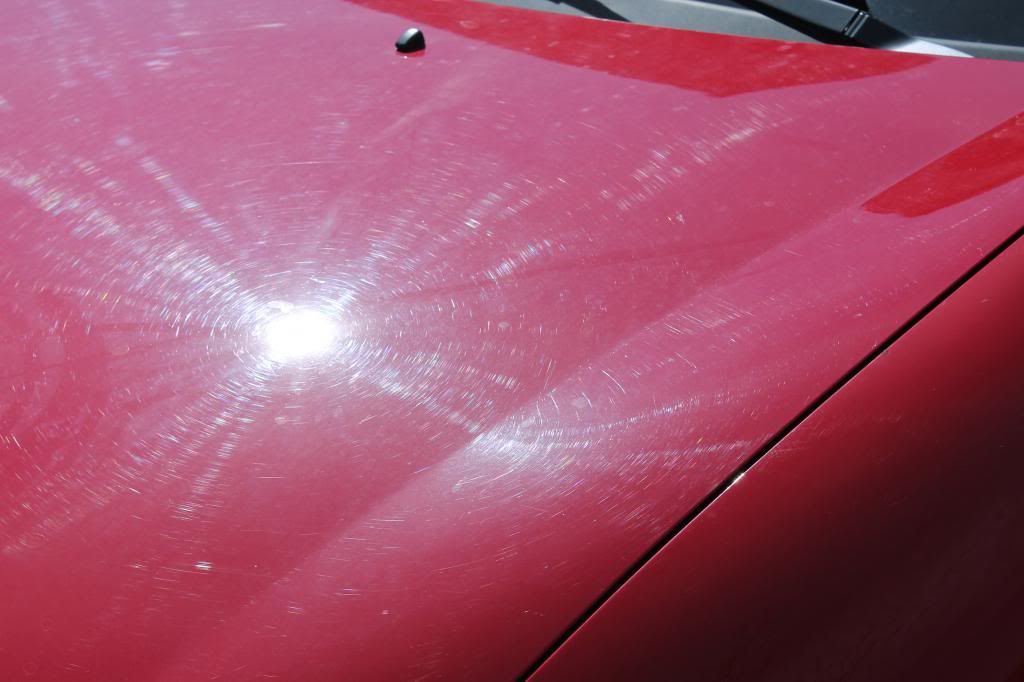
Re: Professionally Marred Car 
Nope, I do not. No many places where I live that have pavement and a power source, short of using a 1000 foot extension cord.
I was very careful however, I just got really muddy shoes and pants. Ha.
I even used the 3 bucket method to wash my car. That was fun!
I think I will invest in some ONR for the future.
Now to clean and dry all those dirty microfibers.


Comment