If this is your first visit, be sure to
check out the FAQ by clicking the
link above. You may have to register
before you can post: click the register link above to proceed. To start viewing messages,
select the forum that you want to visit from the selection below.
I don't know. Guess I'm just not getting it I am brand new to PS, and don't know very much about it at all.
When I convert the image to B&W, then use the wand, I either get the white background when I bring the logo over to the picture, or I just get the outline of the logo only. Just not making much sense to me. Also, I can't seen to get rid of the white background at all
so worst case, i can wash it and apply a second coat after a day?
would this actually be better than waxing after 20 min?
Yes, worst case, just rewash the vehicle again. And always let the 1st coat cure for about 8 or more hours(some say 24 hours) before moving on to the 2nd coat.
which part is not working?
you have to make sure the layer is not lock as well...
because sometime when they are lock, you cannot do anything
just duplicate the layer and delete the lock layer,
it should do the magic work.
and thanks for replying my question.
so worst case, i can wash it and apply a second coat after a day?
would this actually be better than waxing after 20 min?
How did you do this? I am at work at the moment, and have my laptop with me. I can not connect my laptop to the internet, and therefore can not download that image.
How did you transform my original logo to the colorless logo?
LOL i didn't quite answer your question,
you just use magic wand, delete the white background,
next you right click select inverse
then you change the color to black and white option...
that is it...
you open both your photo and that gif file in Photoshop
and the photo file you create a new layer
go back to the gif logo picture
use W in photoshop for magic wand tool
right click select inverse
and the copy the image
in the new layer of the photo you paste the logo
set that new layer fill and opacity option to 60%
How did you do this? I am at work at the moment, and have my laptop with me. I can not connect my laptop to the internet, and therefore can not download that image.
How did you transform my original logo to the colorless logo?
i think you should just download the gif one,
and then use W in photoshop for majic wand tool
right click select inverse
and the copy the image and paste it on the new layer for your photo
Below is a gif, it should have no white background
just creat a new layer in photoshop on the desire picture
and put fill and opacity to 60%
below is jpeg, it has white back ground
just creat a new layer in photoshop on the desire picture
and put fill and opacity to 60%
so it will become this...
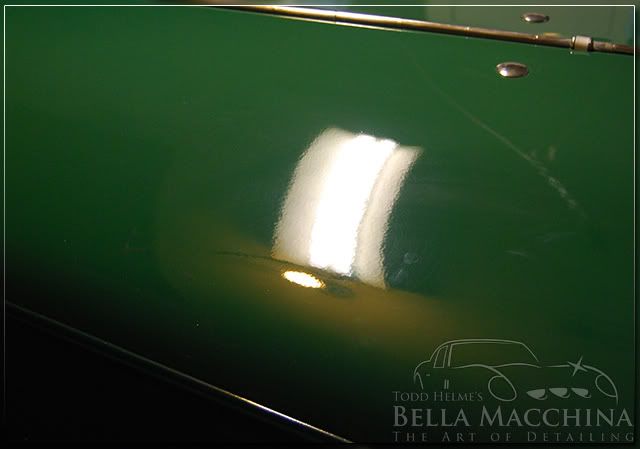
Okay, now that I have Photoshop, one thing I want to do is creat a watermark for my pictures I post online. Now, I know how to do this with text, but I want to do it with my company logo.
Kind of like what Todd did with his logo here(hope you don't mind Todd)...
My question is, how do I do this? I don't want the color of the logo, only the outline, then create it into a watermark.
Also, once this is completeld, how can I make it accessable so I only have to make a couple of clicks to import it into a picture?


 I am brand new to PS, and don't know very much about it at all.


Leave a comment: