

 Tweet
Tweet
2003 Mitsubishi Lancer Evolution XIII
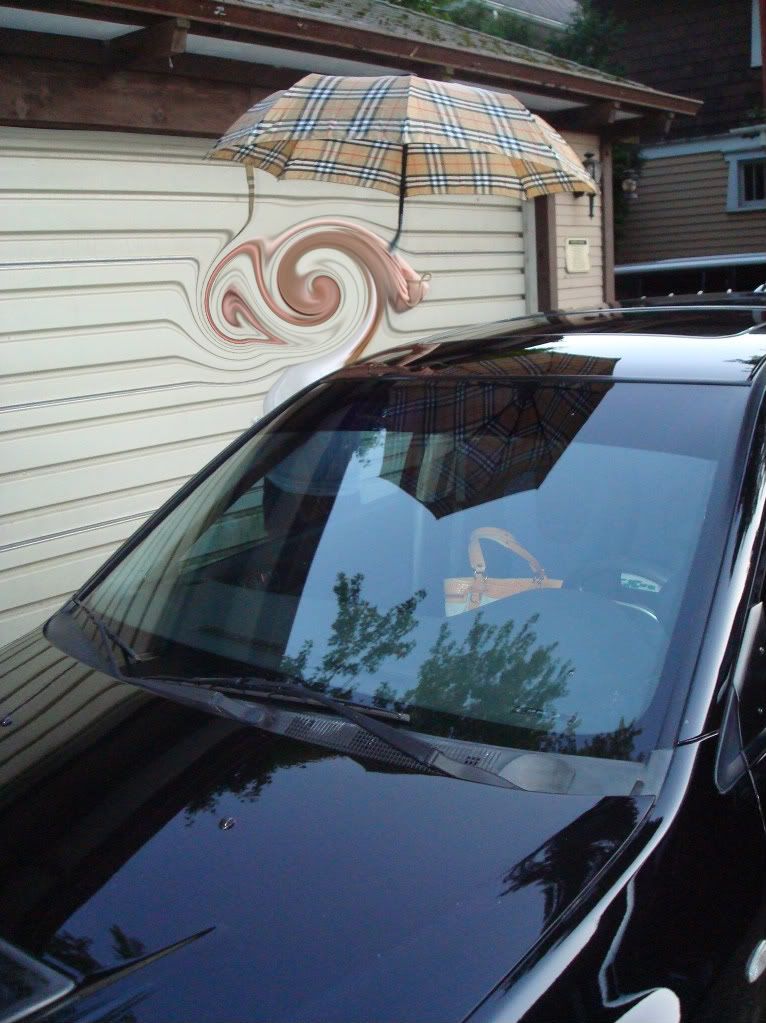
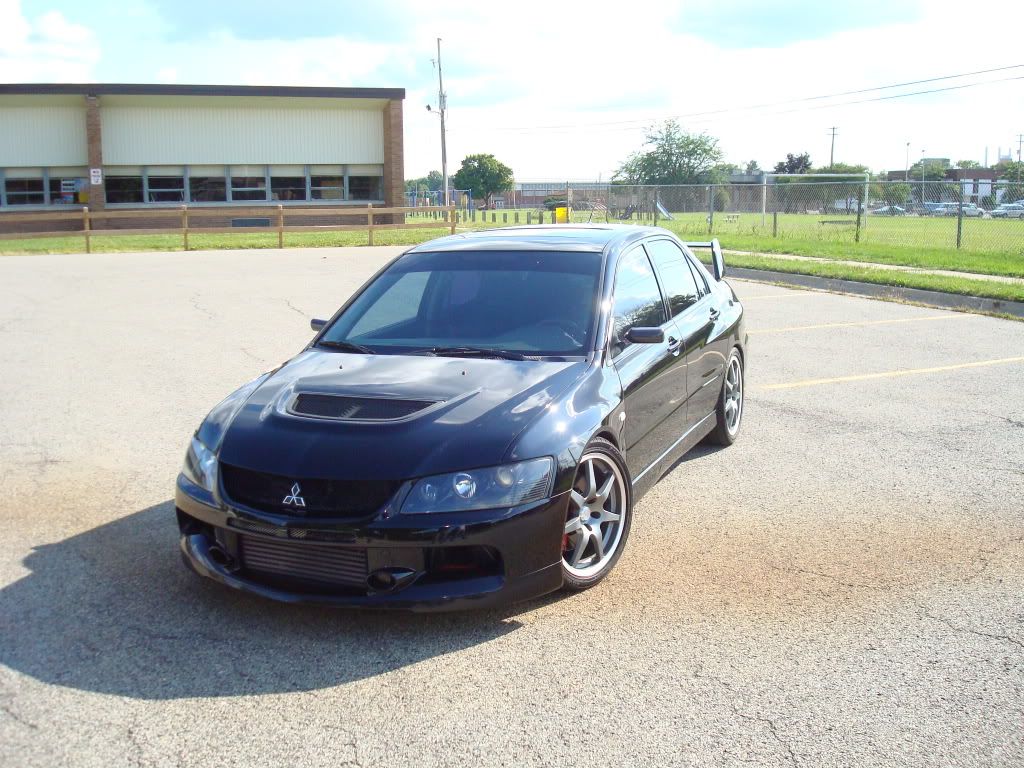
This 2003 Lancer Evo started off with the normal signs that come with years of improper washing techniques: swirls swirls and more swirls. So many swirls that the metallic flake in the paint was nearly completely unnoticeable. The black paint looked fabed and grey from light being reflected in a million different directions from the shallow scratches (as shallow scratches are what swirl marks actually are). The vehicle also suffered from some Random Isolated Deep Scratches(RIDS), some which were not 100% removed from machine polishing. Other than the abused looking paint, the vehicle was actually in very good shape, with very few deep blemishes / dents, and few signs of hardwater/bird bomb etching.
The Evo upon arrival


Looking quite faded, and we haven’t even got the loose dirt/dust off yet


Chemical Guy’s Sticky Wheel Cleaner applied to the rims and calipers, P21S TAW used on the tires, lower panels, and inside the gas door, to loosen grime.


Foamed down the vehicle with Citrus Wash and Clear to loosen any other grime, allowed to dwell, then washed with CG Maxi Suds II using the two bucket method.


Clayed with Meguiar’s aggressive clay using DP Four-in-One and ONR as clay lube. This took quite awhile as the car is a daily driver that has been outside without protection for quite some time.


Re-rinsed to get clay lube residue off, then taped carefully to insure protection of areas/items that weren’t to be polished.

Test panel time!
From our test panel, we saw how well Meguiar’s M205 + a Meguiar's Yellow Solo 2 pad removed defects, and that it finished down haze-free, but it didn’t finish down hologram-free. Not good enough.


The 2-step correction combo we ended up with was Meg’s M205 on a Meguiar's Yellow Solo 2 pad followed by 3M Ultrafina on the Ultrafina pad. This resulted in amazing clarity and depth, got rid of 95%+ of defects on the soft Mitsu paint, and brought the car back to life. The same combo was used on the taillights as well with great results.


In this pic we see the clarity achieved already. The near side is done, while Marc works on the far side of the hood.


The door handle pockets had seen better days:

Here the pocket was hit with M105, M205, and Ultrafina, all by hand. The handle portion was also done (after this pic) to completely clear up the handle.

The headlights weren’t completely translucent, but were getting close. The front end of the vehicle takes the majority of rock chips and acidic bugs, and the headlights were no different. They received new life due to M105 followed by M205 on 3 inch pads. Look at the "afters" for how the headlights turned out!

Here Jacob is almost done going around the vehicle with the Ultrafina combo (and you can see the headlights cleared up):

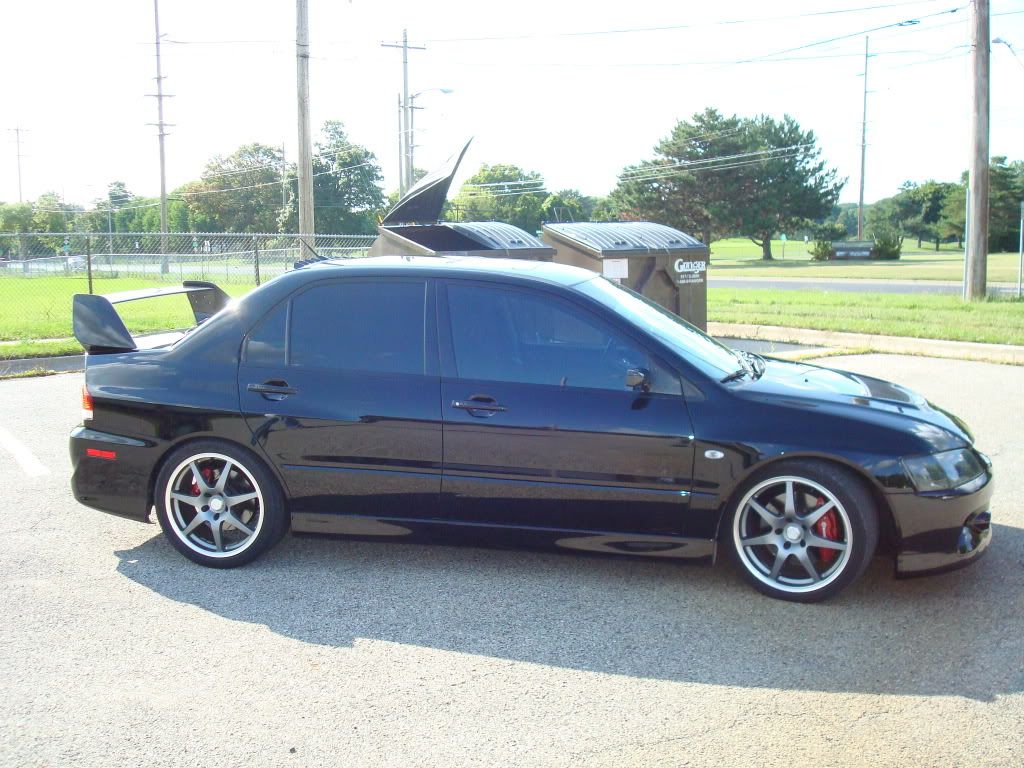
...and here he is hitting the door frames with the PC, black pad, and M205. Using the PC was imperative to keep the rubber seals intact. The increased energy from a rotary will modify the rubber's properties and leave noticeable marking (aka messing it up). The same process was used for each individual vortex generator fins


As you can see, the backing plate comes very close to touching. Do not try this at home! It takes a very steady hand and skill to pull this off without leaving marks
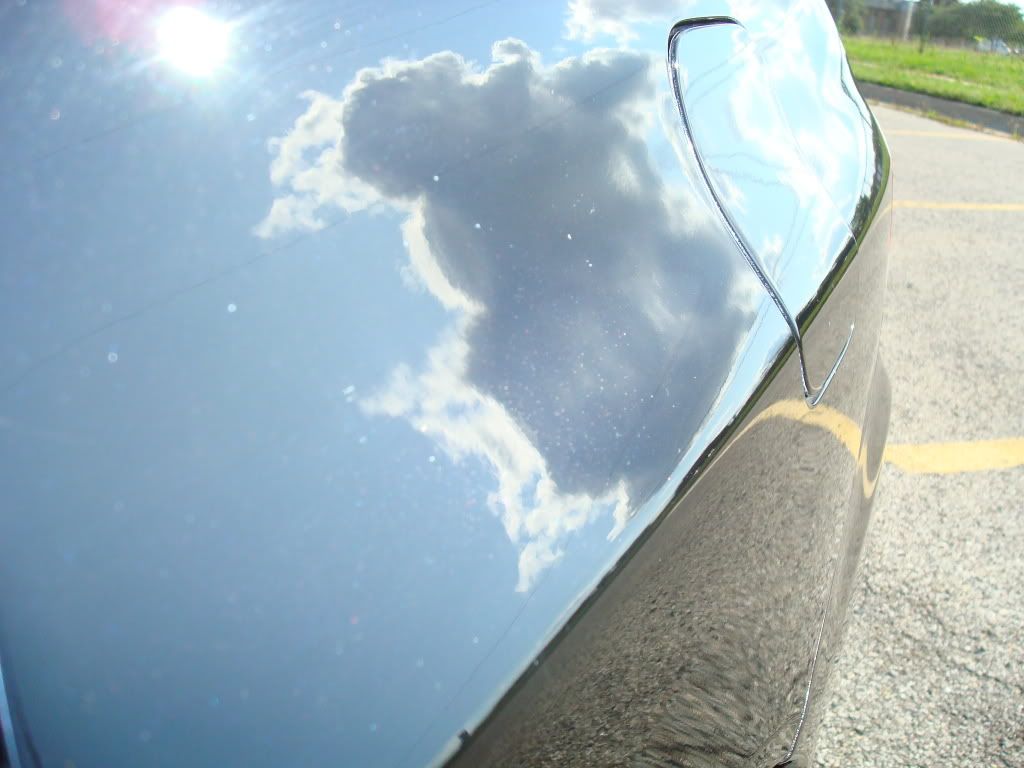
Time wasn’t on our side as we got a late start on this project. Once final polishing was complete, we rewashed the car to remove oils, tape residue, and polishing dust, dried the vehicle with waffle weave microfibers + a leaf blower, then applied Danase Wet Glaze using the PC7424 + a blue Lake Country pad. The result was a super slick, well-protected finish, with stunning clarity and gloss.

After we packed everything up and were set to go, we applied our final layer or protection to the finish: Chemical Guy’s JetSeal109. This insured even and full coverage, while adding to the wet-look of the paint. Then preceded to dress the fender wells and tires. These final 2 "after" pictures were taken at 10:30 pm. We owe you guys daylight pics, and we hope to get them soon!


This 2003 Lancer Evo started off with the normal signs that come with years of improper washing techniques: swirls swirls and more swirls. So many swirls that the metallic flake in the paint was nearly completely unnoticeable. The black paint looked fabed and grey from light being reflected in a million different directions from the shallow scratches (as shallow scratches are what swirl marks actually are). The vehicle also suffered from some Random Isolated Deep Scratches(RIDS), some which were not 100% removed from machine polishing. Other than the abused looking paint, the vehicle was actually in very good shape, with very few deep blemishes / dents, and few signs of hardwater/bird bomb etching.
The Evo upon arrival
Looking quite faded, and we haven’t even got the loose dirt/dust off yet
Chemical Guy’s Sticky Wheel Cleaner applied to the rims and calipers, P21S TAW used on the tires, lower panels, and inside the gas door, to loosen grime.
Foamed down the vehicle with Citrus Wash and Clear to loosen any other grime, allowed to dwell, then washed with CG Maxi Suds II using the two bucket method.
Clayed with Meguiar’s aggressive clay using DP Four-in-One and ONR as clay lube. This took quite awhile as the car is a daily driver that has been outside without protection for quite some time.
Re-rinsed to get clay lube residue off, then taped carefully to insure protection of areas/items that weren’t to be polished.
Test panel time!
From our test panel, we saw how well Meguiar’s M205 + a Meguiar's Yellow Solo 2 pad removed defects, and that it finished down haze-free, but it didn’t finish down hologram-free. Not good enough.
The 2-step correction combo we ended up with was Meg’s M205 on a Meguiar's Yellow Solo 2 pad followed by 3M Ultrafina on the Ultrafina pad. This resulted in amazing clarity and depth, got rid of 95%+ of defects on the soft Mitsu paint, and brought the car back to life. The same combo was used on the taillights as well with great results.
In this pic we see the clarity achieved already. The near side is done, while Marc works on the far side of the hood.
The door handle pockets had seen better days:
Here the pocket was hit with M105, M205, and Ultrafina, all by hand. The handle portion was also done (after this pic) to completely clear up the handle.
The headlights weren’t completely translucent, but were getting close. The front end of the vehicle takes the majority of rock chips and acidic bugs, and the headlights were no different. They received new life due to M105 followed by M205 on 3 inch pads. Look at the "afters" for how the headlights turned out!
Here Jacob is almost done going around the vehicle with the Ultrafina combo (and you can see the headlights cleared up):
...and here he is hitting the door frames with the PC, black pad, and M205. Using the PC was imperative to keep the rubber seals intact. The increased energy from a rotary will modify the rubber's properties and leave noticeable marking (aka messing it up). The same process was used for each individual vortex generator fins
As you can see, the backing plate comes very close to touching. Do not try this at home! It takes a very steady hand and skill to pull this off without leaving marks
Time wasn’t on our side as we got a late start on this project. Once final polishing was complete, we rewashed the car to remove oils, tape residue, and polishing dust, dried the vehicle with waffle weave microfibers + a leaf blower, then applied Danase Wet Glaze using the PC7424 + a blue Lake Country pad. The result was a super slick, well-protected finish, with stunning clarity and gloss.
After we packed everything up and were set to go, we applied our final layer or protection to the finish: Chemical Guy’s JetSeal109. This insured even and full coverage, while adding to the wet-look of the paint. Then preceded to dress the fender wells and tires. These final 2 "after" pictures were taken at 10:30 pm. We owe you guys daylight pics, and we hope to get them soon!

 TOP
TOP


Comment