

 Tweet
Tweet
Just a wax spreader... LOL
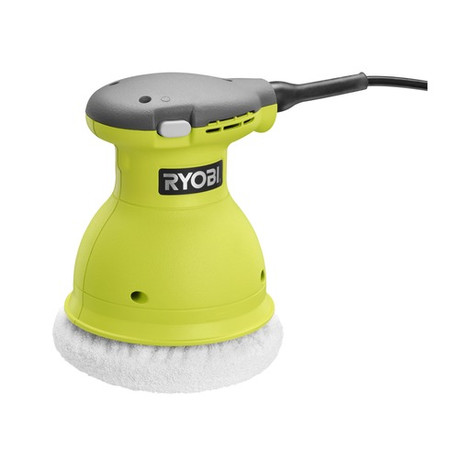
Technique is everything! but you never hear the same 2 words together in the same sentence...I'm talking about the orbital buffer(the wax spreader) & technique. I guess without knowing the right technique to use with the orbital that's all you can do is just spead some wax around!
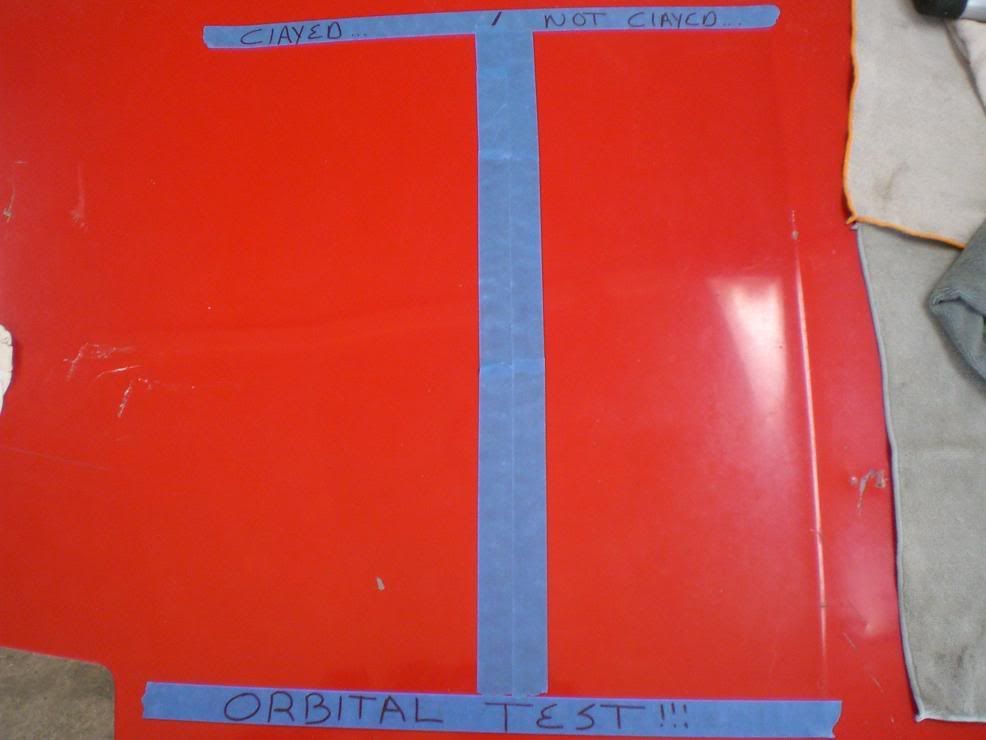
Here's the test with the orbital I've been itching to get done for the last 4 or 5 months or so and to at least give it a go, good or bad. Also to show my technique that took awhile to learn on my own back in the early 90's.
I told T-bone of my idea awhile back and I think he wanted to do the test more then me, from asking about every week or so.
The only thing I didn't care to much for was the 48 pics but it was the only way to capture everything we was doing ( AND THANKS SO MUCH T-Bone FOR HELPING ON THIS TEST YOU MADE IT INTERESTING AND FUN!!) and try to show everything I could think of that when I posted it up that someone might say what if or try this, I'm not perfect so there could be a question on what if or something I just didn't do or try.
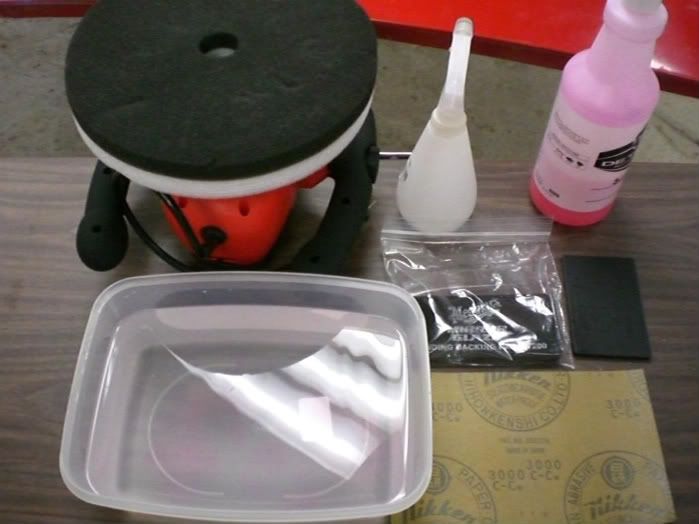
Here's what I'm going to be working with. Didn't have any more 00 high tech wash for my sand paper lube so used some super soap instead. Also use a spray bottle for my wet sanding because I like having dry feet, just add several drops of soap in there along with the water and give it a good shake. And keep surface wet for your sand paper to glide across.
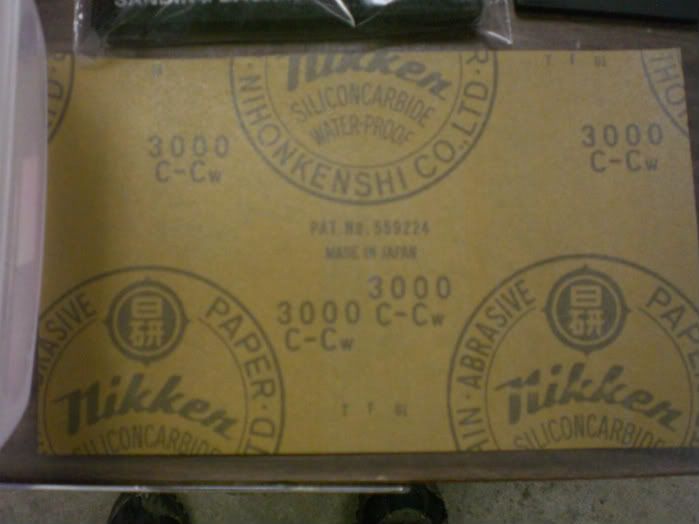
Here's the sand paper I used, we did use more pressure then should have but was trying to get rid of all the low spots and etching from setting outside for several years.
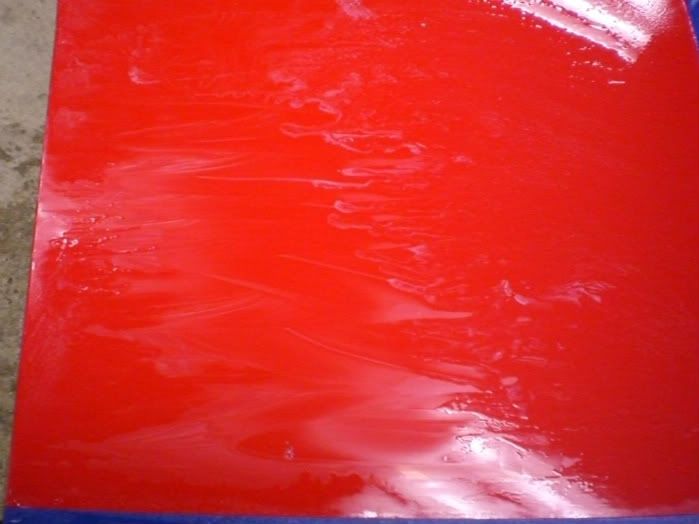
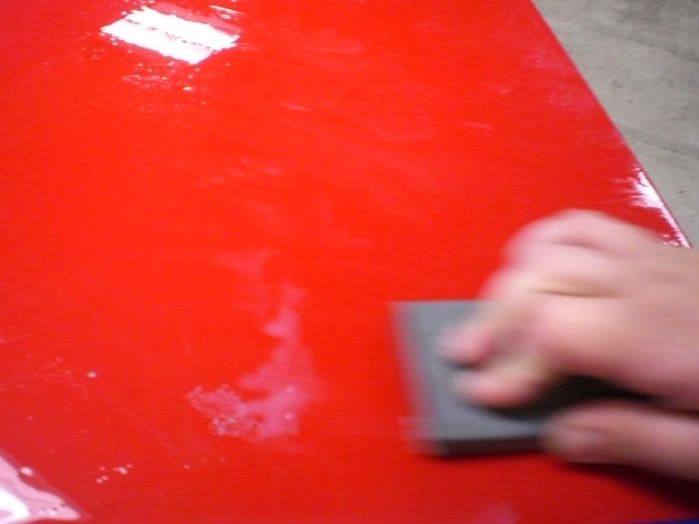
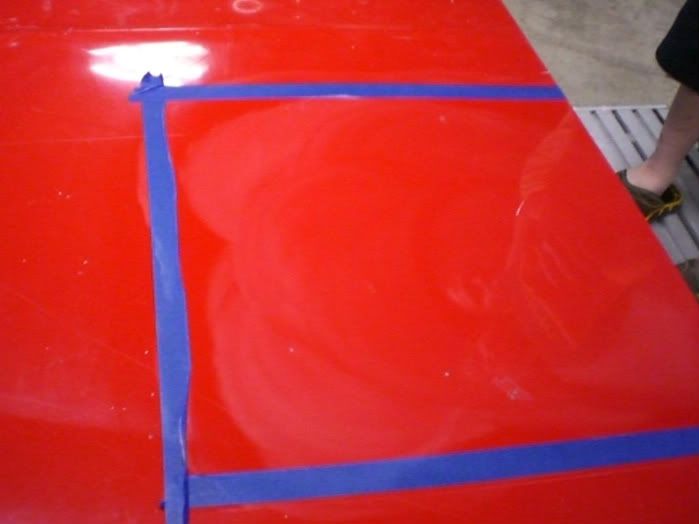
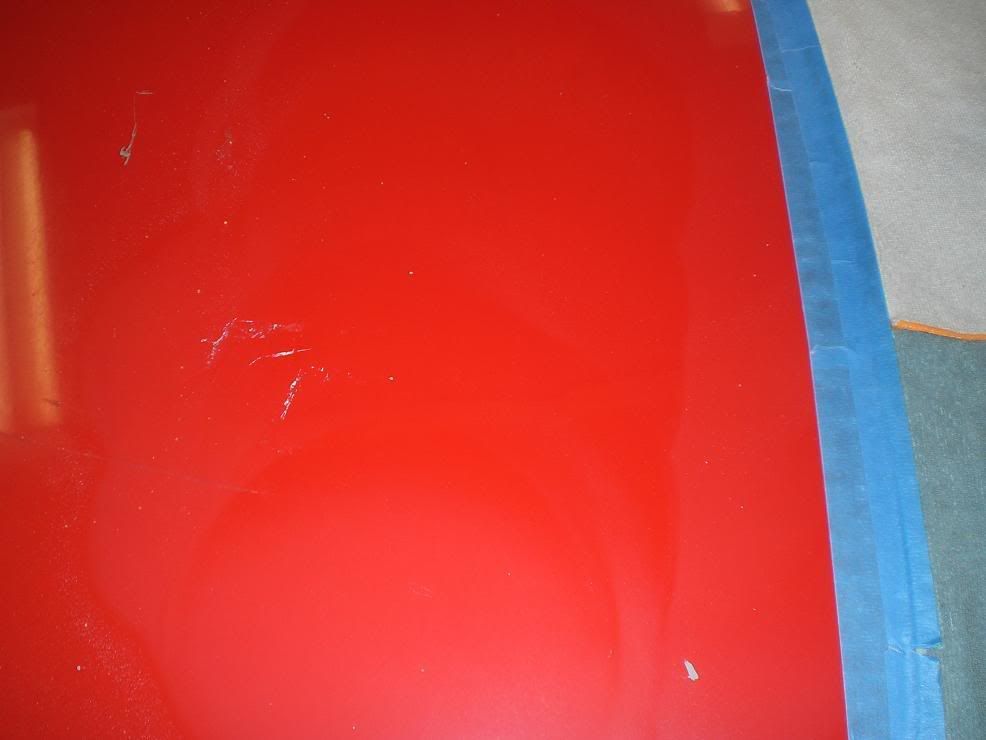
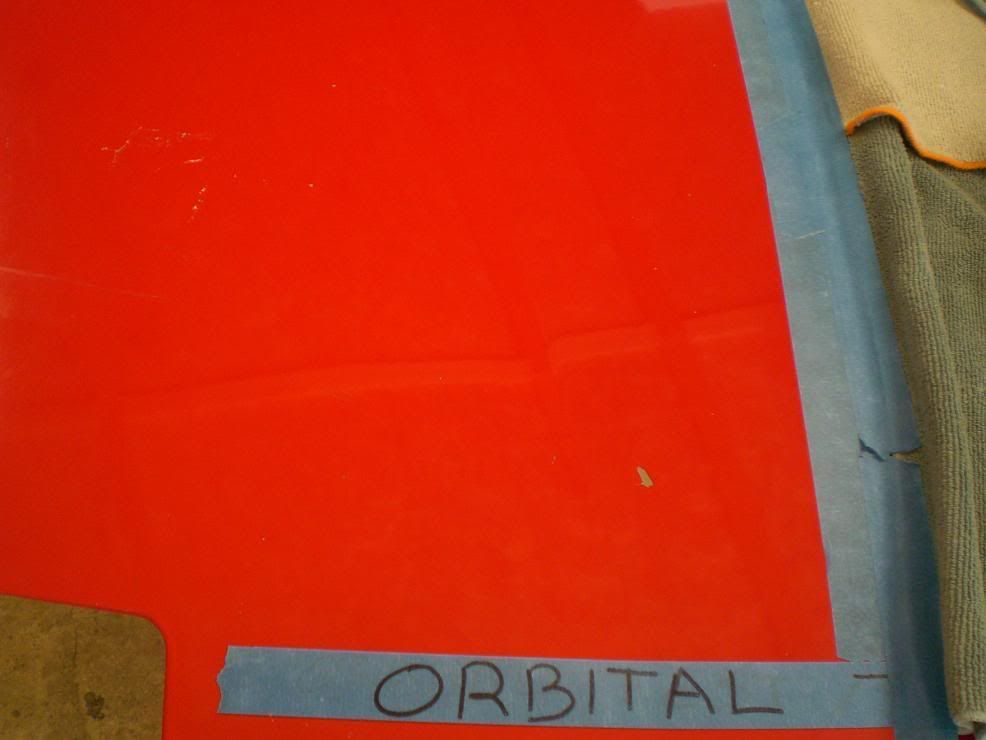
Here's what I was starting with, the picture looks good I know because I've run out of area's to test on so I had to wet sand over a area that was recently polished. Did pick this area because of the bird etching and it will help in the post with something to go by or focus on.
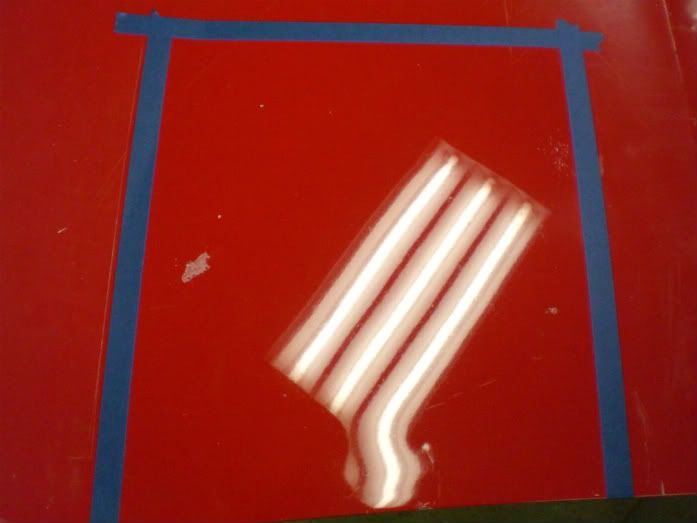
Took a couple pics to show the clear coat being wet sanding off the surface of the hood and actaully the sanding scratches on the surface.
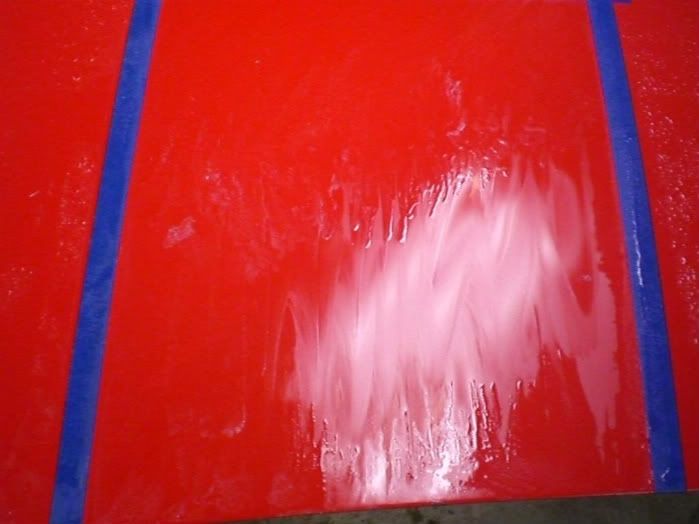
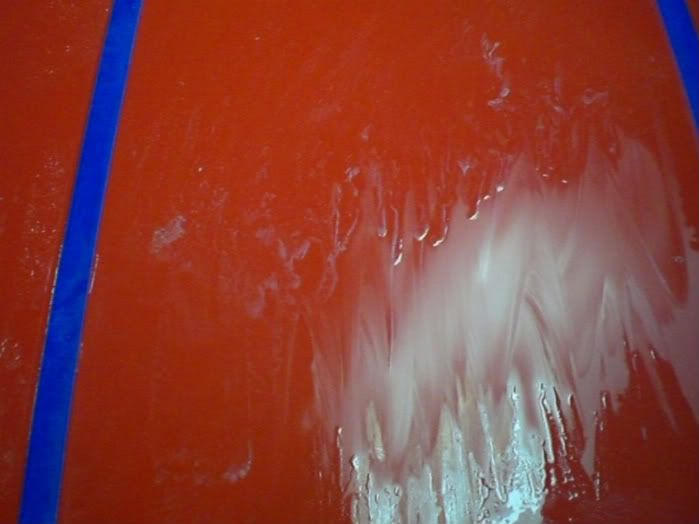
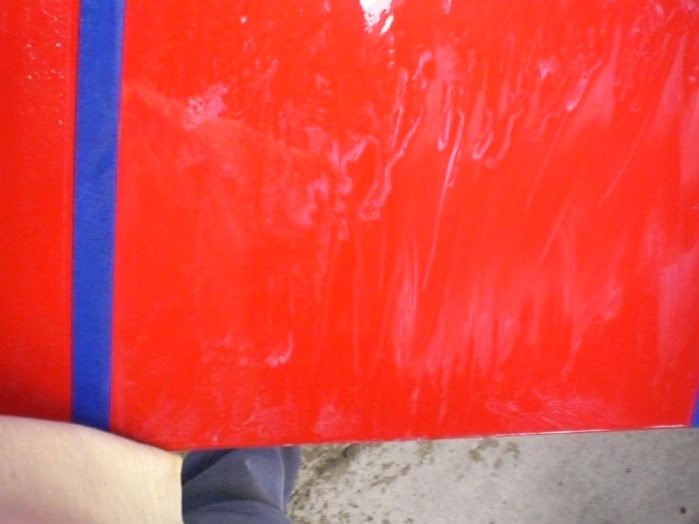
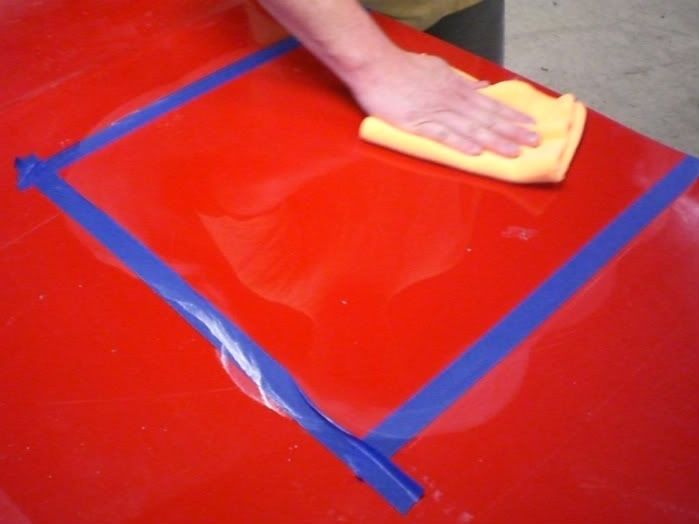
After using a squeegee to check our area, we could have called it done just to prove that the wax spreader could have removed the 3000 grit sanding scratches but I was after a deep glossy reflective finish! So more wet sanding and more pressure.
up-close, as you can see needs more.
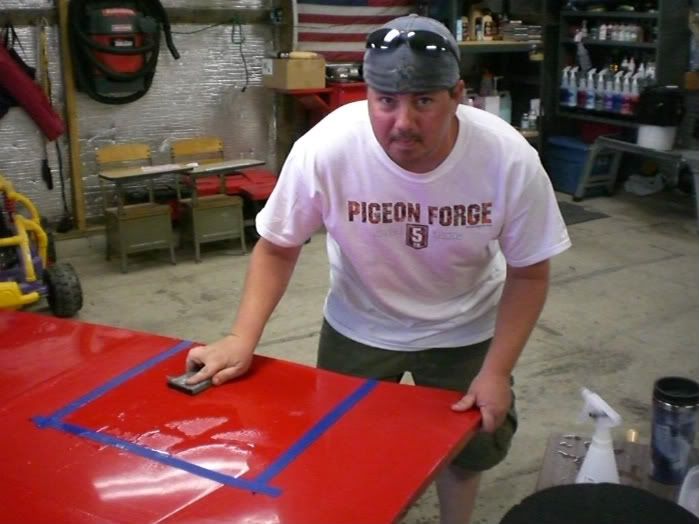
Here's T-Bone getting in on the fun
Went over the bird poo! etching that we wet sanded alittle more to at least try to take out some what but it was there to stay.
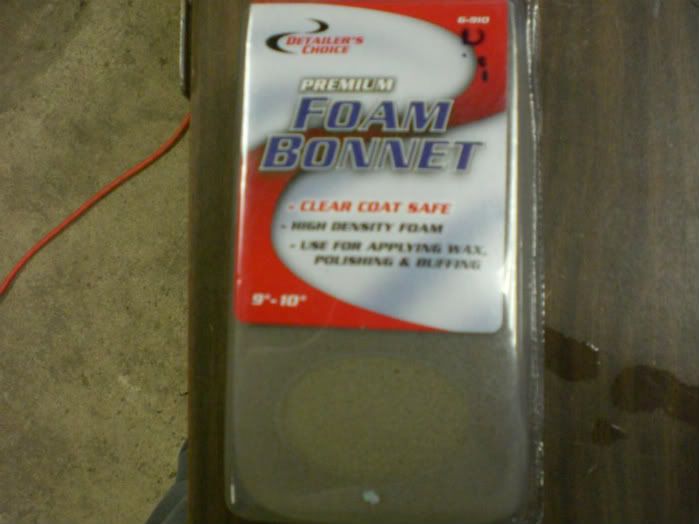
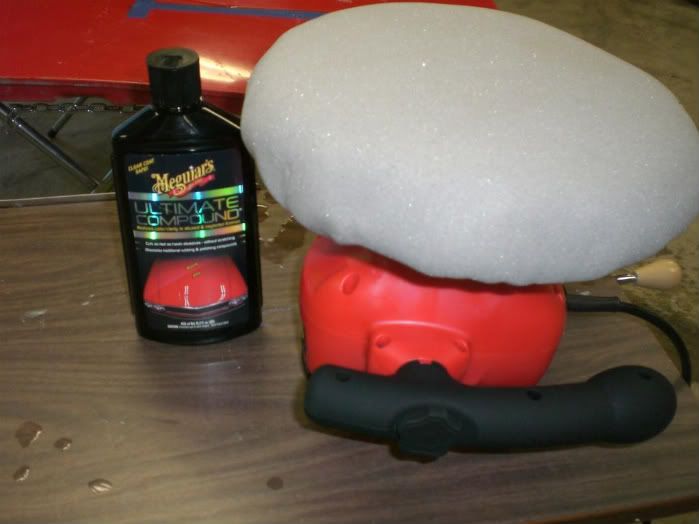
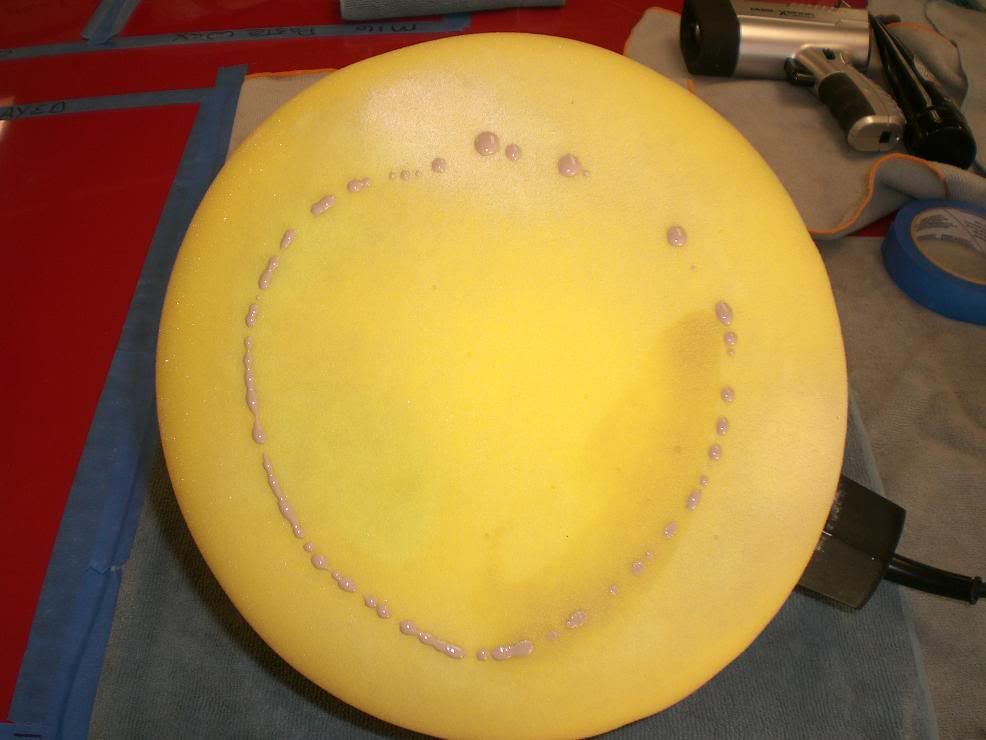
Here's what we'll be using for the cleaning step to remove the 3000grit sanding scratches ,the key in the cleaning step using the orbital...I mean wax spreader. You can use any brand foam bonnets for the wax spreader it's just that I found these at an outlet store and actually got every foam bonnet they had for $1.00 each plus 3-packs of terry bonnets for the same price and when I got them home looked again and noticed that they were 2 terry bonnets in each pack!
Started off first with the most aggressive meguiars product(Ultimate Compound) that you can go to your local auto parts stores or waly-world and pick up.
Also how much product I applied to the bonnet to start off with, more or less just to get the bonnet saturated with product.I will spin the bonnet on a microfiber towel to help remove any excess product that may be damp so as not to over saturate the foam bonnet before I will apply any more product to the bonnet, becuase you can and will get to much product on and cause the fibers in the foam to start to pull loose from each other in other words tear.LOL!!
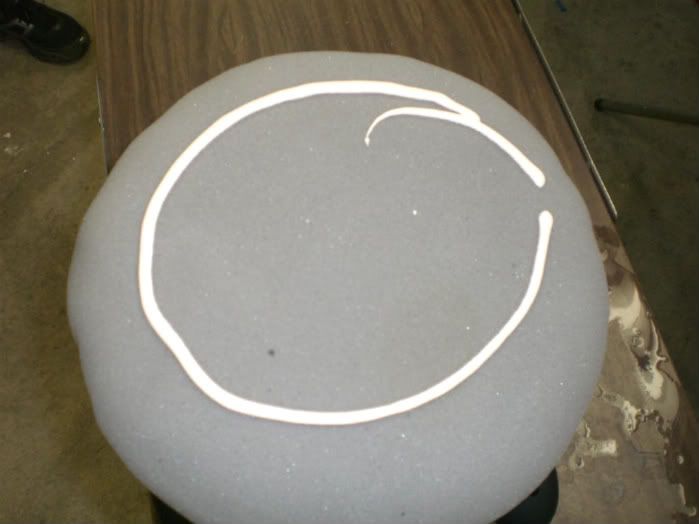
Getting started
I may have alittle to much product on the bonnet but this is the first time using S.M.A.T (super micro abrasives technology) with a wax spreader and really didn't know how it would react or do so a learning for me, did pretty well no problems at all except don't try to work it in to much go over each area about 4 or 5 times and remove product. I also applied as much pressure as could be (remember this is a orbital and not much pressure can be applied) about 10 lbs if that can't be 100% but trying to get a ball park fiqure.
Since I put up T-Bones pic It's only fair I guess.LOL Plus he said I look professional with the cord over my shoulder.
After product spread
With just one application of UC and the wax spreader it did impress me but you could still see the sanding scratches pretty easy under the light.

Here's another angle.
Reflection is great but I'm sure that if out in the sun light the scratches would show up like black on red.
So applied A 2nd application of the UC.
Standing back after the wipe down of the removal of the 2nd apllication and the outcome
Scratches still showing up so now I decided to get out the M105 and a new 10'' foam bonnet to use more aggressive product and see how much it will take to remove the scratches for a clear glossy finish.
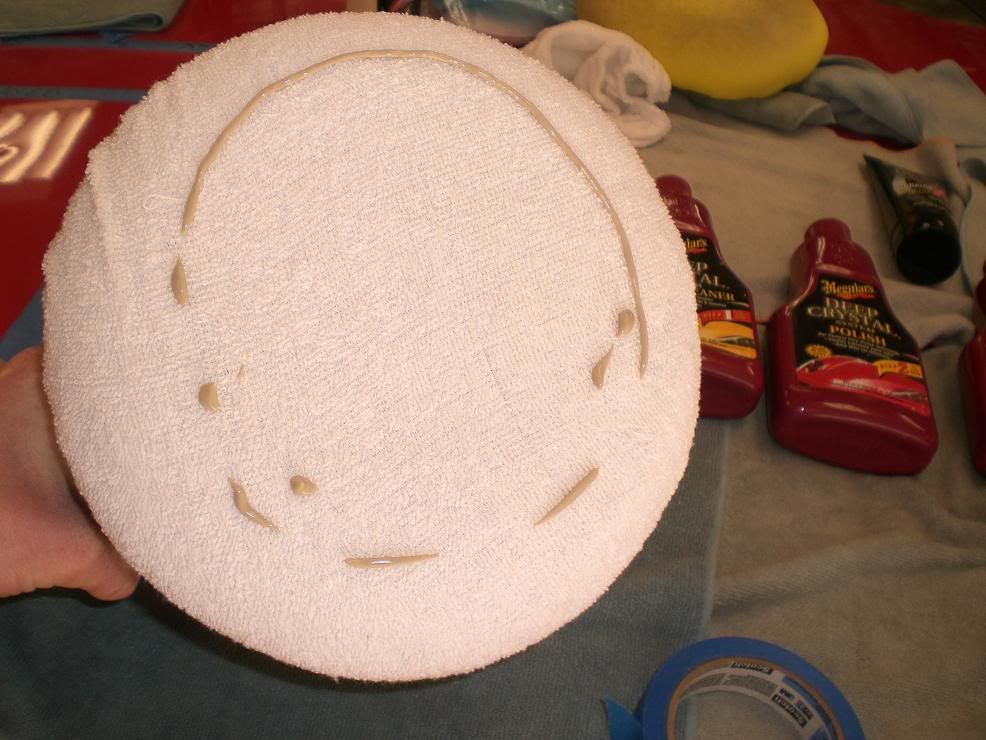
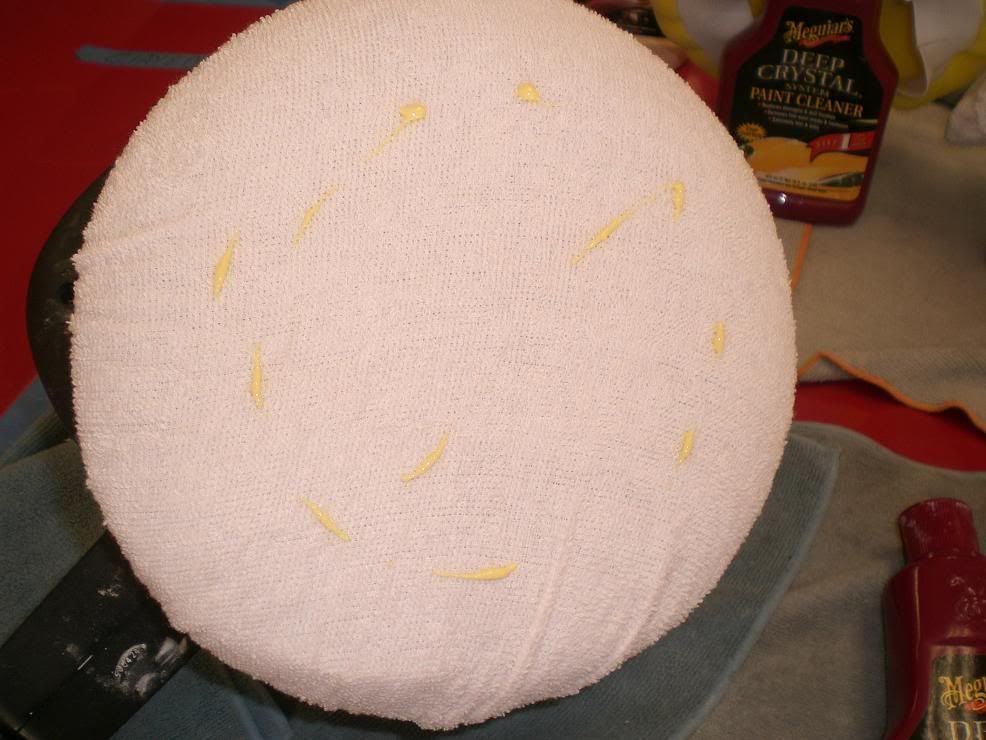
Here's how much product I applied of the M105 to the new 10'' foam bonnet
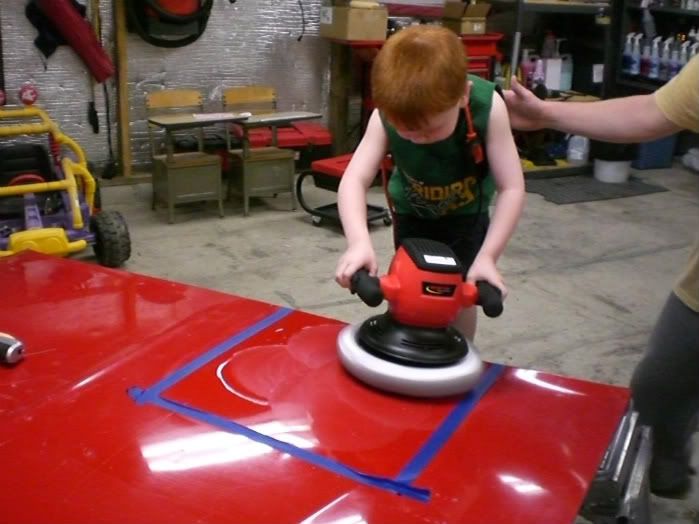
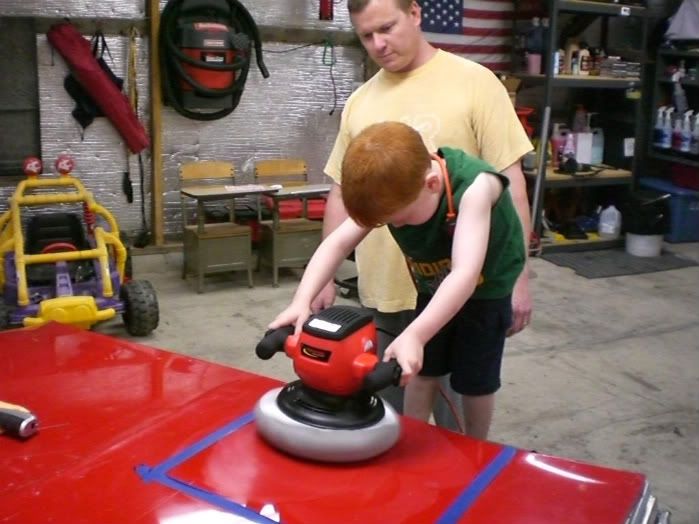
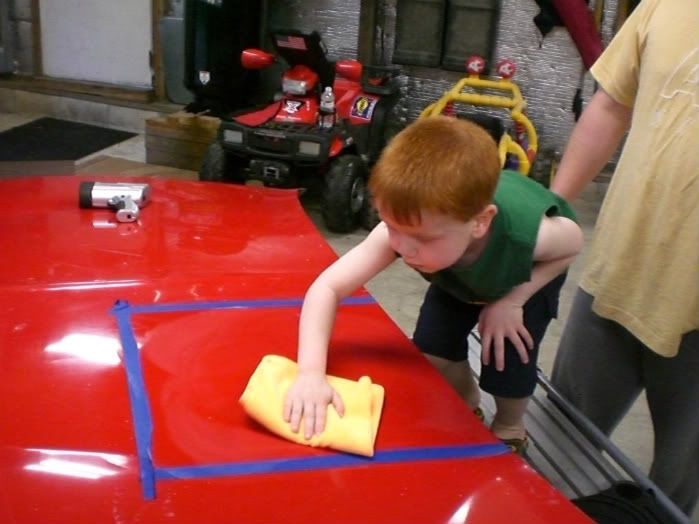
My boy wanted to help so here's 3 pics of him applying the 1st application of M105.
After he's worked it in.
And the removal of the 1st application M105
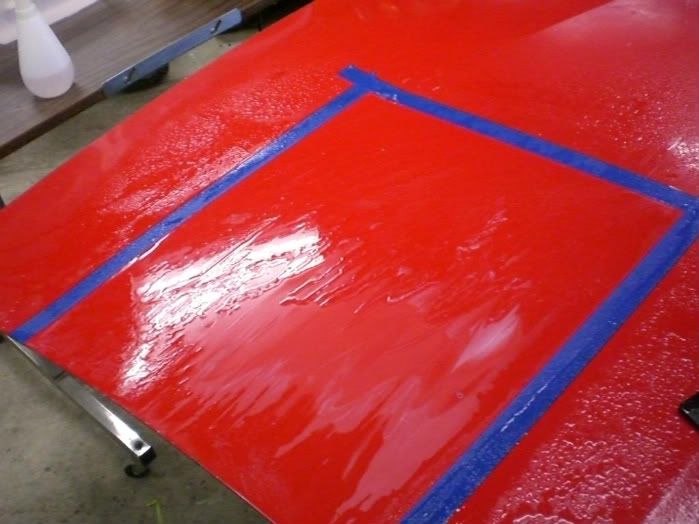
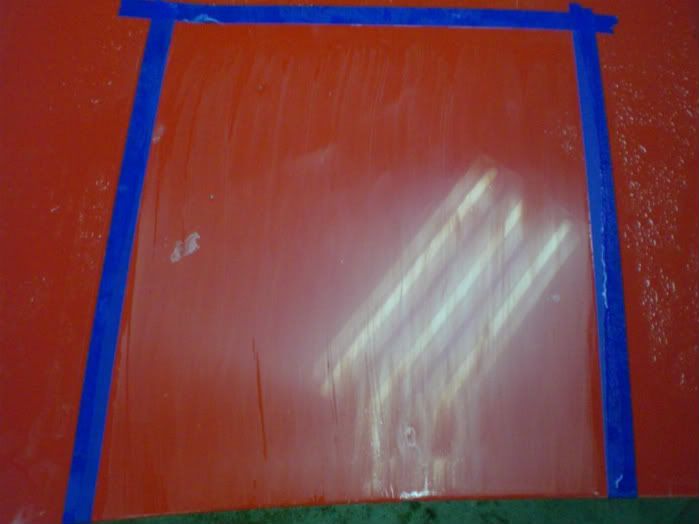
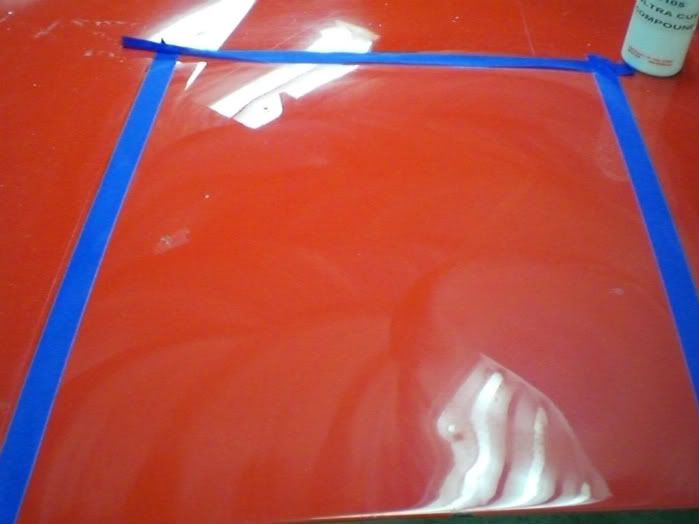
Applied 1 more applications of M105 and worked in to go over each area 4 to 5 times before removal. Just showing a even coverage of test spot before removal.
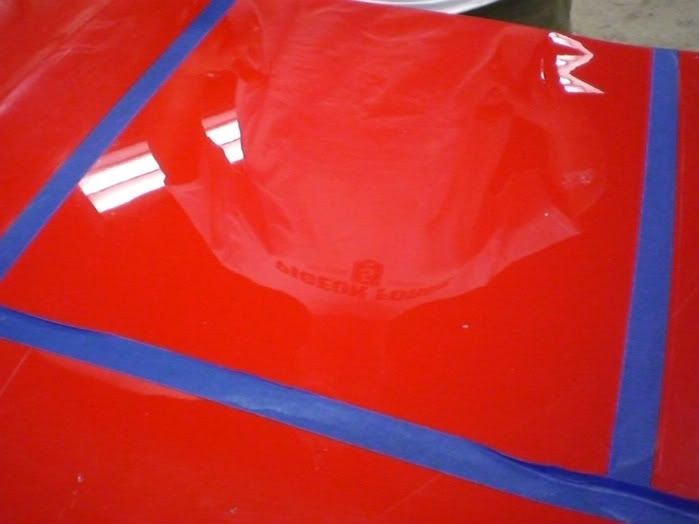
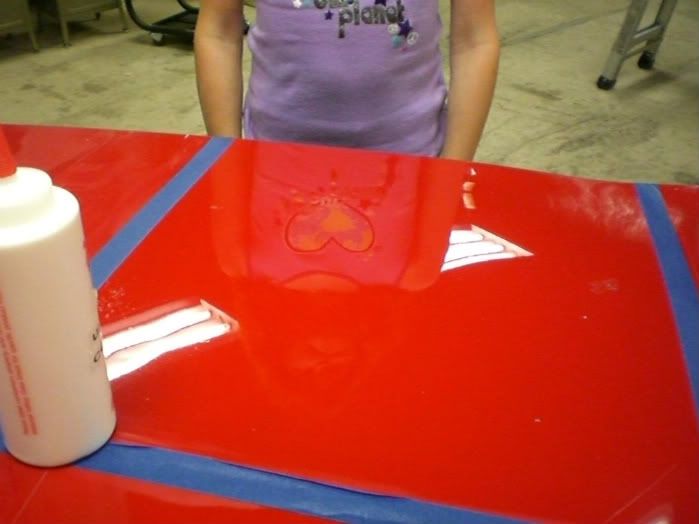
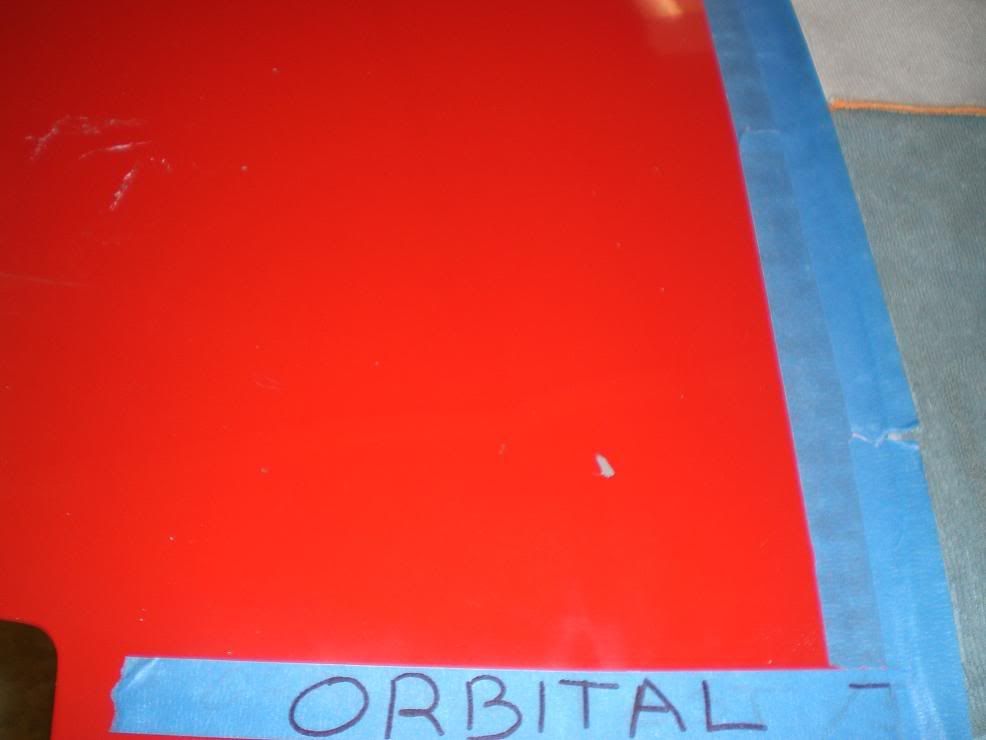
After removal and to show the reflection of the M105 bottle.

Turned out better then I expected with the glossy reflection and clarity of the test spot that we wet sanded and removed the scratches from the 3000 grit sand paper with my wax spreader.
There were some scratches left in the area to the left of the bird etching against the tape line but the reason being that the edge of the foam bonnets was riding on top of the tape so didn't really get to work in to the finish but the point being is that all the 3000 grit sanding scratches were removed and we did apply more pressure then we normally have while wet sanding because of the years of laying out in the open and not being washed and cared for properly.
Also I did sand through an area right above the the bird poop etching to the right trying to remove some bad etching. Just wanted to let every one know that since this is a very fine sand paper you can still go through the clear, tried to capture the burn through but after about 6 to 9 tries I just couldn't get it.
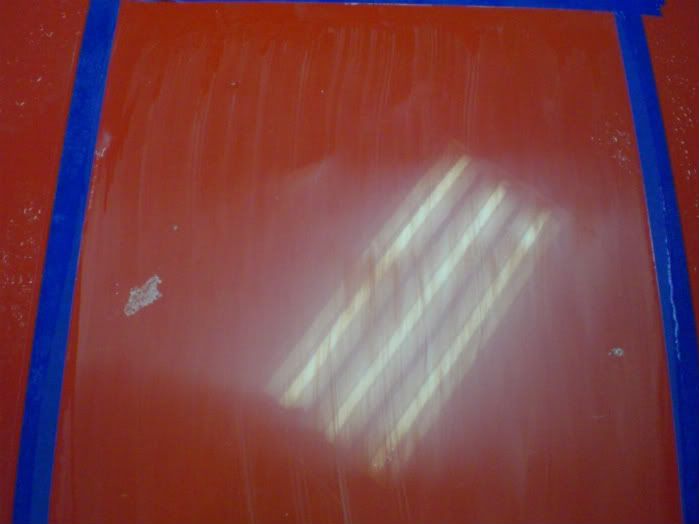
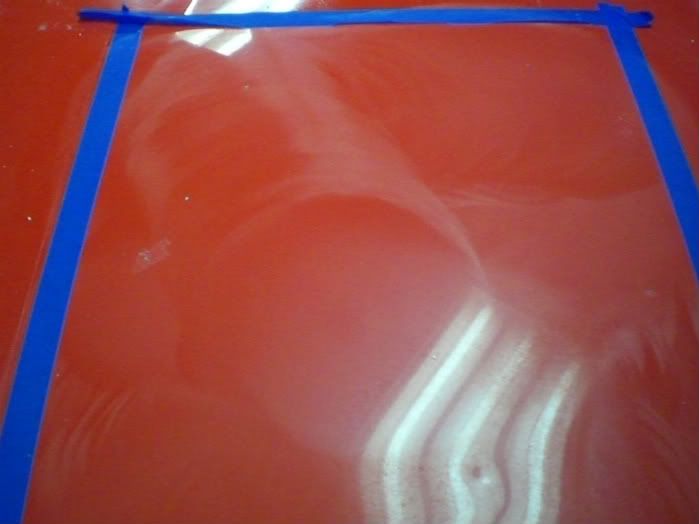
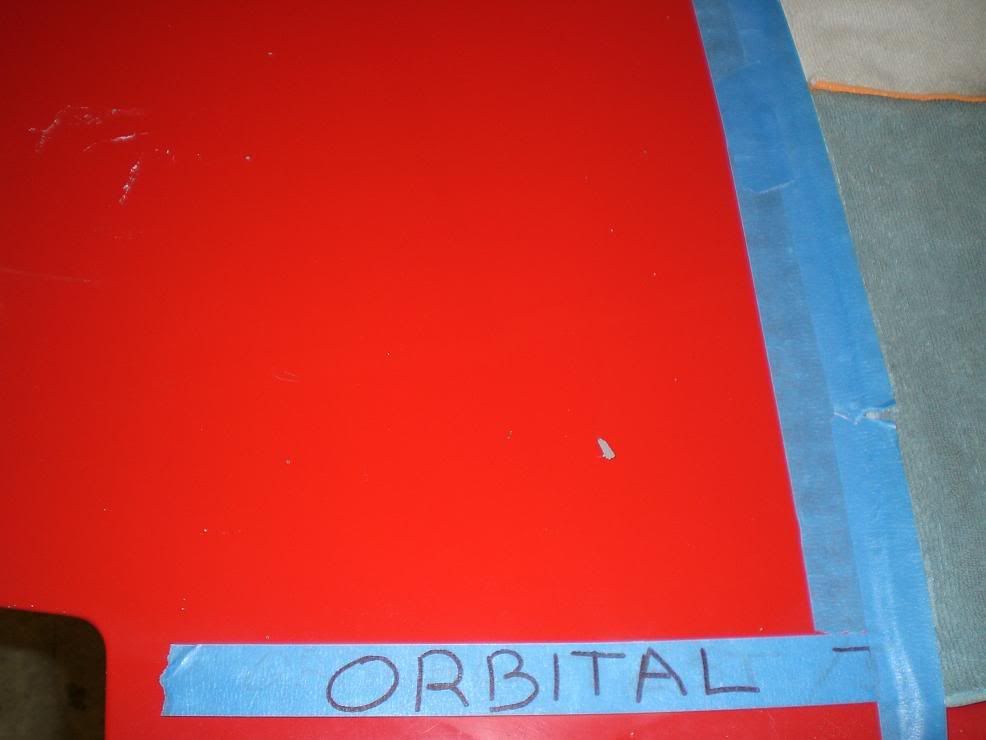
Thought these several pictures of some reflection shots and some using the dual xenon to try to show every angle and that we in fact did remove the sanding scratches. You can also see just in front of the bottle and inbetween the tape and light reflection how bad some of the etching were.
Here's a clarity shot of the over head light on my ceiling. Of course on the left is of the wet sand and on the right un-touched. Also picked this angle shot to show a good up close of the etching over the entire hood
Now some pics with my xenon light.
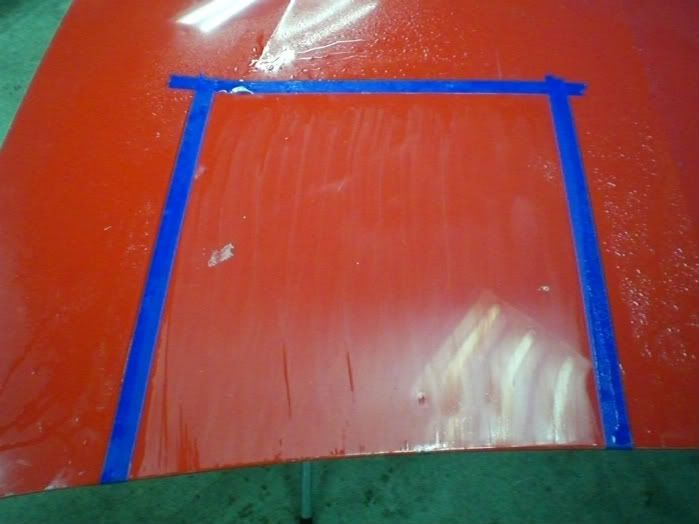
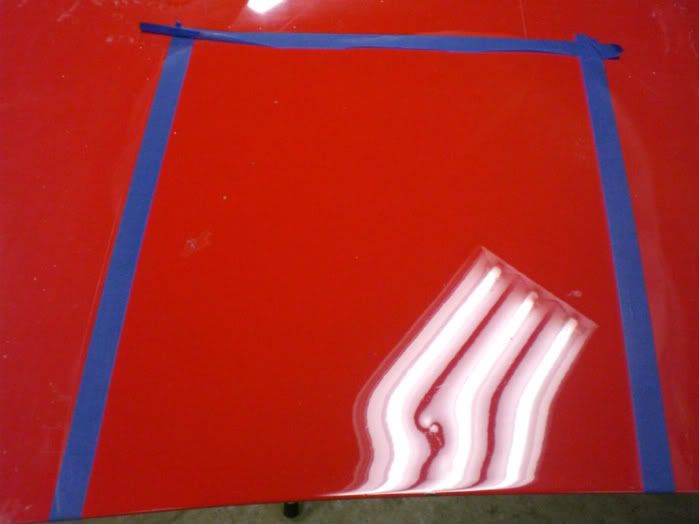
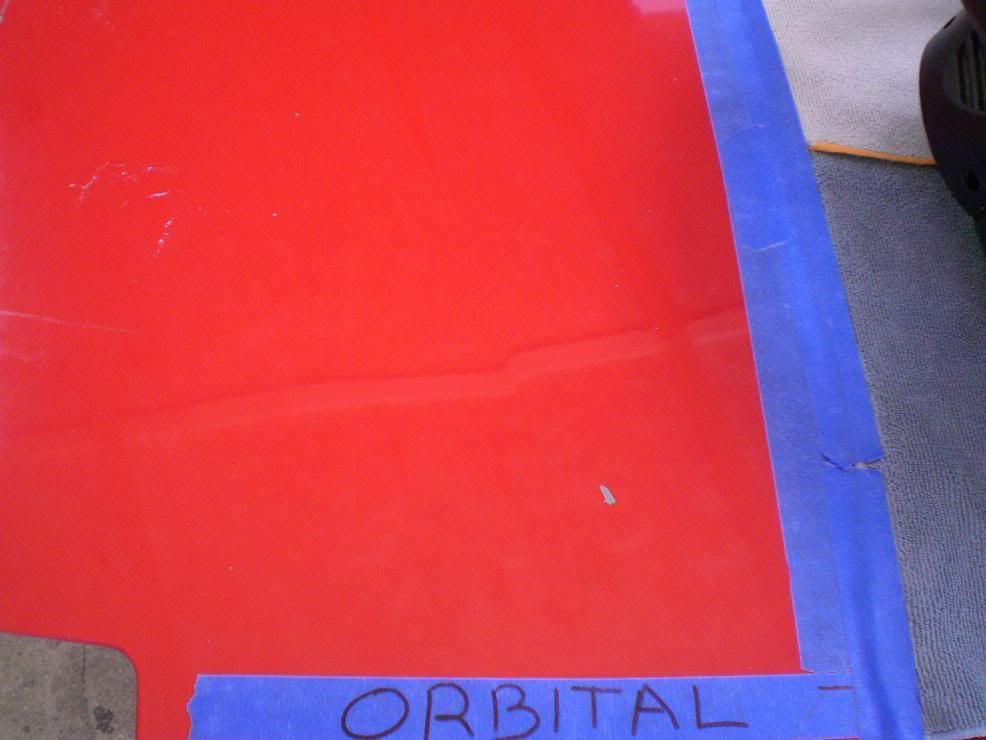
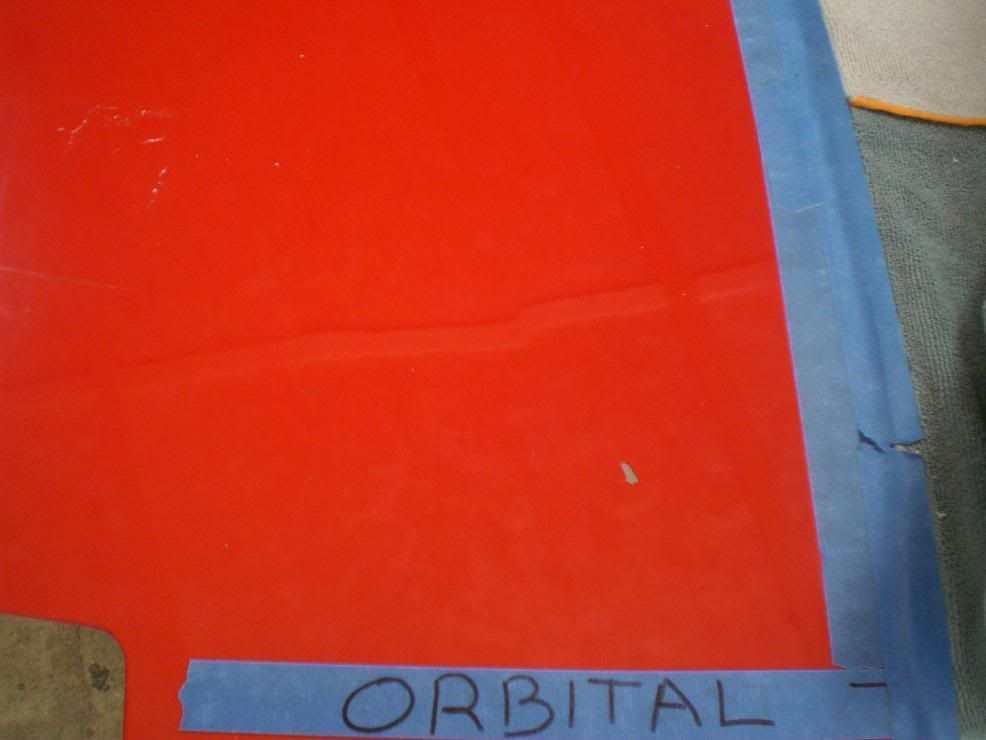
And with some of the tape removed from the test spot to show the difference.
Thought that since there's so many pics I would bring back the before pic to help with the before & after improvement.

And after the wet sanding and 2 applications of Ultimate Compound.

The finish test after the 2 applications of M105
I maybe have $40.00 or more just for this test to prove what I already know and to help any one out that can't afford to go out and give $150.00 for a PC and other products that is what's needed for being able to do a good job with their paints finish. So if I can remove 3000 grit sand paper scratches with this so called wax spreader you should be able to do a good job too!
So what do you think now?
I've finally done the thread that I've been wanting to do and should prove that it's just not a WAX SPREADER!!!
I hope every one really appreciates this thread because you can't believe everything you read that say's you can't do this or you can't do that! BLA! BLA! BLA!
You don't know what you can do until you try, so go get you a test hood, panels or what every and try it, don't beleive something unless you can prove it or know it for a fact that it's the truth.
Technique is everything! but you never hear the same 2 words together in the same sentence...I'm talking about the orbital buffer(the wax spreader) & technique. I guess without knowing the right technique to use with the orbital that's all you can do is just spead some wax around!
Here's the test with the orbital I've been itching to get done for the last 4 or 5 months or so and to at least give it a go, good or bad. Also to show my technique that took awhile to learn on my own back in the early 90's.
I told T-bone of my idea awhile back and I think he wanted to do the test more then me, from asking about every week or so.
The only thing I didn't care to much for was the 48 pics but it was the only way to capture everything we was doing ( AND THANKS SO MUCH T-Bone FOR HELPING ON THIS TEST YOU MADE IT INTERESTING AND FUN!!) and try to show everything I could think of that when I posted it up that someone might say what if or try this, I'm not perfect so there could be a question on what if or something I just didn't do or try.
Here's what I'm going to be working with. Didn't have any more 00 high tech wash for my sand paper lube so used some super soap instead. Also use a spray bottle for my wet sanding because I like having dry feet, just add several drops of soap in there along with the water and give it a good shake. And keep surface wet for your sand paper to glide across.
 | This image has been resized. Click here to view the full image. The original image is sized %1%2 and weighing %3. |
Here's the sand paper I used, we did use more pressure then should have but was trying to get rid of all the low spots and etching from setting outside for several years.
| This image has been resized. Click here to view the full image. The original image is sized %1%2 and weighing %3. |
Here's what I was starting with, the picture looks good I know because I've run out of area's to test on so I had to wet sand over a area that was recently polished. Did pick this area because of the bird etching and it will help in the post with something to go by or focus on.
| This image has been resized. Click here to view the full image. The original image is sized %1%2 and weighing %3. |
Took a couple pics to show the clear coat being wet sanding off the surface of the hood and actaully the sanding scratches on the surface.
| This image has been resized. Click here to view the full image. The original image is sized %1%2 and weighing %3. |
| This image has been resized. Click here to view the full image. The original image is sized %1%2 and weighing %3. |
| This image has been resized. Click here to view the full image. The original image is sized %1%2 and weighing %3. |
| This image has been resized. Click here to view the full image. The original image is sized %1%2 and weighing %3. |
| This image has been resized. Click here to view the full image. The original image is sized %1%2 and weighing %3. |
After using a squeegee to check our area, we could have called it done just to prove that the wax spreader could have removed the 3000 grit sanding scratches but I was after a deep glossy reflective finish! So more wet sanding and more pressure.
| This image has been resized. Click here to view the full image. The original image is sized %1%2 and weighing %3. |
| This image has been resized. Click here to view the full image. The original image is sized %1%2 and weighing %3. |
up-close, as you can see needs more.
| This image has been resized. Click here to view the full image. The original image is sized %1%2 and weighing %3. |
Here's T-Bone getting in on the fun
| This image has been resized. Click here to view the full image. The original image is sized %1%2 and weighing %3. |
Went over the bird poo! etching that we wet sanded alittle more to at least try to take out some what but it was there to stay.
| This image has been resized. Click here to view the full image. The original image is sized %1%2 and weighing %3. |
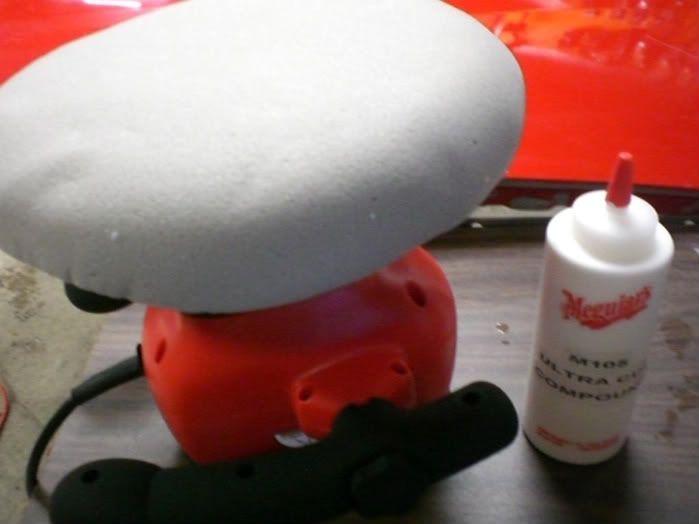
Here's what we'll be using for the cleaning step to remove the 3000grit sanding scratches ,the key in the cleaning step using the orbital...I mean wax spreader. You can use any brand foam bonnets for the wax spreader it's just that I found these at an outlet store and actually got every foam bonnet they had for $1.00 each plus 3-packs of terry bonnets for the same price and when I got them home looked again and noticed that they were 2 terry bonnets in each pack!
| This image has been resized. Click here to view the full image. The original image is sized %1%2 and weighing %3. |
Started off first with the most aggressive meguiars product(Ultimate Compound) that you can go to your local auto parts stores or waly-world and pick up.
| This image has been resized. Click here to view the full image. The original image is sized %1%2 and weighing %3. |
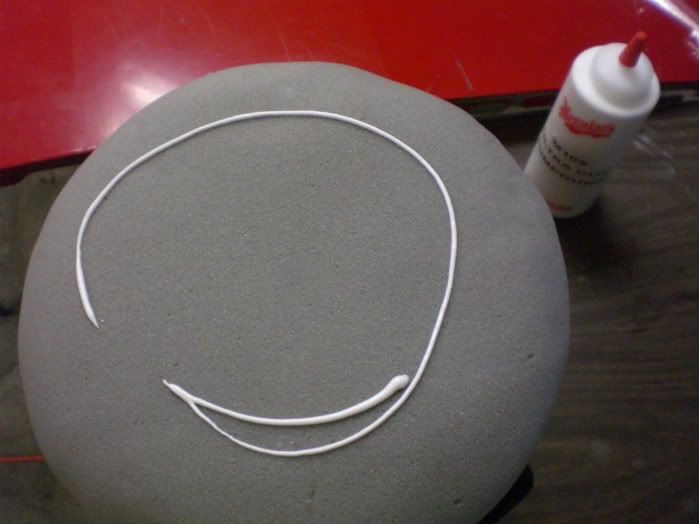
Also how much product I applied to the bonnet to start off with, more or less just to get the bonnet saturated with product.I will spin the bonnet on a microfiber towel to help remove any excess product that may be damp so as not to over saturate the foam bonnet before I will apply any more product to the bonnet, becuase you can and will get to much product on and cause the fibers in the foam to start to pull loose from each other in other words tear.LOL!!
| This image has been resized. Click here to view the full image. The original image is sized %1%2 and weighing %3. |
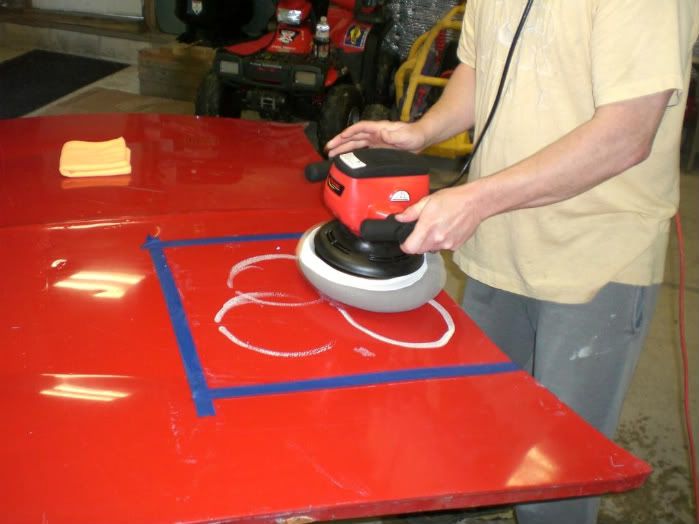
Getting started
| This image has been resized. Click here to view the full image. The original image is sized %1%2 and weighing %3. |
I may have alittle to much product on the bonnet but this is the first time using S.M.A.T (super micro abrasives technology) with a wax spreader and really didn't know how it would react or do so a learning for me, did pretty well no problems at all except don't try to work it in to much go over each area about 4 or 5 times and remove product. I also applied as much pressure as could be (remember this is a orbital and not much pressure can be applied) about 10 lbs if that can't be 100% but trying to get a ball park fiqure.
| This image has been resized. Click here to view the full image. The original image is sized %1%2 and weighing %3. |
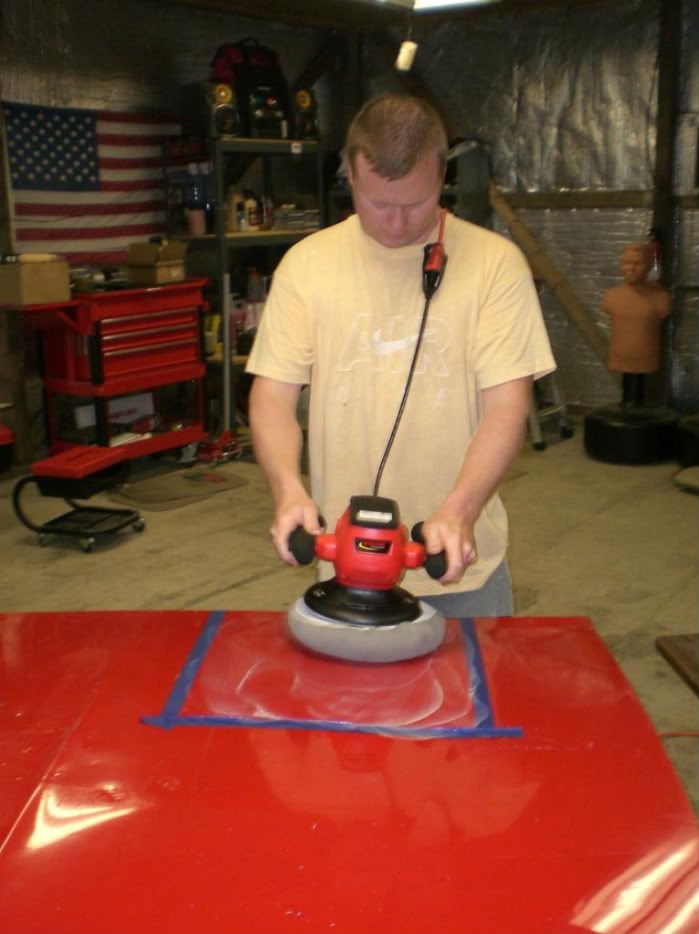
Since I put up T-Bones pic It's only fair I guess.LOL Plus he said I look professional with the cord over my shoulder.
| This image has been resized. Click here to view the full image. The original image is sized %1%2 and weighing %3. |
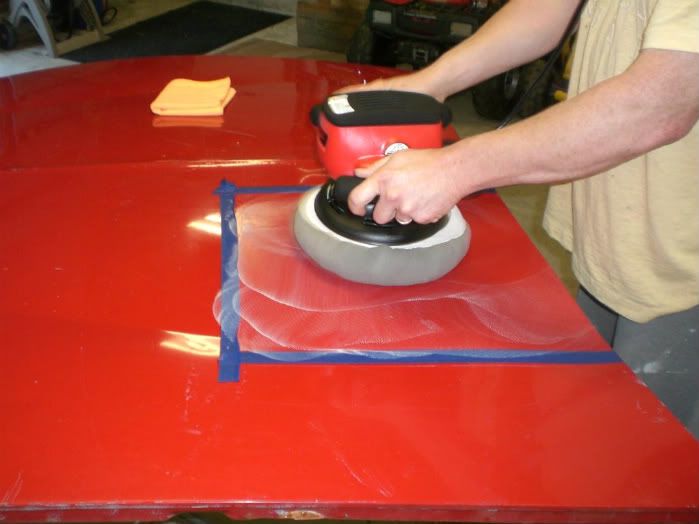
After product spread
| This image has been resized. Click here to view the full image. The original image is sized %1%2 and weighing %3. |
With just one application of UC and the wax spreader it did impress me but you could still see the sanding scratches pretty easy under the light.
| This image has been resized. Click here to view the full image. The original image is sized %1%2 and weighing %3. |
Here's another angle.
| This image has been resized. Click here to view the full image. The original image is sized %1%2 and weighing %3. |
Reflection is great but I'm sure that if out in the sun light the scratches would show up like black on red.
| This image has been resized. Click here to view the full image. The original image is sized %1%2 and weighing %3. |
So applied A 2nd application of the UC.
| This image has been resized. Click here to view the full image. The original image is sized %1%2 and weighing %3. |
Standing back after the wipe down of the removal of the 2nd apllication and the outcome
| This image has been resized. Click here to view the full image. The original image is sized %1%2 and weighing %3. |
Scratches still showing up so now I decided to get out the M105 and a new 10'' foam bonnet to use more aggressive product and see how much it will take to remove the scratches for a clear glossy finish.
| This image has been resized. Click here to view the full image. The original image is sized %1%2 and weighing %3. |
Here's how much product I applied of the M105 to the new 10'' foam bonnet
| This image has been resized. Click here to view the full image. The original image is sized %1%2 and weighing %3. |
My boy wanted to help so here's 3 pics of him applying the 1st application of M105.
| This image has been resized. Click here to view the full image. The original image is sized %1%2 and weighing %3. |
| This image has been resized. Click here to view the full image. The original image is sized %1%2 and weighing %3. |
After he's worked it in.
| This image has been resized. Click here to view the full image. The original image is sized %1%2 and weighing %3. |
And the removal of the 1st application M105
| This image has been resized. Click here to view the full image. The original image is sized %1%2 and weighing %3. |
Applied 1 more applications of M105 and worked in to go over each area 4 to 5 times before removal. Just showing a even coverage of test spot before removal.
| This image has been resized. Click here to view the full image. The original image is sized %1%2 and weighing %3. |
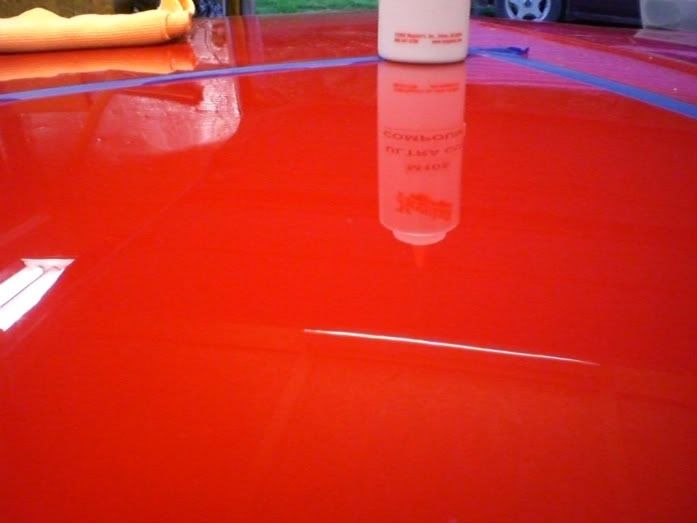
After removal and to show the reflection of the M105 bottle.
| This image has been resized. Click here to view the full image. The original image is sized %1%2 and weighing %3. |
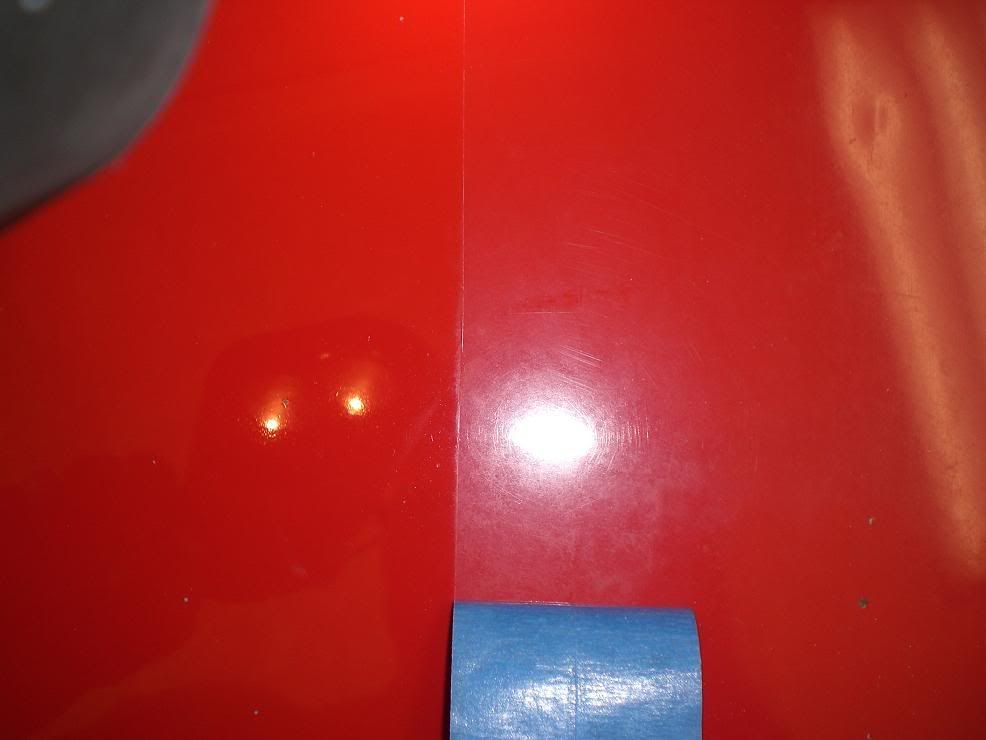
Turned out better then I expected with the glossy reflection and clarity of the test spot that we wet sanded and removed the scratches from the 3000 grit sand paper with my wax spreader.
There were some scratches left in the area to the left of the bird etching against the tape line but the reason being that the edge of the foam bonnets was riding on top of the tape so didn't really get to work in to the finish but the point being is that all the 3000 grit sanding scratches were removed and we did apply more pressure then we normally have while wet sanding because of the years of laying out in the open and not being washed and cared for properly.
Also I did sand through an area right above the the bird poop etching to the right trying to remove some bad etching. Just wanted to let every one know that since this is a very fine sand paper you can still go through the clear, tried to capture the burn through but after about 6 to 9 tries I just couldn't get it.
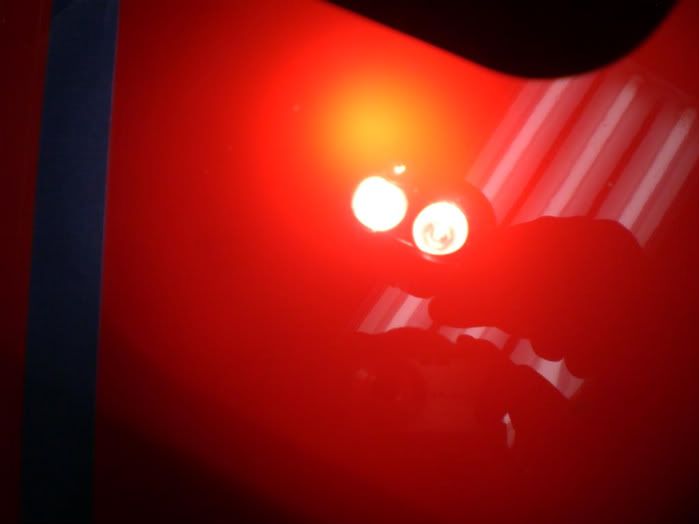
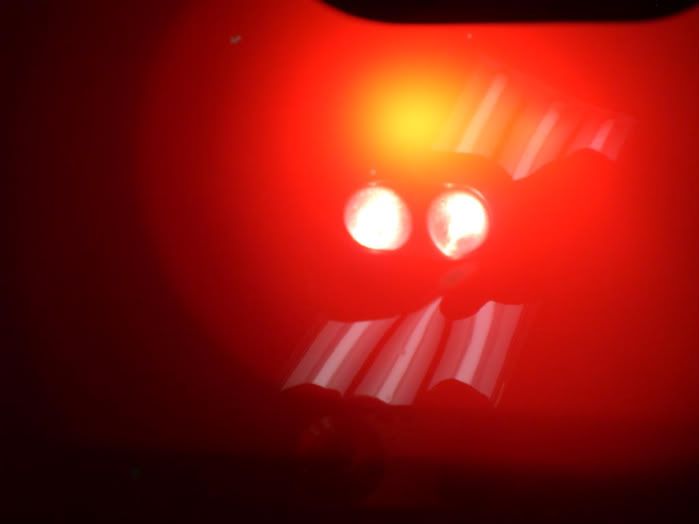
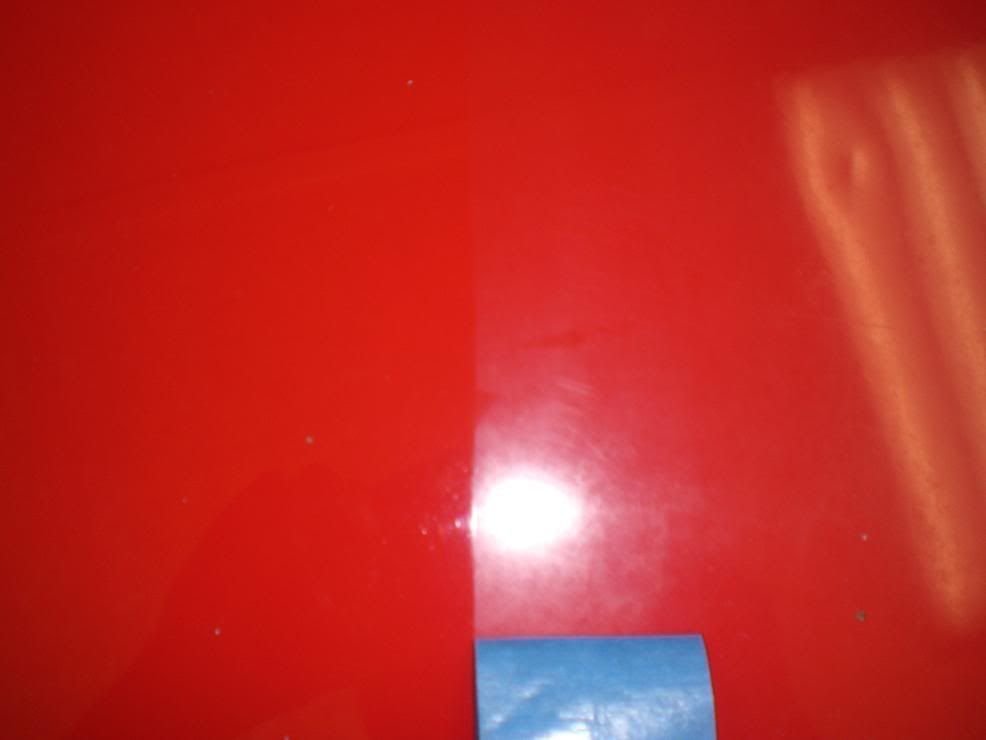
Thought these several pictures of some reflection shots and some using the dual xenon to try to show every angle and that we in fact did remove the sanding scratches. You can also see just in front of the bottle and inbetween the tape and light reflection how bad some of the etching were.
| This image has been resized. Click here to view the full image. The original image is sized %1%2 and weighing %3. |
| This image has been resized. Click here to view the full image. The original image is sized %1%2 and weighing %3. |
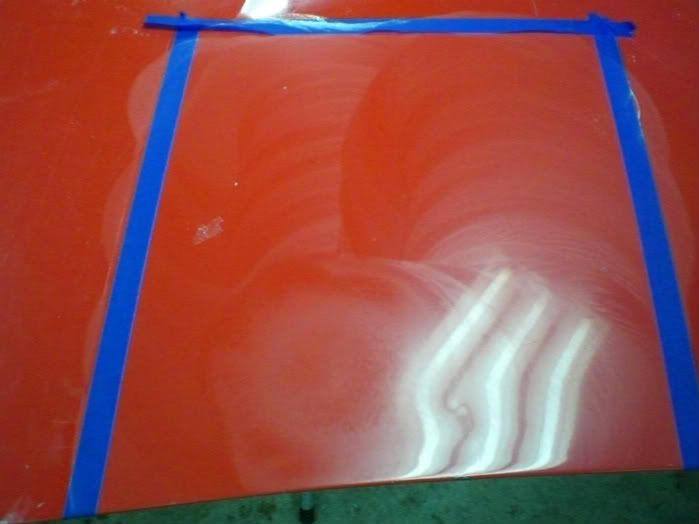
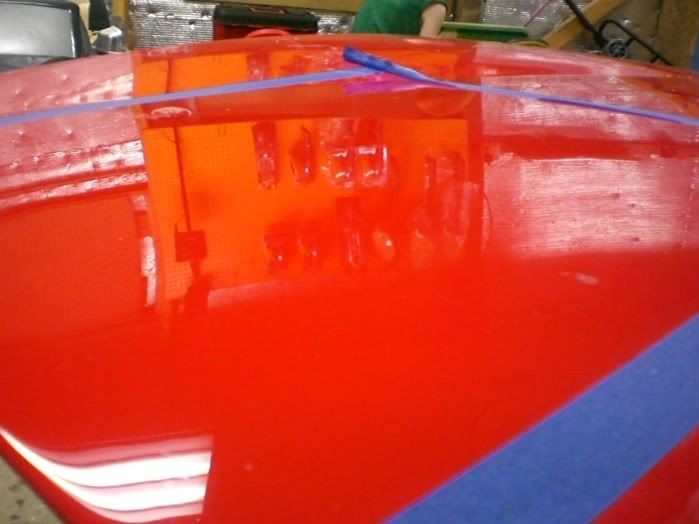
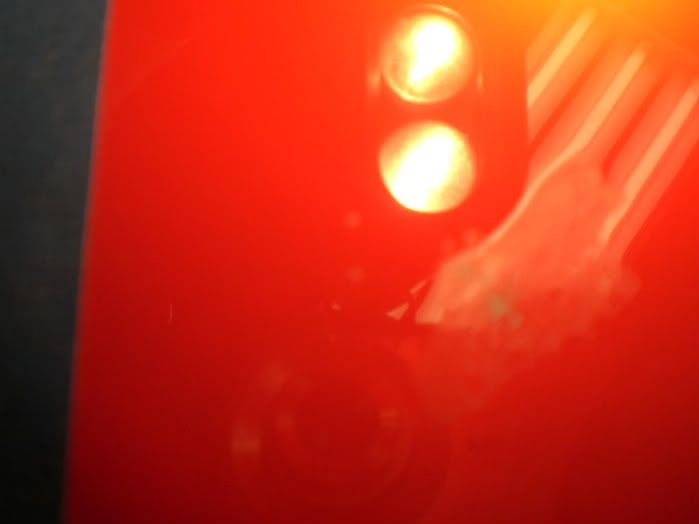
Here's a clarity shot of the over head light on my ceiling. Of course on the left is of the wet sand and on the right un-touched. Also picked this angle shot to show a good up close of the etching over the entire hood
| This image has been resized. Click here to view the full image. The original image is sized %1%2 and weighing %3. |
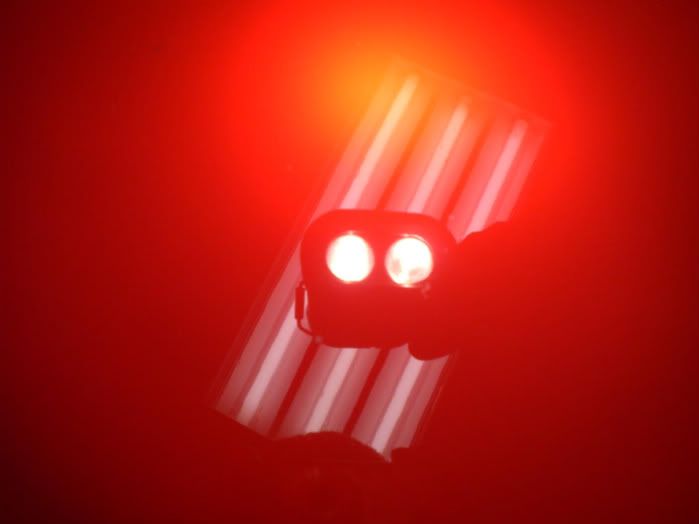
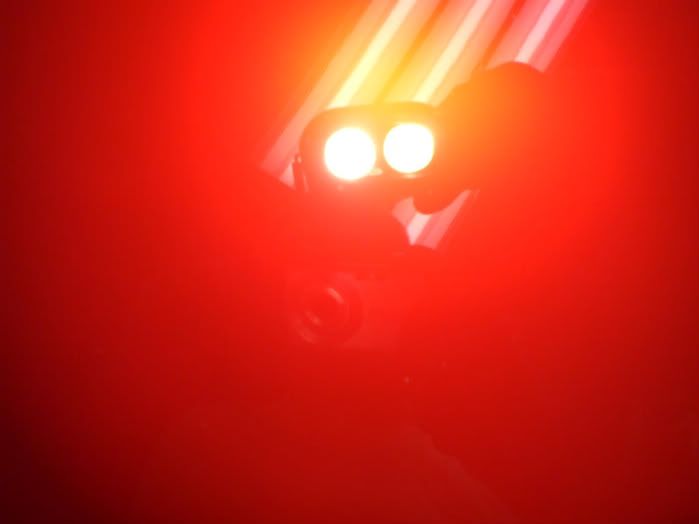
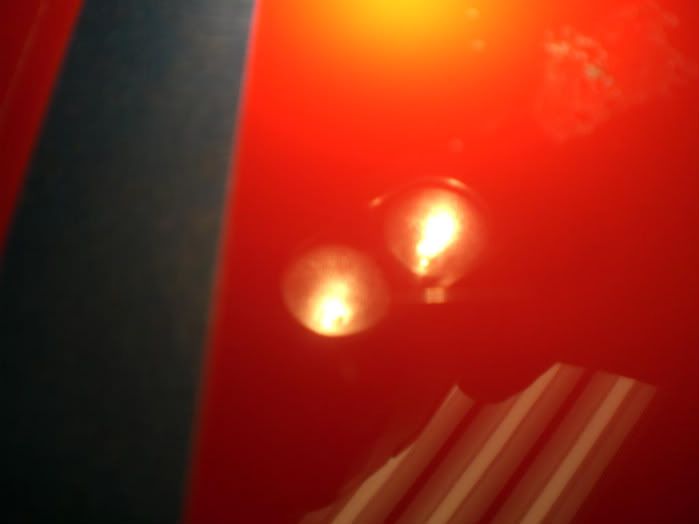
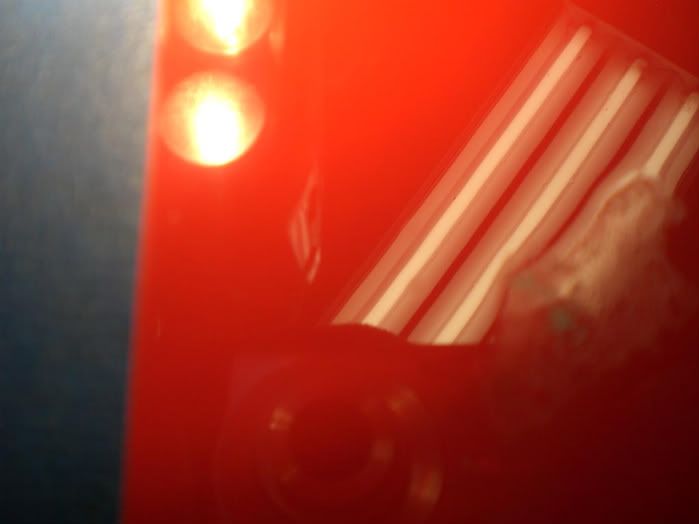
Now some pics with my xenon light.
| This image has been resized. Click here to view the full image. The original image is sized %1%2 and weighing %3. |
| This image has been resized. Click here to view the full image. The original image is sized %1%2 and weighing %3. |
| This image has been resized. Click here to view the full image. The original image is sized %1%2 and weighing %3. |
| This image has been resized. Click here to view the full image. The original image is sized %1%2 and weighing %3. |
| This image has been resized. Click here to view the full image. The original image is sized %1%2 and weighing %3. |
| This image has been resized. Click here to view the full image. The original image is sized %1%2 and weighing %3. |
| This image has been resized. Click here to view the full image. The original image is sized %1%2 and weighing %3. |
| This image has been resized. Click here to view the full image. The original image is sized %1%2 and weighing %3. |
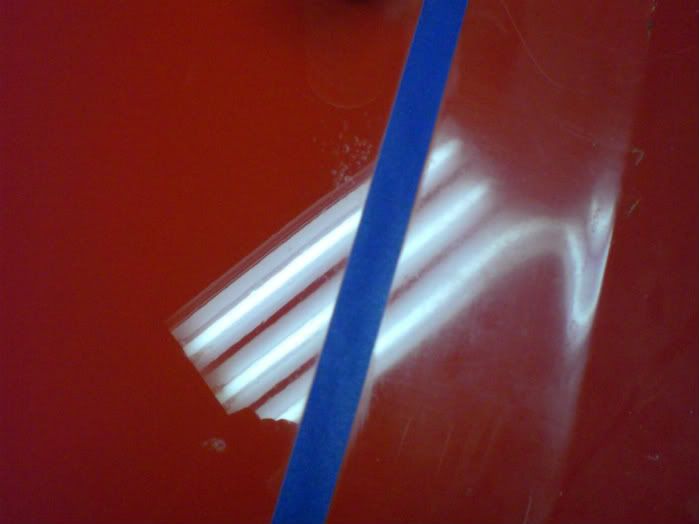
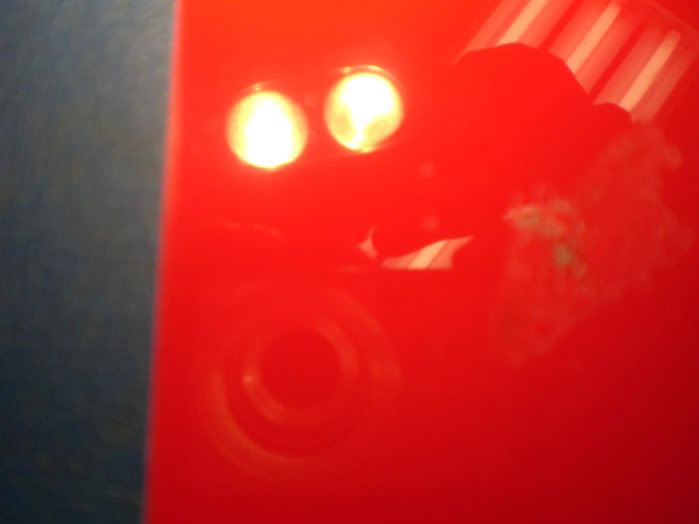
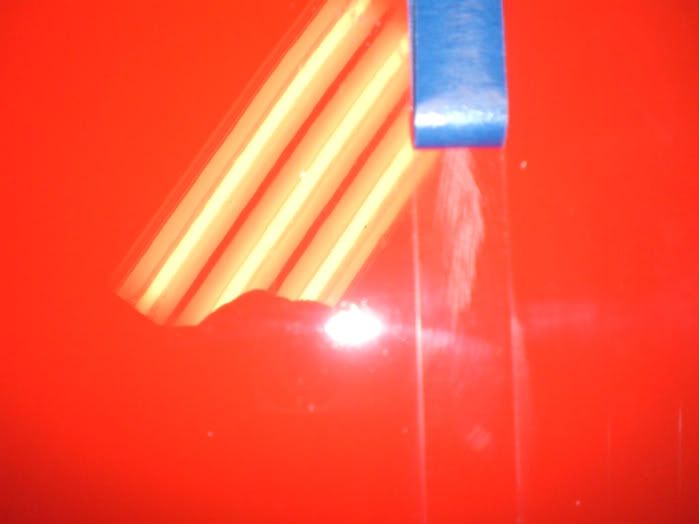
And with some of the tape removed from the test spot to show the difference.
| This image has been resized. Click here to view the full image. The original image is sized %1%2 and weighing %3. |
Thought that since there's so many pics I would bring back the before pic to help with the before & after improvement.
| This image has been resized. Click here to view the full image. The original image is sized %1%2 and weighing %3. |
And after the wet sanding and 2 applications of Ultimate Compound.
| This image has been resized. Click here to view the full image. The original image is sized %1%2 and weighing %3. |
The finish test after the 2 applications of M105
| This image has been resized. Click here to view the full image. The original image is sized %1%2 and weighing %3. |
I maybe have $40.00 or more just for this test to prove what I already know and to help any one out that can't afford to go out and give $150.00 for a PC and other products that is what's needed for being able to do a good job with their paints finish. So if I can remove 3000 grit sand paper scratches with this so called wax spreader you should be able to do a good job too!
So what do you think now?
I've finally done the thread that I've been wanting to do and should prove that it's just not a WAX SPREADER!!!
I hope every one really appreciates this thread because you can't believe everything you read that say's you can't do this or you can't do that! BLA! BLA! BLA!
You don't know what you can do until you try, so go get you a test hood, panels or what every and try it, don't beleive something unless you can prove it or know it for a fact that it's the truth.
 Test Hoods Are Cheap And Most Of The Time Free


Comment