

The main reason we don't recommend using our cutting pads with our DA Polishers is because the foam formula is aggressive enough that with some paint systems when used on a tool that oscillates, the foam can actually haze the paint it's that aggressive. This doesn't happen when you use the same pad and chemical on a rotary and the reason is because when you switch to a rotary you switch to a different type of action.
It's the aggressive characteristics of the foam being moved in an oscillating fashion that causes the haze.
Using a cutting pad with a DA Polisher will remove defects faster but if it dulls the paint down at the same time then that's working backwards and we don't generally teach people to work backwards.
Now a seasoned veteran detailer knows he can simply re-polish the paint with a less aggressive pad and a less aggressive product and remove the haze but not everyone is a seasoned veteran and fact is most people if they see your products hazing their paint don't think things through, they instead get upset with the company and then seek help undoing the damage.
Personally I've worked on a lot of cars in my life and have the good fortune of teaching lots of classes that includes showing people how to remove swirls and scratches with a DA Polisher and in all cases I can either get the job done using a polishing pad, the right chemical and good technique of the defects are deep enough that the owner of the car should learn to live with them or it's time to switch to a more powerful tool.
As for what you can do to get better results?
First understand that Corvettes have a reputation for having very hard paint and most of the Pro Detailers that work on Corvettes with scratches like you show in your car's paint are using rotary buffers to get the deep scratches out as the rotary is faster, more powerful and more effective at removing deep scratches out of harder paints.
If you're not able to use a rotary, and most people are not, the just keep your expectations grounded in reality because a DA polisher has a clutch in it and that's the safety feature everyone loves because it makes the tool save by preventing your from burning the paint and instilling swirls, at the same time it's the clutch that also limits the correction power this tool offers as compared to a rotary buffer.
In other words, in order to remove swirls and scratches you need to remove some paint. When using a DA Polisher, this tool removes paint best when it's rotating the pad against the paint surface, not just vibrating or jiggling. As you increase the pressure to the head of the buffer in an effort to make the tool remove more paint faster, the clutch kicks in and the pad quits rotating and just vibrates or jiggles.
See the problem?
So the trick to getting the best results using a DA polisher on a car with bad swirls and scratches AND hard paint is to shrink the size of your work area down and focus on using perfect technique.
If you read through this it goes over everything technique you need to perfect in order to maximize the cleaning or abrading ability of the DA Polisher. It starts by listing the most common mistakes people make followed by the remedies for these mistakes.
How To use: G110 - G220 - G100 - PC/Porter Cable - UDM
If you're moving up to machine polishing, be sure to read the below thread before starting...
Tips & Techniques for using the G110, G100, G220 and the PC Dual Action Polisher
(These are all similar tools)
The above thread was posted in 2007 and the very first remedy listed is just as appropriate the day it was posted as it is today in reference to working on your Corvette. Here's the first remedy from the above article.
1) Shrink your work area down
The harder the paint the smaller the area you can work. The average area should be about 16" by 16" up to 20" by 20" or so. You have to do some experimenting, (called a Test Spot), to find out how easy or how hard the defects are coming out of your car's paint system and then adjust your work area to the results of your Test Spot.
The harder the paint, the deeper the defects the smaller the area you want to work. 16" by 16" is pretty small for a pad that's 6" in diameter, but if you're using good technique then you've overlapping your passes by 50% so that gives you a working width of approximately 3" and then a 16" to 20" squarish area is doable.
The above is one tip/technique that you can try with a more aggressive product like either the M105 or the Ultra Compound.
Besides the above, it's also important to point out that for the deeper scratches, you are more effective to work these out by hand than by machine because you can exert more pressure to a small area with your four fingers pushing down on an applicator pad than you can by applying pressure over the entire face of a 6" pad.
This is covered in detail in the threads this link will take you to as removing Random Isolated Deeper Defects is a common problem and the problem starts with education. That is explaining that because modern clear coat paints are harder than traditional single stage paints and quite frankly harder than most people understand as they venture into working on these modern clear coat paints, that circling back to the clutch feature of the DA Polisher, because if you push too hard on the tool the pad will quit rotating, but with your hand you can push pretty hard and keep pushing as long as you have the perspiration.
Here are the threads, they are all tagged with the word exert
And here's proof the human hand is better and more effective for removing random, deeper defects over the DA Polisher.
Scratch Removed using Ultimate Compound
The below pictures were taken during the first Saturday Class for 2009 and the thread for that class can be found by clicking the link below.
Pictures from the first 2009 Saturday Open Class!
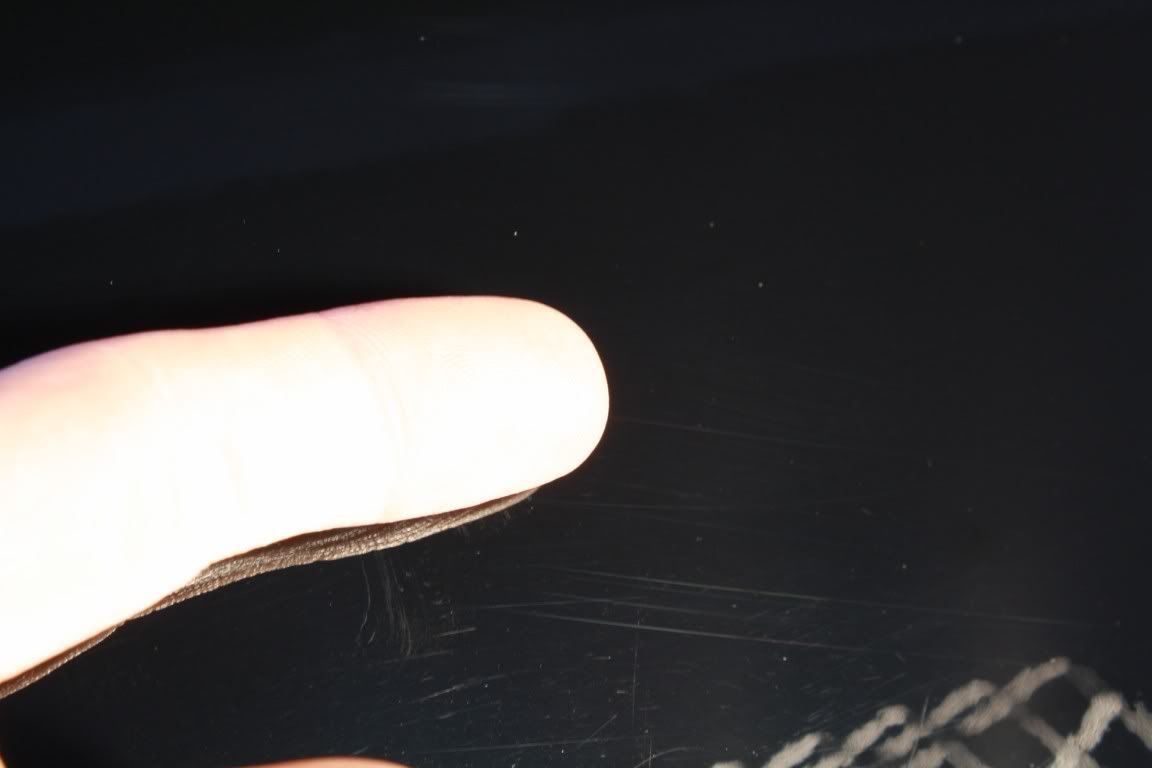
It's pretty common to pick up isolated, random scratches in your car's finish over time, especially if your car is a daily driver. Here's an example from one of our recent Saturday Detailing Classes here at Meguiar's where we used the new Ultimate Compound to remove about 98% of scratch right wear your eyes would see it everyday, right above the door handle.
Deep Scratch just above the door handle - Original resized to 800 pixels wide after cropping

These are all original shots, the photos have not been resized, the portion shown was cropped out of the original.
Before

After 3 applications of Ultimate Compound

After a few more applied by the owner

Also, those results were before any wax or any other product was applied. What you see is just the results of Ultimate Compound hand applied using a clean, soft foam applicator pad.

How To Remove a Bird Dropping Etching by Hand using M105 Ultra Cut Compound
Below is the real-world pictures captured at a recent Saturday Class here at Meguiar's where we used M105 Ultra Cut Compound to quickly and easily remove the etching left by a bird dropping. There were two very blatant etchings on the hood of this Chrysler and as part of a demonstration on technique, we demonstrated both ScratchX and M105. The results were that both product worked but the M105 worked faster with less work and produced better results.
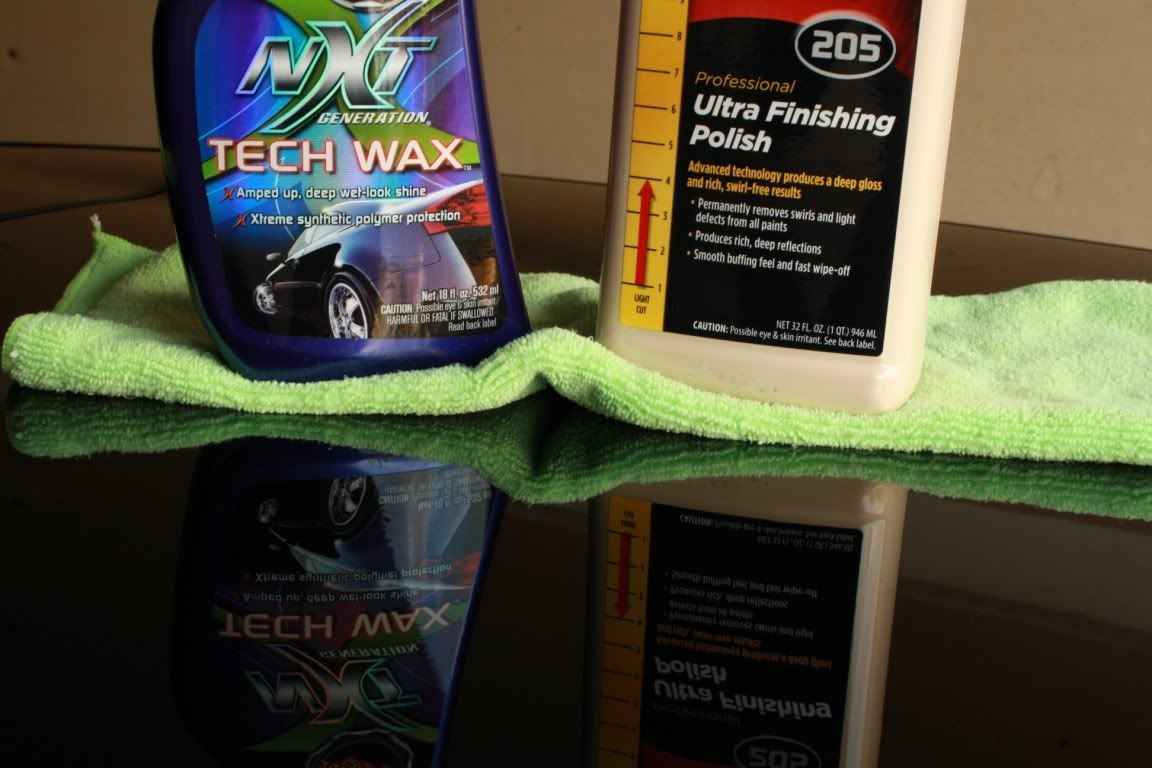
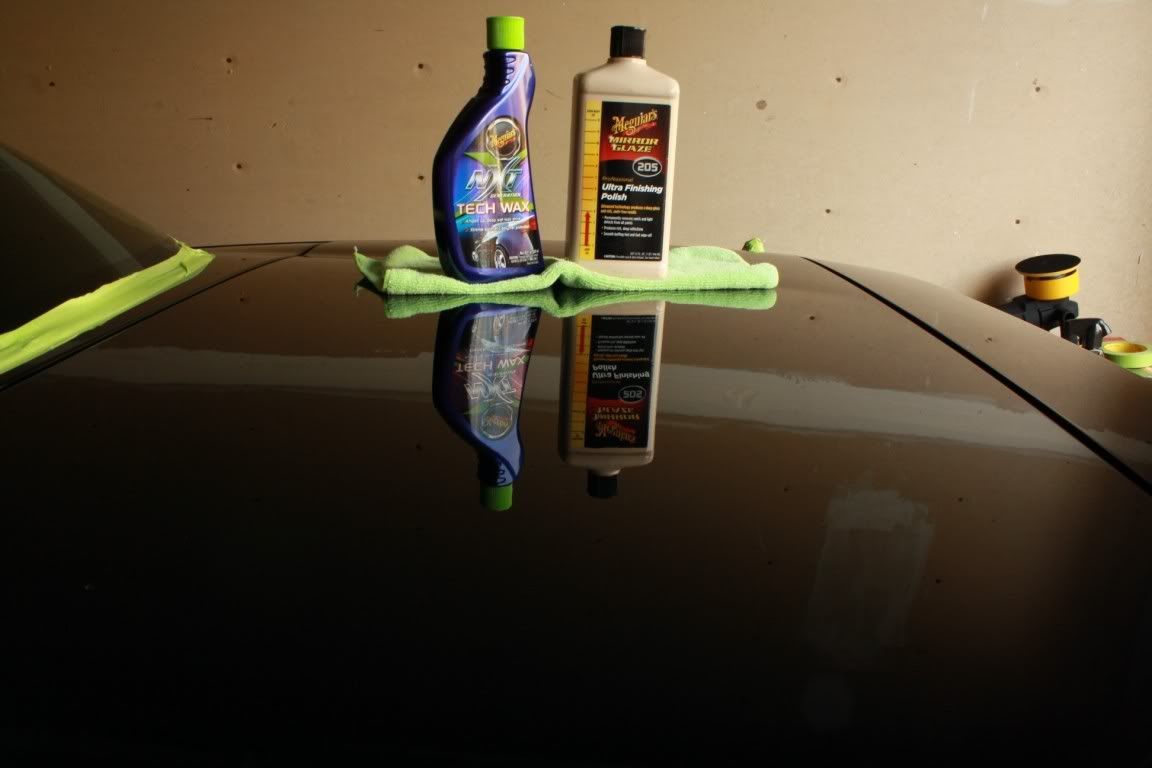
Here are the products we used,
M105 Ultra Cut Compound
ScratchX
Soft Foam Applicator Pads
Supreme Shine Microfiber Polishing Cloths
Taken from this thread...
Open Class - Pictures & Comments - June 28th, 2008
Here's some before & after pictures of two bird dropping etchings we removed by HAND
The first one we removed by hand using M105 Ultra Cut Compound, the second one we removed by hand using ScratchX.
The results were both amazing but what most people found interesting was the M105 removed 99.9% of the defect with one application while ScratchX removed about 95% of the defect with 3 applications.
ScratchX also required more "Passion behind the pad" for each application while M105 required some passion to engage the product with the paint but nowhere near as much pressure or as much time.
First we'll frame up the shot so you can see the car and where the bird dropping etchings were. The etching being pointed to is the one we removed using M105 and just to the left of that spot is the bird dropping etching we removed using ScratchX
Except for the first picture, all the rest are original photos, no touch-up work at all was done to them. Some were cropped and resized but that's just so they will fit on your monitor.


The finish overall is swirled-out but Bob's going to put his new learned skills and knowledge to work to restore a show car finish for his wife!

M105 Before


M105 After


ScratchX Before

ScratchX After


Both work if you work them but it was very apparent that for removing below surface defects by hand M105 Ultra Cut Compound was the hands-down winner.
And the reason you can remove RIDS by hand faster than with a DA Polisher besides the clutch issue is because when you work by hand you're able to exert more pressure to a smaller area which enables you to remove paint faster as long as you're using a quality abrasive product with good technique.
This applicator pad shows you the more isolated and directed pressure when working by hand because the pigment accumulated mostly where your fingers are pushing.
But note that when you're working on a clear coat finish by hand in the same way, you're still removing paint as shown in the above picture but because it's clear your eyes can't see it.
Summary
You should be able able to remove the majority of the more shallow to medium depth swirls and scratches using a DA Polisher with either M105 or Ultimate Compound. For the deeper defects, if your car care goal is to remove them and you understand that after you do all this correction work on your car's paint you'll have to take ownership of the car washing process or the swirls and scratches will just show up again, then you can go after the RIDS Random Isolated Deeper Scratches by hand.
Note that removing all the lighter swirls and scratches will make all the deeper swirls and scratches show up like a sore thumb to your eyes. You have a limited amount of clear paint covering the basecoat paint and all the UV protection for the basecoat is in the clear coat, so the more clear coat your remove the less protection for the basecoat you have for the service life of the car.
That's why if your car is a daily driver it's usually a better choice to remove the light swirls and scratches and learn to live with the deeper scratches. If your car is a Garage Queen and you personally maintain it including do all the washing and waxing, then this type of car would be a good candidate to remove all the RIDS and create a true show car finish on.
There's a more advanced technique for removing RIDS called Feathersanding but it requires the ability to wet-sand and use a rotary buffer and high quality finishing papers like Meguiar's Unigrit Finishing Papers.

Experience helps a little too. Below are some pictures from a Side-by-side, before & after demonstration we did for the 2002 Bimmerfest in Santa Barbara.
First we used a rotary buffer to buff out one half of the car and remove all of the light scratches. Next, we took little postage size stamps of Nikken Finishing Paper and sanded each individual scratch till it had been removed. Next, we used a compound to remove my sanding marks. The results were a scratch-free flawless finish on a 1991 e34 BMW M5.
How To Remove Random Isolated Deeper Scratches using the Feather Sanding Technique
Before

We compounded the entire finish before starting the below process to remove the shallow scratches and expose the deep scratches.
Process


Random, Isolated, Deeper Scratches, (RIDS), can be removed, but it is an advanced technique that takes skill, patience and the right products to accomplish successfully. (A little luck helps too!)
Hope all that helps?


Leave a comment: