

 Tweet
Tweet
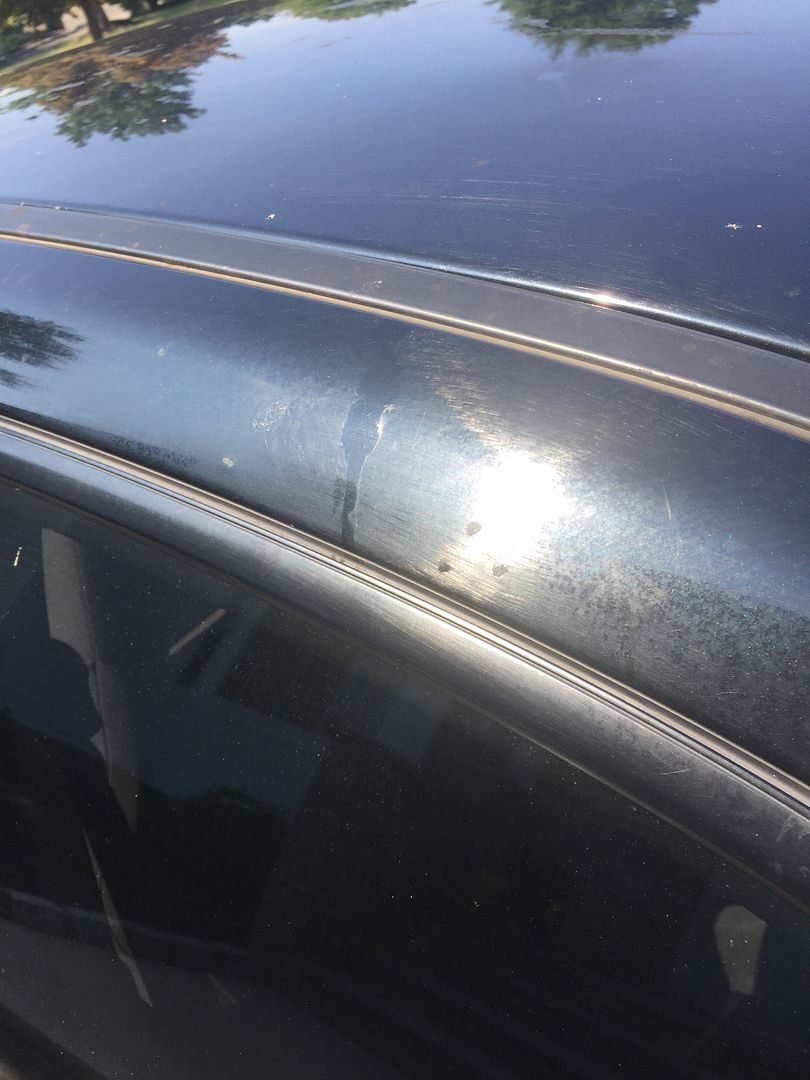
What Happened: The house where my car was parked earlier this summer was egged, naturally the side right above where my car was sitting 
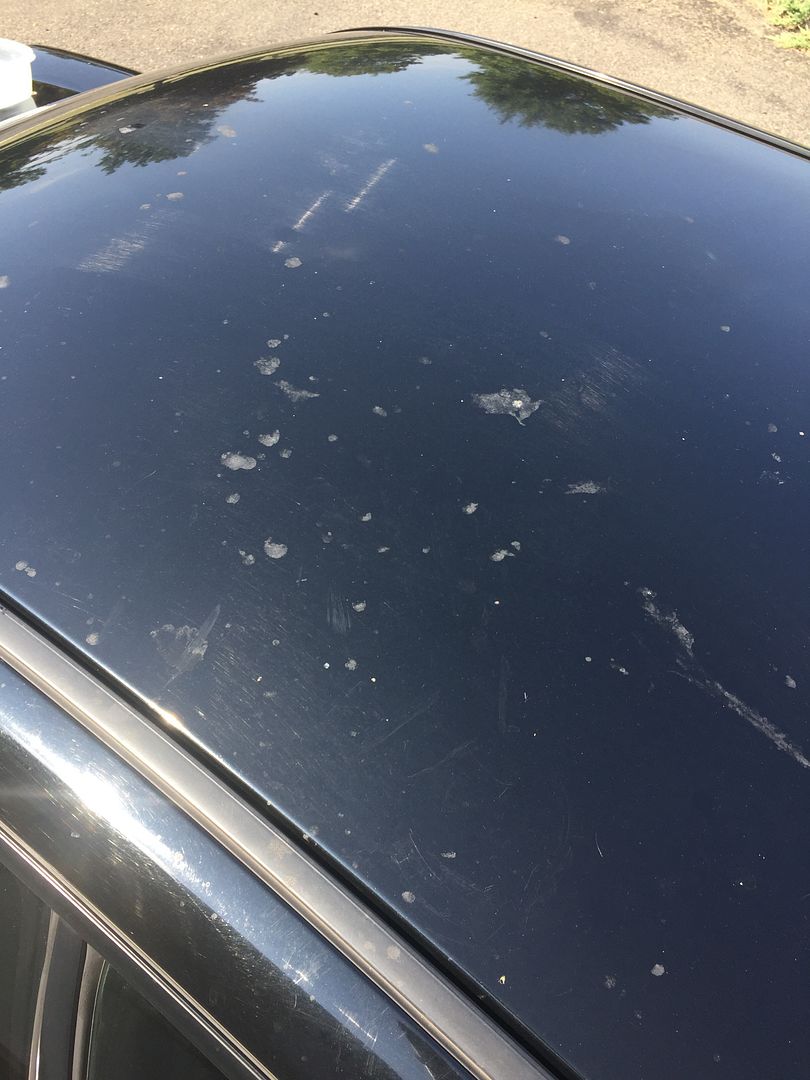
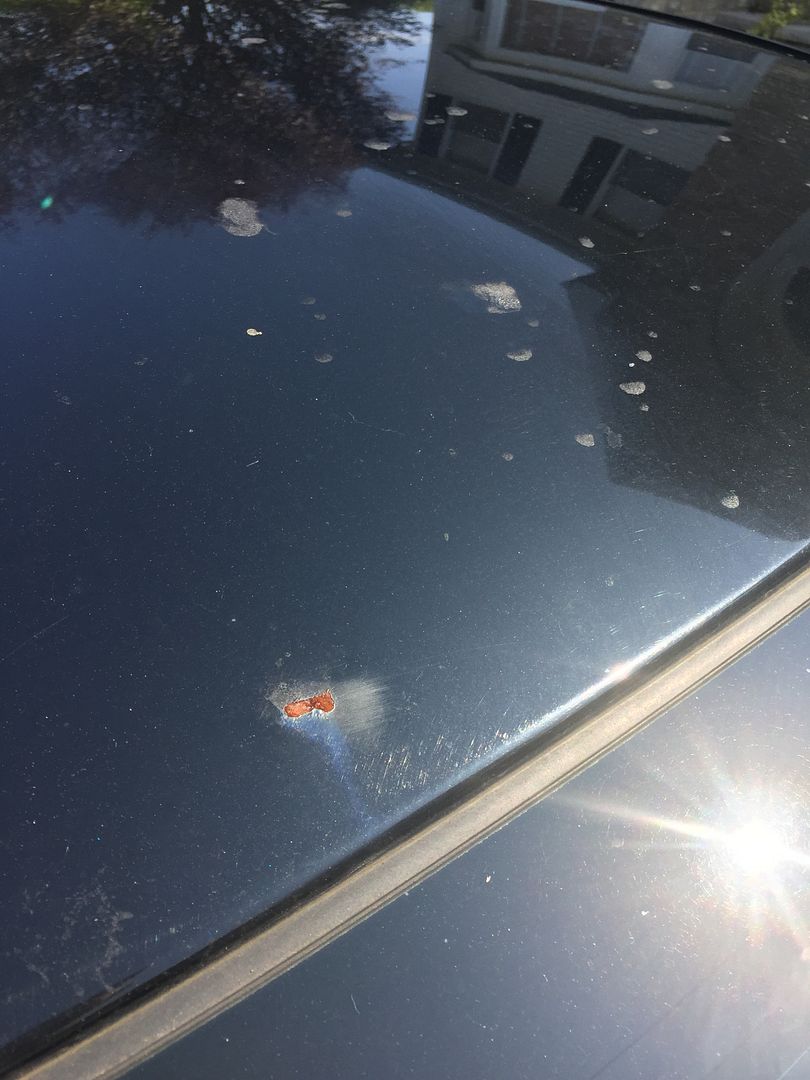
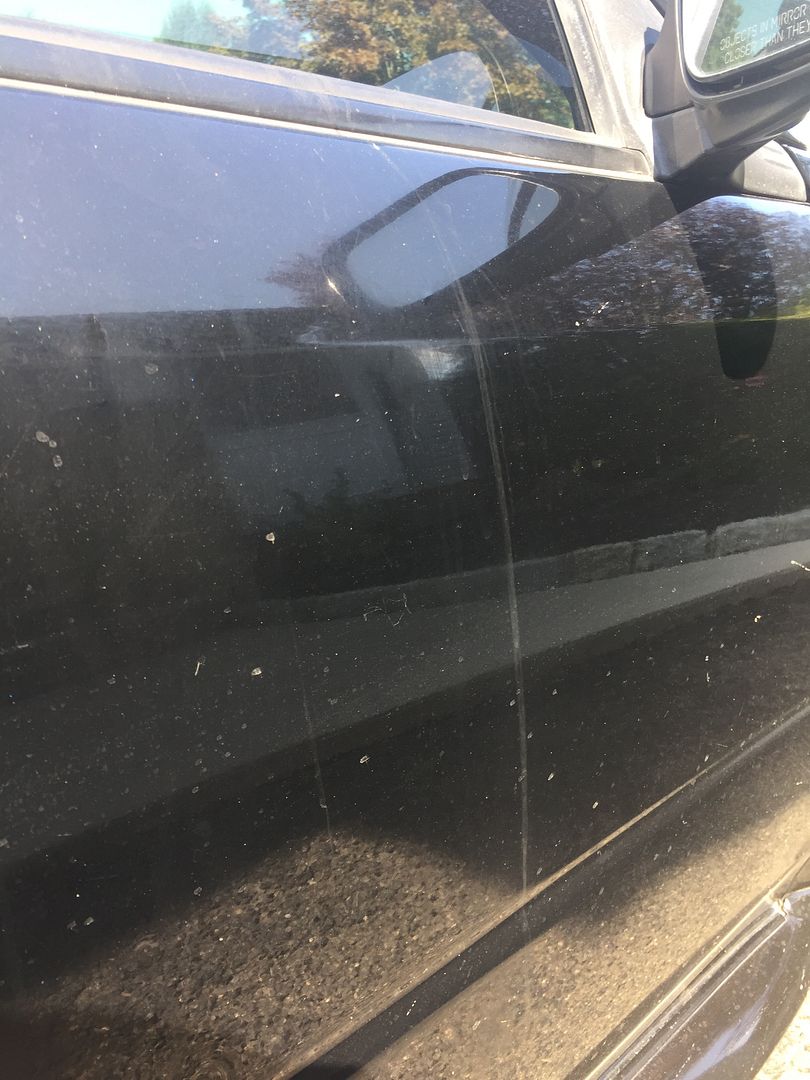
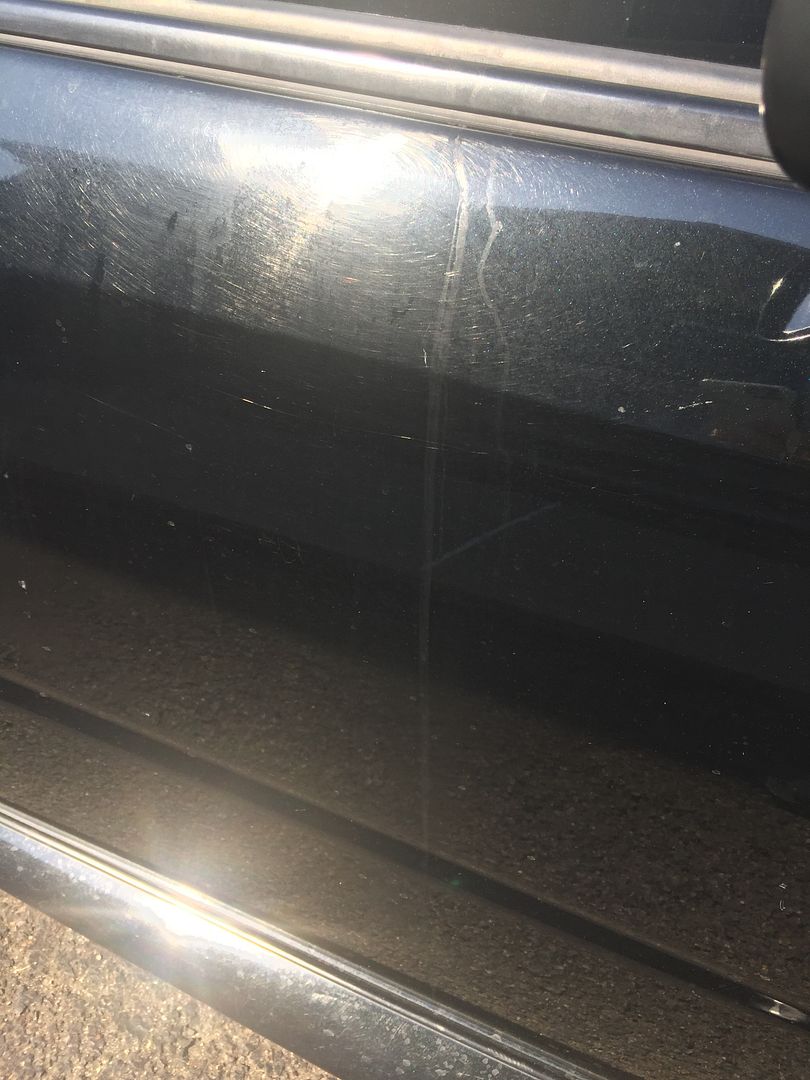
Status: While there was no impact damage from egg shells like in most egging cases, it's clear that over the summer the egg that dripped off the house onto my car seriously ate through the clear coat. The roof got the worst of it, while the side panels and hood have moderate etching as well.
I've come to terms that the roof needs to be resprayed professionally, but as for the sides I feel like the etching can be corrected with some serious compounding (maybe wetsanding since I don't have much to lose). I was thinking hitting the car with an aggressive detailing clay, M105/M205 with a heavy cut pad, a finishing polish, then application of wax/sealant.
Just wanted to get some opinions on how you guys would go about attempting such a process and what tools/products you would use.
Pictures (If you guys want more detailed ones I can provide them)
Roof:

Sides:
Hood/Close Up:


NOTE: With the paint in the condition it is, I have fully accepted the fact a total respray is most likely going to have to happen. However, I'd like to at least give the paint correction a shot since I don't have much to lose.
Status: While there was no impact damage from egg shells like in most egging cases, it's clear that over the summer the egg that dripped off the house onto my car seriously ate through the clear coat. The roof got the worst of it, while the side panels and hood have moderate etching as well.
I've come to terms that the roof needs to be resprayed professionally, but as for the sides I feel like the etching can be corrected with some serious compounding (maybe wetsanding since I don't have much to lose). I was thinking hitting the car with an aggressive detailing clay, M105/M205 with a heavy cut pad, a finishing polish, then application of wax/sealant.
Just wanted to get some opinions on how you guys would go about attempting such a process and what tools/products you would use.
Pictures (If you guys want more detailed ones I can provide them)
Roof:
Sides:
Hood/Close Up:
NOTE: With the paint in the condition it is, I have fully accepted the fact a total respray is most likely going to have to happen. However, I'd like to at least give the paint correction a shot since I don't have much to lose.


Comment