

 Tweet
Tweet
Well, I thought I would start posting some updates since it has been a while.
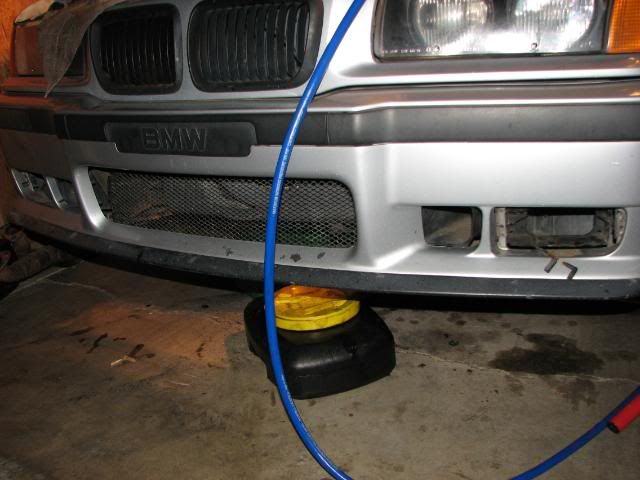
First off, the car is up on jack stands right now in my garage, waiting for me to find a CHEAP set of rollers for it. Until than, I thought I would do some minor work. I started off doing a simple cleaning on the inside and out first with a wash since at the time I had no money to do anything else (or to even afford the tools to start working on it!)

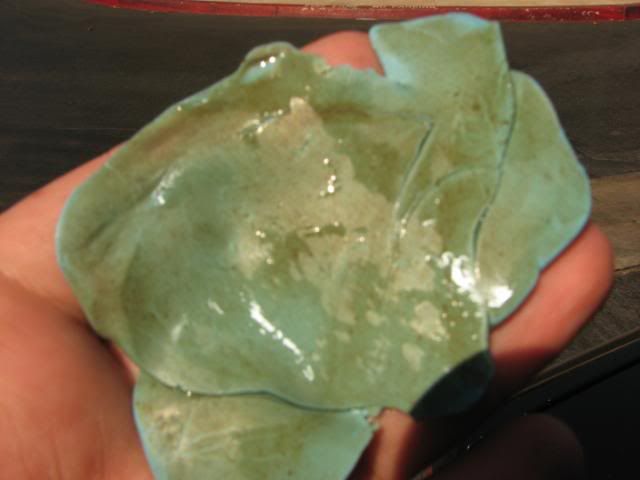
It gets better. I then went ahead and started to clay the car. After doing JUST the top of the trunk, this is what the clay looked like:
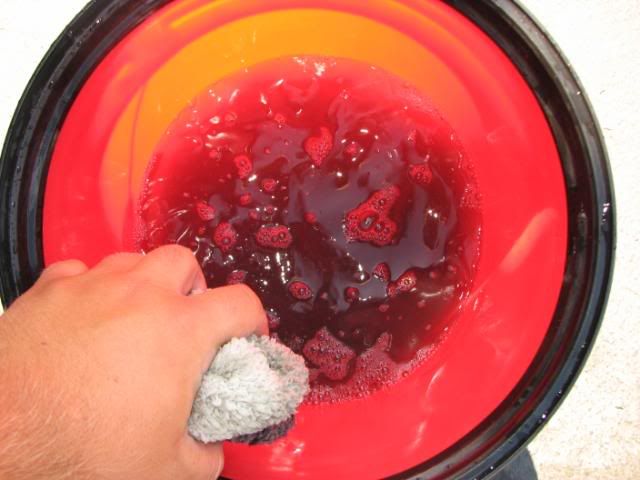
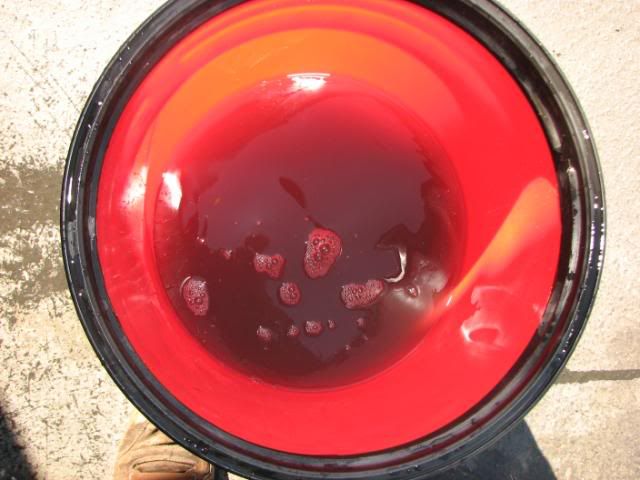
YIKES! I finished claying the the outside and just left it. I than went to the inside! I started by vacuuming out all the broken glass and random bits that had been collecting in the car after it sitting for 2 years. After this, I went ahead with using Mr. Clean's Magic Eraser. This thing is simply awesome if you haven't tried it, though I still prefer a good all purpose cleaner in place of it. Seeing that I don't have anymore APC, this worked great. Look how dirty the water got from just the eraser after I already cleaned it out after the wash!
But now, the interior is all nice and clean!
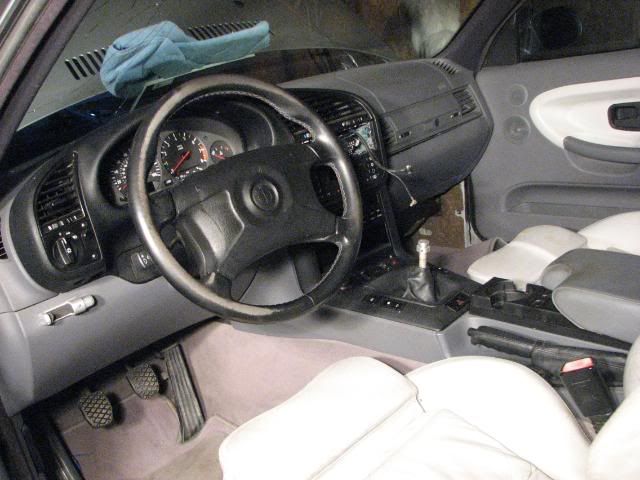

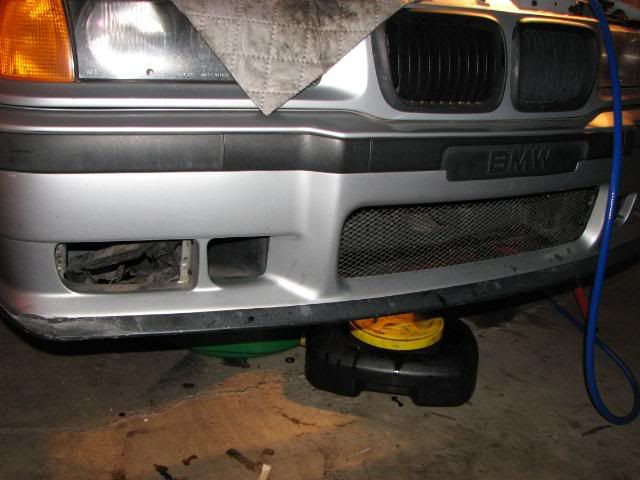
I didn't take pictures of it, but the stitching on the steering wheel is all nice now and the leather all has a nice matte finish to it! Also took off those ugly fog lights so now they are just empty holes.
Now I did all this a few weeks ago, so now onto the stuff I just go done!
As you can see here, I finally go the fan out.
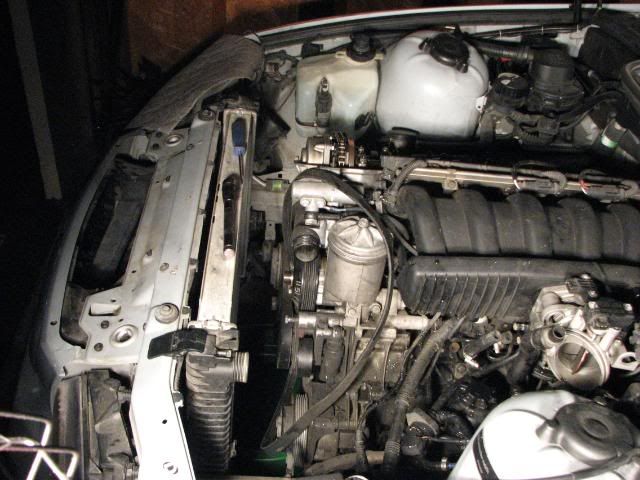
Next, the radiator comes out. I also finally got the Bently for it as you can see with that 2 ton (I mean inch!) book sitting on the intake!

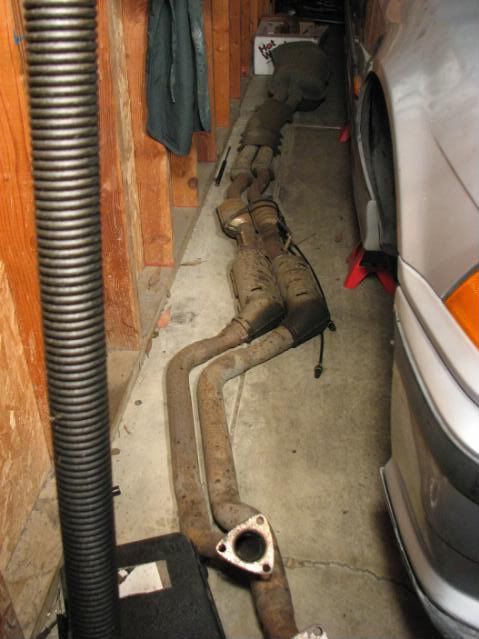
And after many hours and trips to Sears, the exhaust is out! It almost dropped right on me too! I had the last nut halfway off the thread, when SNAP, the stud broke and the front of the exhaust fell right on the floor! Someone had already undone the midsection bracket without me knowing so it was only being held onto the car now by the muffler. Luckily I wasn't underneath it. After all that fun, it is finally out. I guess if anything this gives me an excuse to get some headers!
After some help from my friend, I took out the cams only to brake my cheap 1/4inch wrench that came with my compressor! I ended up taking out my Gator socket, and snapped it to my 3/8s to finish the job. I don't recommend this tool as it will easily strip bolts and isn't really too easy to use, but it sure did save me another trip to Sears! After that, the head is finally off!!!
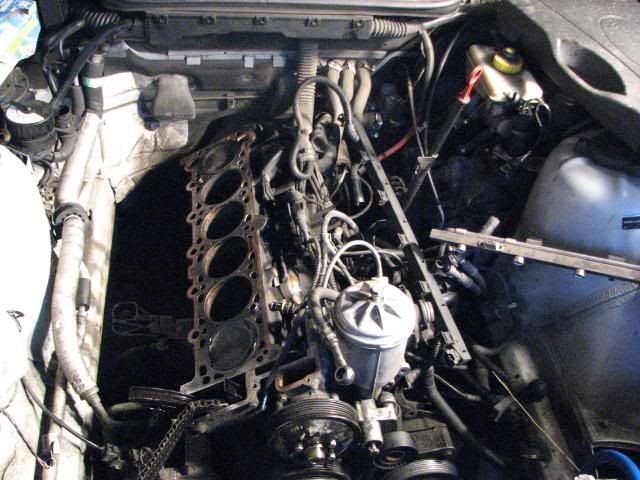
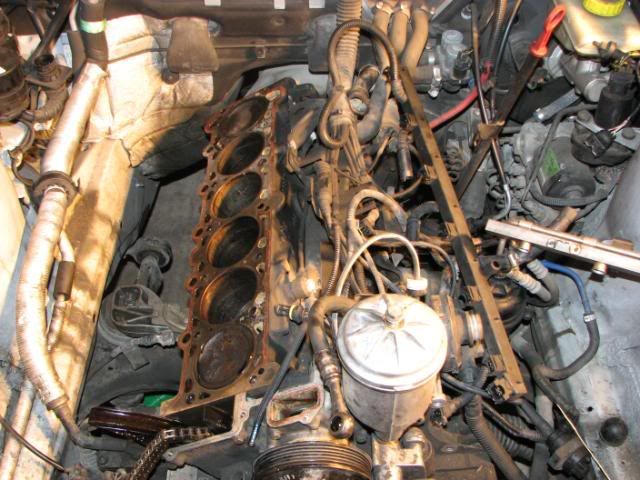
Now to see the damage from the PO overheating it. The techs that worked on it recommended a new engine in the paperwork 2 years ago after a quick inspection, so let's see! Block first:
Overall, not bad so far! Lots of carbon build up, but amazingly no score on the cylinder walls which means the bottom end seems to be still good! I will end up rebuilding it anyways, but so far this is good news! Now the head:
Now I didn't see any cracks!!! I was SUPER stocked which means that I may just get away with getting it machined down and new gaskets! A few things concerned me though after cleaning it:
Now it may be hard to tell, but I can't tell if this is head warpage or if it is just foreign build up from the overheat. It seems to scrape off with some work, but knowing aluminum, it could be bits of head that 'bubbled' up. In a few months I will have enough dough to bring it to a machine shop to have them tell me for sure.
Also curious if anyone could let me know what these two 'ducts' are for. They are the two ones on both sides of the block, with the second half hidden behind the wire covering:

And of course, we have all the scrap that will be either used as 'cores' for new parts, or scraps:
And the rest:
Here is the 5 sitting out in front of my garage with the M3 hidden behind her
First off, the car is up on jack stands right now in my garage, waiting for me to find a CHEAP set of rollers for it. Until than, I thought I would do some minor work. I started off doing a simple cleaning on the inside and out first with a wash since at the time I had no money to do anything else (or to even afford the tools to start working on it!)
It gets better. I then went ahead and started to clay the car. After doing JUST the top of the trunk, this is what the clay looked like:
YIKES! I finished claying the the outside and just left it. I than went to the inside! I started by vacuuming out all the broken glass and random bits that had been collecting in the car after it sitting for 2 years. After this, I went ahead with using Mr. Clean's Magic Eraser. This thing is simply awesome if you haven't tried it, though I still prefer a good all purpose cleaner in place of it. Seeing that I don't have anymore APC, this worked great. Look how dirty the water got from just the eraser after I already cleaned it out after the wash!
But now, the interior is all nice and clean!
I didn't take pictures of it, but the stitching on the steering wheel is all nice now and the leather all has a nice matte finish to it! Also took off those ugly fog lights so now they are just empty holes.
Now I did all this a few weeks ago, so now onto the stuff I just go done!
As you can see here, I finally go the fan out.
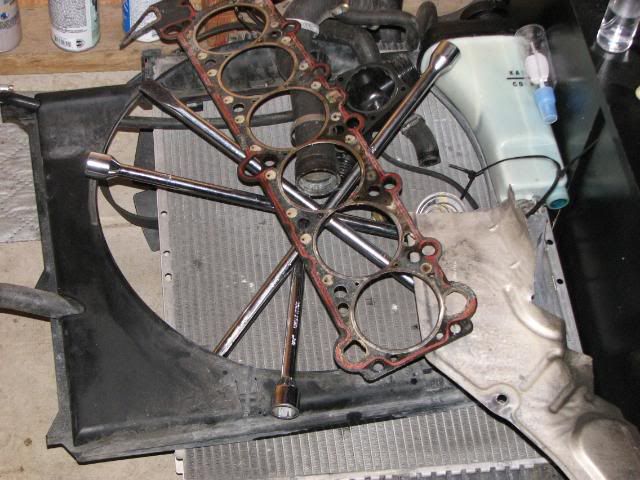
Next, the radiator comes out. I also finally got the Bently for it as you can see with that 2 ton (I mean inch!) book sitting on the intake!
And after many hours and trips to Sears, the exhaust is out! It almost dropped right on me too! I had the last nut halfway off the thread, when SNAP, the stud broke and the front of the exhaust fell right on the floor! Someone had already undone the midsection bracket without me knowing so it was only being held onto the car now by the muffler. Luckily I wasn't underneath it. After all that fun, it is finally out. I guess if anything this gives me an excuse to get some headers!
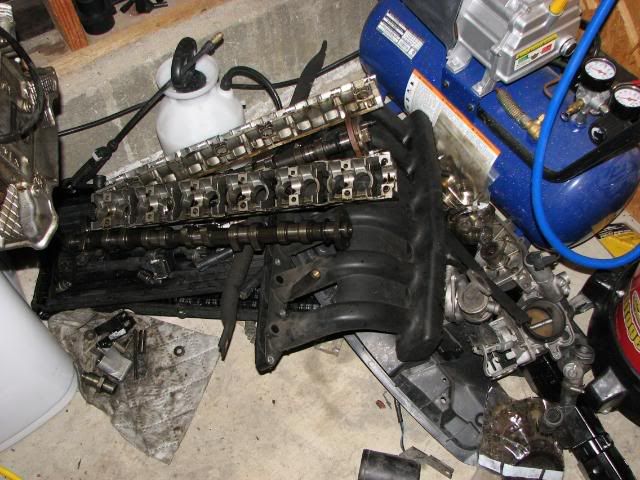
After some help from my friend, I took out the cams only to brake my cheap 1/4inch wrench that came with my compressor! I ended up taking out my Gator socket, and snapped it to my 3/8s to finish the job. I don't recommend this tool as it will easily strip bolts and isn't really too easy to use, but it sure did save me another trip to Sears! After that, the head is finally off!!!
Now to see the damage from the PO overheating it. The techs that worked on it recommended a new engine in the paperwork 2 years ago after a quick inspection, so let's see! Block first:
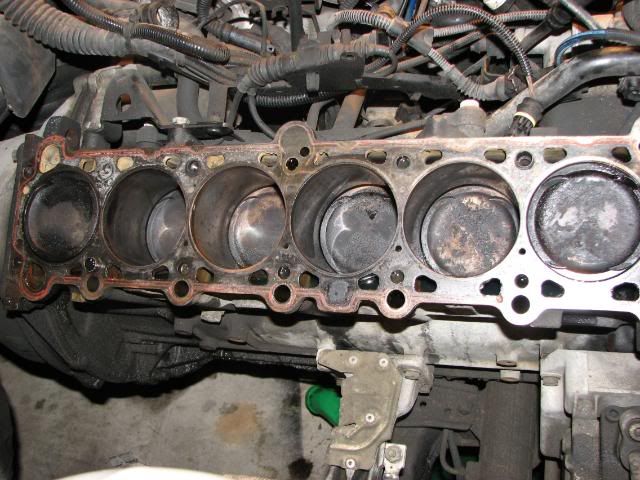
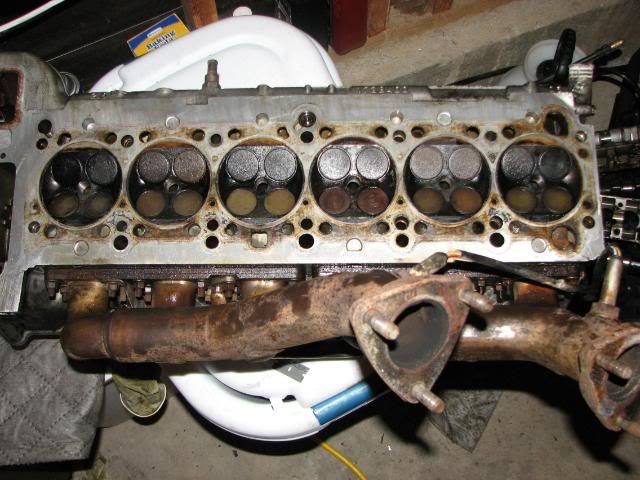
Overall, not bad so far! Lots of carbon build up, but amazingly no score on the cylinder walls which means the bottom end seems to be still good! I will end up rebuilding it anyways, but so far this is good news! Now the head:
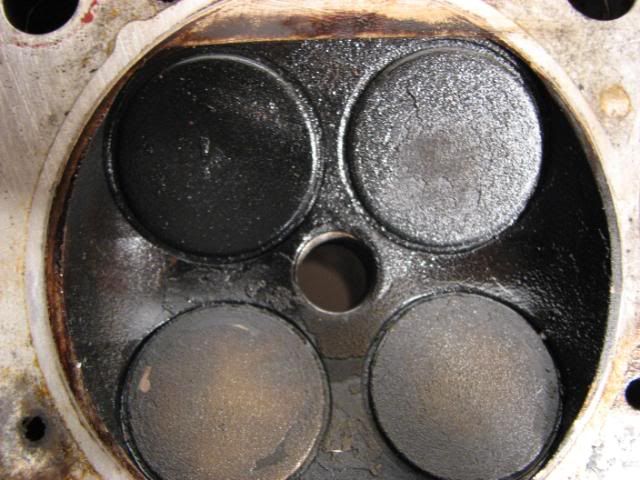
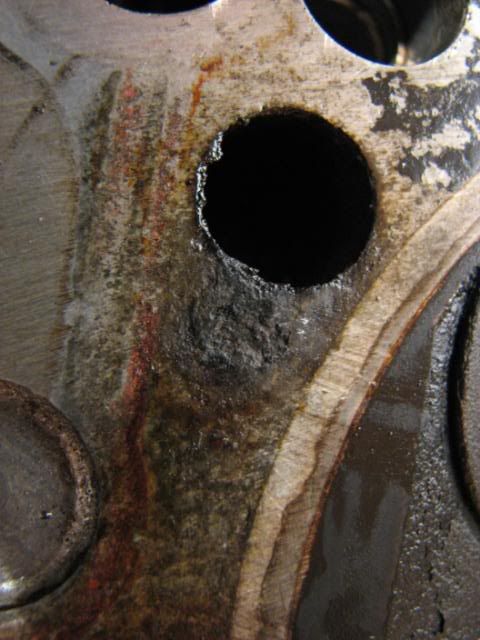
Now I didn't see any cracks!!! I was SUPER stocked which means that I may just get away with getting it machined down and new gaskets! A few things concerned me though after cleaning it:
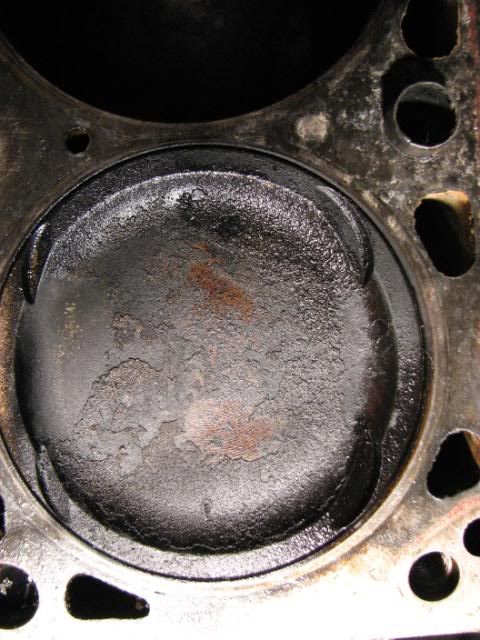
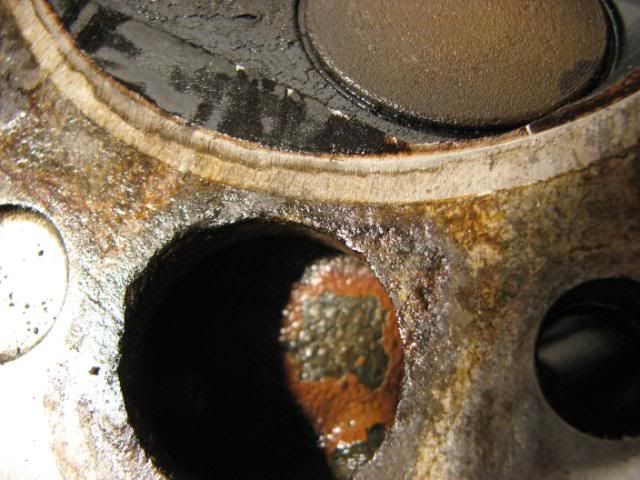
Now it may be hard to tell, but I can't tell if this is head warpage or if it is just foreign build up from the overheat. It seems to scrape off with some work, but knowing aluminum, it could be bits of head that 'bubbled' up. In a few months I will have enough dough to bring it to a machine shop to have them tell me for sure.
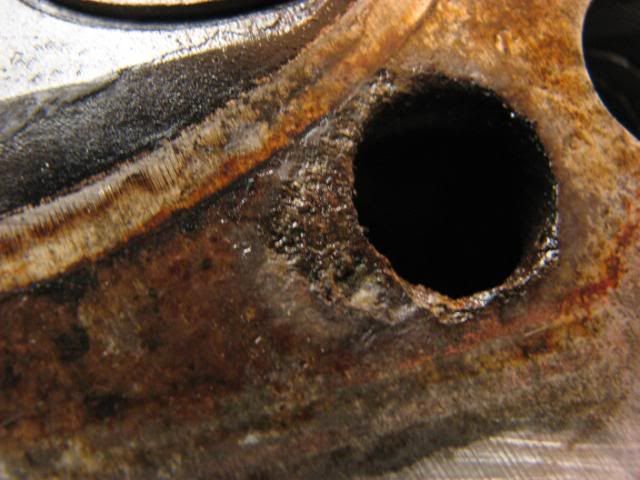
Also curious if anyone could let me know what these two 'ducts' are for. They are the two ones on both sides of the block, with the second half hidden behind the wire covering:
And of course, we have all the scrap that will be either used as 'cores' for new parts, or scraps:
And the rest:
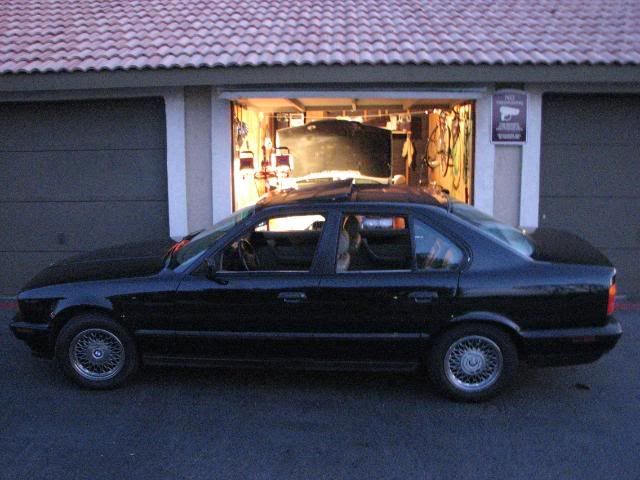
Here is the 5 sitting out in front of my garage with the M3 hidden behind her


 TOP
TOP


Comment