

 Tweet
Tweet
I just picked up a D/A to 3-step my Dodge Ram but time and the weather hasn't been cooperating here in the Pacific N.W. (Not unusual for this time of year, lol. I was just a bit 'trigger happy' to use the D/A since I've only had experience with a rotary.)
Anyway, that round sphere in the sky did come out yesterday so I thought I would get a 'feel' for the D/A on my truck before I took on the daunting task of fully correcting my wife's '02 Honda Accord, black. I'm certain my Dodge has 'hard' paint as compared to the usual Honda softness, especially black.
So, I have quite a few bottles of M's retail Cleaner Wax that used to come with the clay bar pack. So it would give me a little bite to clean and some wax.
And on to it... (side note- not sure my images are 'large' enough but I did the thumbnail software download and followed the instructions... if they are little can someone link me to or explain how to make the size larger? Again, followed Mike's post but they seem small... oh well.)
Pre-wash...

Process:
1.) Wash (Wheels, tires, wheel wells first) using two-bucket method
2.) Clay
3.) 2nd wash to remove any quick detailer left behind, two-bucket method
4.) Original Cleaner wax applied by D/A on a black finishing pad set to speed 3 using light pressure and fairly quick arm speed. I did 2 section passes on most areas, 3 on some RDS and heavy water spots. I didn't notice any more 'correction' with more pressure, nor did I expect it. Was just experimenting to see what the cleaner wax would do since I usually applied via hand. I was also trying to 'practice' for compounding and polishing, so if I was just applying a non-abrasive wax I would have reached for a red pad and just made extra sure I was overlapping coverage with little detail paid to section passes.
And to the results!

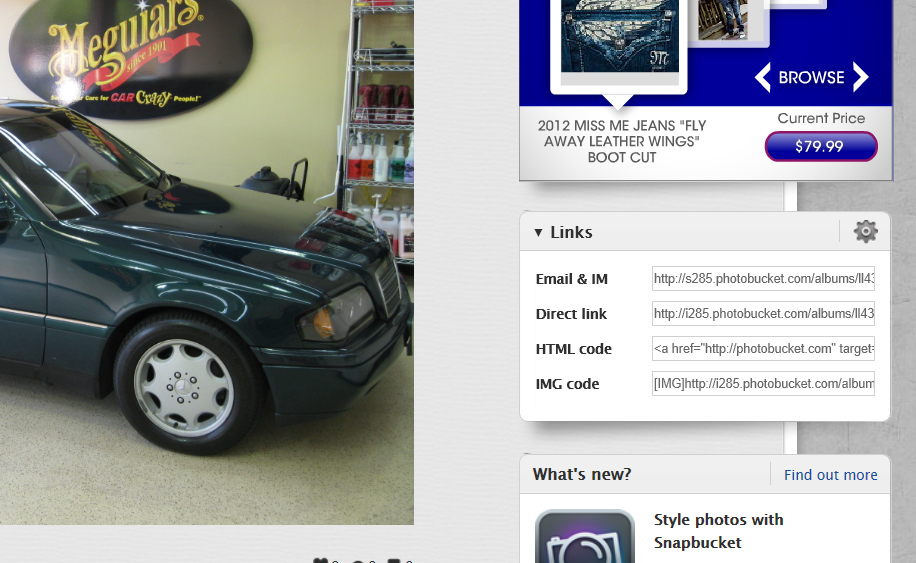
Half-way done here, only passenger side is completed...

Another shot, half-way done...

Done.
Thoughts:
Really impressed by the cleaner wax. It did remove some of the water spotting and knock down some of the RDSs to minimize their appearance. The retail line Cleaner Wax is a solid choice. I used maybe 1.5 ounces of wax on the entire vehicle and that was going back over the hood with a second coat. For $8 or something, the larger bottle could last me 1-2 years. What a great product! I've used it off-and-on for the past 10 years (alternate with NXT) on this truck but with a D/A, it's that much better!
Also, I heavily recommend using cleaner wax to anyone picking up a D/A for the first time. It's a very forgiving "practice" session before going full tilt with a compound or a light cutting polish. Just remember, Cleaner Wax does NOT play well with black trim... thus I taped to be sure.

Oops! Forgot to add in the Wheel Brightener!
-Dellinger
Anyway, that round sphere in the sky did come out yesterday so I thought I would get a 'feel' for the D/A on my truck before I took on the daunting task of fully correcting my wife's '02 Honda Accord, black. I'm certain my Dodge has 'hard' paint as compared to the usual Honda softness, especially black.
So, I have quite a few bottles of M's retail Cleaner Wax that used to come with the clay bar pack. So it would give me a little bite to clean and some wax.
And on to it... (side note- not sure my images are 'large' enough but I did the thumbnail software download and followed the instructions... if they are little can someone link me to or explain how to make the size larger? Again, followed Mike's post but they seem small... oh well.)
Pre-wash...
Process:
1.) Wash (Wheels, tires, wheel wells first) using two-bucket method
2.) Clay
3.) 2nd wash to remove any quick detailer left behind, two-bucket method
4.) Original Cleaner wax applied by D/A on a black finishing pad set to speed 3 using light pressure and fairly quick arm speed. I did 2 section passes on most areas, 3 on some RDS and heavy water spots. I didn't notice any more 'correction' with more pressure, nor did I expect it. Was just experimenting to see what the cleaner wax would do since I usually applied via hand. I was also trying to 'practice' for compounding and polishing, so if I was just applying a non-abrasive wax I would have reached for a red pad and just made extra sure I was overlapping coverage with little detail paid to section passes.
And to the results!
Half-way done here, only passenger side is completed...
Another shot, half-way done...
Done.
Thoughts:
Really impressed by the cleaner wax. It did remove some of the water spotting and knock down some of the RDSs to minimize their appearance. The retail line Cleaner Wax is a solid choice. I used maybe 1.5 ounces of wax on the entire vehicle and that was going back over the hood with a second coat. For $8 or something, the larger bottle could last me 1-2 years. What a great product! I've used it off-and-on for the past 10 years (alternate with NXT) on this truck but with a D/A, it's that much better!
Also, I heavily recommend using cleaner wax to anyone picking up a D/A for the first time. It's a very forgiving "practice" session before going full tilt with a compound or a light cutting polish. Just remember, Cleaner Wax does NOT play well with black trim... thus I taped to be sure.
Oops! Forgot to add in the Wheel Brightener!
-Dellinger

Comment