

 Tweet
Tweet
As a short term tester of the New Meguiar’s Micofiber DA Pads, I am only able to give a brief review of the product. Normally, I like to work with a product for a good 6 months so that I can objectively provide in the review the good, the bad and the ugly. That way, people can then see if a particular product suits their specific needs. Unfortunately, I received my test kit, as did the other short term testers, right when winter weather began making testing extremely difficult and limited due to the winter cold (read: ice and snow) and time constraints (not many people get their cars detailed when it is -15*C with a 12” of snow on the ground). Be as it may, I will try and provide the best information I am able under these circumstances.
****For greater insight on the product’s performance, I would suggest reading many of the reviews from the long term testers like: Joe (Superior Shine), Todd Helme, Kevin Brown, Nick Chapman, Mike Phillips, The Other PC, and Bob (and several others; Sorry, if I missed listing you). Please see Rasky’s review for great info! These guys should be better able to provide far more information as they have been able to use the products for quite sometime and in varying conditions.***
*For this review, I will be focusing on the New Microfiber DA Pads of the system. I will post a review separately on the review of the compound and finishing wax. My Pics will follow at the end of the review…
****Sneak Peak at the D300 DA Reconditioning Compound and the D301 Finishing Wax on page #2 of this thread!


I always enjoy testing out new products; it allows me to compare them to the many other similar products I have used over the years. But rarely has there been such an innovative product such as the New MF DA System. Both the Compound and Finishing Wax along with the MF DA Pads have been specifically created with one goal in mind: providing the best finish possible with the least effort on a DA polisher. I have used a rotary for well over 20 years and as such, it is hard to teach an “old dog”, new tricks. But technology has a way of making the once impossible, very possible and the finish obtainable with this new system has changed my way of thinking!
In this review, instead of posting a ton of before and after shots which have been expertly presented by several testers listed above, I will try and break down the products and show how they can be used by various other means.
One of the biggest challenges facing the detailer is the ability to bring a particular paint finish up to its maximum potential. To achieve this goal, detailers will use a plethora of different tools and products in order to achieve said goals. Here are a few tools I use on a regular basis: *Review* Tools of the Trade! At this point in my testing, the new MF DA Pads are a game changer in many ways. A person is able to do far more paint correcting, and paint finishing with a novice safe tool! That means a beginner into detailing has a much better chance of obtaining those flawless finishes that are often seen on detailing sites like MOL! Does the new MF DA system eliminate the need for the rotary polisher? NO, it does not. While the new system can do amazing things, the rotary polisher can not be matched in several areas, with major defect removal being one of them. In other words, the New MF DA system will do some serious correction work, but it will not consistently remove deep marring or wet sanding marks, IMHO. As such, the removal of the marring is heavily dependent upon the paint’s workability (paint’s hardness) and the operator’s skill in using the tools. But as I said, the new system does have its limits; something to keep in mind.
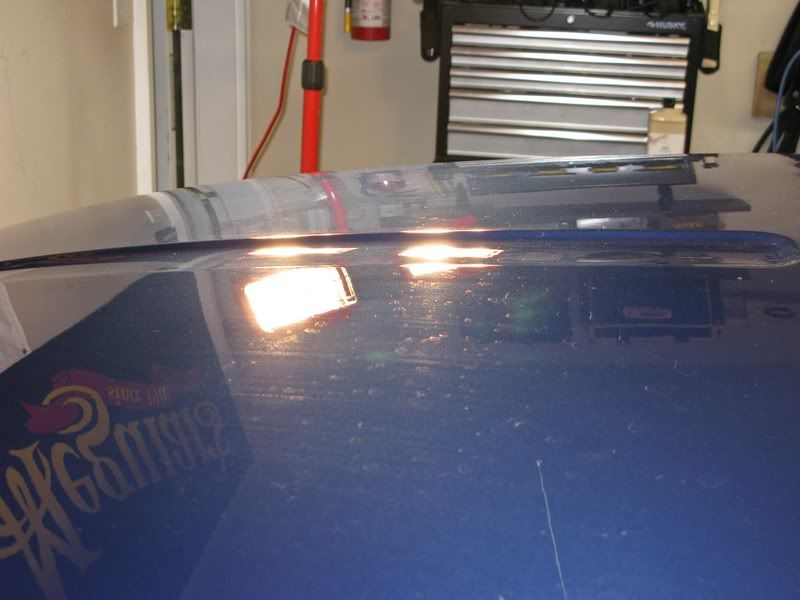
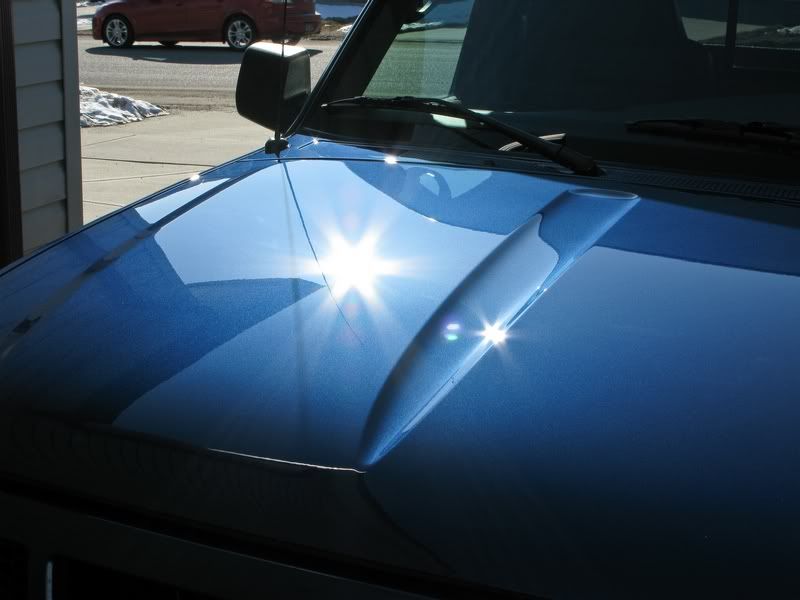
People often ask how one obtains that deep, pool of water look, on the paint. Until now, I have only been able to consistently obtain that goal with the use of the rotary polisher. The rotary polisher, in the right hands, can create a beautiful liquid look to the paint! Yes, in experienced hands and with the right products, that look can be achieved with the DA polisher, but NOT consistently. With new MF DA System, I was not only able to achieve that liquid look to the paint, but I was able to do so with only one product for correcting and polishing steps! While the others were using the new Compound, I went ahead and used older compounds that many people already have. I figured that since distribution of new products can be difficult, especially depending upon where you live, that I wanted to test the new pads with products people already have.
One product that does not get the attention is so rightly deserves is Meguiar’s M86 Solo Cut and Polish Cream ( Meguiar’s Solo Cut and Polish Cream. Meguiar’s Solo is a heavy cut product that was designed to be used on fresh paint (ie. Softer paint) to remove wet sanding marks etc, with a rotary and one of the Solo’s light or heavy cut wool pads. With the DA or on paints which were harder, Solo is not consistent, until now. With the New MF DA pads, I was able to take a paint finish from correction to finishing with one single product and pad on a DA Polisher! By varying the speed, and the amount of product, I found that not only could I remove deep marring, but was able to buff out the finish to a deep, rich gloss!
In the compounding step, I first primed the MF pad, working Solo into the MF fibers. Using heavy to moderate pressure on speed 4-5, I was able to remove marring which I believed would have required a rotary polisher! But while I was buffing, I realized something…the finish was coming out deep and rich! I was amazed at how good the finish looked from such an aggressive product. That got me to thinking…which is a bad thing for people who know me…I wondered how I could get this product/pad combo to completely finish out? So after compounding and removing the moderately deep marring from an OEM paint finish, I cleaned the pad.
Cleaning the new MF pads is quite different than cleaning a foam or wool pad. With foam pads, I use a specialized brush followed by a towel and/or compressed air (I use compressed air to remove or dislodge the SMAT abrasives from products like M105 and M205). With wool, I use a wool cleaning spur tool. But with the new pads, to lift up the MF fibers which become matted from saturated product and paint particles, a different method had to be used. For the new pads, I found that using a brush to first remove the heavily saturated compound and paint particles required a stiff brush. This method lifted the MF fibers, but left a lot of compound still in the fibers. Using a towel tended to flatten the fibers back down again. The solution was to use compressed air. After brushing, a quick shot with the air hose removed a lot of the compound. But when I returned to the paint to try and finish it out, a strange thing occurred….
Taking the somewhat clean MF pad, I applied a few drops of Solo and began buffing. Before I cleaned the pad, the paint was finishing out incredible well! BUT this time, the compound/pad was leaving a slight haze! What the heck?! The paint still looked great, but it was not finishing out as well as it did before. After a few more attempts, the paint again, began to respond, but why? What I discovered is that the buffered abrasives that were on the saturated pad were actually burnishing the finish and that by cleaning the pad, I had restored the cut back to the pad! So this time, instead of cleaning the pad, I used the dried product that was already on the pad, I added a few drops here and there and continued to burnish the finish. In the end, the paint was as deep and rich as any paint I have seen! Incredible!! But one more anomaly; I found that the MF pads like heavy to moderate pressure throughout the detailing process. Instead of lightening up the pressure while burnishing like I do with the rotary polisher, with these pads, they liked the heavy to moderate pressure throughout every step! Keep that in mind if you are using the new pads and not getting the finishing you were hoping for!
***Now for the caveat: I am not endorsing that one should not clean the pads! PLEASE keep in mind that the heavy compounding was already done so most of any build-up of paint particles on the pad were removed with the first cleaning. The second buffing attempt was with minor correcting. Any time one uses a pad for heavy correcting work, one should clean the pad after EACH pad at minimum. I am merely saying that in this case, on this particular paint, I was able to achieve moderate paint correction right to full paint burnishing, with one pad and one product! Part of detailing is being able to think outside the box, by trying new combinations or methods in order to get the paint to its maximum potential.
For the next test, I wanted to try the pads in another arena not often thought about. I decided to use the new 3” MF pads with my new Meguiar’s pneumatic air tools from the Headlight and Spot Repair Kit (Review pending as I am still waiting on the lower CFM consuming composite air tools to make an objective comparison). I have used various air tools for quite sometime, including other air DA’s and my Mirka Bulldog Sander. In this case, I wanted to use the new MF pads on the Meguiar’s (Chicago Pneumatic makes the tools) orbital and rotary 3” DA’s for headlight and paint spot correction. I discovered a couple of very critical things to keep in mind:
1. The new MF pads do not like Velcro plates with aggressive or deep fingers on the mating surface. I found this out by mistake as I used a competitor's 3” backing plate which tended to shred the pads Velcro.
2. Do not use the new Pads on a 3” rotary plate. After shredding the backing on the one pad, I used another pad with a Meguiar’s plate with the rotary 3” air tool. Oops number 2! Arghhh…the heavy rotational force on the small plate combined with the odd contours found on some lights also damaged the pad! At one point I slipped, and bumped one of the adjuster nibs which also damaged the pad further. Dang it!
Issues listed in #2 were totally my own fault as I knew the pads were not meant for a rotary so the result was not totally unexpected. Plus bumping the headlight adjustment aiming nibs was just an accident. Had that been with a foam pad, it would have torn a chunk out of it as well! Therefore, this in no way is a pad problem, but rather user error on my part.
But issue #1, was not my fault. I did not think about using a short fingered Velcro pad and since my test kit came with no instructions or packaging, I never even thought about it. I tested my theory by using a Mirka and another company’s backing plate on the 6” pads, and the results were the same. Would another company’s plates work…sure they will. But for pad/Velcro longevity, I would strongly suggest using the appropriate Meguair’s backing plate! This leads me to my next comment…
When using these new MF pads, the backing plate selection is critical! The size of plates need to be chosen carefully! One of the problems of using the wrong size plate is that the pad can fold over the plate’s edge, chewing up the pad. Even when using the correct plate, the one must still be cognitive when buffing around mirrors etc where the pad’s edge may fold over. Perhaps a molded protection strip could be placed on the pad’s Velcro would/could help prevent this folding over. With thicker foam pads this is not an issue, but with the thin back material on the new MF DA pads, it is something to keep in mind.
One way to prevent the folding over would be to use a plate that is the same size as the pad. But this would place the plate dangerously close to the paint. While I do tend to use a backing plate with the rotary which is almost as large at the foam pads, again, the thicker foam on the foam pads does provide more protection against an accidental slip. But with the new MF DA pads, it would be best to use the correct plate. Just be aware and not to be aggressive on the folding edge.
Finally, just a comment about the Meguiar’s G110 V2 DA’s speed when using these new pads; the new pads seem to work best at lower than normal speeds. So instead of using speed 5 for paint correction, I found that speed 4 works great! In fact, I saw no difference in correcting ability when using the higher speeds. I did, however, notice that the higher speeds do tend to heat the pad up much quicker. In the long run, I can only speculate that this could have a negative affect on the pad’s longevity. Moreover, because these pads seem to like far more downward pressure, the lower speed helps to offset the heat caused by the extra force.
So in summary, to make things a little easier in case you could not make it through my long-winded review Sorry :
1. The New Micofiber DA Pads are one of the biggest innovations that have come along in the detailing world for quite sometime!
2. The new pads do correct and finish paint better in far fewer steps. This is a huge time saver, especially for the professional detailer.
3. The new pads and system will help novices or people new to detailing to obtain a finish that would have taken many steps and many different products to achieve. Now, with a couple of pads and the new Compound and Finishing Wax, even a novice DA polisher user can achieve excellent results.
4. The new pads, while they do a terrific job on moderate paint defect removal, they do not replace the rotary polisher. With that said, if the paint requires a rotary, a professional should be enlisted to the job in the first place. However, if the paint is workable (ie. not too hard or too soft), the new MF DA Pads can do a remarkable job in paint correction. They do NOT perform miracles, but with the right knowledge, and products, they will do an excellent job! As I use it on more vehicles, I will do a follow-up.
5. The new pads require the use of the proper sized backing plate. This seems to be even more so critical with the larger pads. Failure to do so could cause the outer edge of the pad to get chewed-up during contour buffing. So make sure you use the recommended backing plate!!!!

6. The new pads seem to perform best with moderate to heavy pressure regardless of buffing stage (ie. compounding or finishing).
7. These pads are not meant to be used on a rotary polisher or rotary tool. When used as intended with a Dual Action Polisher like Meguiar’s G110 V2, the pads were fantastic. As such, I really do not see the need to use the pads with the rotary polisher. Leave the ultra heavy compounding for the rotary and the W-5000 Wool Pad and use the MF pads for everything else.
8. The new pads can be used with a hand applicator. Just be careful not to place too much force at an angle as the hand applicator’s edge could damage the paint. But for those critical areas were you can not get at with a DA polisher or a DA air tool, the hand applicator provides precision where needed.
In the end, Meguiar’s has an awesome new product! When used properly with the right tools and knowledge, the paint finish it is capable of providing is simply remarkable!! Just when you thought that technology has reached its pinnacle, Meguiar’s comes out with a real game changer! Well done Meguiar’s!
Here are the pics!
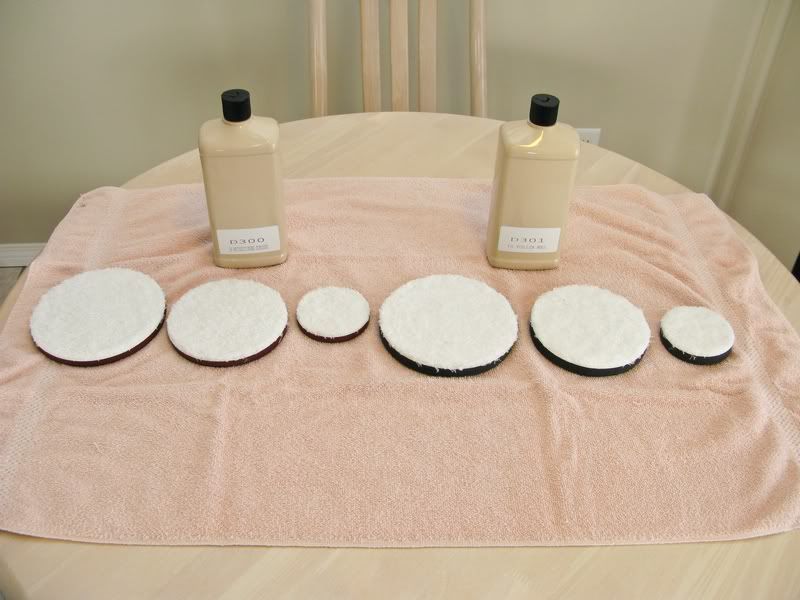
The whole system:
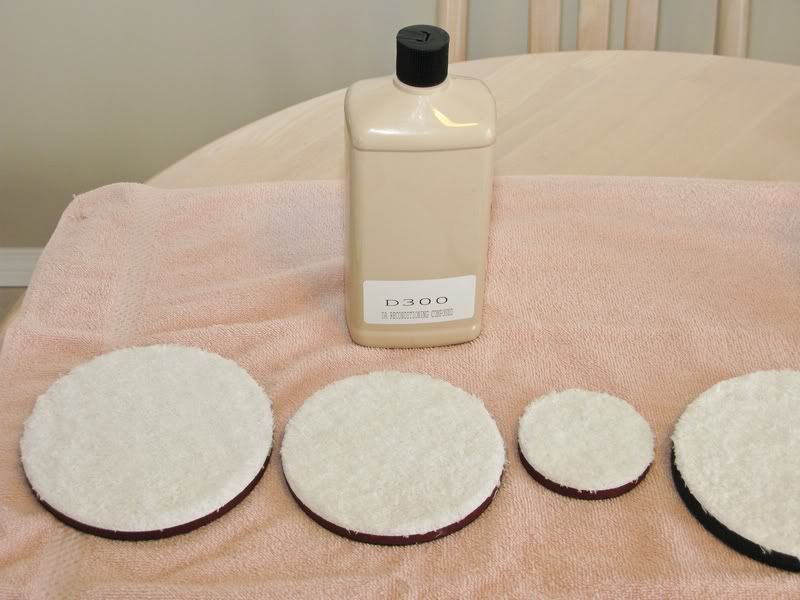
Close up of the Cutting pads and Compound
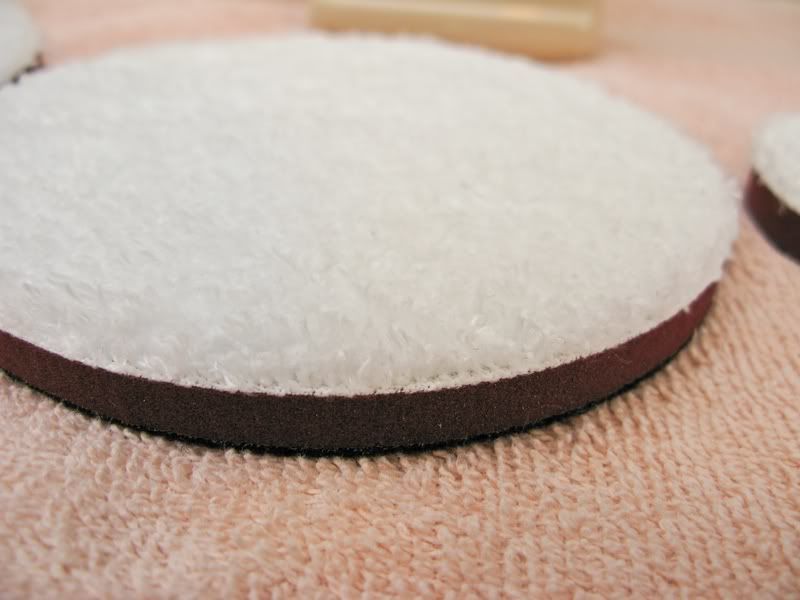
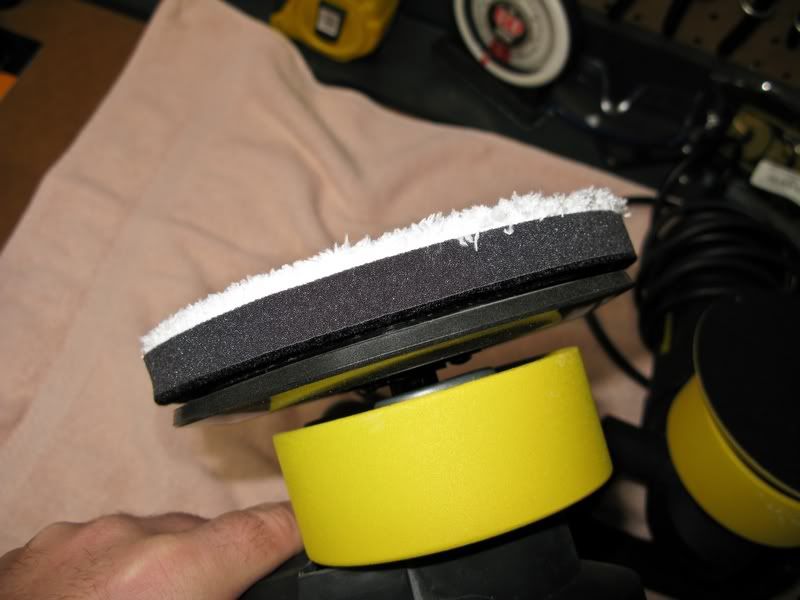
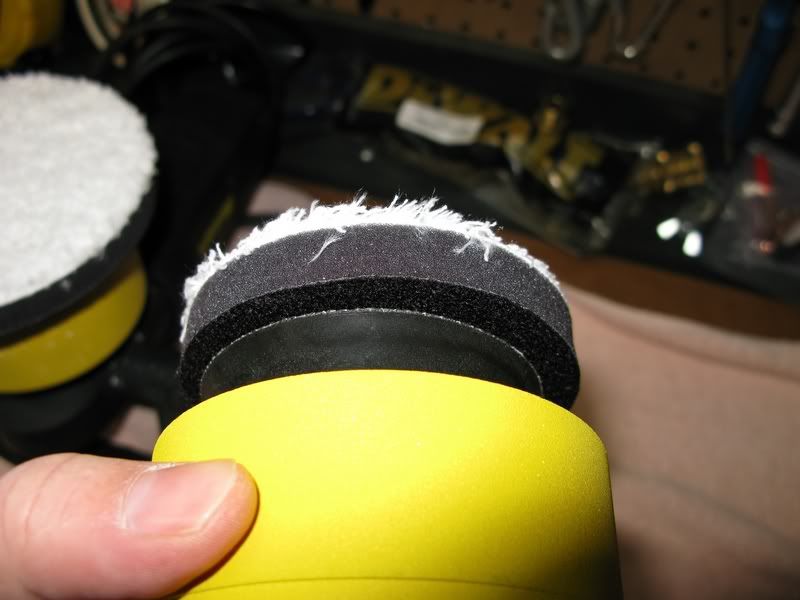
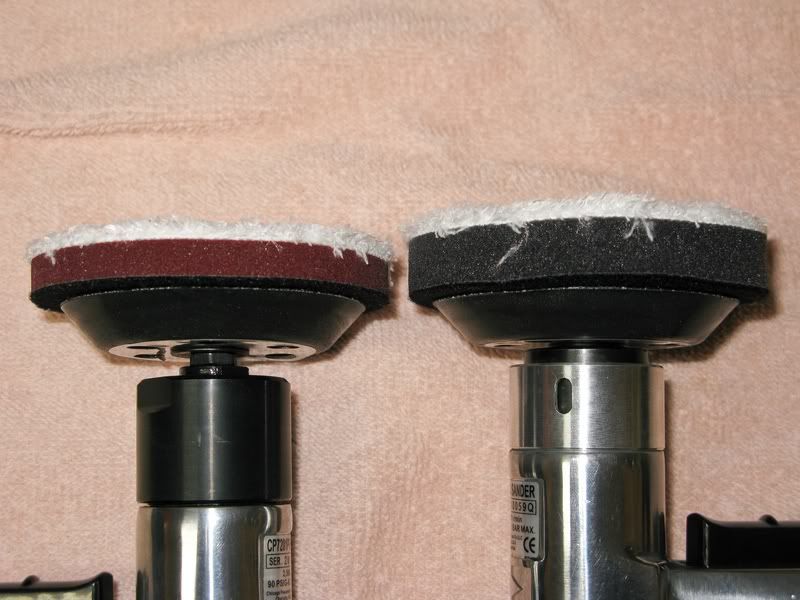
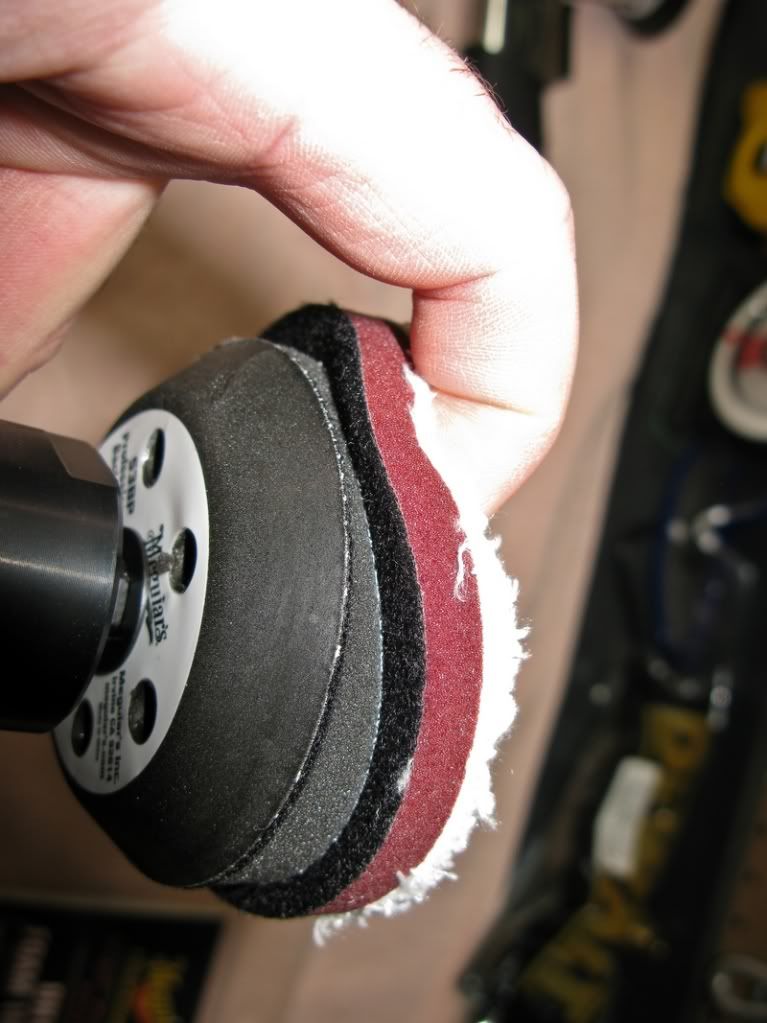
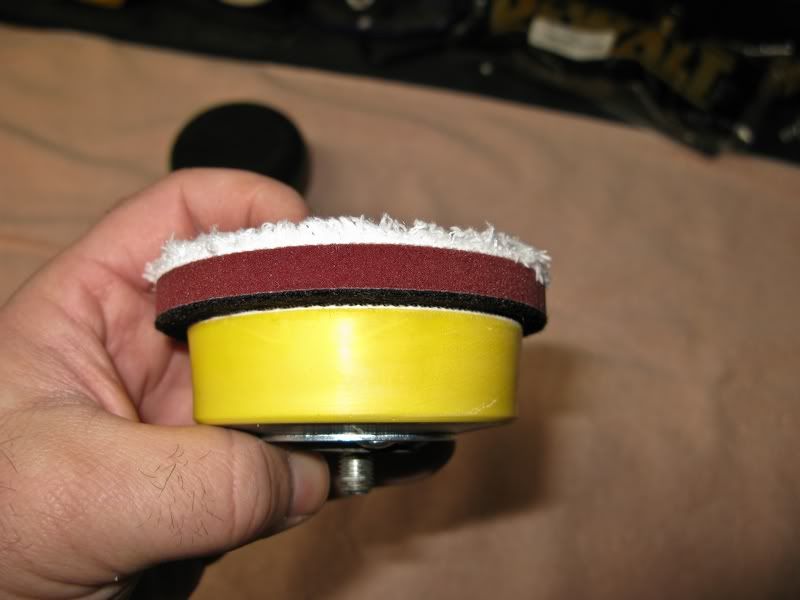
Cutting pad thickness:
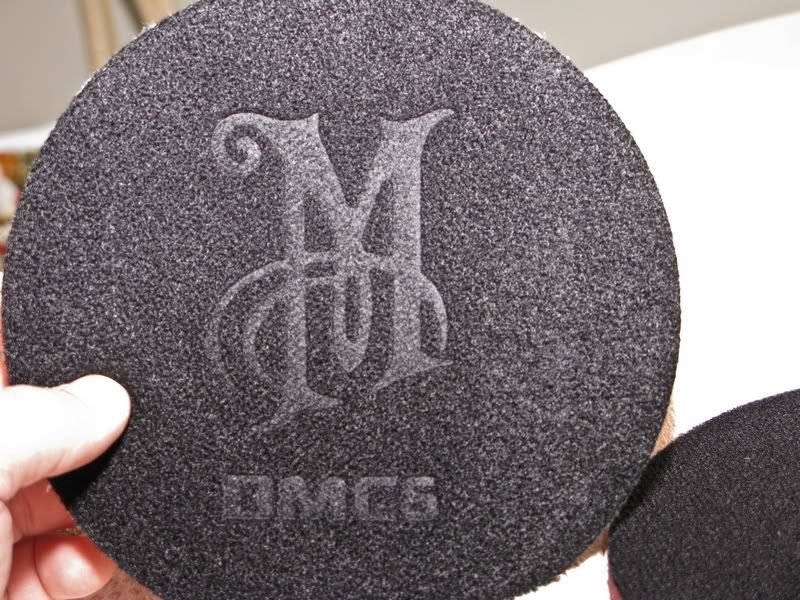
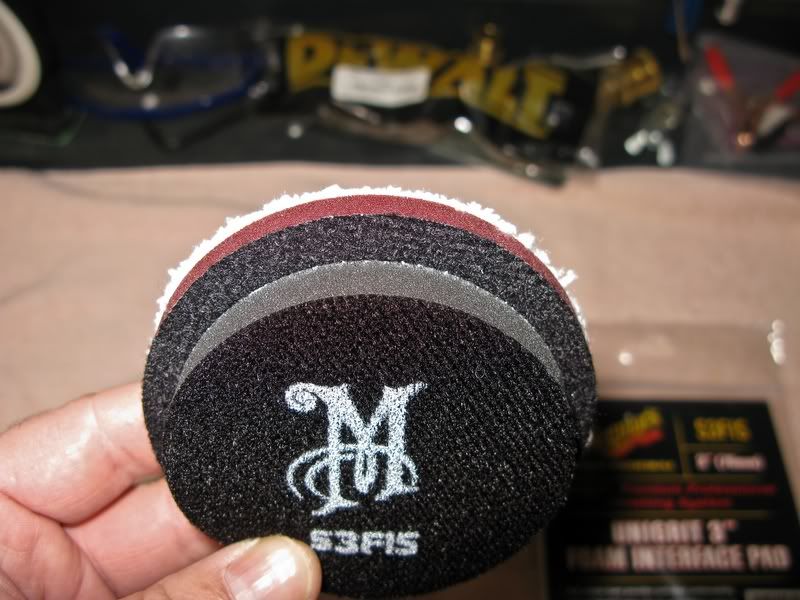
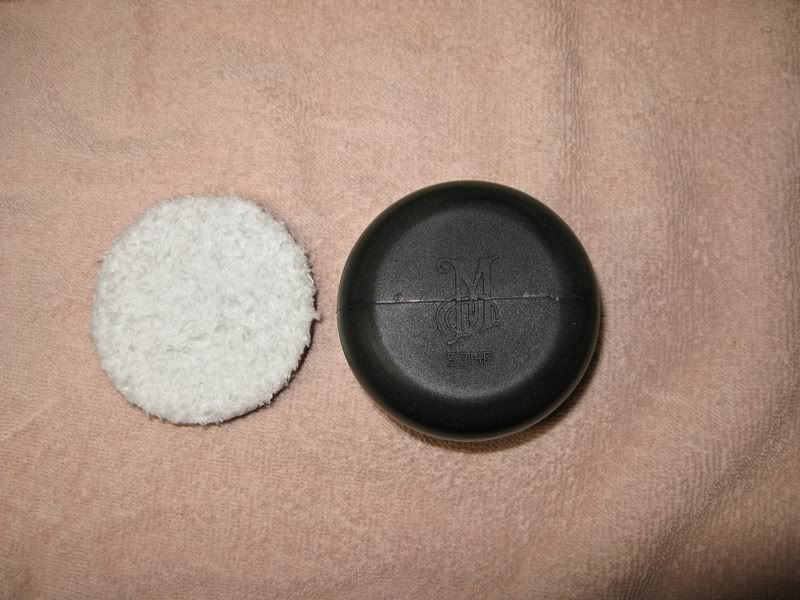
Pad numbering system:
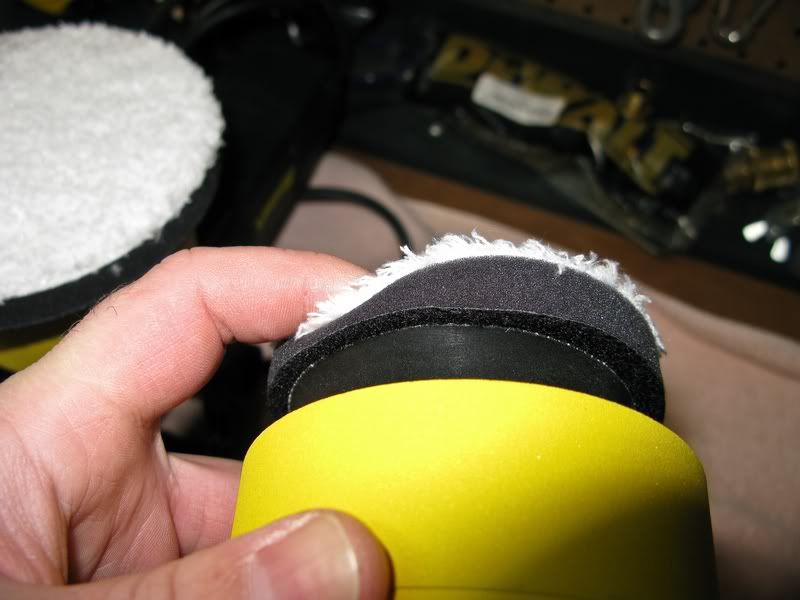
Thickness of polishing pad on DA Plate
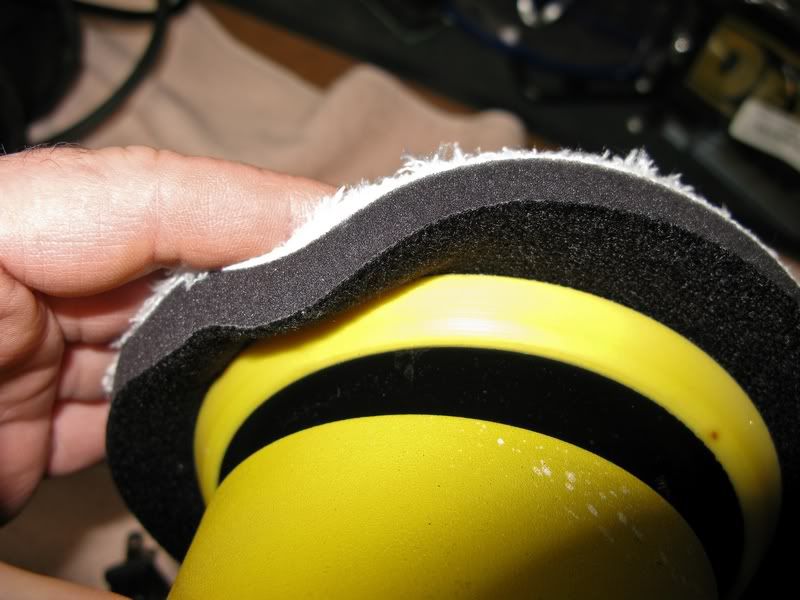
Pad folding over when used on the wrong plate:

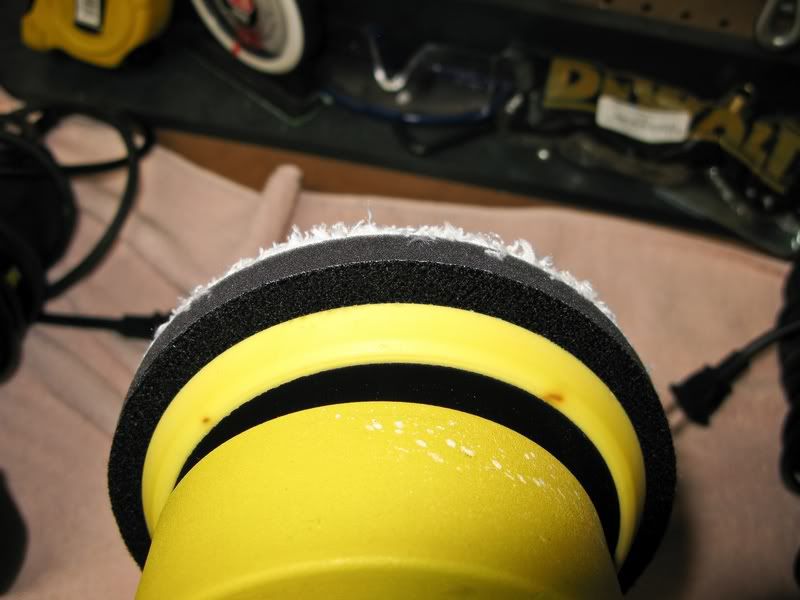
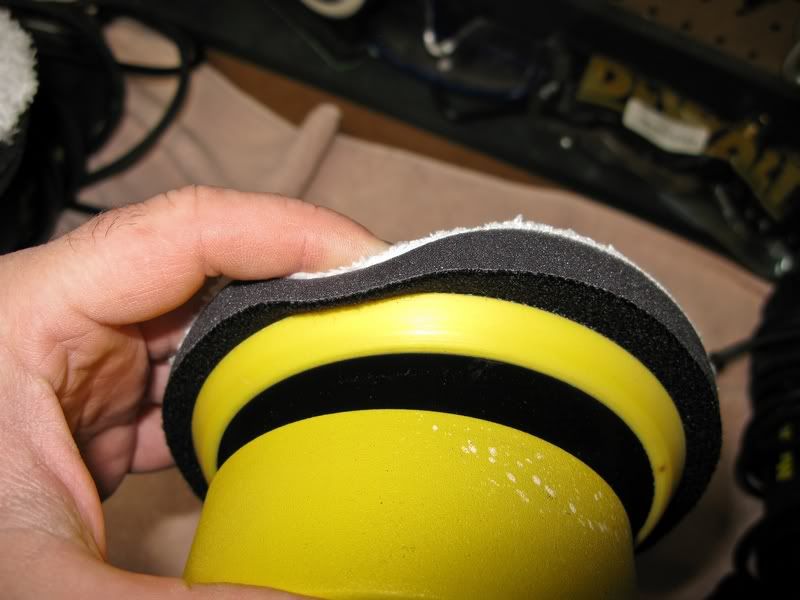
Used on the correct plate:
3” Meguiar’s Plate with 3” pad
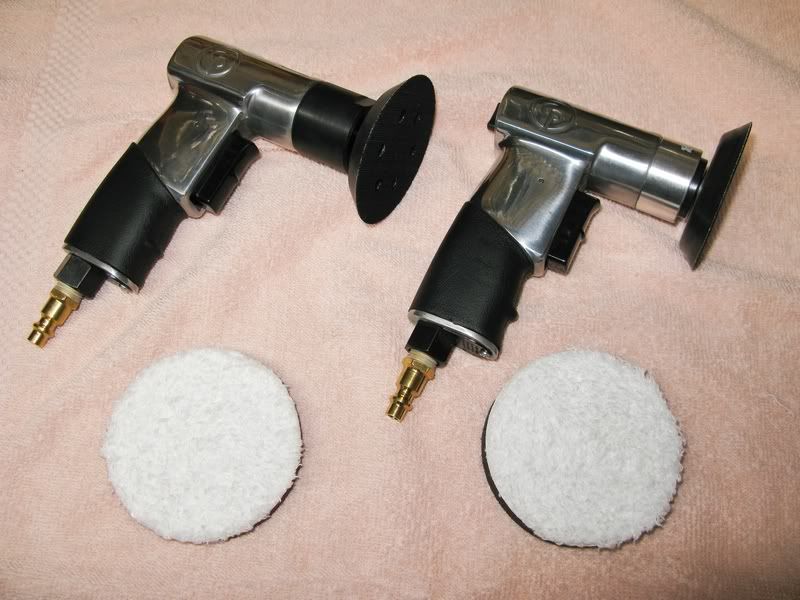
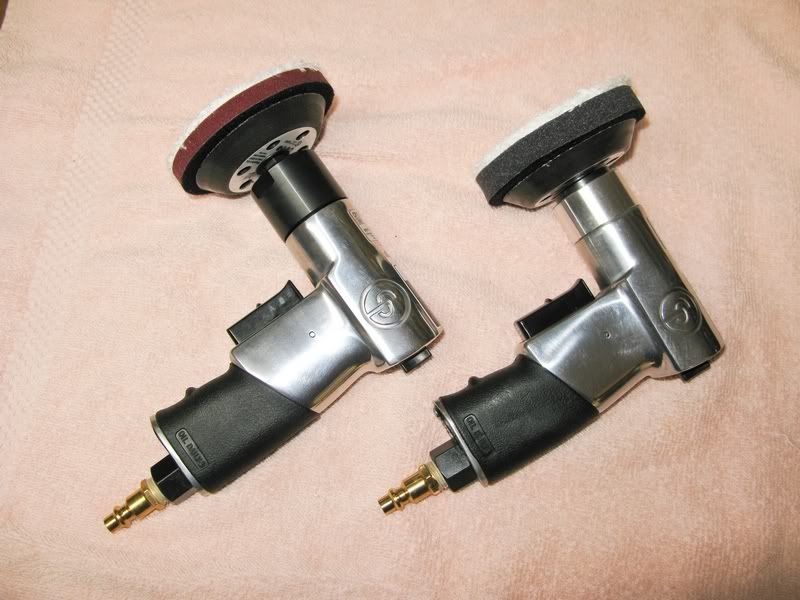
3” pads with Air Tools
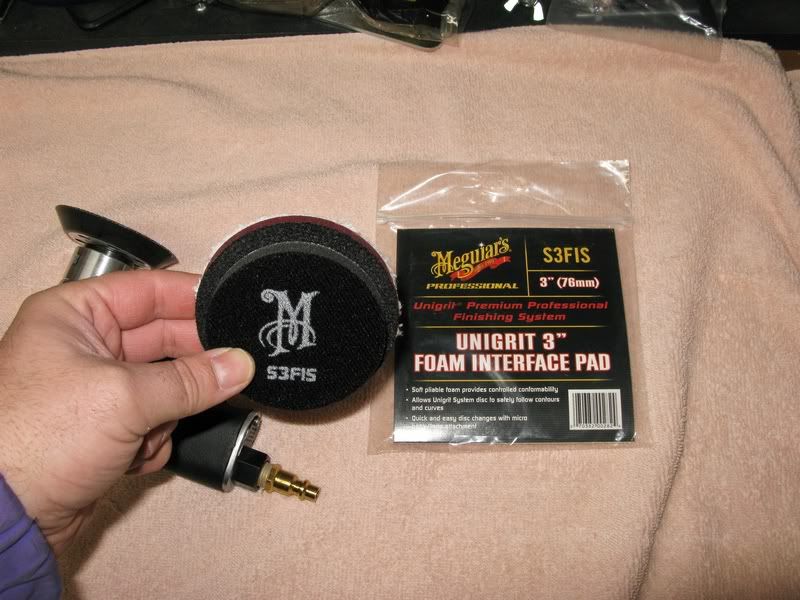
Using the 3” pad with a Meg’s Interface Pad. I used the interface pad in order to provide more cushion and flex so I could work on more intricate areas of a vehicle.
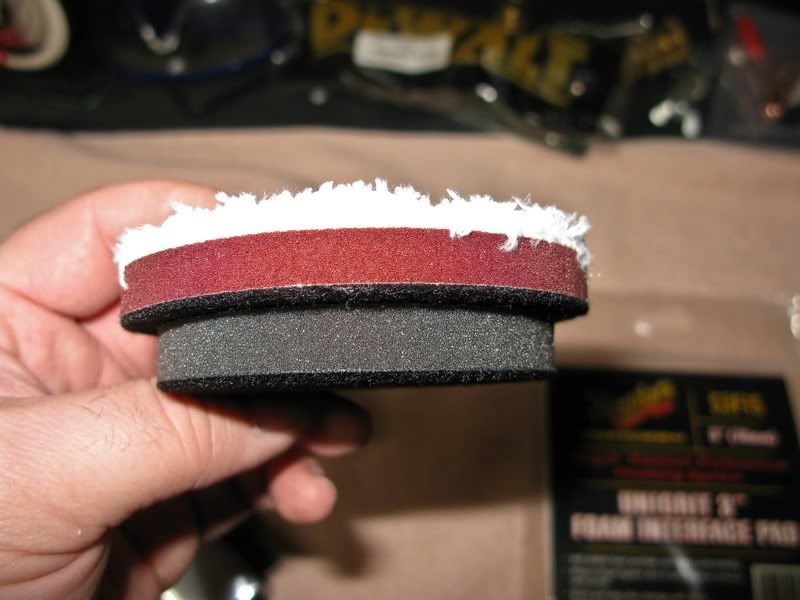
Added thickness:
Flex in the pads when used with the Interface Pad:
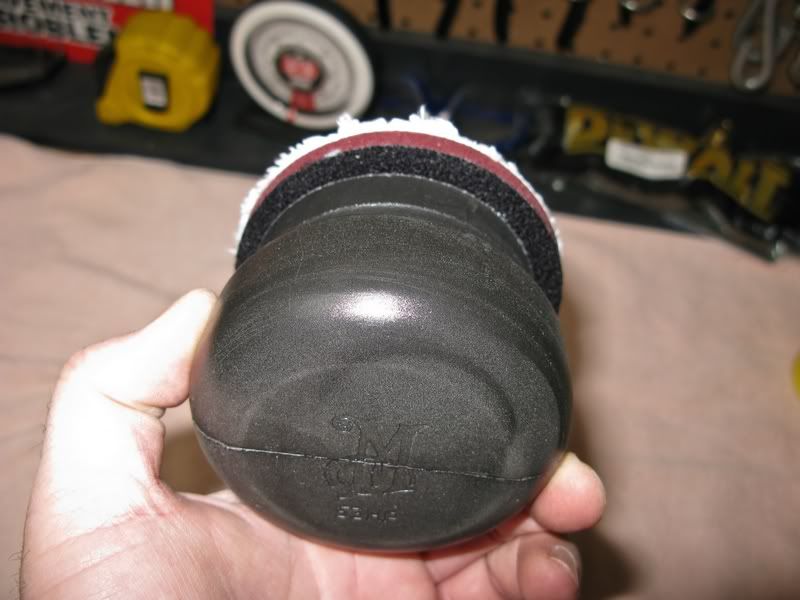
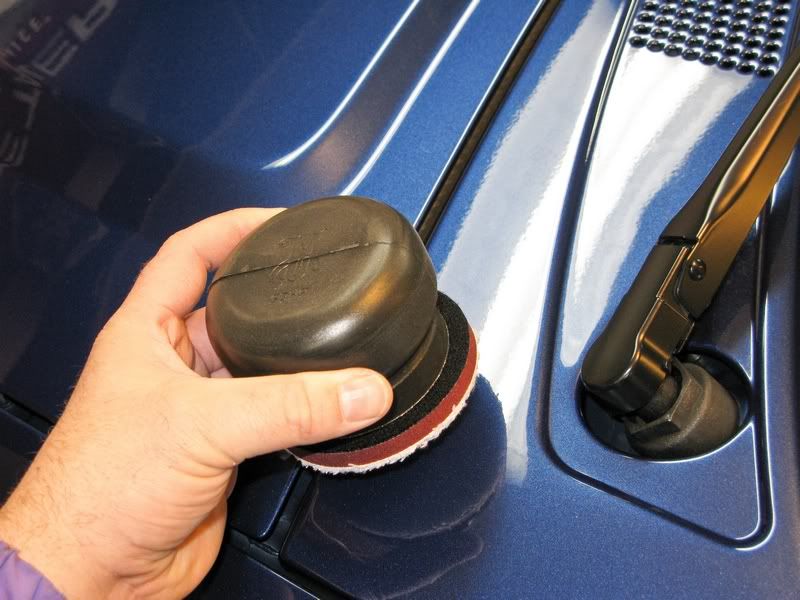
Using the 3” with the Meguiar’s Hand Applicator:
3” Mirka Plate with 3” pad. This plate add extra depth and stiffness which is handy in some instances
I hope this review helps! Like I said in the beginning for more information, please see the reviews from the individuals (and others) listed above!
Tim
****For greater insight on the product’s performance, I would suggest reading many of the reviews from the long term testers like: Joe (Superior Shine), Todd Helme, Kevin Brown, Nick Chapman, Mike Phillips, The Other PC, and Bob (and several others; Sorry, if I missed listing you). Please see Rasky’s review for great info! These guys should be better able to provide far more information as they have been able to use the products for quite sometime and in varying conditions.***
*For this review, I will be focusing on the New Microfiber DA Pads of the system. I will post a review separately on the review of the compound and finishing wax. My Pics will follow at the end of the review…
****Sneak Peak at the D300 DA Reconditioning Compound and the D301 Finishing Wax on page #2 of this thread!
I always enjoy testing out new products; it allows me to compare them to the many other similar products I have used over the years. But rarely has there been such an innovative product such as the New MF DA System. Both the Compound and Finishing Wax along with the MF DA Pads have been specifically created with one goal in mind: providing the best finish possible with the least effort on a DA polisher. I have used a rotary for well over 20 years and as such, it is hard to teach an “old dog”, new tricks. But technology has a way of making the once impossible, very possible and the finish obtainable with this new system has changed my way of thinking!
In this review, instead of posting a ton of before and after shots which have been expertly presented by several testers listed above, I will try and break down the products and show how they can be used by various other means.
One of the biggest challenges facing the detailer is the ability to bring a particular paint finish up to its maximum potential. To achieve this goal, detailers will use a plethora of different tools and products in order to achieve said goals. Here are a few tools I use on a regular basis: *Review* Tools of the Trade! At this point in my testing, the new MF DA Pads are a game changer in many ways. A person is able to do far more paint correcting, and paint finishing with a novice safe tool! That means a beginner into detailing has a much better chance of obtaining those flawless finishes that are often seen on detailing sites like MOL! Does the new MF DA system eliminate the need for the rotary polisher? NO, it does not. While the new system can do amazing things, the rotary polisher can not be matched in several areas, with major defect removal being one of them. In other words, the New MF DA system will do some serious correction work, but it will not consistently remove deep marring or wet sanding marks, IMHO. As such, the removal of the marring is heavily dependent upon the paint’s workability (paint’s hardness) and the operator’s skill in using the tools. But as I said, the new system does have its limits; something to keep in mind.
People often ask how one obtains that deep, pool of water look, on the paint. Until now, I have only been able to consistently obtain that goal with the use of the rotary polisher. The rotary polisher, in the right hands, can create a beautiful liquid look to the paint! Yes, in experienced hands and with the right products, that look can be achieved with the DA polisher, but NOT consistently. With new MF DA System, I was not only able to achieve that liquid look to the paint, but I was able to do so with only one product for correcting and polishing steps! While the others were using the new Compound, I went ahead and used older compounds that many people already have. I figured that since distribution of new products can be difficult, especially depending upon where you live, that I wanted to test the new pads with products people already have.
One product that does not get the attention is so rightly deserves is Meguiar’s M86 Solo Cut and Polish Cream ( Meguiar’s Solo Cut and Polish Cream. Meguiar’s Solo is a heavy cut product that was designed to be used on fresh paint (ie. Softer paint) to remove wet sanding marks etc, with a rotary and one of the Solo’s light or heavy cut wool pads. With the DA or on paints which were harder, Solo is not consistent, until now. With the New MF DA pads, I was able to take a paint finish from correction to finishing with one single product and pad on a DA Polisher! By varying the speed, and the amount of product, I found that not only could I remove deep marring, but was able to buff out the finish to a deep, rich gloss!
In the compounding step, I first primed the MF pad, working Solo into the MF fibers. Using heavy to moderate pressure on speed 4-5, I was able to remove marring which I believed would have required a rotary polisher! But while I was buffing, I realized something…the finish was coming out deep and rich! I was amazed at how good the finish looked from such an aggressive product. That got me to thinking…which is a bad thing for people who know me…I wondered how I could get this product/pad combo to completely finish out? So after compounding and removing the moderately deep marring from an OEM paint finish, I cleaned the pad.
Cleaning the new MF pads is quite different than cleaning a foam or wool pad. With foam pads, I use a specialized brush followed by a towel and/or compressed air (I use compressed air to remove or dislodge the SMAT abrasives from products like M105 and M205). With wool, I use a wool cleaning spur tool. But with the new pads, to lift up the MF fibers which become matted from saturated product and paint particles, a different method had to be used. For the new pads, I found that using a brush to first remove the heavily saturated compound and paint particles required a stiff brush. This method lifted the MF fibers, but left a lot of compound still in the fibers. Using a towel tended to flatten the fibers back down again. The solution was to use compressed air. After brushing, a quick shot with the air hose removed a lot of the compound. But when I returned to the paint to try and finish it out, a strange thing occurred….
Taking the somewhat clean MF pad, I applied a few drops of Solo and began buffing. Before I cleaned the pad, the paint was finishing out incredible well! BUT this time, the compound/pad was leaving a slight haze! What the heck?! The paint still looked great, but it was not finishing out as well as it did before. After a few more attempts, the paint again, began to respond, but why? What I discovered is that the buffered abrasives that were on the saturated pad were actually burnishing the finish and that by cleaning the pad, I had restored the cut back to the pad! So this time, instead of cleaning the pad, I used the dried product that was already on the pad, I added a few drops here and there and continued to burnish the finish. In the end, the paint was as deep and rich as any paint I have seen! Incredible!! But one more anomaly; I found that the MF pads like heavy to moderate pressure throughout the detailing process. Instead of lightening up the pressure while burnishing like I do with the rotary polisher, with these pads, they liked the heavy to moderate pressure throughout every step! Keep that in mind if you are using the new pads and not getting the finishing you were hoping for!
***Now for the caveat: I am not endorsing that one should not clean the pads! PLEASE keep in mind that the heavy compounding was already done so most of any build-up of paint particles on the pad were removed with the first cleaning. The second buffing attempt was with minor correcting. Any time one uses a pad for heavy correcting work, one should clean the pad after EACH pad at minimum. I am merely saying that in this case, on this particular paint, I was able to achieve moderate paint correction right to full paint burnishing, with one pad and one product! Part of detailing is being able to think outside the box, by trying new combinations or methods in order to get the paint to its maximum potential.
For the next test, I wanted to try the pads in another arena not often thought about. I decided to use the new 3” MF pads with my new Meguiar’s pneumatic air tools from the Headlight and Spot Repair Kit (Review pending as I am still waiting on the lower CFM consuming composite air tools to make an objective comparison). I have used various air tools for quite sometime, including other air DA’s and my Mirka Bulldog Sander. In this case, I wanted to use the new MF pads on the Meguiar’s (Chicago Pneumatic makes the tools) orbital and rotary 3” DA’s for headlight and paint spot correction. I discovered a couple of very critical things to keep in mind:
1. The new MF pads do not like Velcro plates with aggressive or deep fingers on the mating surface. I found this out by mistake as I used a competitor's 3” backing plate which tended to shred the pads Velcro.
2. Do not use the new Pads on a 3” rotary plate. After shredding the backing on the one pad, I used another pad with a Meguiar’s plate with the rotary 3” air tool. Oops number 2!
Arghhh…the heavy rotational force on the small plate combined with the odd contours found on some lights also damaged the pad! At one point I slipped, and bumped one of the adjuster nibs which also damaged the pad further. Dang it! Issues listed in #2 were totally my own fault as I knew the pads were not meant for a rotary so the result was not totally unexpected. Plus bumping the headlight adjustment aiming nibs was just an accident. Had that been with a foam pad, it would have torn a chunk out of it as well! Therefore, this in no way is a pad problem, but rather user error on my part.
But issue #1, was not my fault. I did not think about using a short fingered Velcro pad and since my test kit came with no instructions or packaging, I never even thought about it. I tested my theory by using a Mirka and another company’s backing plate on the 6” pads, and the results were the same. Would another company’s plates work…sure they will. But for pad/Velcro longevity, I would strongly suggest using the appropriate Meguair’s backing plate! This leads me to my next comment…
When using these new MF pads, the backing plate selection is critical! The size of plates need to be chosen carefully! One of the problems of using the wrong size plate is that the pad can fold over the plate’s edge, chewing up the pad. Even when using the correct plate, the one must still be cognitive when buffing around mirrors etc where the pad’s edge may fold over. Perhaps a molded protection strip could be placed on the pad’s Velcro would/could help prevent this folding over. With thicker foam pads this is not an issue, but with the thin back material on the new MF DA pads, it is something to keep in mind.
One way to prevent the folding over would be to use a plate that is the same size as the pad. But this would place the plate dangerously close to the paint. While I do tend to use a backing plate with the rotary which is almost as large at the foam pads, again, the thicker foam on the foam pads does provide more protection against an accidental slip. But with the new MF DA pads, it would be best to use the correct plate. Just be aware and not to be aggressive on the folding edge.
Finally, just a comment about the Meguiar’s G110 V2 DA’s speed when using these new pads; the new pads seem to work best at lower than normal speeds. So instead of using speed 5 for paint correction, I found that speed 4 works great! In fact, I saw no difference in correcting ability when using the higher speeds. I did, however, notice that the higher speeds do tend to heat the pad up much quicker. In the long run, I can only speculate that this could have a negative affect on the pad’s longevity. Moreover, because these pads seem to like far more downward pressure, the lower speed helps to offset the heat caused by the extra force.
So in summary, to make things a little easier in case you could not make it through my long-winded review Sorry
:1. The New Micofiber DA Pads are one of the biggest innovations that have come along in the detailing world for quite sometime!
2. The new pads do correct and finish paint better in far fewer steps. This is a huge time saver, especially for the professional detailer.
3. The new pads and system will help novices or people new to detailing to obtain a finish that would have taken many steps and many different products to achieve. Now, with a couple of pads and the new Compound and Finishing Wax, even a novice DA polisher user can achieve excellent results.
4. The new pads, while they do a terrific job on moderate paint defect removal, they do not replace the rotary polisher. With that said, if the paint requires a rotary, a professional should be enlisted to the job in the first place. However, if the paint is workable (ie. not too hard or too soft), the new MF DA Pads can do a remarkable job in paint correction. They do NOT perform miracles, but with the right knowledge, and products, they will do an excellent job! As I use it on more vehicles, I will do a follow-up.
5. The new pads require the use of the proper sized backing plate. This seems to be even more so critical with the larger pads. Failure to do so could cause the outer edge of the pad to get chewed-up during contour buffing. So make sure you use the recommended backing plate!!!!
6. The new pads seem to perform best with moderate to heavy pressure regardless of buffing stage (ie. compounding or finishing).
7. These pads are not meant to be used on a rotary polisher or rotary tool. When used as intended with a Dual Action Polisher like Meguiar’s G110 V2, the pads were fantastic. As such, I really do not see the need to use the pads with the rotary polisher. Leave the ultra heavy compounding for the rotary and the W-5000 Wool Pad and use the MF pads for everything else.
8. The new pads can be used with a hand applicator. Just be careful not to place too much force at an angle as the hand applicator’s edge could damage the paint. But for those critical areas were you can not get at with a DA polisher or a DA air tool, the hand applicator provides precision where needed.
In the end, Meguiar’s has an awesome new product! When used properly with the right tools and knowledge, the paint finish it is capable of providing is simply remarkable!! Just when you thought that technology has reached its pinnacle, Meguiar’s comes out with a real game changer! Well done Meguiar’s!
Here are the pics!
The whole system:
Close up of the Cutting pads and Compound
Cutting pad thickness:
Pad numbering system:
Thickness of polishing pad on DA Plate
Pad folding over when used on the wrong plate:
Used on the correct plate:
3” Meguiar’s Plate with 3” pad
3” pads with Air Tools
Using the 3” pad with a Meg’s Interface Pad. I used the interface pad in order to provide more cushion and flex so I could work on more intricate areas of a vehicle.
Added thickness:
Flex in the pads when used with the Interface Pad:
Using the 3” with the Meguiar’s Hand Applicator:
3” Mirka Plate with 3” pad. This plate add extra depth and stiffness which is handy in some instances
I hope this review helps!
Like I said in the beginning for more information, please see the reviews from the individuals (and others) listed above! Tim


Comment