

 Tweet
Tweet
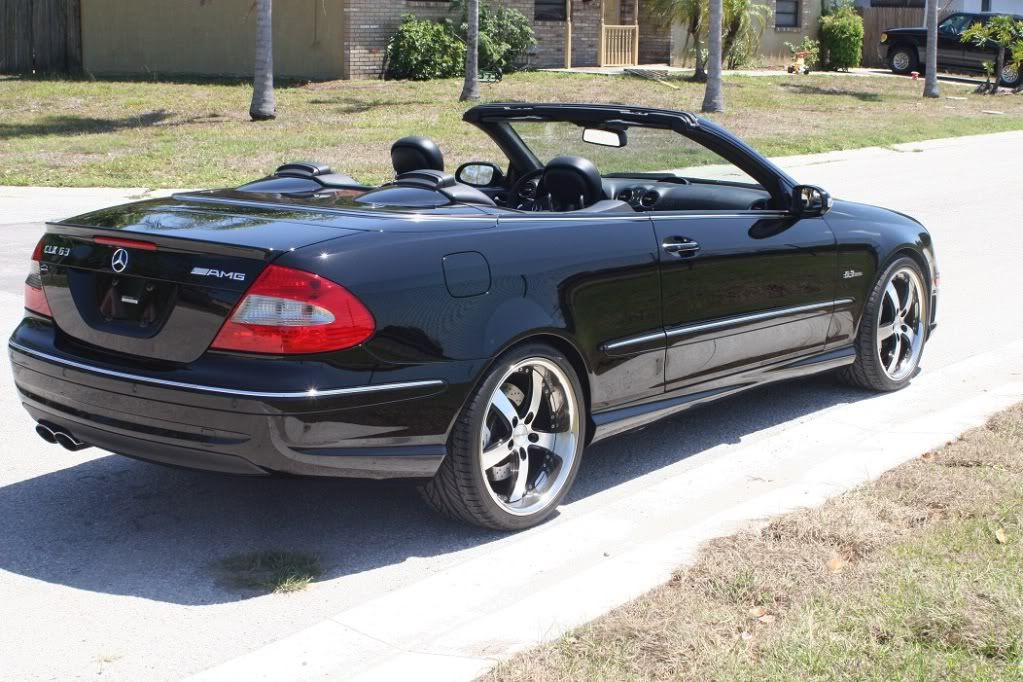
My ex gf crashed her first clk63 doing 120mph about 6 months ago and nearly died...and once she fully recovered (and regained her license) she decided to find a second clk63. Her search ended a few weeks ago when I found one in Tampa. These cars are pretty rare, only 240 or so were brought to this country and I'm sure several have been crashed. These cars are fast, 485hp, 0-60 in a little over 4 seconds, do 160mph with ease...run mid 12's at 115mph in the 1/4 mile.
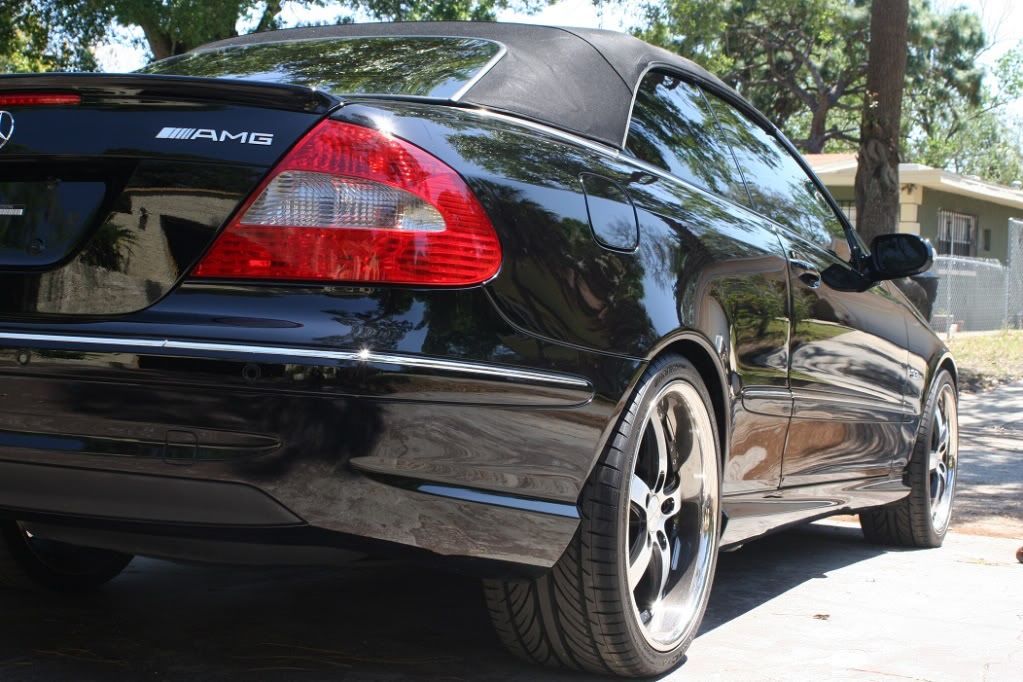
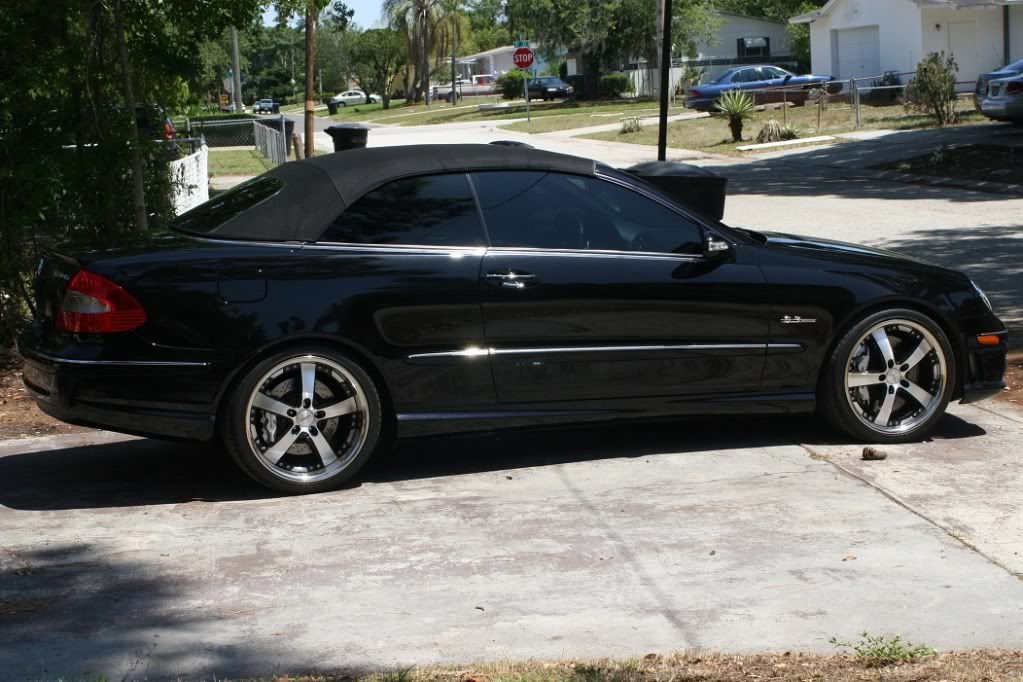
This one had stupid wheels and chrome accents around the front/rear lights. She gave it to me to detail since I enjoy correcting paint that others have screwed up...and appreciate working on MB paint. Its pretty hard and can be corrected using a variety of techniques. OEM wheels are going to be reinstalled...when new tires are installed...I'll be sealing and waxing those in a few weeks...and posting pictures.
With this particular detail, I used M105 w/ an Orange LC pad. By varying speeds on the da and pressure I've been able to achieve great results. I didn't find m205 to be doing much...so what you're seeing is just m105. I realize this isn't a widely accepted technique but on harder paints I don't think finer polishes make any significant difference...and I've been testing this for quite some time.
Some of you may disagree...I'll let the results speak for themselves.
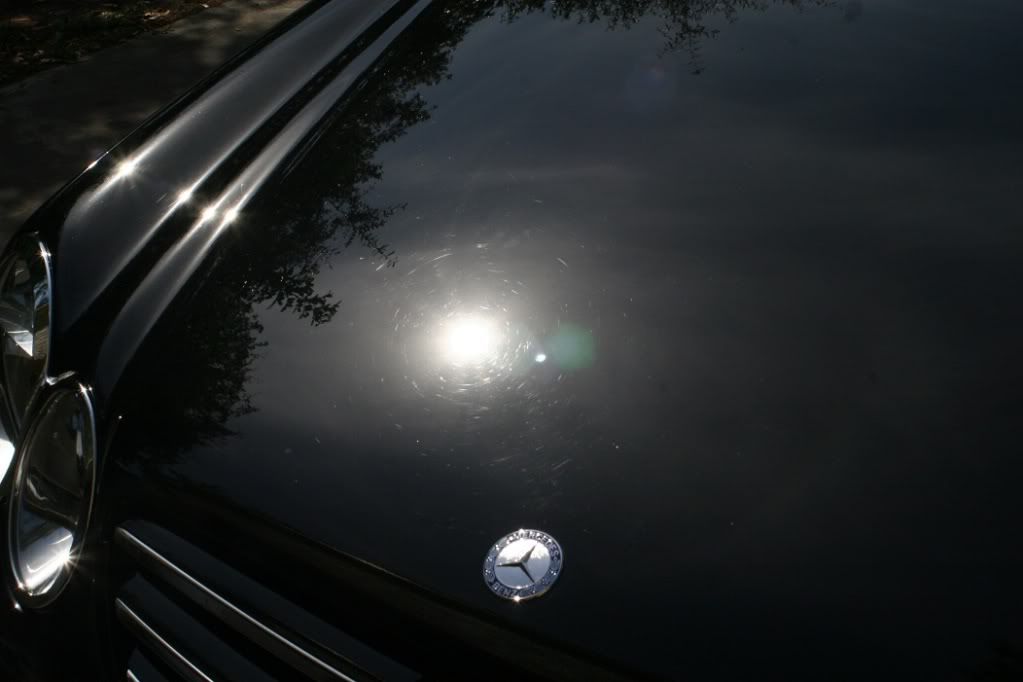
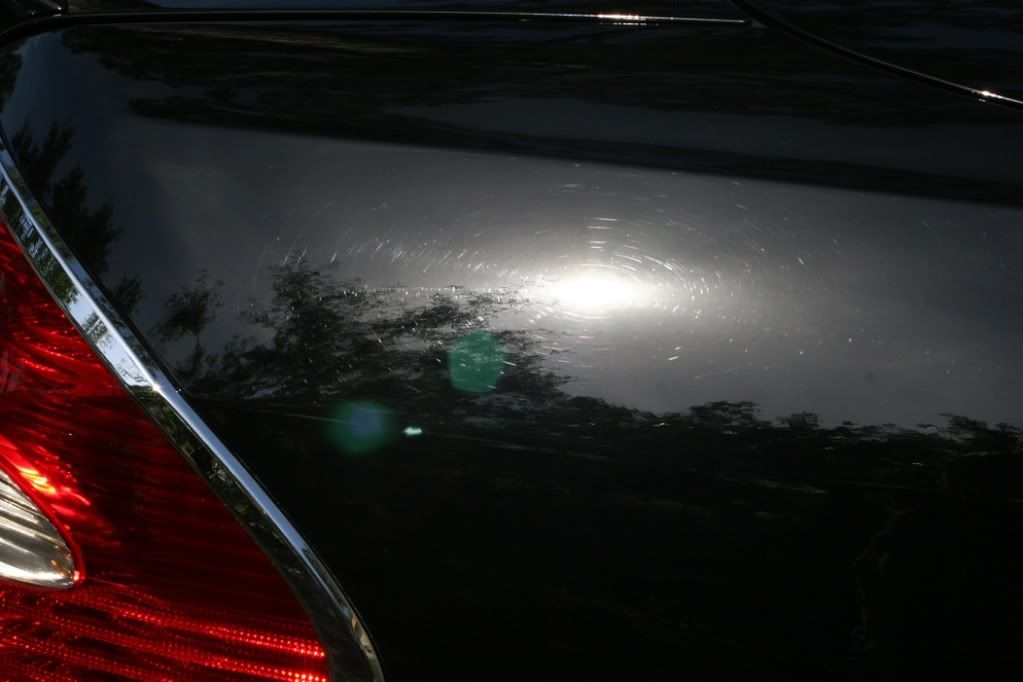
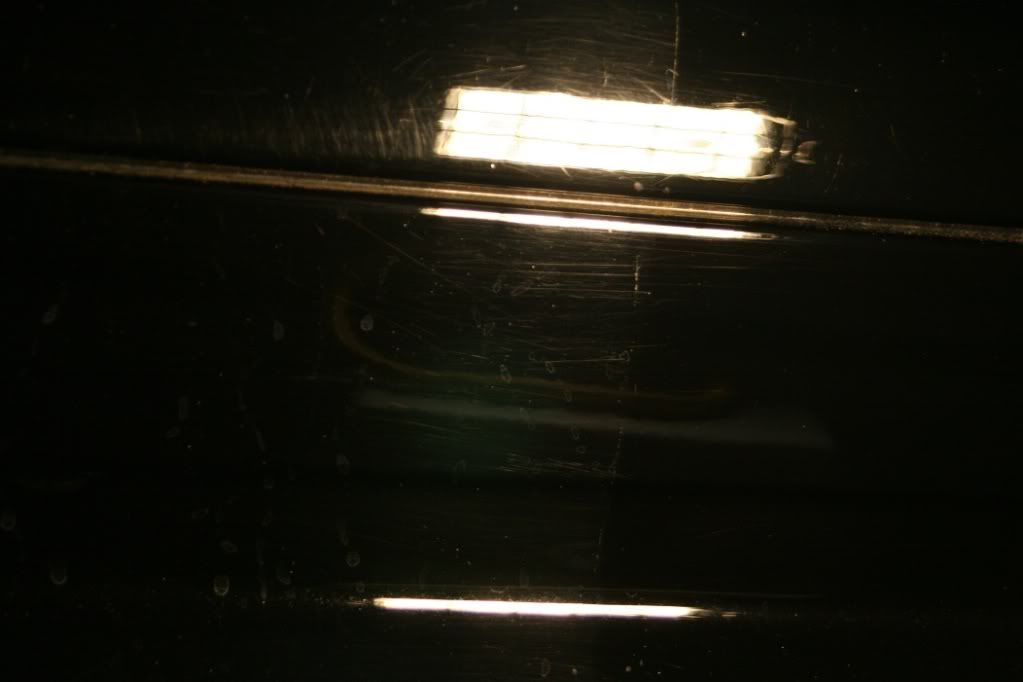
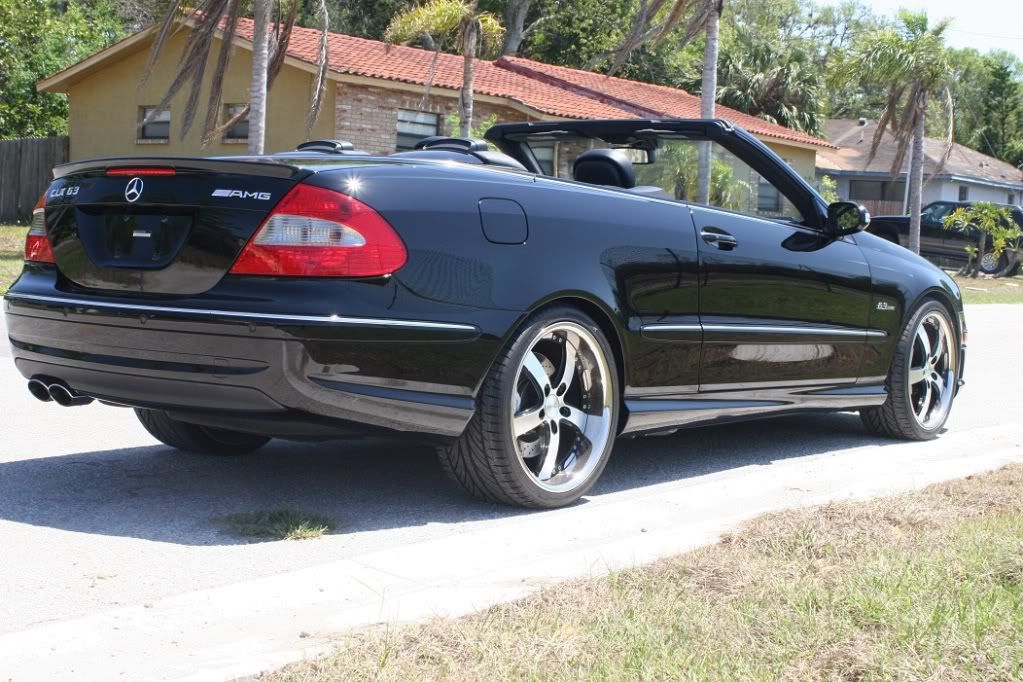
When the car arrived. For a 5 year old car with 47k, it was in good shape. Clear coat on hood was thinner and had some damage...otherwise just the usually scratches and marring to be expected from years of improper washing.

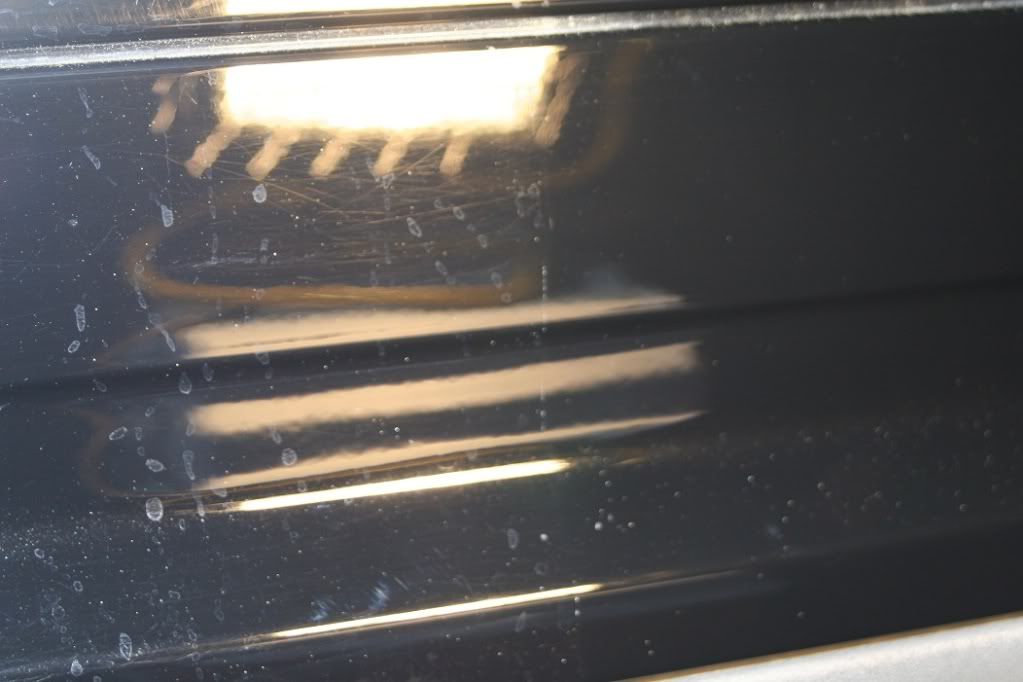
Mild swirls...MB paint is pretty hard so this would be worse on a car from Japan...or BMW black.
The wax/sealant on the vehicle was cheap. One pass with Chem Guys Citrus Wash removed the wax with ease.
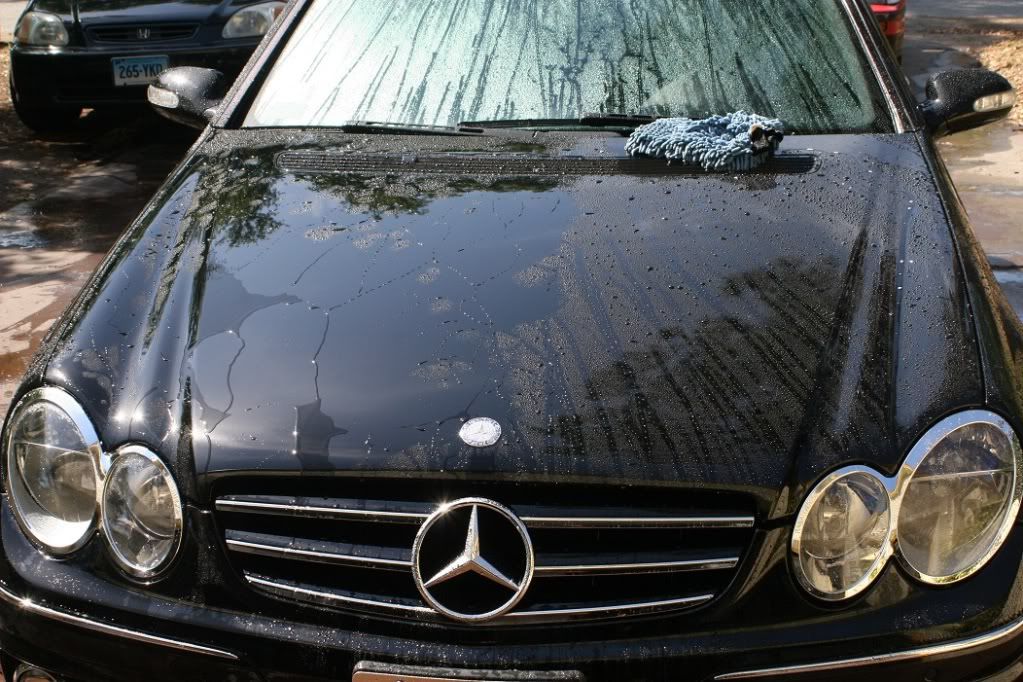
On to the correction...
a nice side by side
i was having trouble capturing side by side shots...
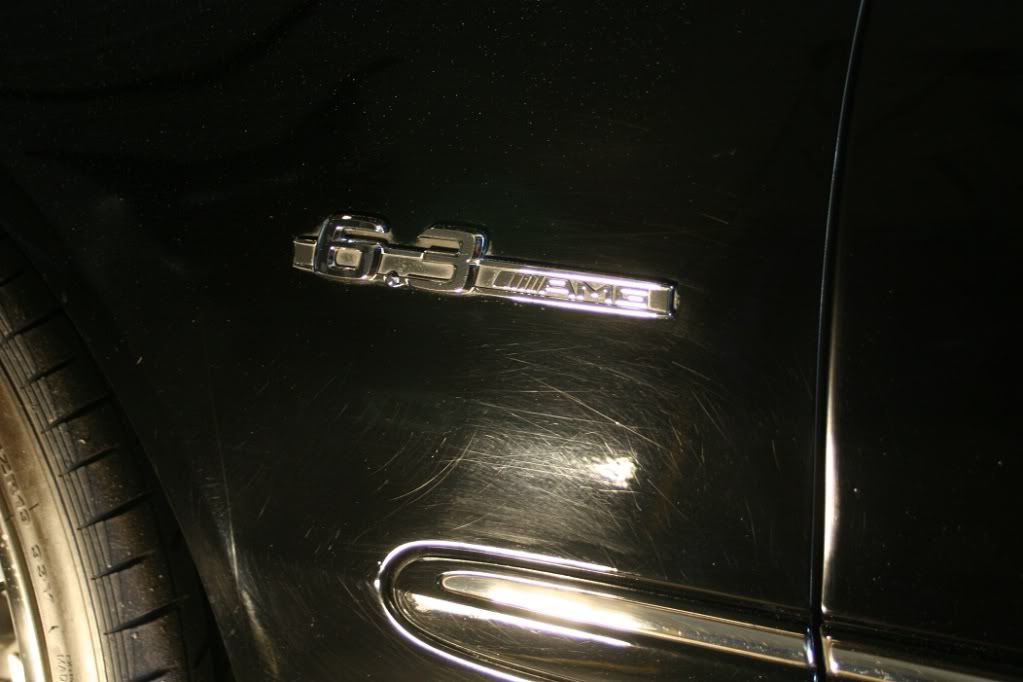
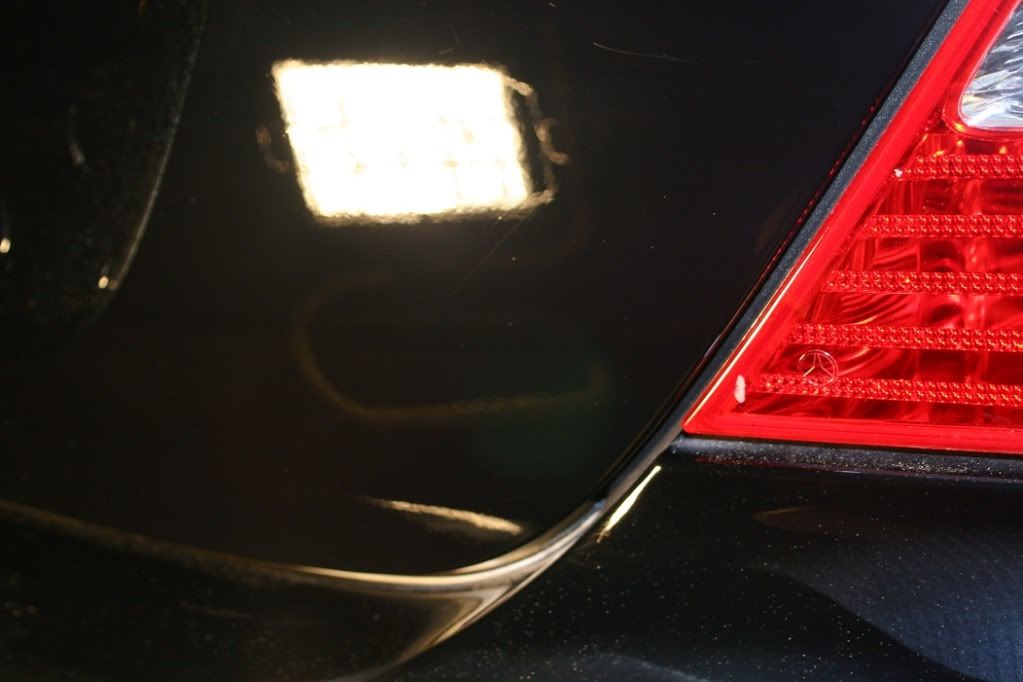
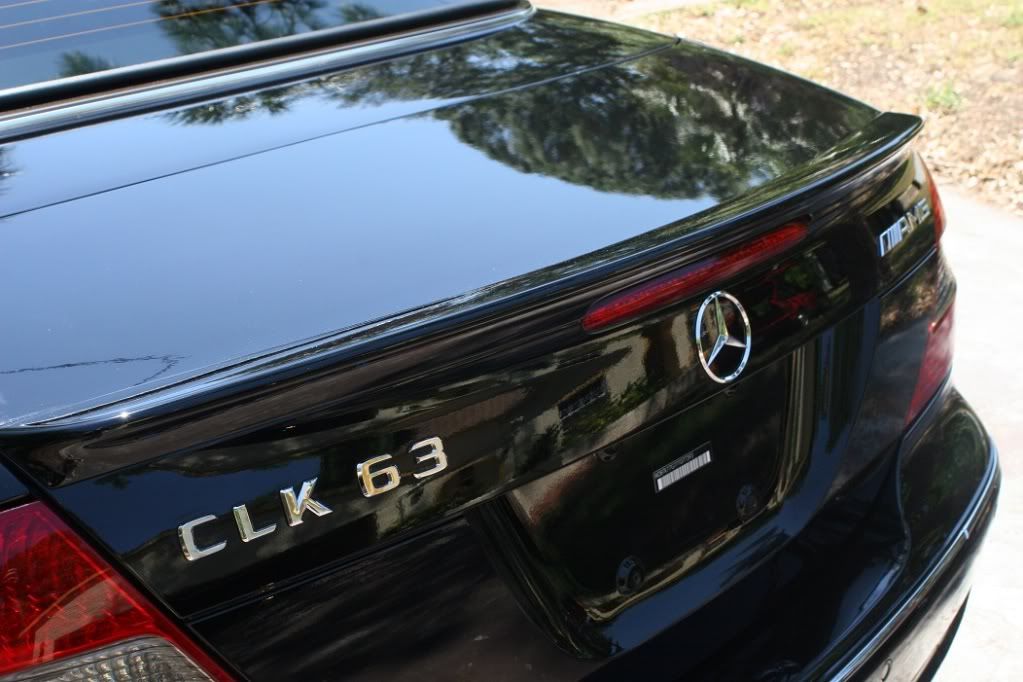
around the emblem was in bad shape...forgot to take an after shot.
taking a look in different light...I always take the time to do this...helps in identifying any areas that may have been missed.

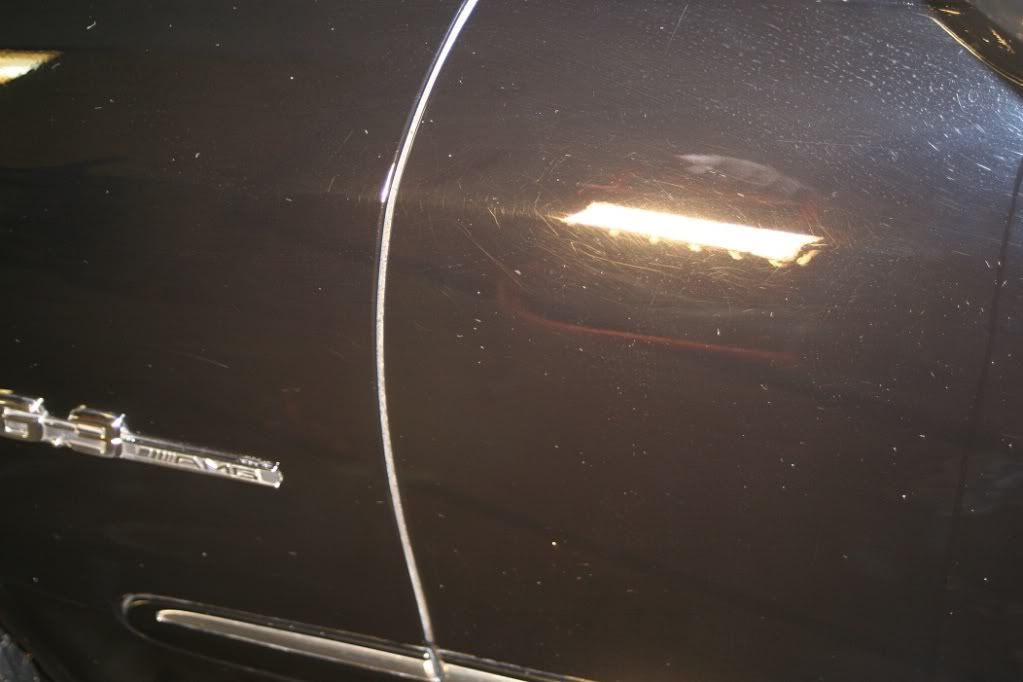
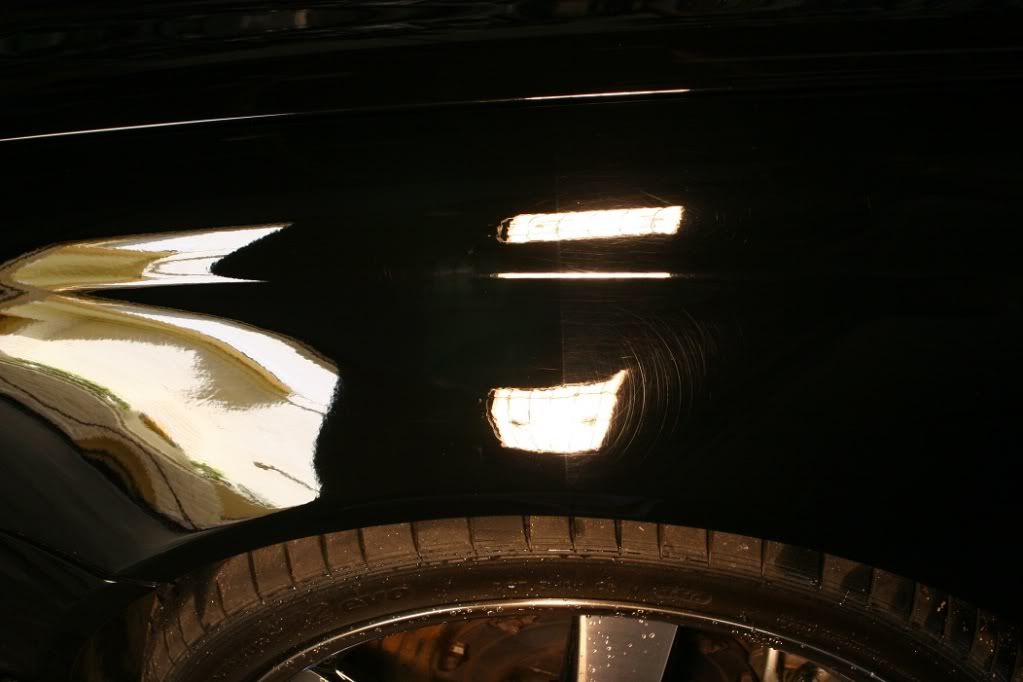
Trunk area (50/50)

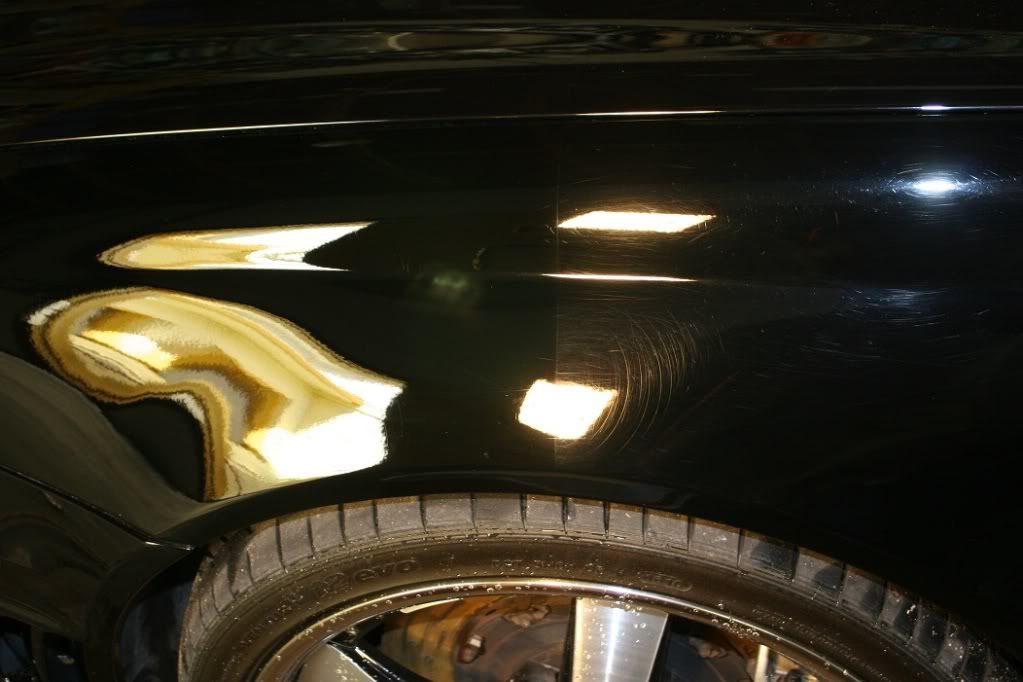
Same area, 100%.
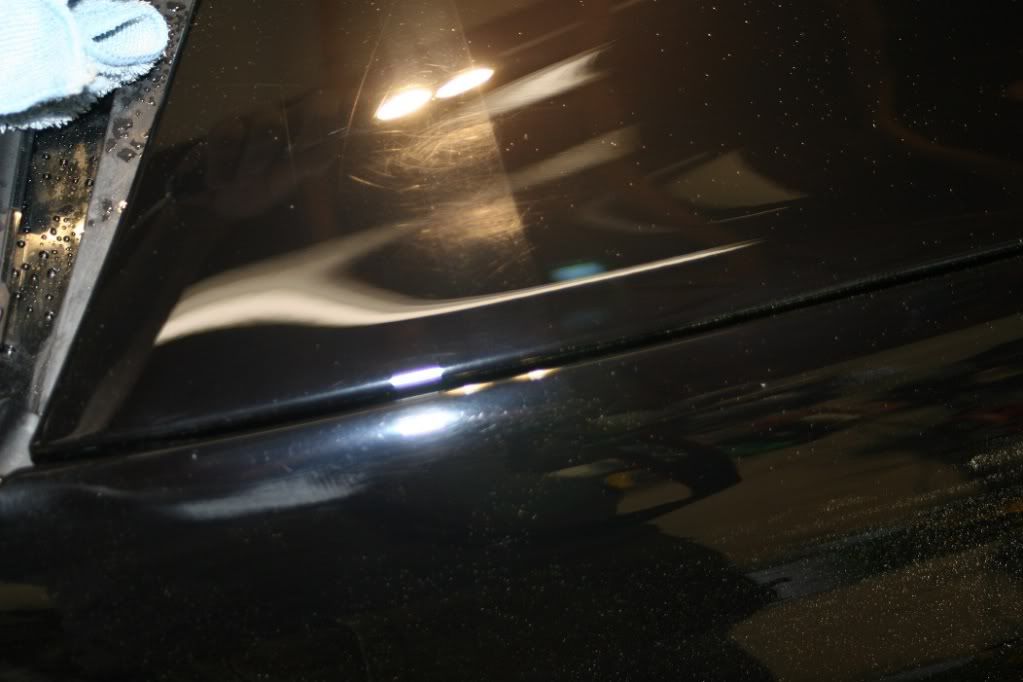
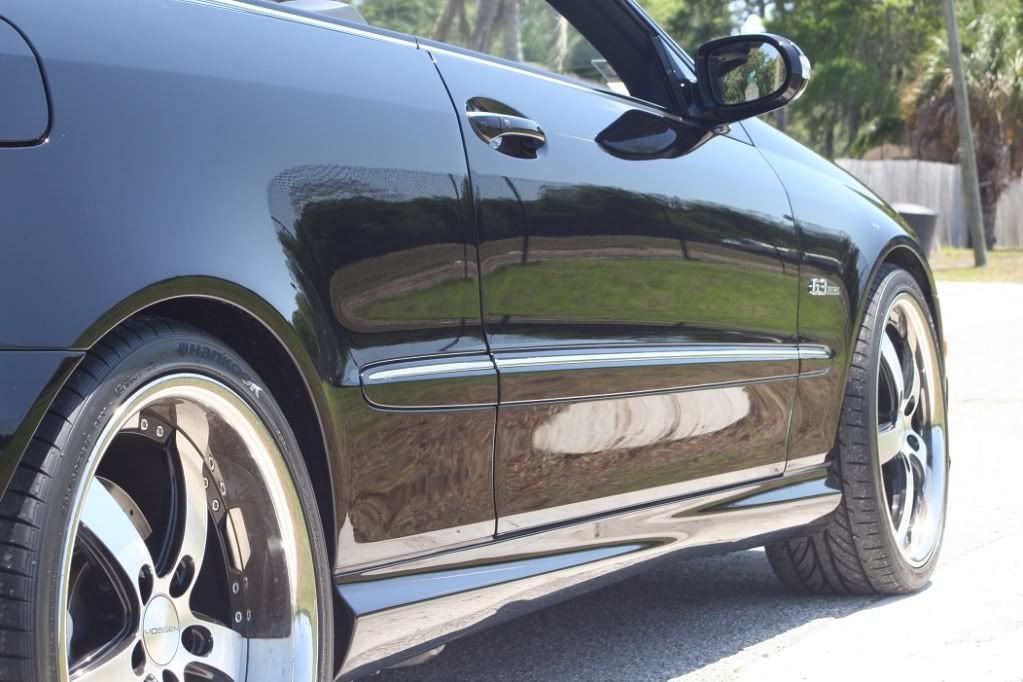
Bottom bumper...paint here is softer...always be more careful working on plastics.
Another...
And another...

Finished shot of hood...please remember hood was in worst shape...and clear coat was thinner...so I left more material and didn't achieve the same level of correction on purpose. Years of highway driving and the florida sun typically have this affect on paint surfaces.
The trunk area came out better...keep in mind no m205 was used. Practically speaking, I don't think I'd be able to capture any difference if I hit this area with m205.
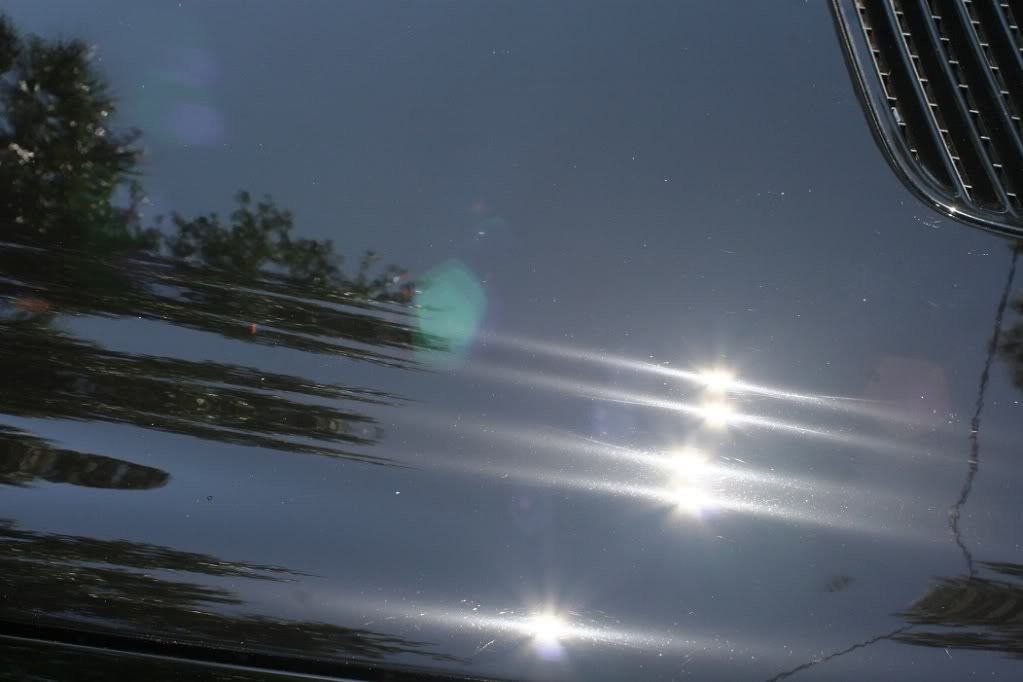
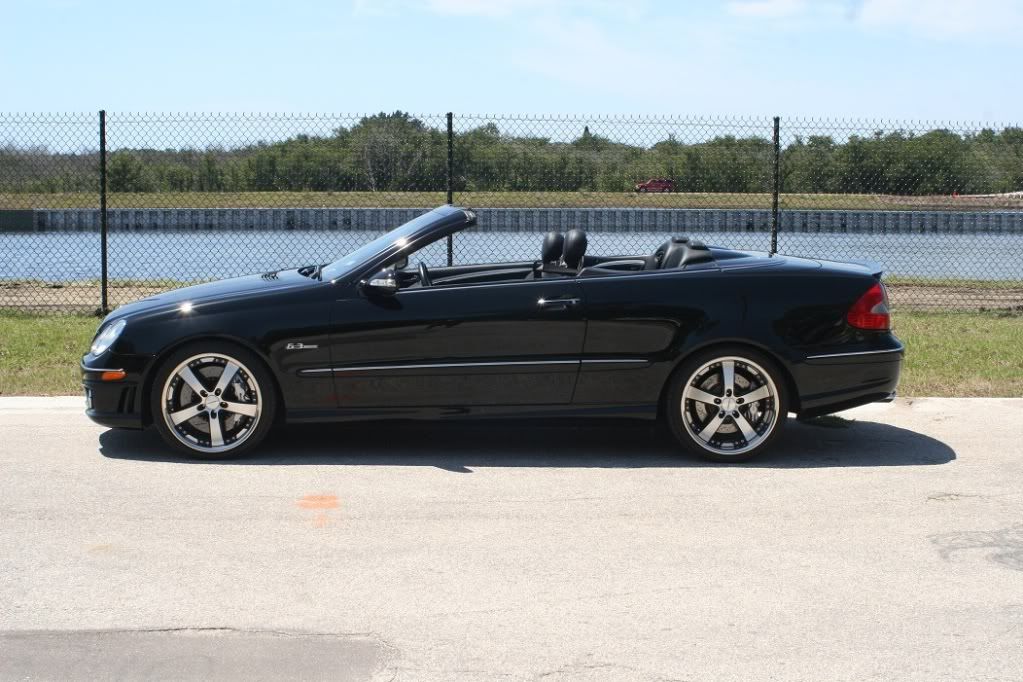
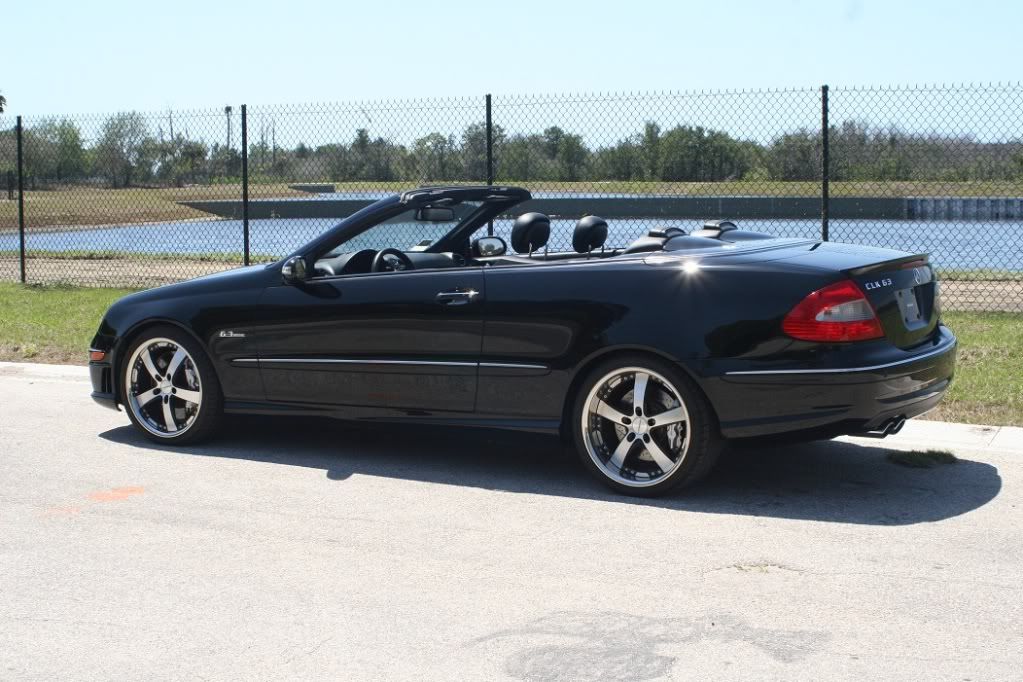
Side shot, with no products, just bare paint after correction.
Finished with Blackfire sealant. Great product, durable, goes on easy...
I didn't take additional pics after adding a coat of wax from p21s. I will be adding another coat of wax when OEM wheels are installed and I have a chance to pull chrome accents off of the front headlights. Hopefully this one doesn't get crashed...its a fun car to detail.
Comments welcome.
This one had stupid wheels and chrome accents around the front/rear lights. She gave it to me to detail since I enjoy correcting paint that others have screwed up...and appreciate working on MB paint. Its pretty hard and can be corrected using a variety of techniques. OEM wheels are going to be reinstalled...when new tires are installed...I'll be sealing and waxing those in a few weeks...and posting pictures.
With this particular detail, I used M105 w/ an Orange LC pad. By varying speeds on the da and pressure I've been able to achieve great results. I didn't find m205 to be doing much...so what you're seeing is just m105. I realize this isn't a widely accepted technique but on harder paints I don't think finer polishes make any significant difference...and I've been testing this for quite some time.
Some of you may disagree...I'll let the results speak for themselves.
When the car arrived. For a 5 year old car with 47k, it was in good shape. Clear coat on hood was thinner and had some damage...otherwise just the usually scratches and marring to be expected from years of improper washing.
Mild swirls...MB paint is pretty hard so this would be worse on a car from Japan...or BMW black.
The wax/sealant on the vehicle was cheap. One pass with Chem Guys Citrus Wash removed the wax with ease.
On to the correction...
a nice side by side
i was having trouble capturing side by side shots...
around the emblem was in bad shape...forgot to take an after shot.
taking a look in different light...I always take the time to do this...helps in identifying any areas that may have been missed.
Trunk area (50/50)
Same area, 100%.
Bottom bumper...paint here is softer...always be more careful working on plastics.
Another...
And another...
Finished shot of hood...please remember hood was in worst shape...and clear coat was thinner...so I left more material and didn't achieve the same level of correction on purpose. Years of highway driving and the florida sun typically have this affect on paint surfaces.
The trunk area came out better...keep in mind no m205 was used. Practically speaking, I don't think I'd be able to capture any difference if I hit this area with m205.
Side shot, with no products, just bare paint after correction.
Finished with Blackfire sealant. Great product, durable, goes on easy...
I didn't take additional pics after adding a coat of wax from p21s. I will be adding another coat of wax when OEM wheels are installed and I have a chance to pull chrome accents off of the front headlights. Hopefully this one doesn't get crashed...its a fun car to detail.
Comments welcome.


Comment