

 Tweet
Tweet
I’m going to format this write up a little differently. Still lots of pics, I still believe they are the best way to showcase the quality of the work but I’ve cut the number down a bit. However, I am going to spend the first bit of the write up detailing the processes (so if you’re not interested in this scroll to the pics
 ), then the second bit showing the work by pictures and then the artistic after shots at the end so if you just want to see the shiny car, scroll to the bottom I am also going to focus this write up on the paint correction stage where the vast majority of time was spent on this particular car.
So – having washed, decontaminated the car and rolling it in ready for the paint correction, the finish was assessed using all light sources available to us, paint thicknesses measured looking for inconsistencies and thin spots (a few found, see later
), and after trialling various combinations across the car we settled on the following product combinations, applied in the following ways.------------
For heavy correction work (most of the car!) where the paint thicknesses allowed: 3M Fast Cut Plus on a 3M Orange Cutting pad, or Chemical Guys Hexlogic Yellow Cutting pad, applied as follows:
> Spread the compound at 600rpm
> Begin working at 1200rpm, until residue evenly spread
> Work at 2000rpm with moderate to heavy pressure until the defects removed or residue clear.
Fast Cut was chosen for its consistent performance as an aggressive compound, delivering excellent correction of severe marks.
------------
------------
For correction where the paint was thinner and compounding would be unwise: Menzerna PO85RD3.02 Intensive Polish on a 3M Yellow Polishing pad or Chemical Guys Hexlogic White Polishing pad, applied as follows:
> Spread at 600rpm
> Begin working at 1200rpm, building a bit of heat in the panel to evenly spread the residue
> Work at 1800rpm until the residue goes clear, moderate pressure getting lighter towards the end of the set
------------
------------
For combined hologram removal and refinement: Menzerna PO203S Power Finish on a 3M Yellow Polishing Pad, applied as follows:
> Spread at 600rpm
> Begin working at 1200rpm, building a bit of warmth in the panel so the lubrication spreads evenly
> Work at 1500rpm, moderate pressure for a few steady passes
> Work at 1800rpm, moderate pressure for a few passes until the residue begins to go clear, steady machine movements keeping the temperature of the panel to luke warm
> Work at 1500rpm, light pressure until the residue goes fully clear
> Refine at 1200pm, light pressure and slower machine movements to refine out any light machine marring
> Jewel at 900rpm, supporting the weight of the rotary for very light pressure and slow machine movements for a couple of passes
------------
We found Power Finish a superb product for hologram removal and refining on this particular paint (hard as assessed by removal rates), and with a long work time and attention paid particularly to the refining stages of the set, it finished down beautifully meaning no need for further refining of the finish (no improvement seen from PO85RD Final Finish).
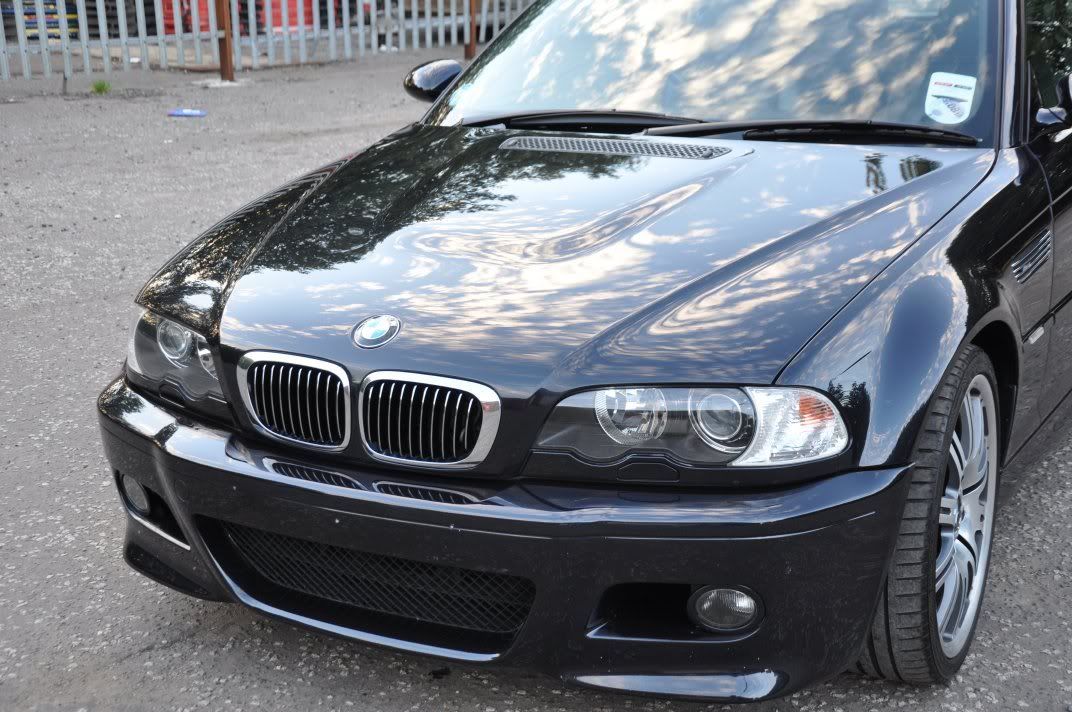
On to the pictorial descriptions of the detail:
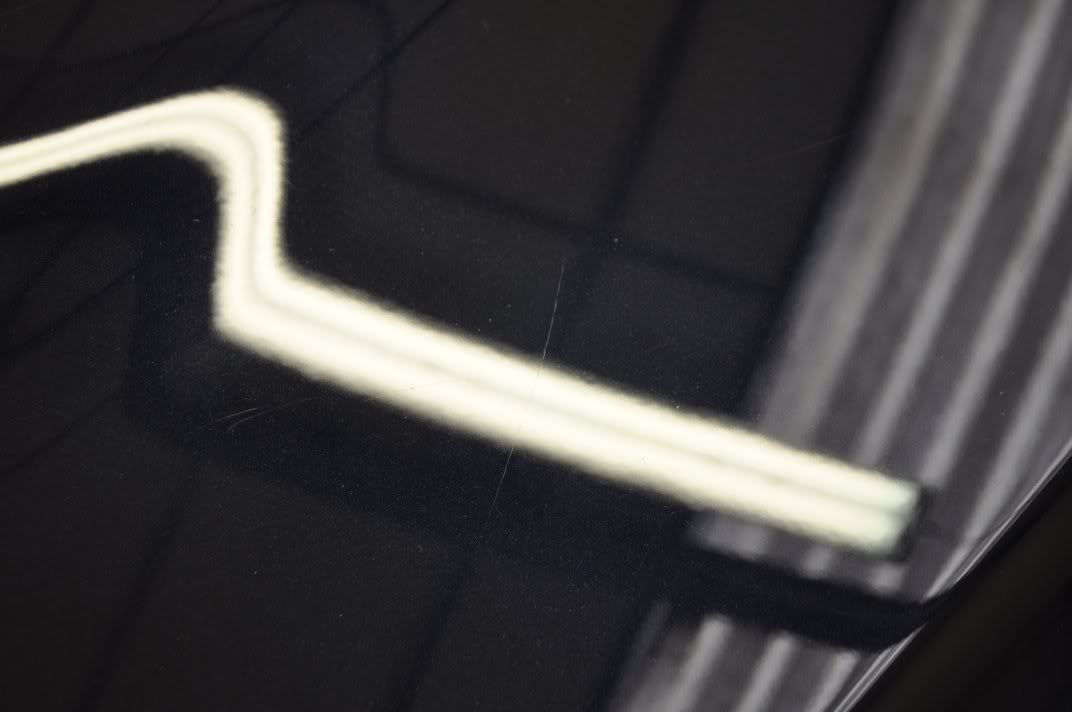
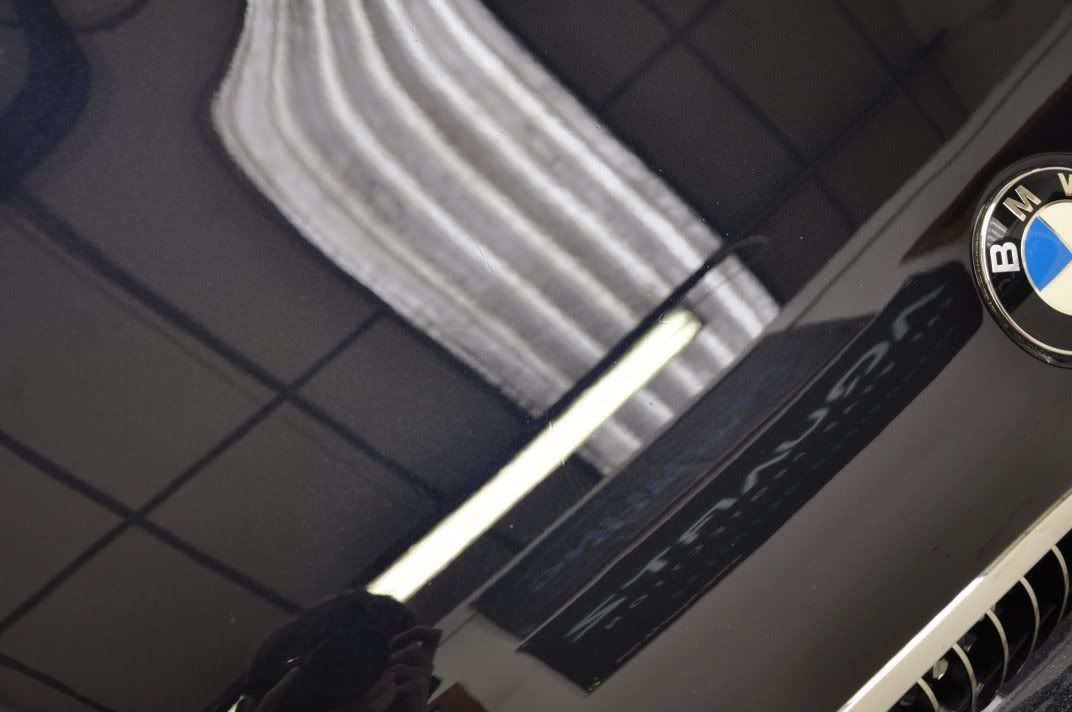
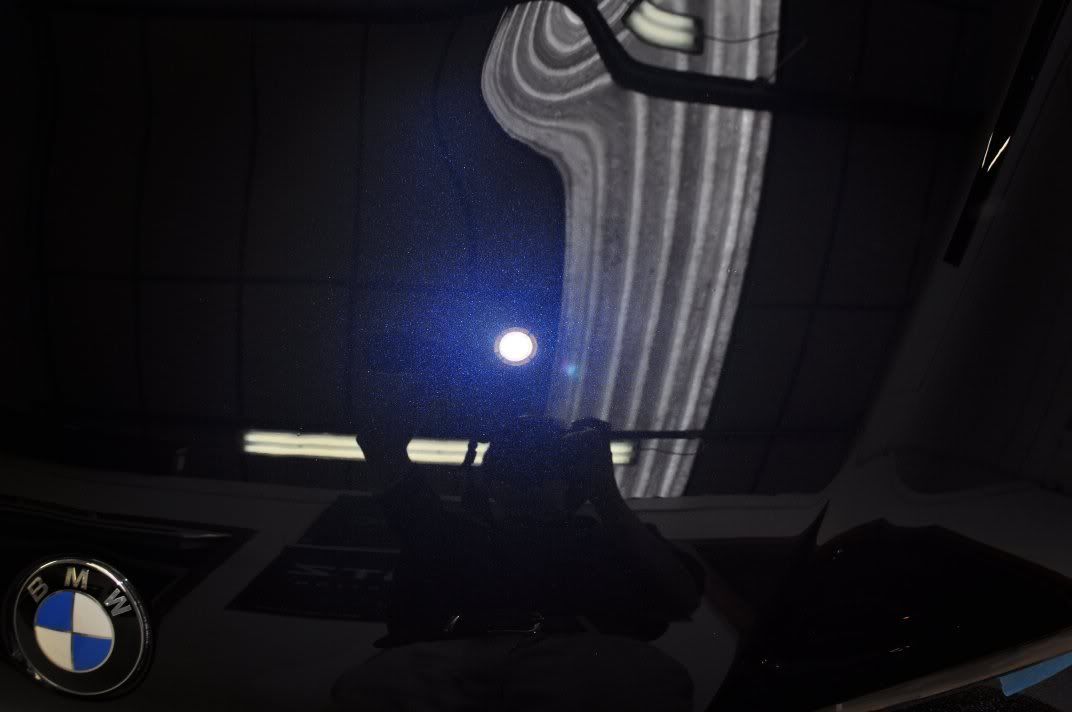
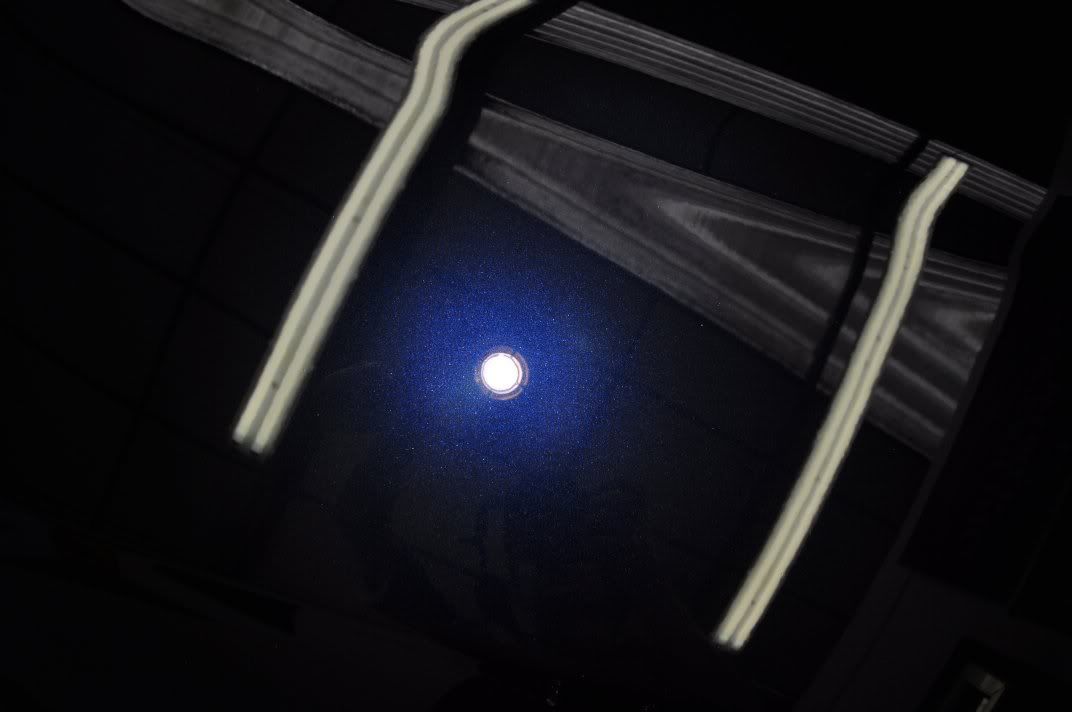
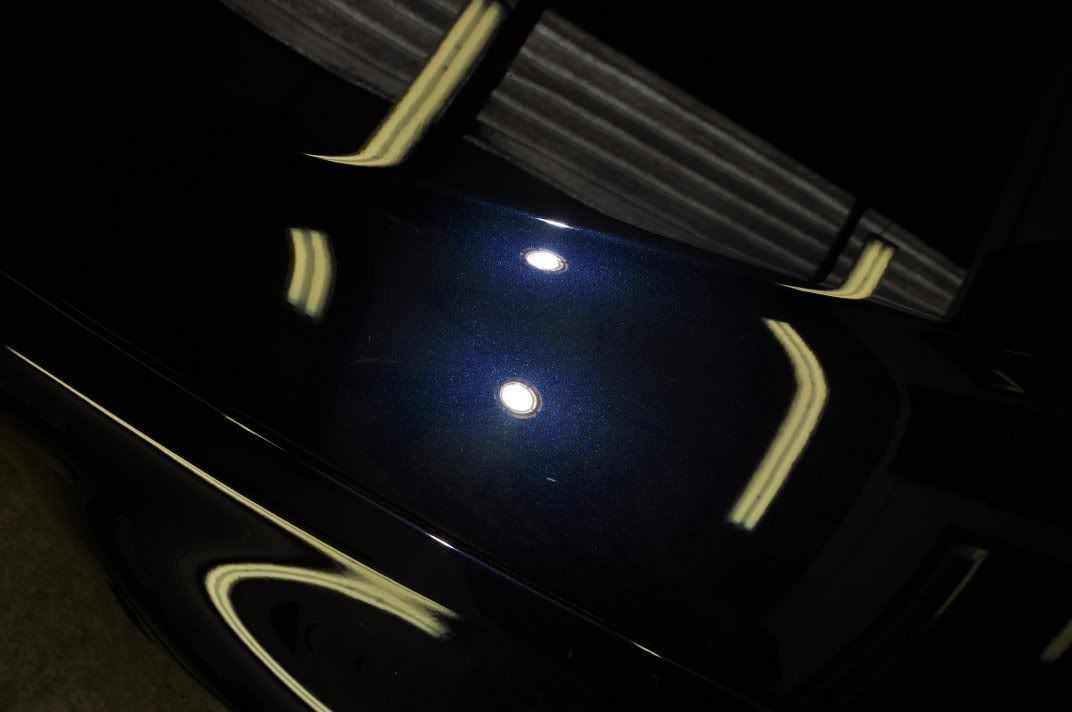
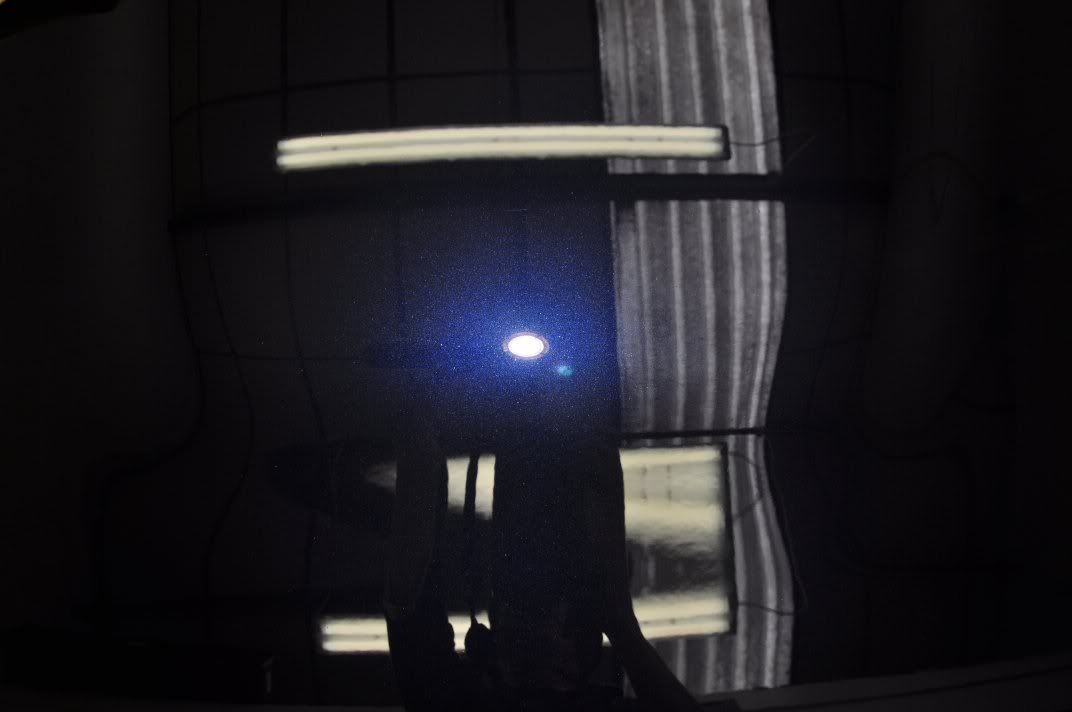
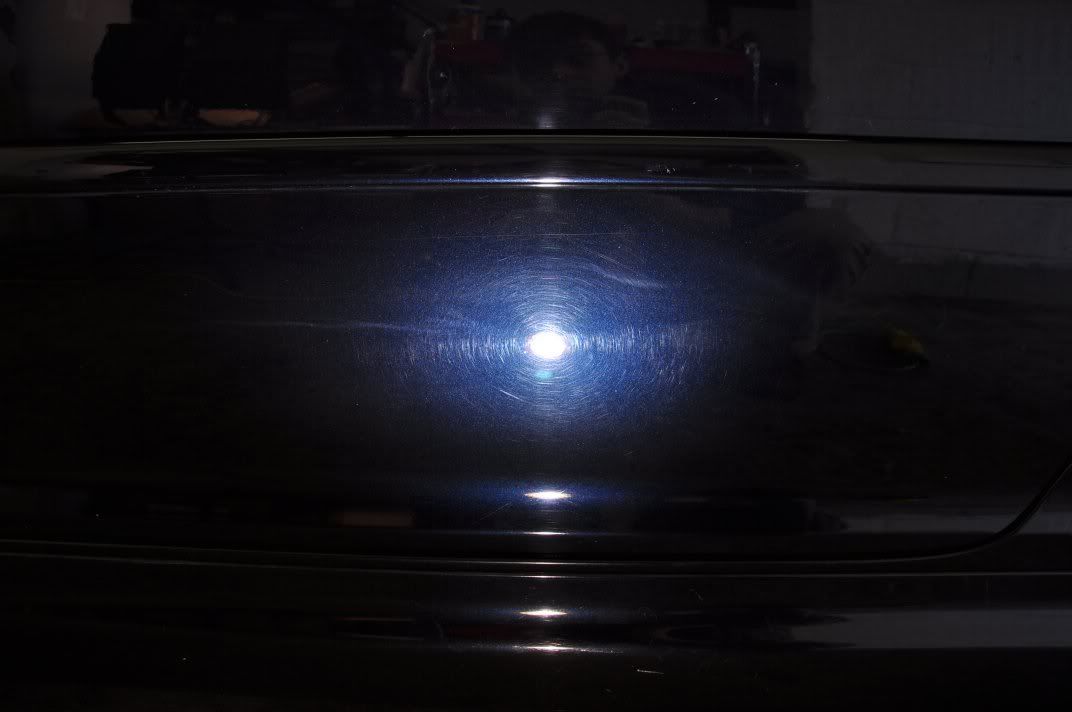
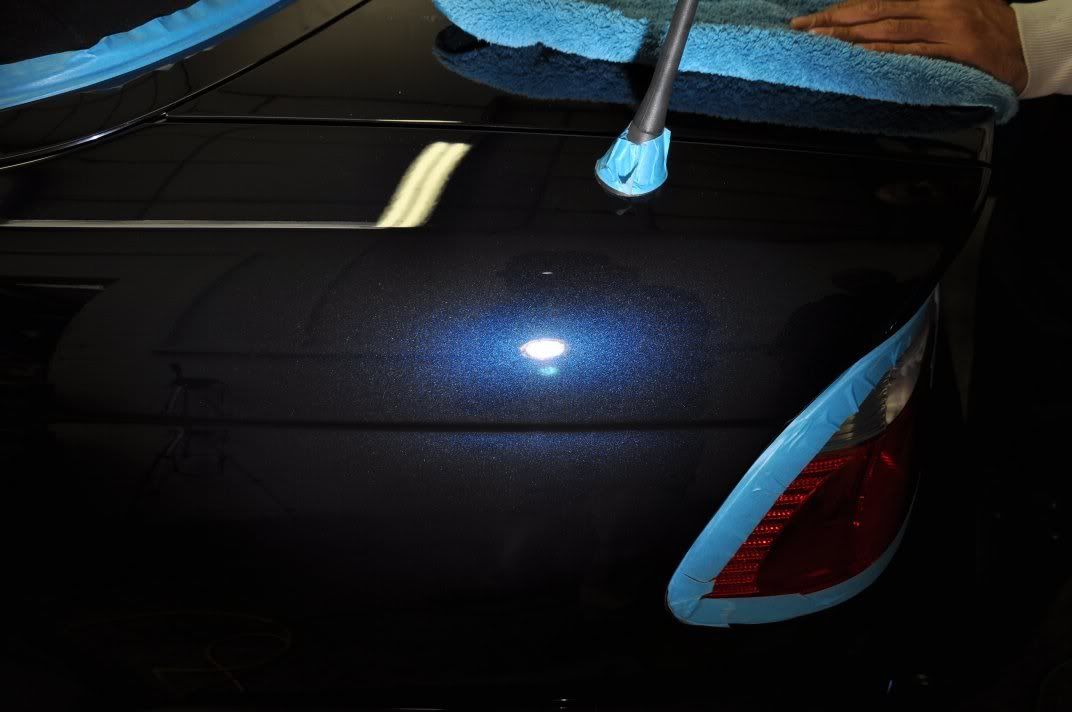
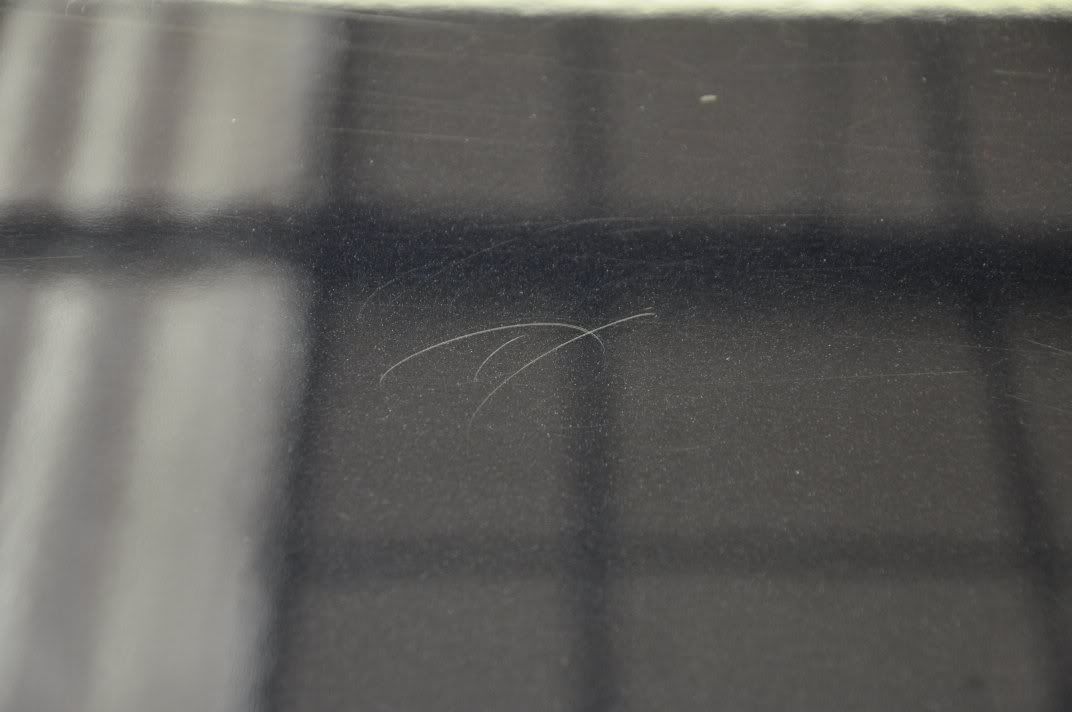
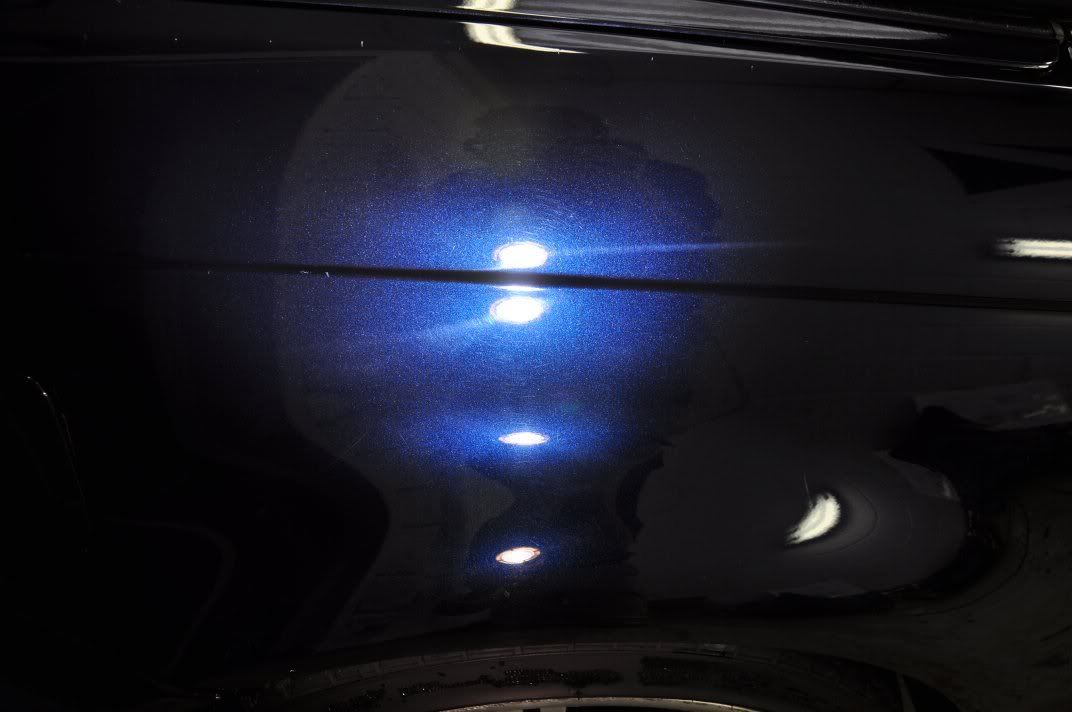
Starting out with the bonnet, before shots first of all assessed by the Sun Gun (note the swirls, and also holograms from previous polishing efforts...):
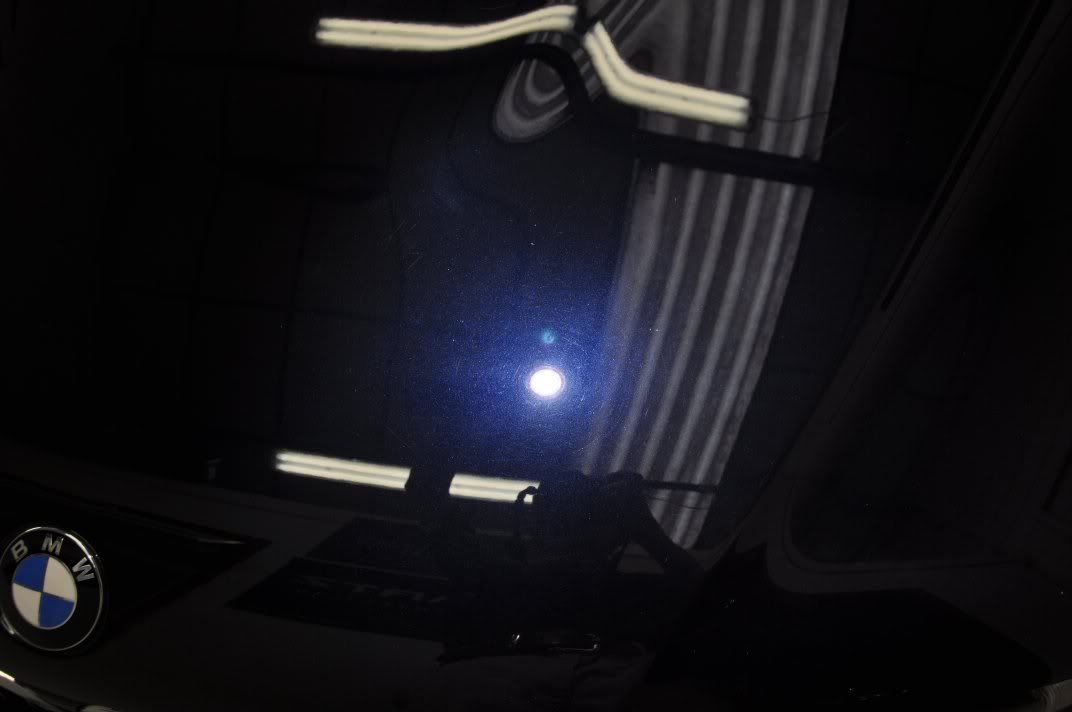
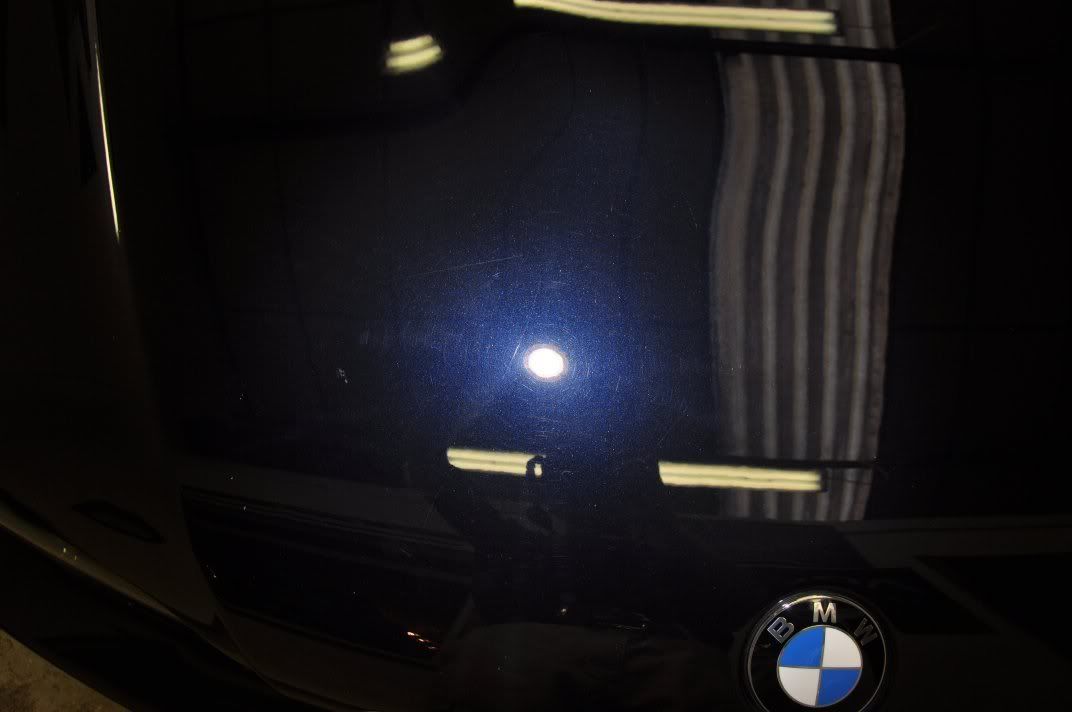
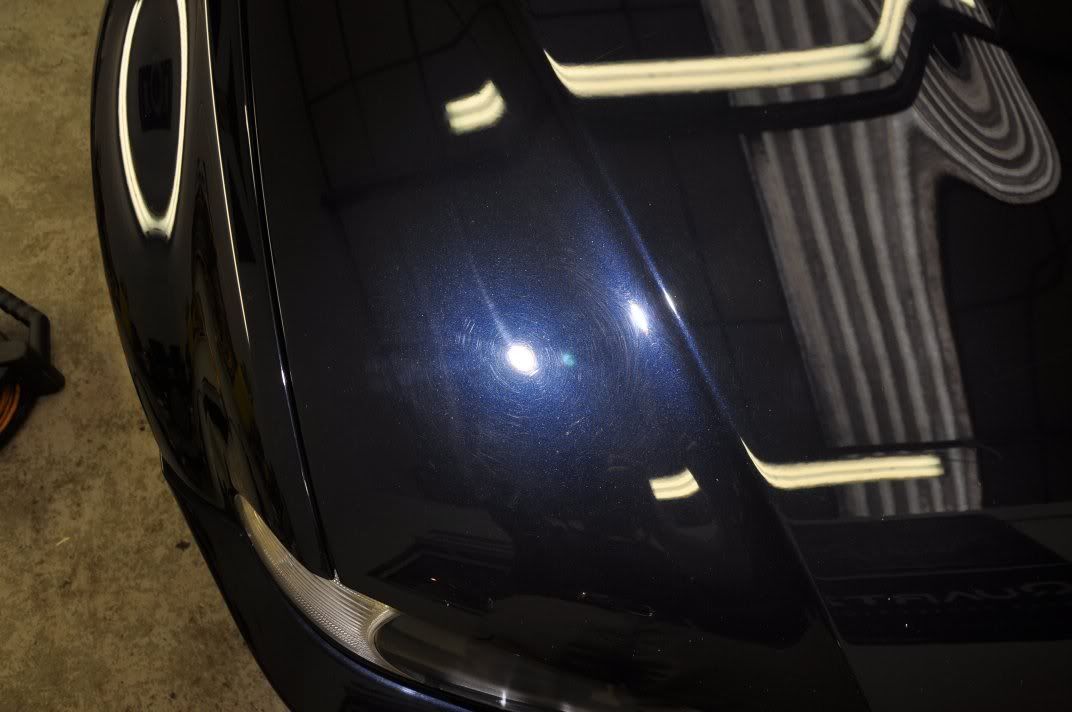
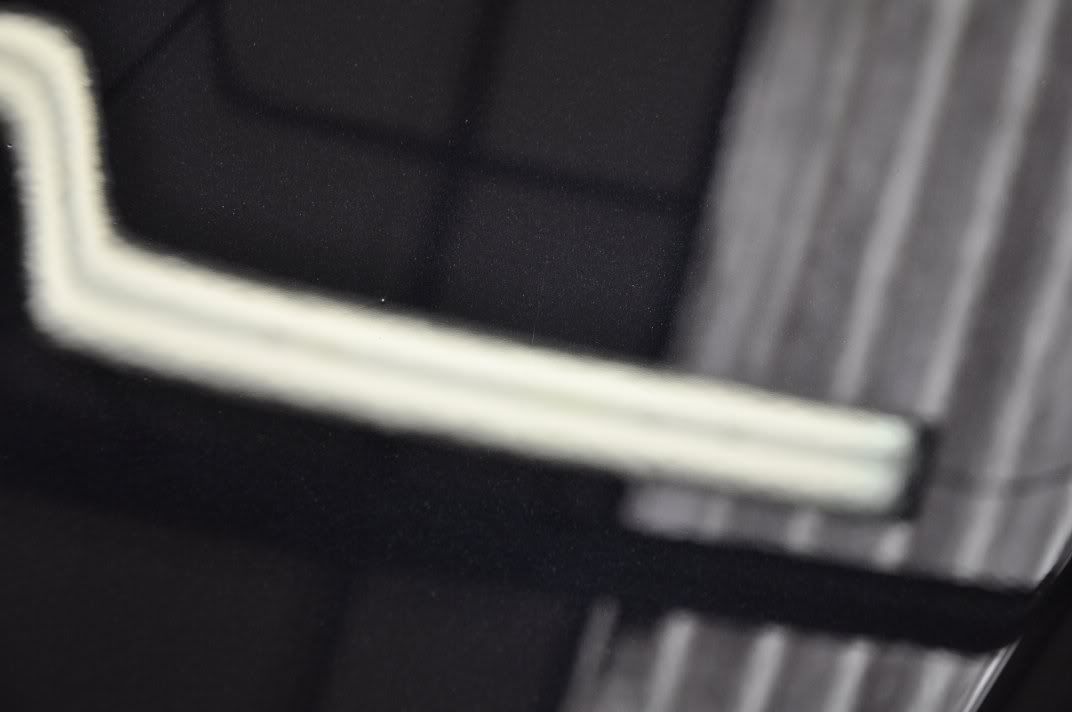
And also assessed under the strip lighting – now see the deeper marks in the finish, bleeched out by the Sun Gun above:
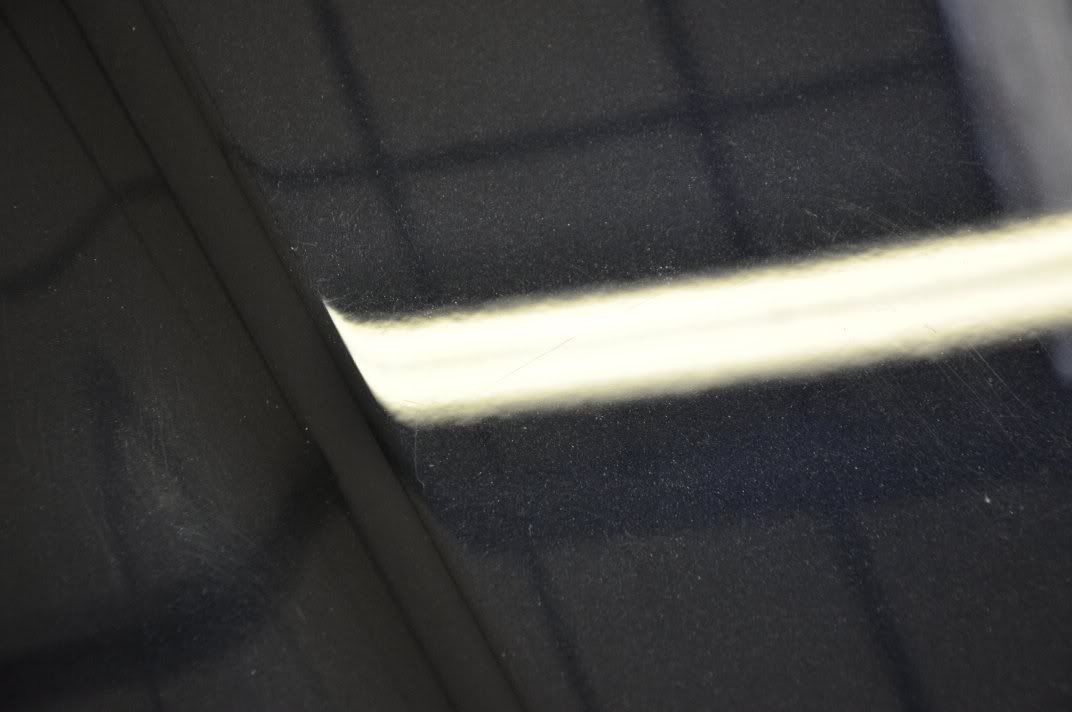
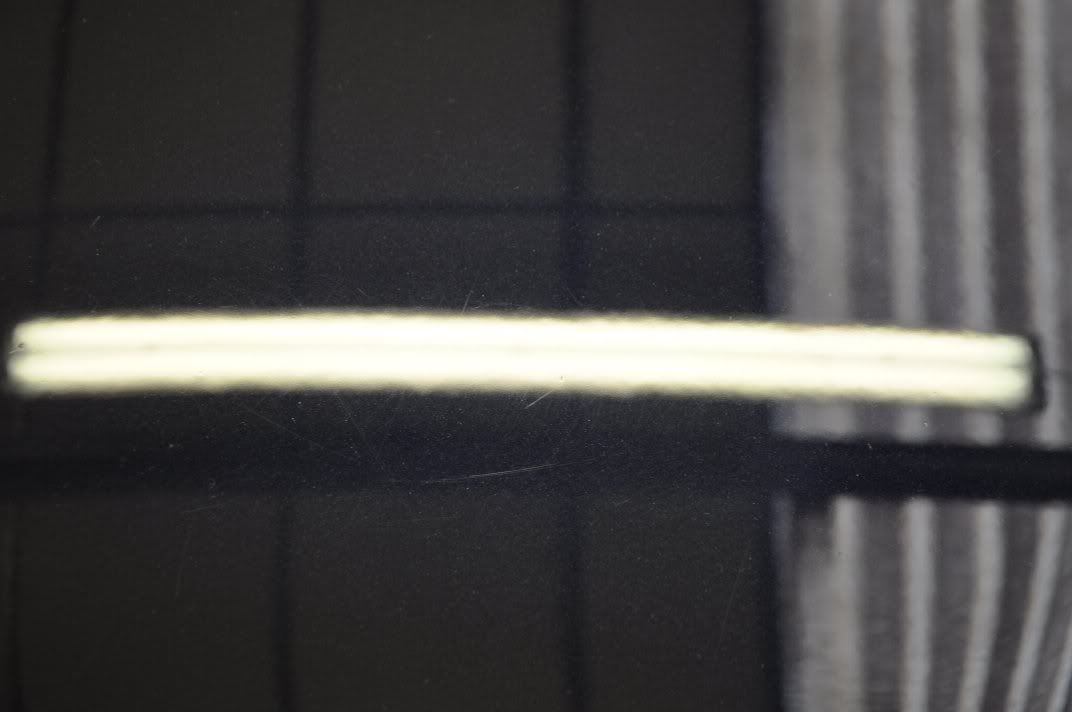
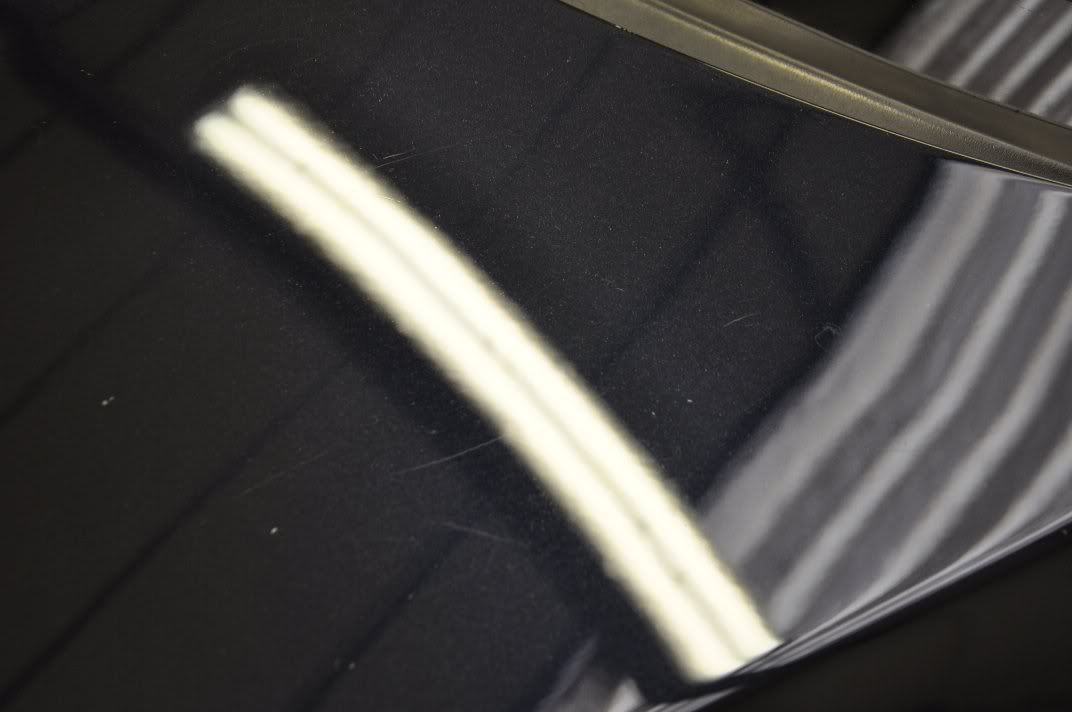
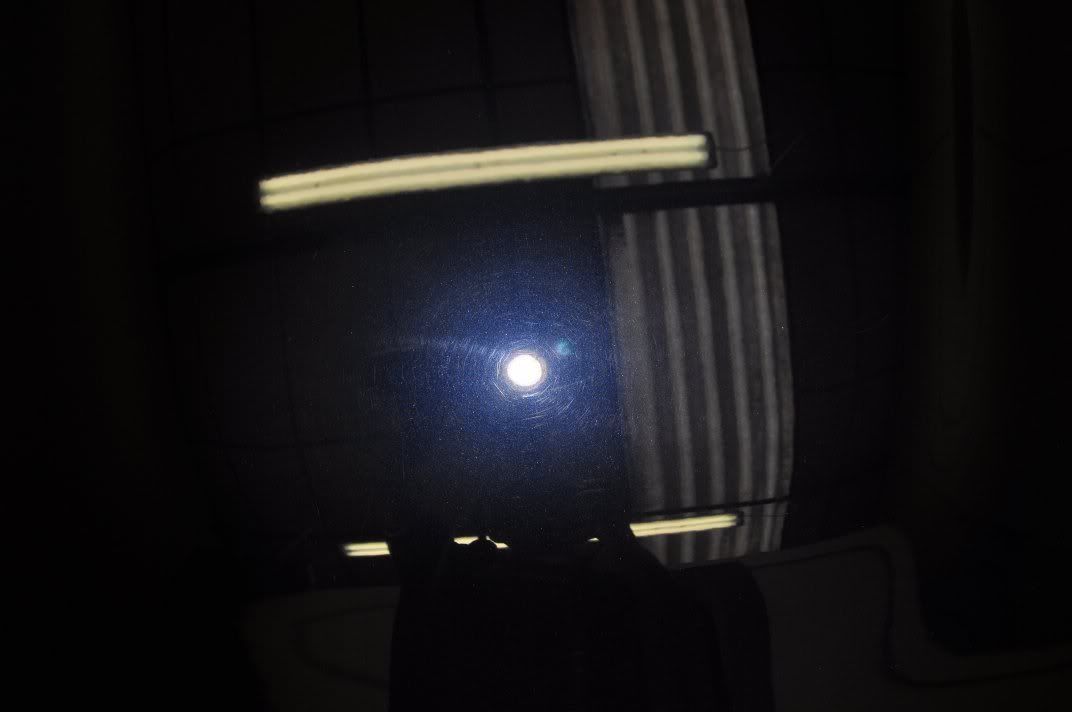
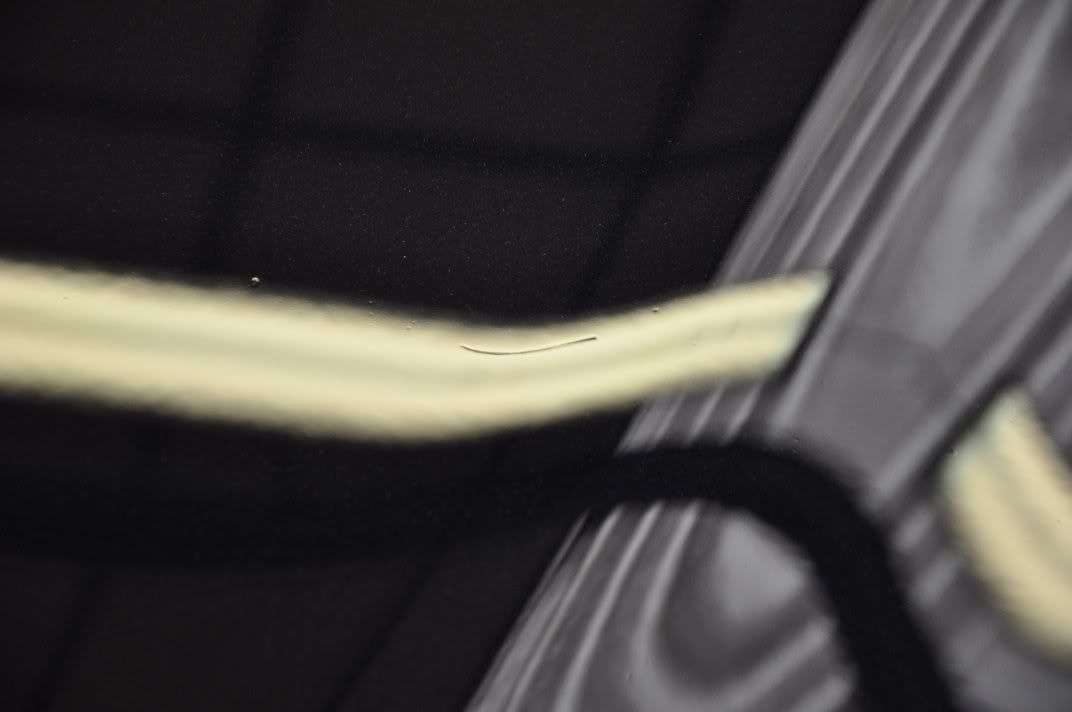
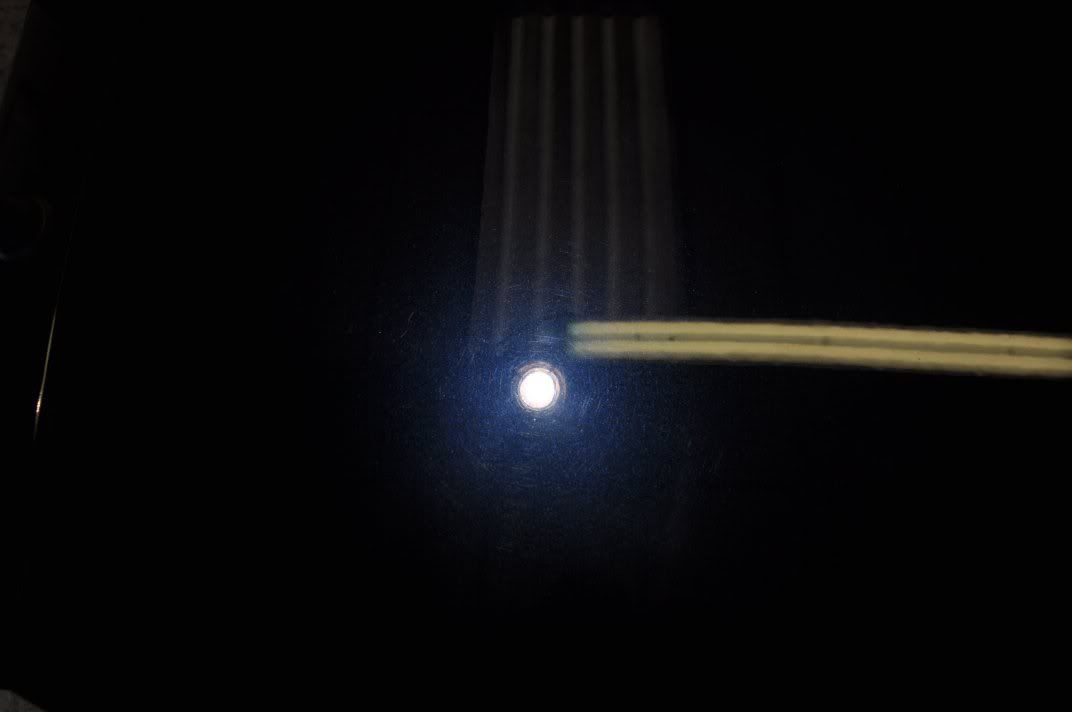
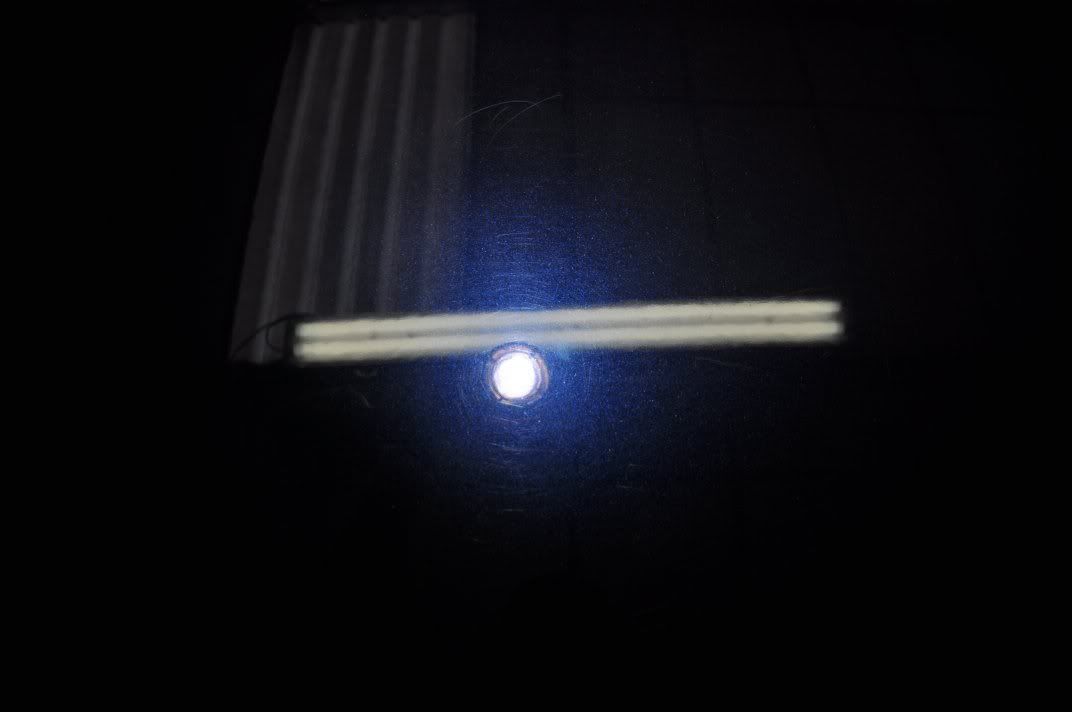
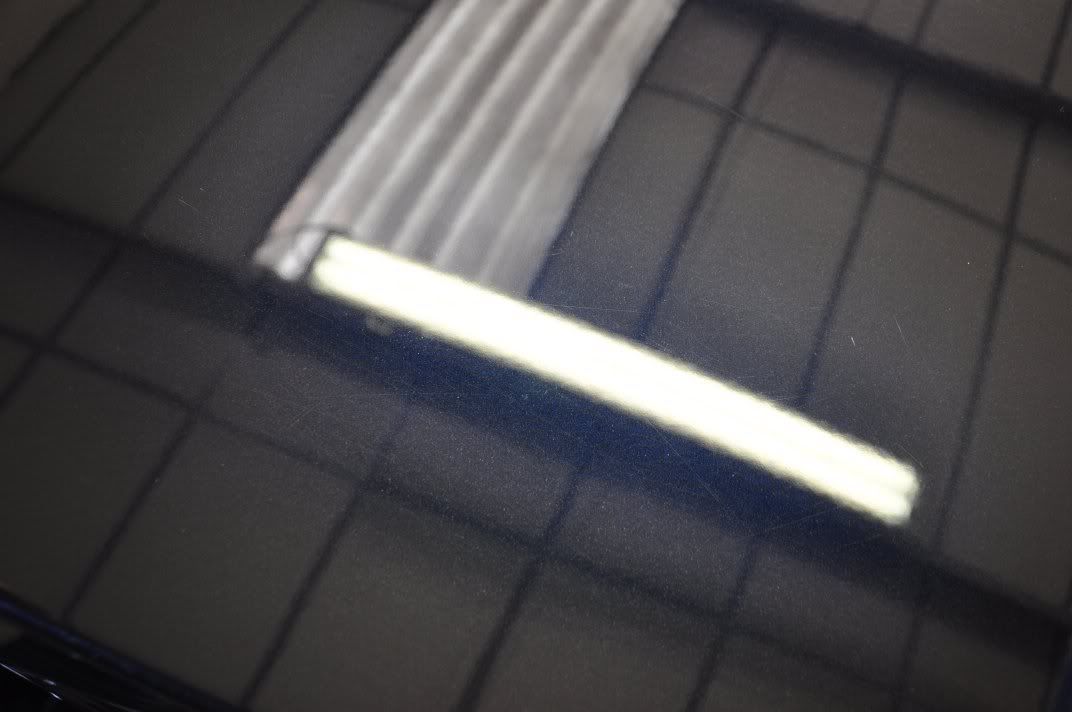
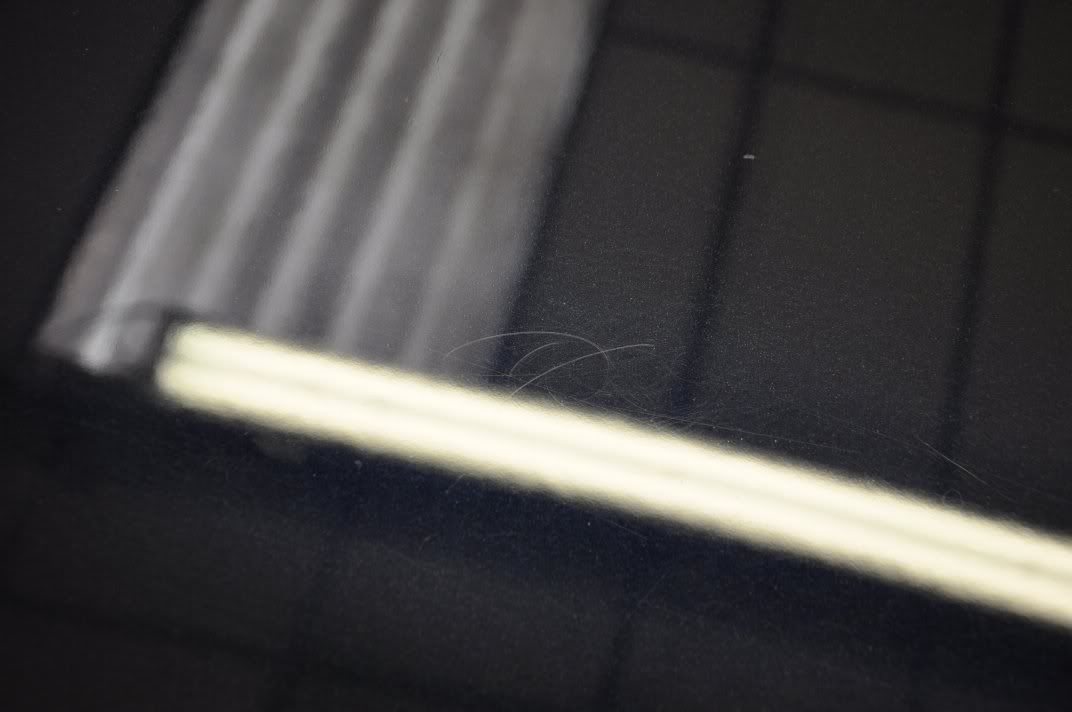
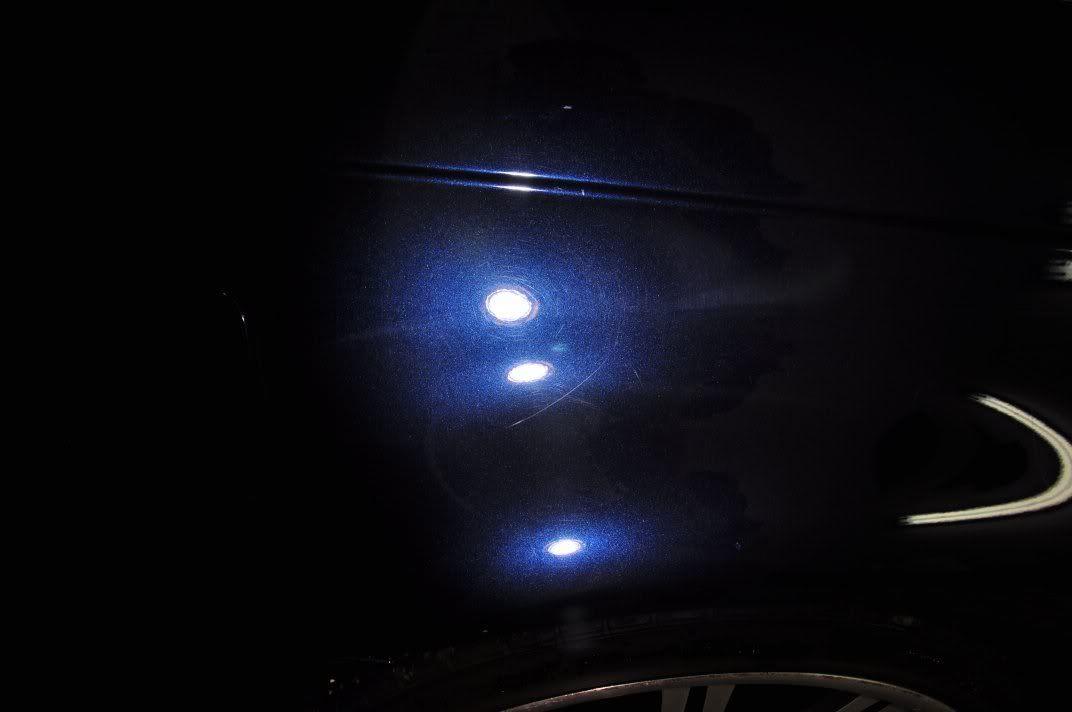
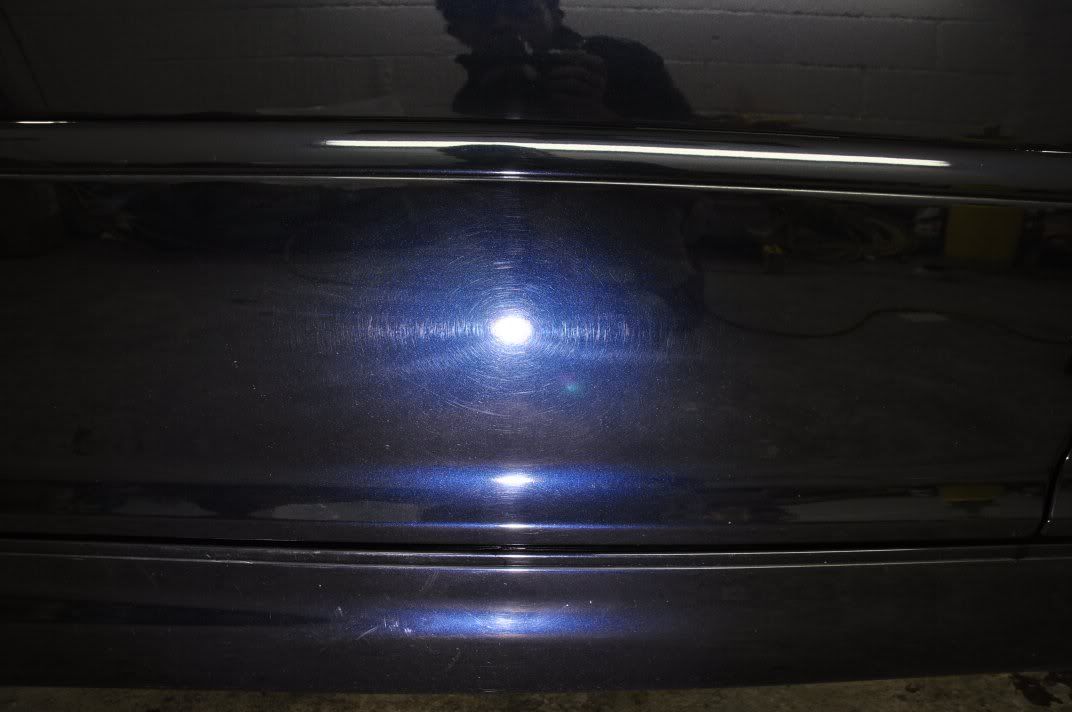
Using just the strip lights for now, a before and after shot of a specific region to show the correction level achieved (note, still the odd deep mark remains after two hits of Fast Cut, which was deemed all that was safe on this finish). Before:
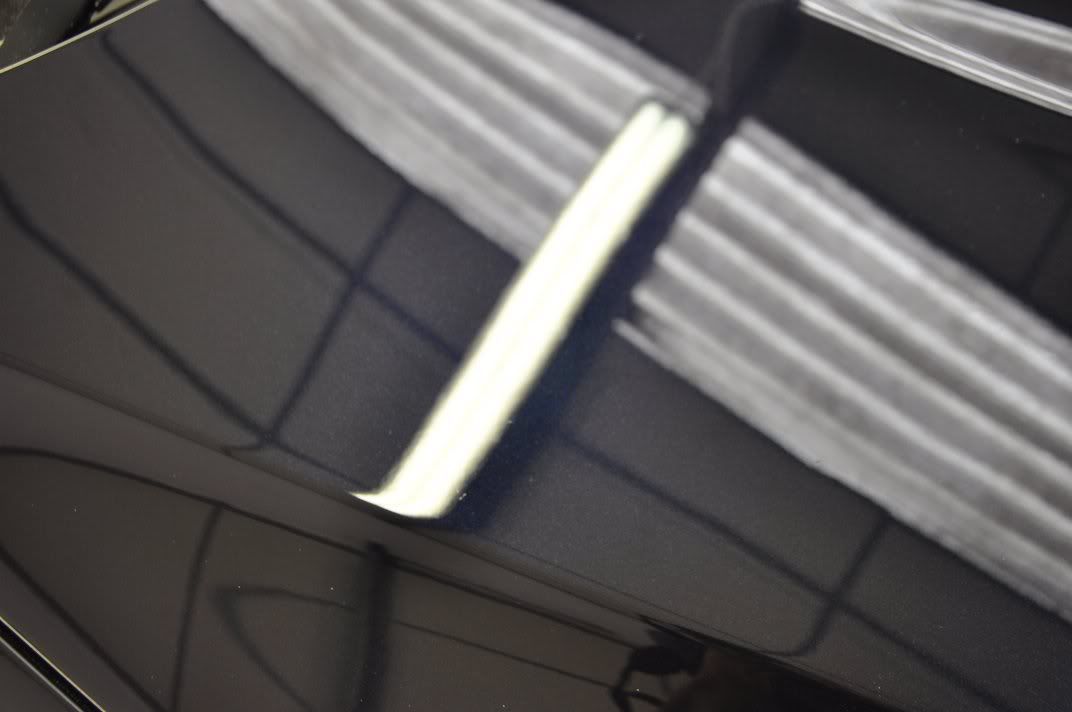
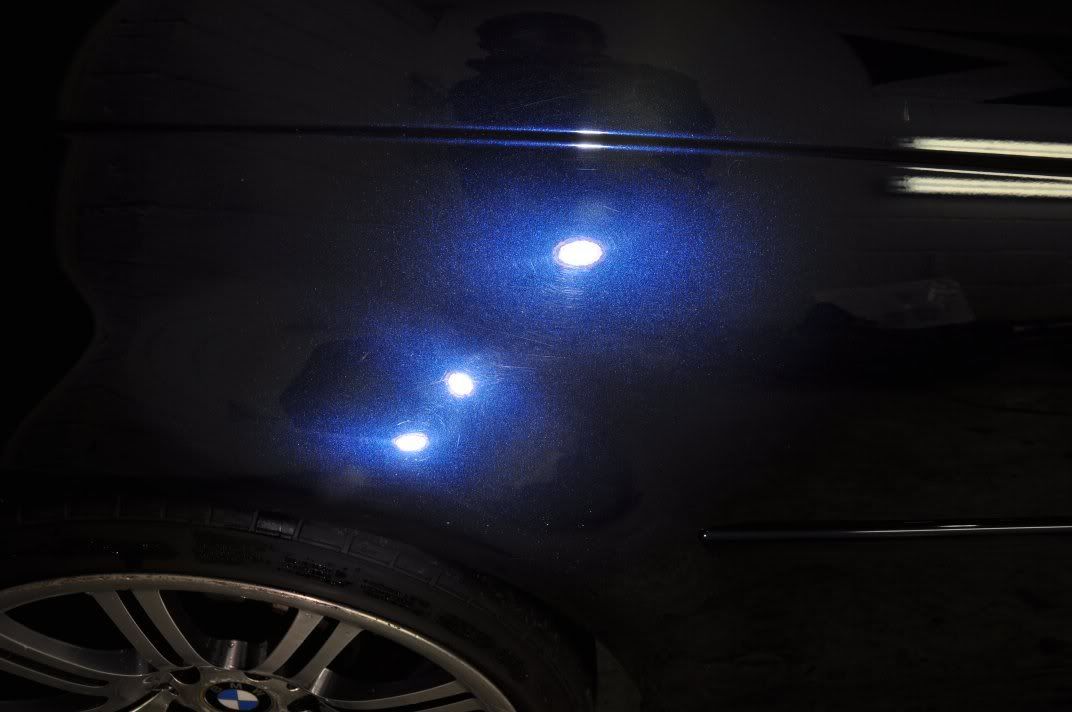
And after correction:
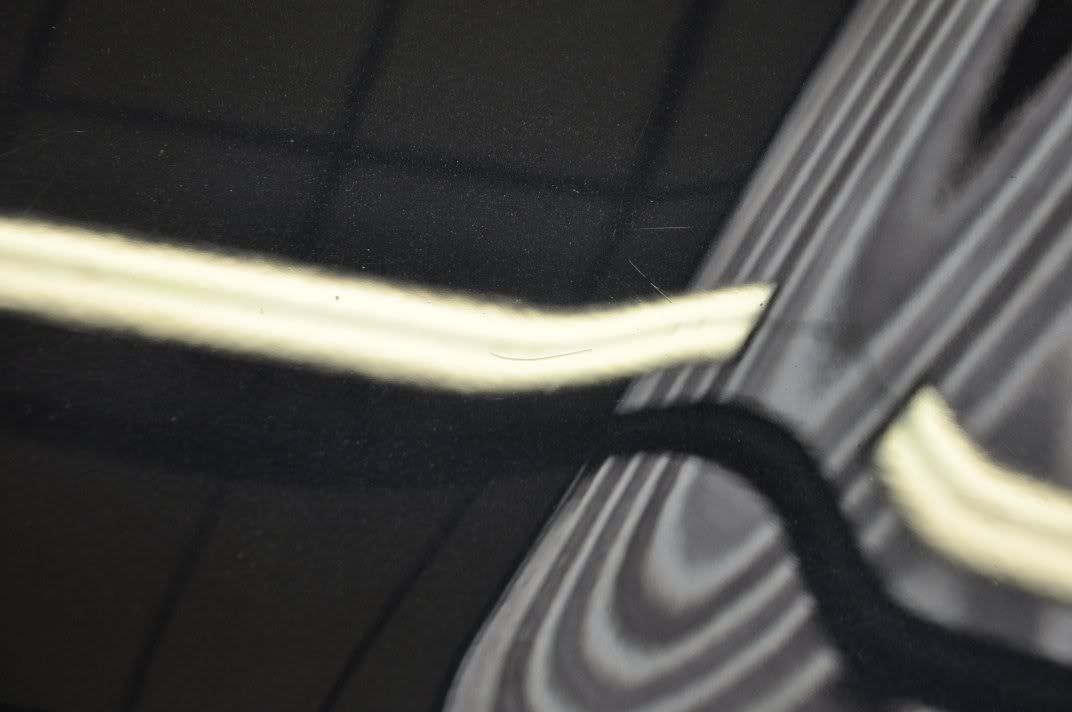
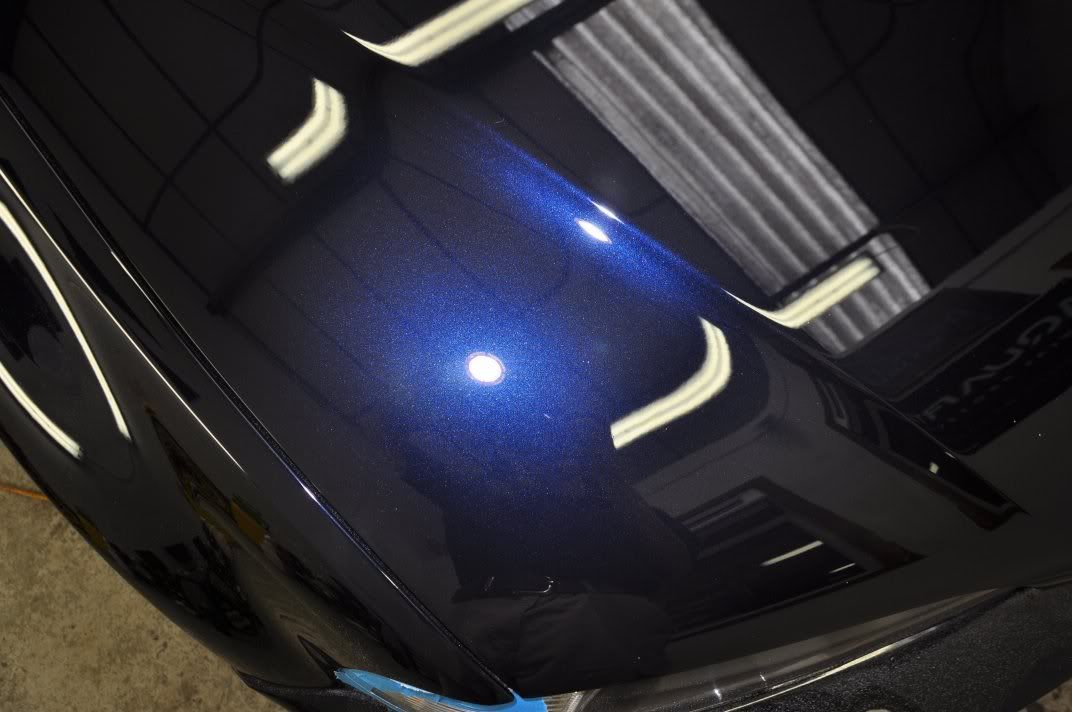
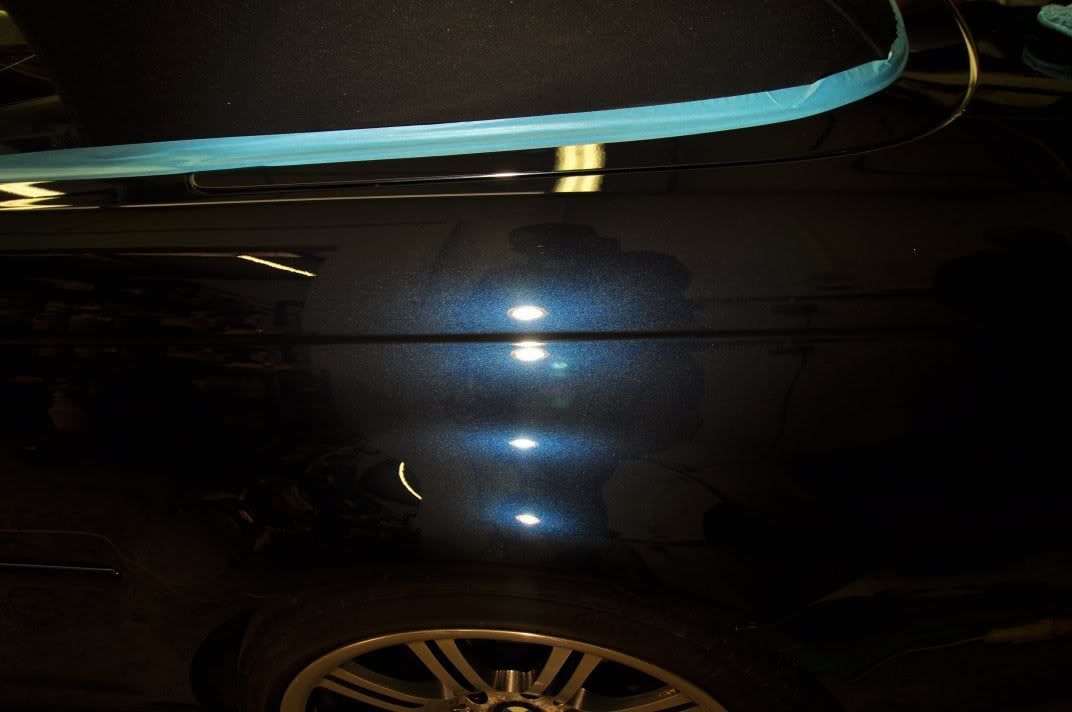
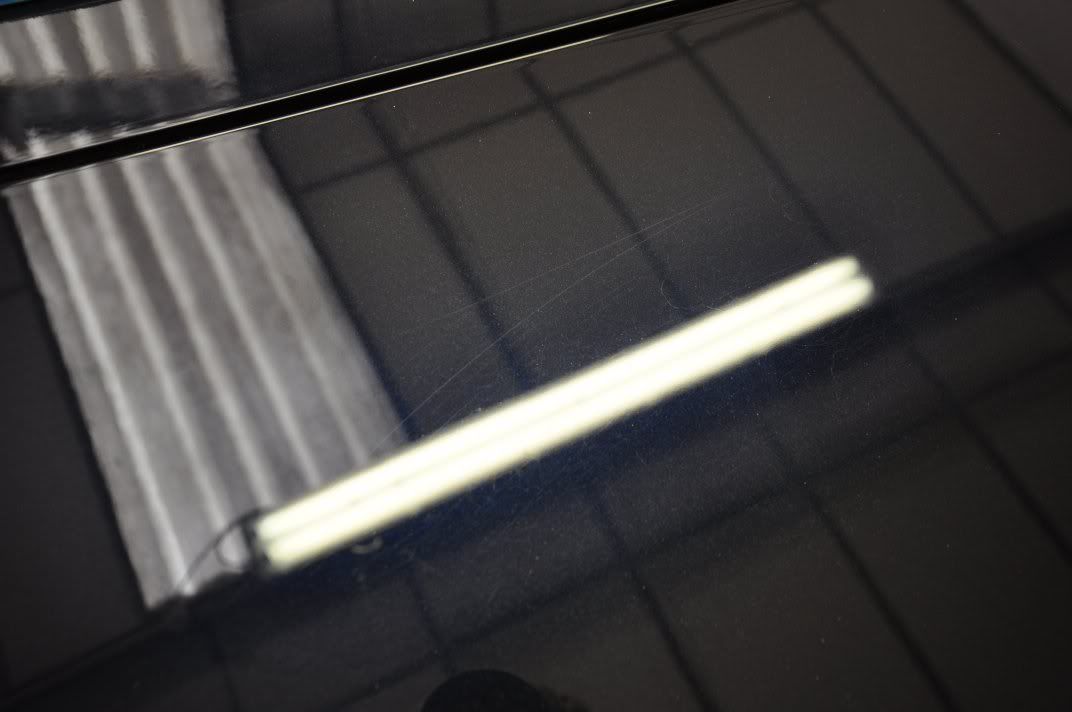
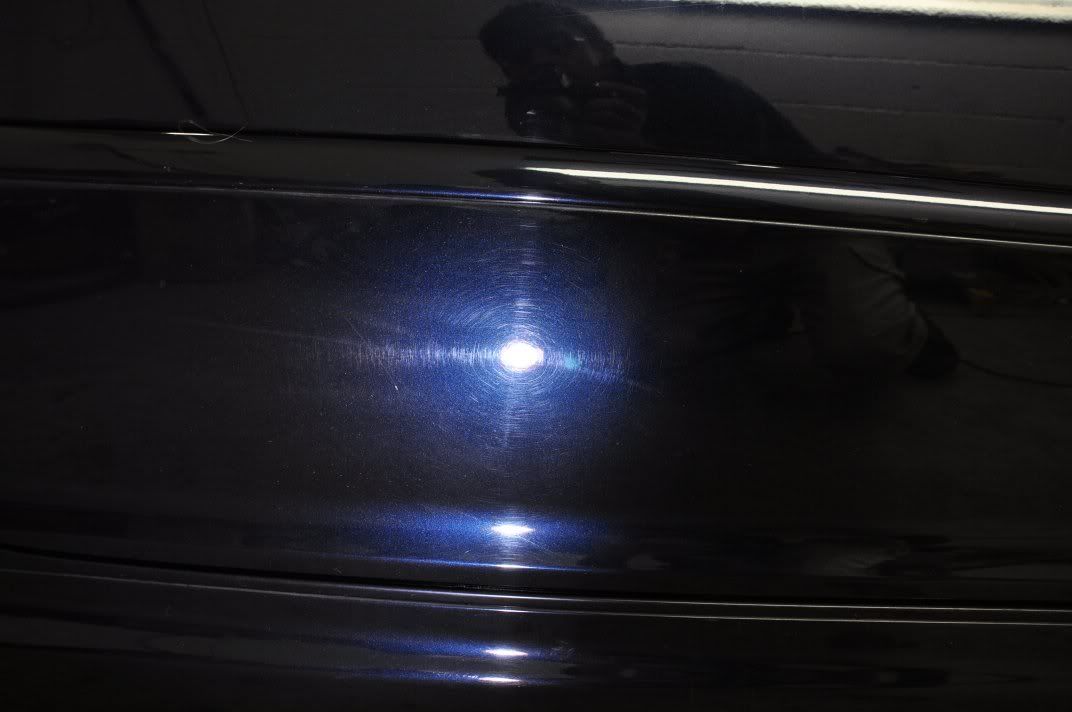
More after shots of the bonnet from the strip lighting to assess the correction (again, look out for the marks that still remain – perfection would be nice, but on this car, not achievable without the risk of blowing through the clearcoat – a risk no detailer should ever take!)...

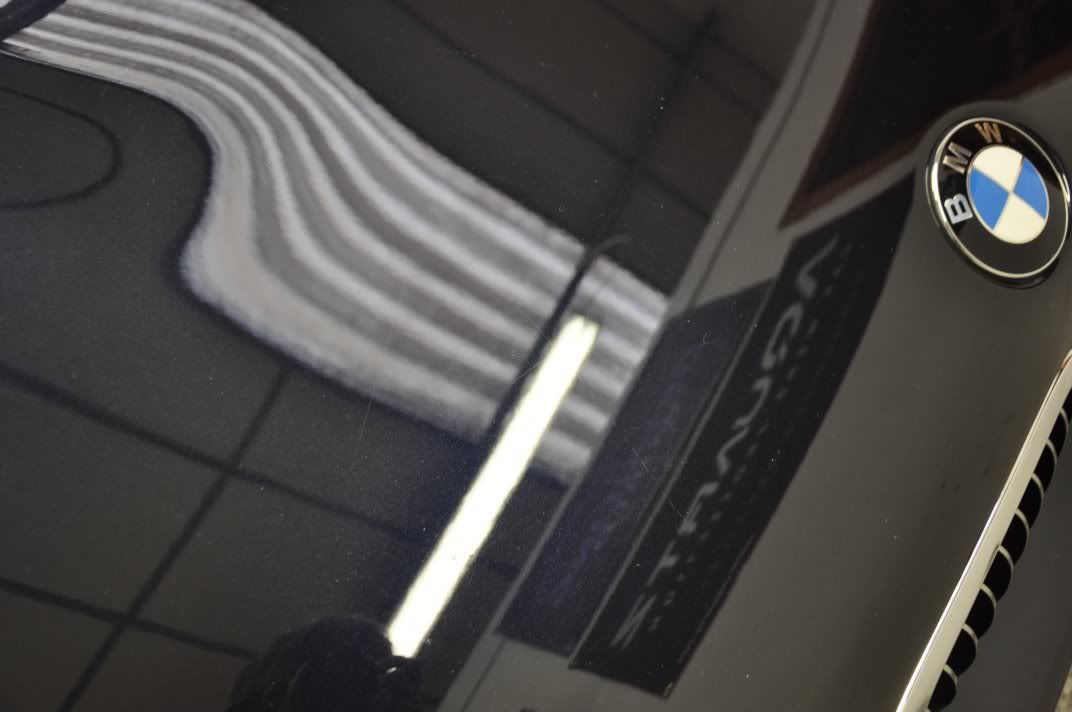
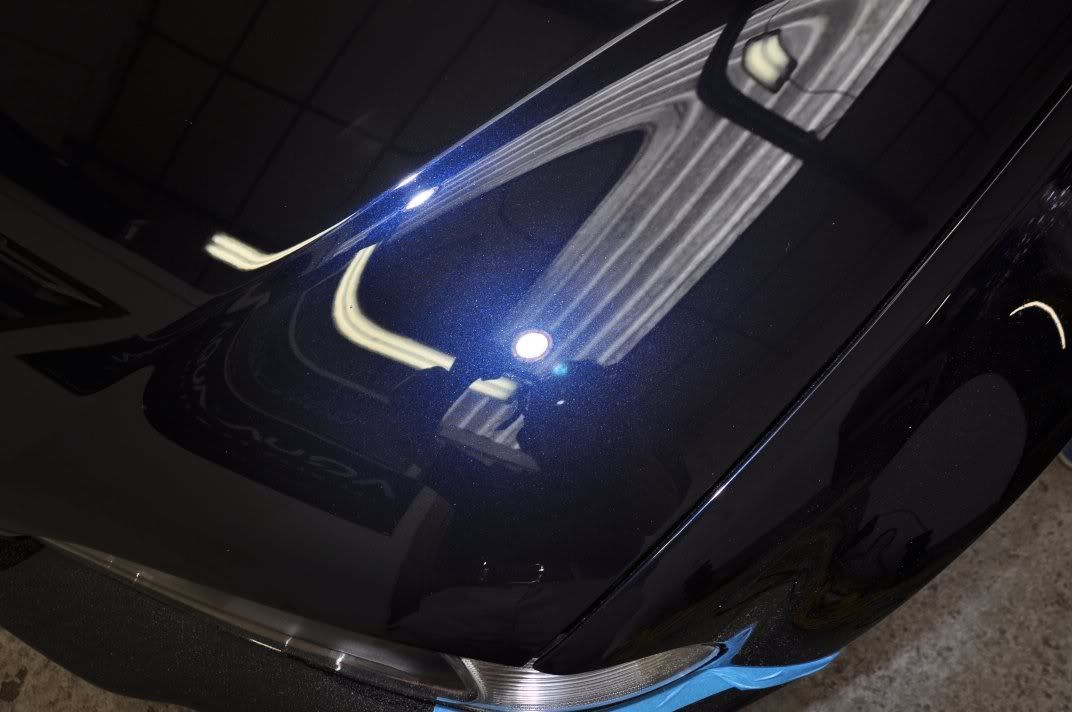
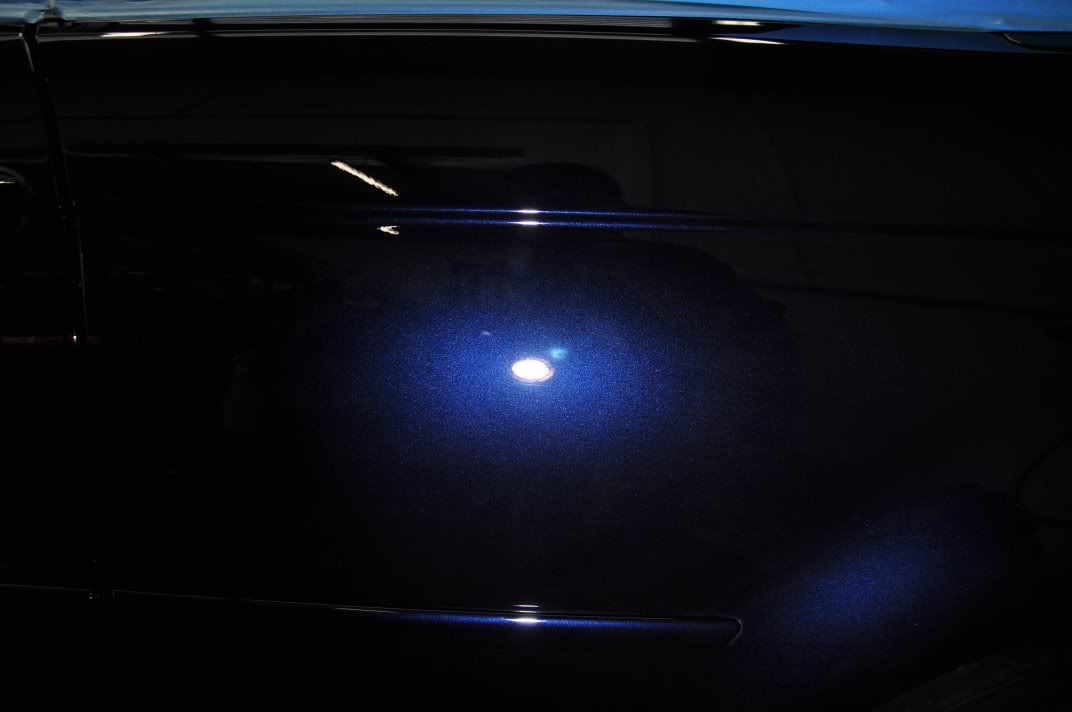
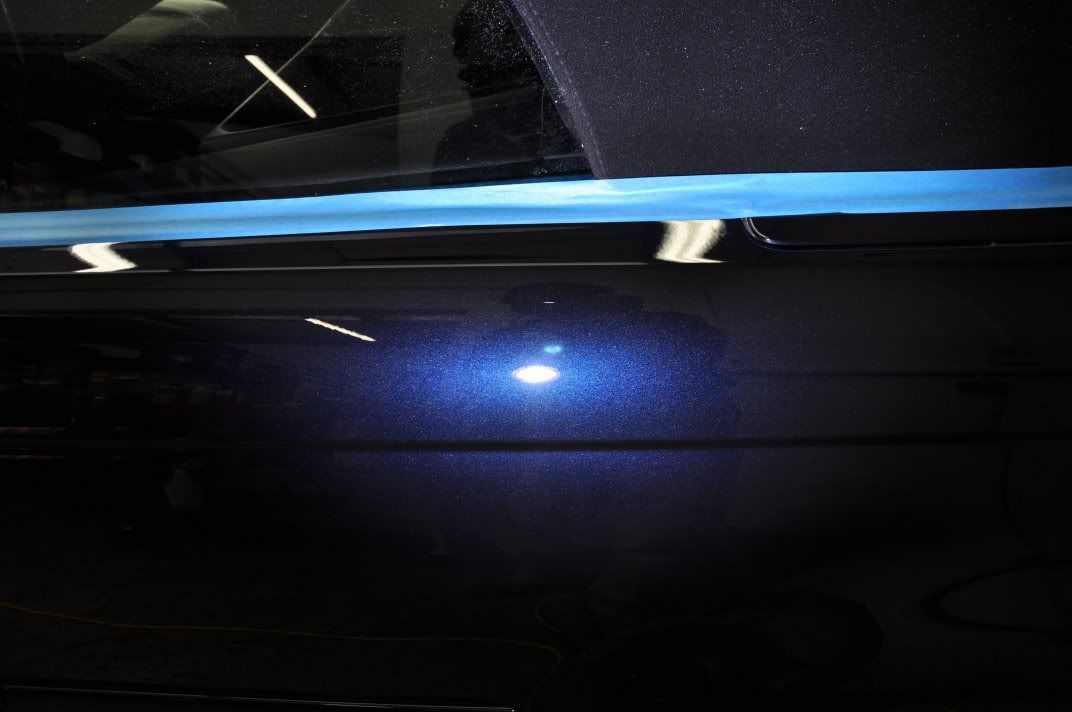
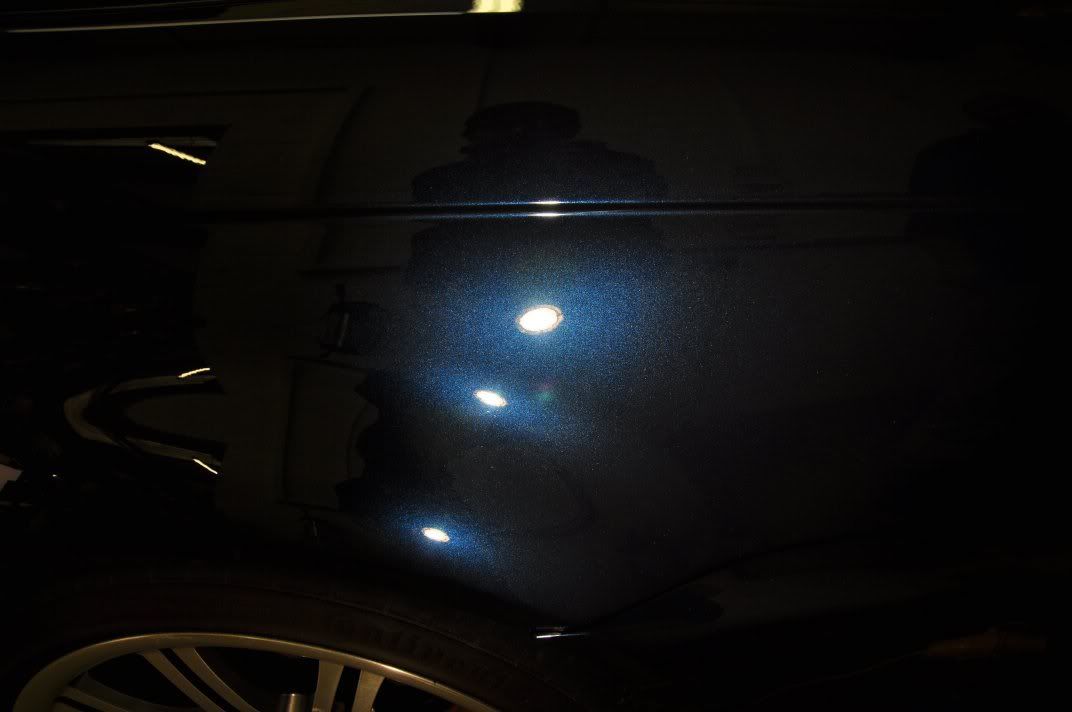
And after shots using the Sun Gun to check the finish clarity (and also assessing the correction level too...):
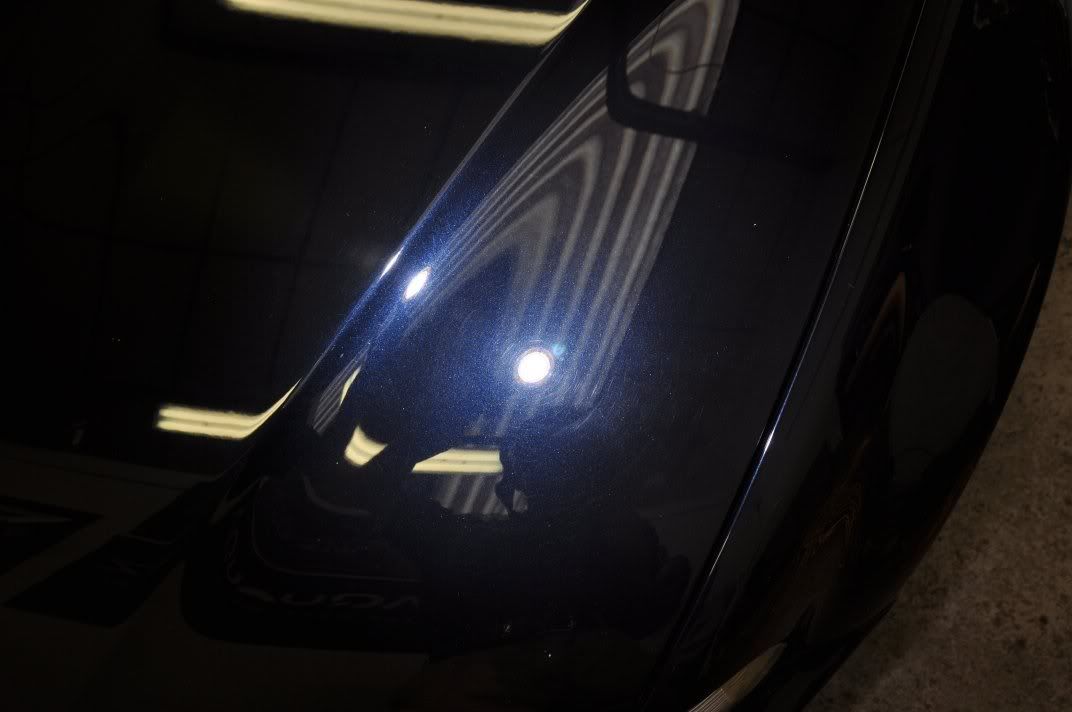
Passenger side wing before:

And after...

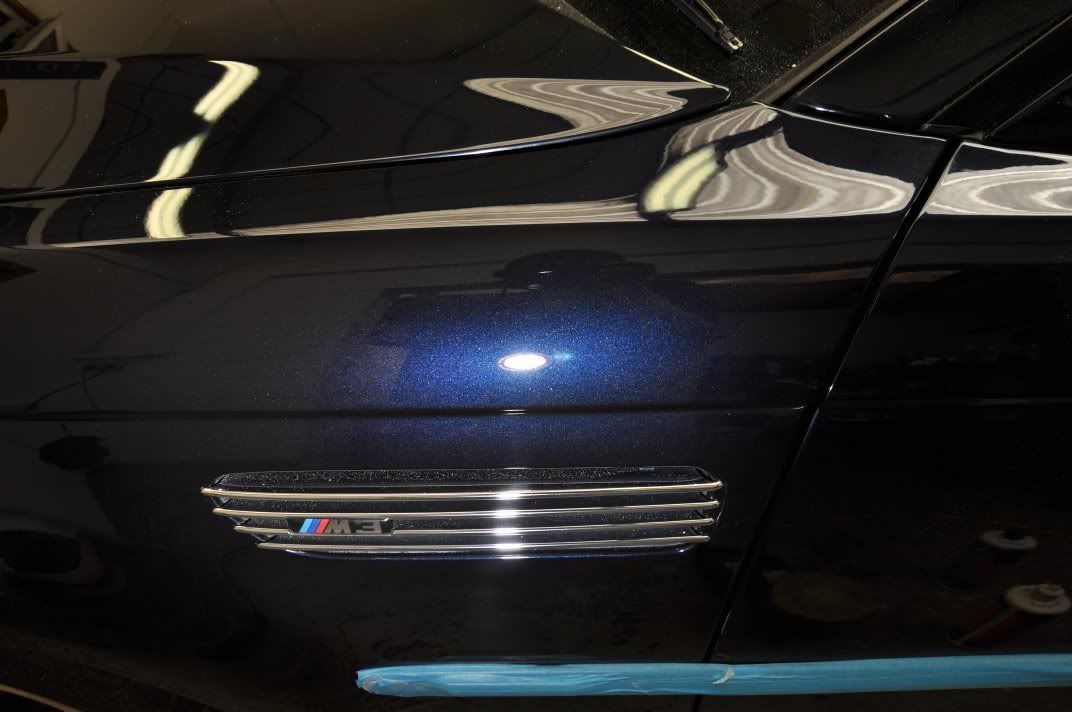
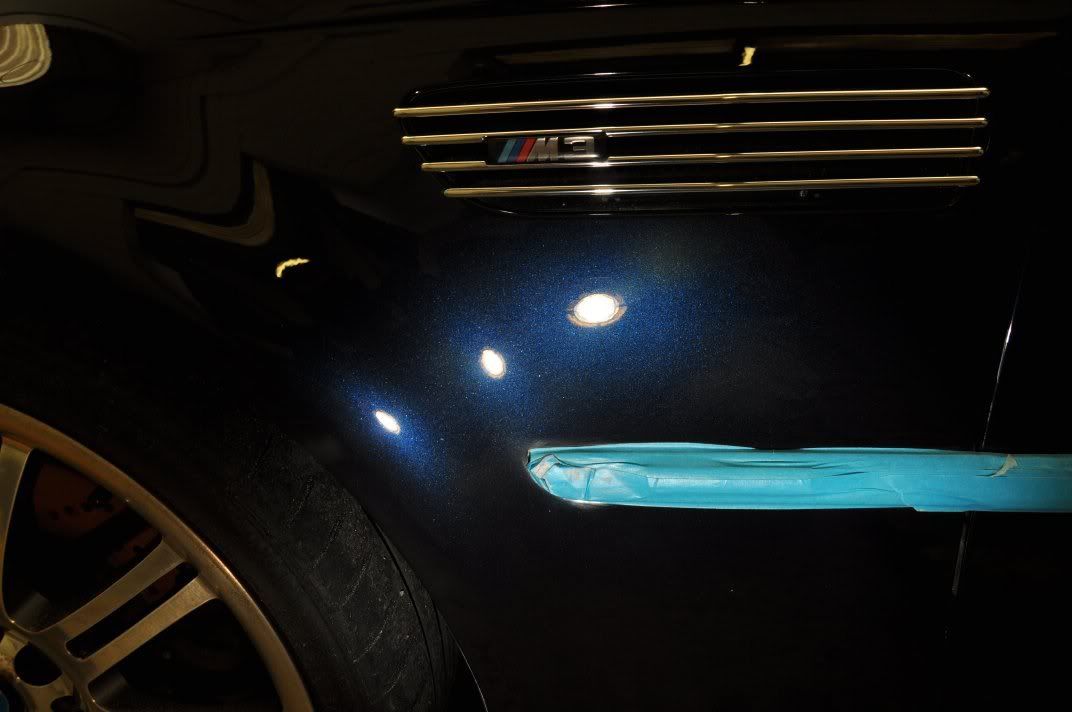
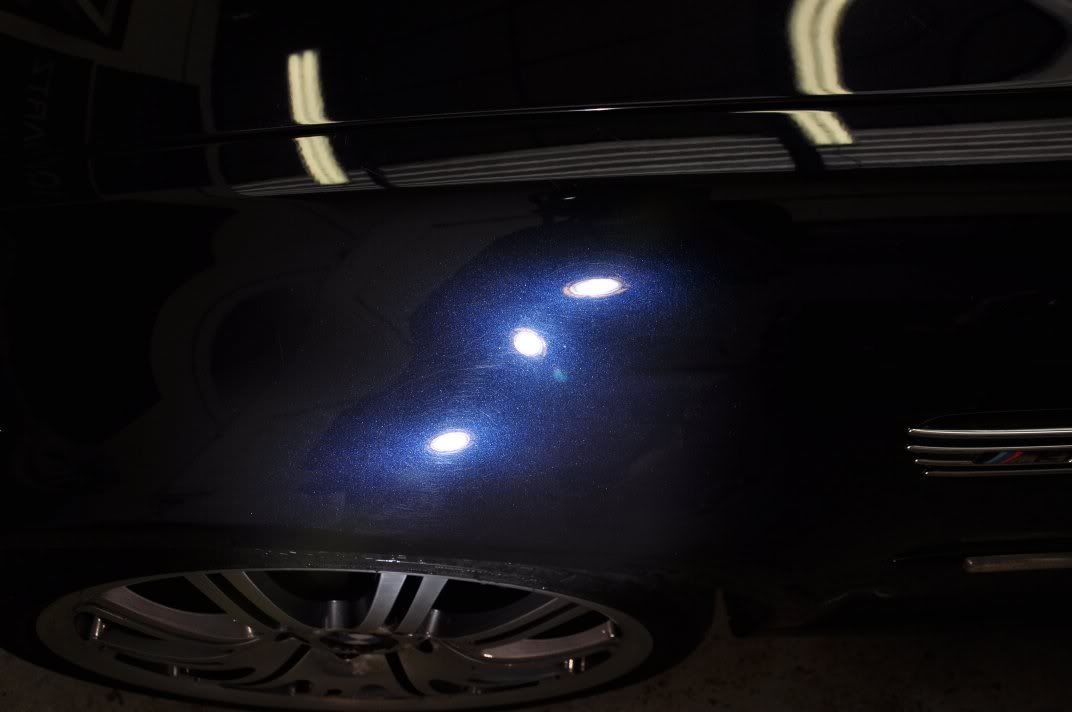
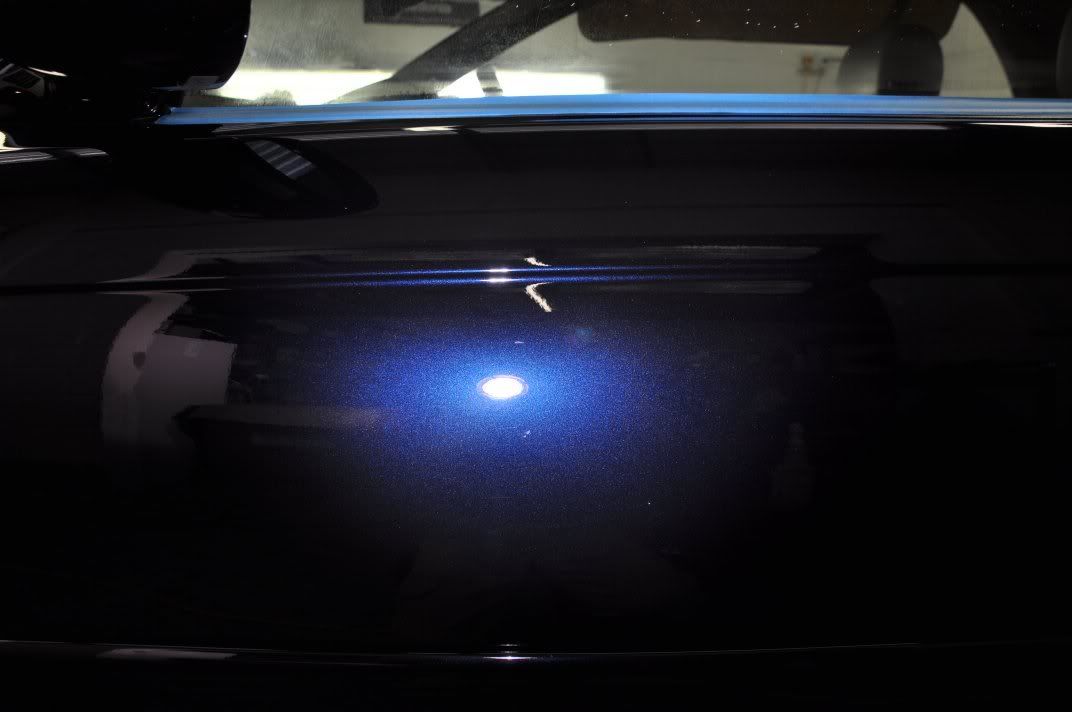
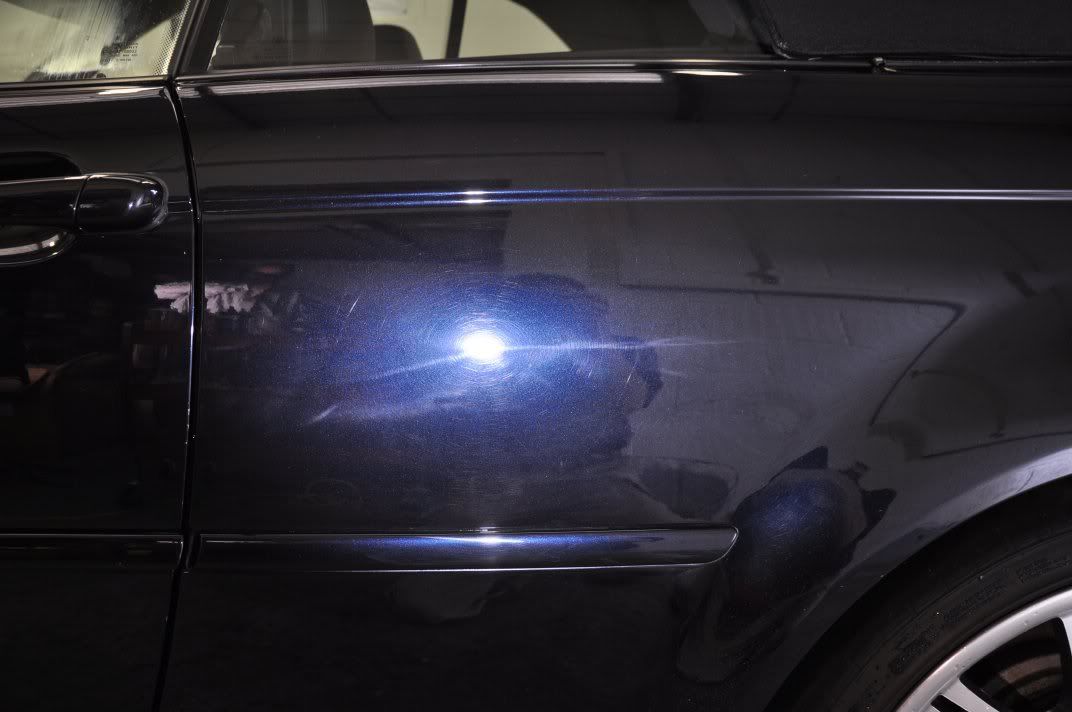
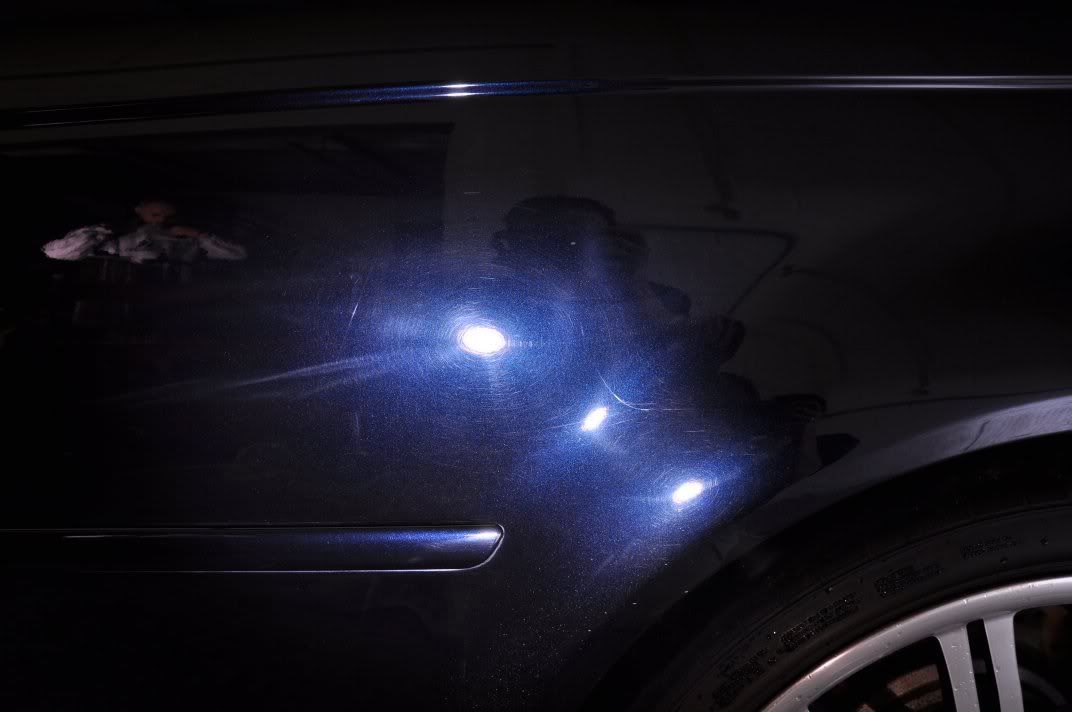
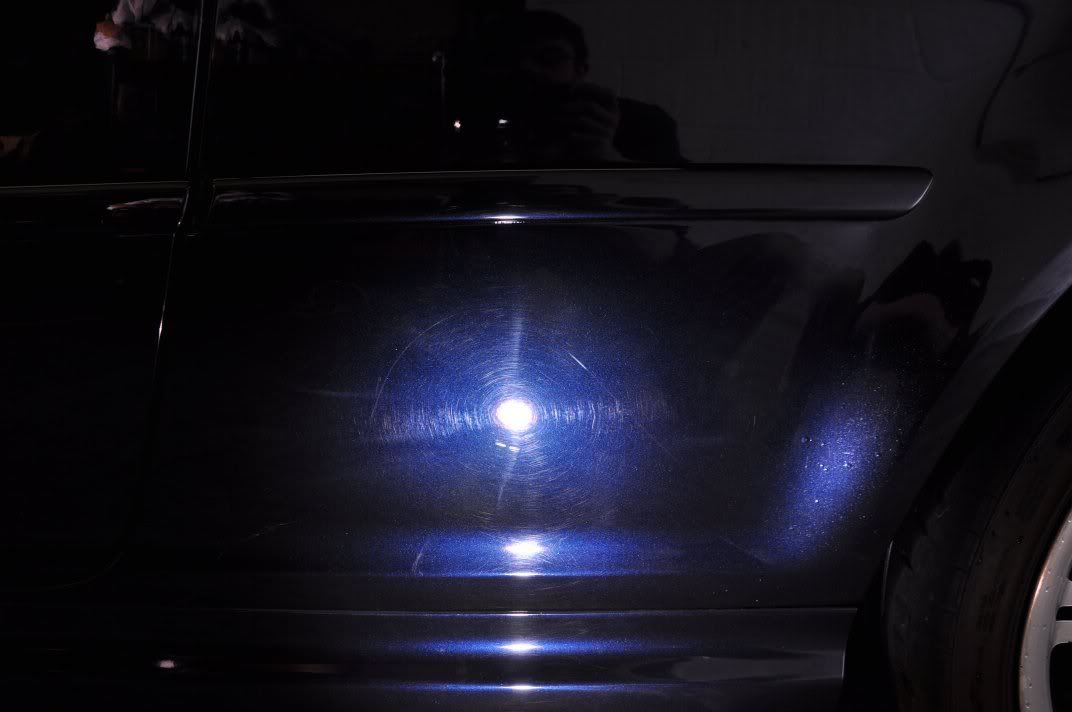
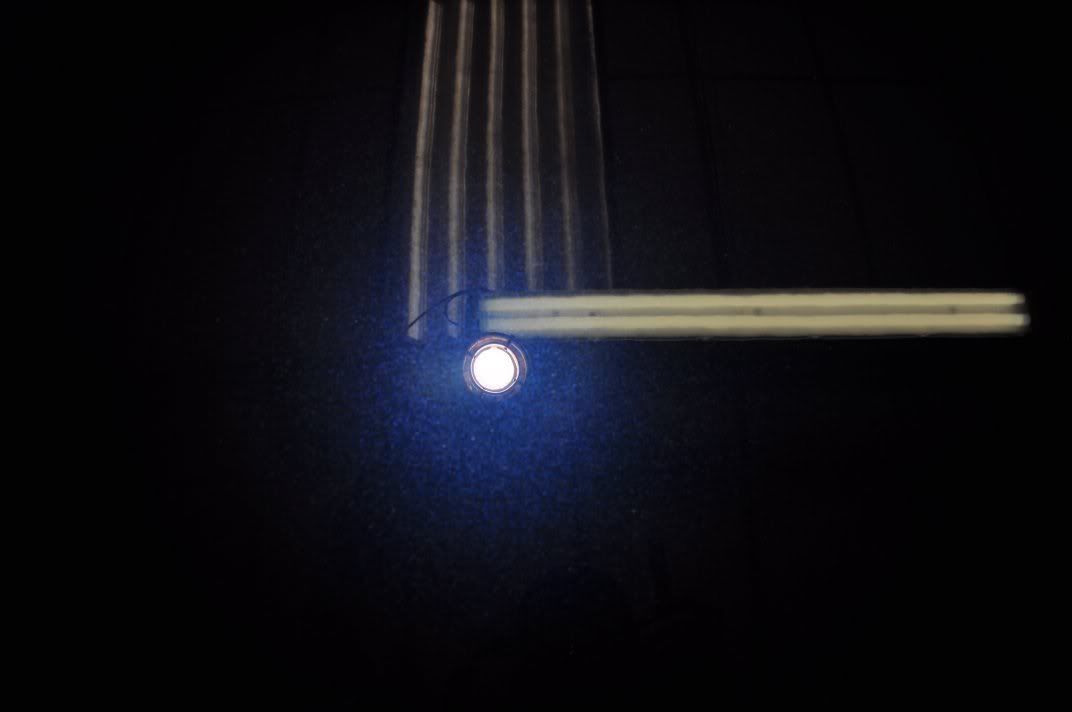
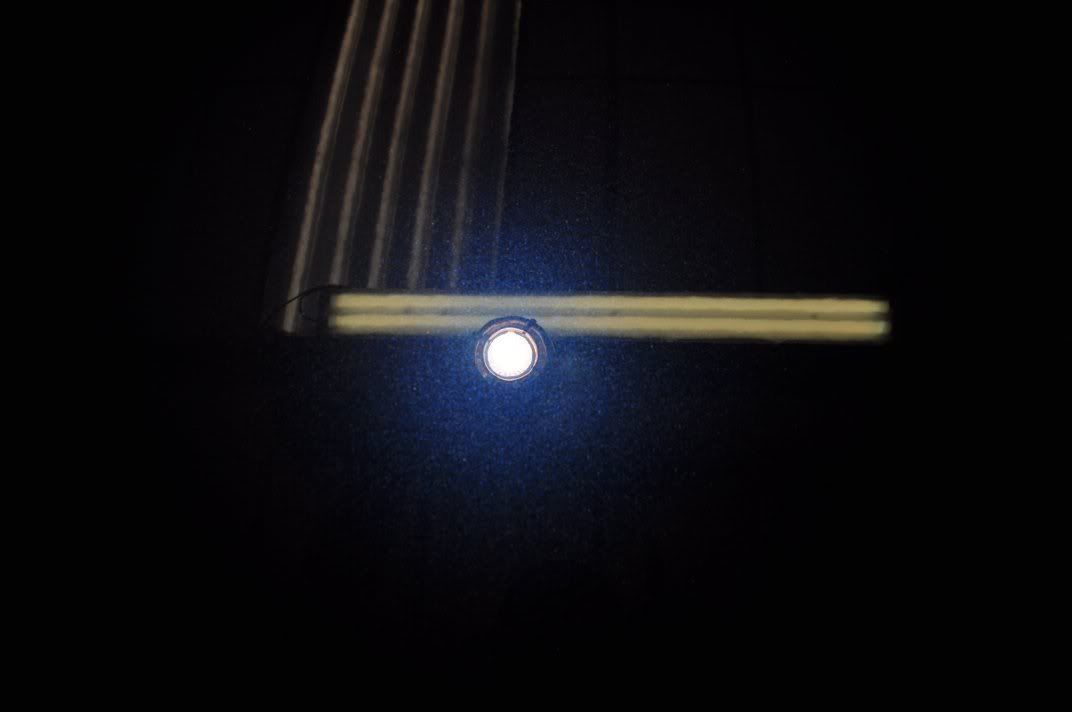
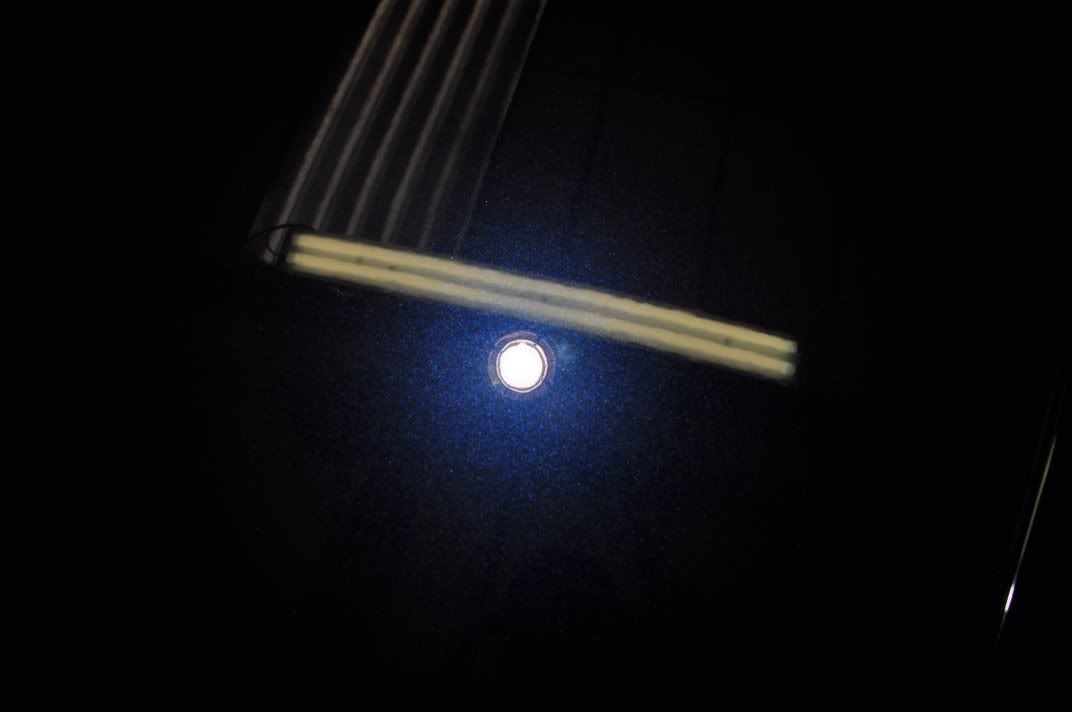
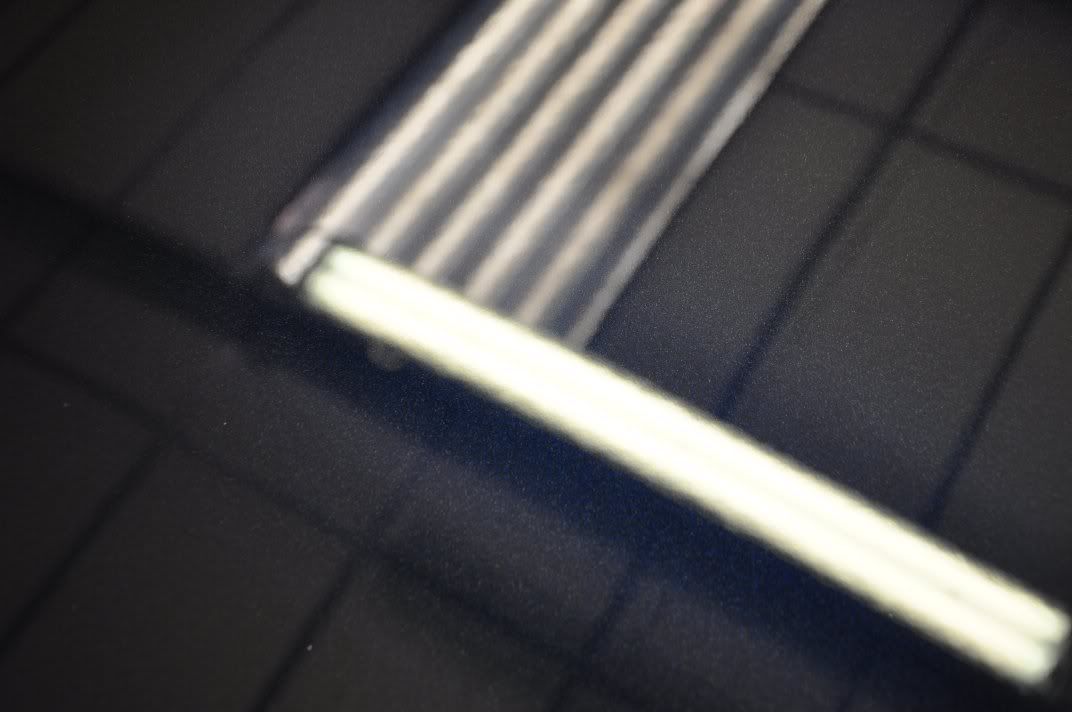
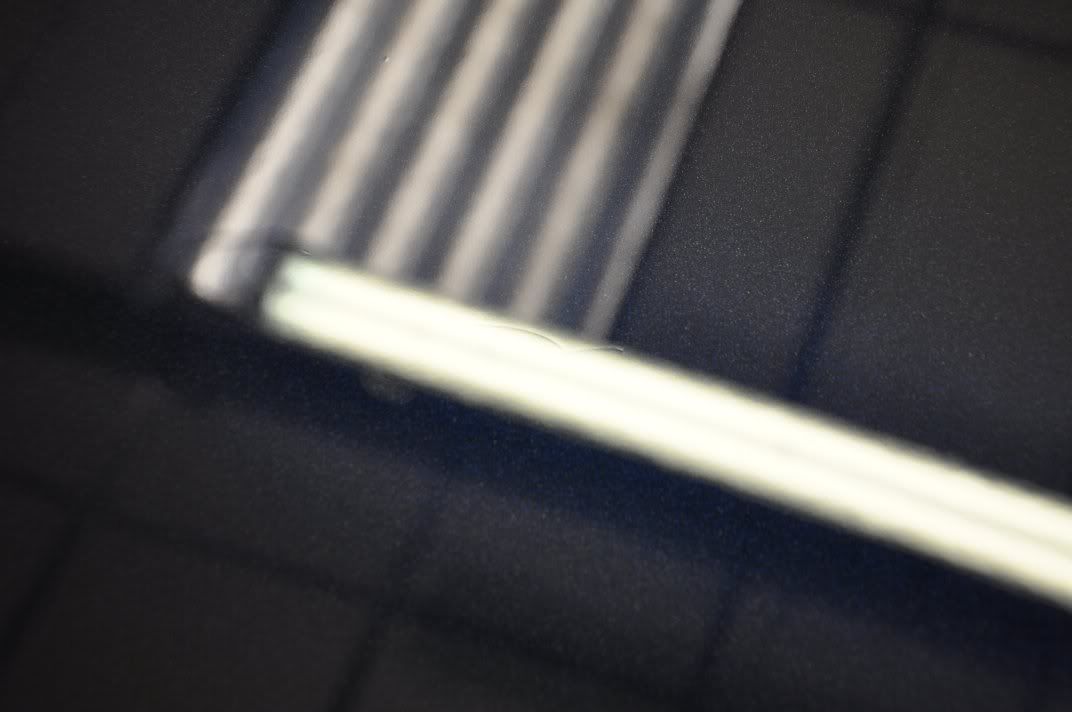
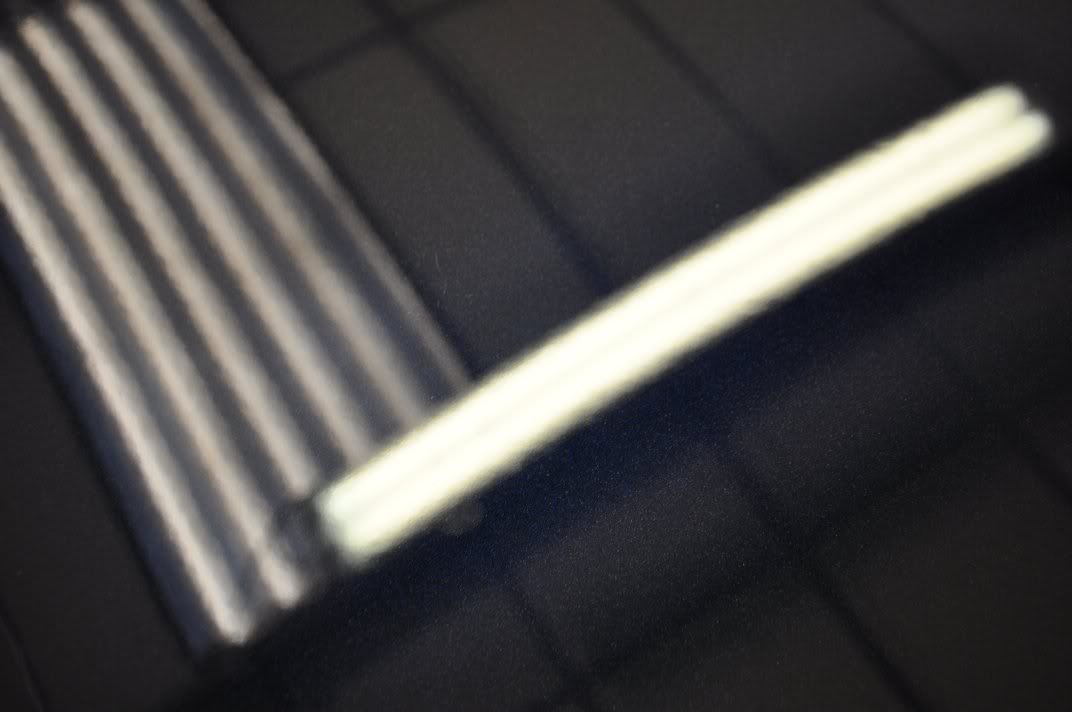
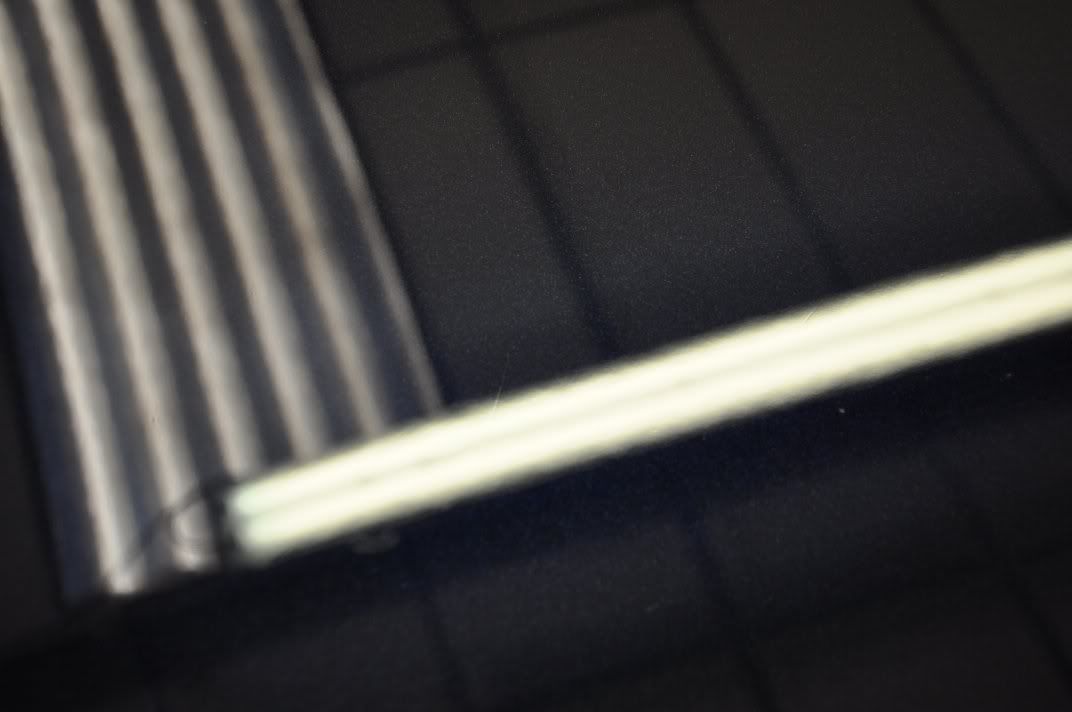
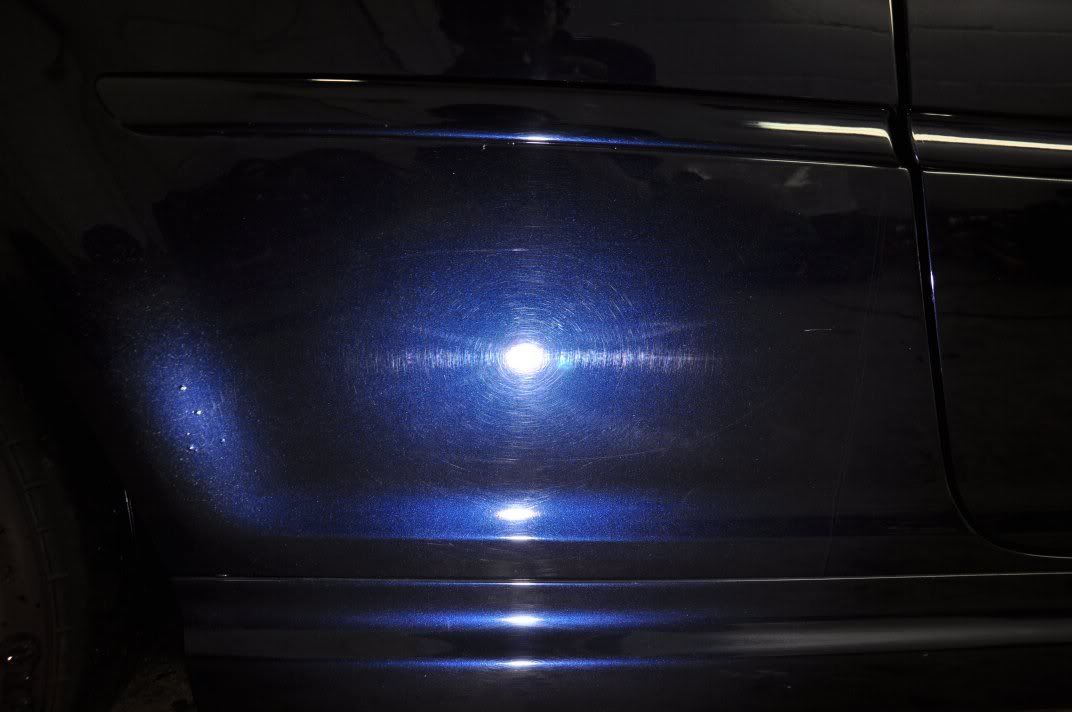
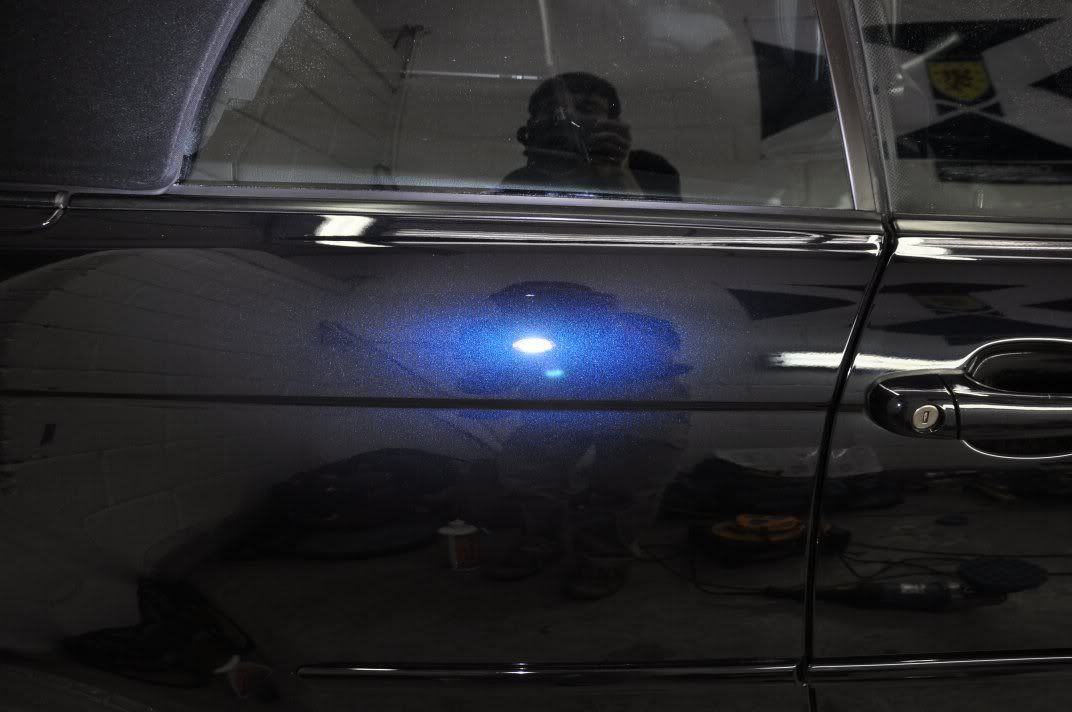
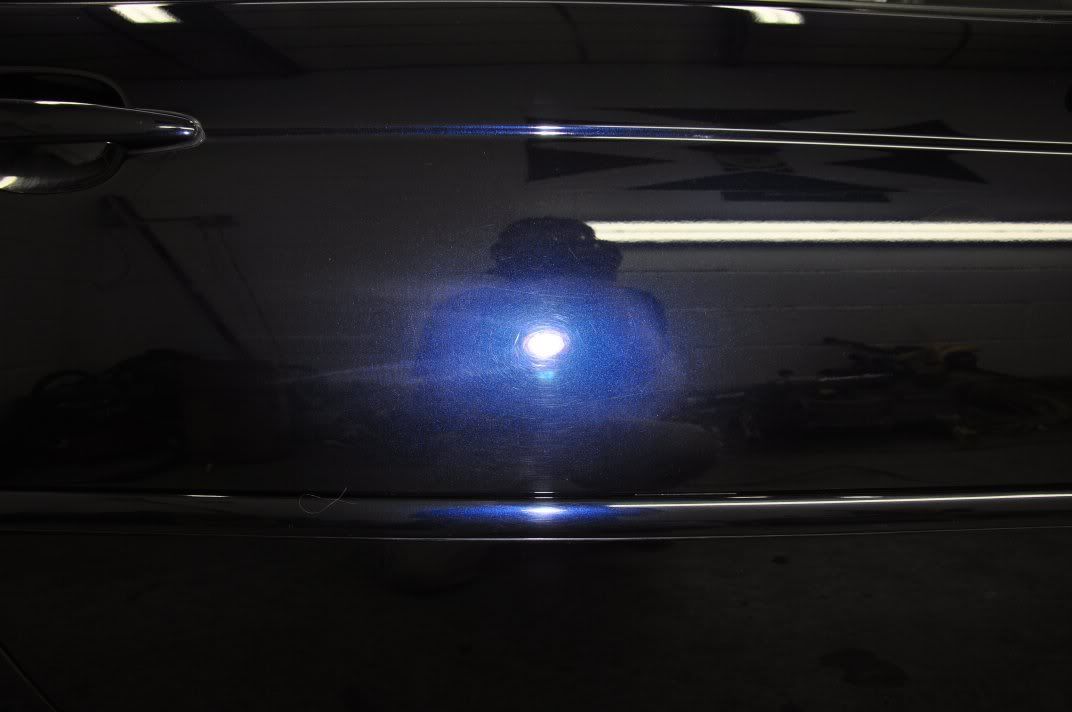
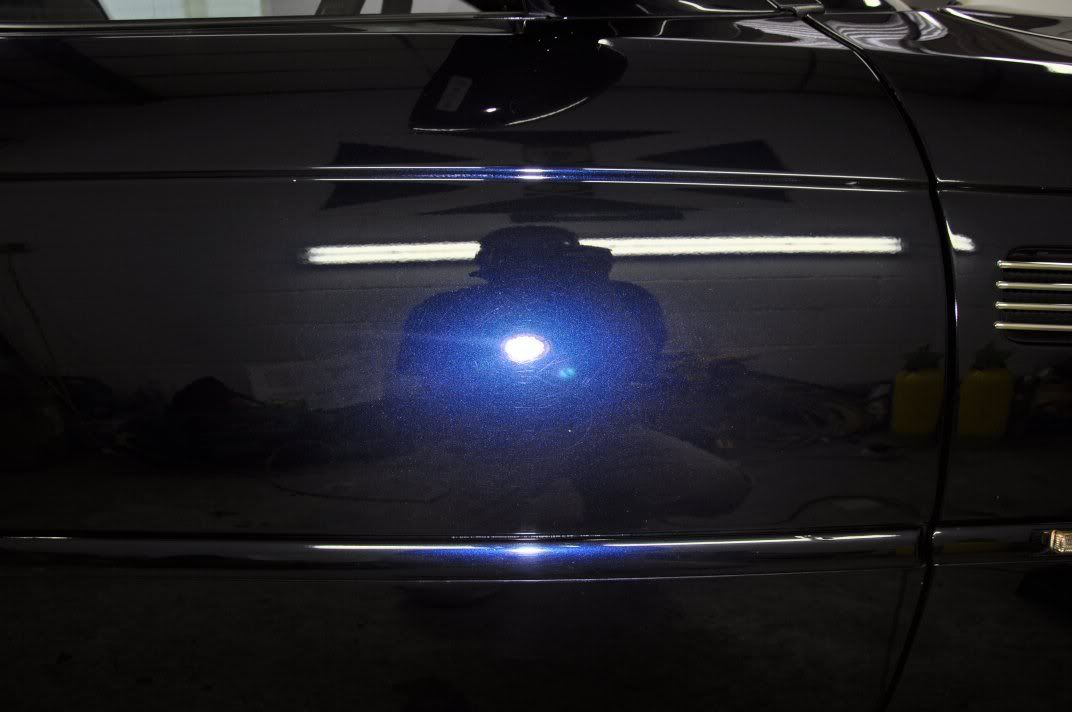
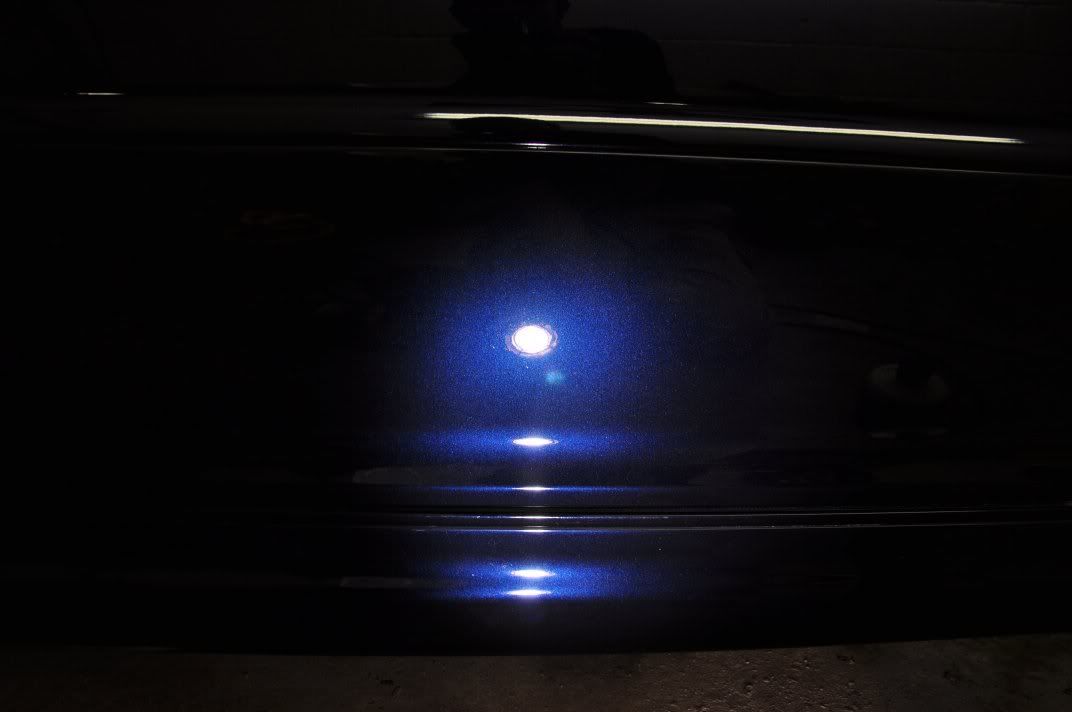
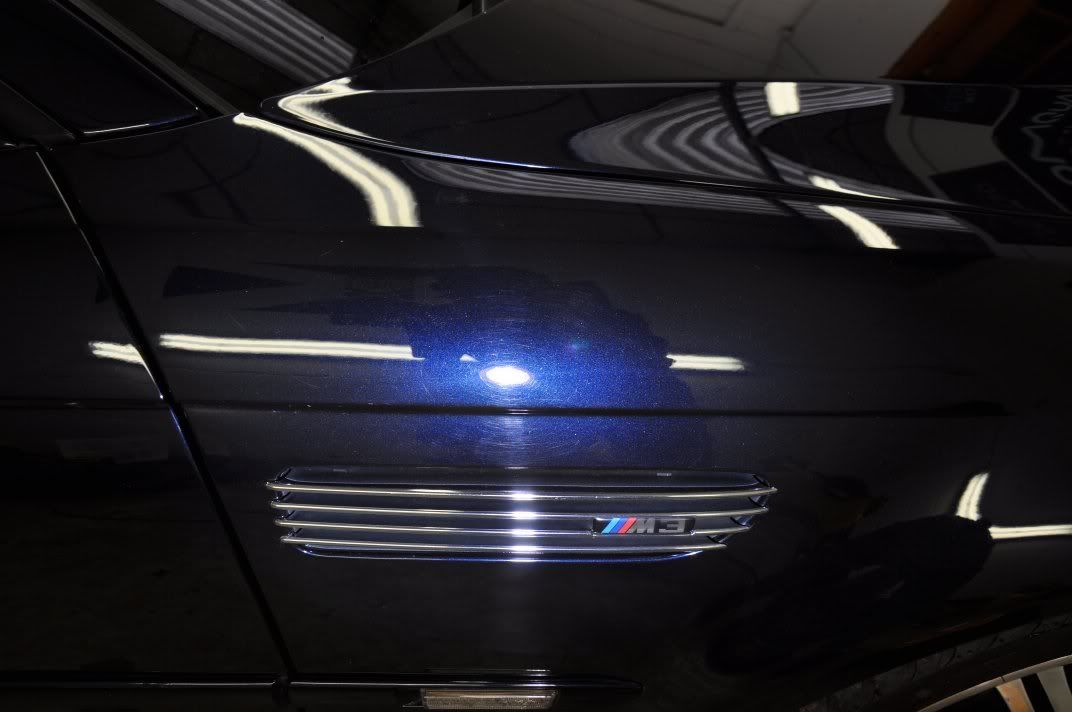
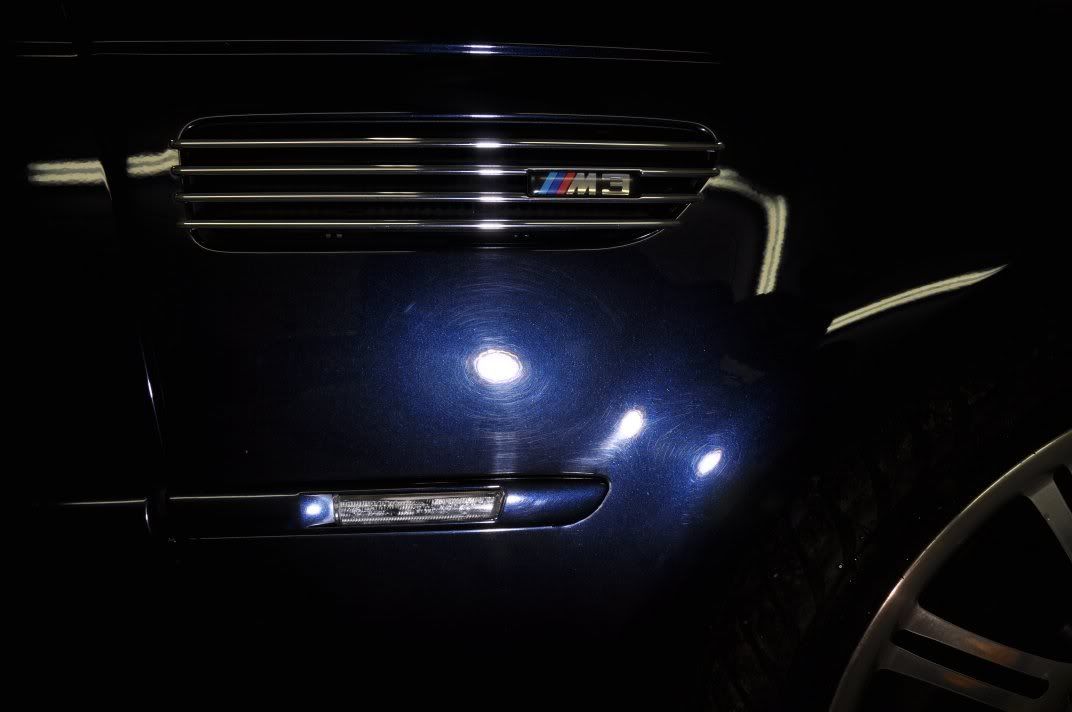
Passenger door before (note the holograms from previous polishing efforts which raise an eyebrow – how much paint have we been left with?):
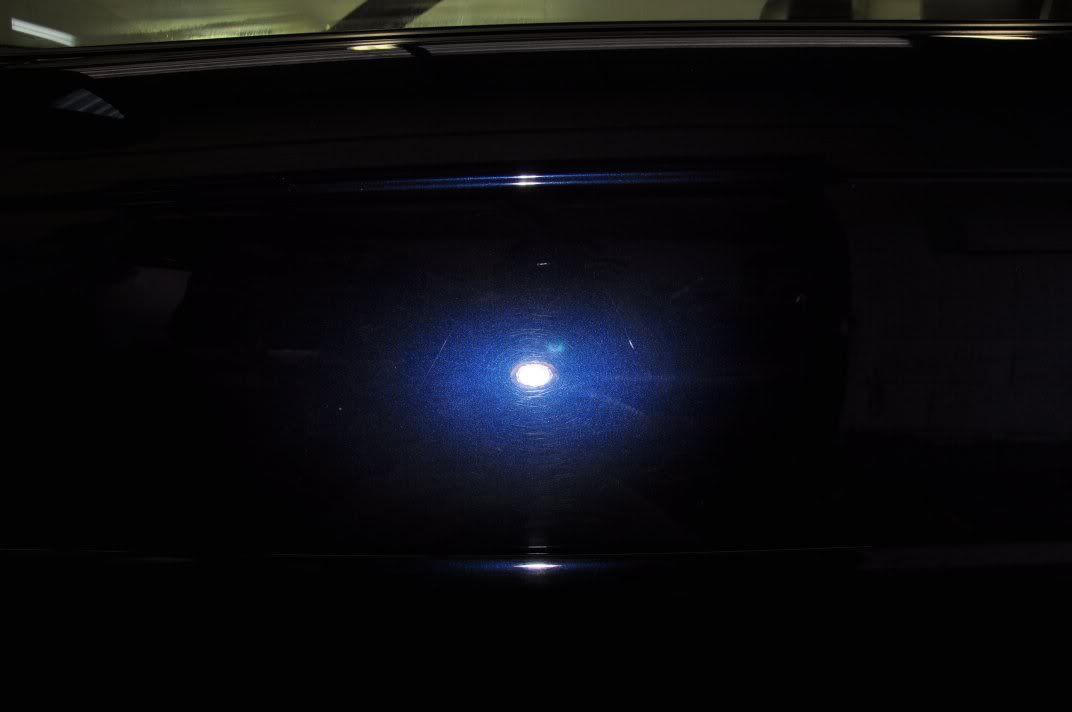
How much paint?!
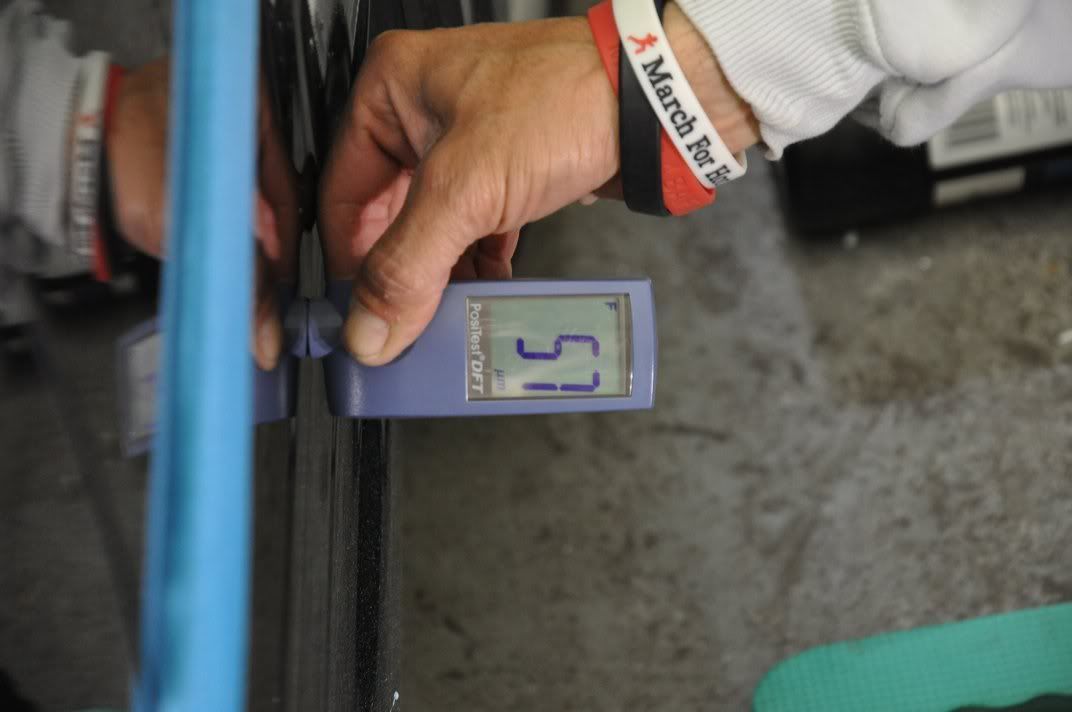
Tread carefully – if you are wondering why there are still the odd mark left here and there, this is the answer as to why!
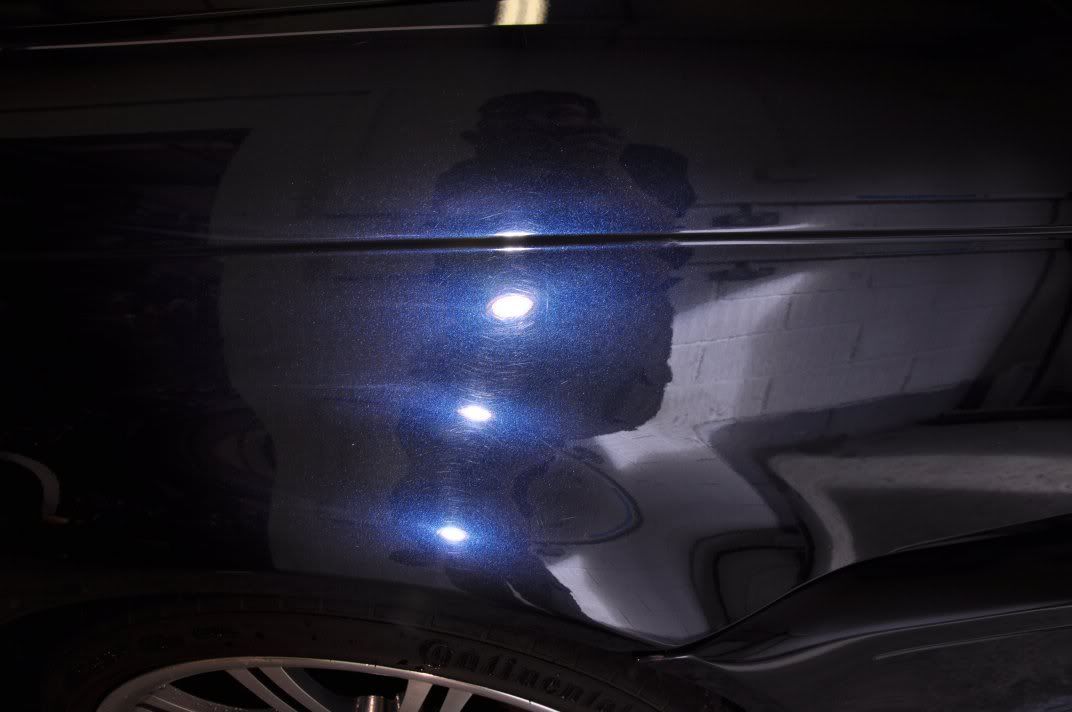
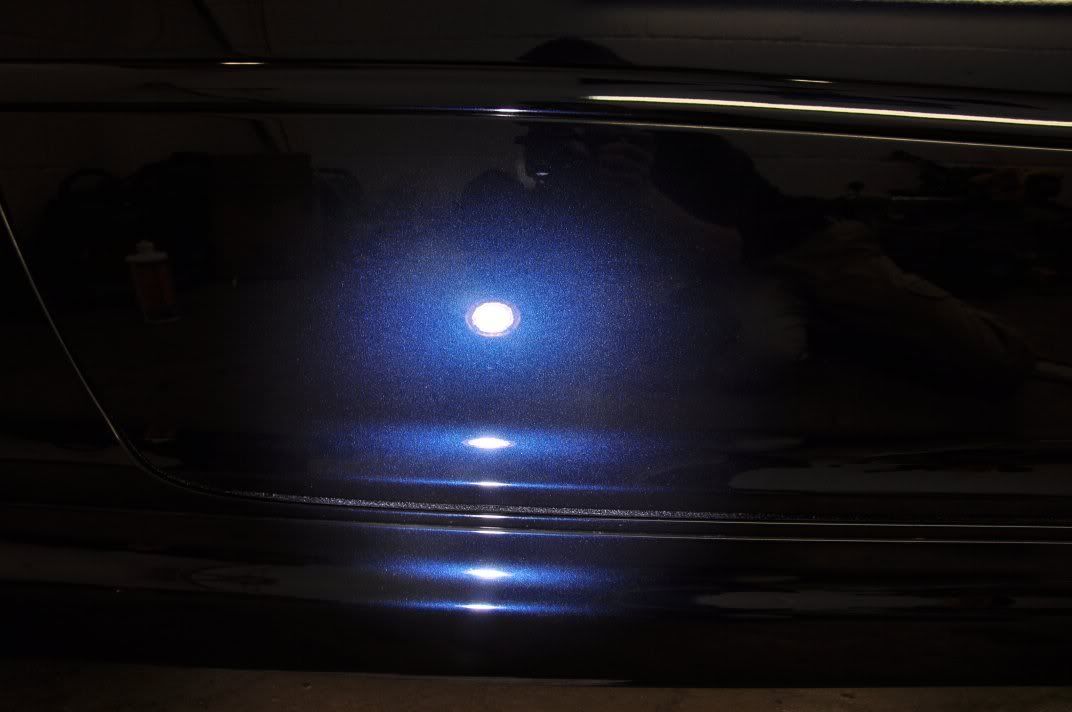
Afters:

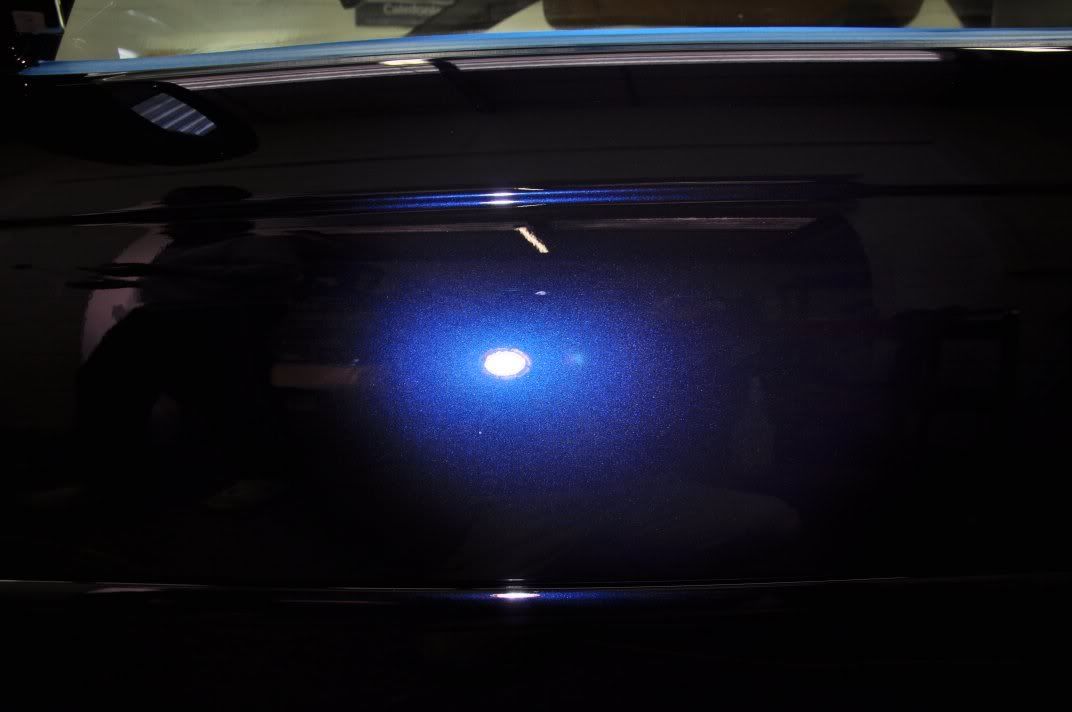
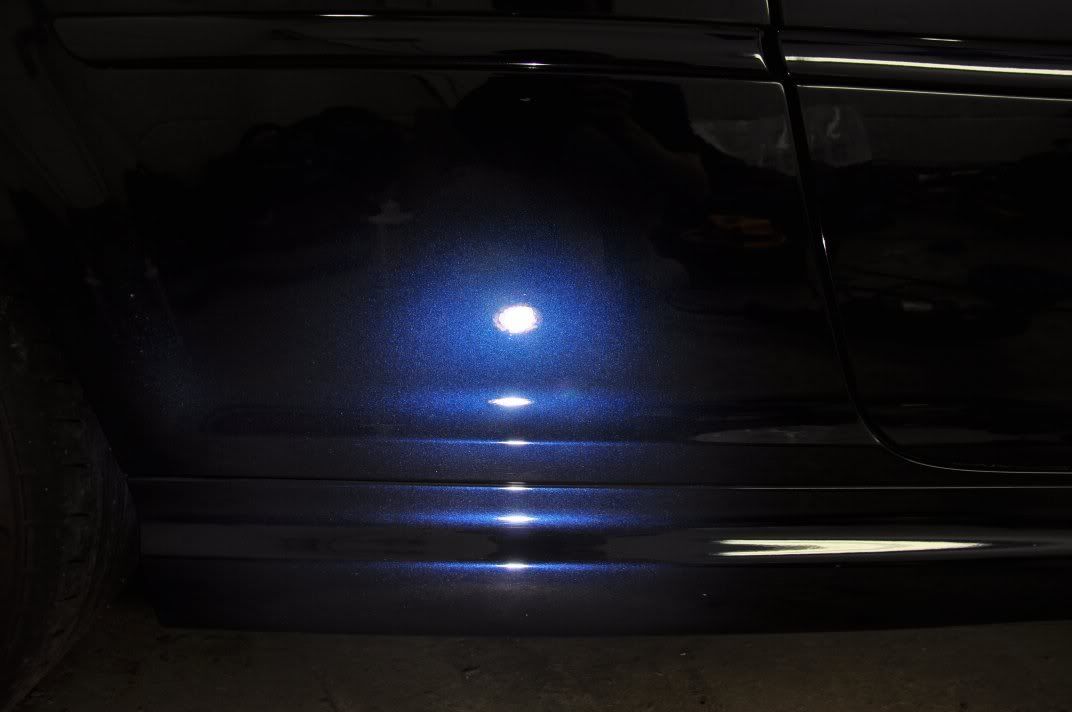
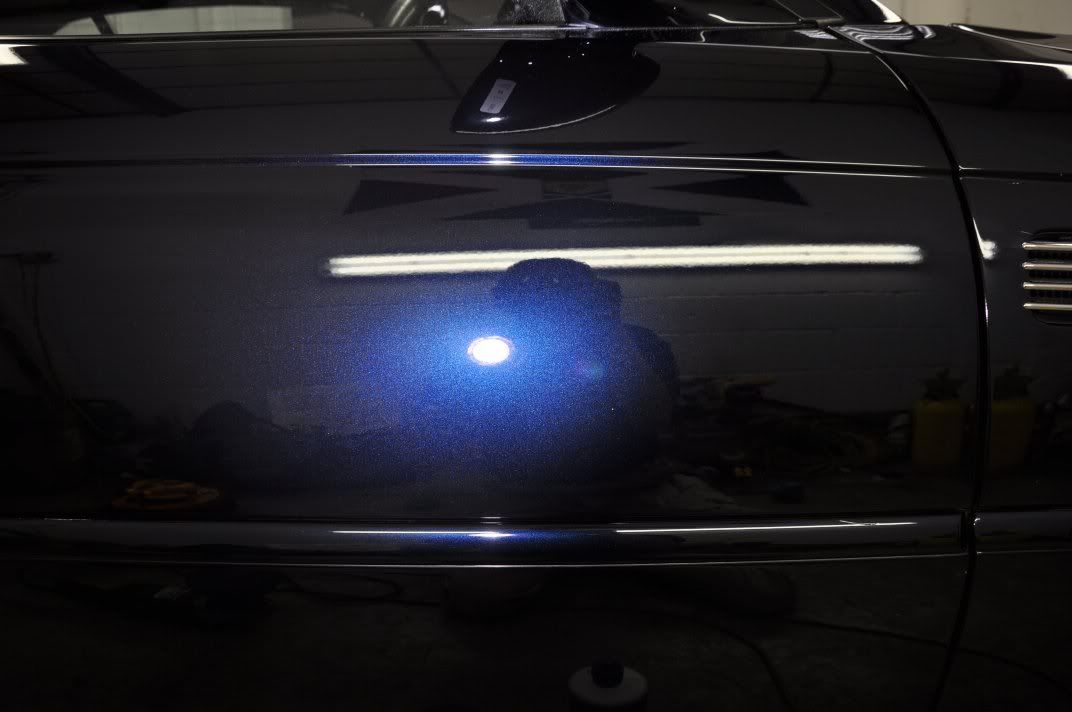
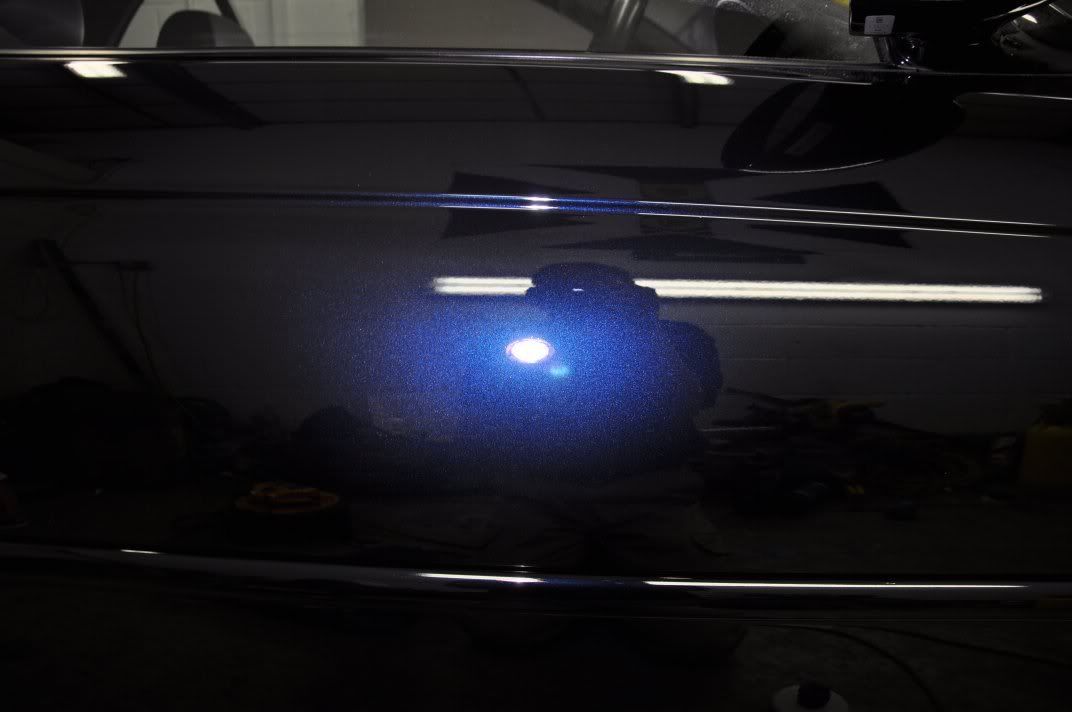
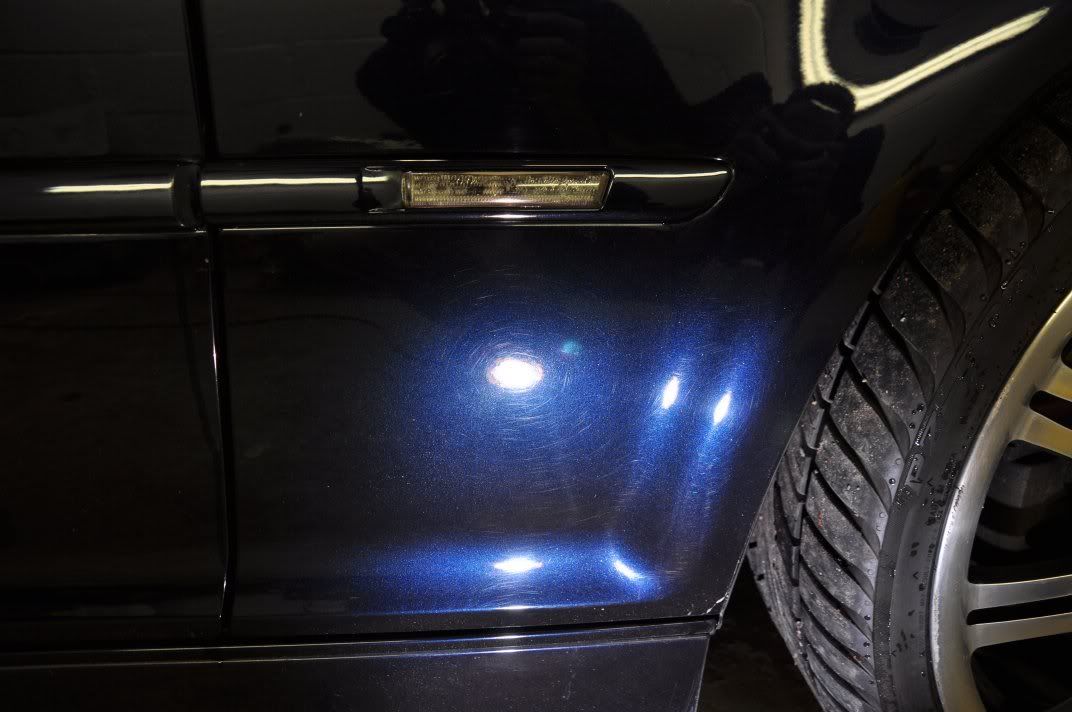
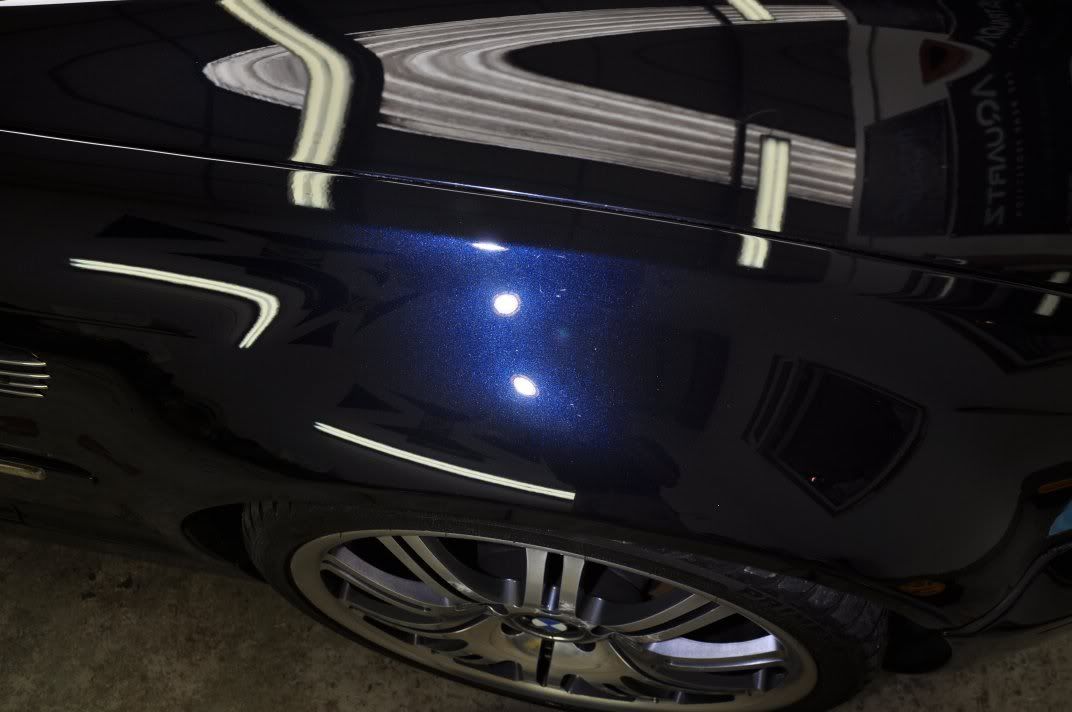
Rear three quarter, passenger side before:
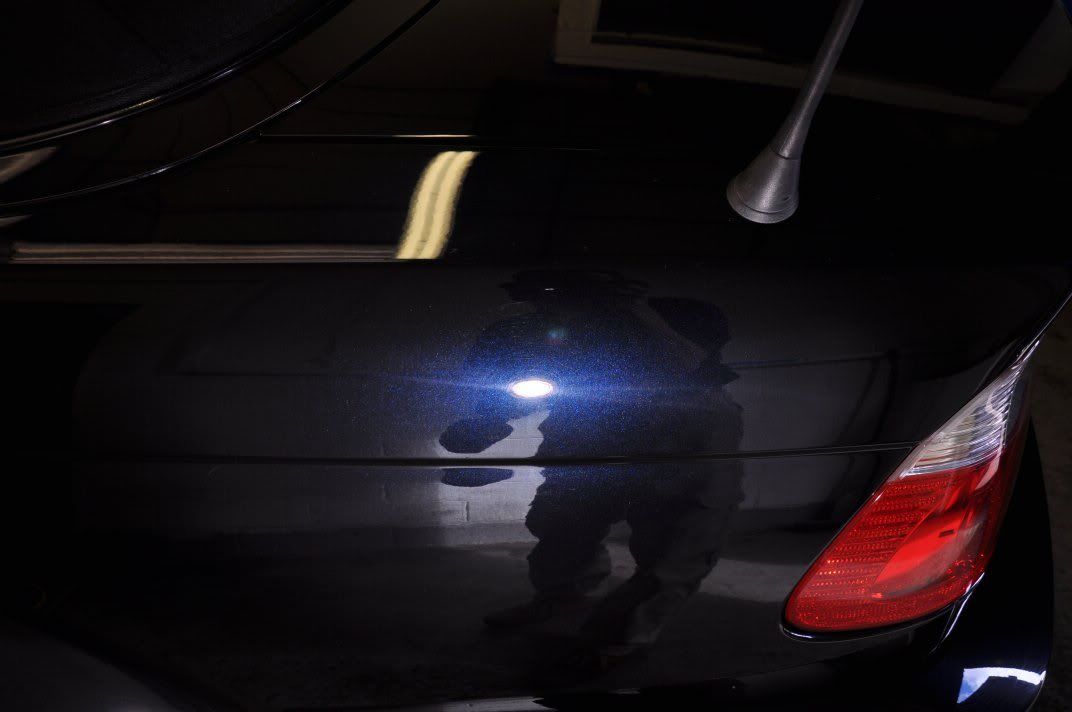
And after:

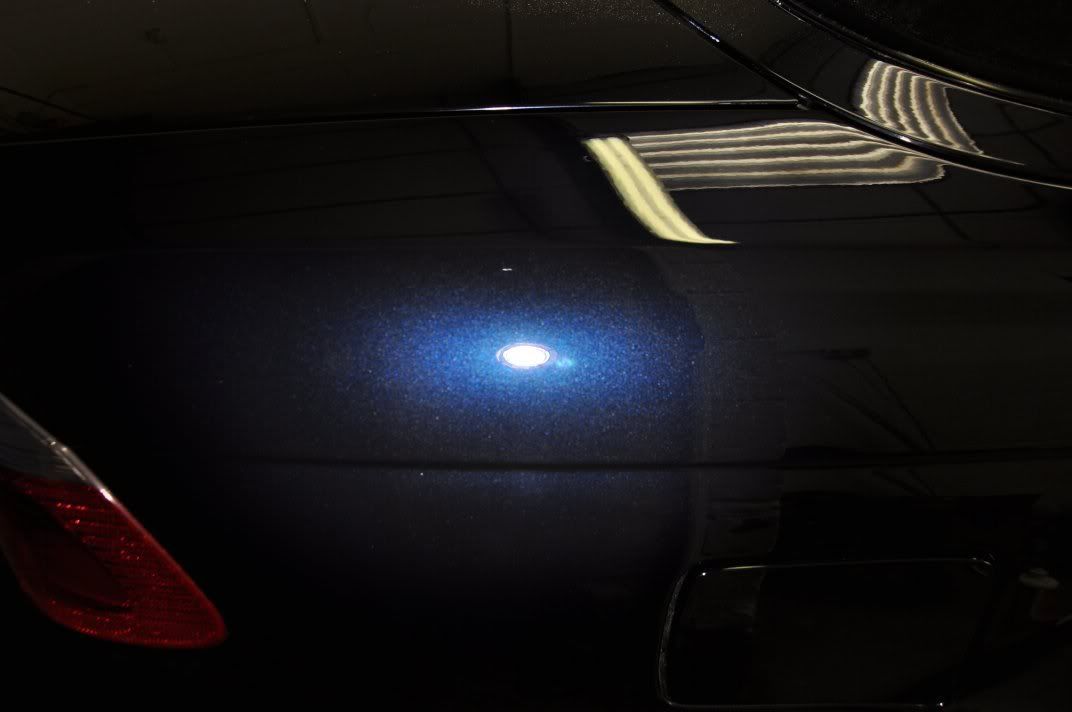
Bootlid before:

And after...
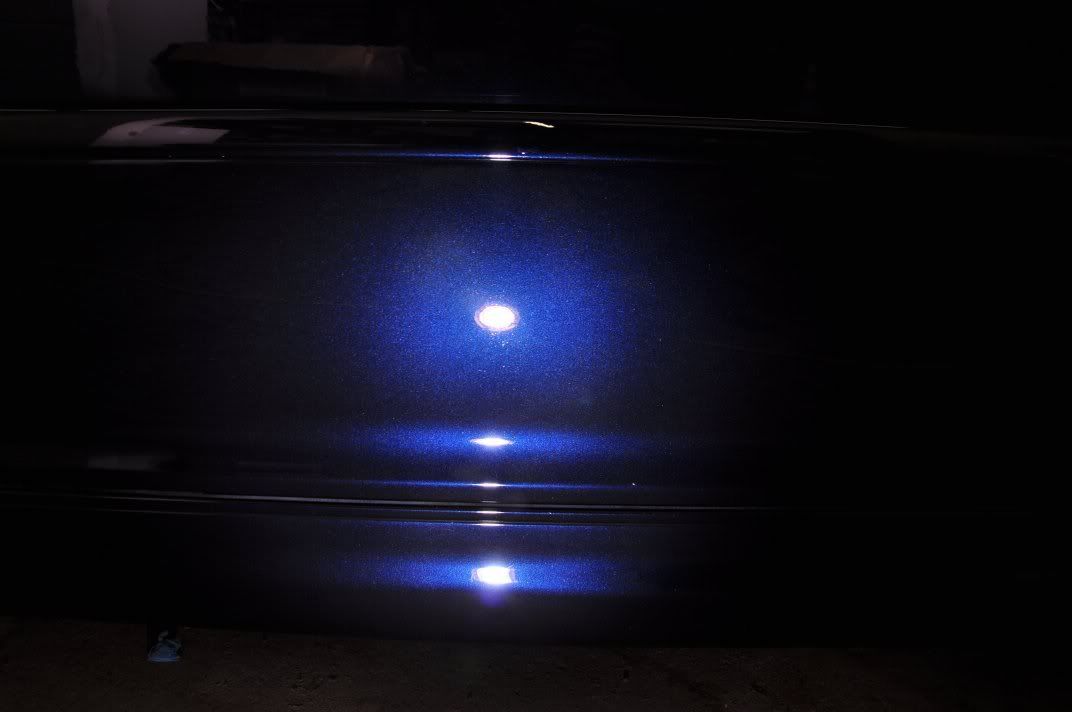
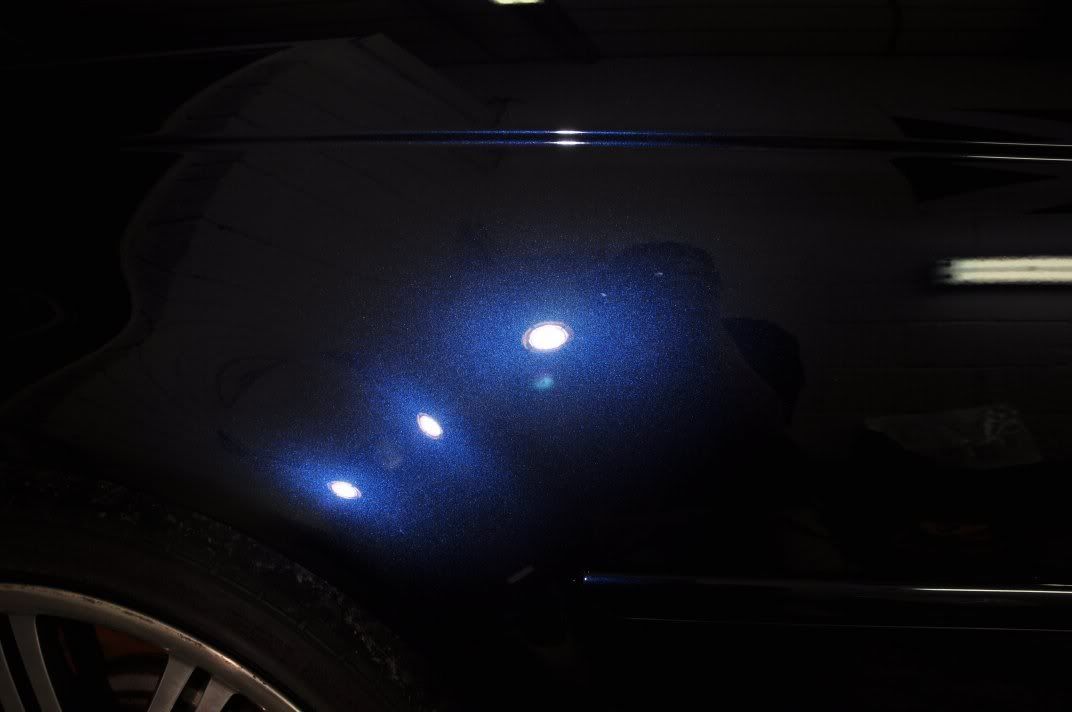
Driver’s side rear three quarter before:
And after:
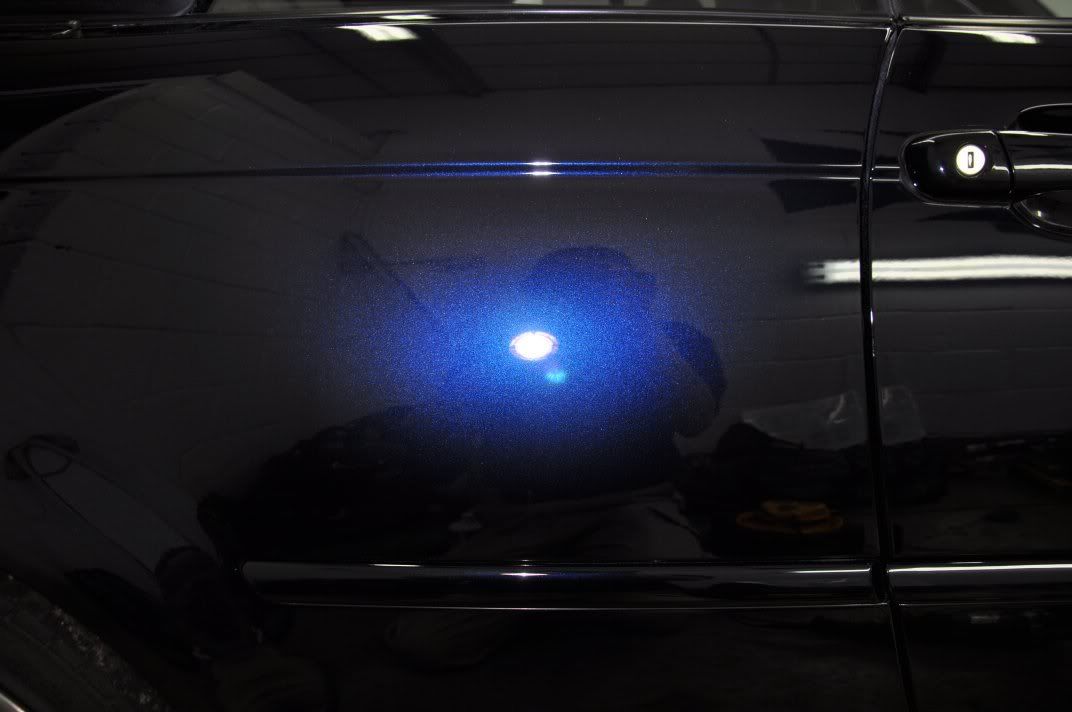
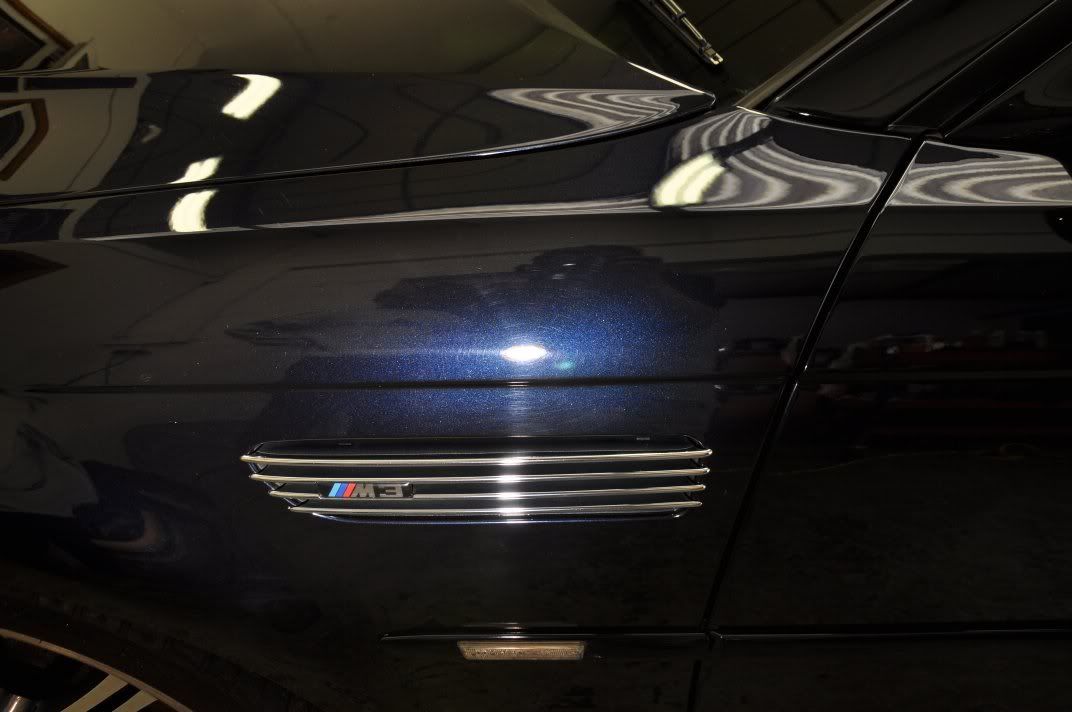
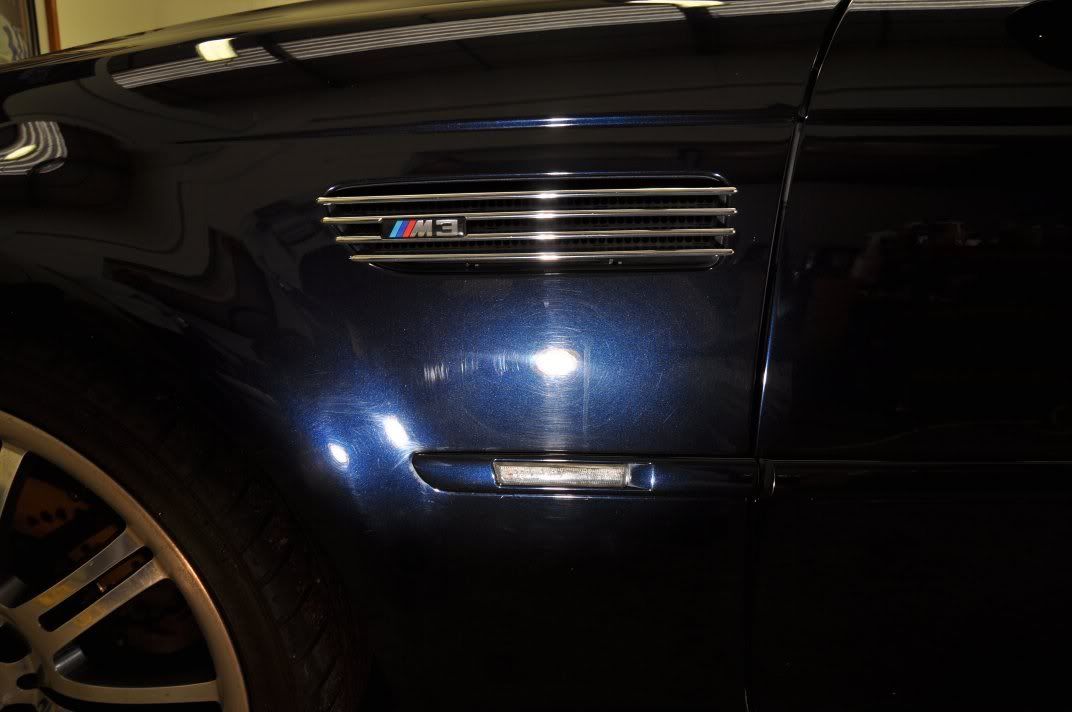
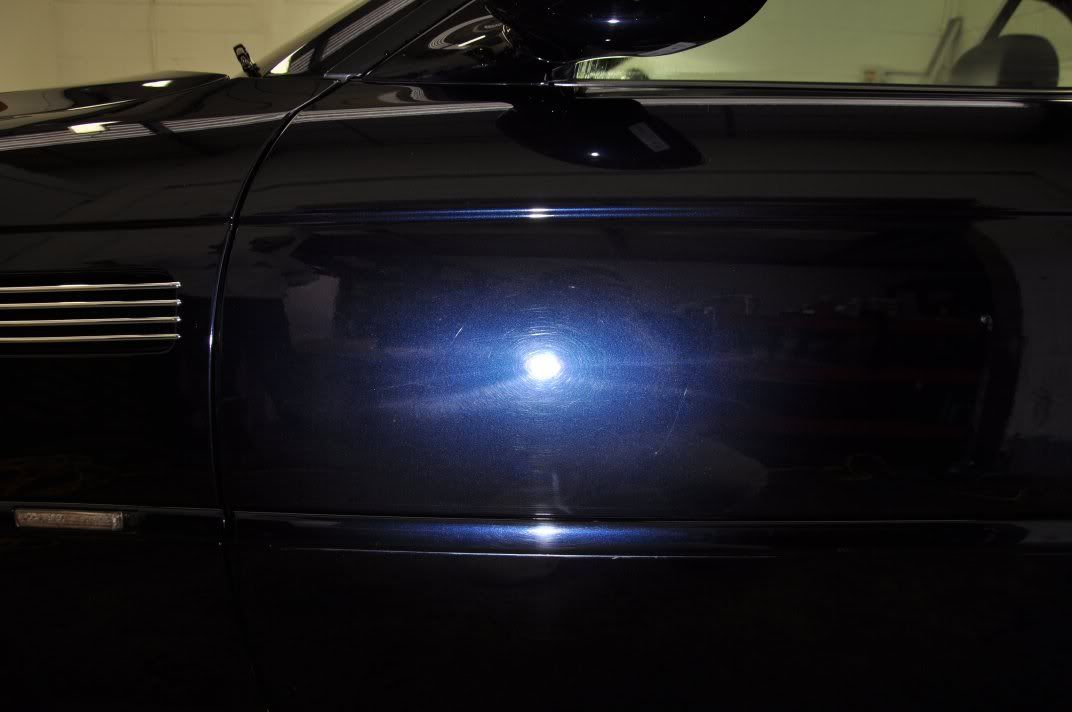
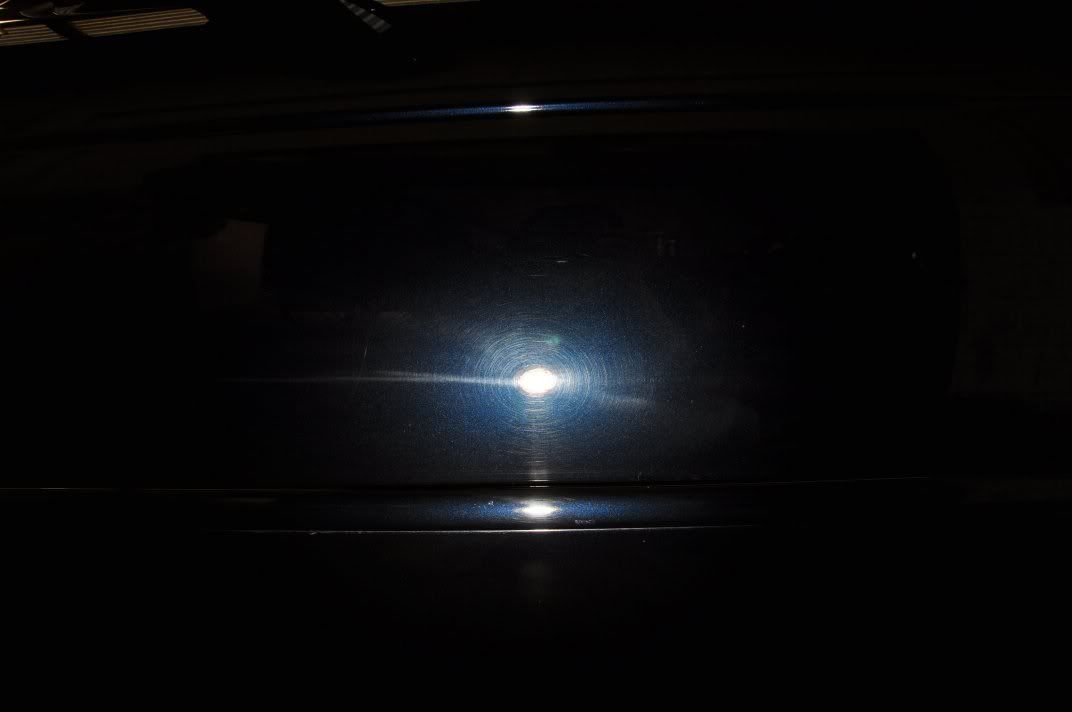
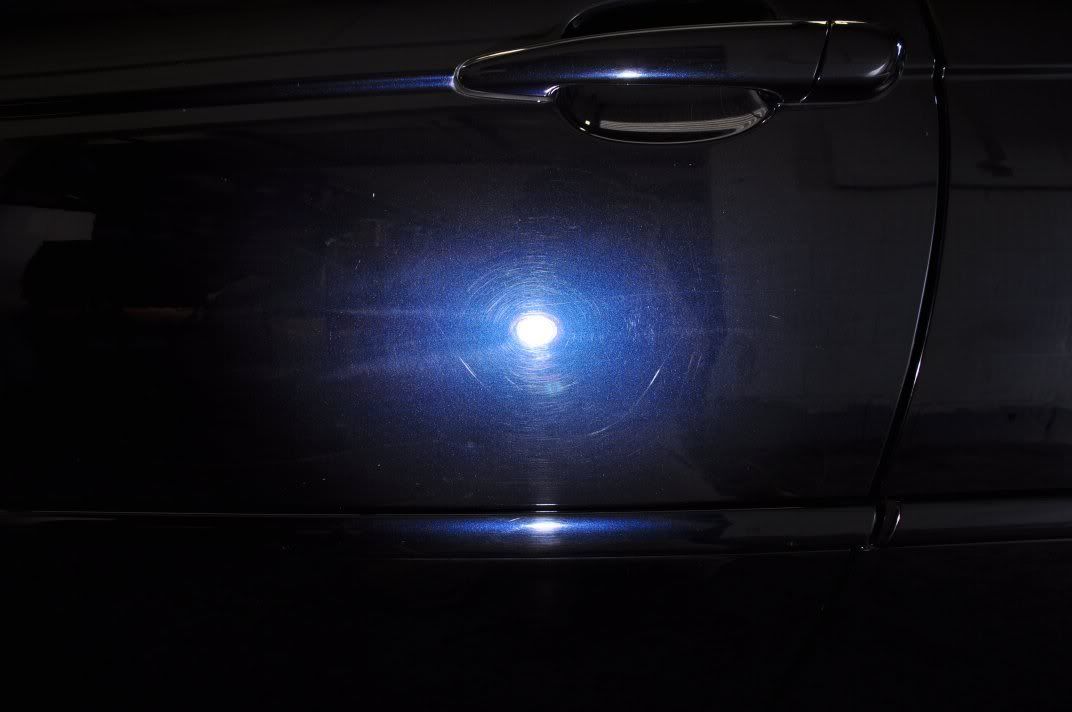
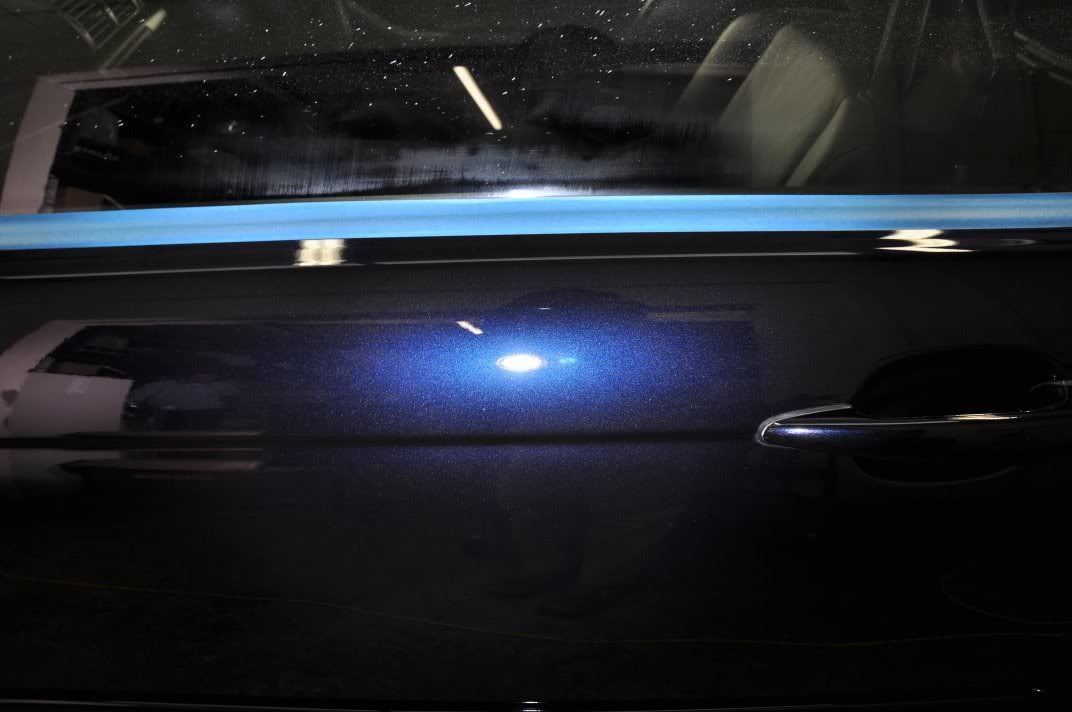
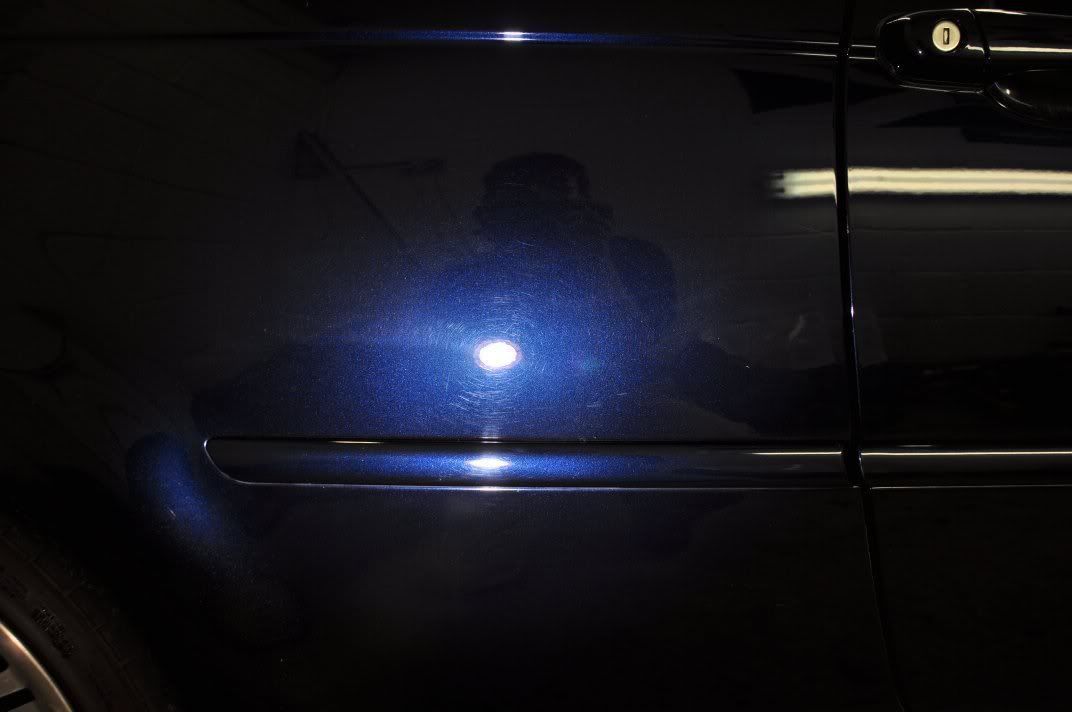
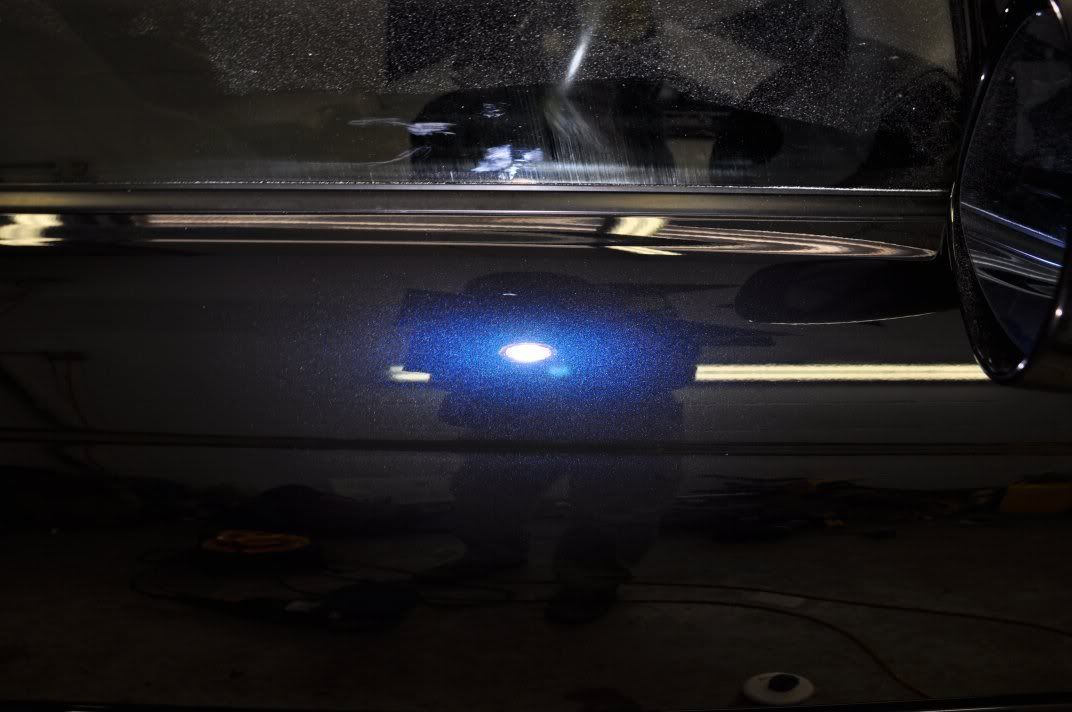
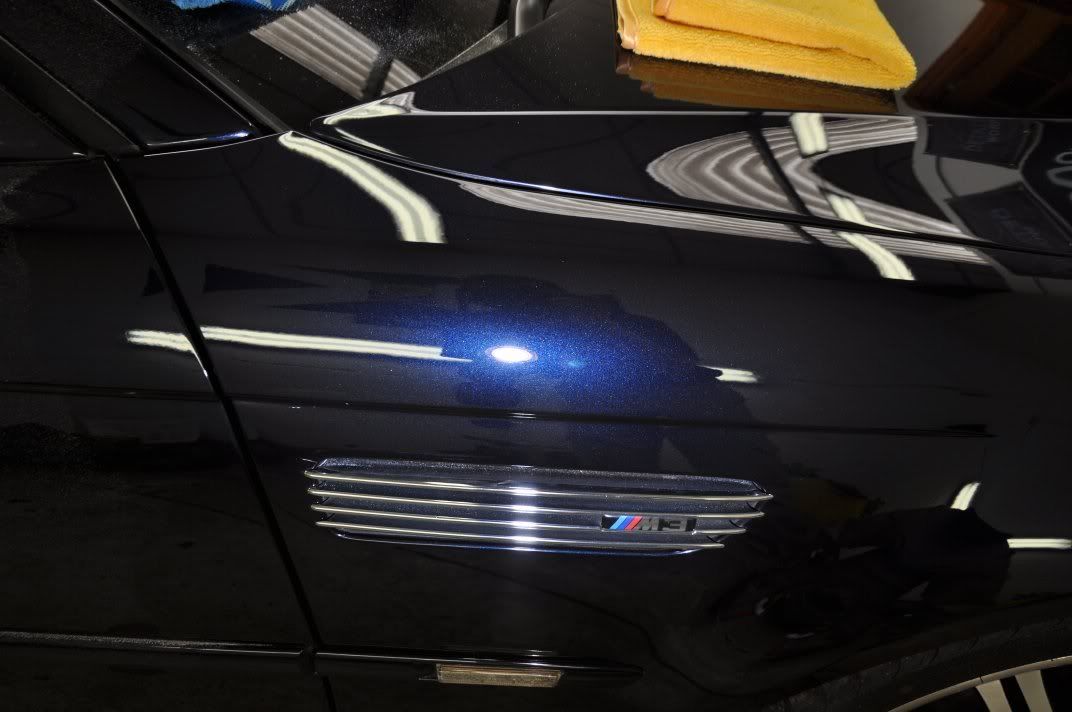
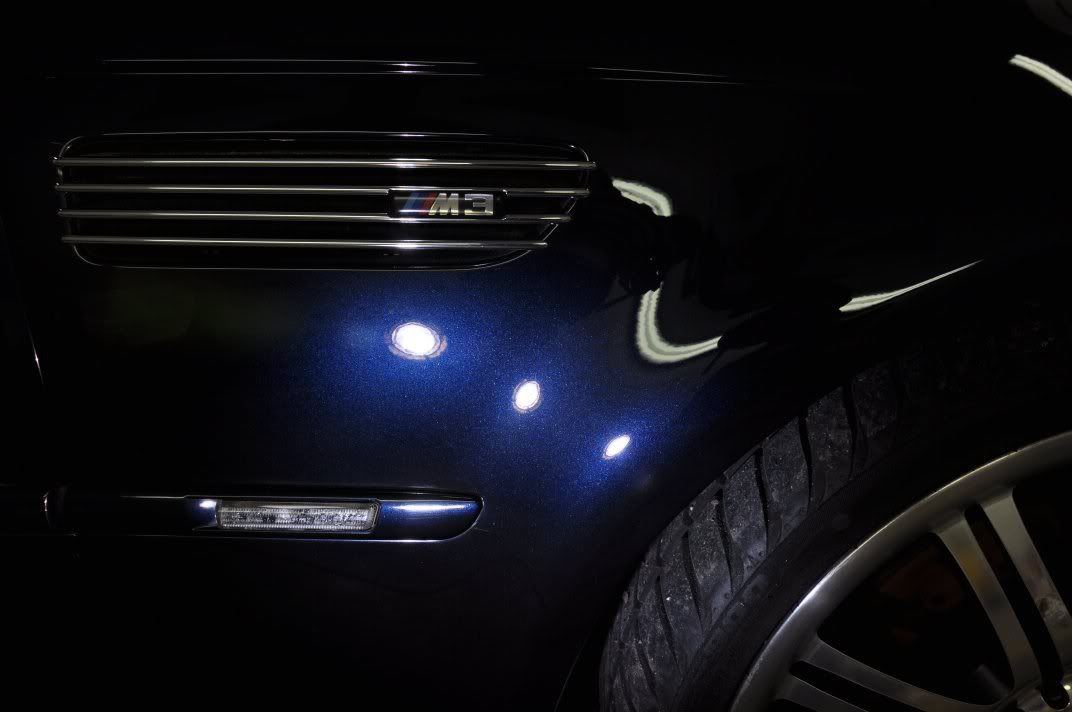
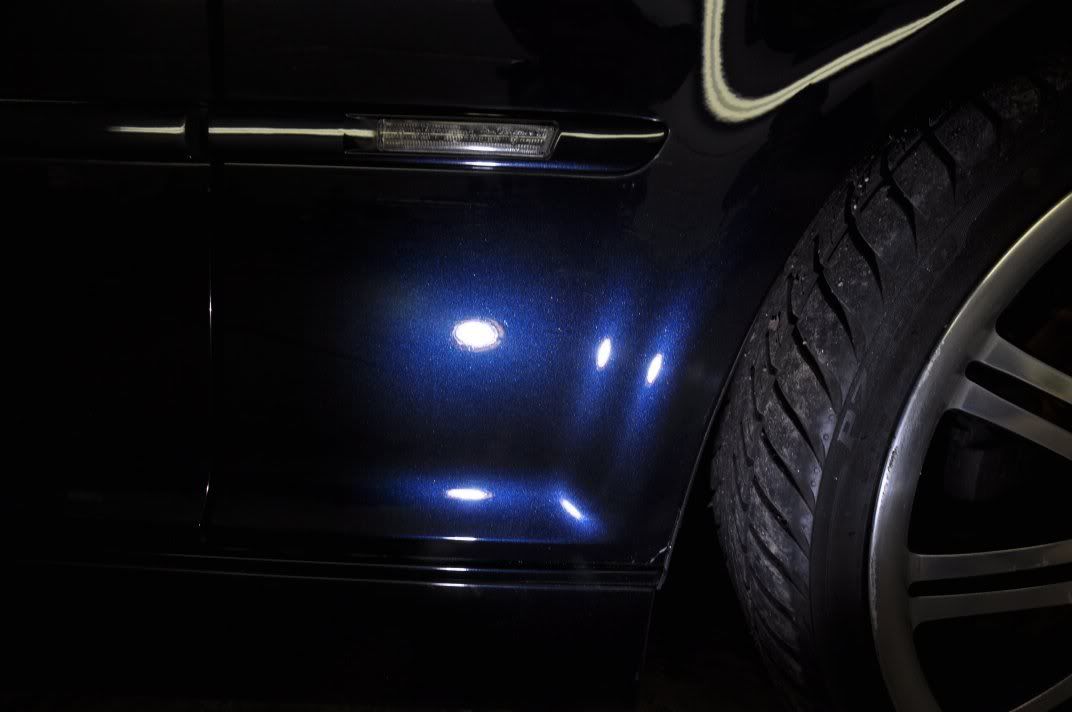
Driver’s door before:
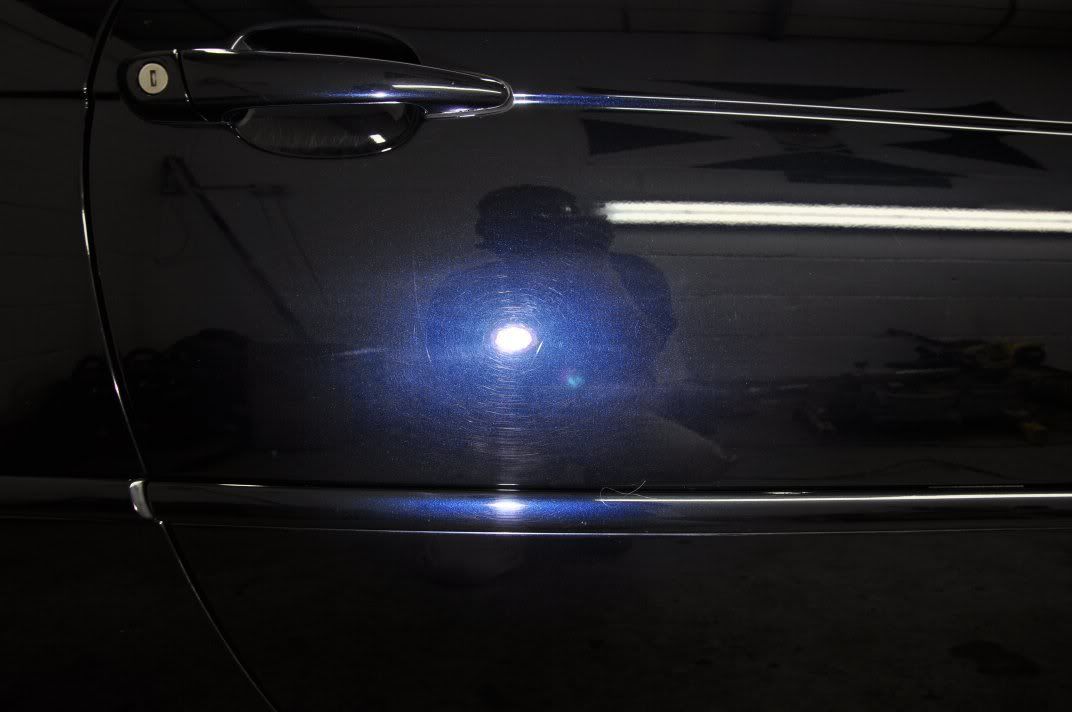
And after:
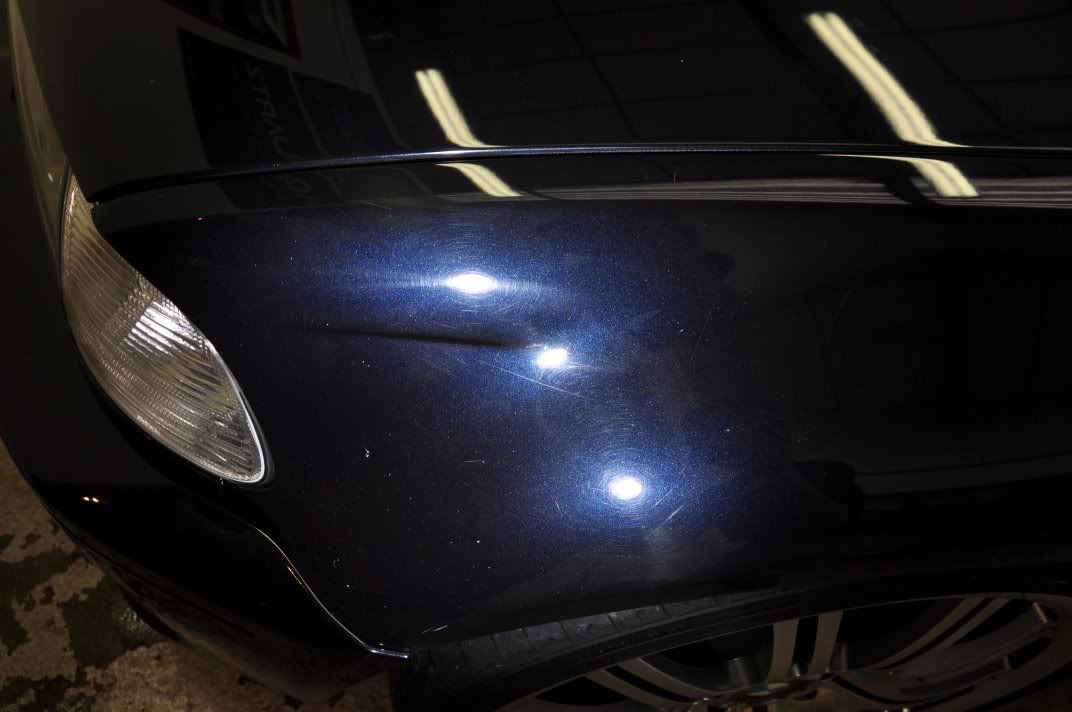
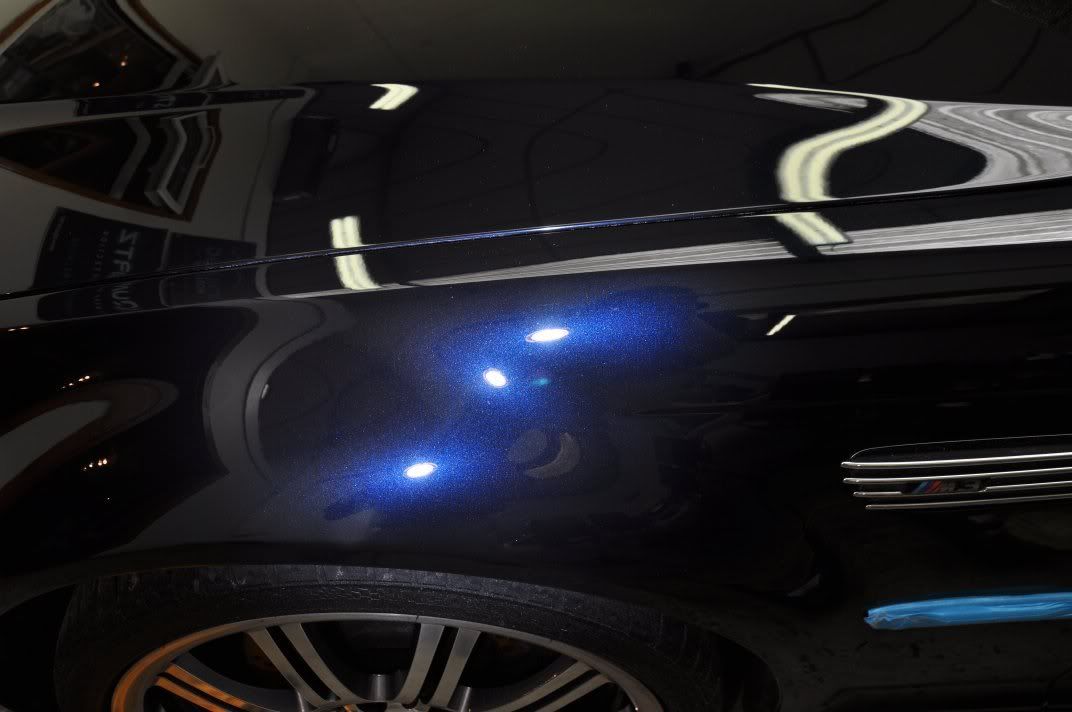
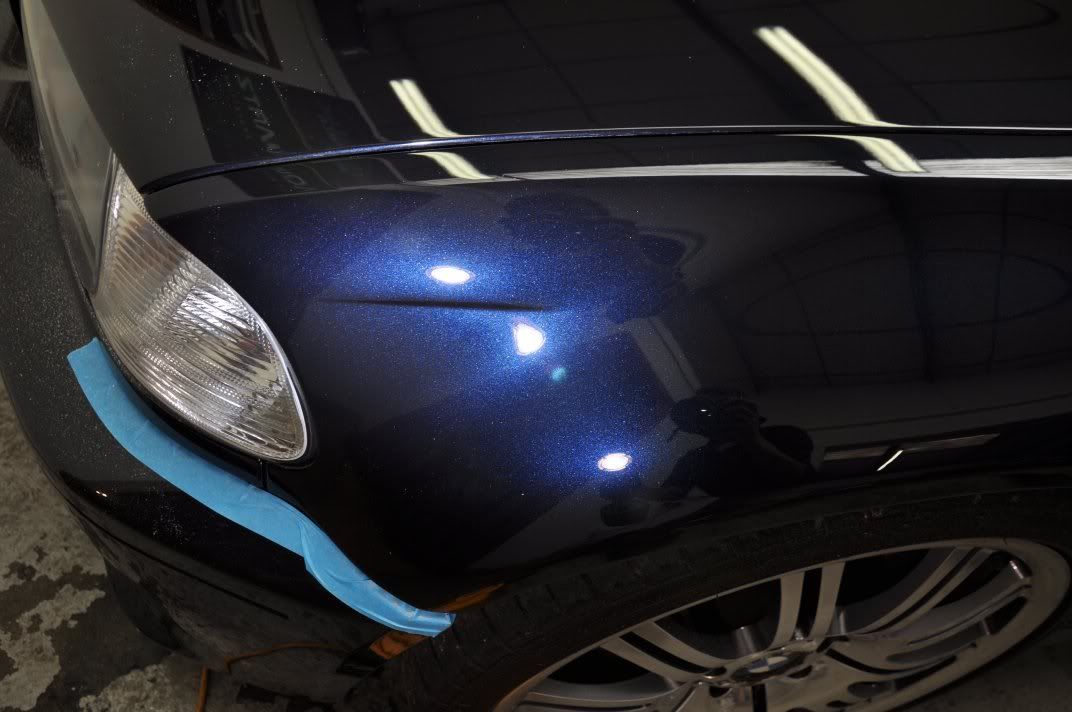
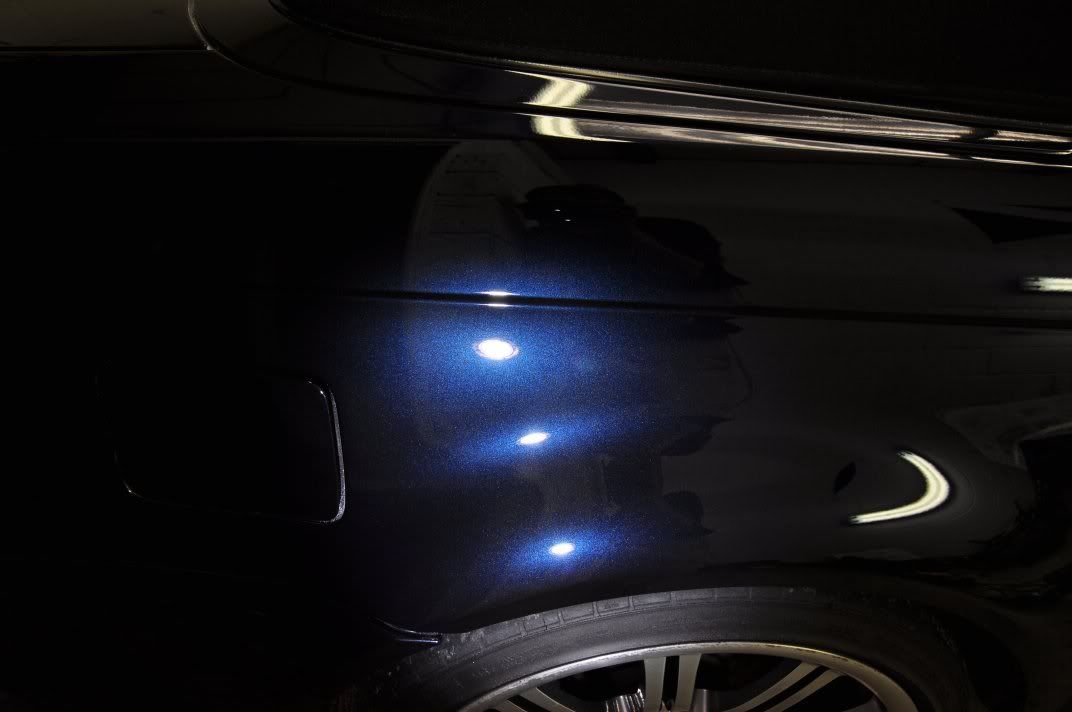
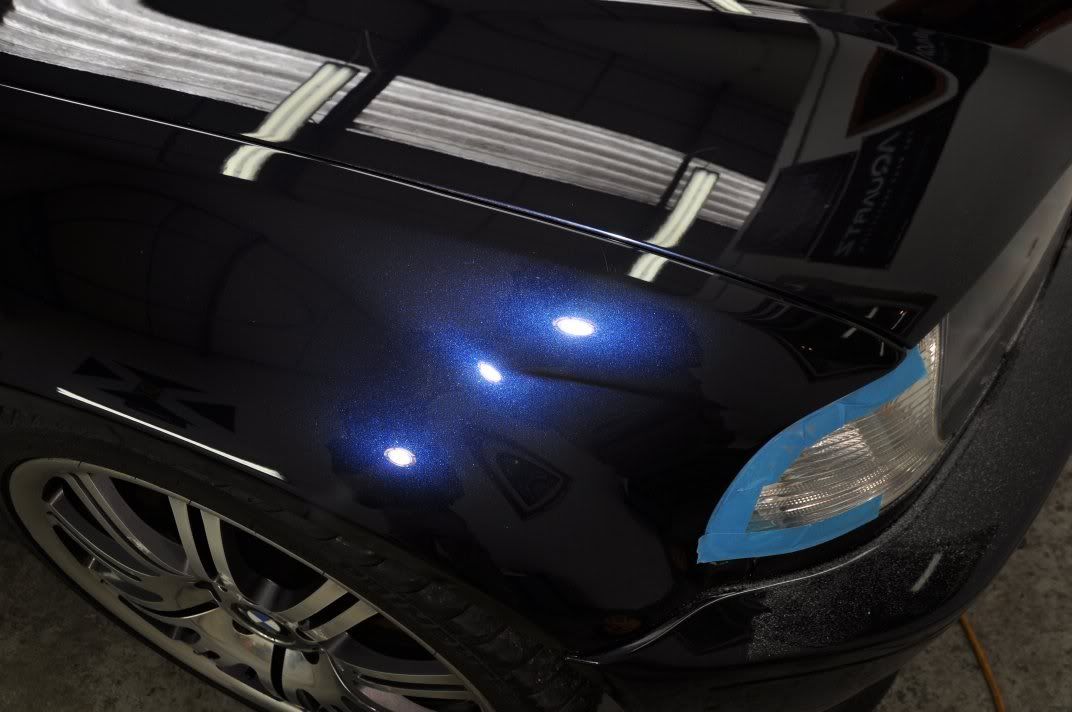
Driver’s front wing before:
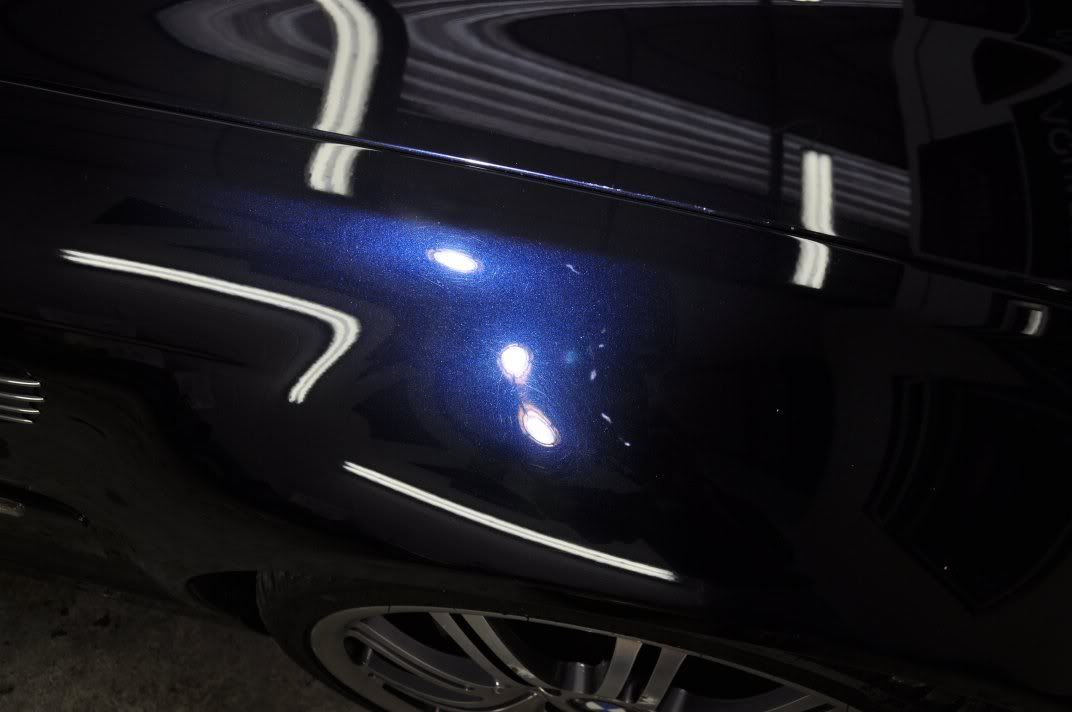
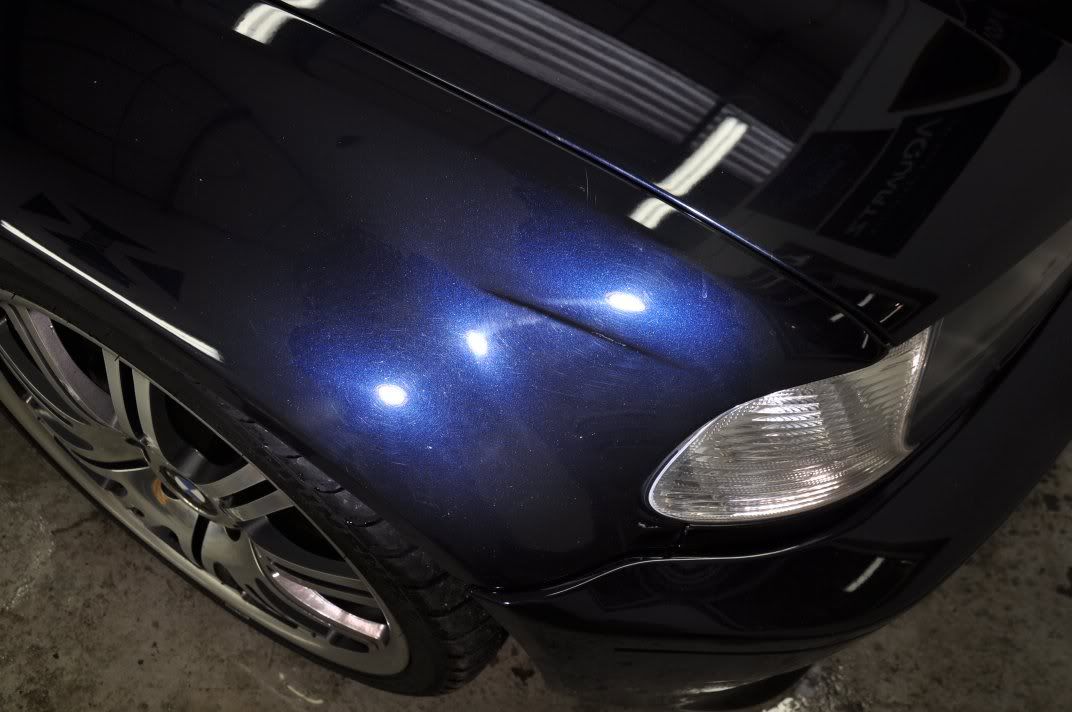

And after:

Following correction, the paintwork was protected with Chemical Guys 50/50 wax, trim with Migliore Trim Protectant, tyres with Espuma RD50, wheels with FK1000P, arches with 3D Ultra, glass with Autosmart Glass Clear and exhausts with 3D Metal Polish.
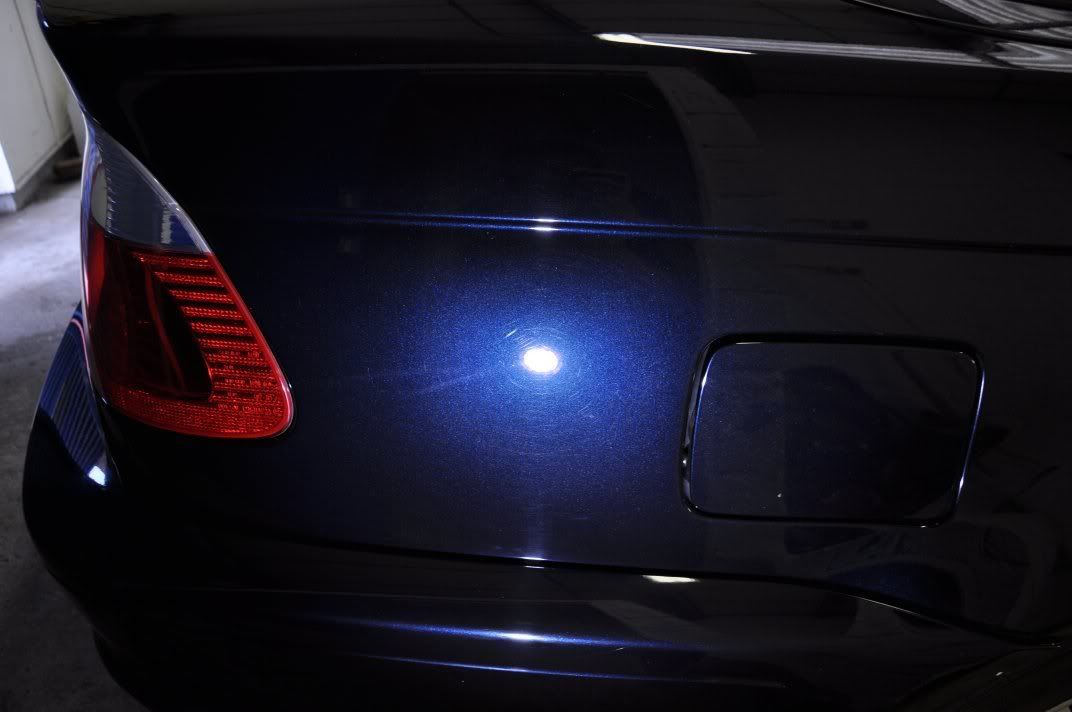
The end results, outside in the evening light:
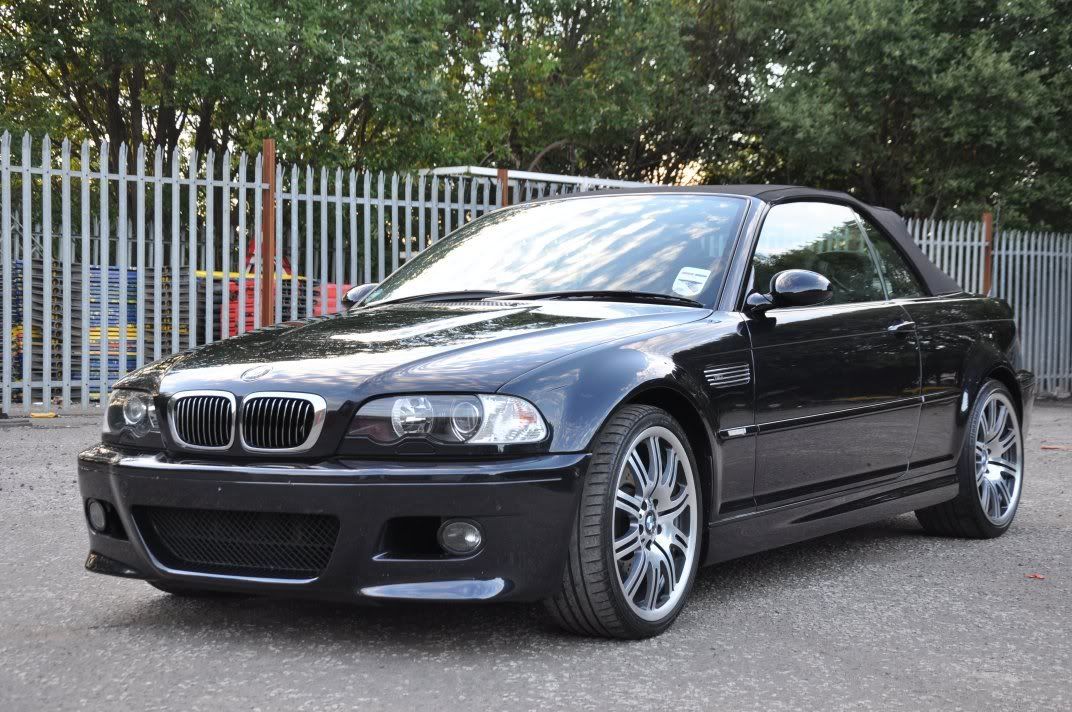
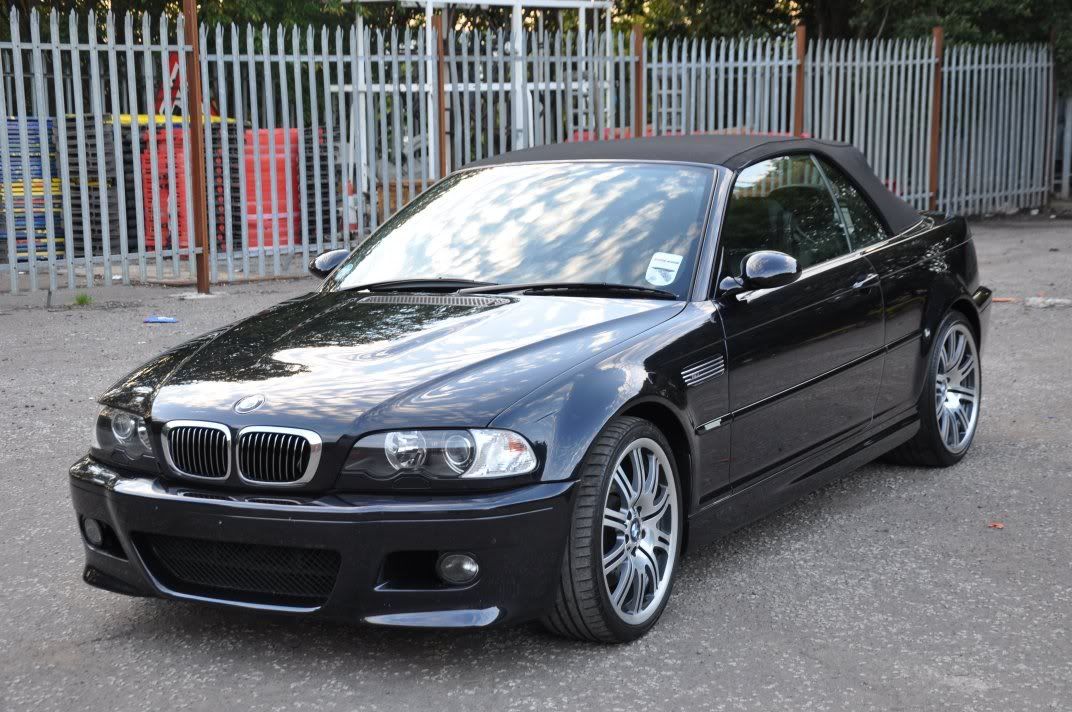

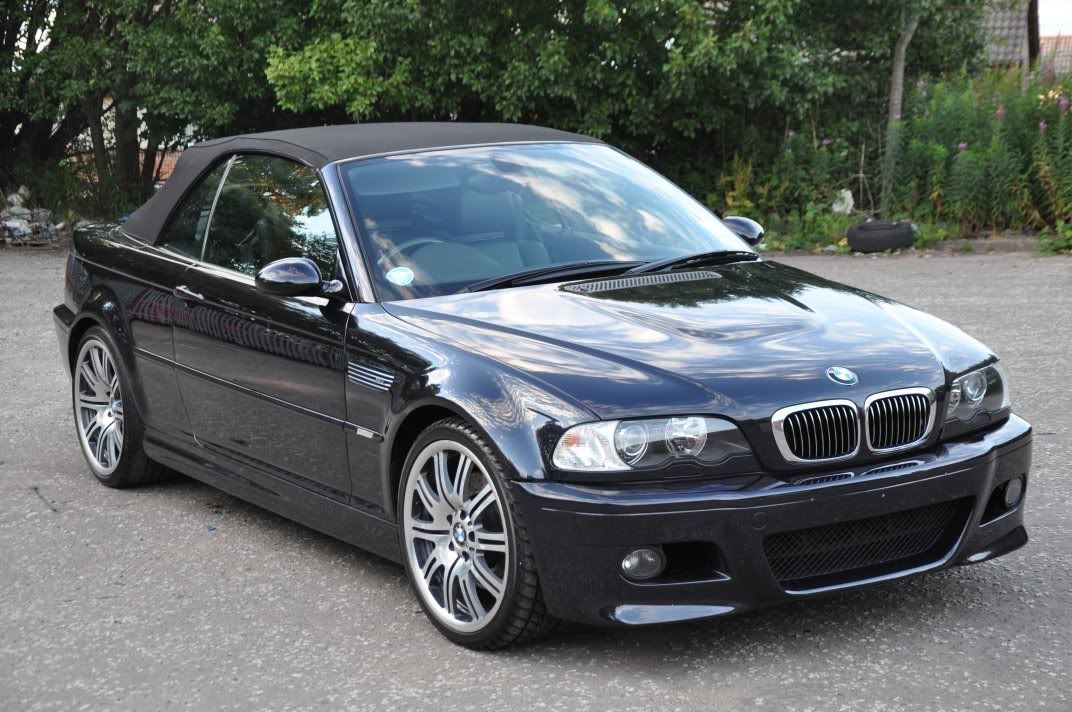
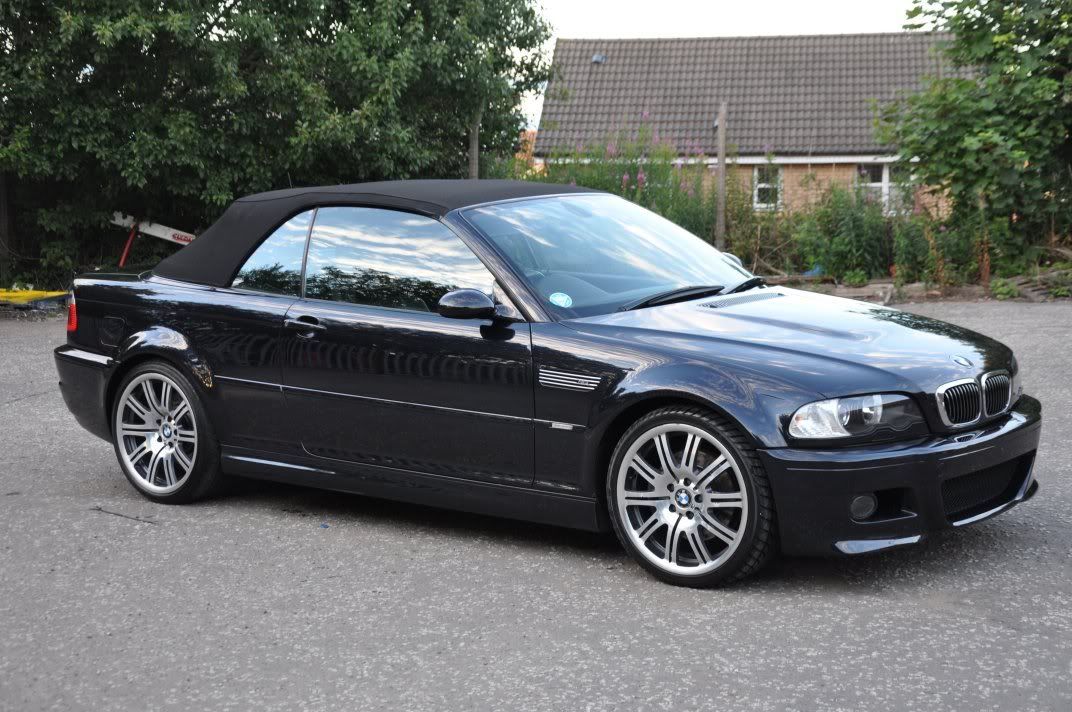
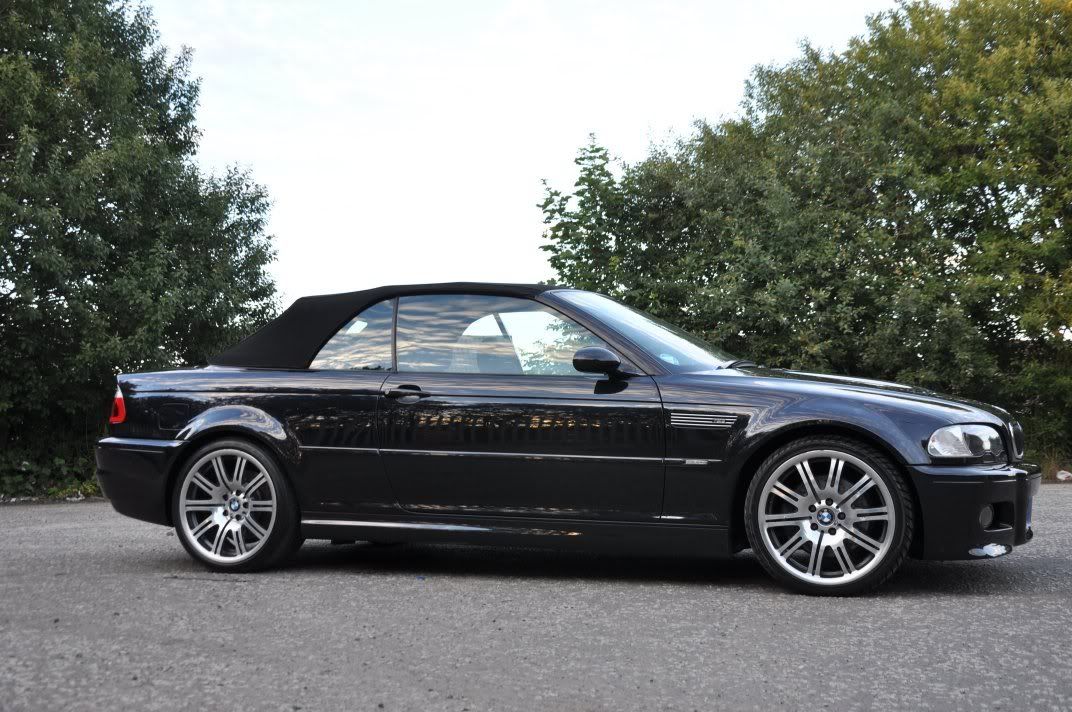
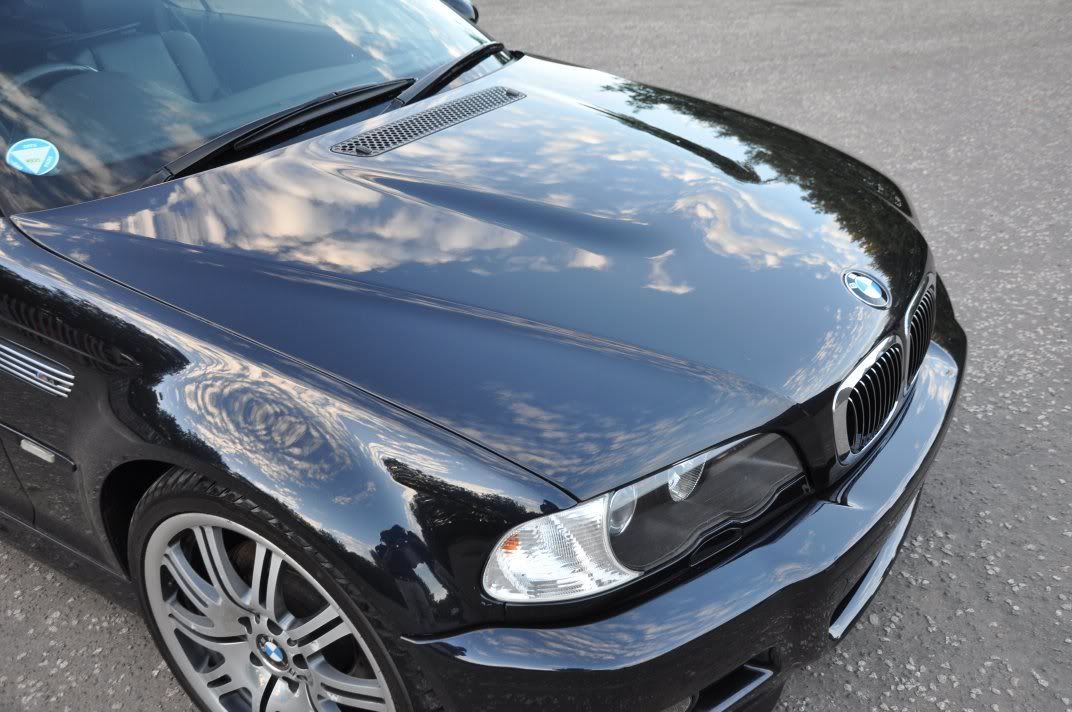
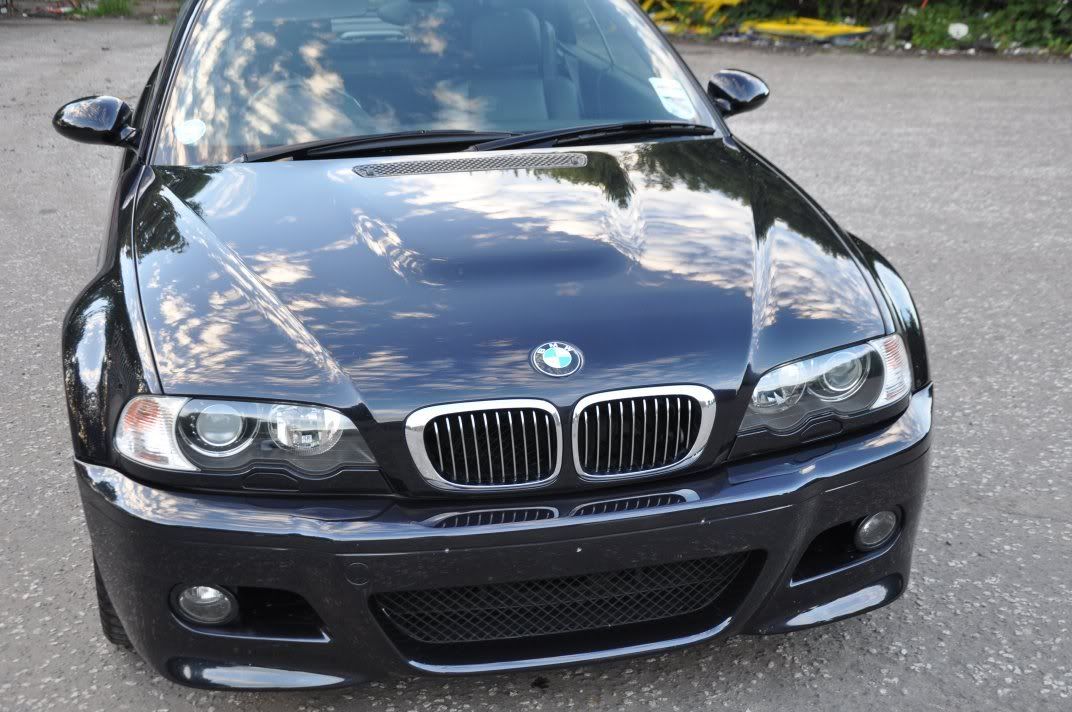
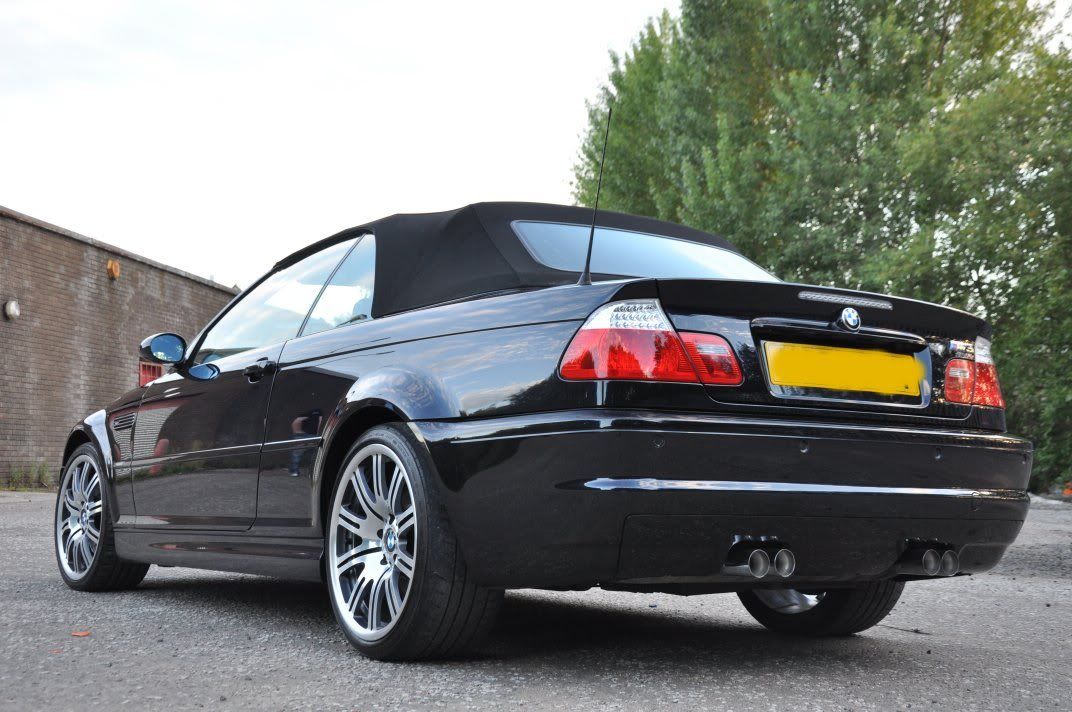
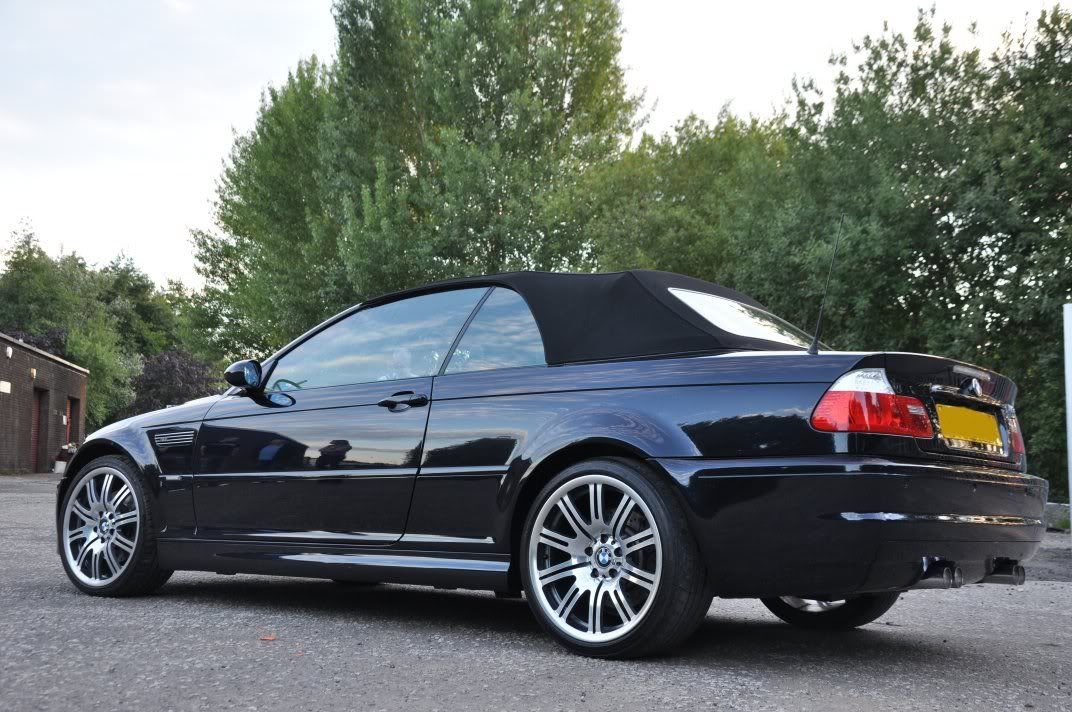
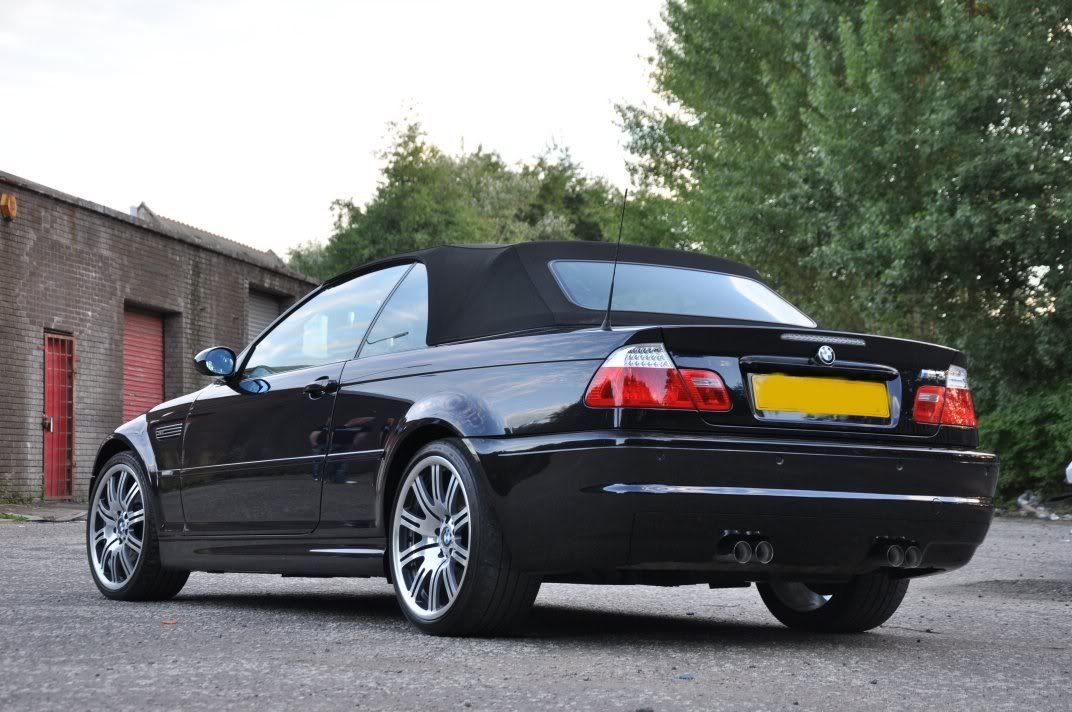
Another enjoyable detail, its always nice to see your hard work rewarded with a happy owner and some nice after shots! As always, I hope this write up has proved helpful and useful – any questions, feel free to ask :thumb:


Comment