

 Tweet
Tweet
It really doesn't matter to us what the car is - big small, cheap run about or expensive supercar : if its got paint (or not!) we'll polish it  ... There is something particularly awarding for us to an every day car that arrives with every day marks and being able to turn it around and make it stand out alongside all the other every day cars is hugely rewarding
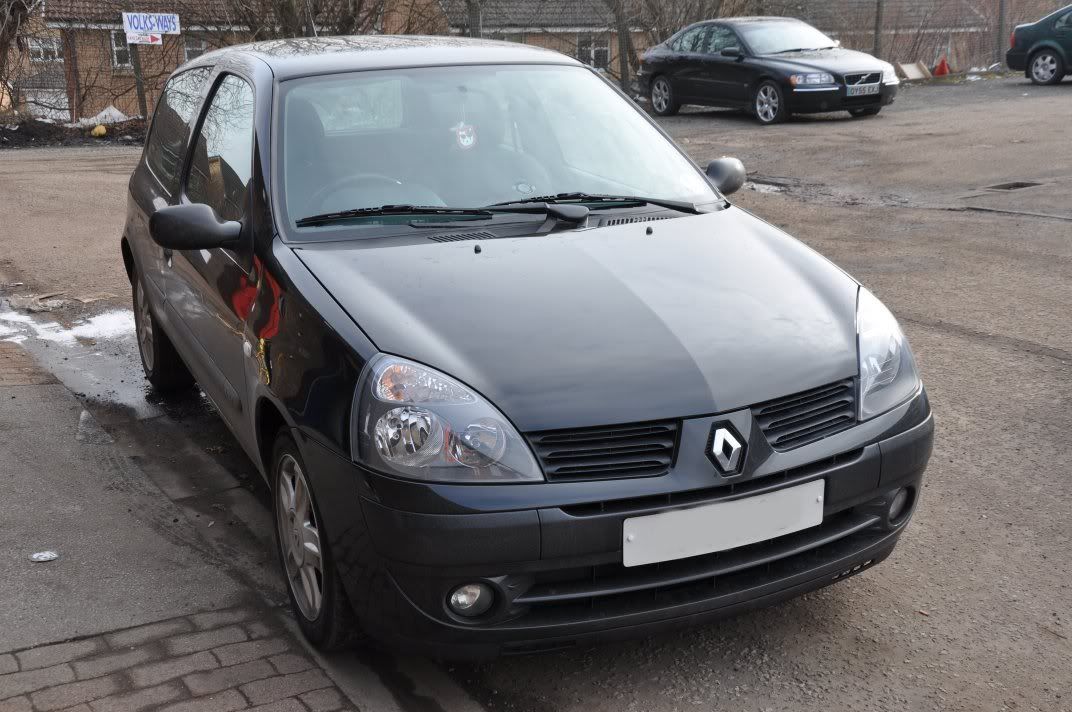
p3asa contacted us on the forum about organising a tuition detail, and the car chosen was his daughter's Renault Clio: a good plan, as her first car gets a makeover while he learns to machine polish over the course of a tuition detail
The car turned up with general winter road grime across the paintwork...


We started the detail with out traditional wash methods ensuring wheels, arches and bodywork were cleaned and then clayed ready for the machine polishing. Before starting on the machine polishing, it was out with the scrap panels to work with Steven on the machines. Steven was interested in rotary polishing so we started with that, starting with the ideas of machine control... Steven seen here under the watchful eye of Gordon working on different machine control techniques:


A slight tendancy to life the machine up at the back...
which Gordon worked on to ensure Steven's technique was smooth and effective - many people learn the use of tools "kinesthetically", ie by feeling the right and wrong methods so plenty of practice goes a long way to building confidence and ability on the rotary...

Similarly for the DA, as Steven spend time with me on the G220...


Once more confident with the machine polishers, it was time to start on the car itself
Starting with the bonnet before...


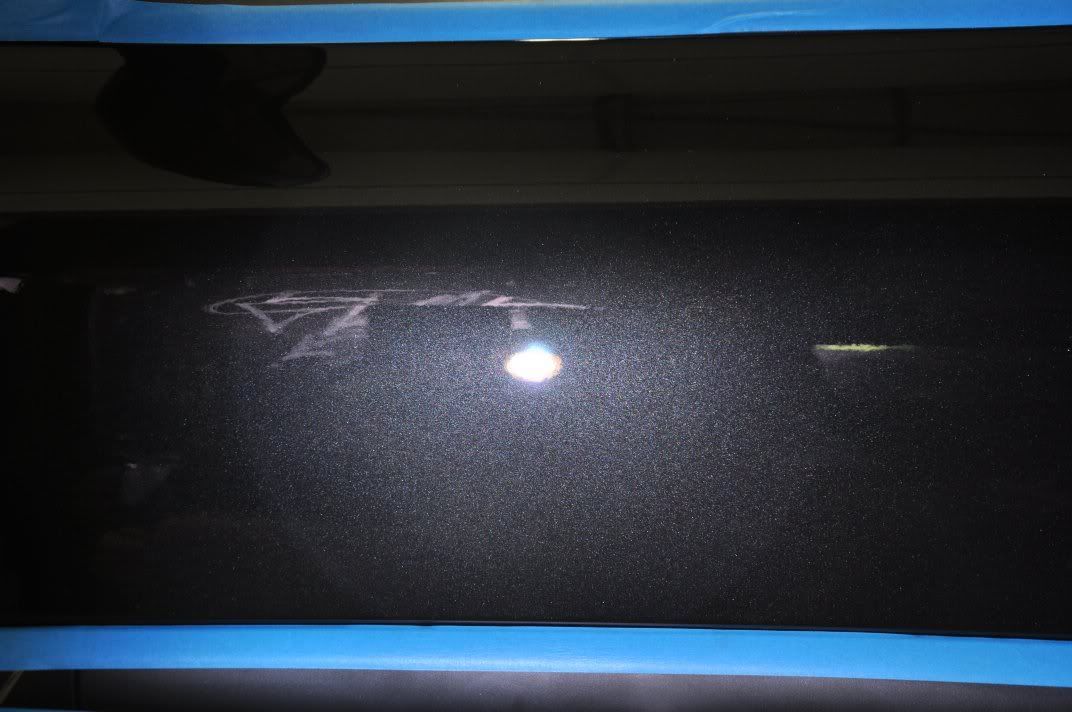
we can see some general light to moderate swirls...


And some deeper RDS... (not the strip light used to best highlight these):


We kick off here with a paint assessment - seeing what the car requires to deal with the marks in the paint with as little paint removed as possible... we start with a lightly abrasive combination and work up through the grades, assessing removal rates as we go to ensure safety, until the desired level of correction is achieved. So, a test section before:


First up was Menzerna PO106FA Final Finish on a black Chemical Guys Hexlogic finishing pad... largely getting forgotten about this product in favour of the newer 203S which if you ask me is a great shame indeed, as 106FA represents better flexibility when paired with 85RD3.02 Intensive Polish in my opinion, the 106FA being capable of tenable correction but with also a superb finishing ability. Don't discount it, just because something new has come along as it is an excellent product that is, for me, certainly not bettered by 203S! Application was Zenith Point Technique, that is where the speed is increased to working pace, and then product broken down before working back down through the speeds to refine, roughly as follows:
The end results show a very effective correction of the swirls...


But look more closely... we can still see the RDS:
We continue to work up, based on paint removal rates being inside the error of the gauge here (low)... PO85RD3.02 Intensive Polish on a white Chemical Guys Hexlogic pad worked using the Zenith Point method described above delivered much better correction of the deeper marks...


and as expected the swirls are fully removed...


Some deeper marks required a little bit of localised heavier correction...


3M Fast Cut Plus on a Chemical Guys Orange Hexlogic (4") spot pad was used, with the Festool RAP-80 by spreading the compound and working at 2000rpm until the marks were removed...


Refinement was carried out using Menzerna PO85RD Final Finish using a Zentih Point methods as described above, with more passes made at the burnishing stage to ensure the best clarity in the end finish. The bonnet afterwards...


And under the lights...


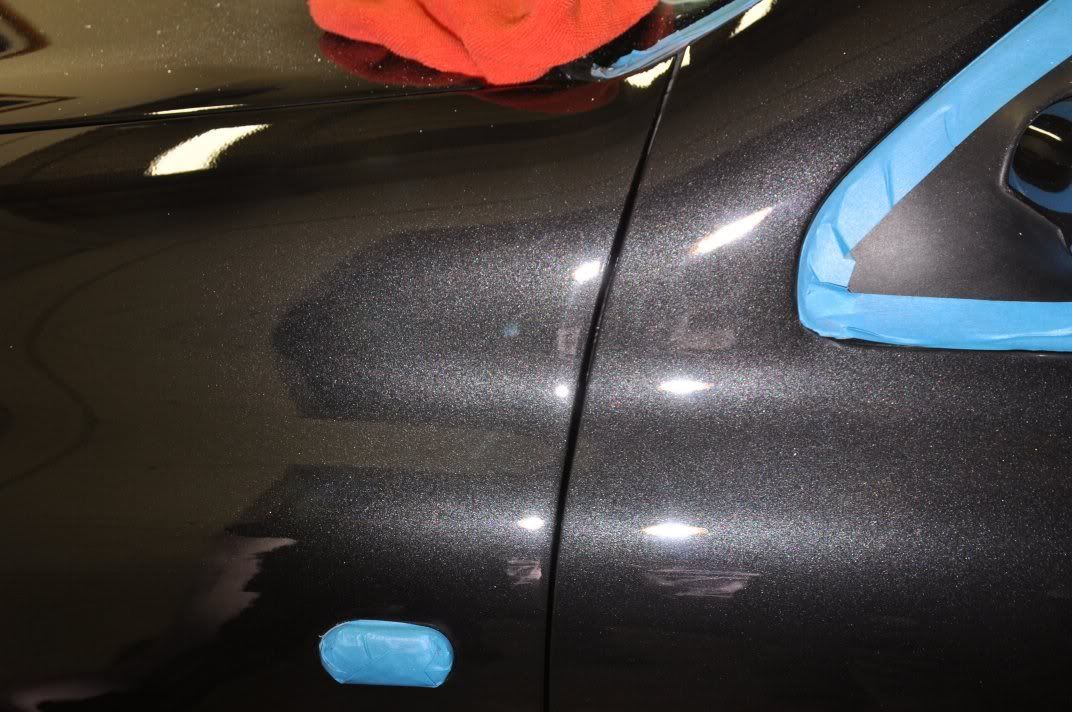
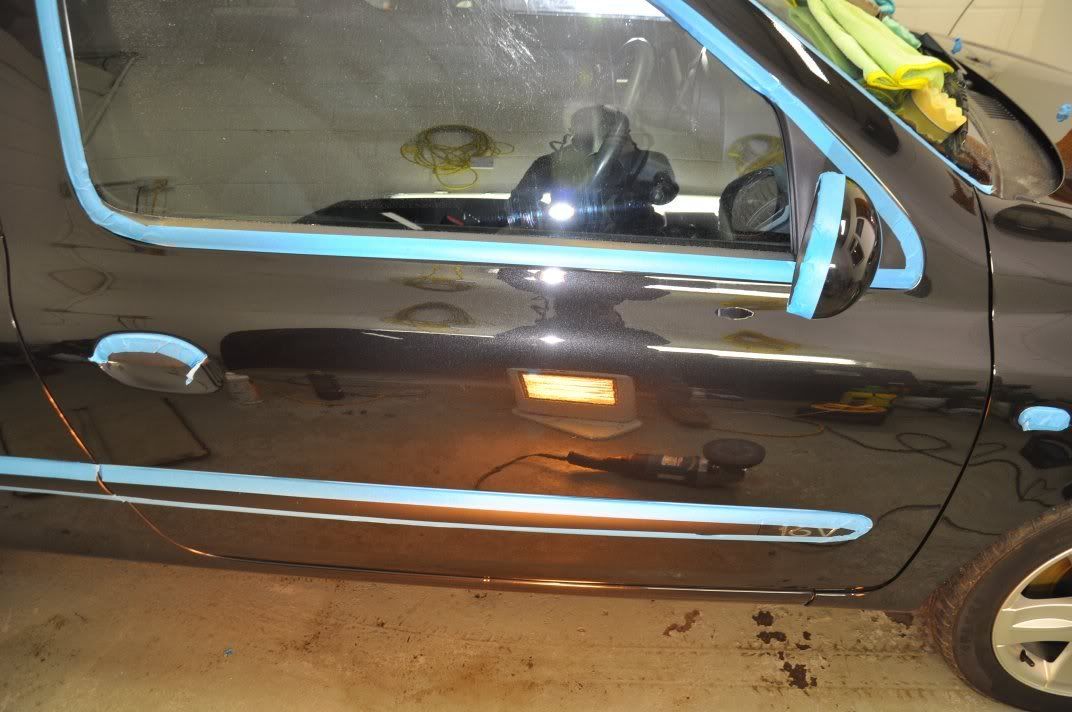
Gordon and Stewart worked down the passenger side of the car, Stewart under Gordon's watchful eye ... The side before:


and under the lights, where the reasons for the slightly grey looking black paint become apparent...


A rough 50/50 shot shows the difference being made - no refinement or even proper wiping of residue here, just a quick pick to show the differences being made:

Gordon and Stewart working away...


RAP-80 is a superb little machine for sills, pillars and other small intricate areas...

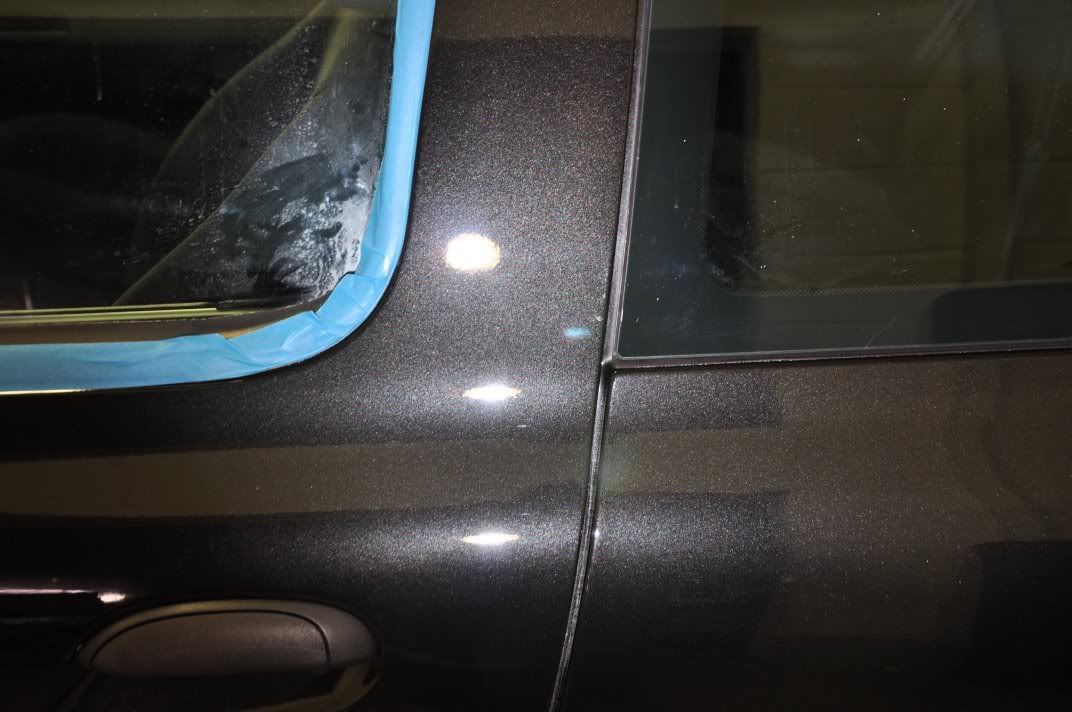
After shots down the side, show the colour restored to its original depth and lustre...


No machine polishing would be right without thorough assessment under the Sun Gun and Metal Halides though:


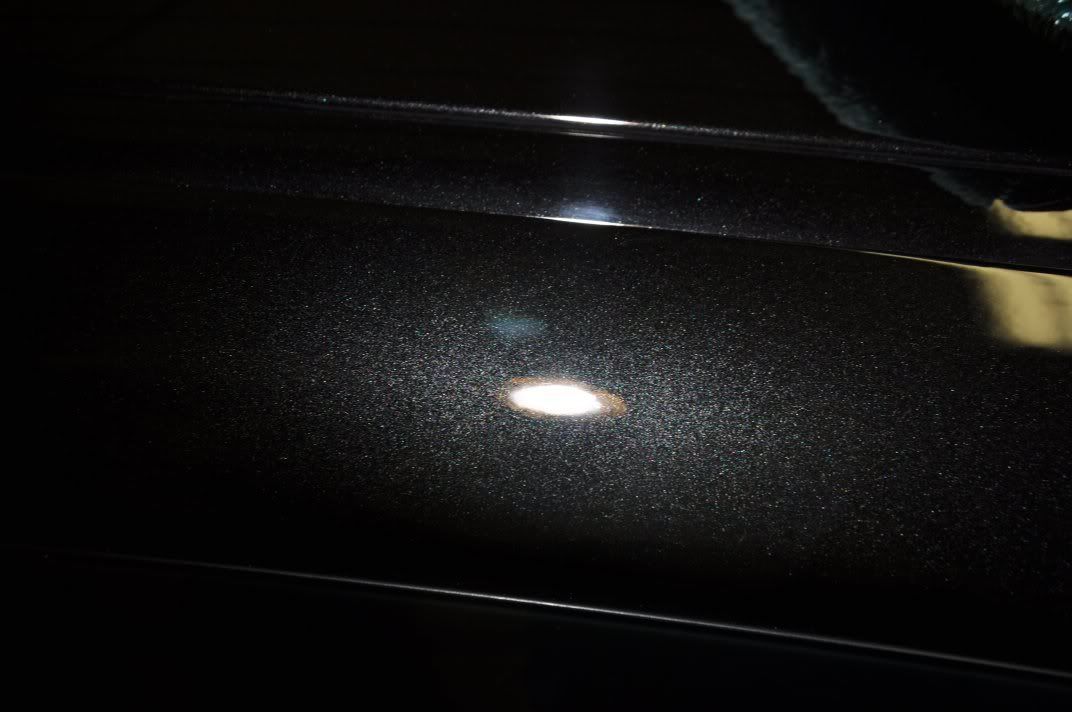
Down the driver's side got a similar treatment from me. Some general before shots showing the slightly greyed paint finish...


General before shots under the lights...


The front wing afterwards...


Around the door pilar, some deeper marks existed...


These were removed with Fast Cut Plus on a spot pad...


The rest of the door was corrected with Intensive Polish and refined using Final Finish (85RD) as described above to give the following...


More deep marks on rear pilar...


FC+ corrected...


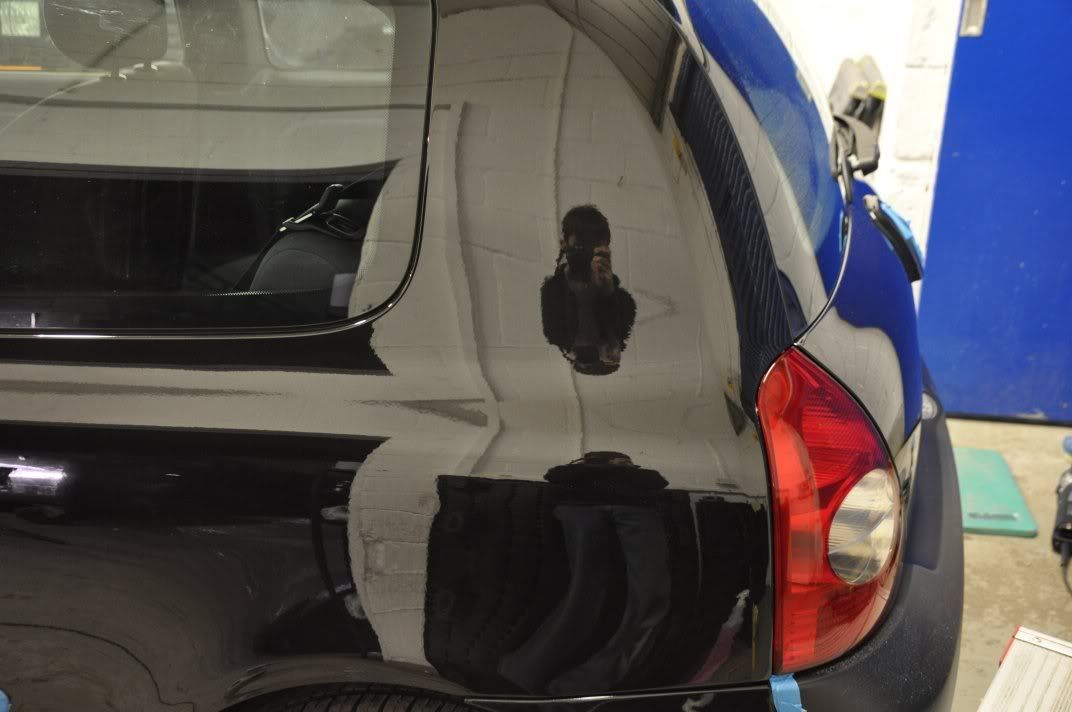
Rear 3/4 after correction and refinement:


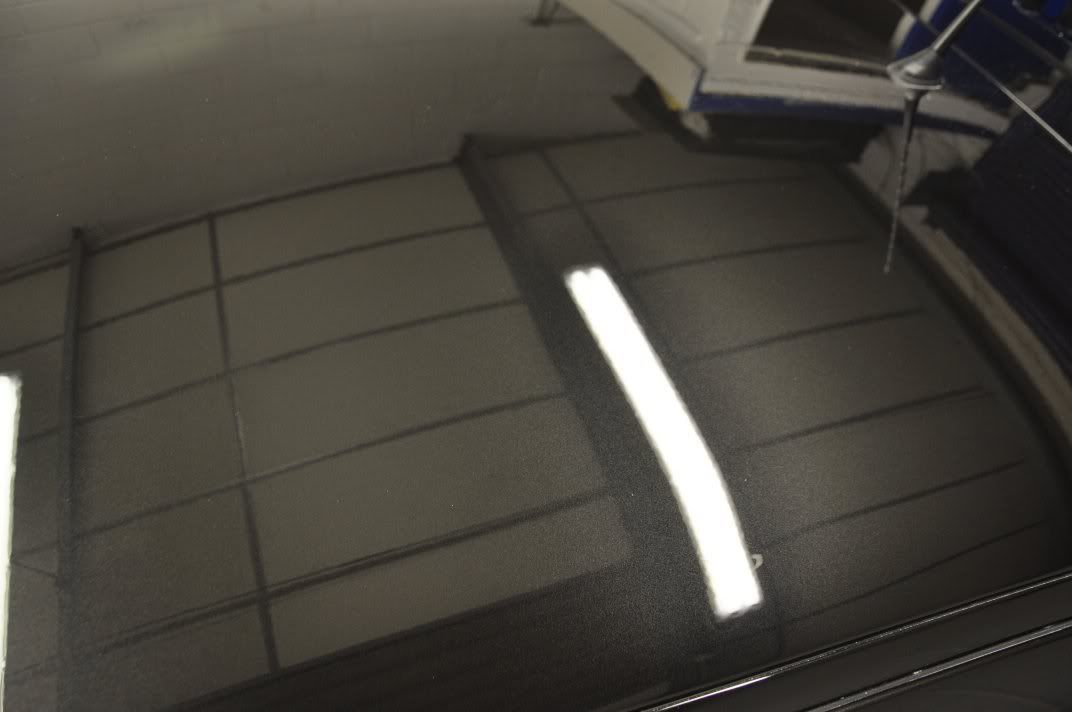
The roof was the worst panel on the car with a lot of deep RDS across the panel...


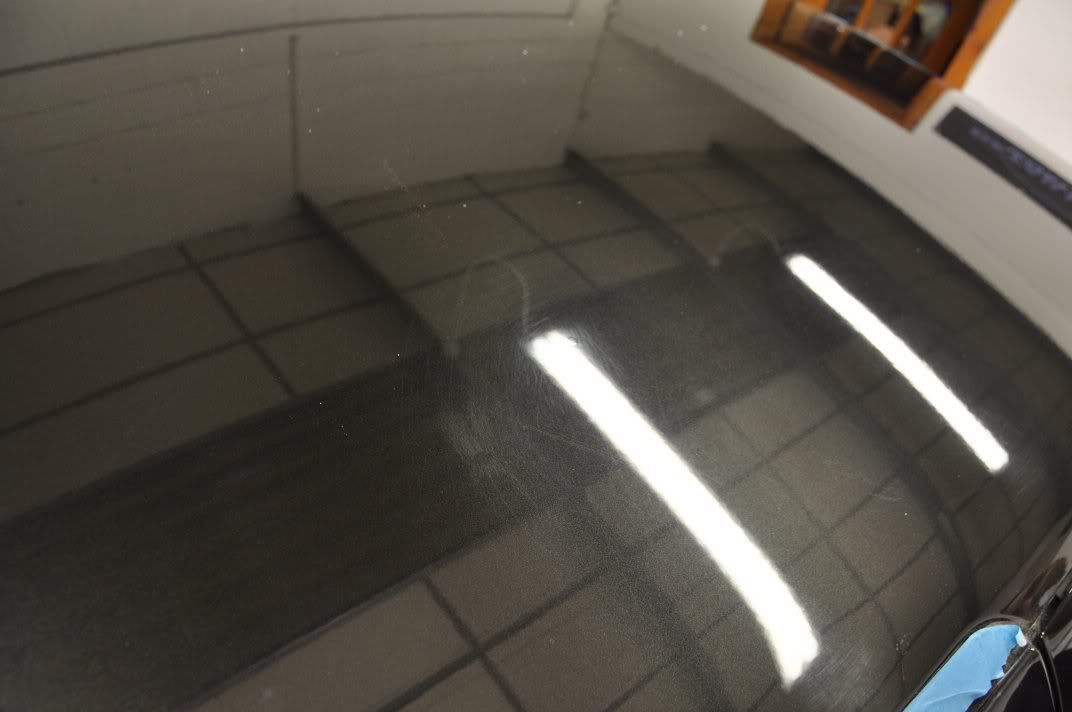
The whole roof was corrected using 3M FC+ at 2000rpm using a Chemical Guys Yellow Hexlogic Cutting Pad, then followed with Intensive Polish before being refined with Final Finish to give...


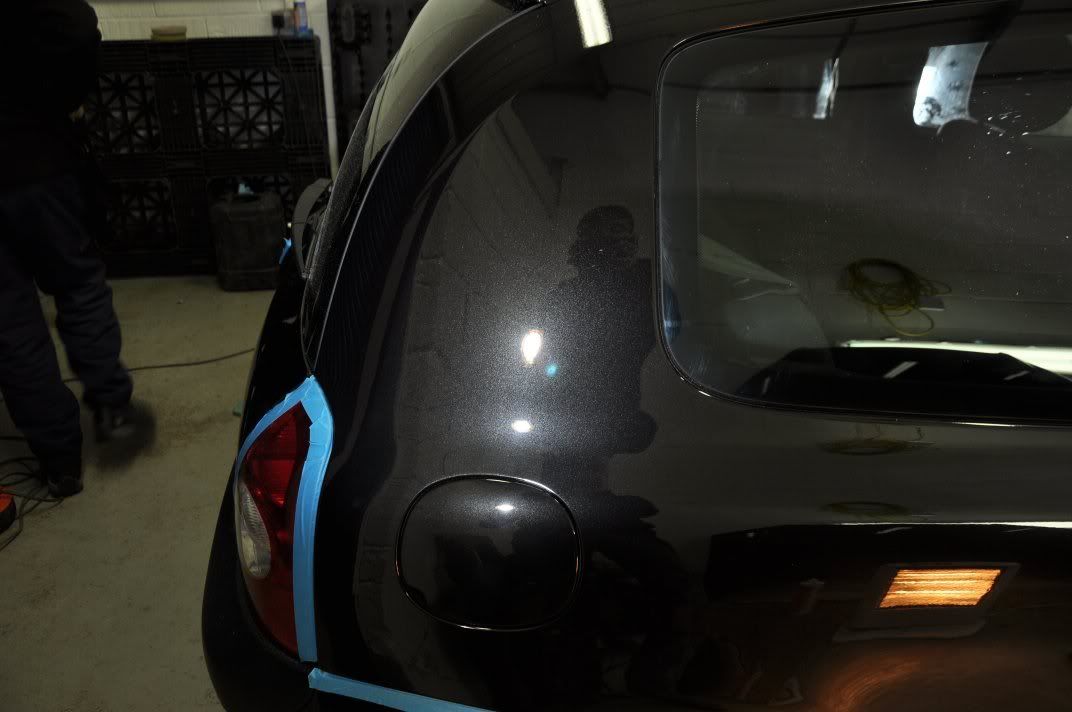
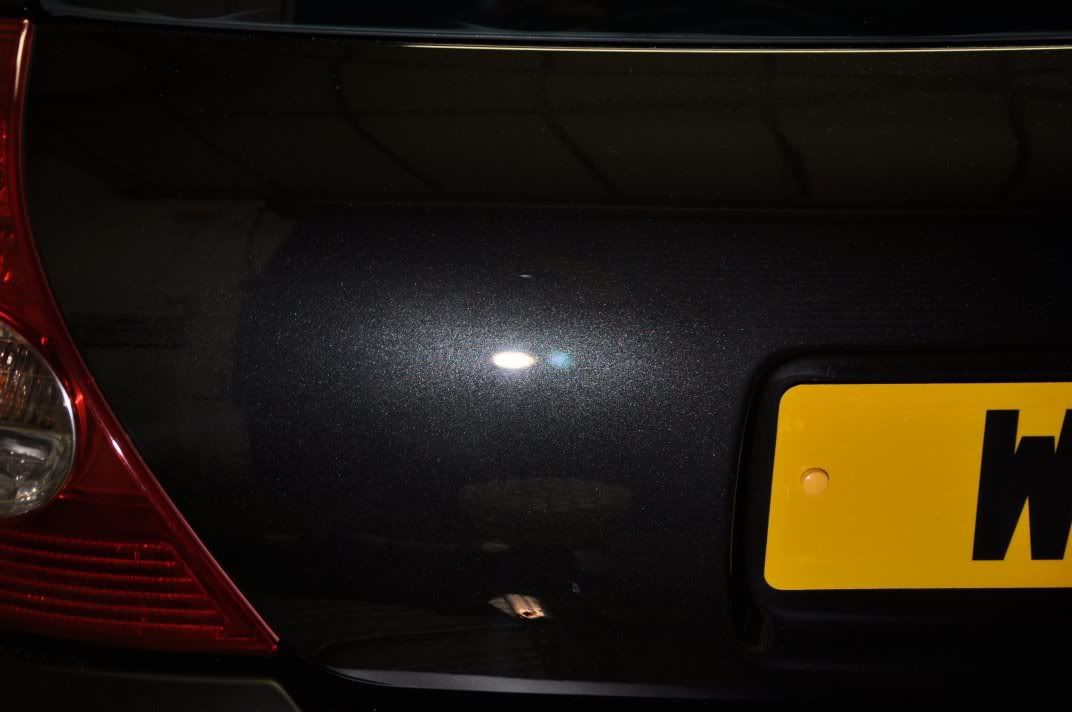
Bootlid before...


and after...


Once the machine polishing stage was completed the paintwork was then protected using Meguiars #16 wax for its durability Tyres were dressed using Espuma RD-50, wheels protected using FK1000P. Trim dressed with Chemical Guys New Look Trim Gel, arches also with RD-50. Glass cleaned with Stoner Invisible Glass inside and out.
The end results of a day's hard work, and from our point of view, very successful tuition for Steven, a lot of the work you see in the afters was produced by Steven himself....


Thanks for looking A long writeup this one, with lots of pics but I do like to add plenty of detail and information to my writeups where I can which I hope has been useful :thumb:
... There is something particularly awarding for us to an every day car that arrives with every day marks and being able to turn it around and make it stand out alongside all the other every day cars is hugely rewarding p3asa contacted us on the forum about organising a tuition detail, and the car chosen was his daughter's Renault Clio: a good plan, as her first car gets a makeover while he learns to machine polish over the course of a tuition detail
The car turned up with general winter road grime across the paintwork...
We started the detail with out traditional wash methods ensuring wheels, arches and bodywork were cleaned and then clayed ready for the machine polishing. Before starting on the machine polishing, it was out with the scrap panels to work with Steven on the machines. Steven was interested in rotary polishing so we started with that, starting with the ideas of machine control... Steven seen here under the watchful eye of Gordon working on different machine control techniques:
A slight tendancy to life the machine up at the back...
which Gordon worked on to ensure Steven's technique was smooth and effective - many people learn the use of tools "kinesthetically", ie by feeling the right and wrong methods so plenty of practice goes a long way to building confidence and ability on the rotary...
Similarly for the DA, as Steven spend time with me on the G220...
Once more confident with the machine polishers, it was time to start on the car itself
Starting with the bonnet before...
we can see some general light to moderate swirls...
And some deeper RDS... (not the strip light used to best highlight these):
We kick off here with a paint assessment - seeing what the car requires to deal with the marks in the paint with as little paint removed as possible... we start with a lightly abrasive combination and work up through the grades, assessing removal rates as we go to ensure safety, until the desired level of correction is achieved. So, a test section before:
First up was Menzerna PO106FA Final Finish on a black Chemical Guys Hexlogic finishing pad... largely getting forgotten about this product in favour of the newer 203S which if you ask me is a great shame indeed, as 106FA represents better flexibility when paired with 85RD3.02 Intensive Polish in my opinion, the 106FA being capable of tenable correction but with also a superb finishing ability. Don't discount it, just because something new has come along as it is an excellent product that is, for me, certainly not bettered by 203S! Application was Zenith Point Technique, that is where the speed is increased to working pace, and then product broken down before working back down through the speeds to refine, roughly as follows:
- Spread at 600rom
- Begin working at 1200rpm, building a little heat in the panel to get the weax residue evenly spread
- Work at 1500 - 1800rpm until residue goes clear with moderate pressure and steady machine movements - will take a good three minutes of continued working
- Refine at 1200rpm, a few passes with light pressure
- Burnish at 900rpm, couple of passes, light pressure and slow machine movement
The end results show a very effective correction of the swirls...
But look more closely... we can still see the RDS:
We continue to work up, based on paint removal rates being inside the error of the gauge here (low)... PO85RD3.02 Intensive Polish on a white Chemical Guys Hexlogic pad worked using the Zenith Point method described above delivered much better correction of the deeper marks...
and as expected the swirls are fully removed...
Some deeper marks required a little bit of localised heavier correction...
3M Fast Cut Plus on a Chemical Guys Orange Hexlogic (4") spot pad was used, with the Festool RAP-80 by spreading the compound and working at 2000rpm until the marks were removed...
Refinement was carried out using Menzerna PO85RD Final Finish using a Zentih Point methods as described above, with more passes made at the burnishing stage to ensure the best clarity in the end finish. The bonnet afterwards...
And under the lights...
Gordon and Stewart worked down the passenger side of the car, Stewart under Gordon's watchful eye
... The side before:and under the lights, where the reasons for the slightly grey looking black paint become apparent...
A rough 50/50 shot shows the difference being made - no refinement or even proper wiping of residue here, just a quick pick to show the differences being made
:Gordon and Stewart working away...
RAP-80 is a superb little machine for sills, pillars and other small intricate areas...
After shots down the side, show the colour restored to its original depth and lustre...
No machine polishing would be right without thorough assessment under the Sun Gun and Metal Halides though
:Down the driver's side got a similar treatment from me.
Some general before shots showing the slightly greyed paint finish...General before shots under the lights...
The front wing afterwards...
Around the door pilar, some deeper marks existed...
These were removed with Fast Cut Plus on a spot pad...
The rest of the door was corrected with Intensive Polish and refined using Final Finish (85RD) as described above to give the following...
More deep marks on rear pilar...
FC+ corrected...
Rear 3/4 after correction and refinement:
The roof was the worst panel on the car with a lot of deep RDS across the panel...
The whole roof was corrected using 3M FC+ at 2000rpm using a Chemical Guys Yellow Hexlogic Cutting Pad, then followed with Intensive Polish before being refined with Final Finish to give...
Bootlid before...
and after...
Once the machine polishing stage was completed the paintwork was then protected using Meguiars #16 wax for its durability
Tyres were dressed using Espuma RD-50, wheels protected using FK1000P. Trim dressed with Chemical Guys New Look Trim Gel, arches also with RD-50. Glass cleaned with Stoner Invisible Glass inside and out. The end results of a day's hard work, and from our point of view, very successful tuition for Steven, a lot of the work you see in the afters was produced by Steven himself
....Thanks for looking
A long writeup this one, with lots of pics but I do like to add plenty of detail and information to my writeups where I can which I hope has been useful :thumb:

Comment