

 Tweet
Tweet
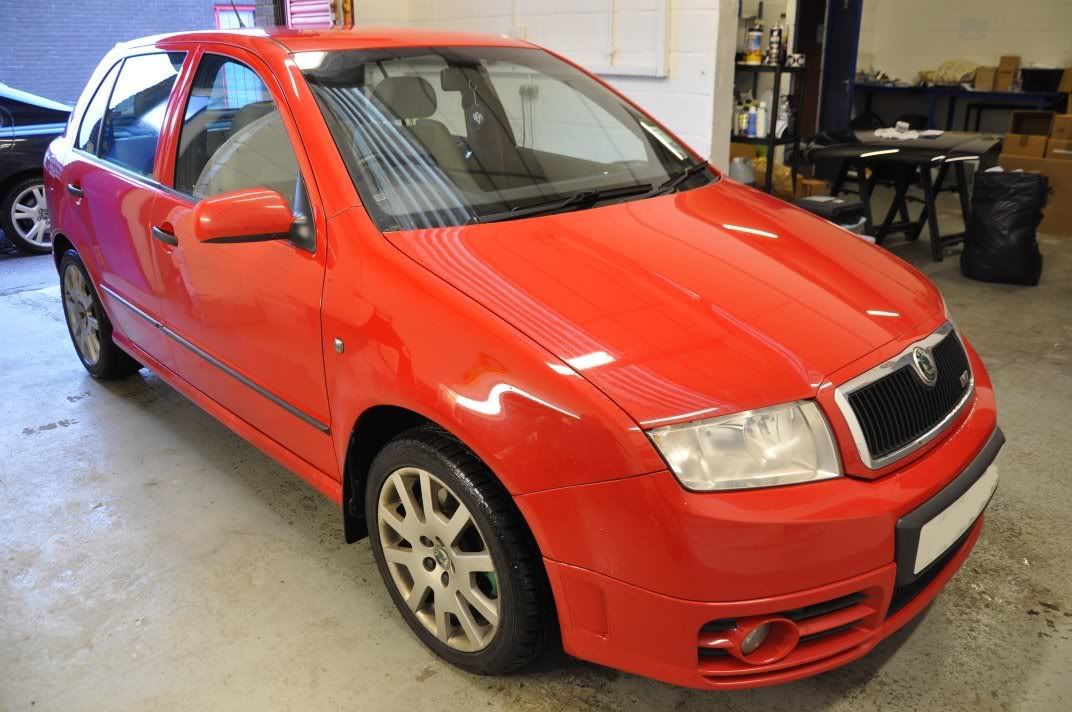
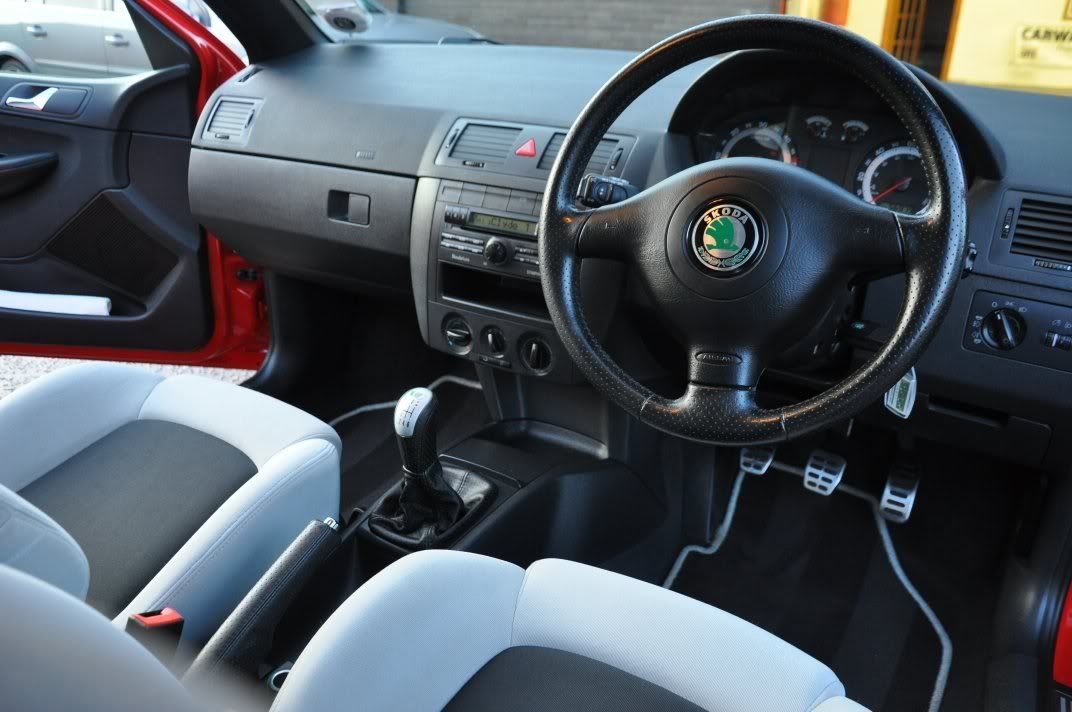
This writeup is about the full detail carried our by Gordon, Davy and myself on a Skoda Fabia owned by AllyRS... Its been a while between the detail and the writeup, I’m afraid I am only getting round to writing up our details of late this week  The car was booked in for an exterior paint correction, including stone chip repair on the bonnet, and interior steam clean to get rid of some severe staining on the light fabric upholstery. It was great to have Ally back again after the detail we did on his Focus RS
  As part of the day, Ally spent some time learning the DA polisher on a scrap panel and then his own car to get familiar with the machine he had bought for future spruce ups of the car months, and years down the line.
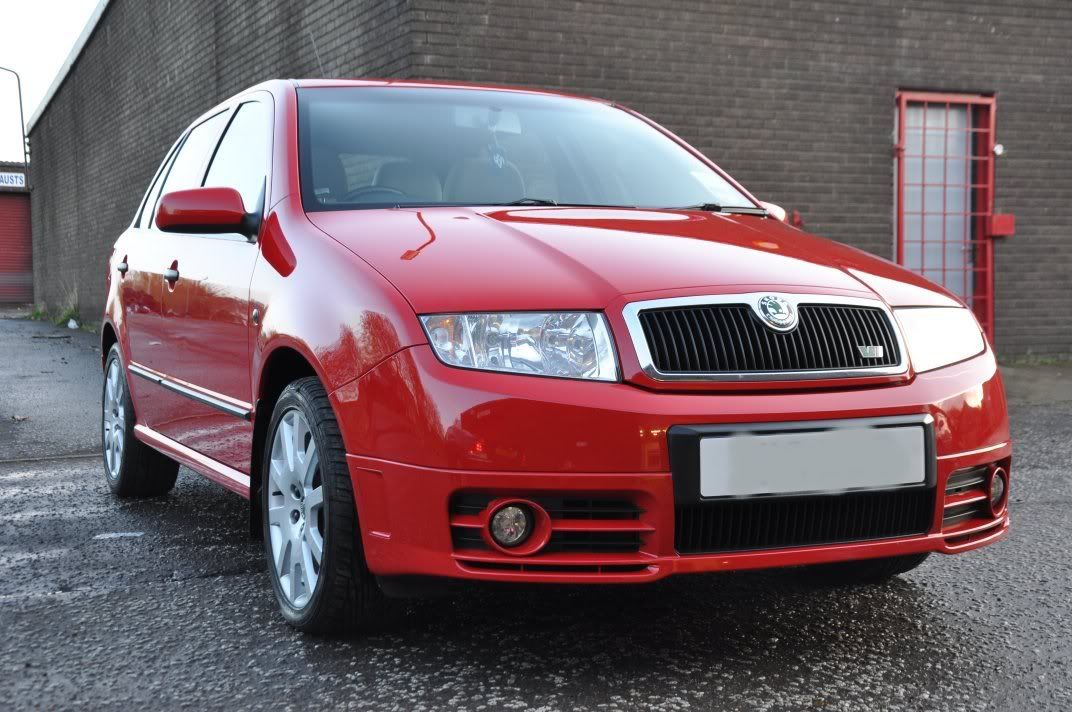
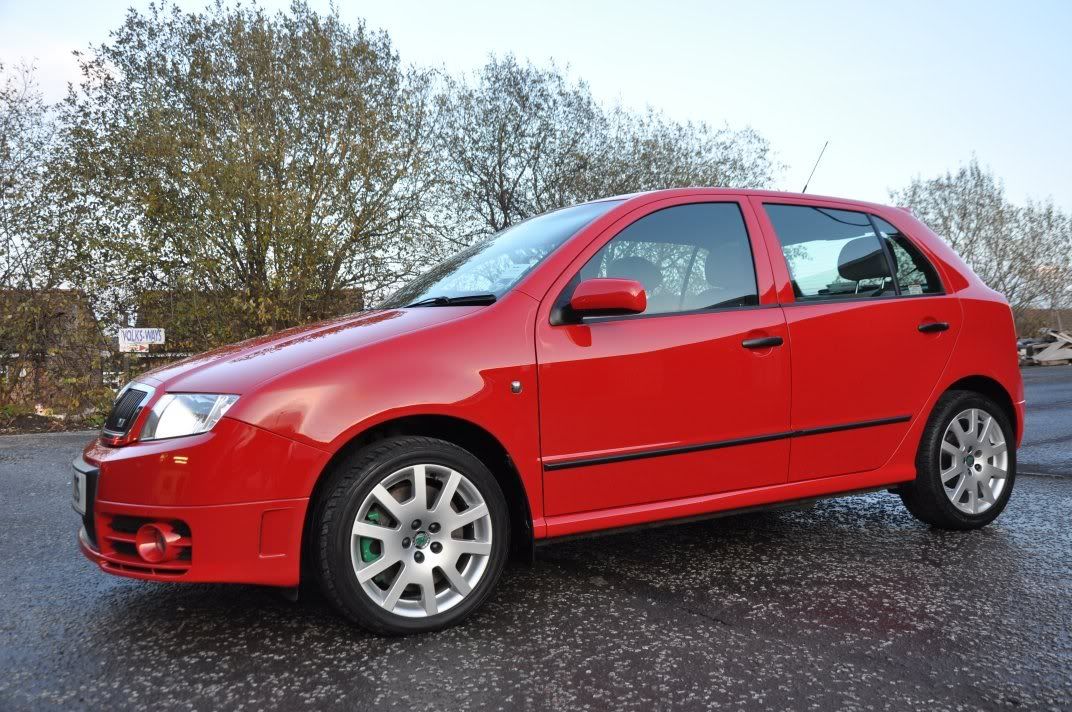
The car arrived looking reasonably grimy...
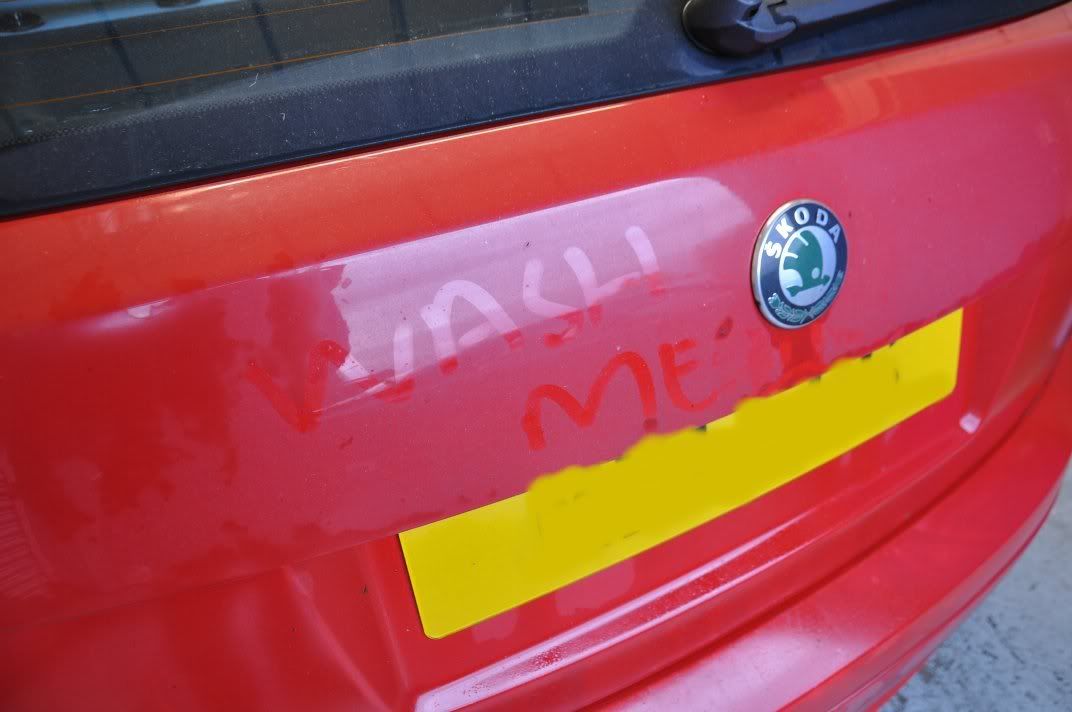
Ally’s mate had rather usefully left us a key instruction incase we forgot...
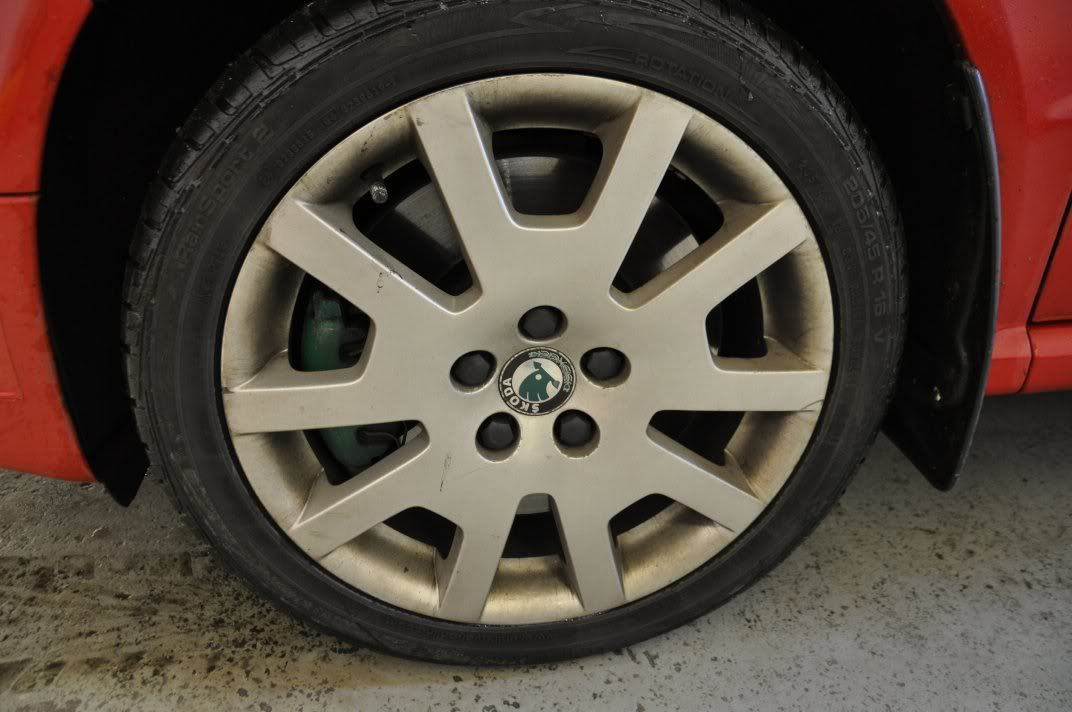
The wheels were nicely coated in brake dust...
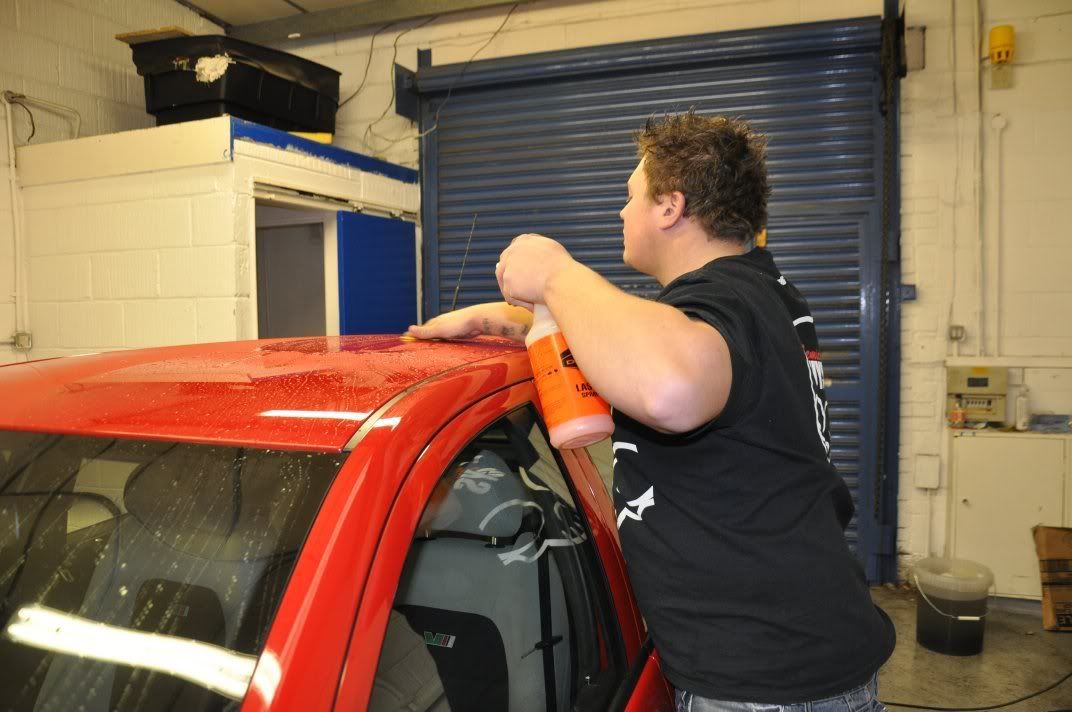
The car was washed indoors, with the bodywork being washed using Optimum No Rinse. You’ll probably be noticing this is featuring a lot more in our detailing of late, primarily because of the practicalities – its very easy to use, it is safe to use with the correct technique, and there is no run-off from the product. Two cap fulls in three gallons of water, one in a rinsing bucket and away you go... Light to no pressure, short distance passes to clean the paintwork...
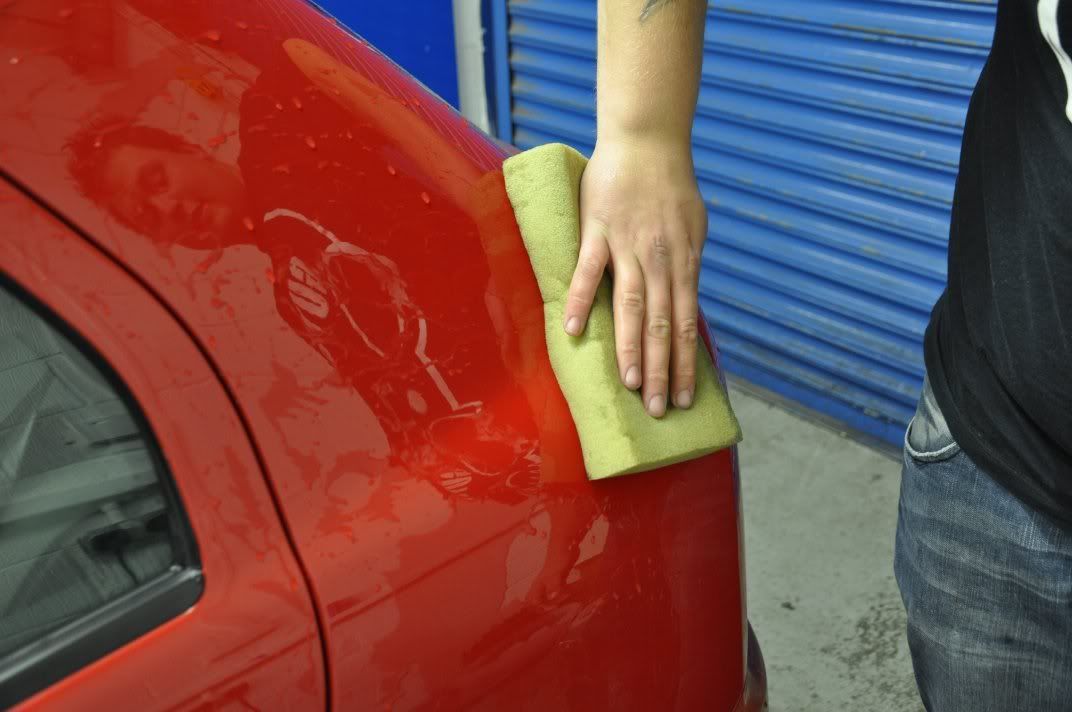
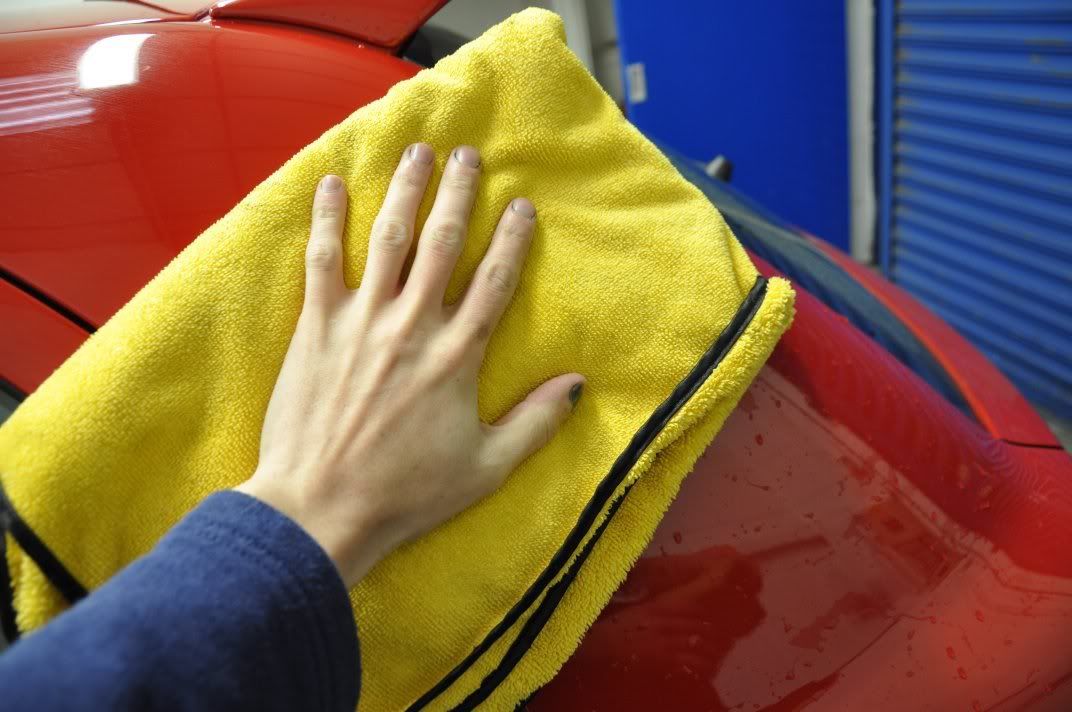
Rinse sponge thoroughly, and the wash bucket should remain as clean as at the start. Follow the sponge stage with wiping with a drying towel...
And the car is washed with no need to rinse. Very practical where skooshing large amounts of water around is not practical!
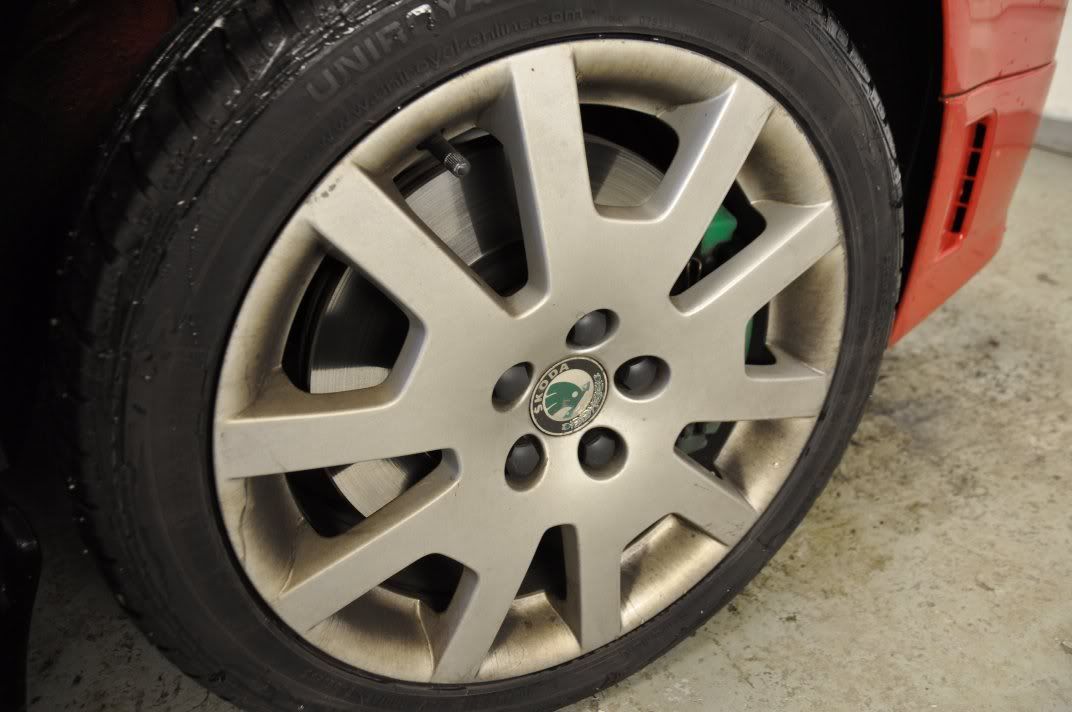
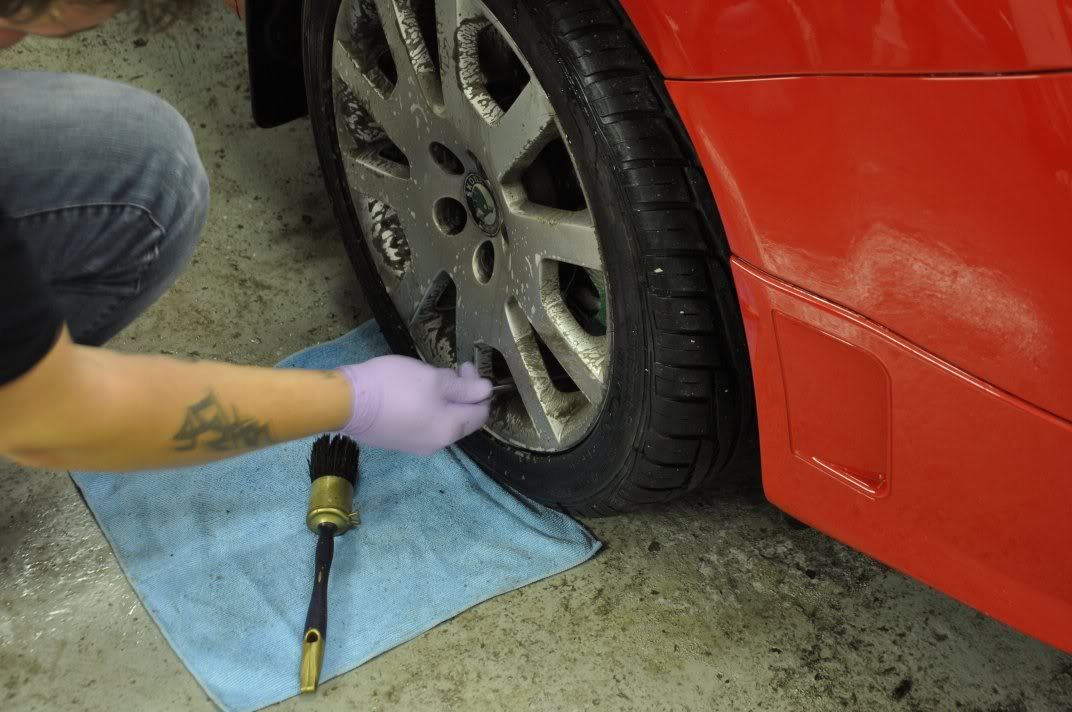
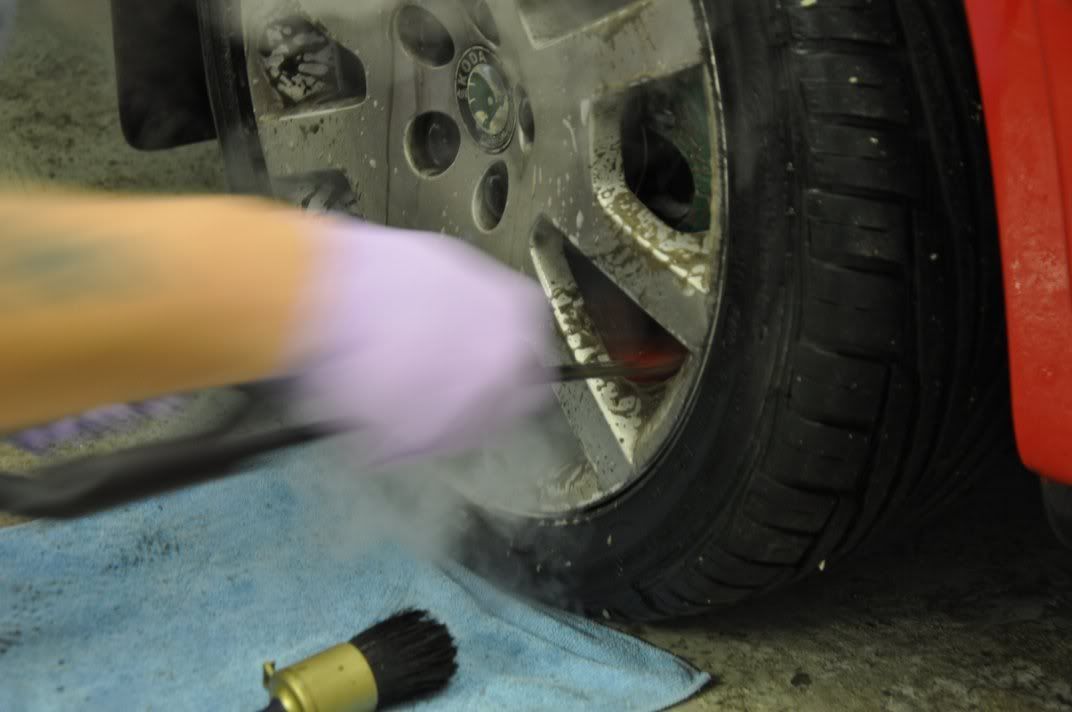
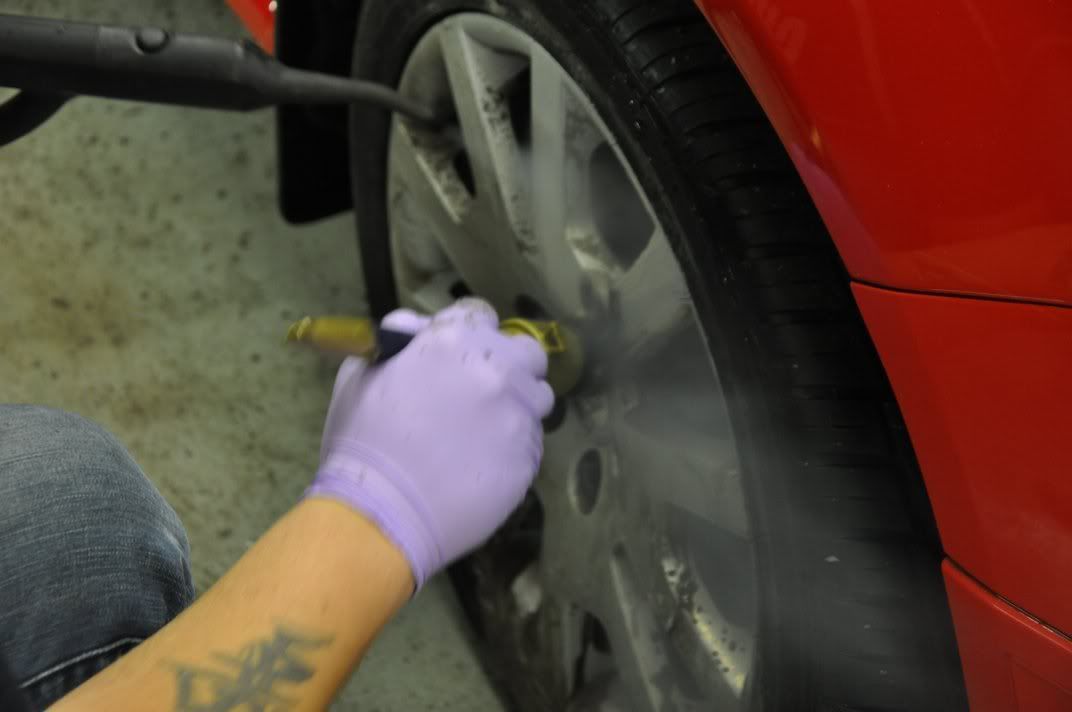
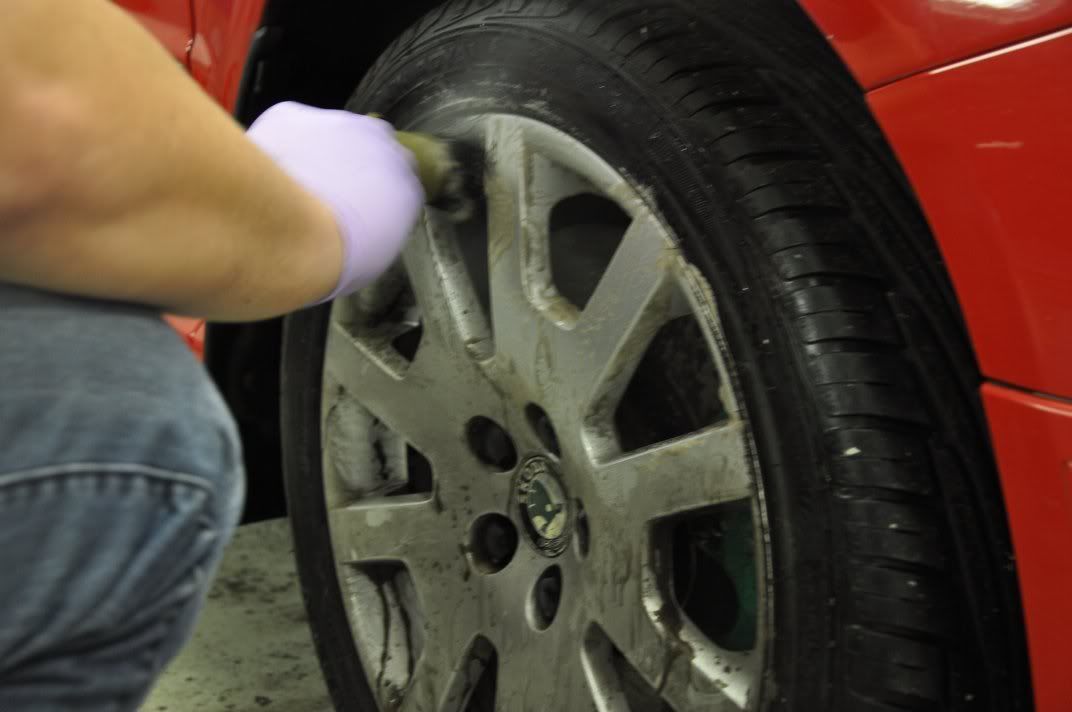
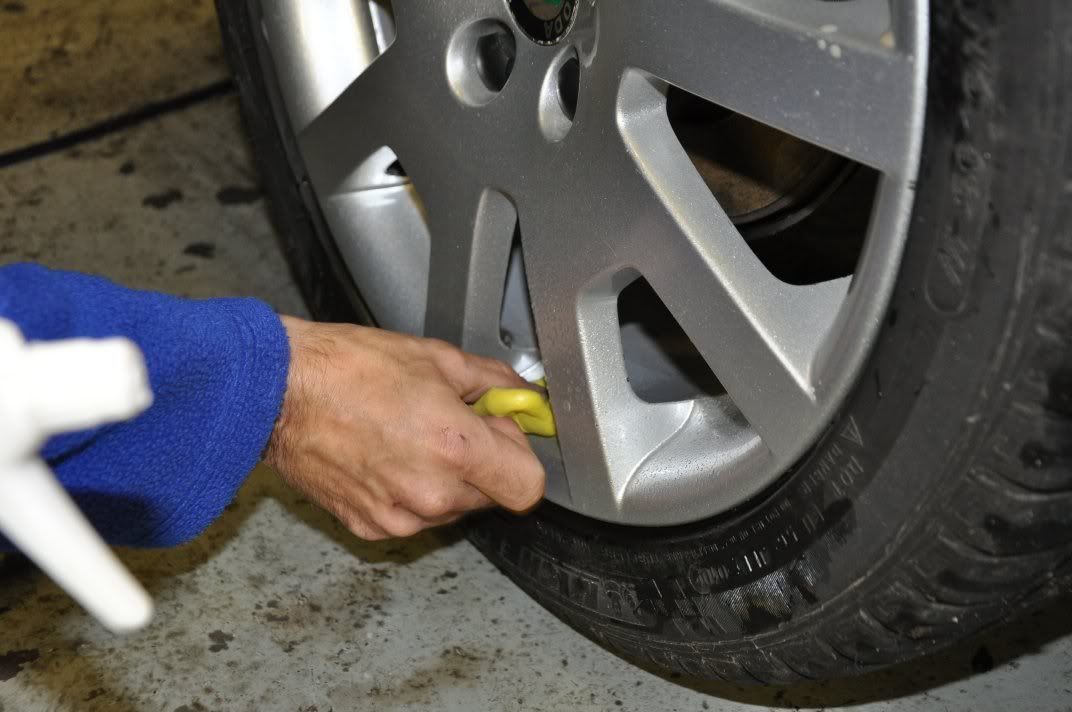
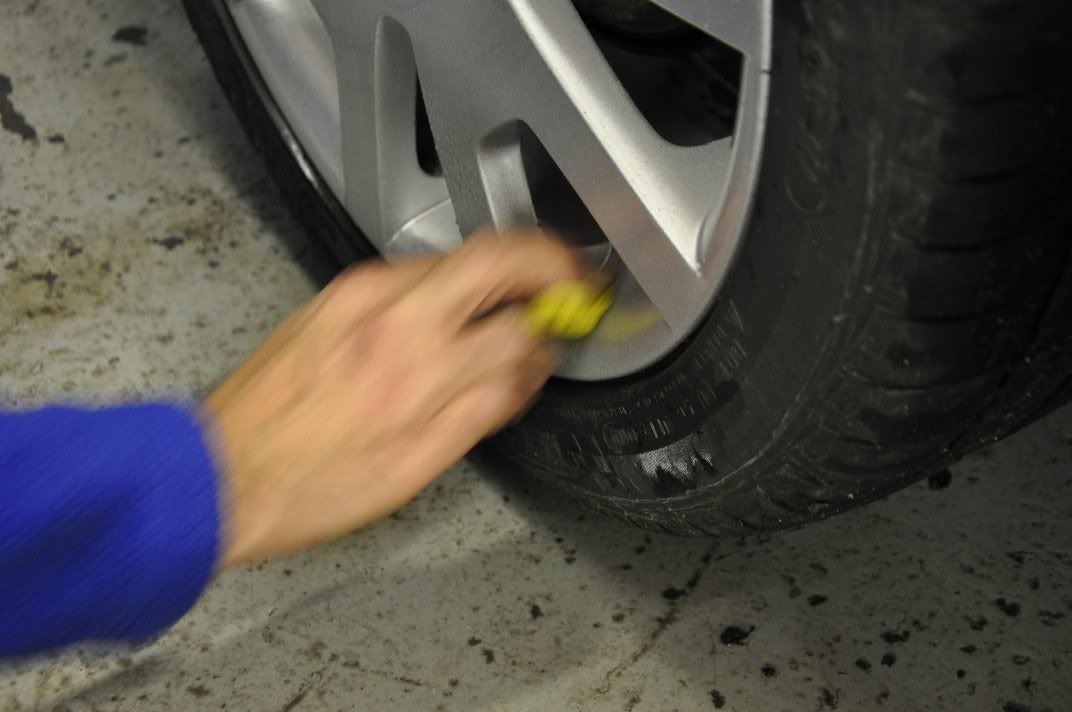
The wheels on this car were cleaned using the steam cleaner... ONR could be used here too but we find the steam cleaner and brushes more effective, especially for wheel insides. We used Diablo Gel Wheel Cleaner (Chemical Guys) – this is a product we have been testing for a while now and we are getting to be really pleased with it... it sticks and clings to the wheel rather than running off, which allows us to use less and have less wastage – waste not, want not Very effective cleaning too, I’d say on a par with Bilberry but from less product courtesy of its ability to cling. Just a couple of trigger pulls per wheel, one into the brush and agitate the wheels, using steam to clean and “rinse” off...
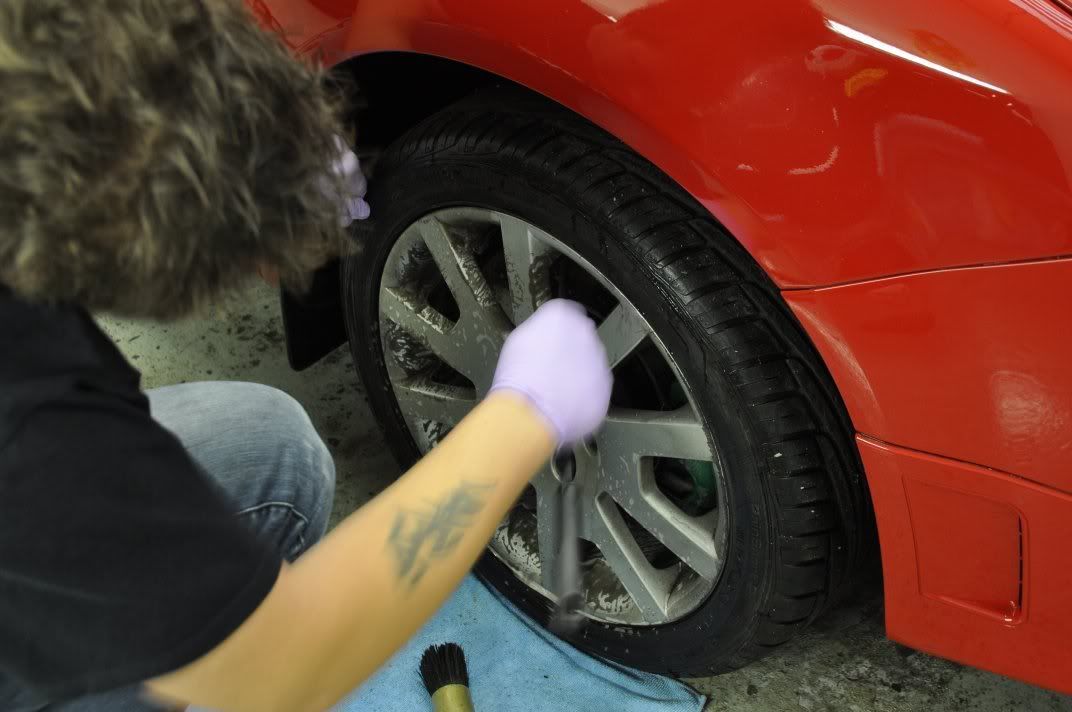
Et voila...
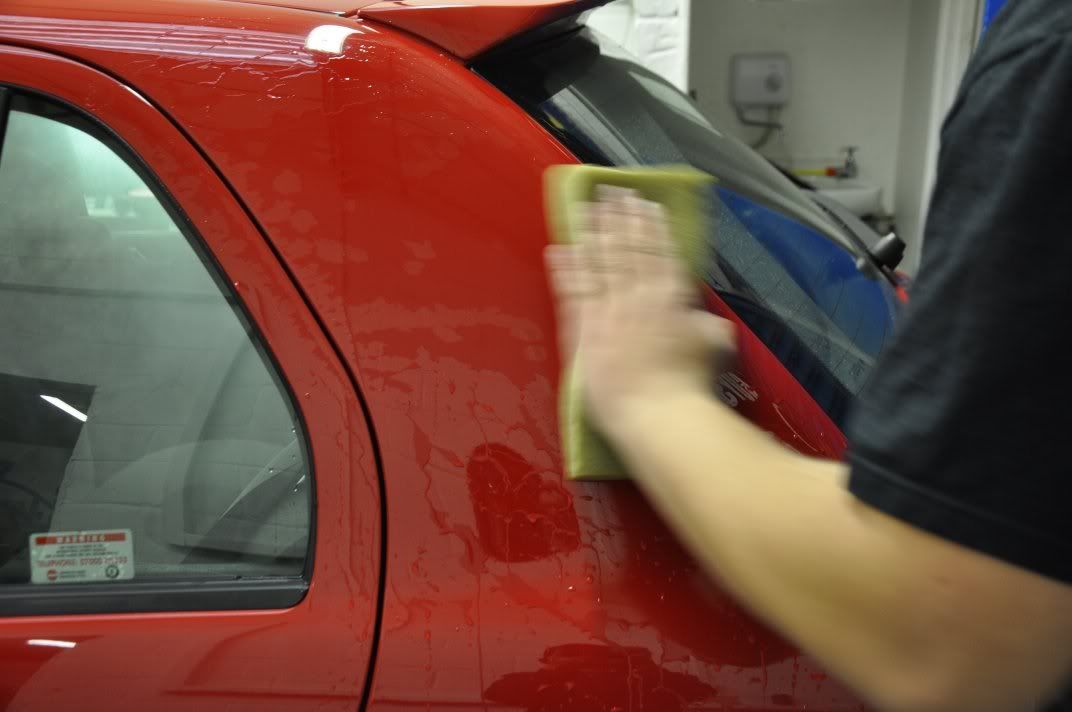
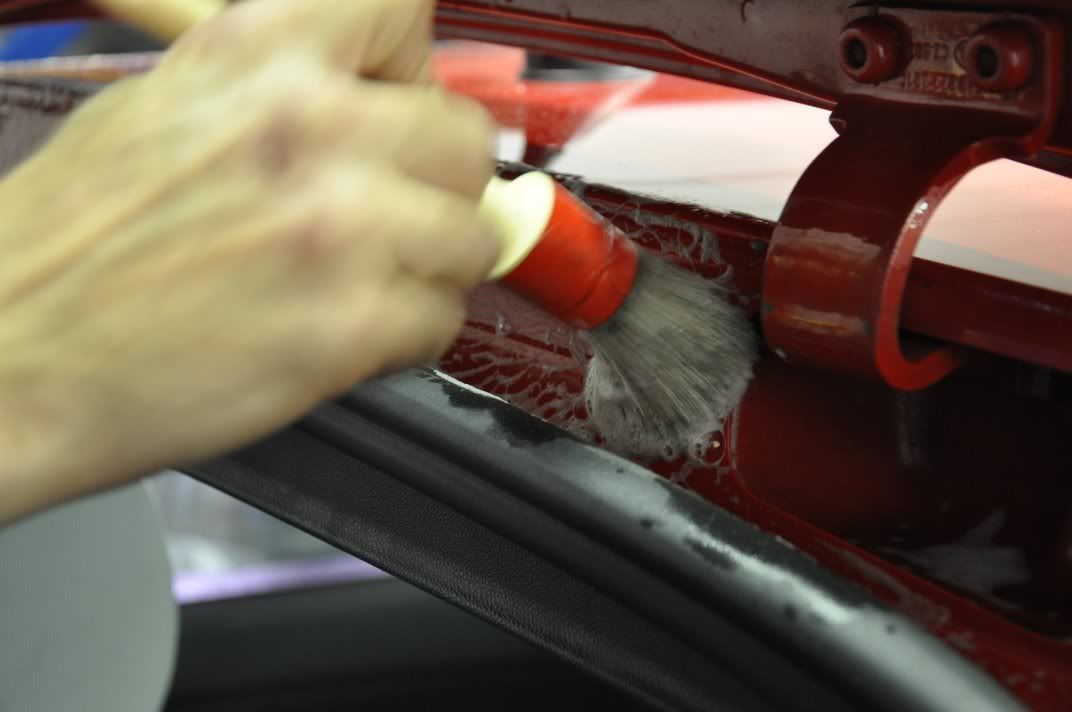
Panel gaps and shuts were cleaned with APC, and wiped down with ONR...

Once the car was washed, the bodywork was clayed...
As were the wheels, which help removed a little stubborn tar spots and pitting...
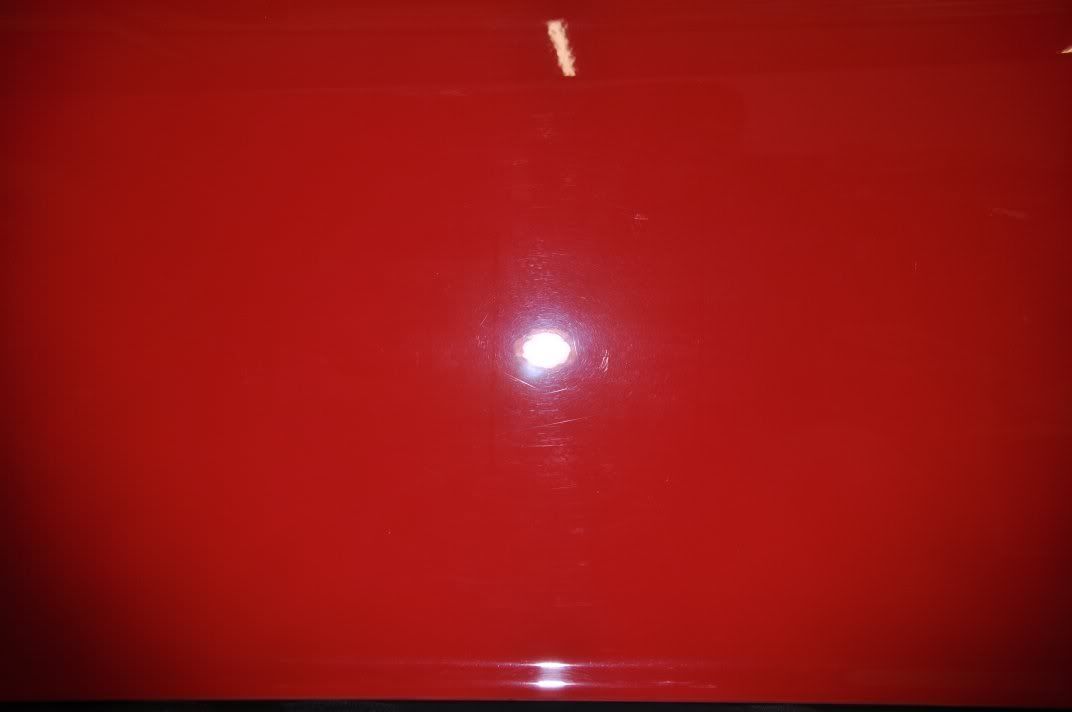
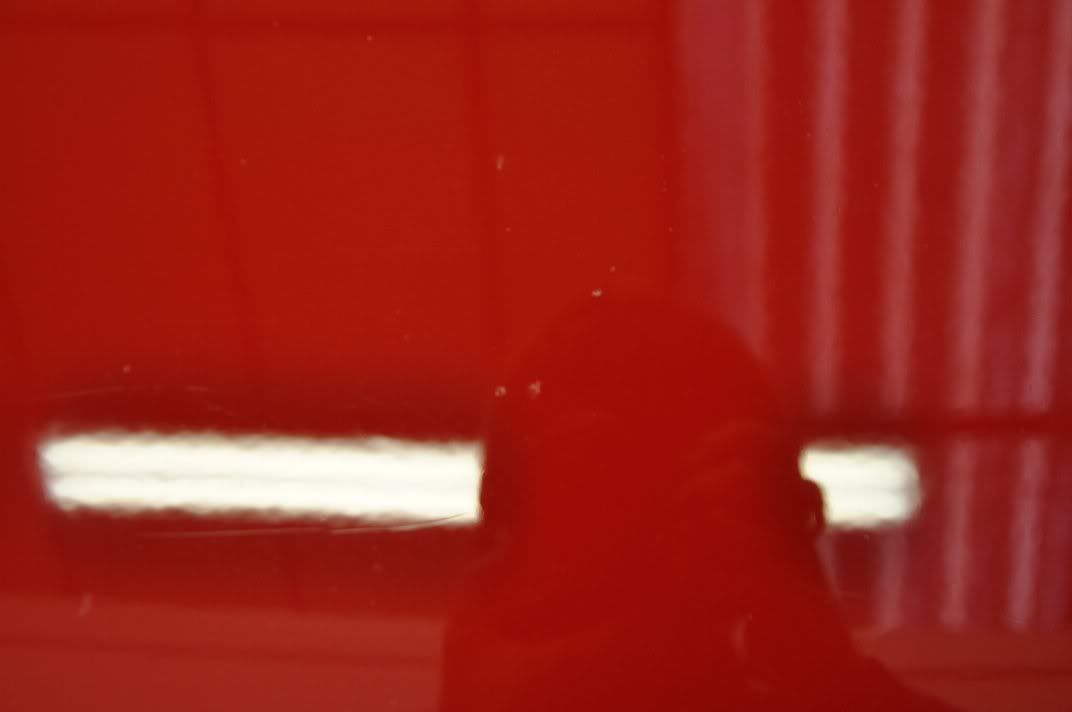
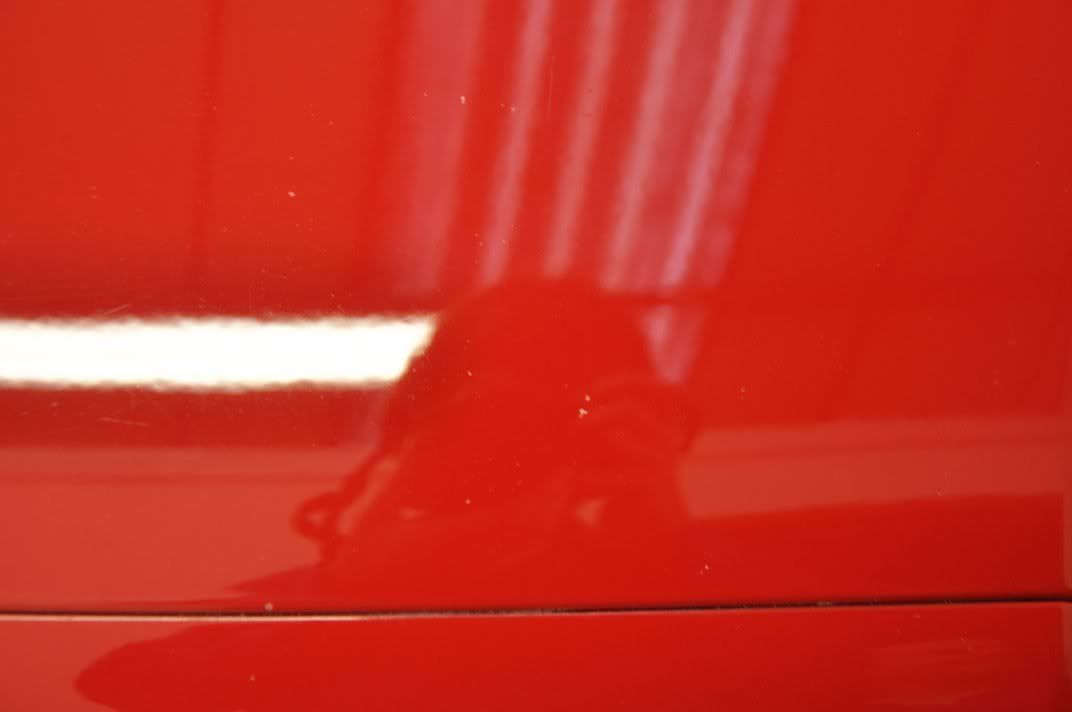
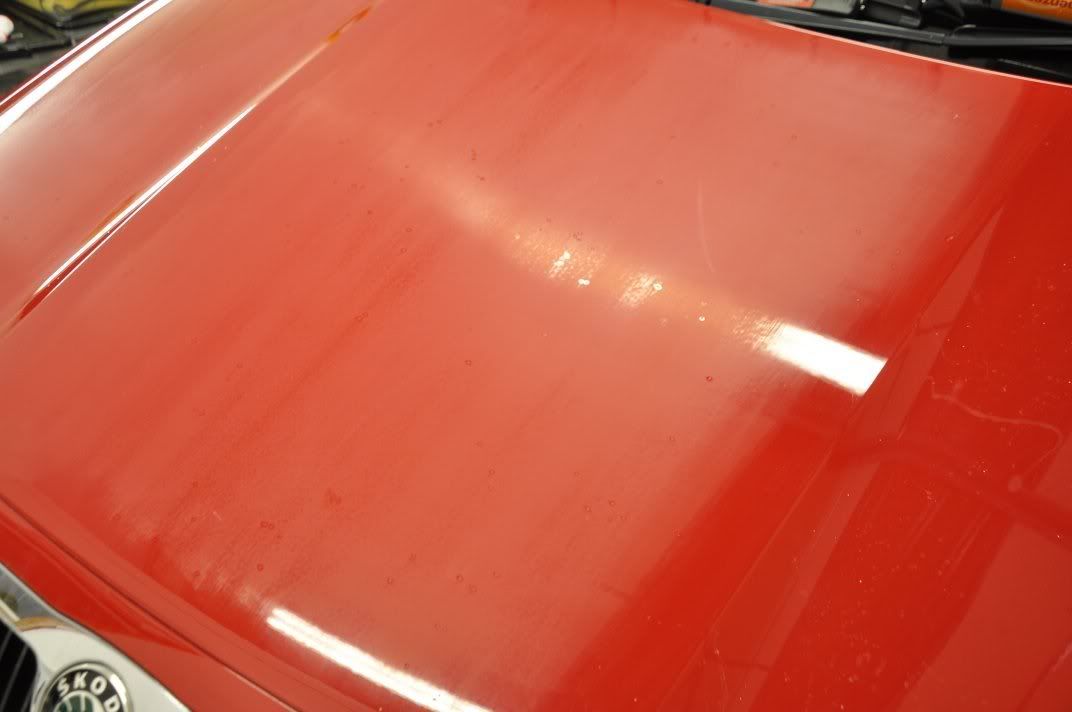
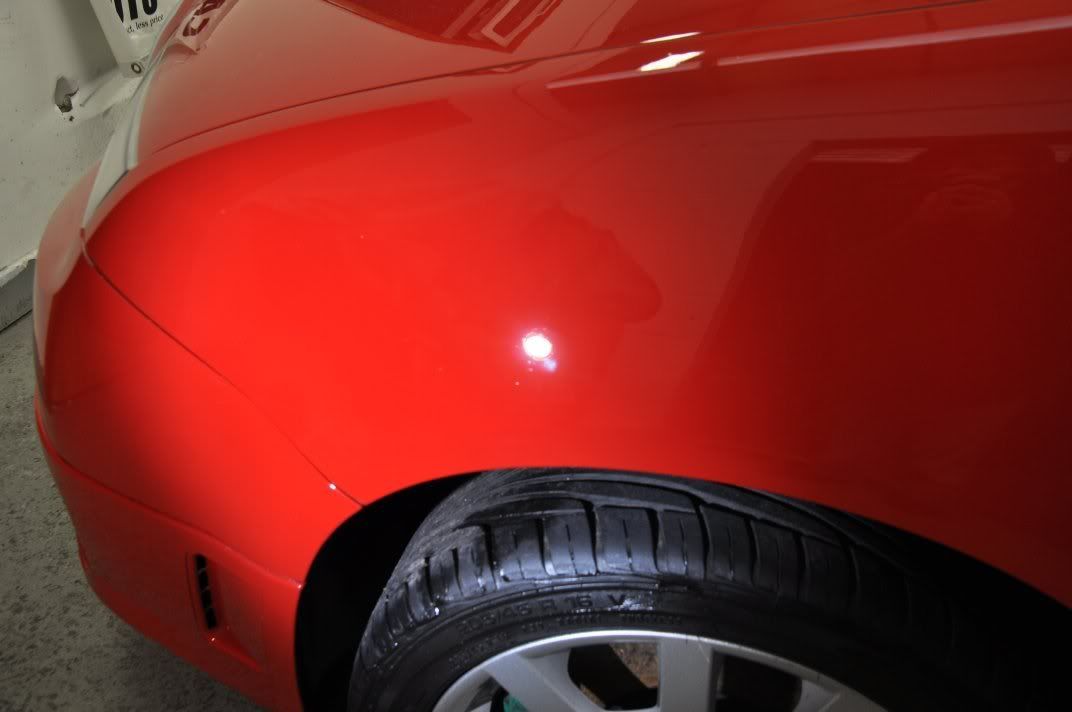
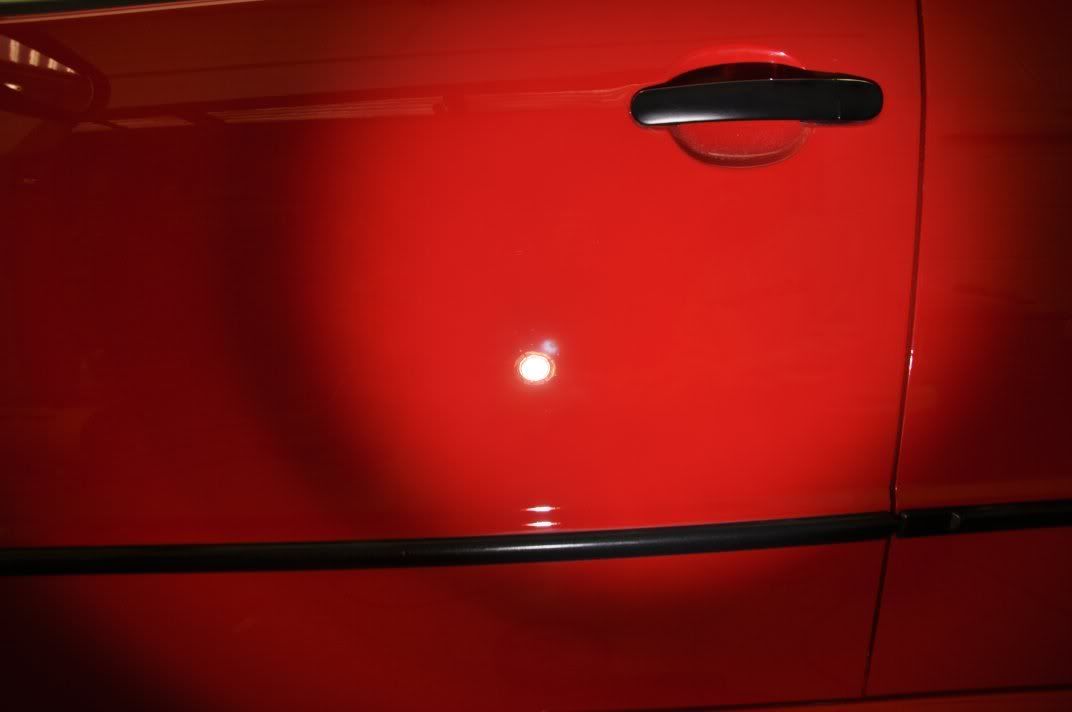
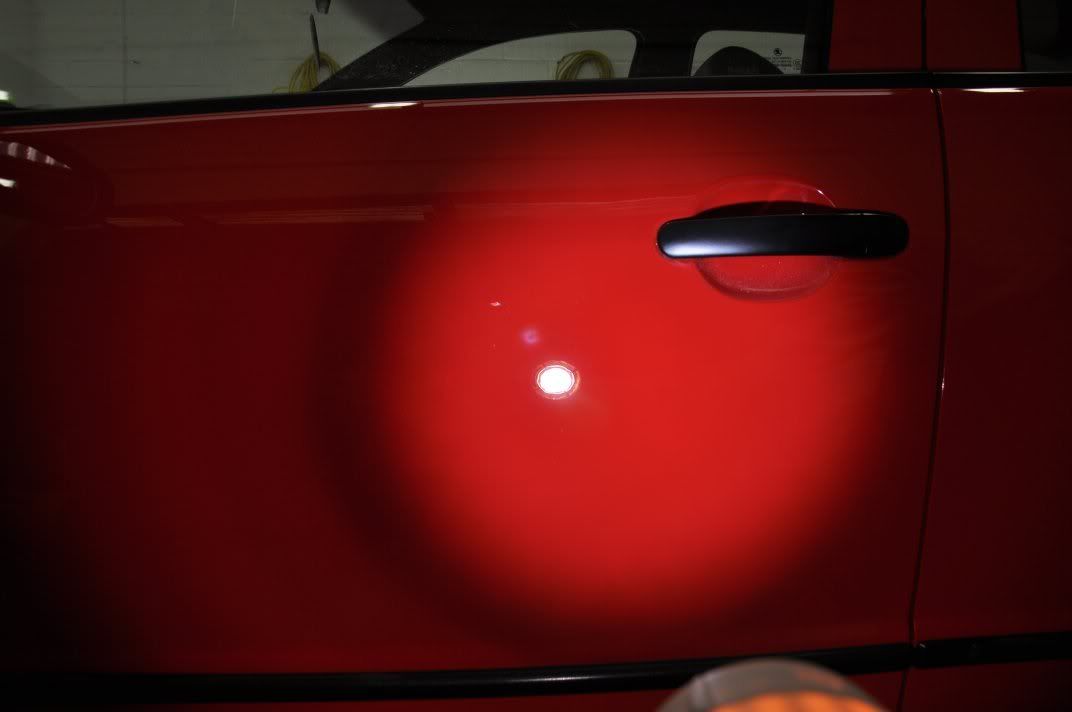
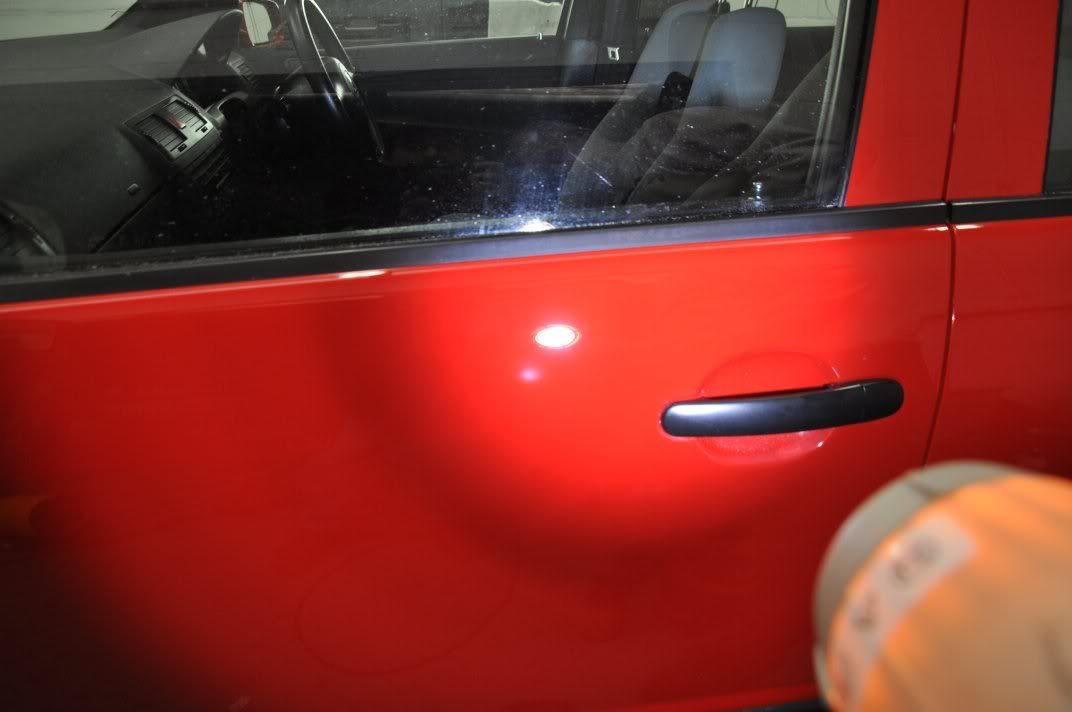
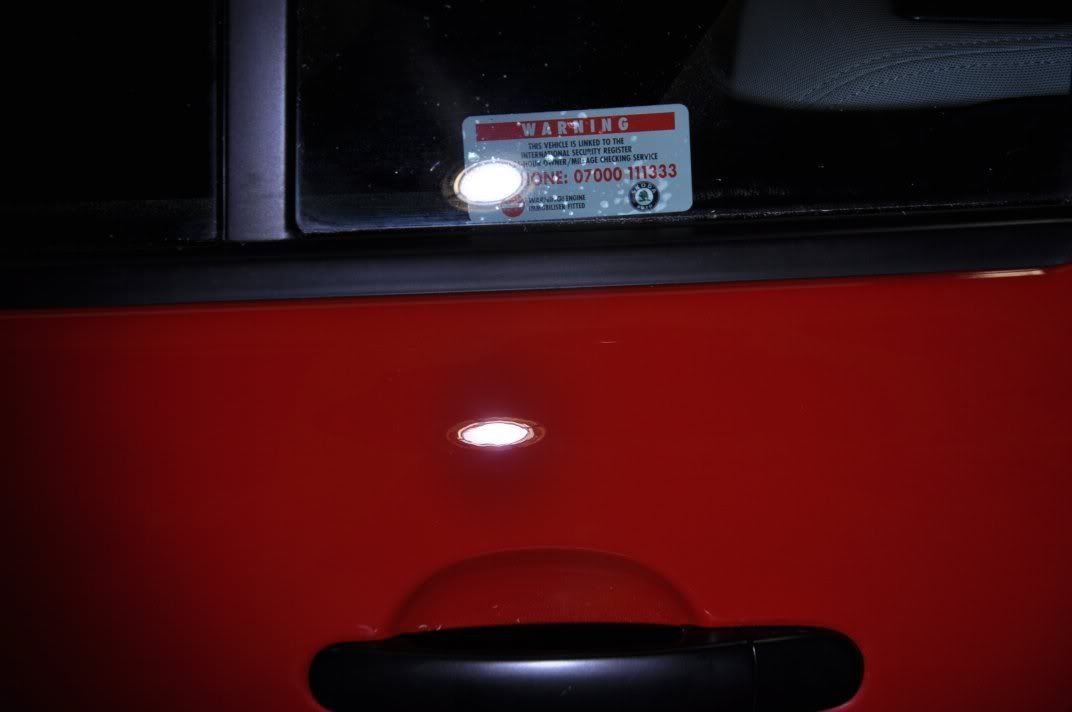
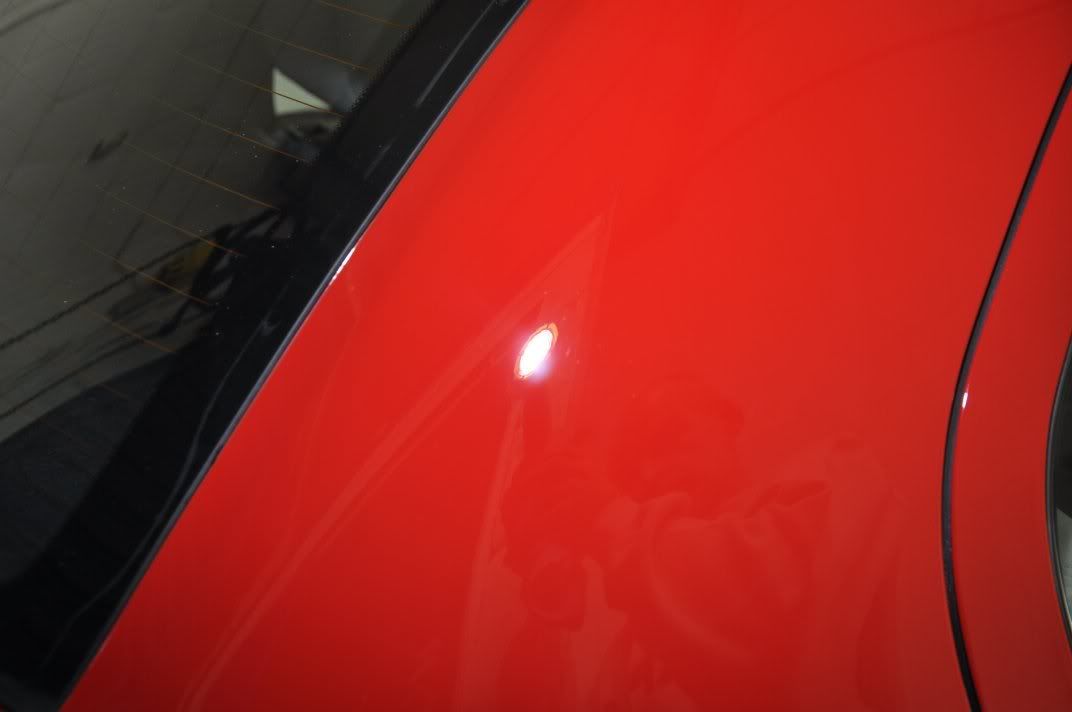
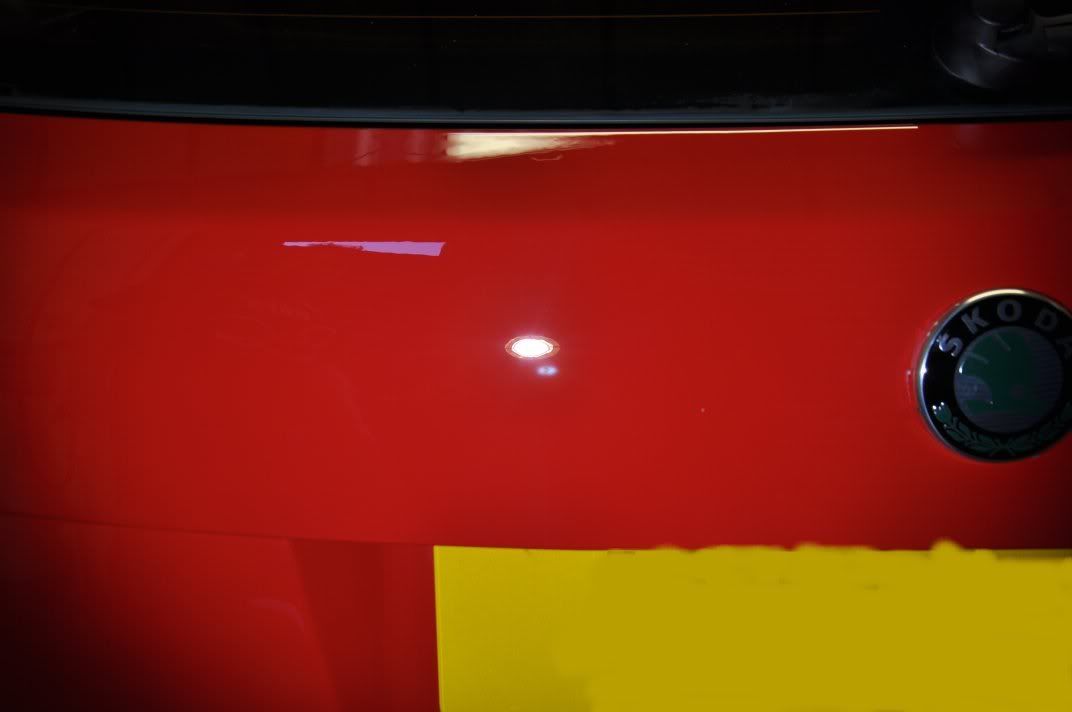
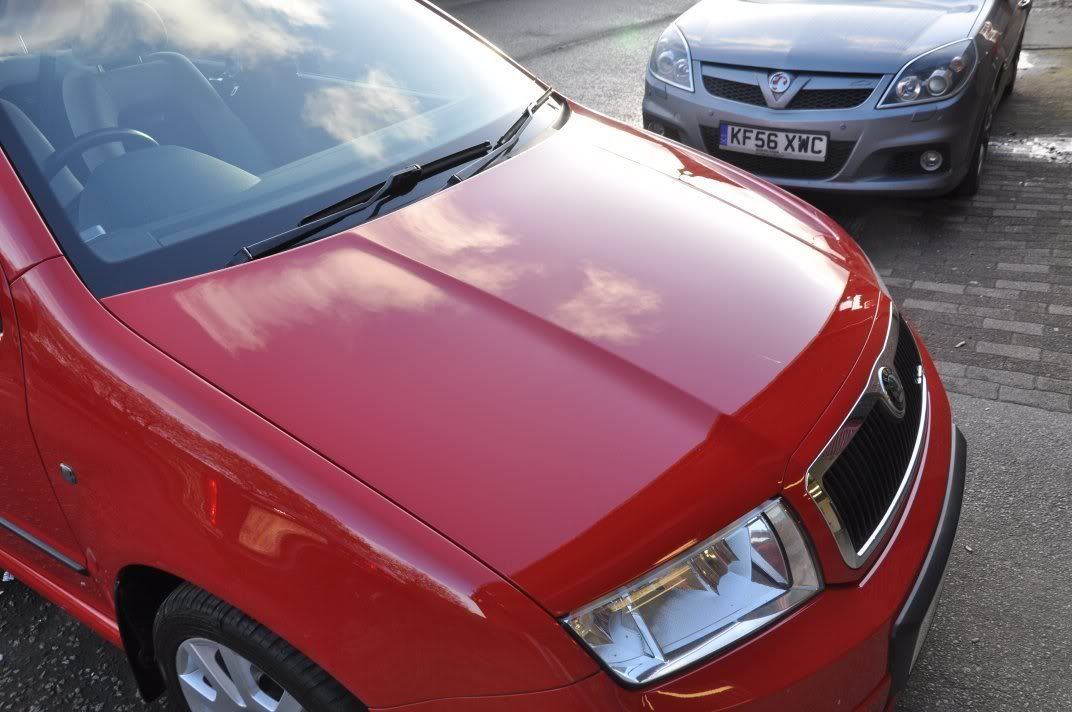
The car was then ready for paintwork correction. This was carried out by diving the car into two main sections – the bonnet and the rest! The bonnet was singled out for stone chip repair which required a little painting, so correction here left until after the rest of the car. General before shots across the rest of the car...

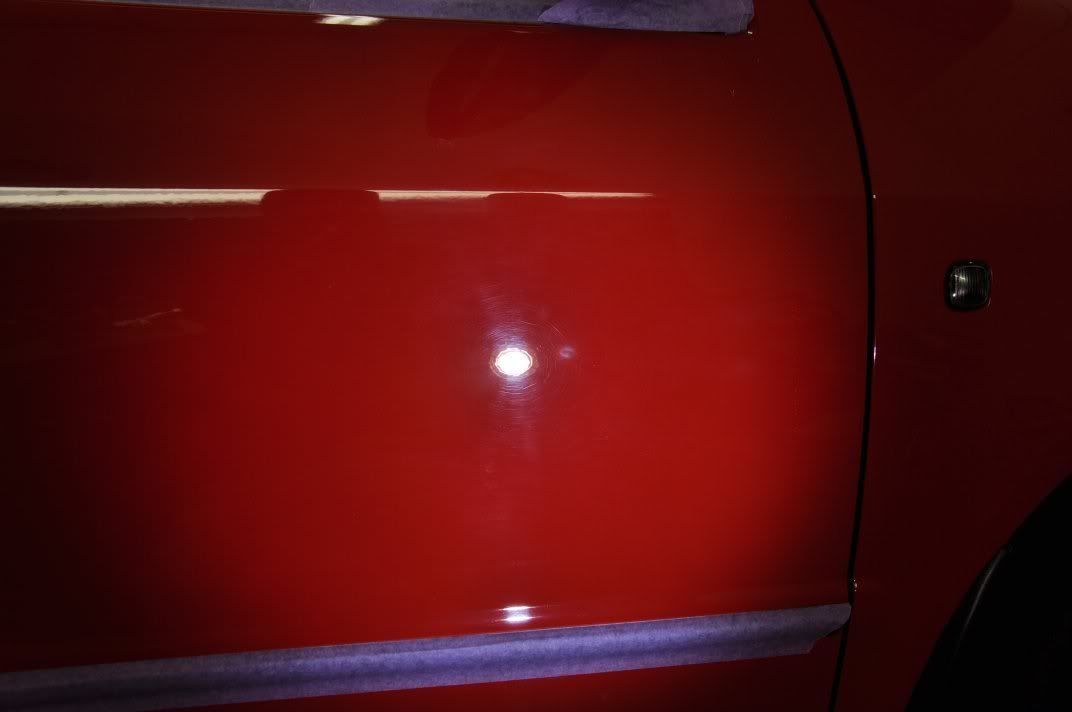
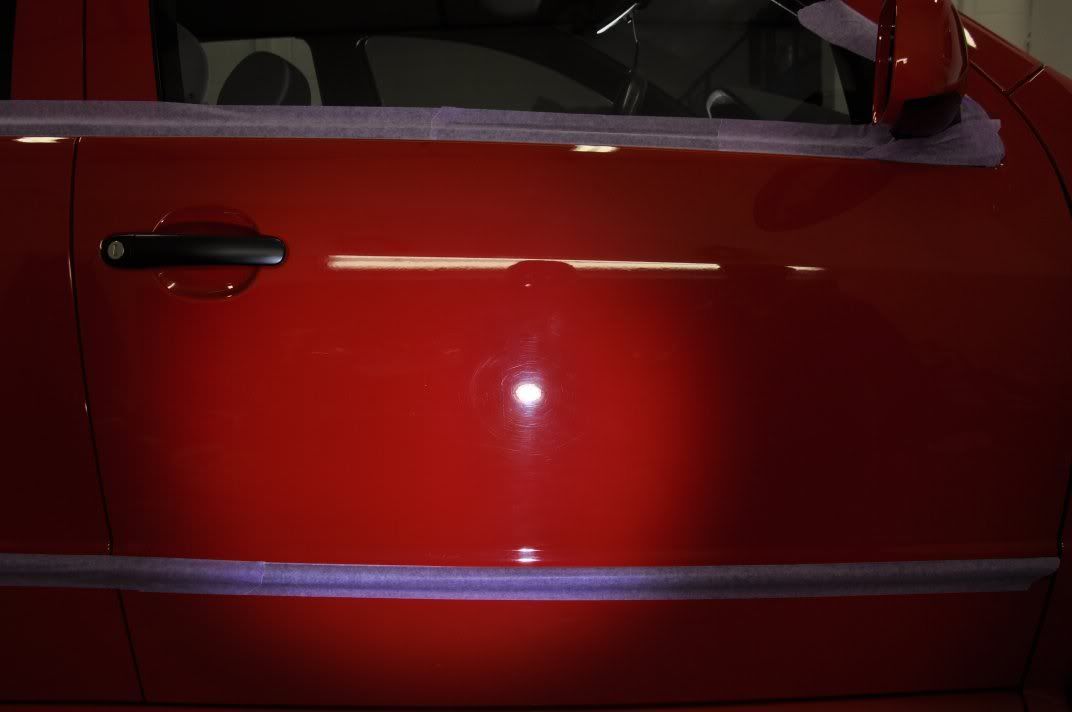
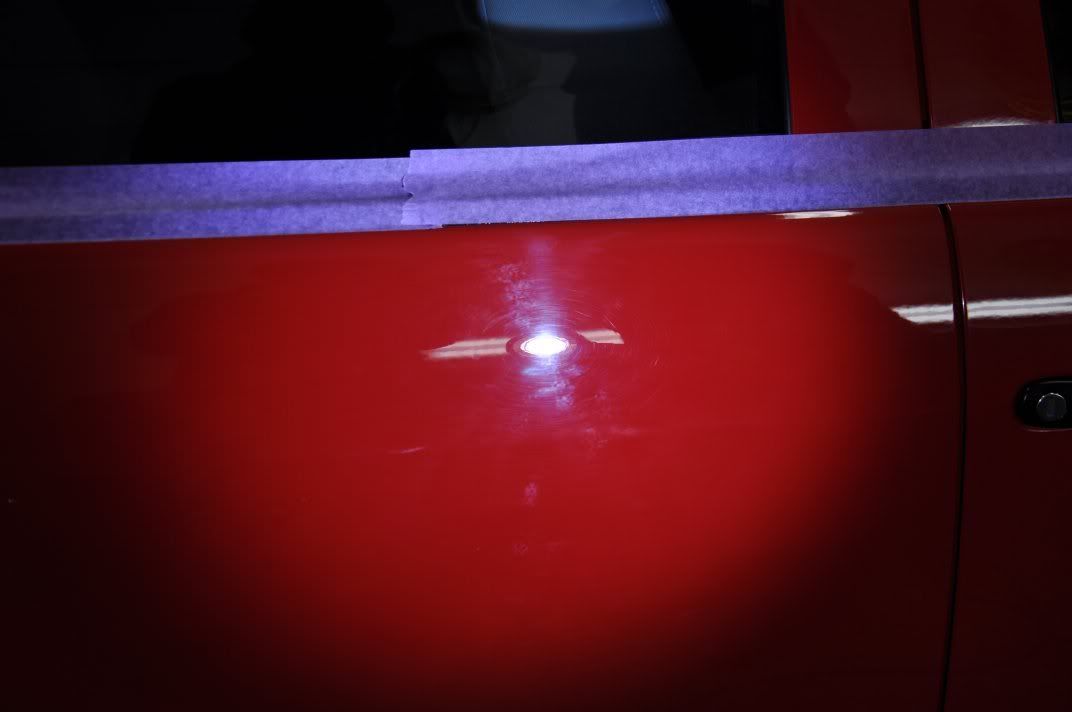
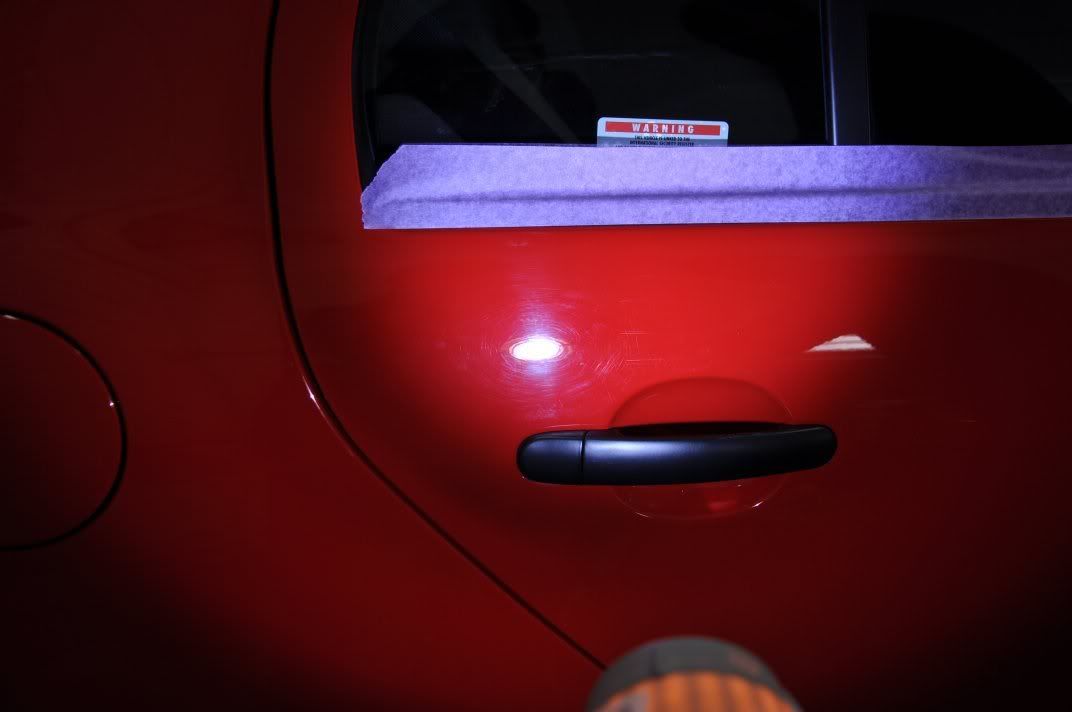

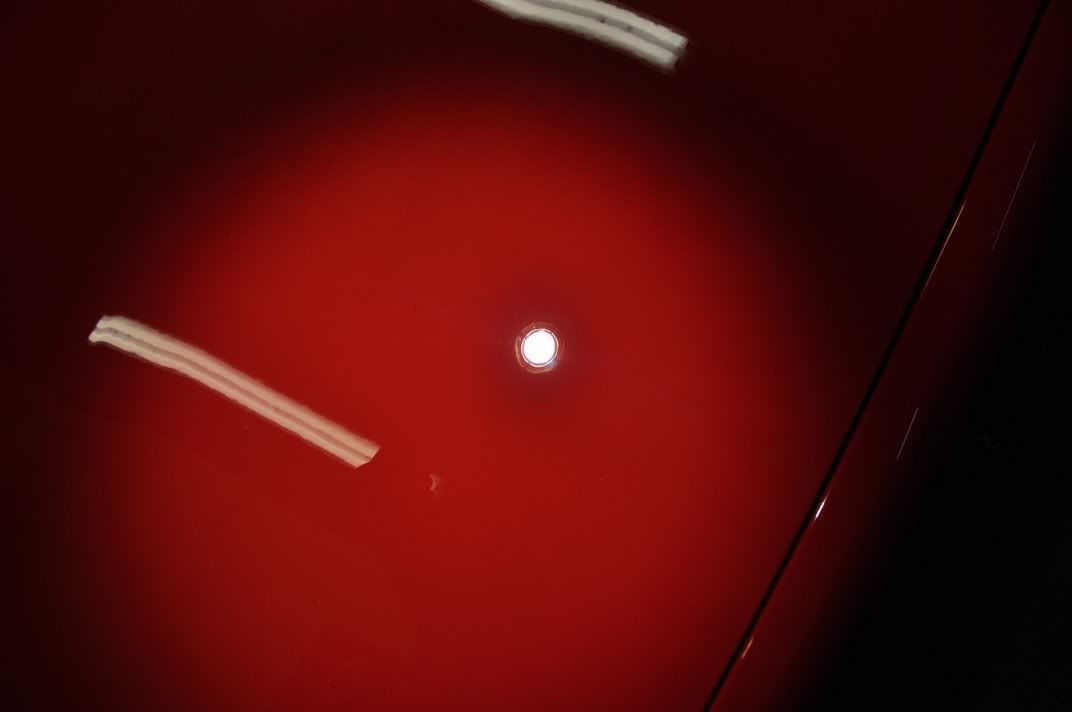
Rear ¾ looked like it had been machine polished before, being notably less severe swirls...
Back to normal on the boot...
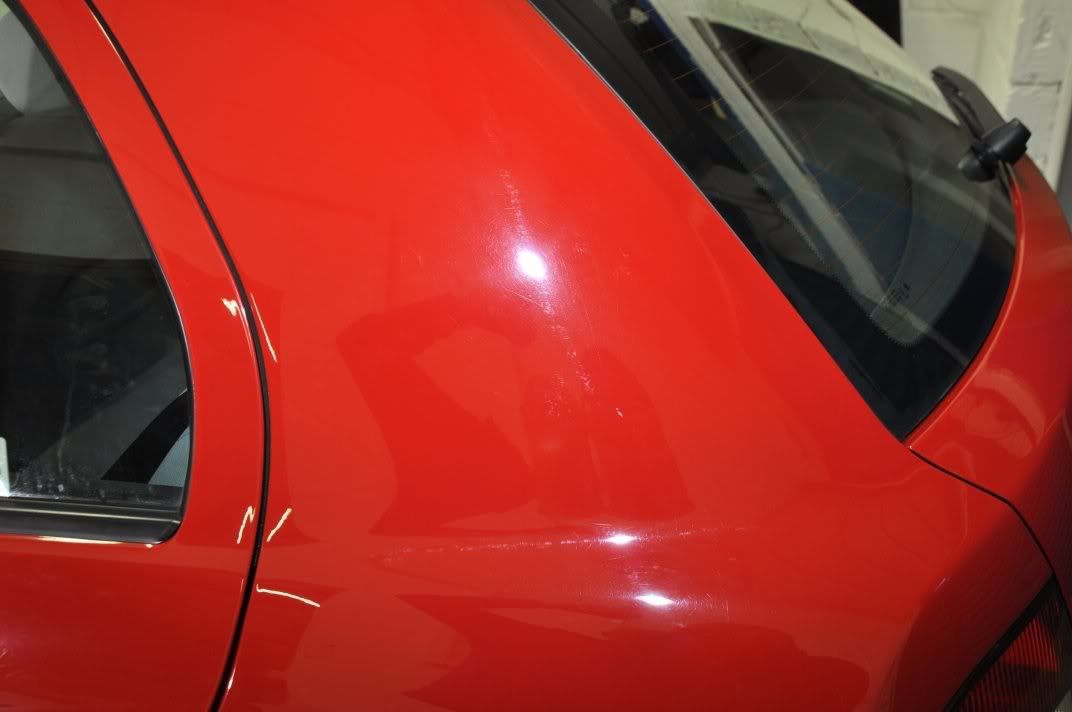

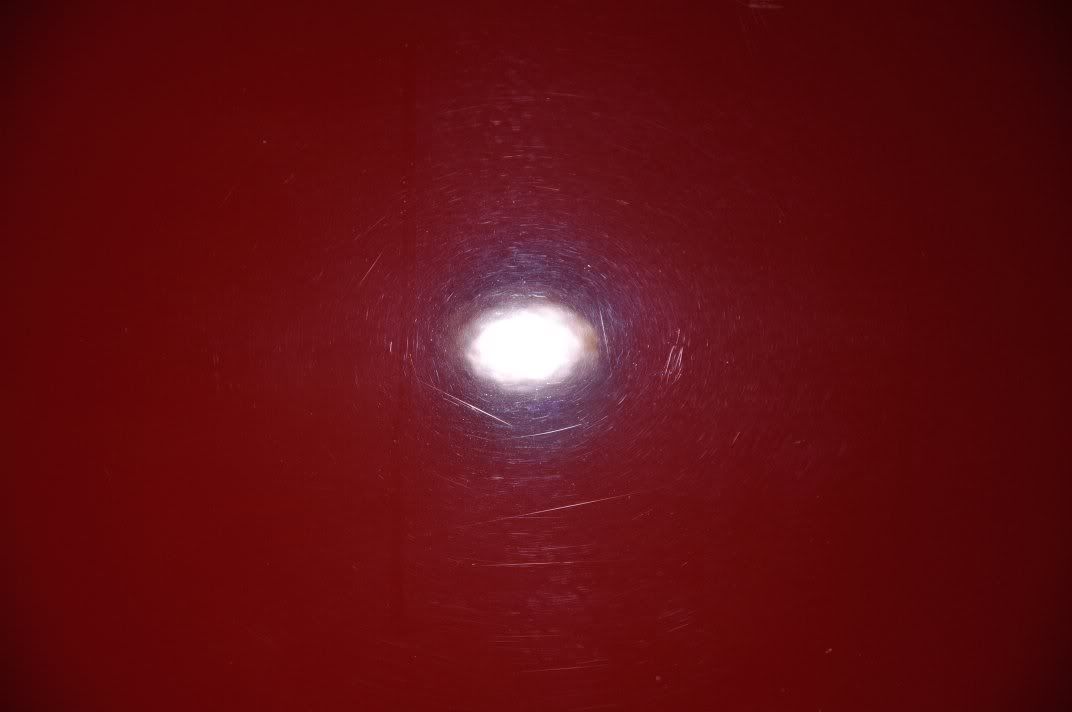
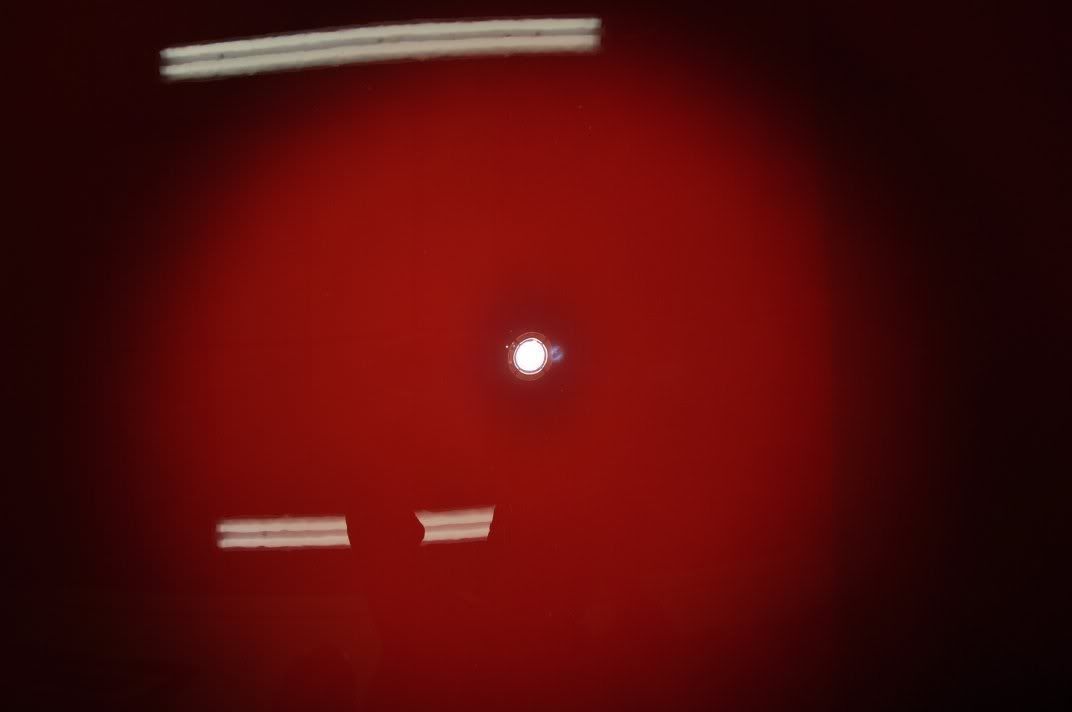
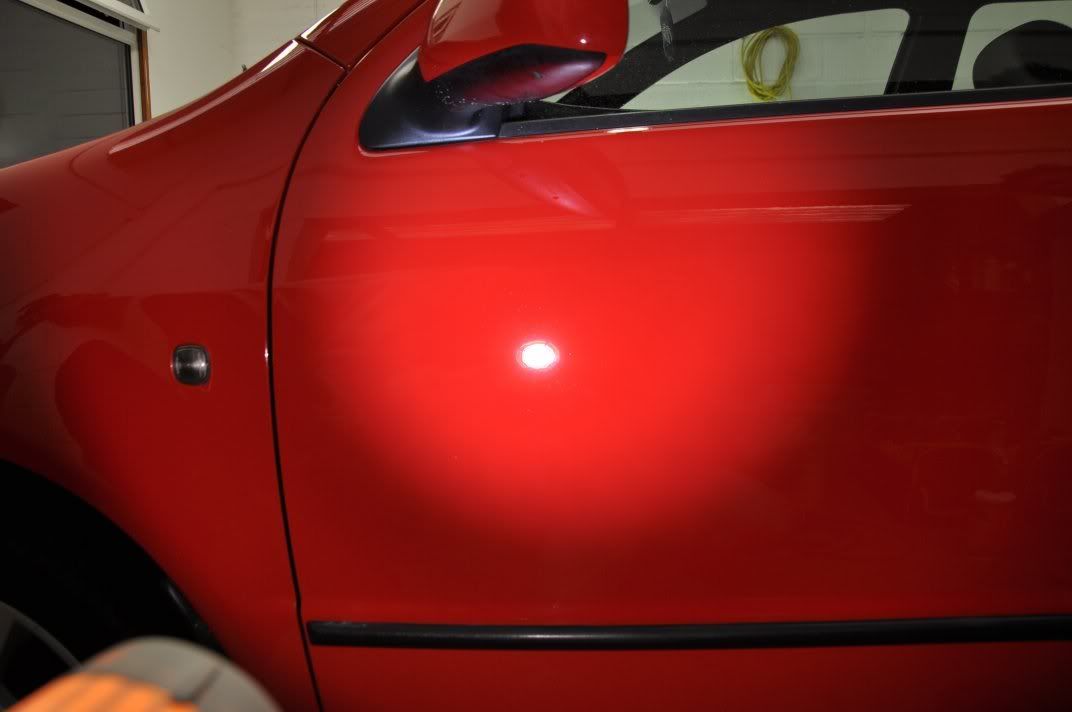
Regions of the passenger side were showing evidence of previous machine polishing too... note the swirls are not severe but what you can see are lots of finer circular scratches indicative of unbroken down abrasives – this is typical of DA micromarring and is caused by too large a work area or too short a work time...
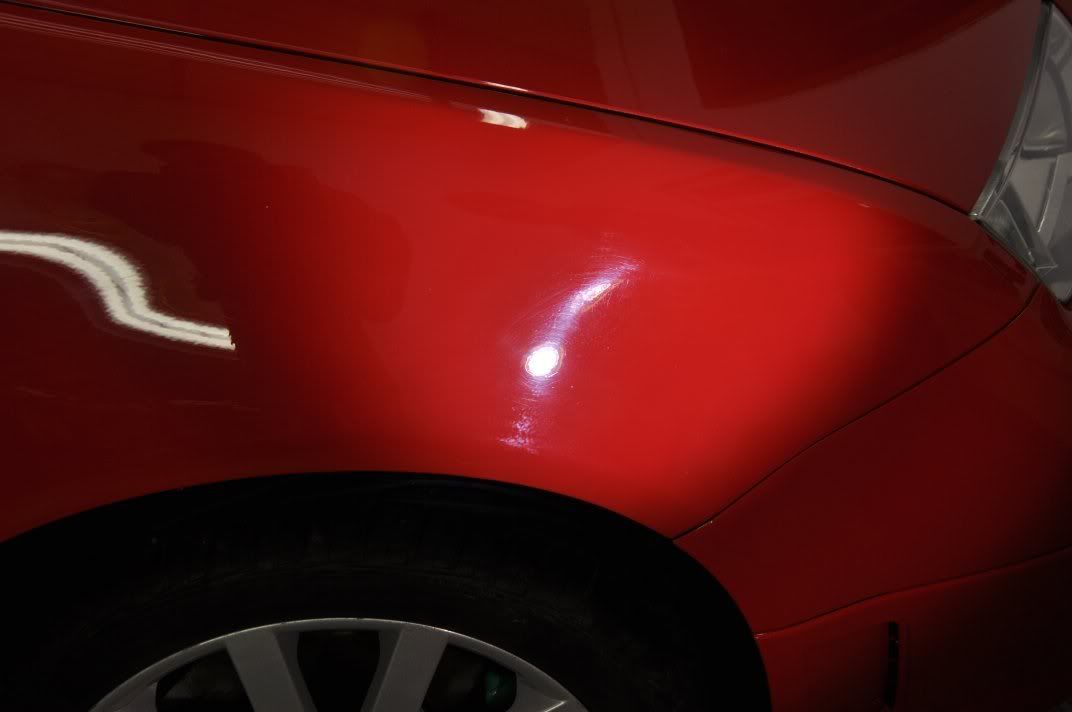
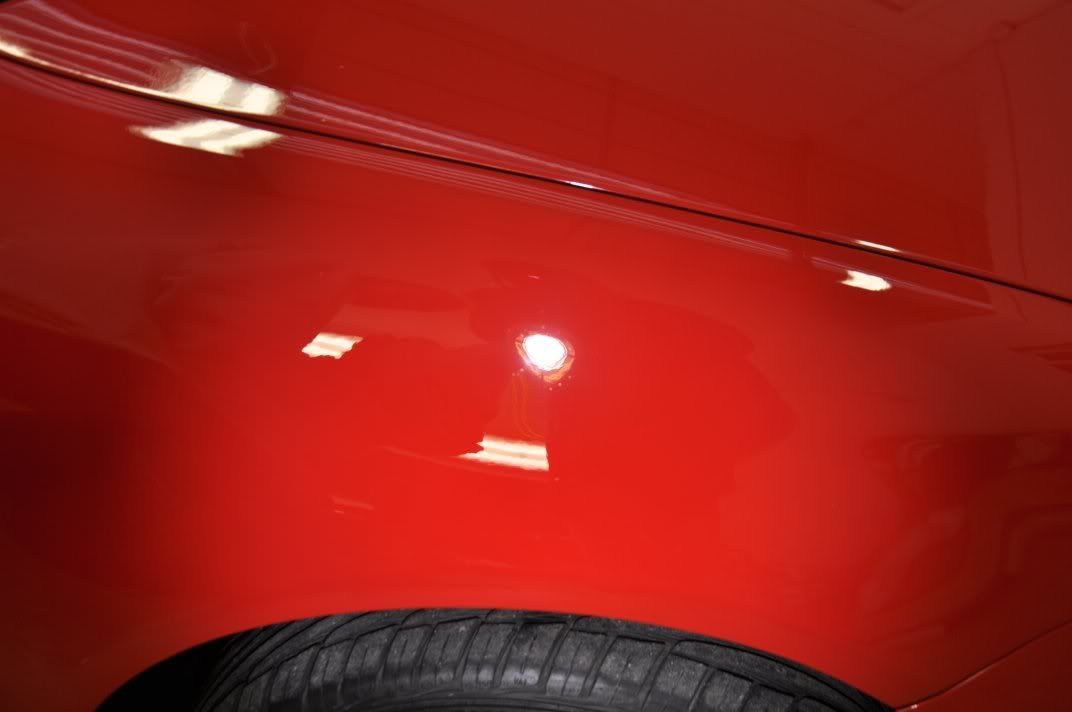
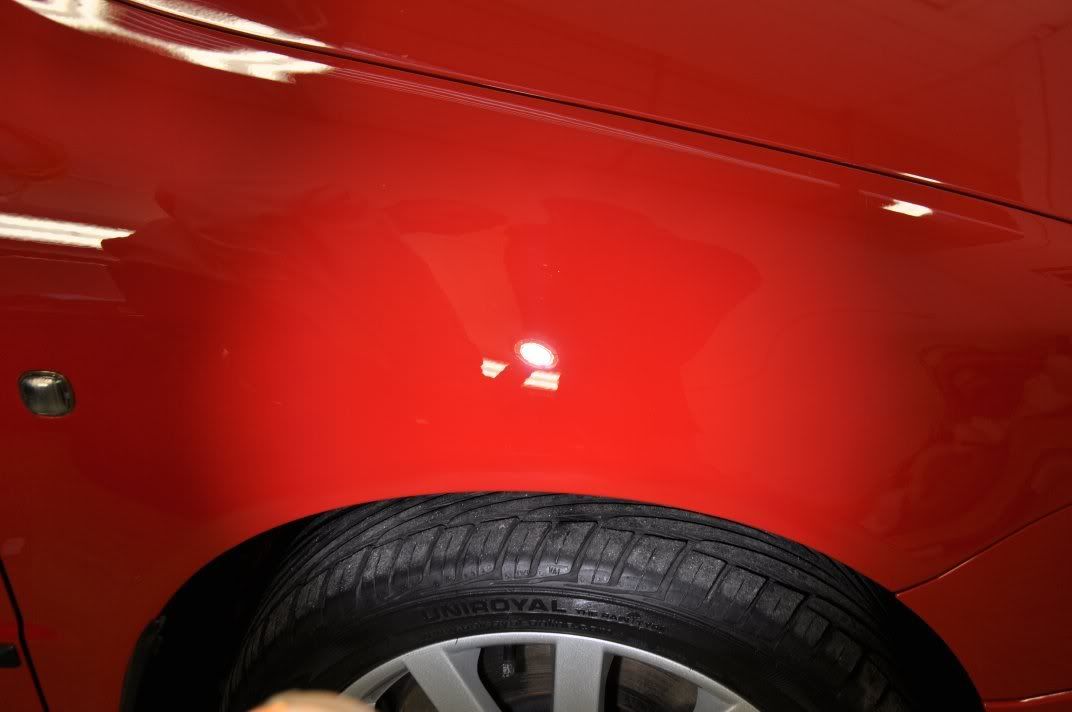
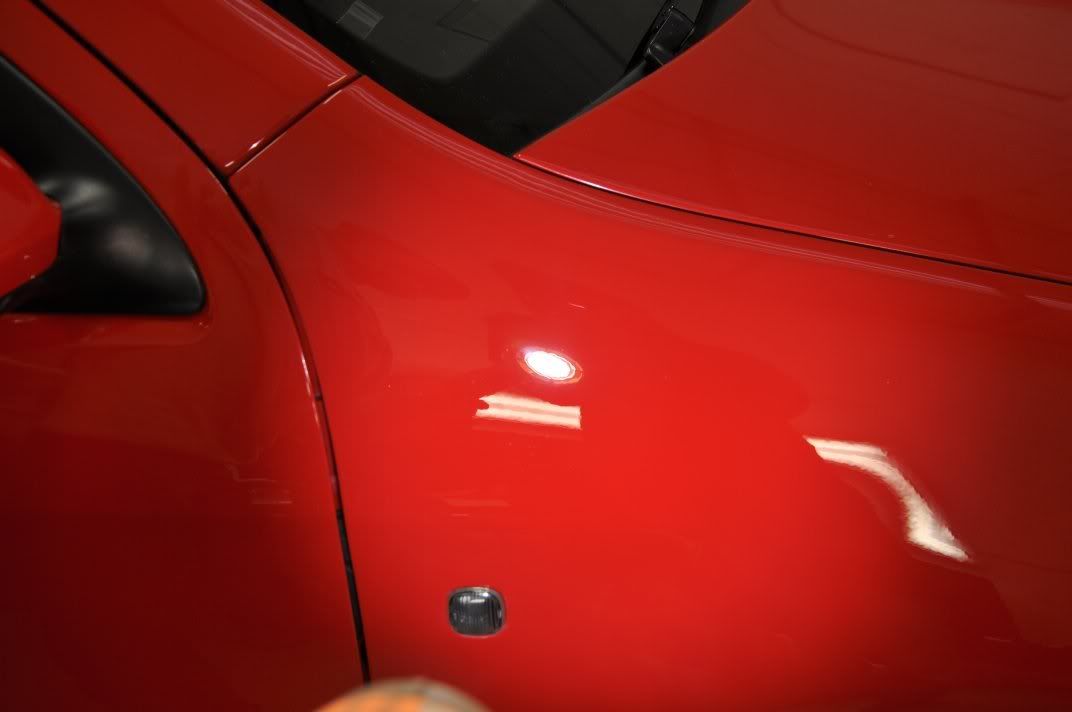
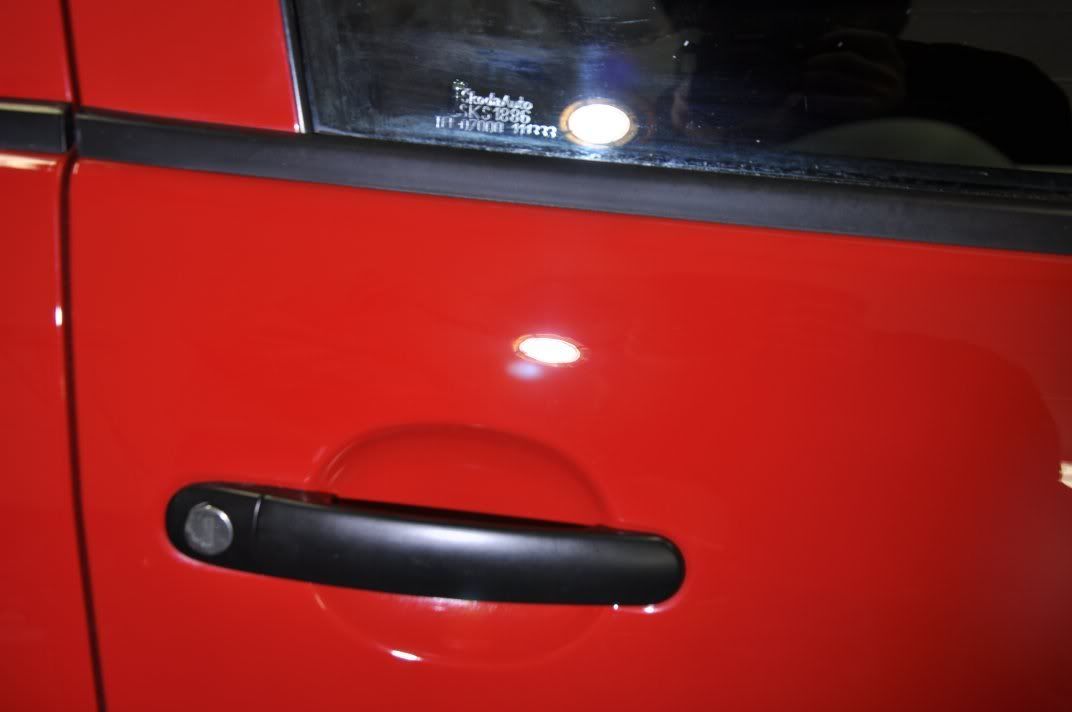
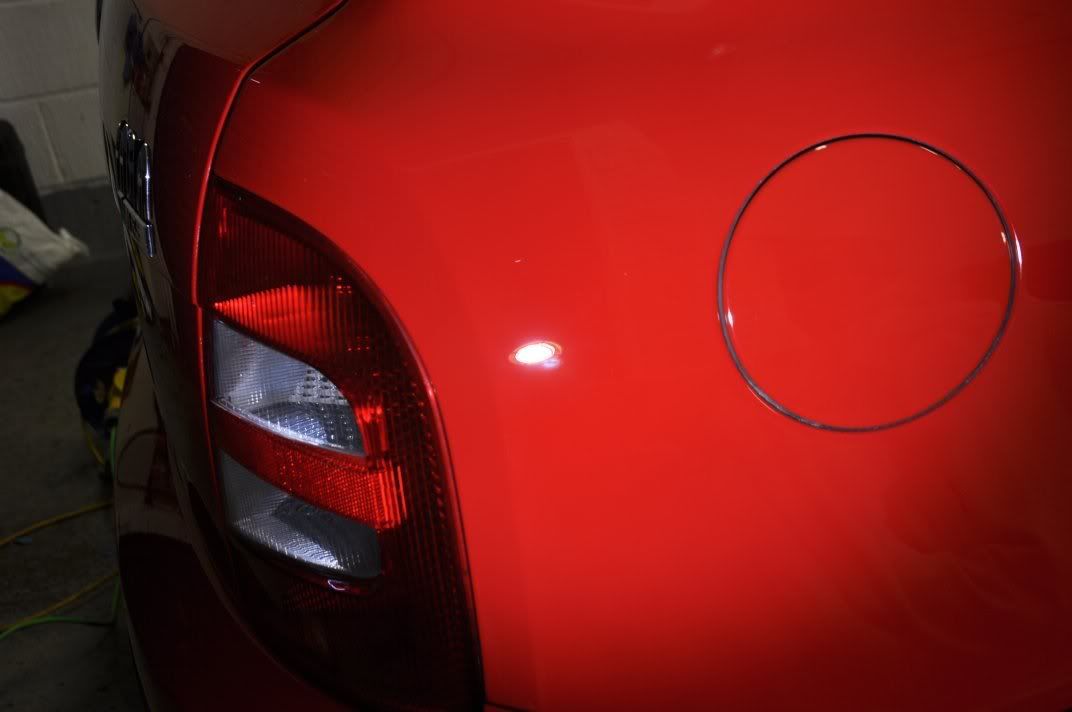
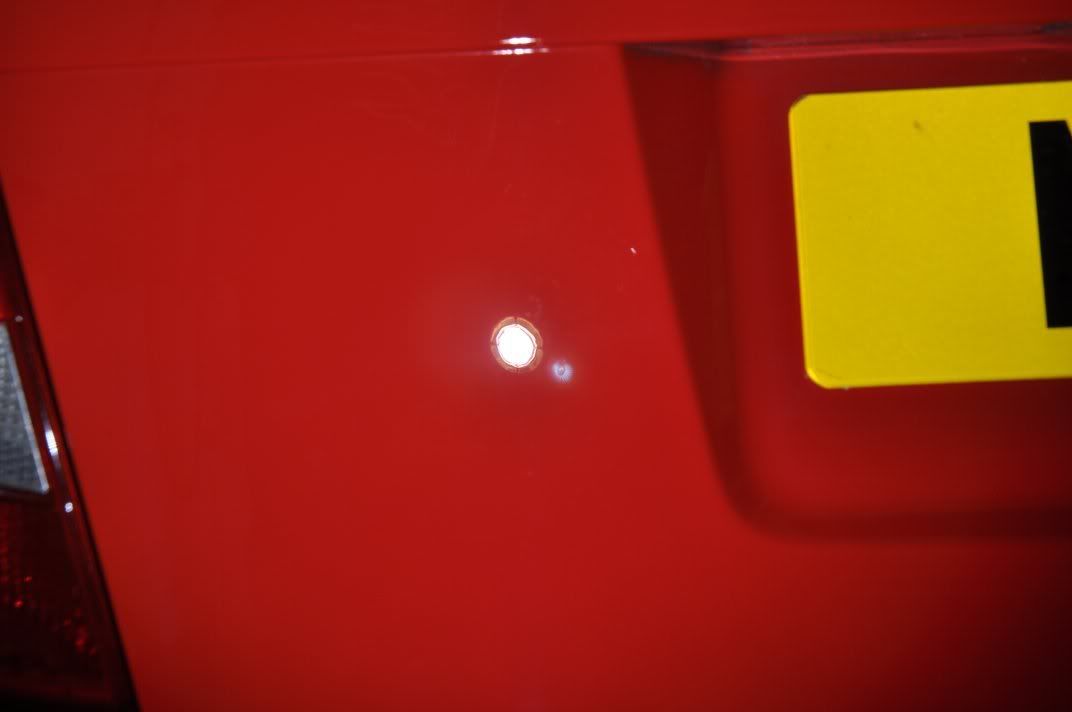
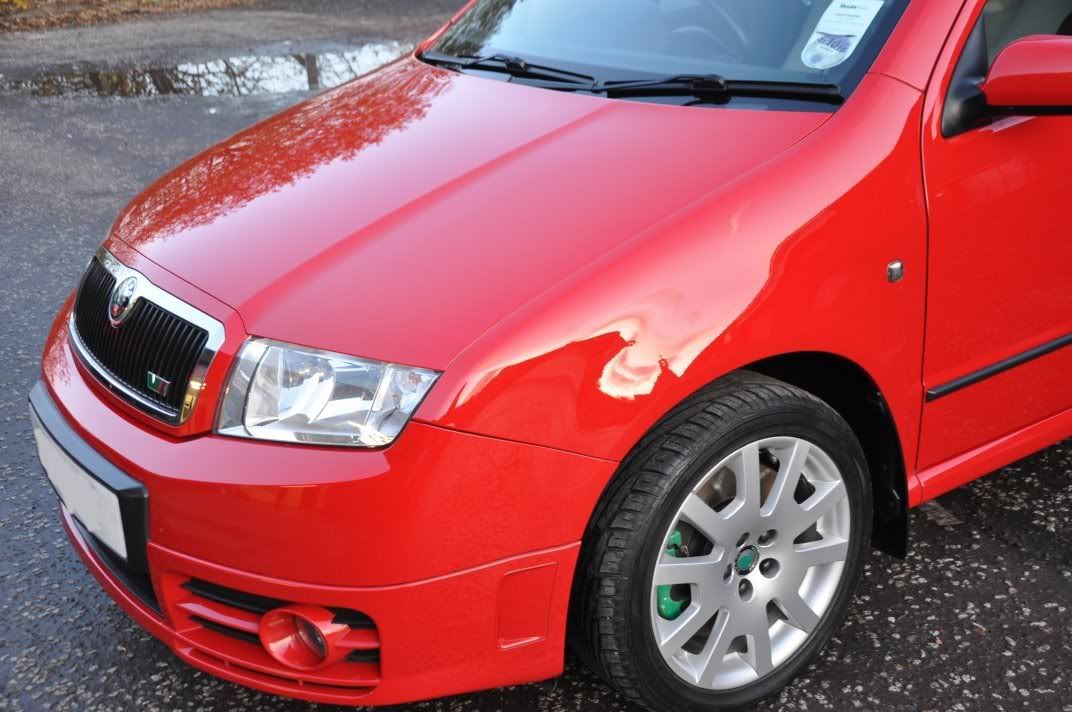
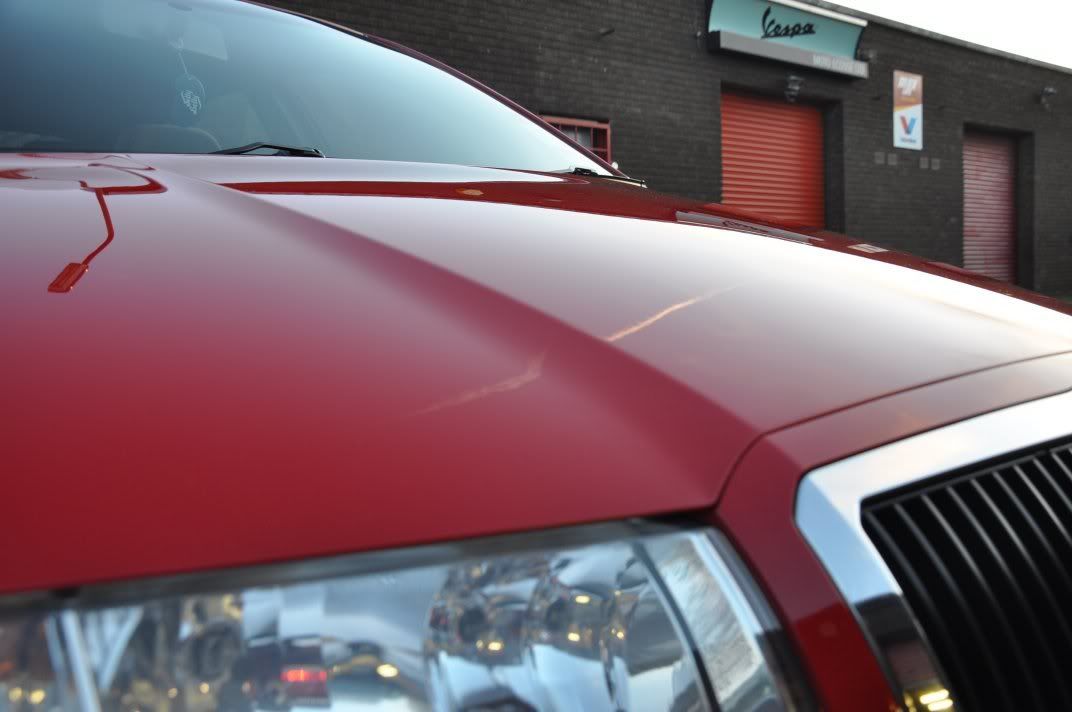
On the bonnet, the owner was complaining of stone chips...
Skoda paint readied...
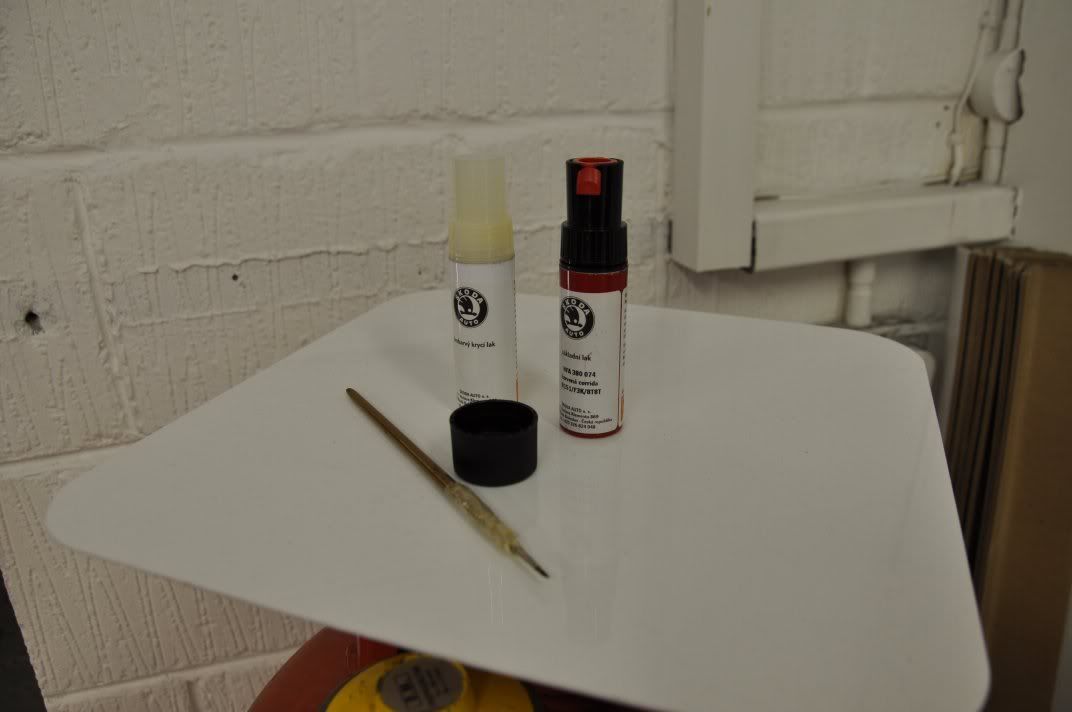
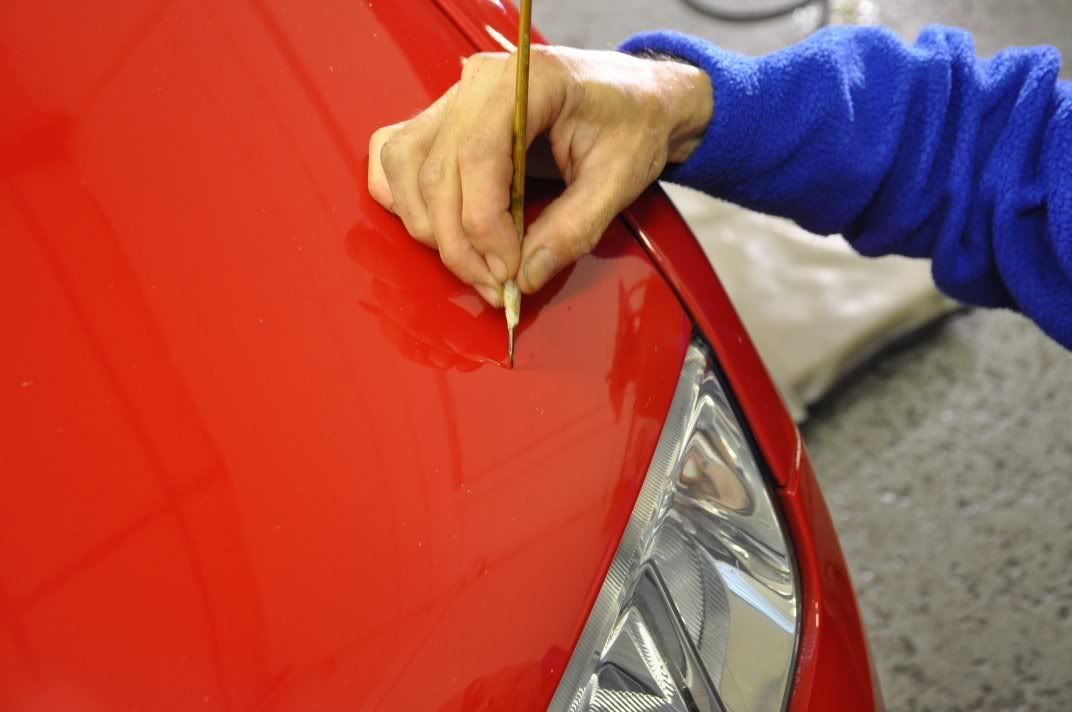
And Gordon set about filling the chips with an artist’s brush. The key here was very thin layers, and build these layers up rather than filling the chip in one go. Build layers until the repair sits proud of the paintwork where it can then be flatted back to blend...
Ready to be flatted...
Flatting... Using P2000 wetsand (paper and block as foam disks can mould round the repair rather than effectively flat back) to flat, with absolutely minimal pressure. Pressure and sanding can result in deep sanding marks which are impossible to remove. During the flatting...
P4000 was then used to refine the sanding pattern, and this was then polished out using Menzerna PO85RD3.02 Intensive Polish on a Chemical Guys Hexlogic white polishing pad. While this removed the hazing, there still remained some RDS which the sanding has also not removed so we opted for 3M Fast Cut on a yellow Hexlogic Compounding pad in the end to combine removing the sanding haze with knocking back the much deeper RDS as well. The end results of the correction process on the bonnet...
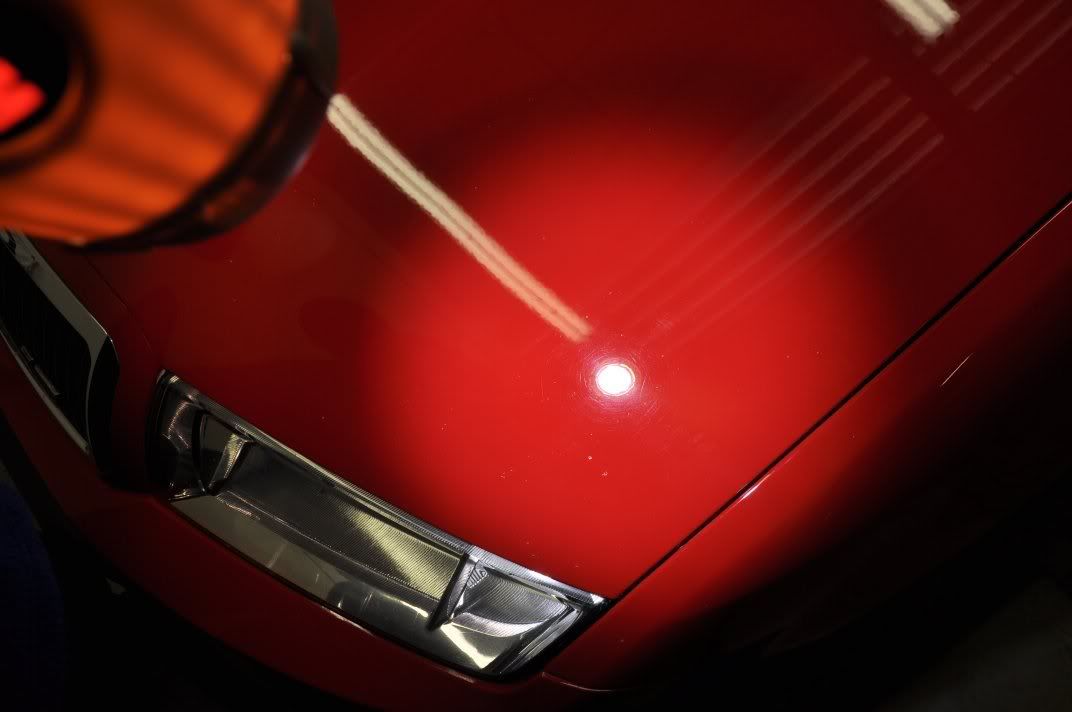
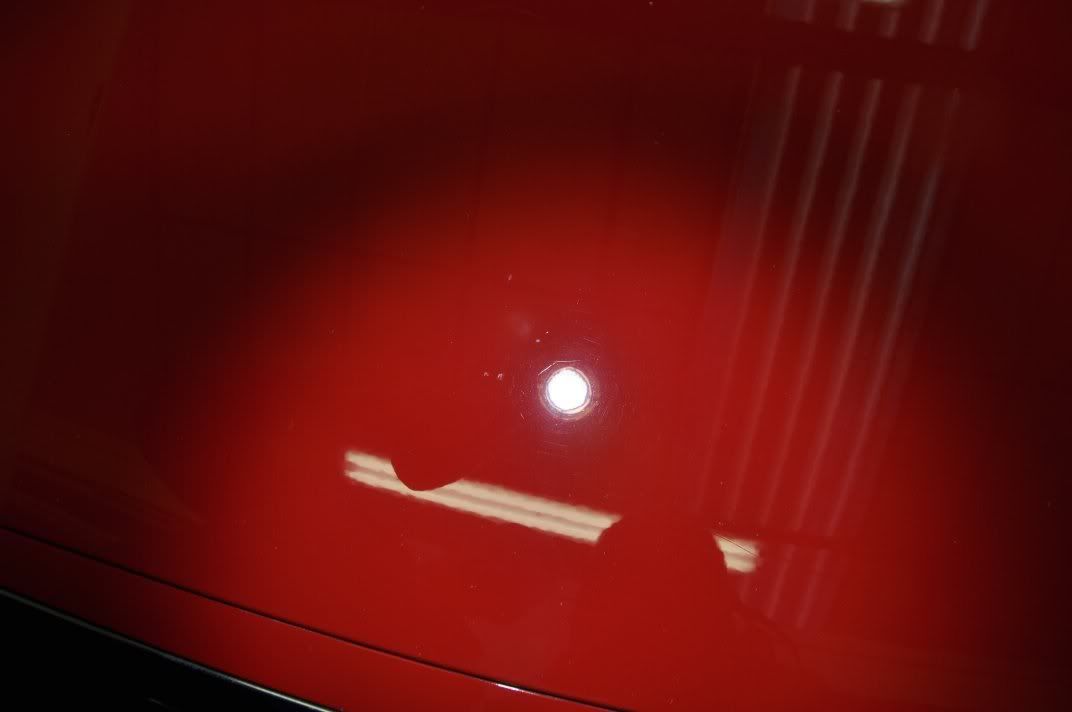
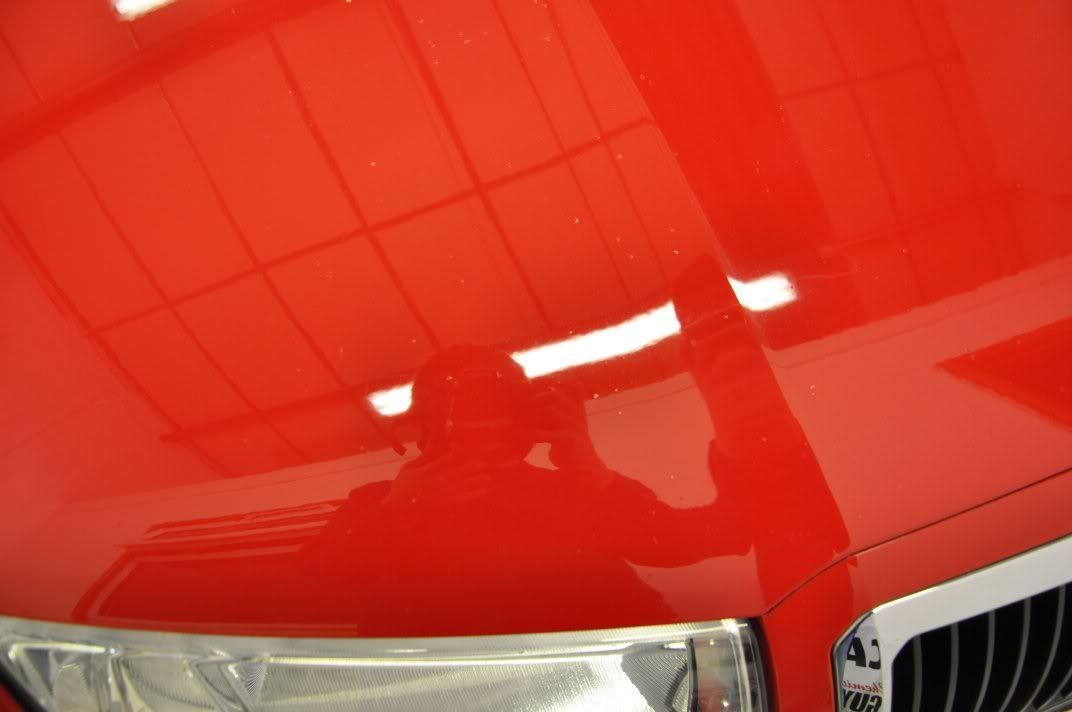
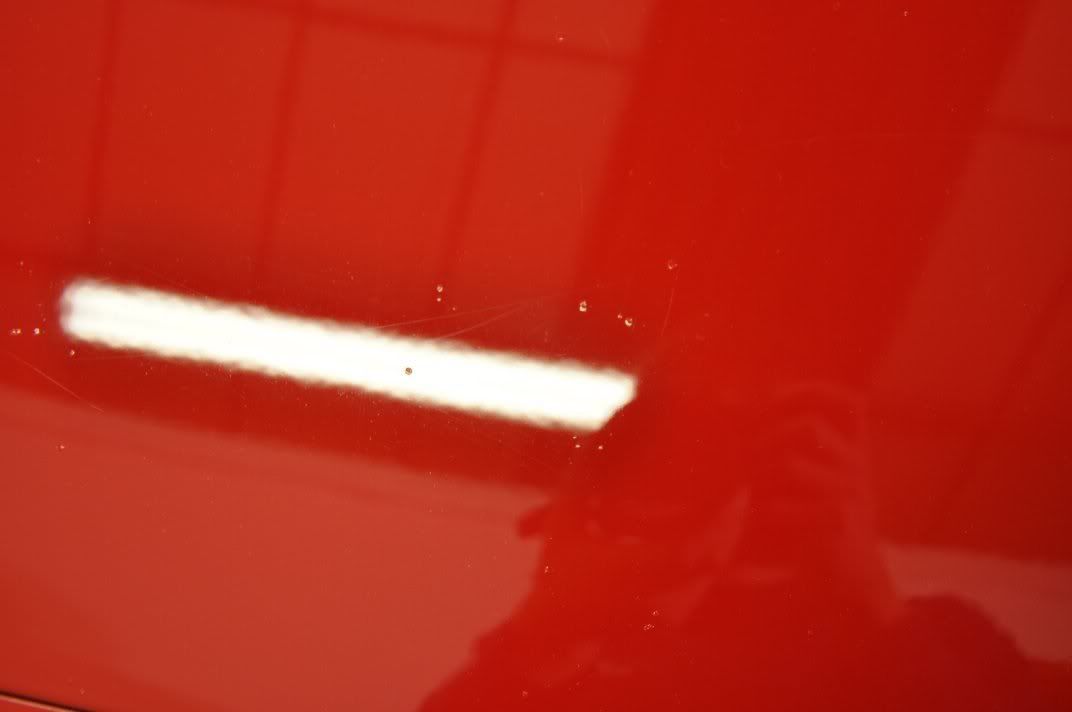
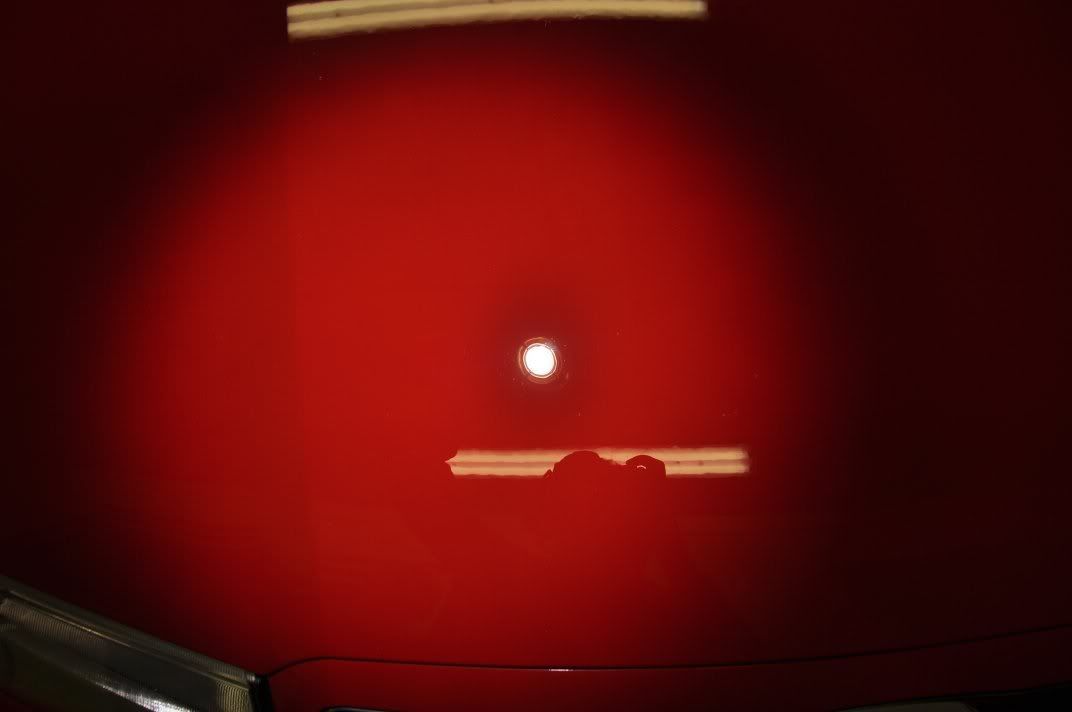
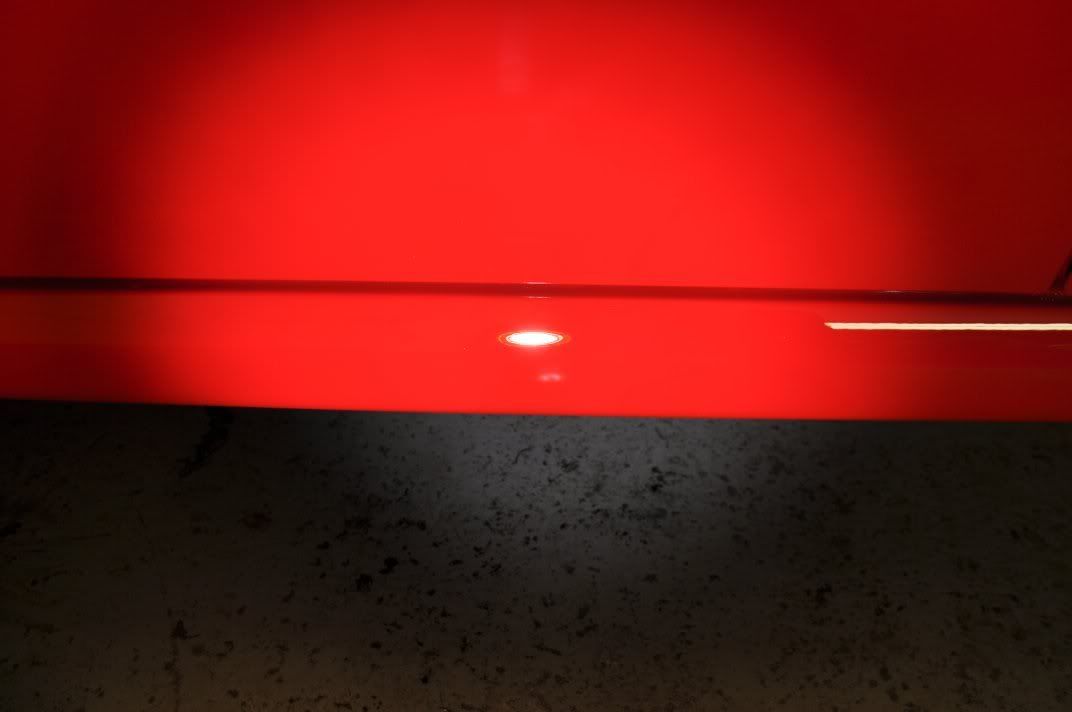
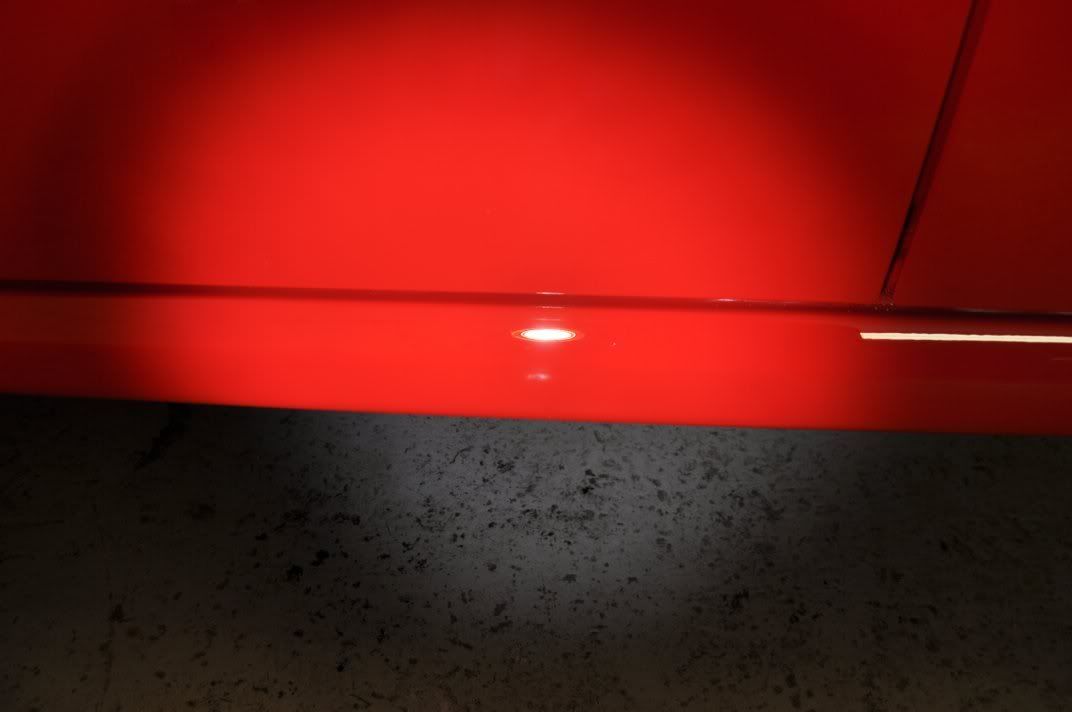
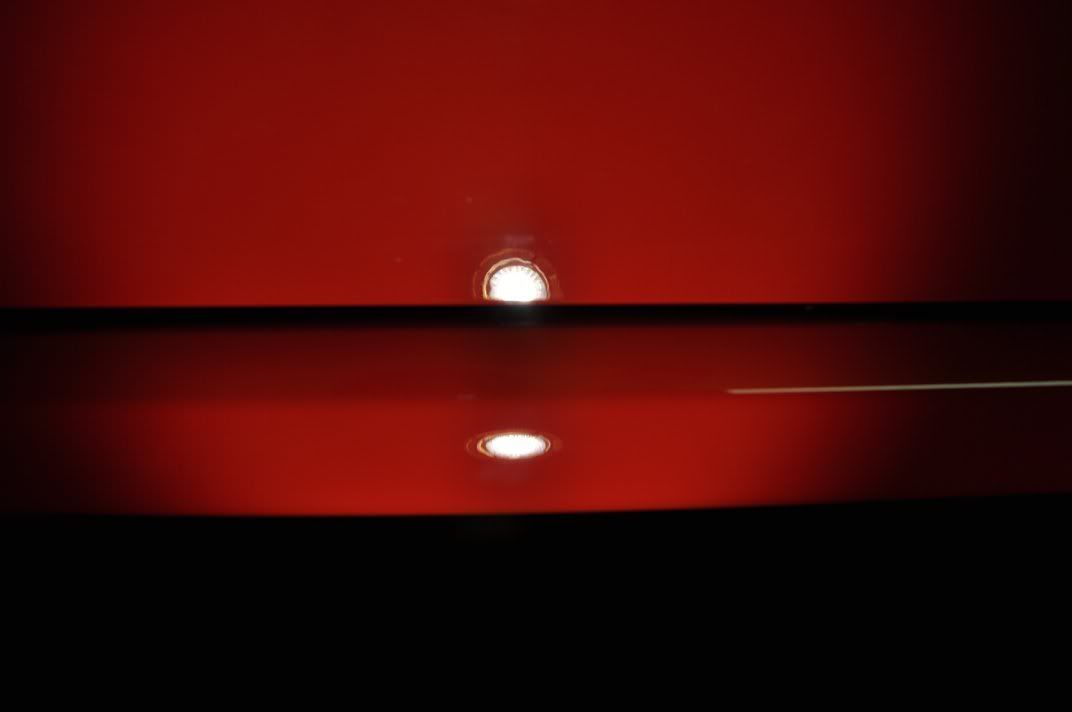
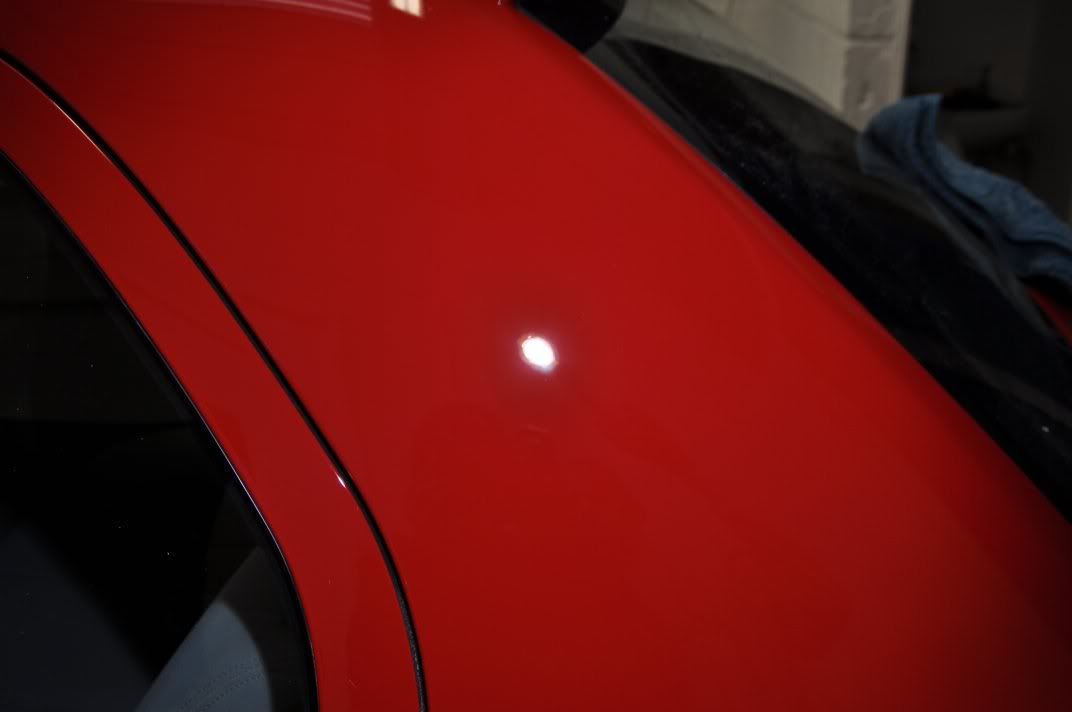
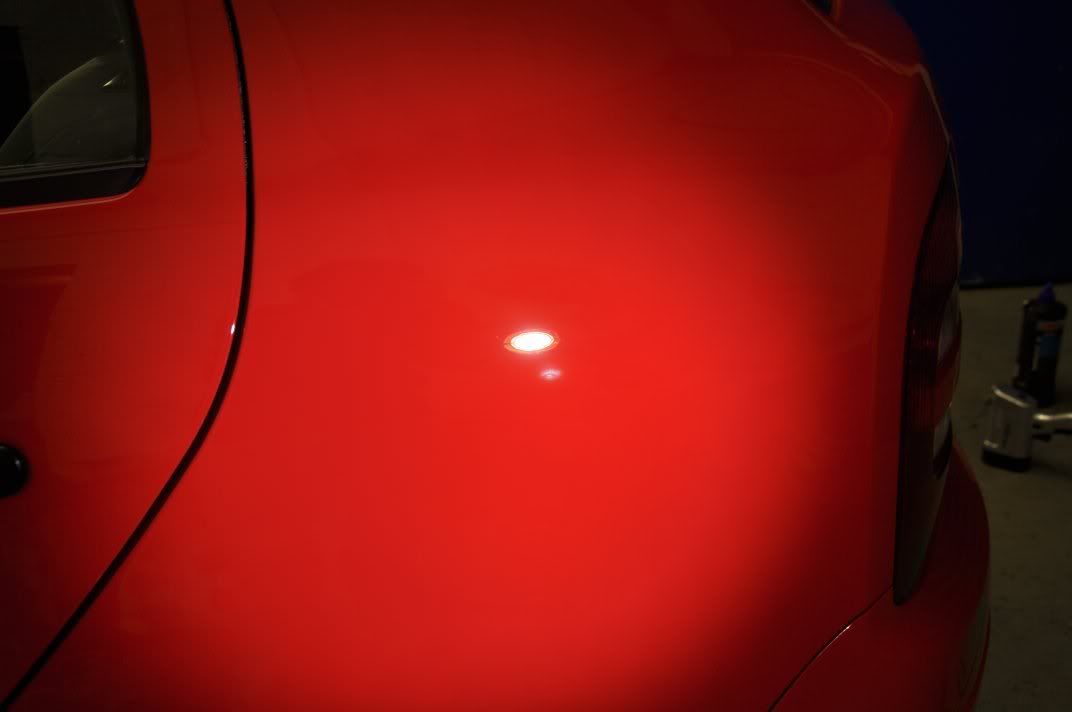
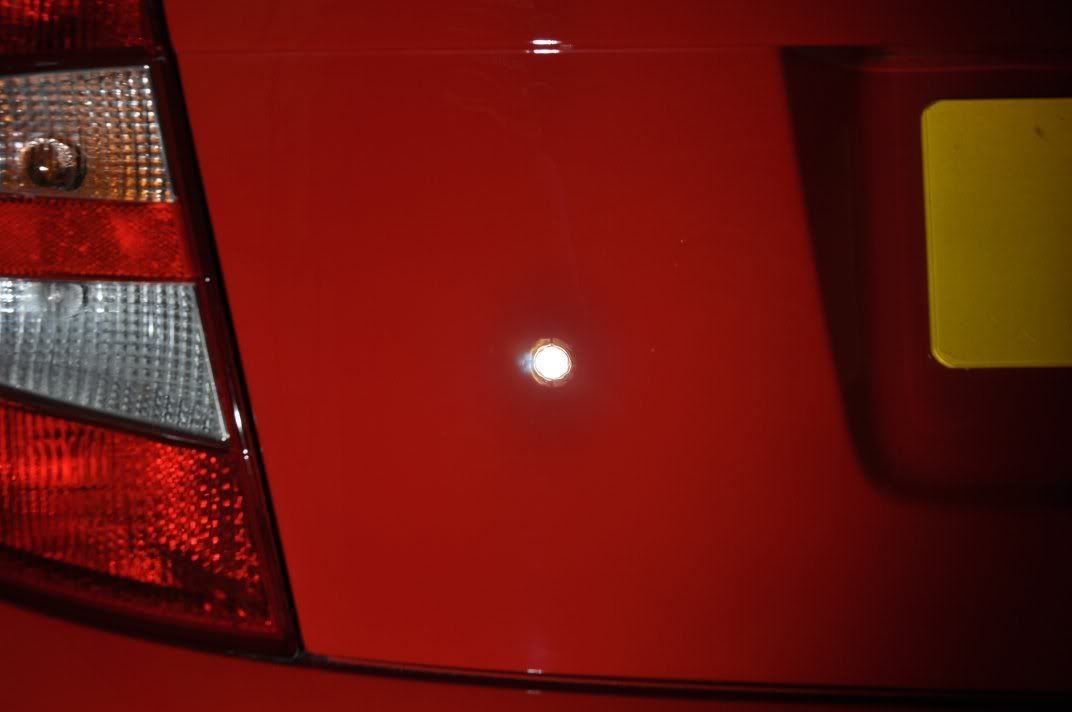
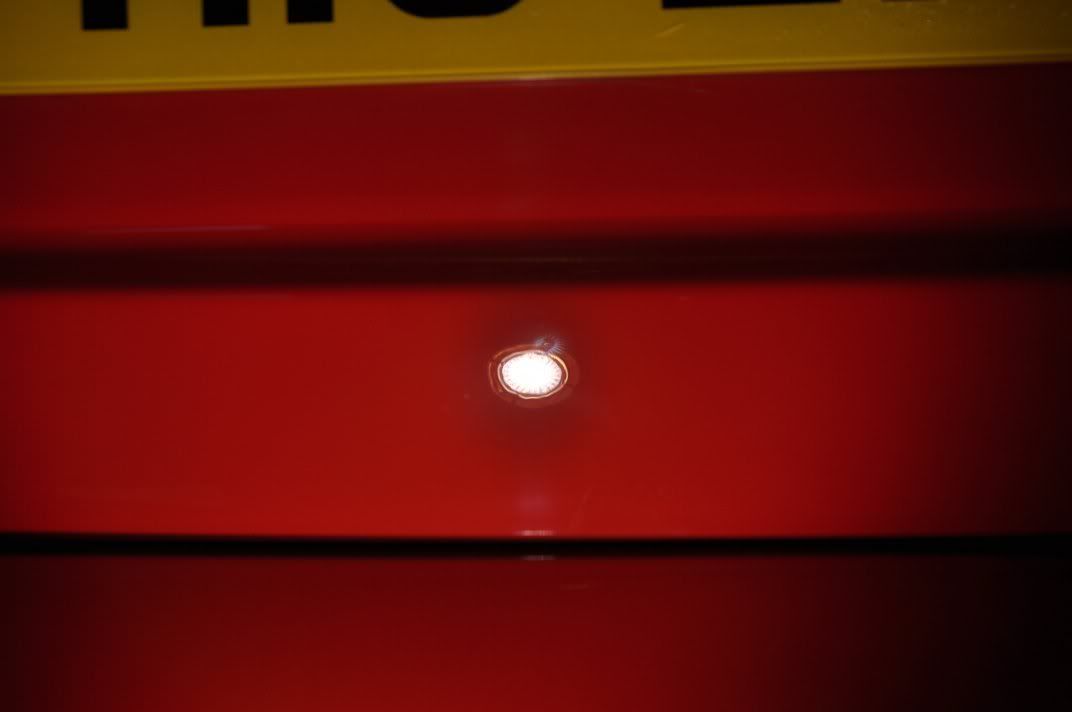
Checking under the 3M Sun Gun also for machine finish quality, and checking for stone chips as well (remaining ones would show as little dots in the light)...
For correction across the rest of the car, we assessed the paint thicknesses (pointing to full respray) and then worked through the polish and pad combinations from least aggressive first... We settled on Menzerna PO85RD3.02 on a Chemical Guys white Hexlogic pad...

For the majority of the correction stage. This pad has a little more bite than the 3M Yellow which came in handy when used with a regenerating technique to maximise the cut from the Intensive Polish without having to go to more severe compounds. The product was applied as follows:
1) Spread the polish at 600rpm.
2) Begin to work the polish at 900rpm, building a little heat in the panel to spread the residue evenly. Being a waxy lubricant the polish benefits from a little heat to evenly spread it out.
3) Work the polish at 1500 – 1800rpm with moderate pressure and steady sweeping movements of the rotary. The machine should glide over the panel, if not, return to lower speeds and coax the polish. The polish was worked until residue went clear.
4) Speed reduced to 1200rpm, and pressure lightened for a couple of passes and the residue came back and panel cooled a little.
5) Return to work speed of circa 1800rpm and work until residue clear again.
6) Reduce speed to 1200rpm to refine the finish.
Each set takes roughly five minutes but for us represents a more controlled way of removing paint as it was achieving the maximum correction desired with the minimum removed paint. Hitting it with 3M Fast Cut would have acheived faster correction but in a less controlled manner in the respect of removal rates – I’m never in a hurry so a little extra time doesn’t bother me On regions with very deep RDS, such as the bonnet, Fast Cut was used where a removal of notably more paint was required.
The finish was then refined using Meguiars #205 on a black Chemical Guys Hexlogic finishing pad...
Using a Double Zenith technique where the speed and pressure were raised and reduced in unison.
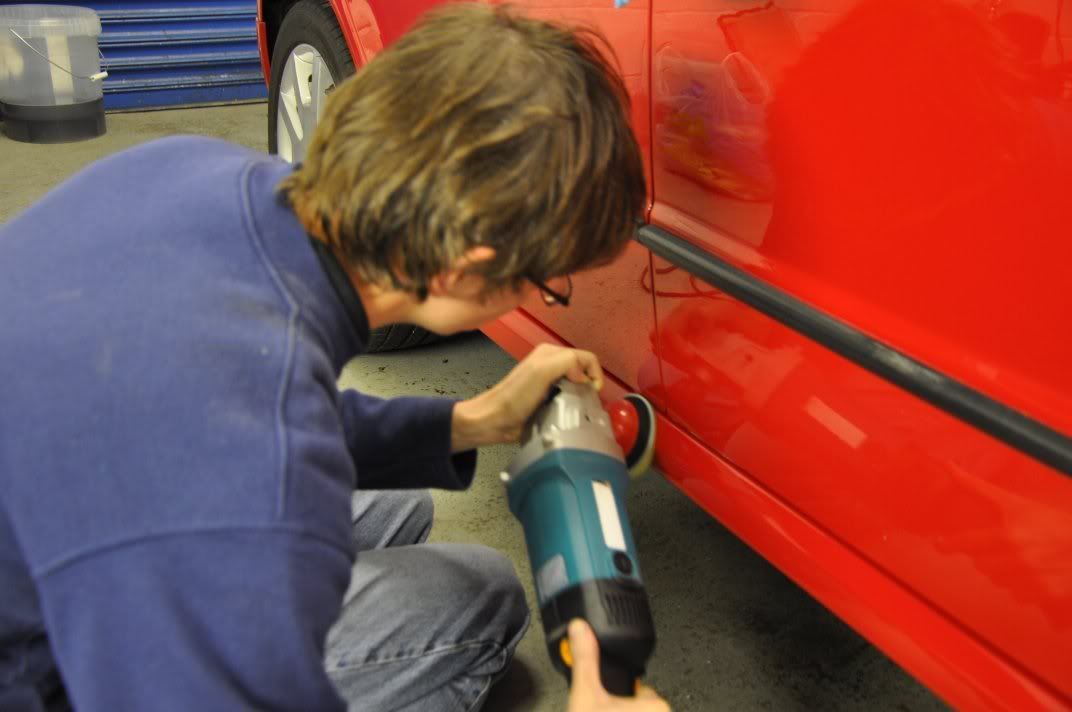
Another key factor when machine polishing is that no region is missed out... The sills before, for example, covered in swirls:


During...
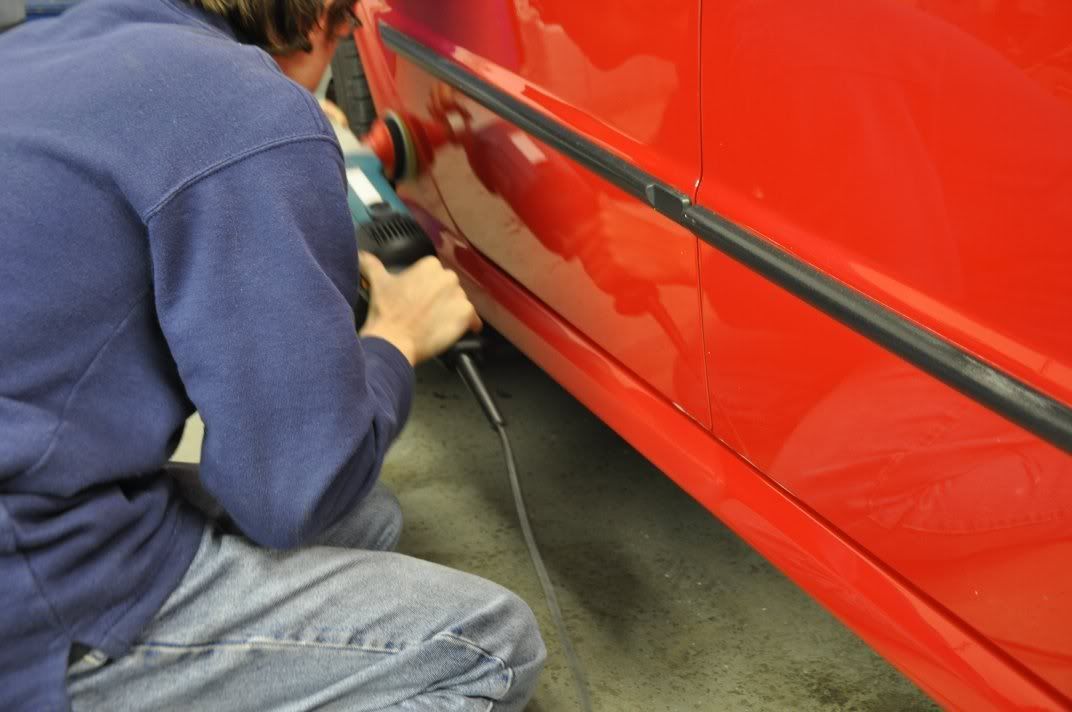
And after...
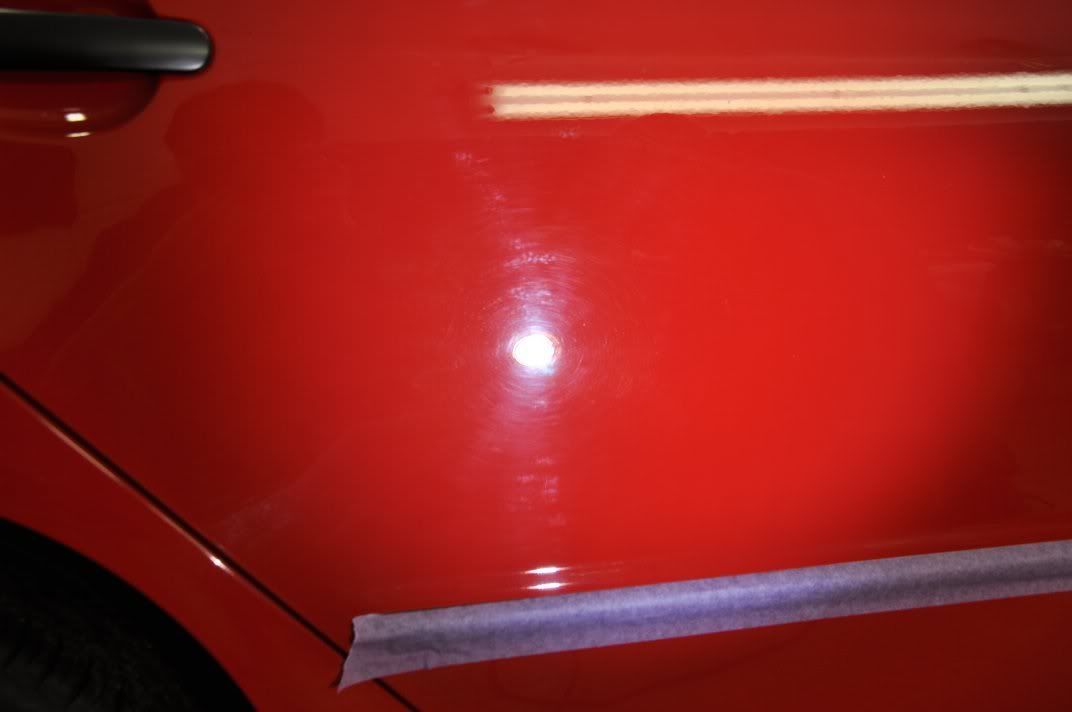
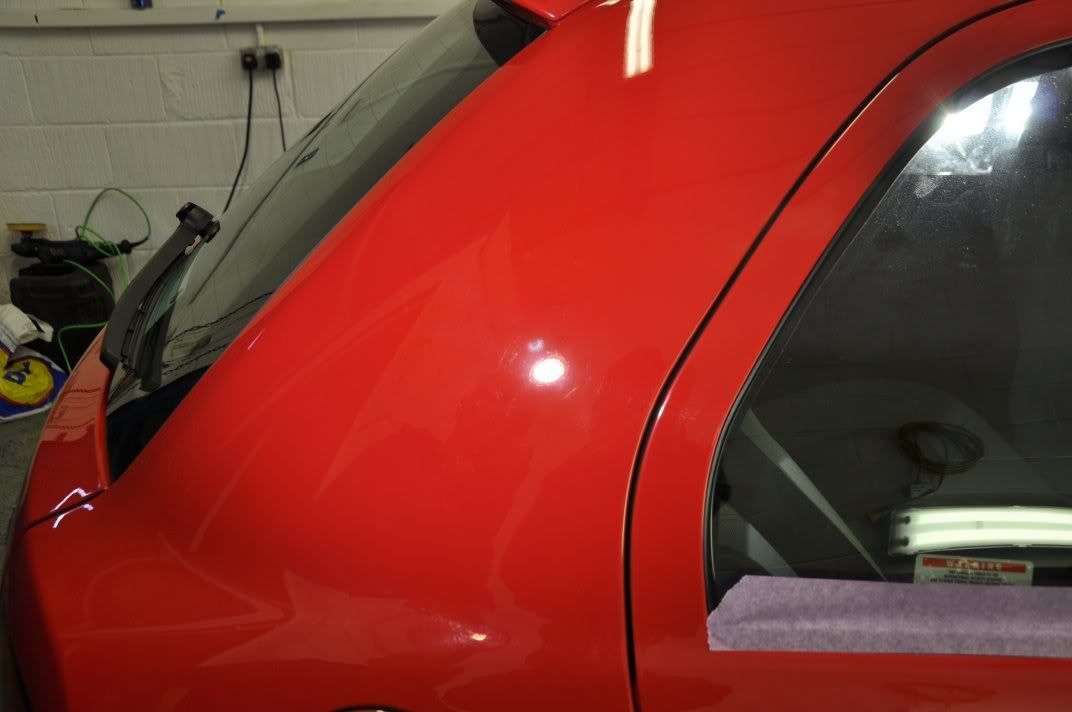
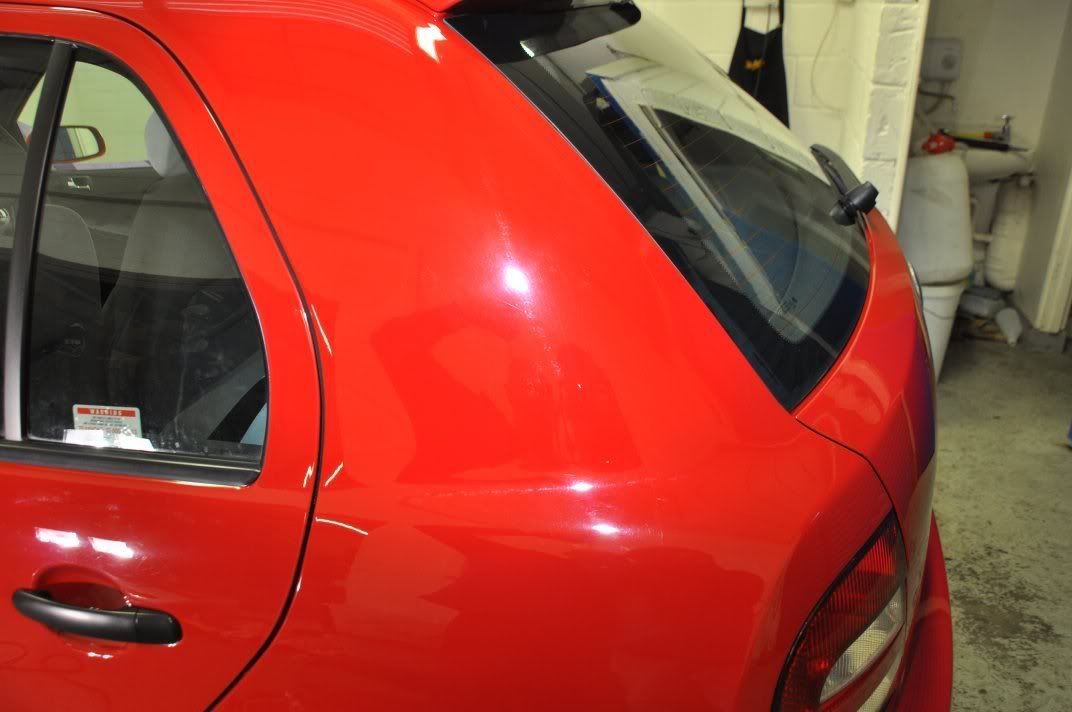
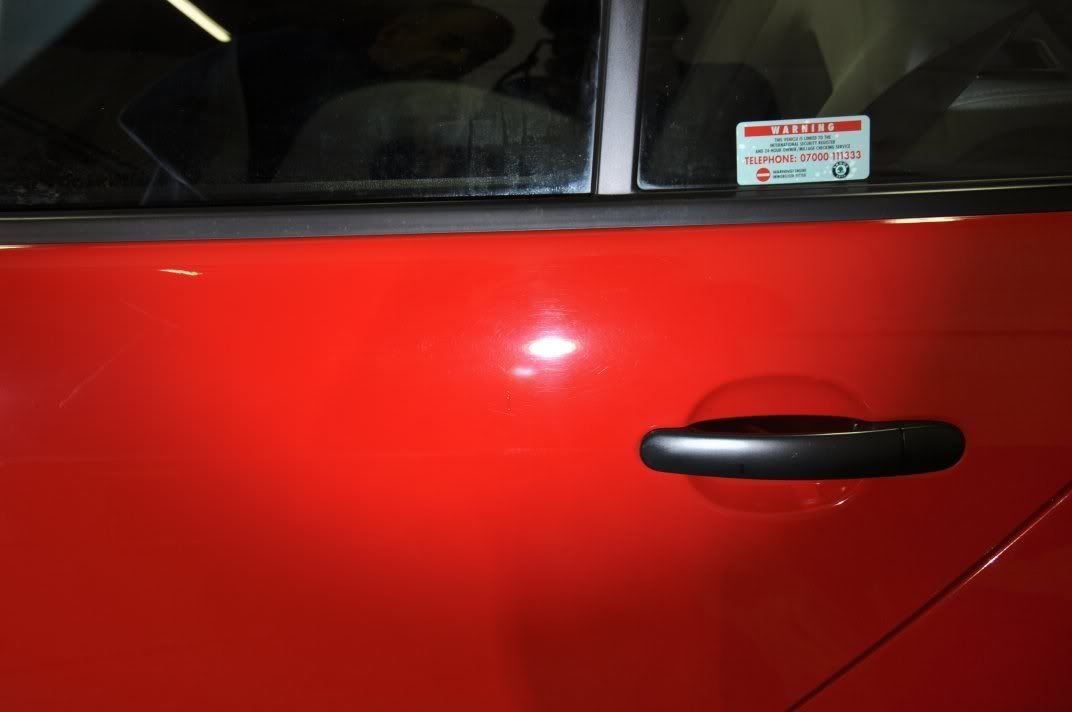
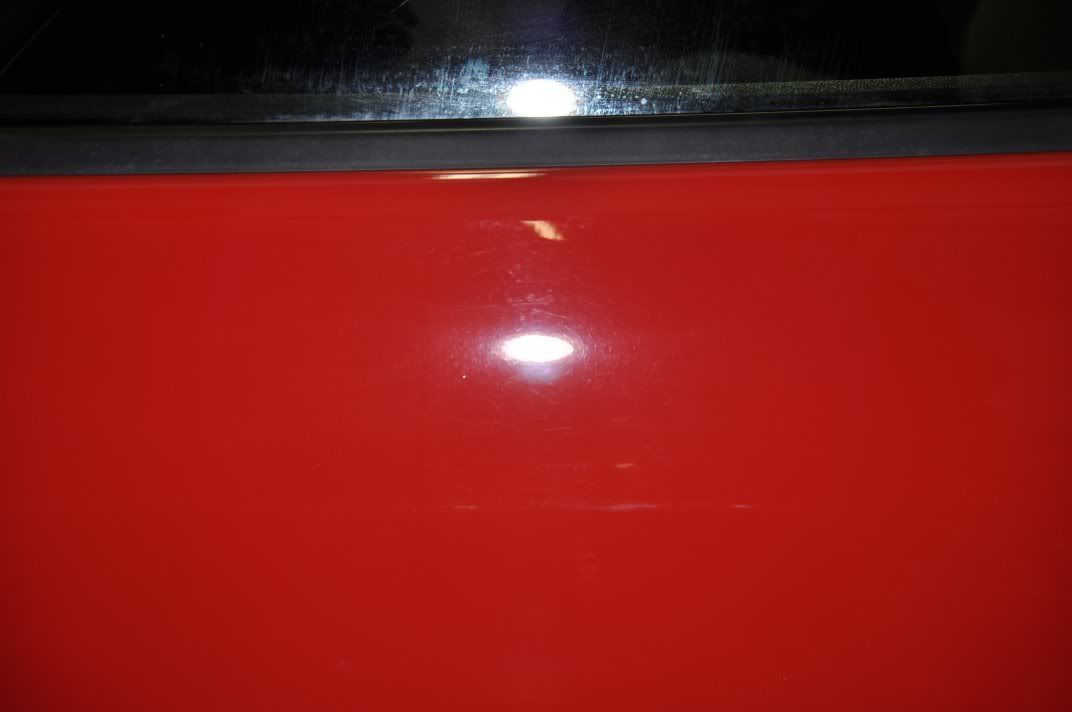
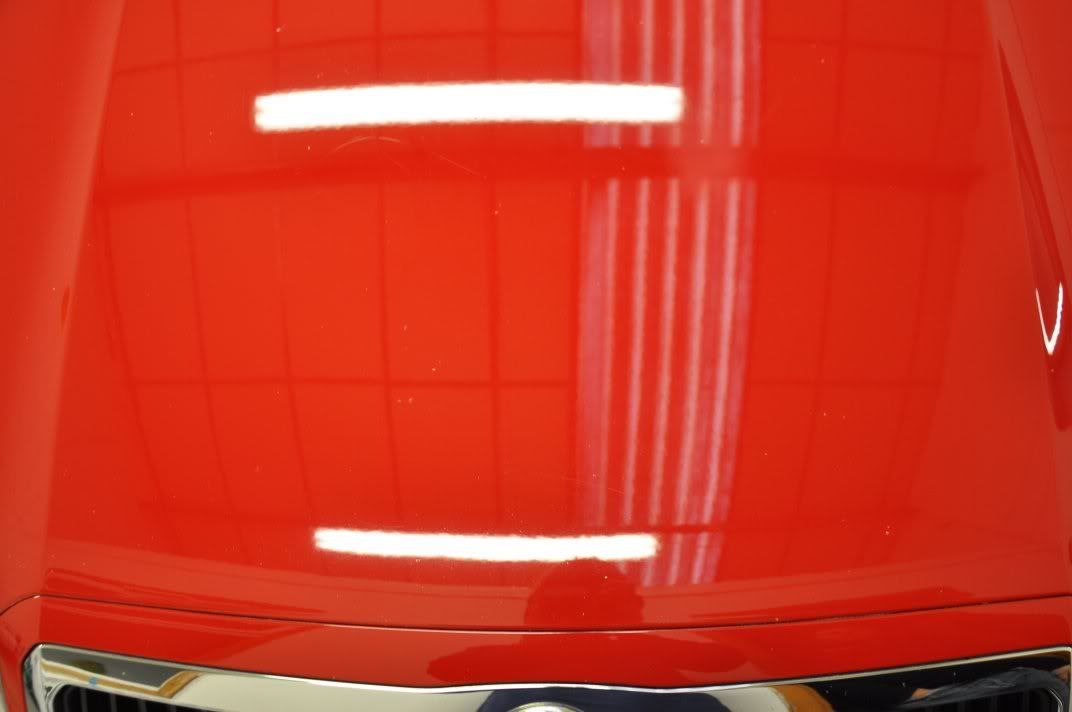
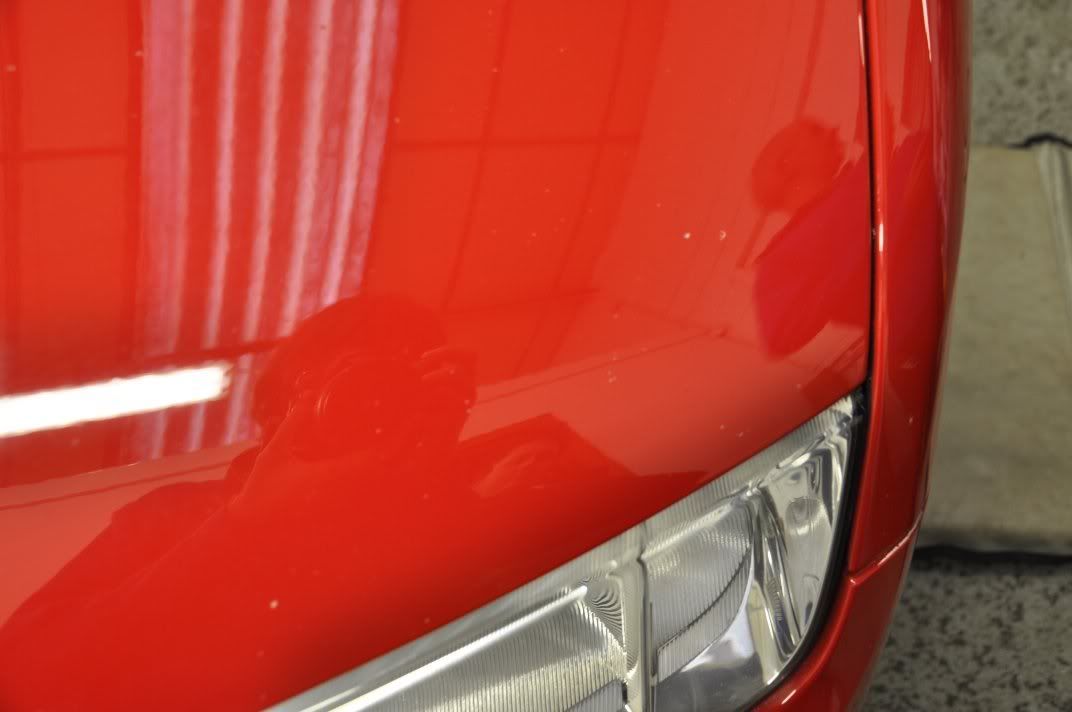
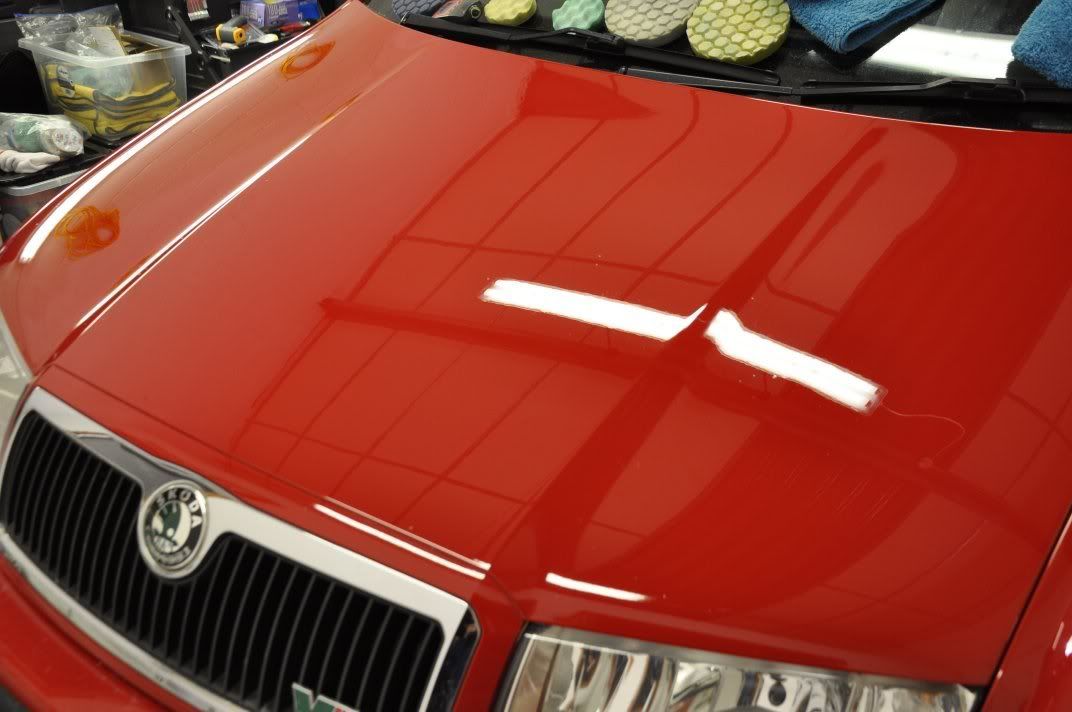
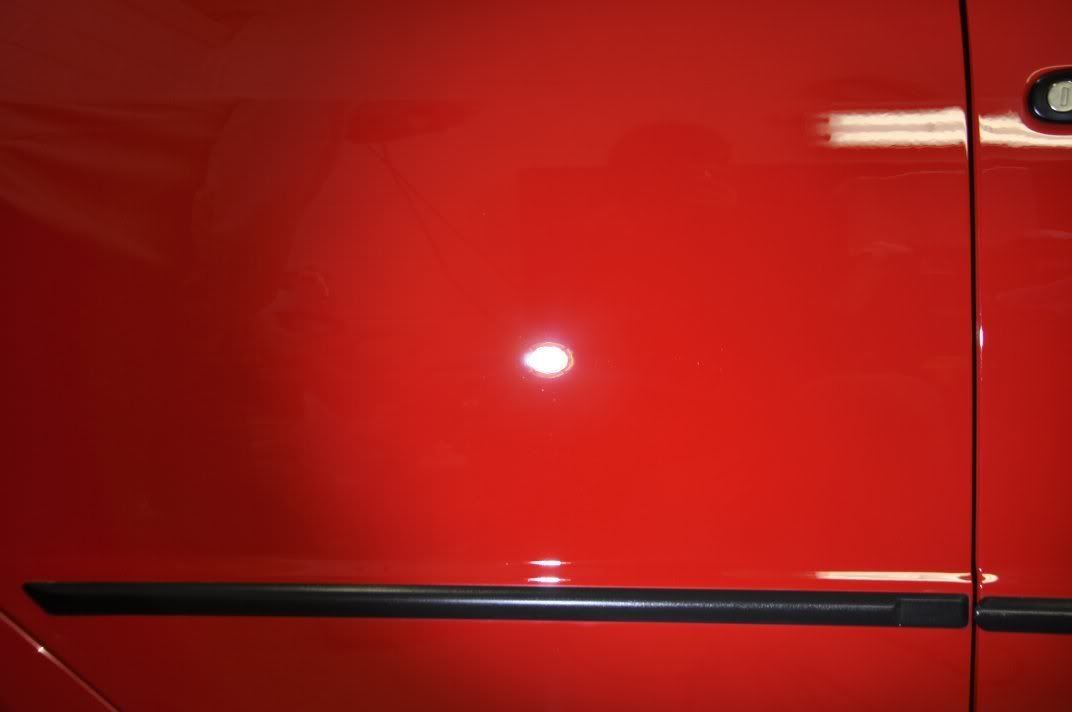
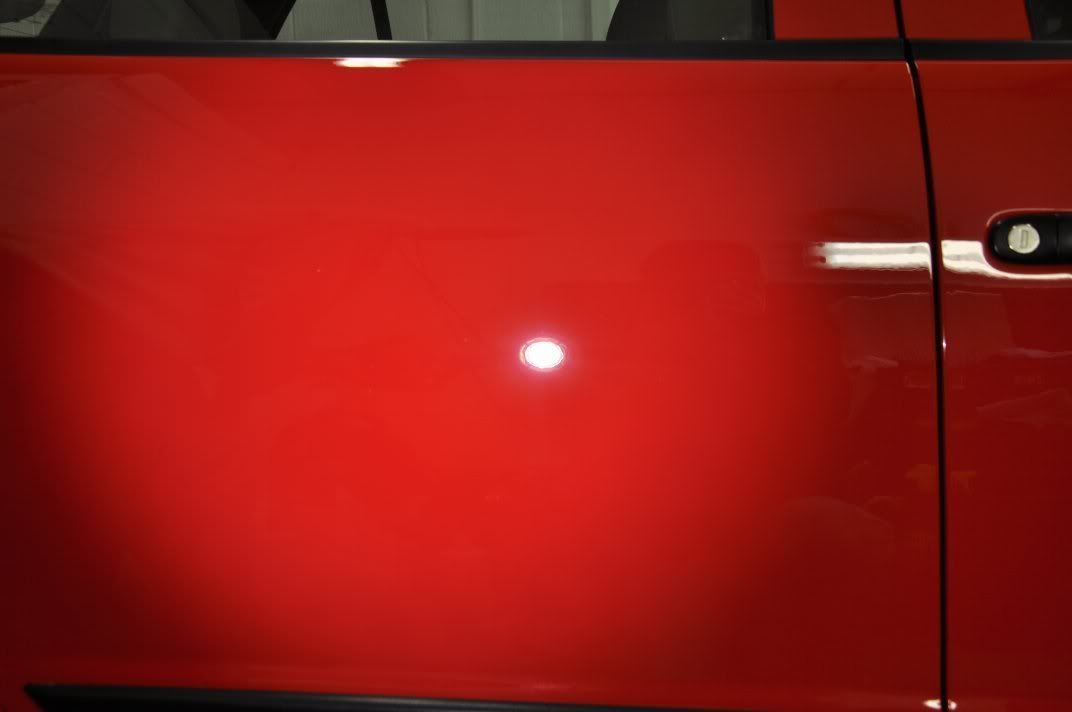
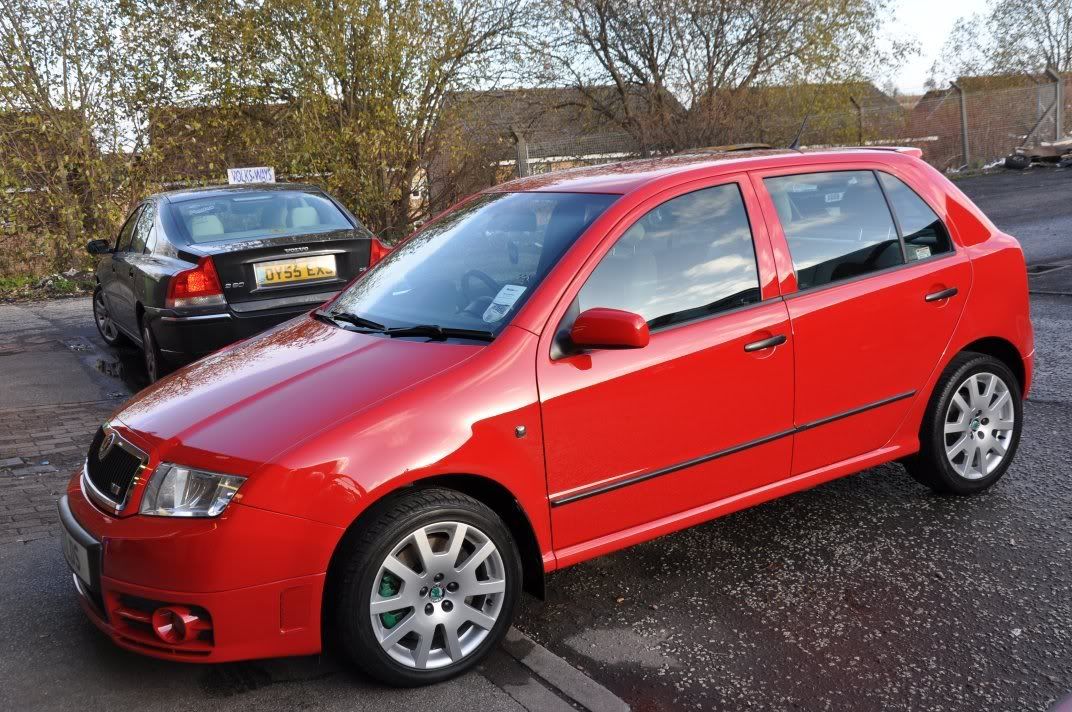
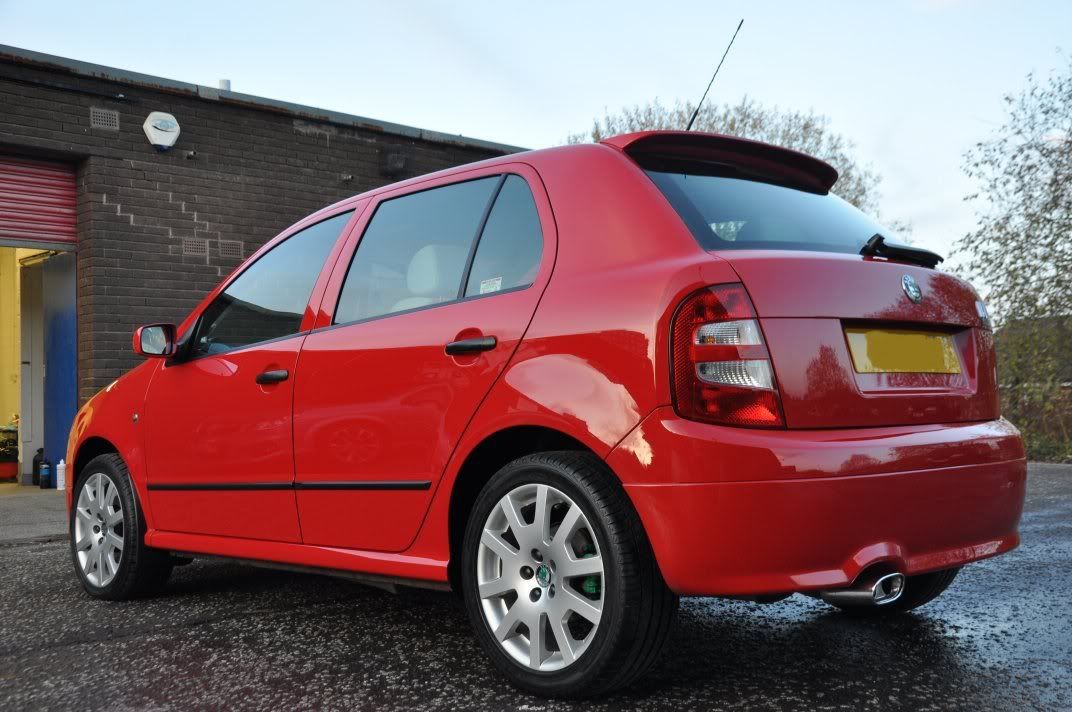
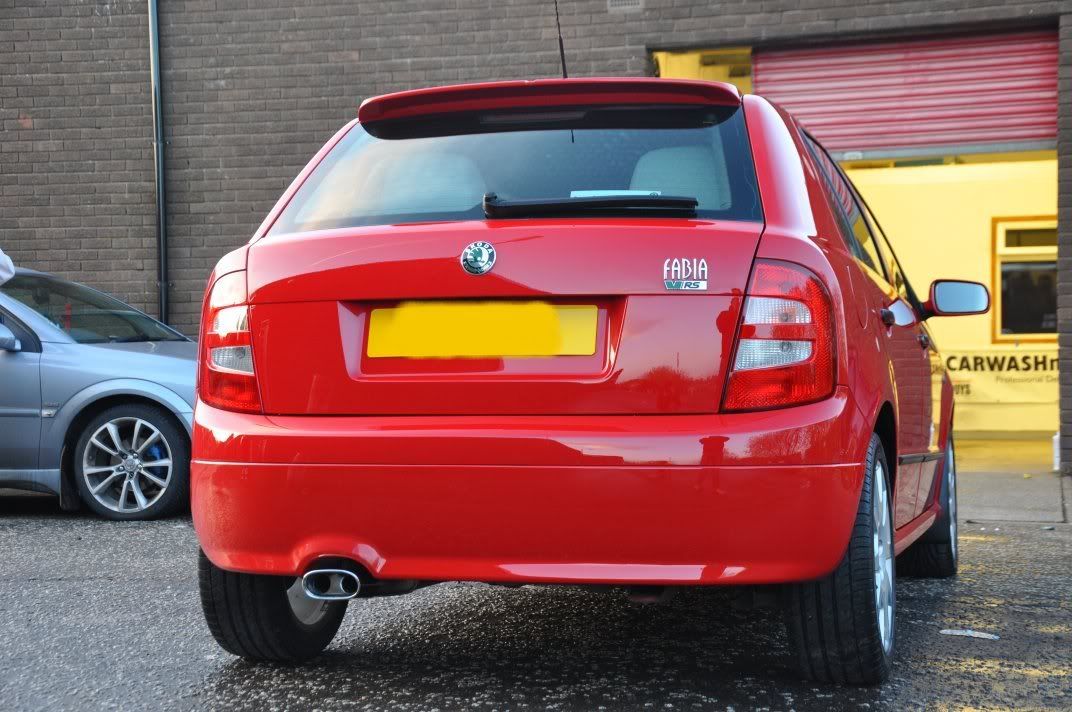
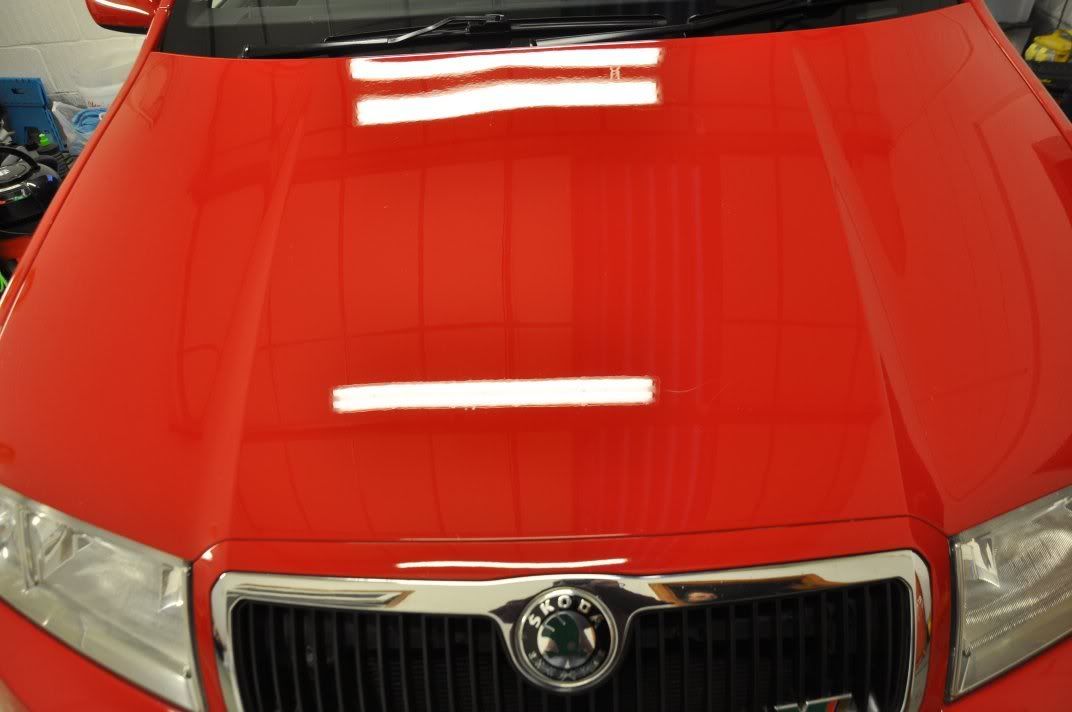
After shots across the rest of the car – following correction and refining:


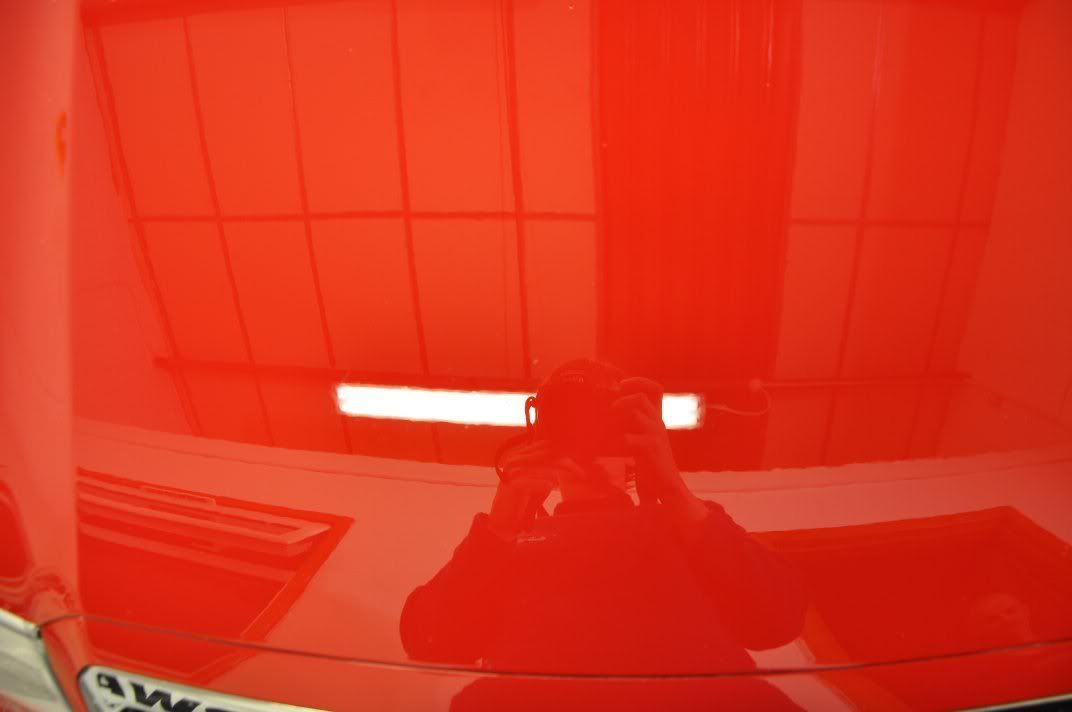
The beauty of the two day detail was that we were able to roll the car out into the sunlight to see the quality of the machine finish in natural daylight
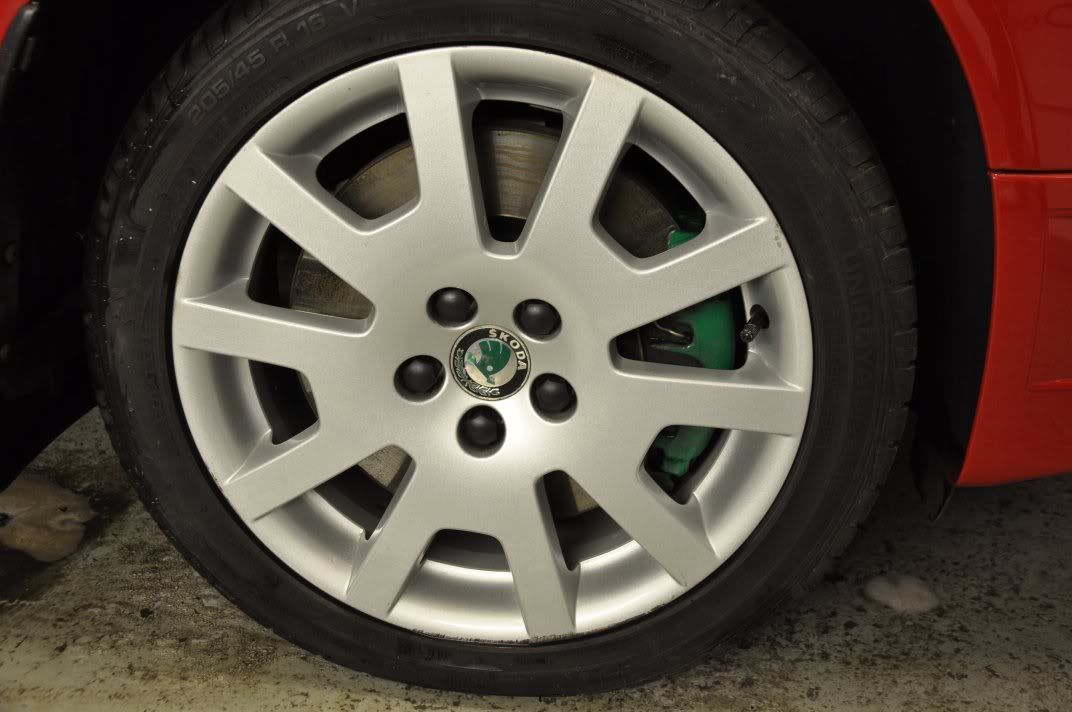
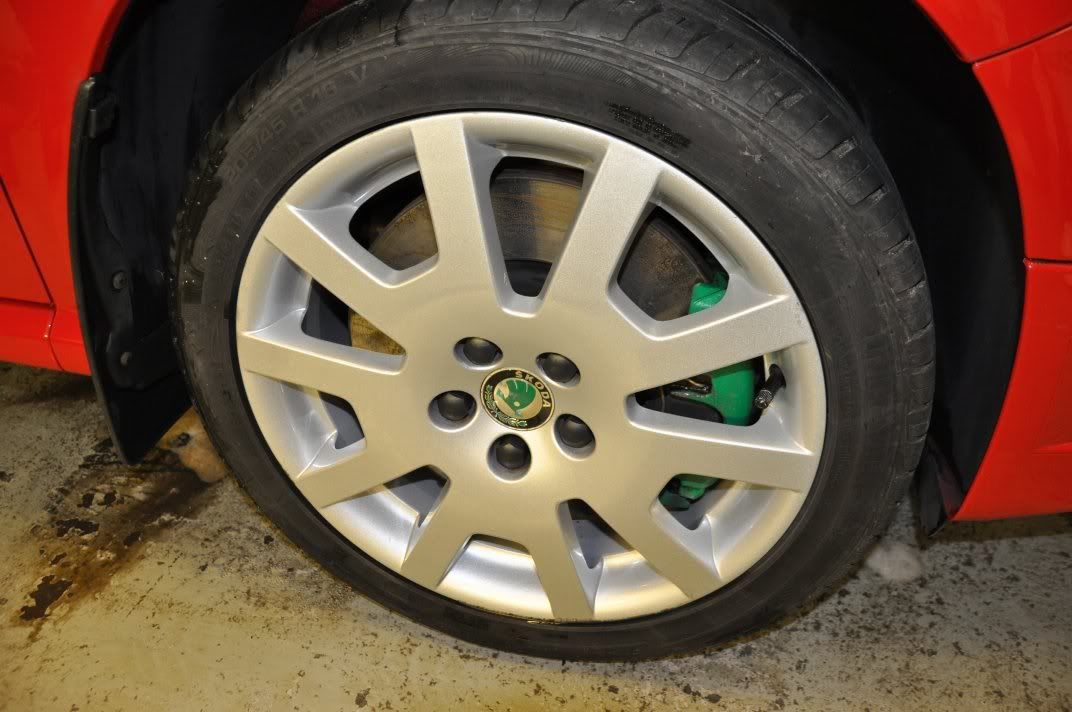
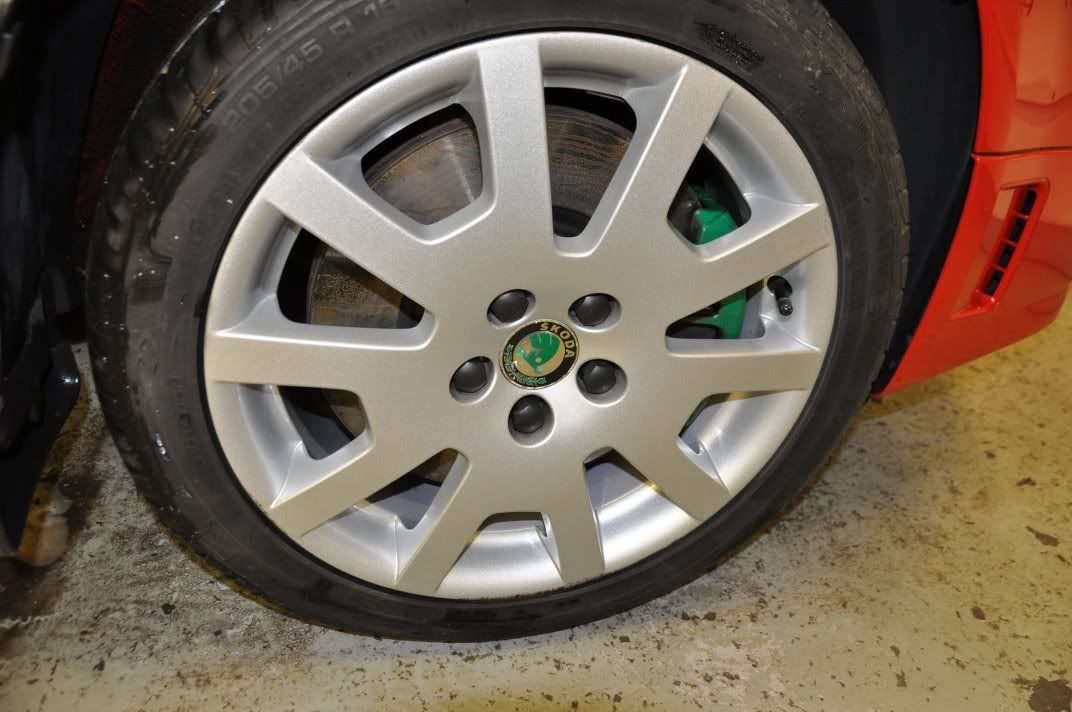
And then roll the car back in to finish off... The paintwork was protected using Collinite 476S wax for its durability. Glass was cleaned inside and out and then sealed with Carlack Glass Sealant. Wheels protected with FK1000P, tyres dressed with Espuma RD50. Plastics were treated with Chemical Guys New Look Trim Gel, and the arches with Silkshine. Exhaust with the new Zeppelin metal polishes – the restorer and the custom metal polish.
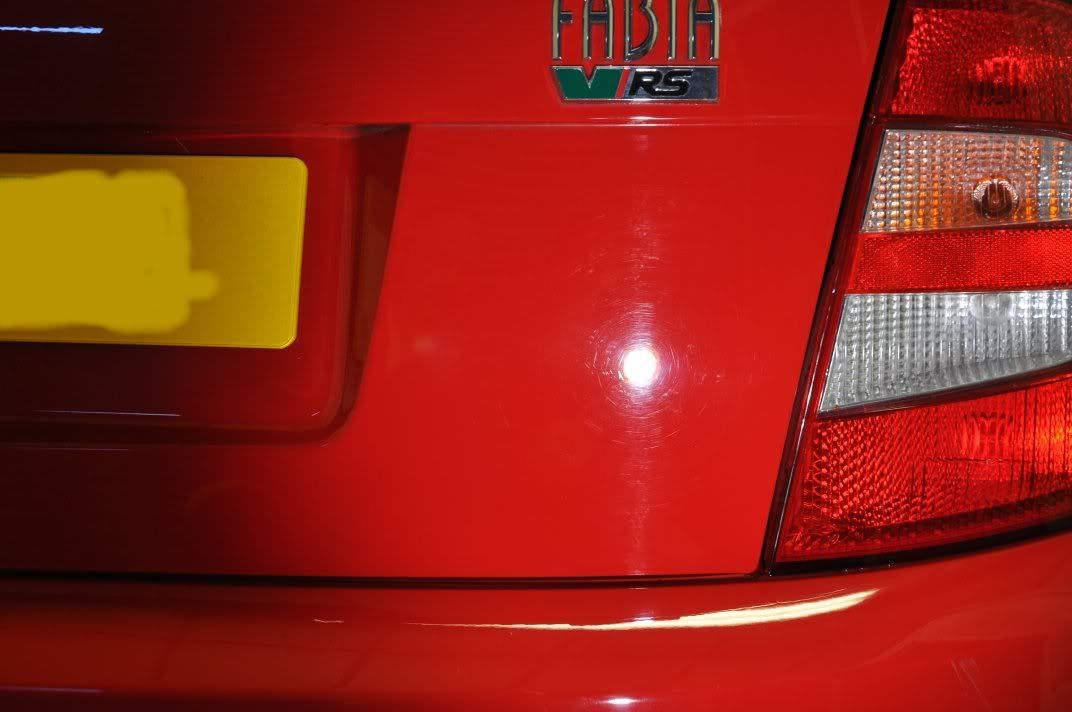
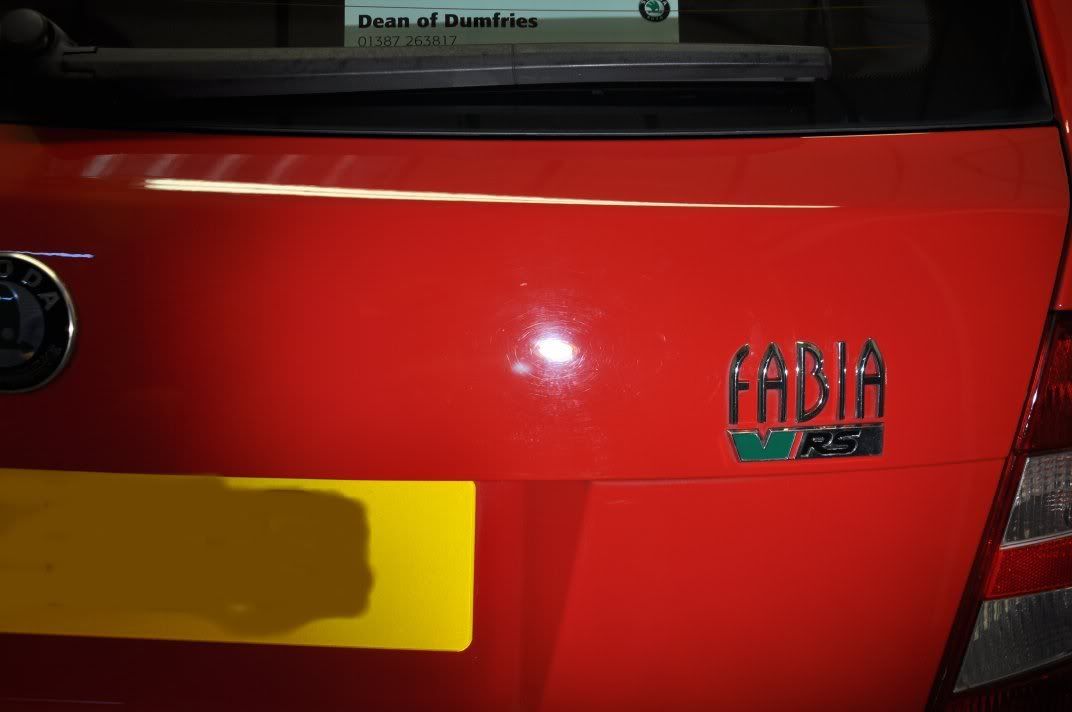
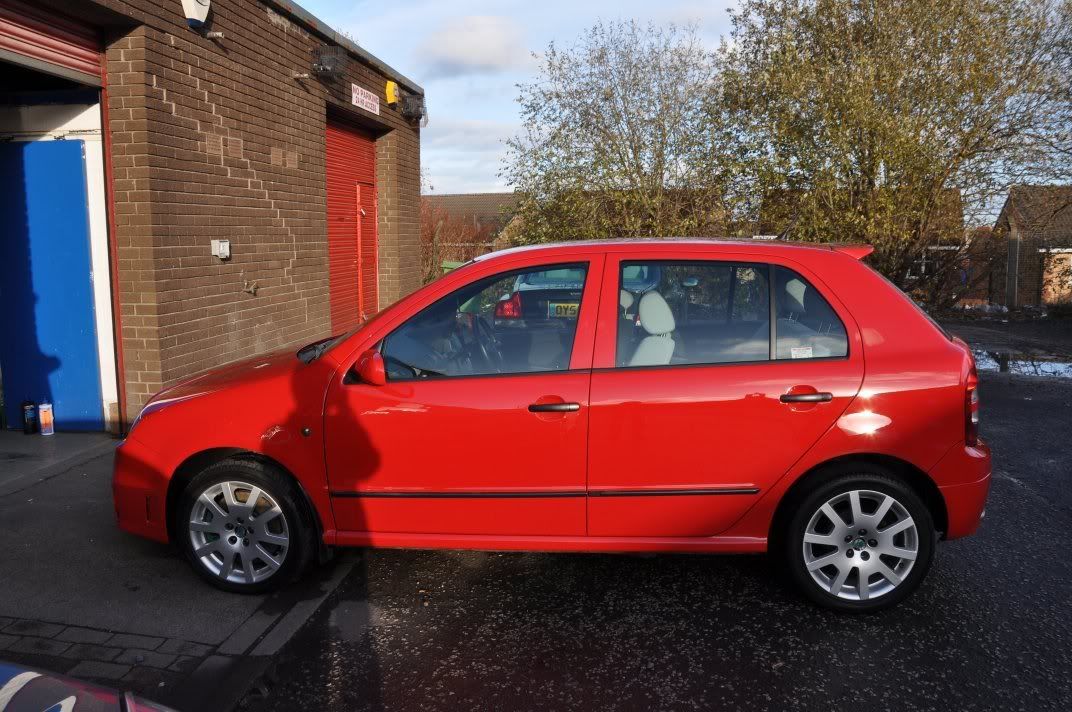
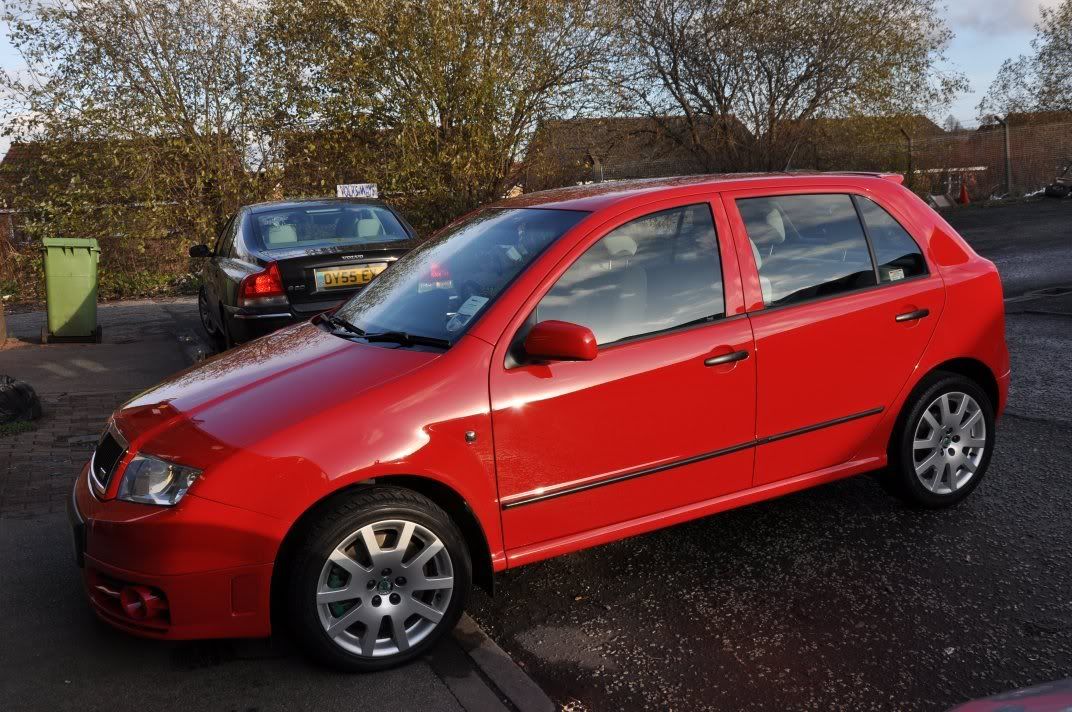
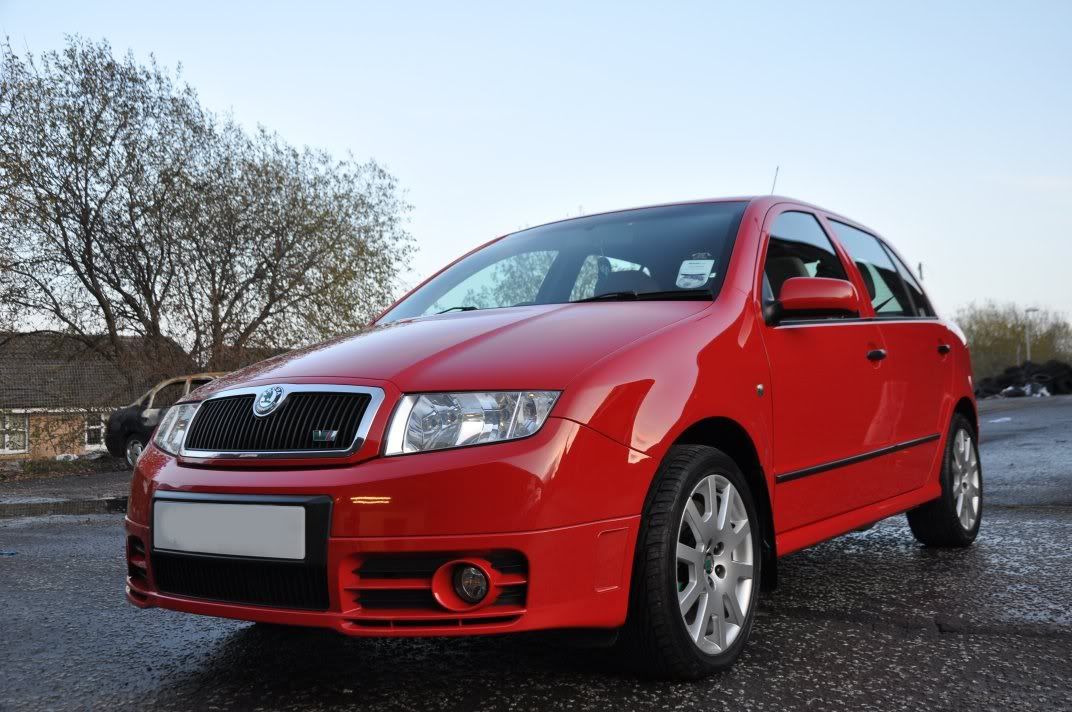
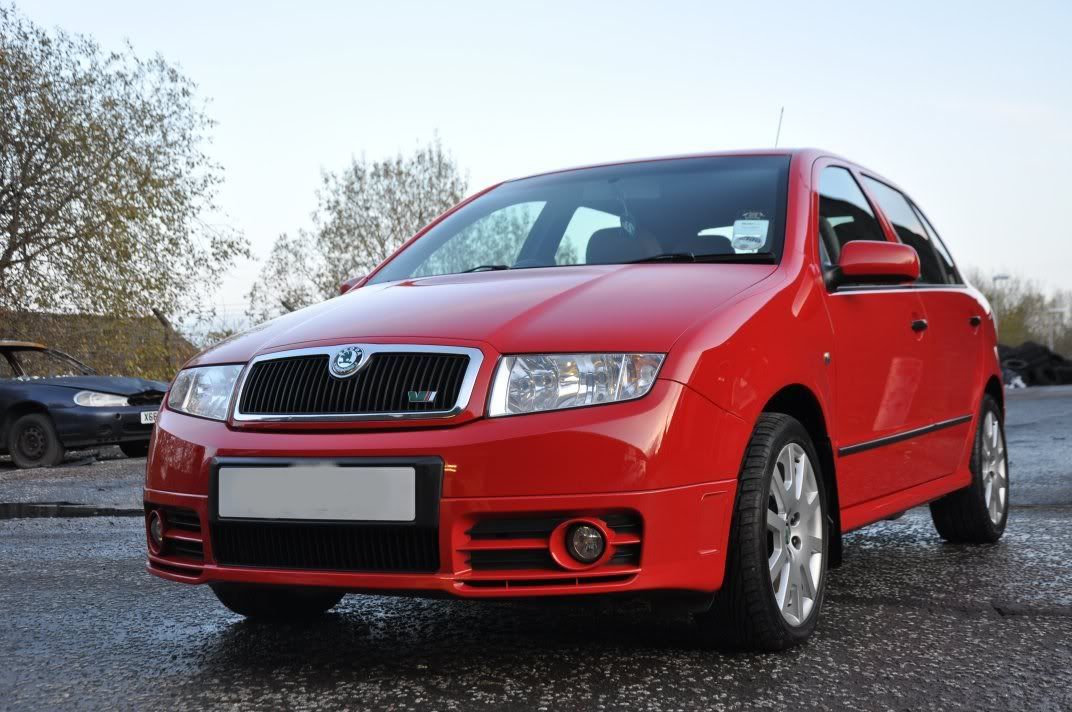
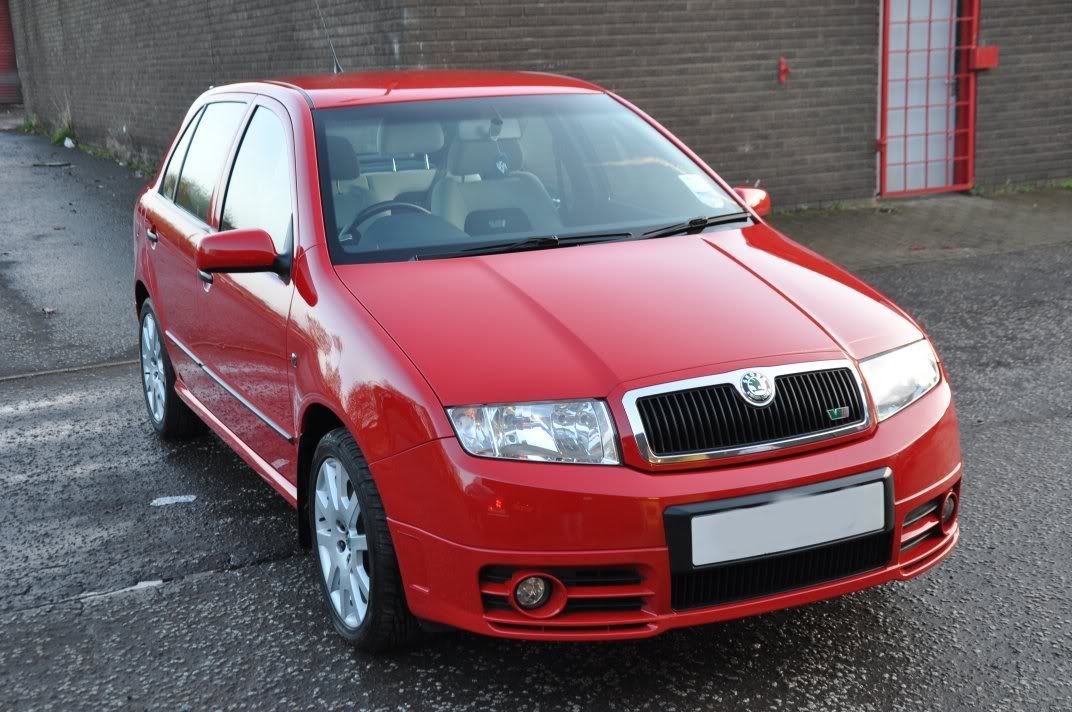
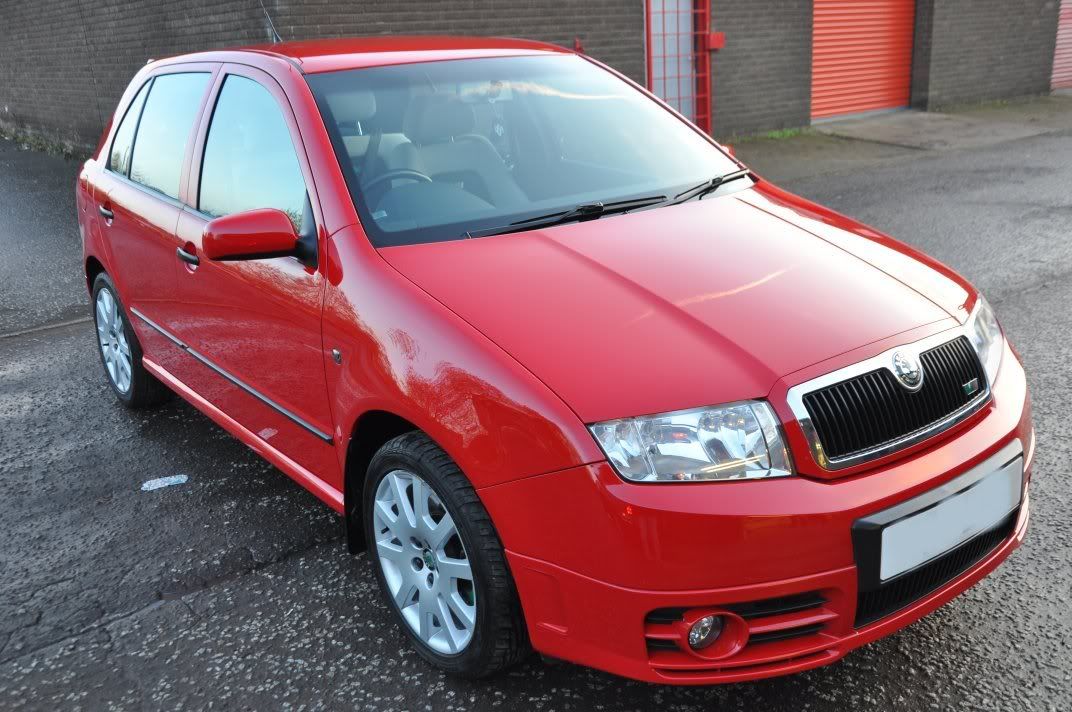
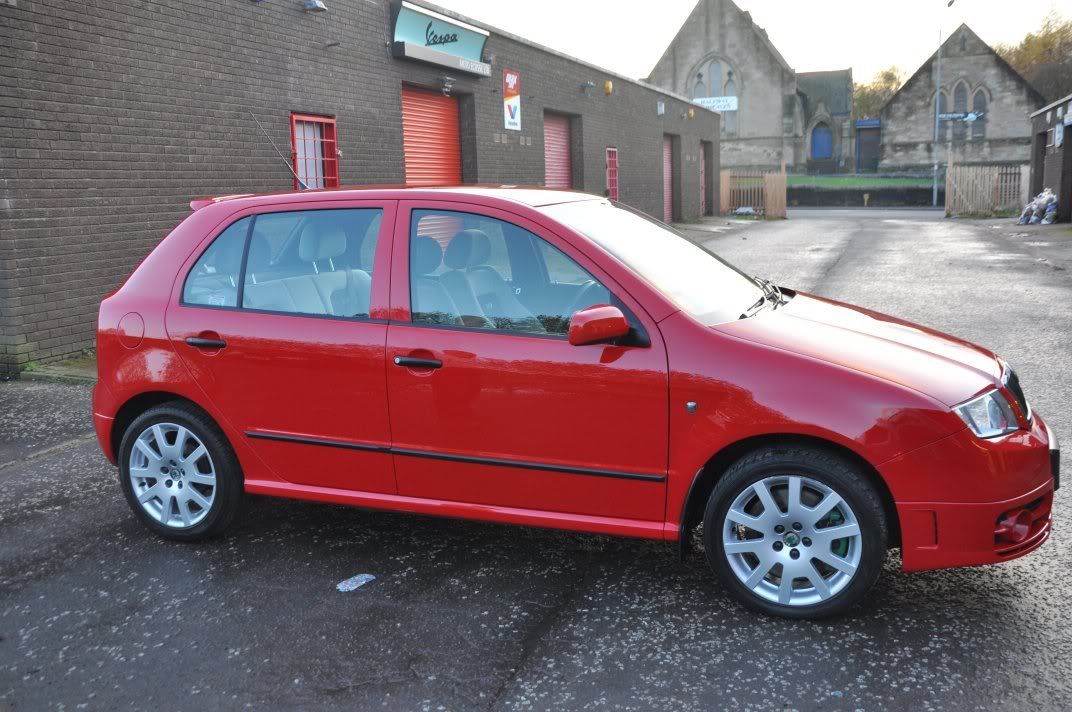
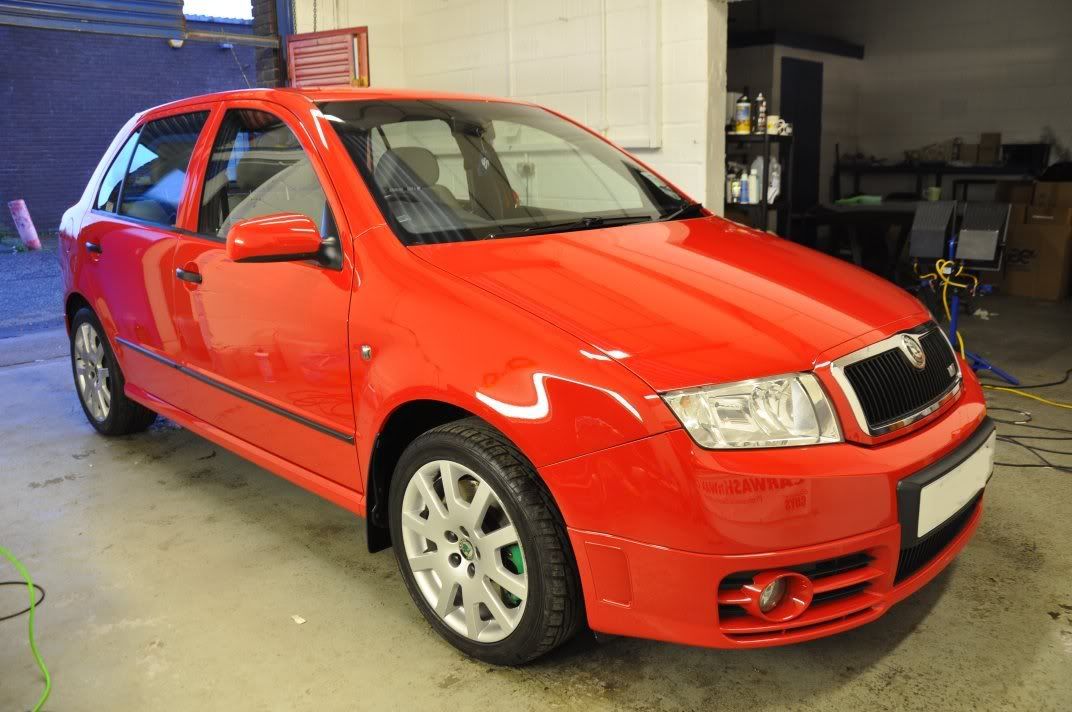
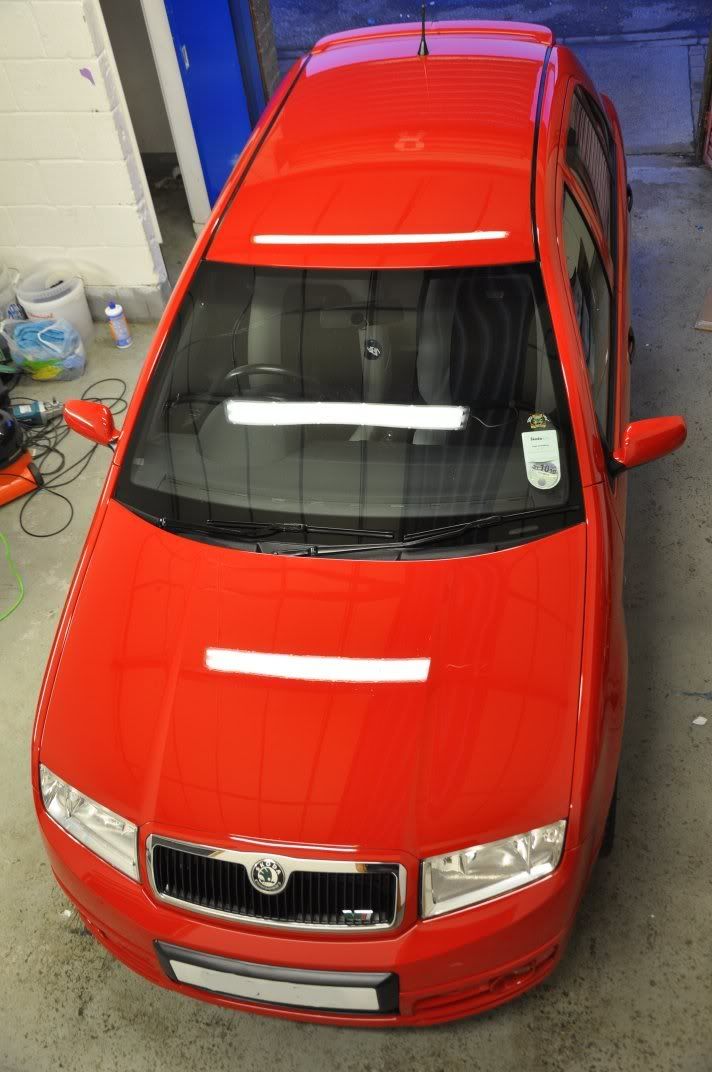
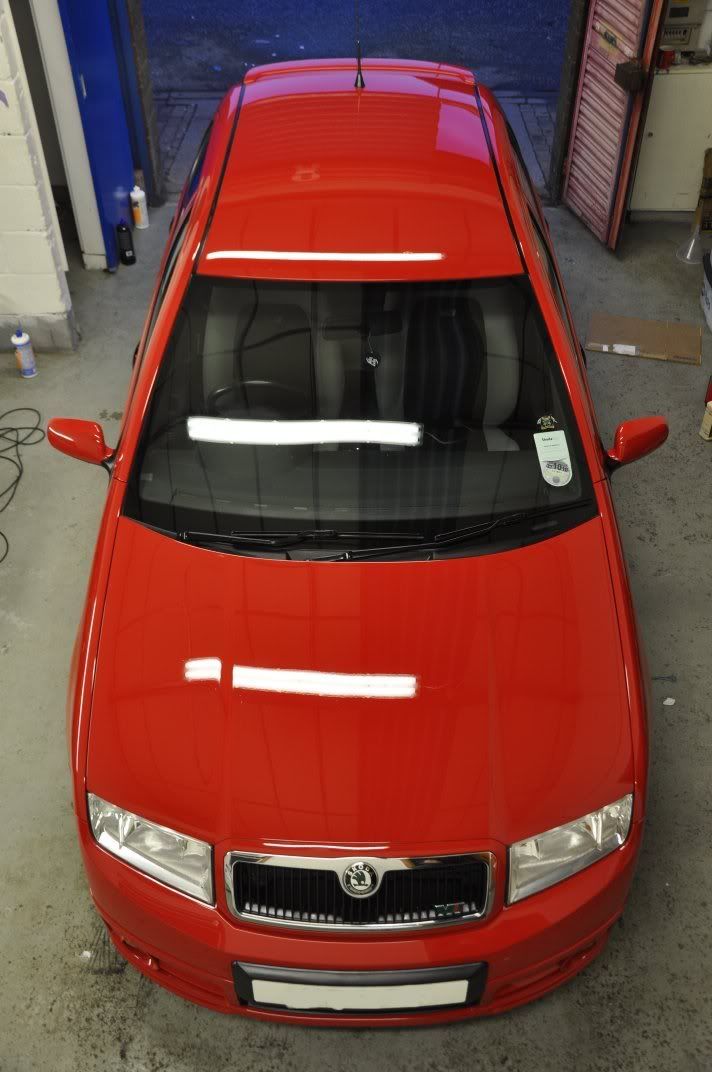
The car was then rolled outside for some natural light after shots...

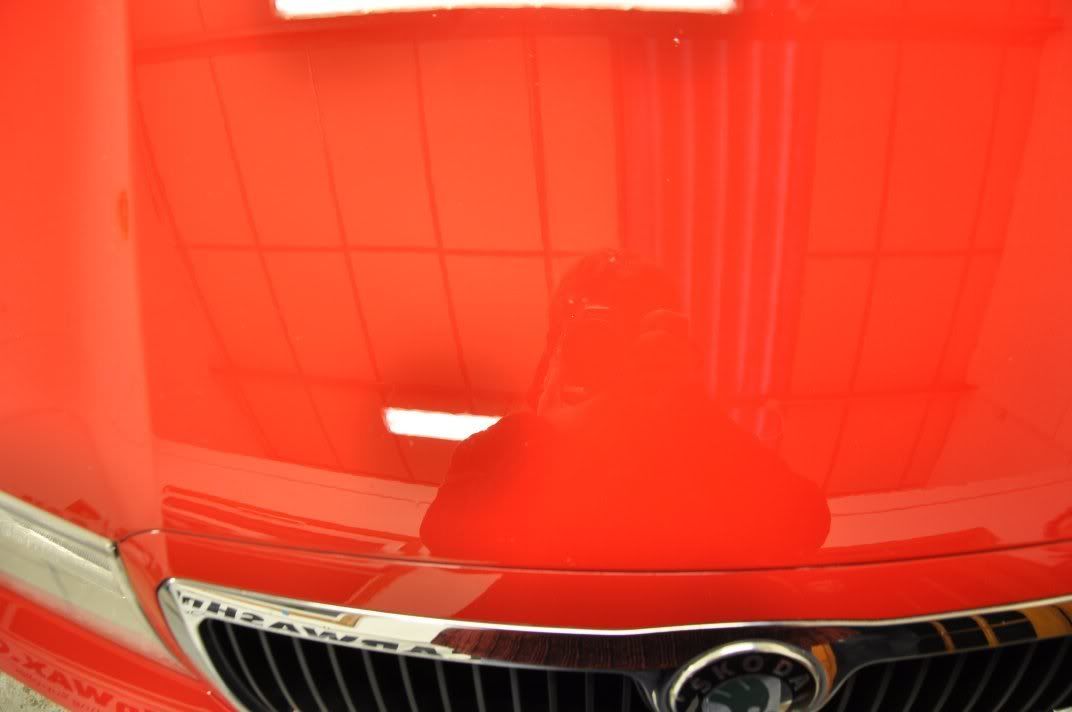
Stone chips be gone
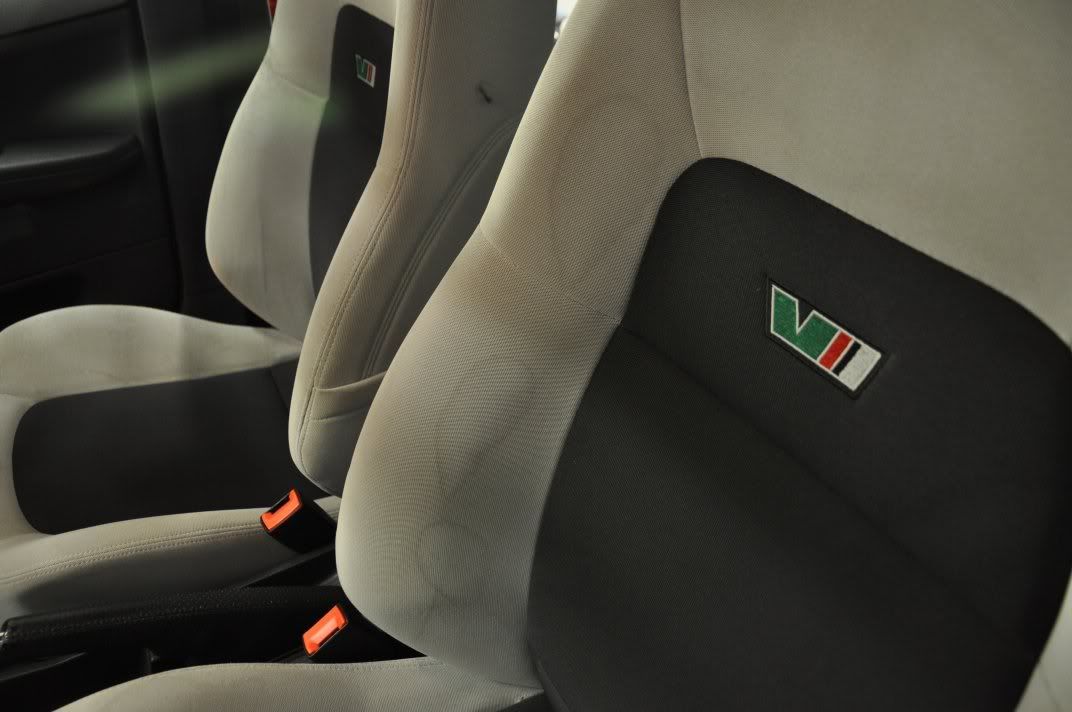
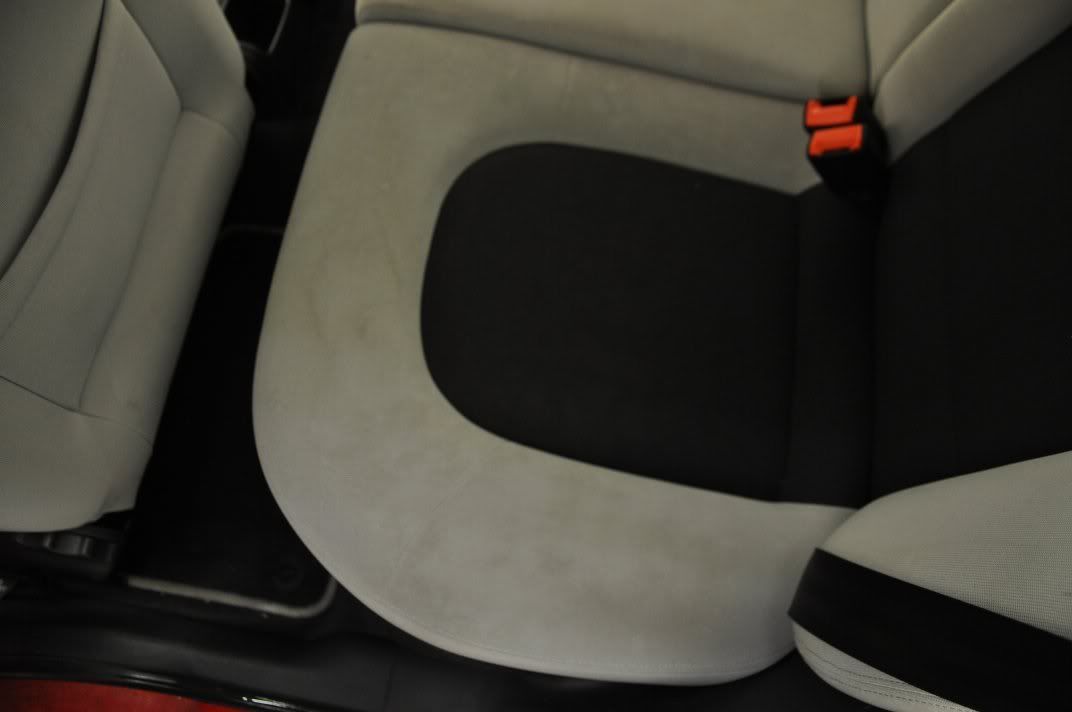
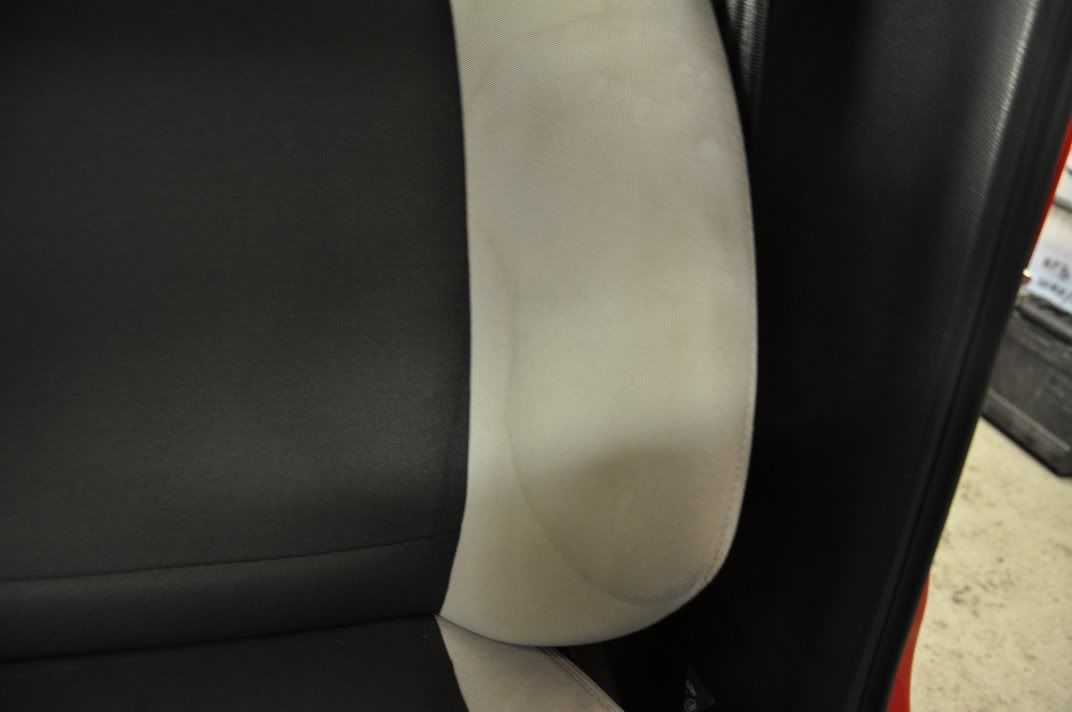
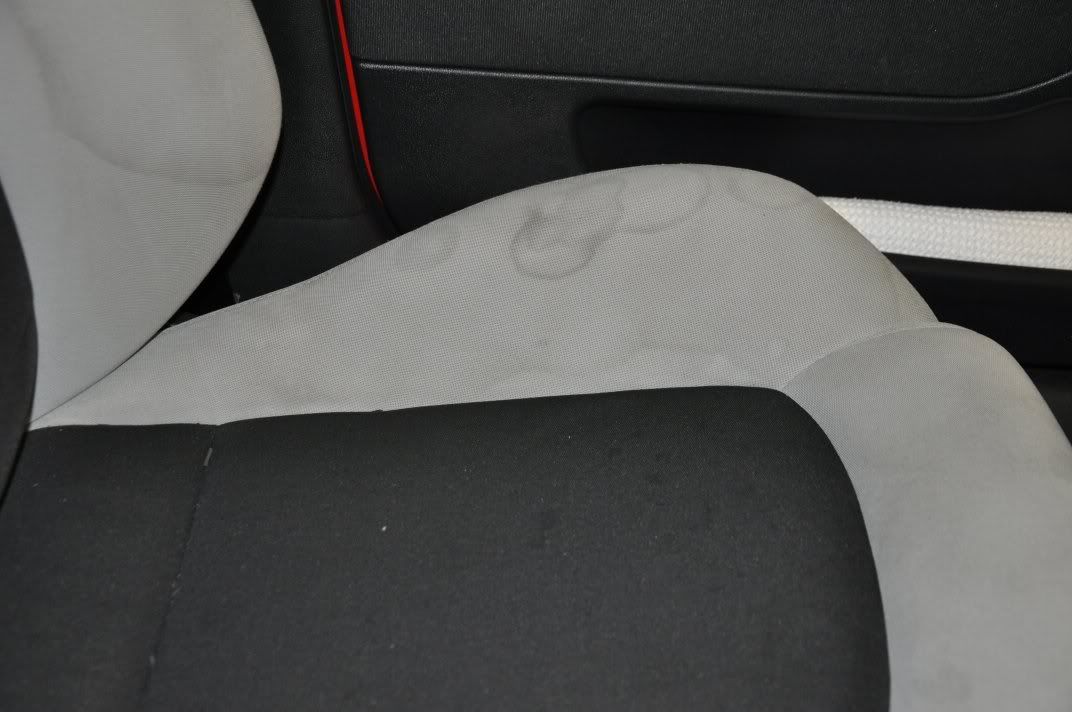
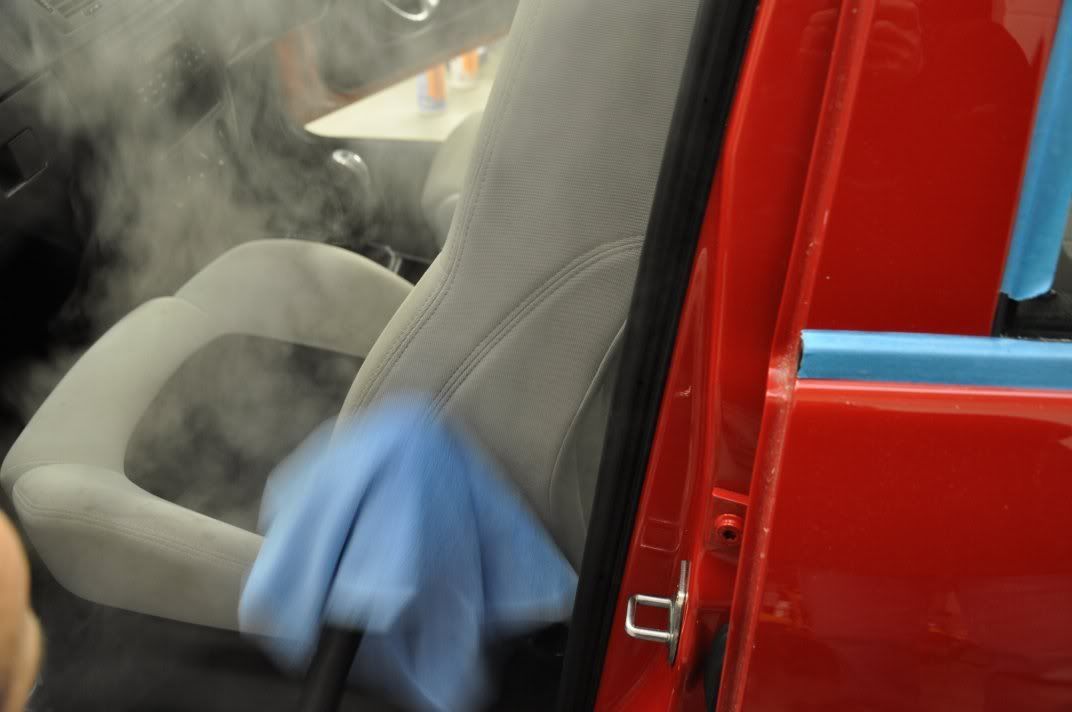
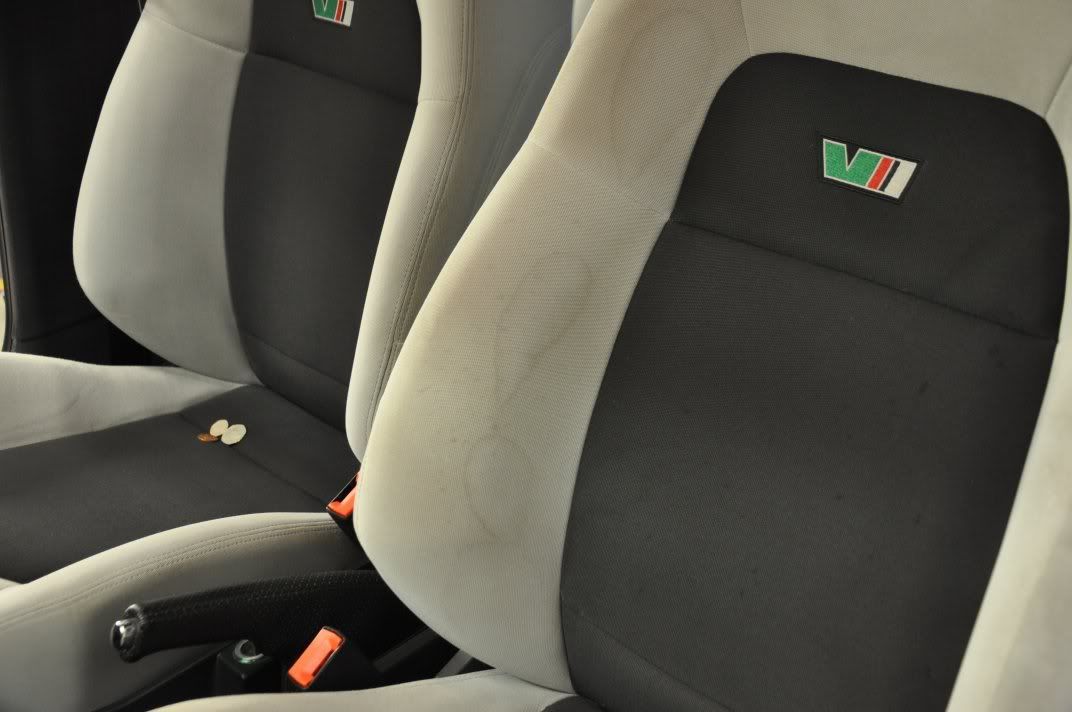
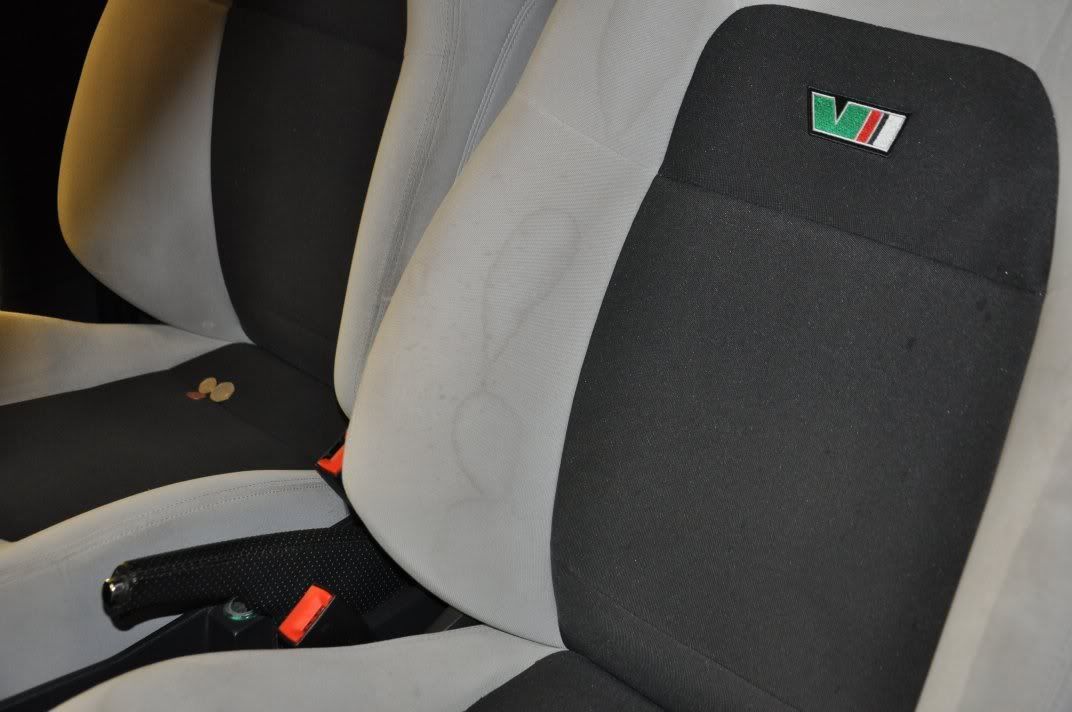
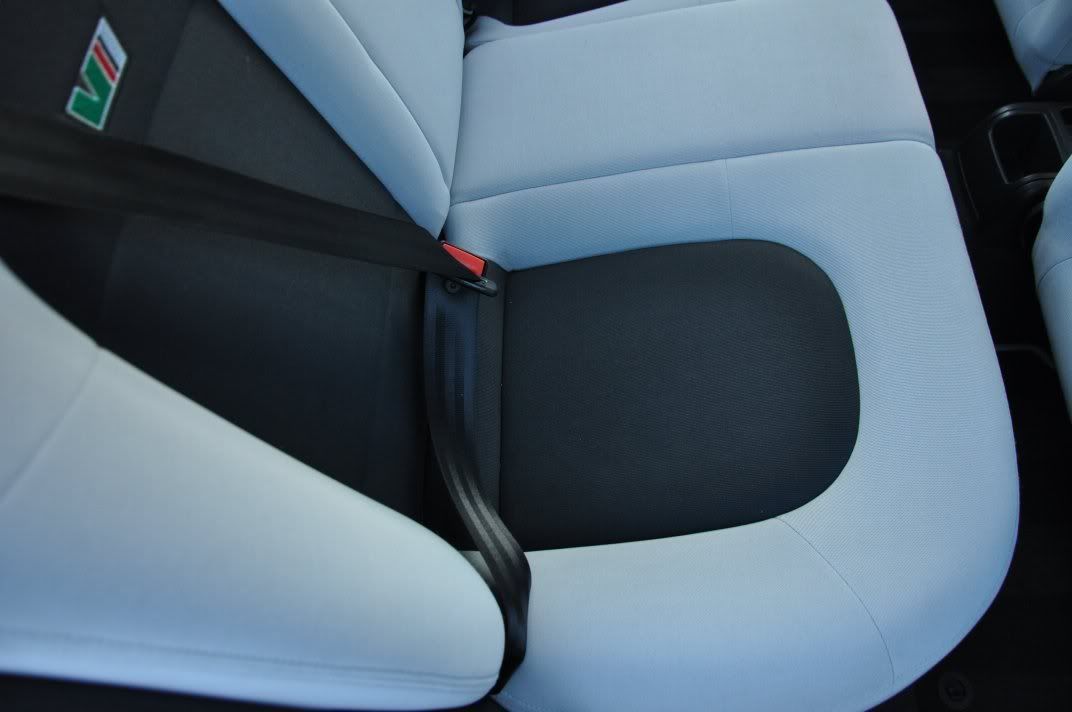
Normally at this stage, that would be the end of the writeup... but this is just the half way point (so make another cuppa) ... As the interior on this car was also cleaned, using the steam cleaner. The interior before was not too bad for general dust and dirt, but the staining on the upholstery was a bit awful!:
A quick 50/50 of the effects of the steam cleaner and some APC...
The befores... (with the 50/50 as well)

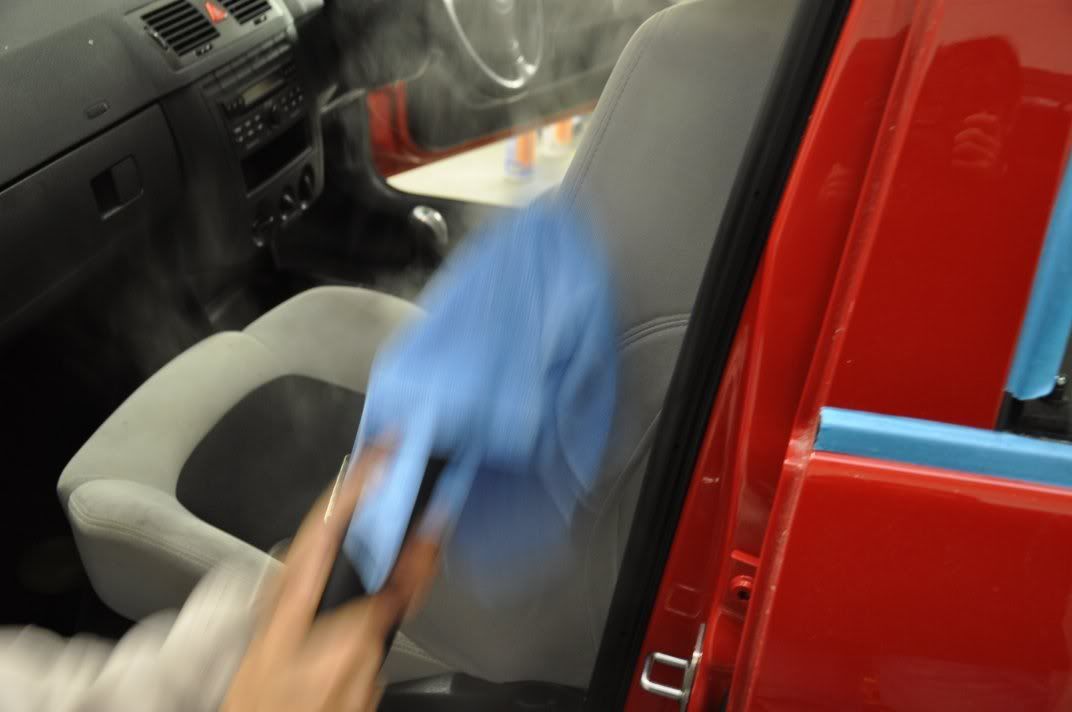
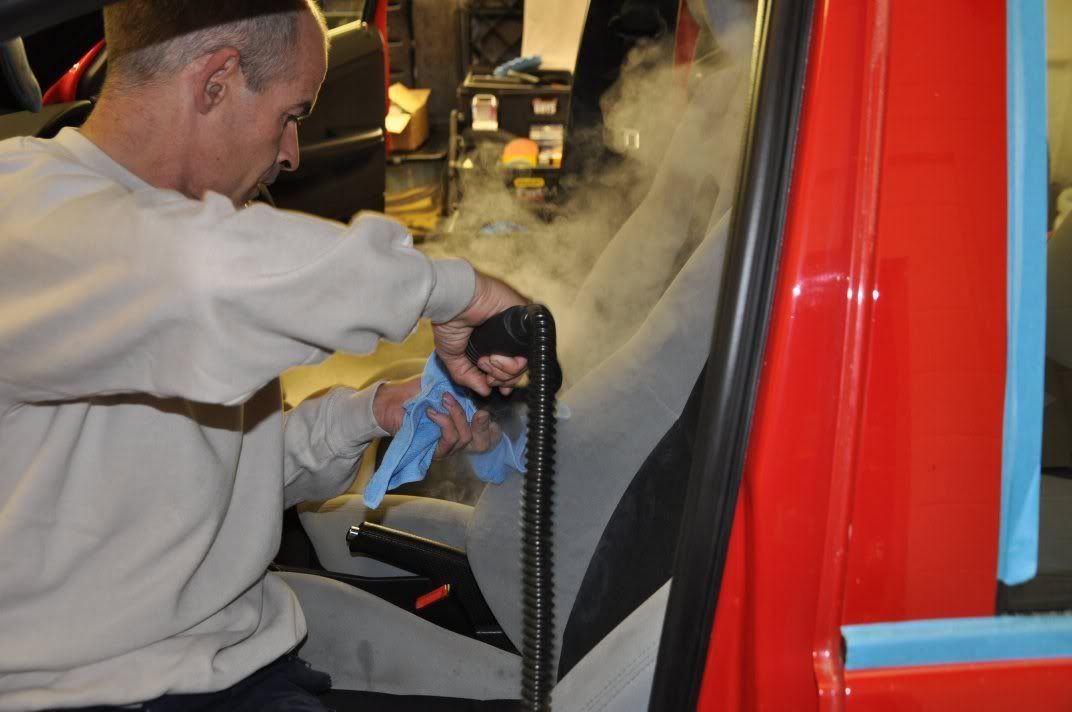
The interior cleaning involved the use of the steam cleaner... which naturally led to some amusing photographs...
Steam cleaning in progress....
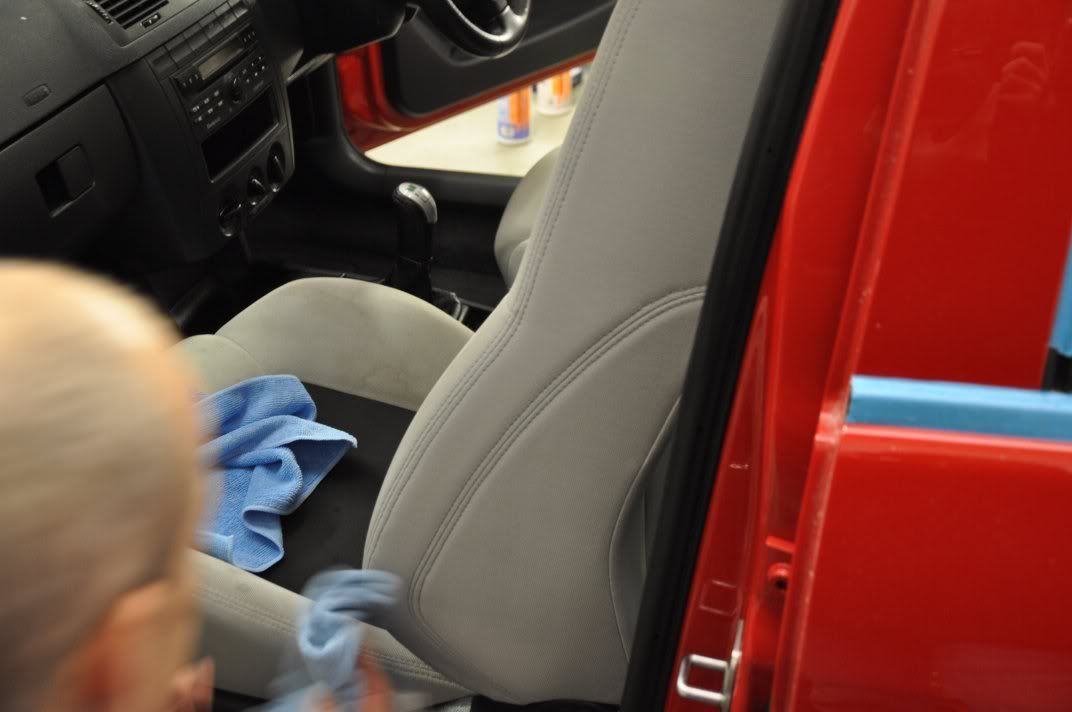
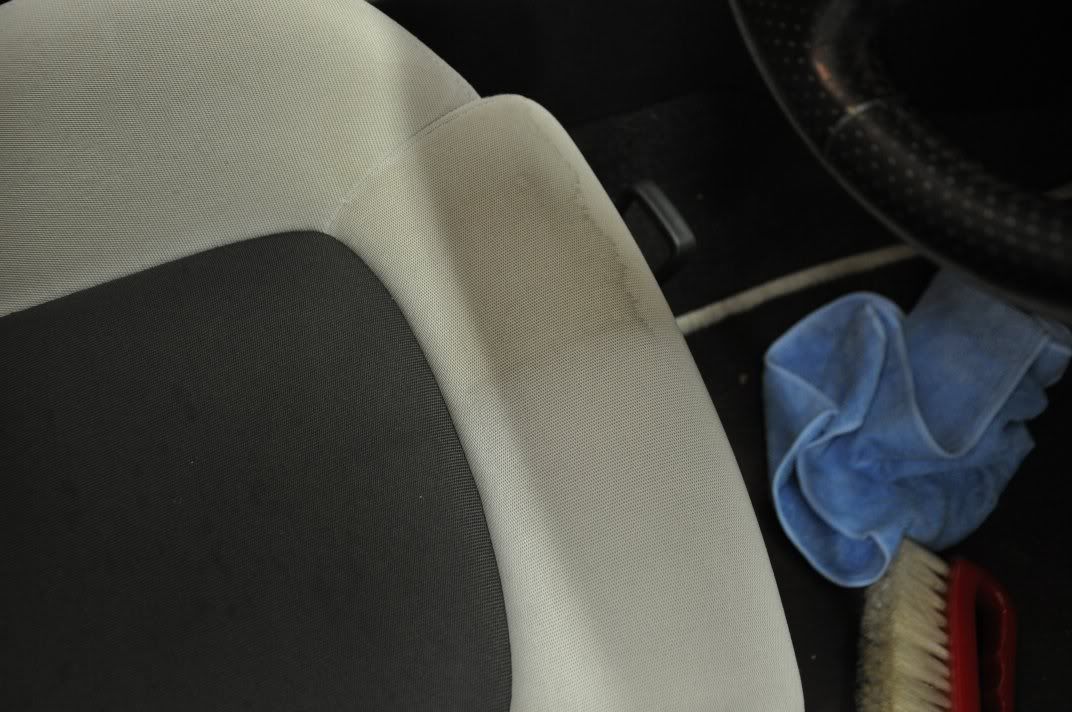
Before shot of seat bolster:
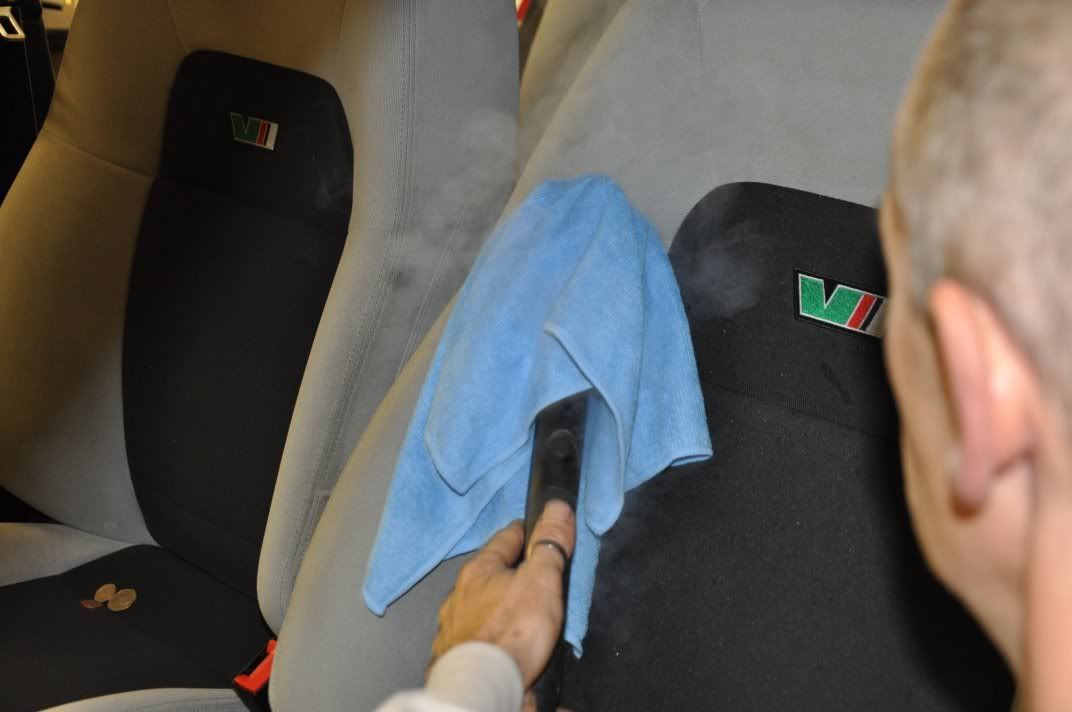
For the seats, All Purpose Cleaner was sprayed onto the fabric...

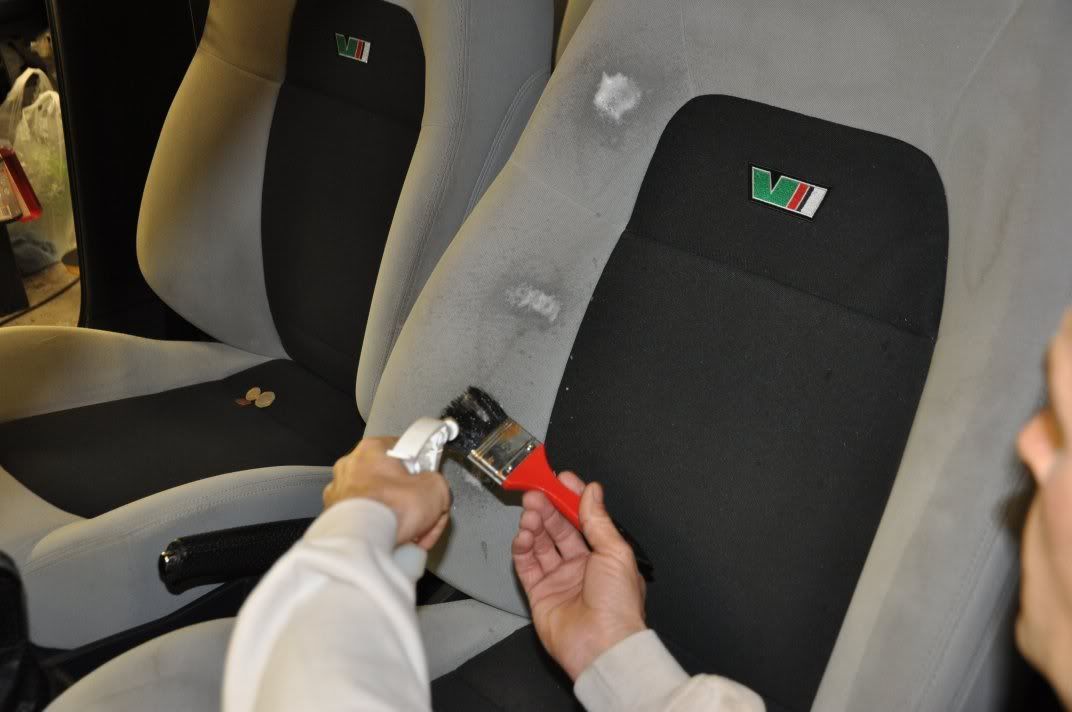
Agitated with a brush...
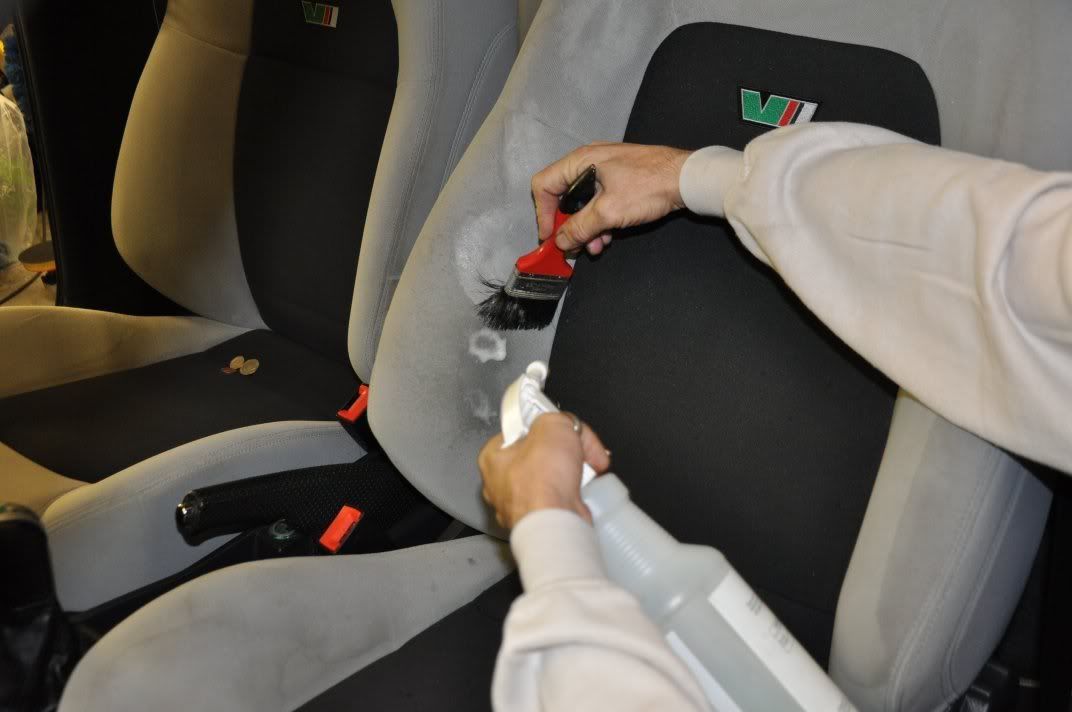
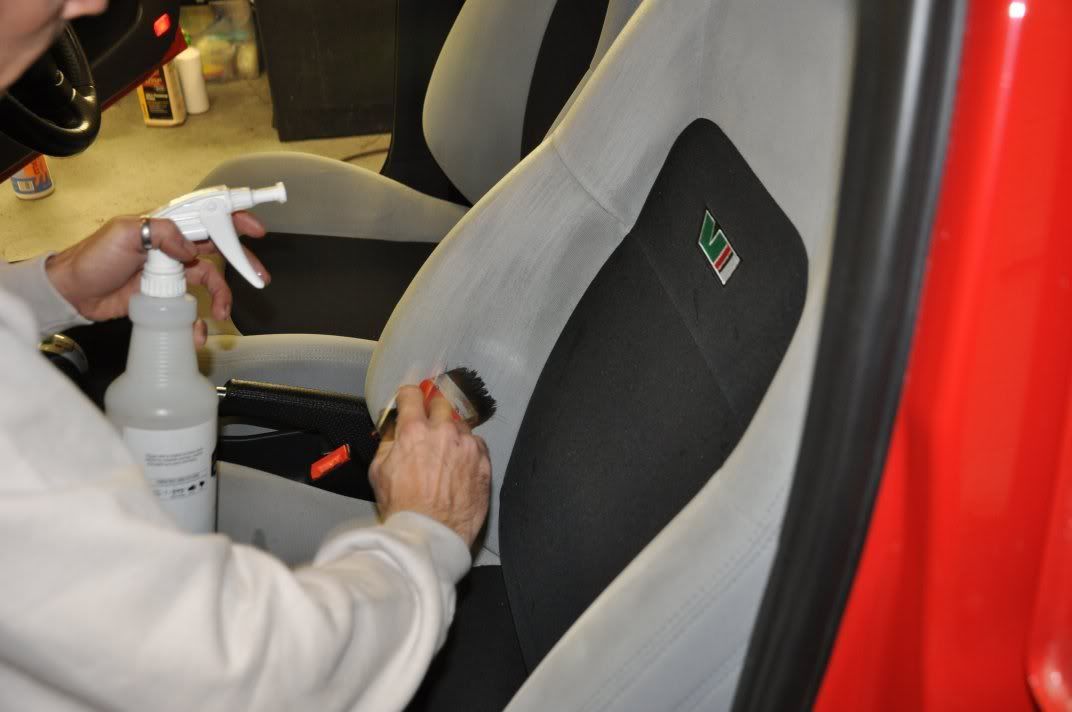
The steam cleaner was then used to remove the APC foam, and clean the seat...
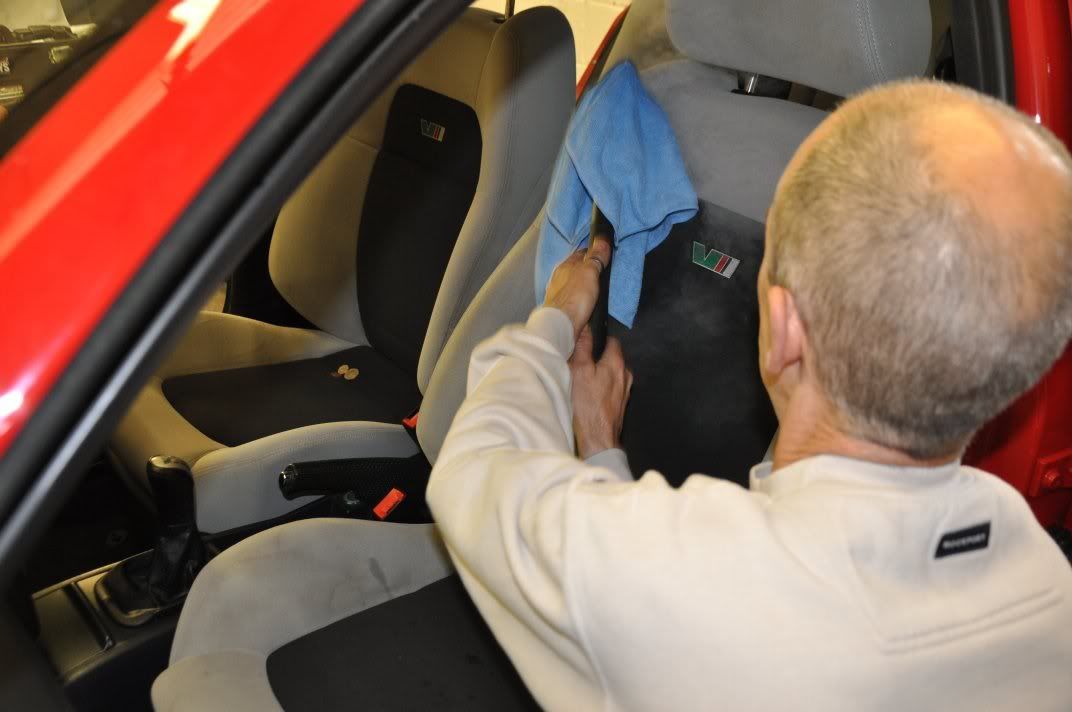
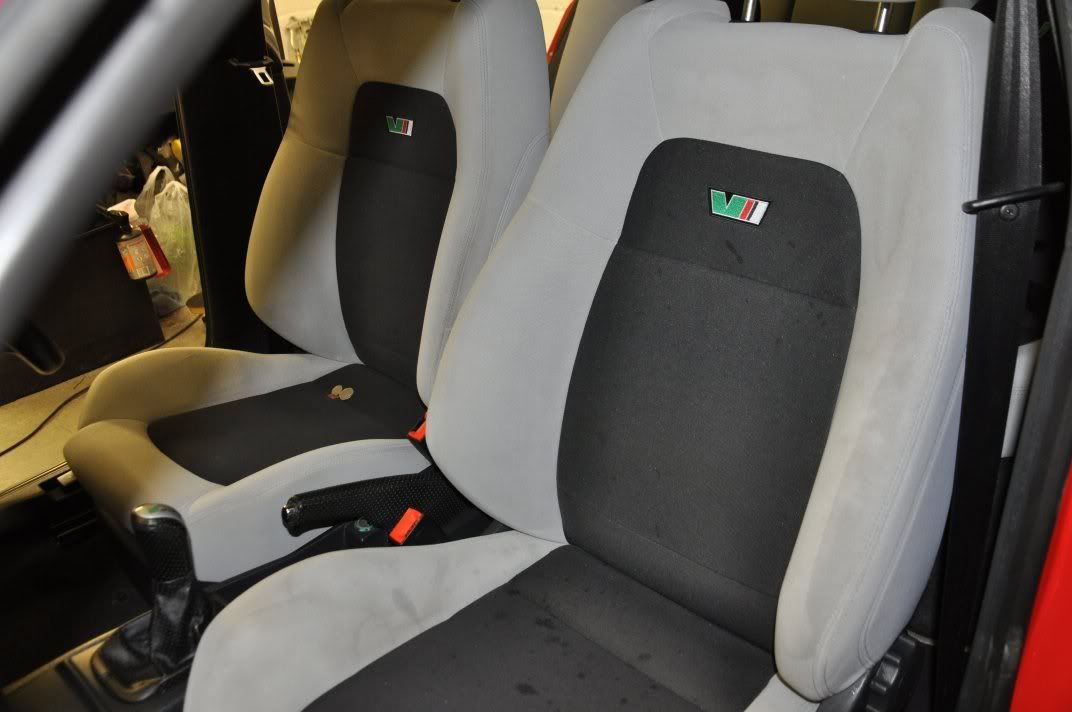
The end result...

The same process was also used on the mats. The steam cleaner here was showing itself to be very practical and capable – effective like a wet vac, but the interior was dryer far faster and if anything the results were a little better than we have seen from a wet vac / extractor.
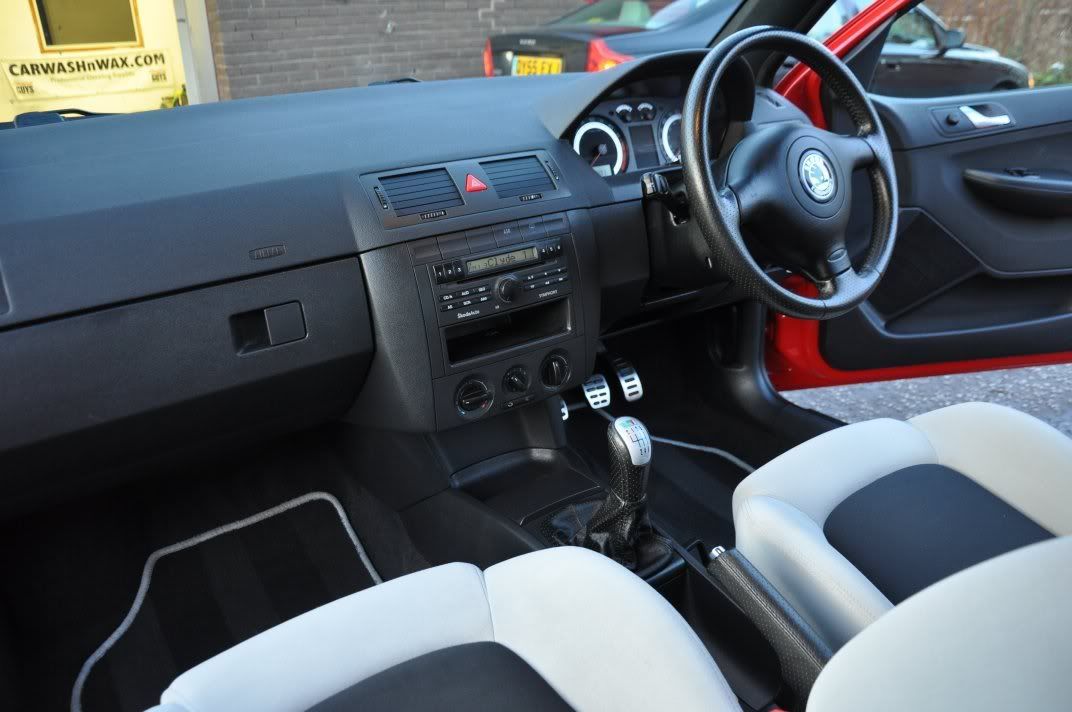
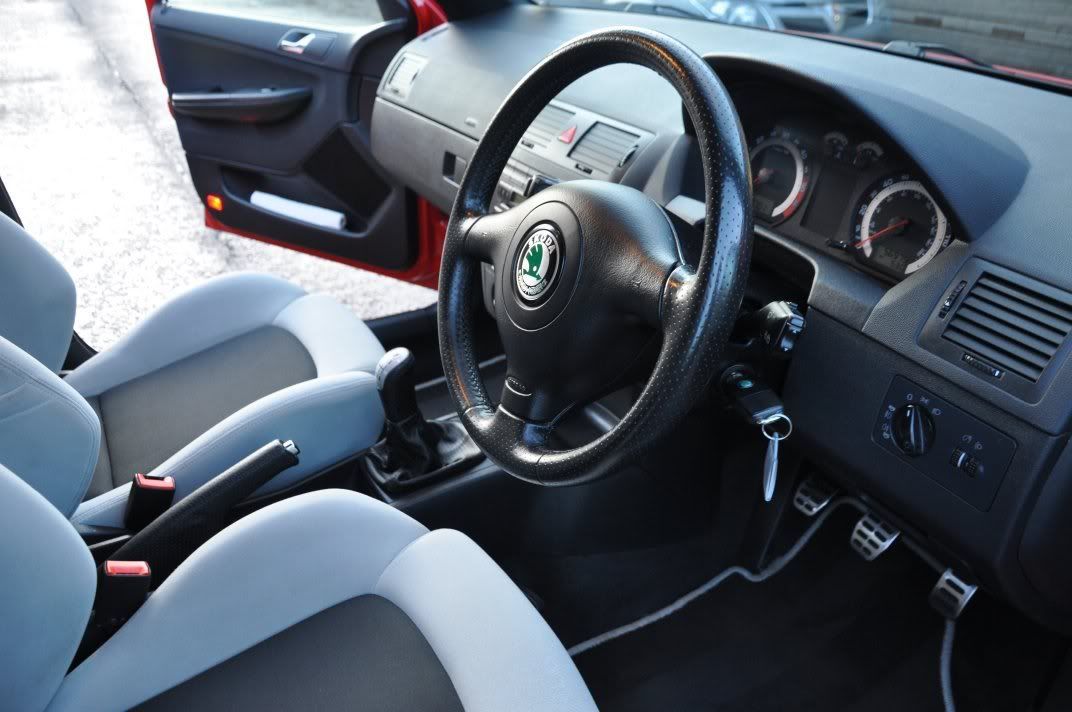
Interior plastics cleaned and dressed using Poorboys Natural Look which helped remove a shiny look originally on the trim.. I like Natural Look for its clean, matt finish.
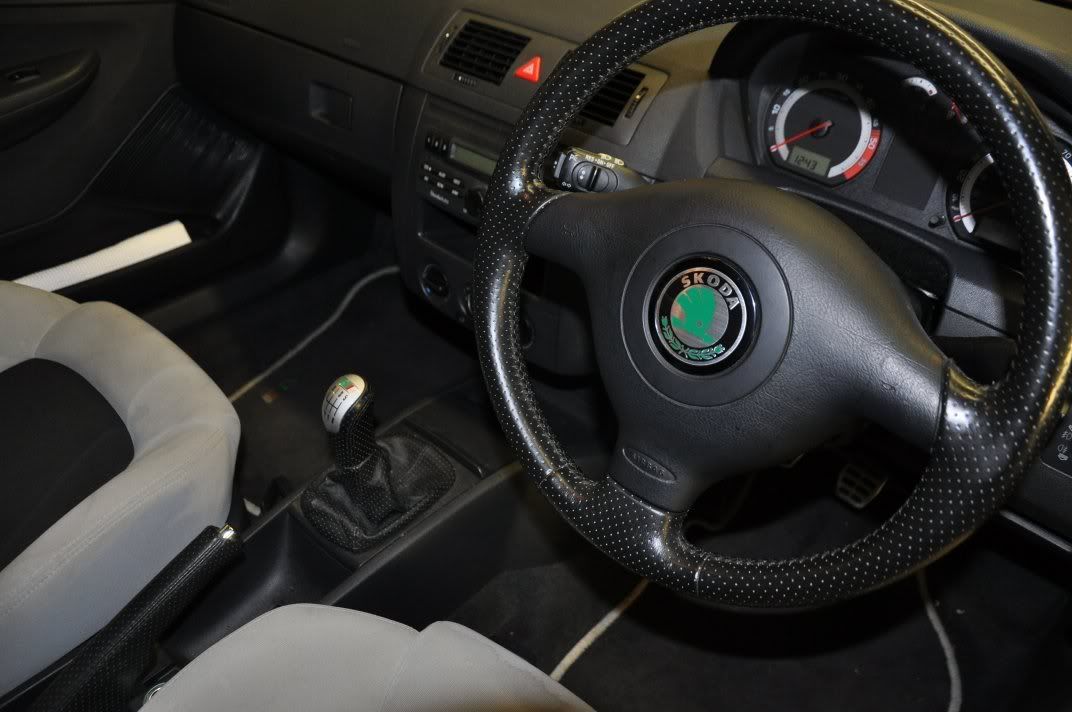
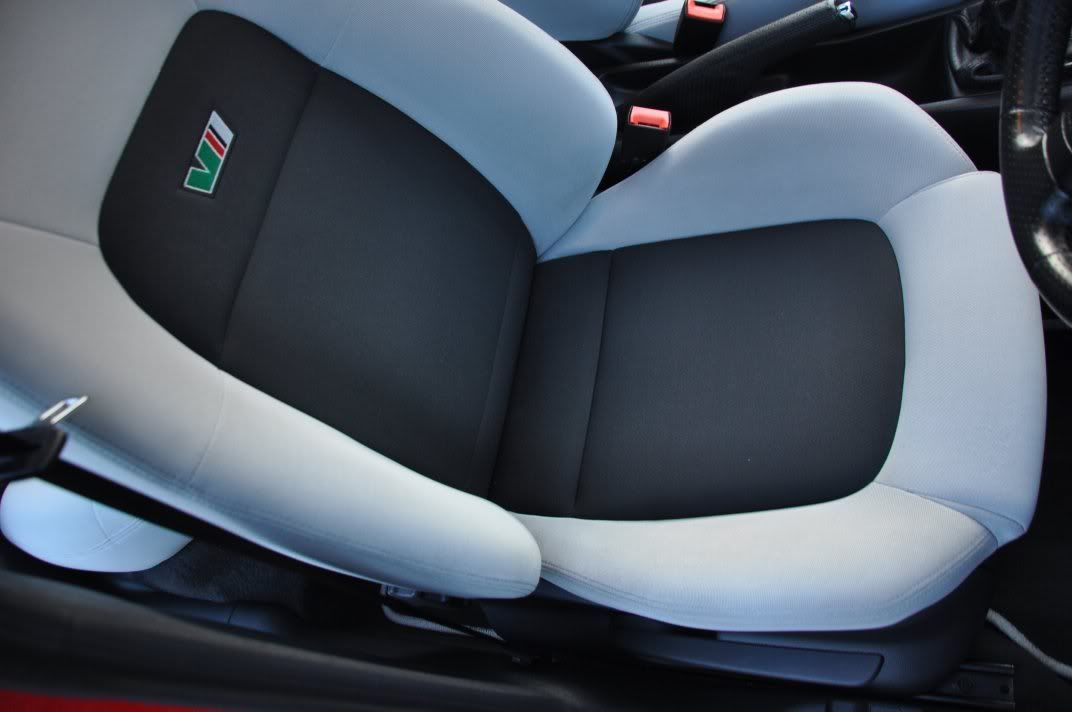
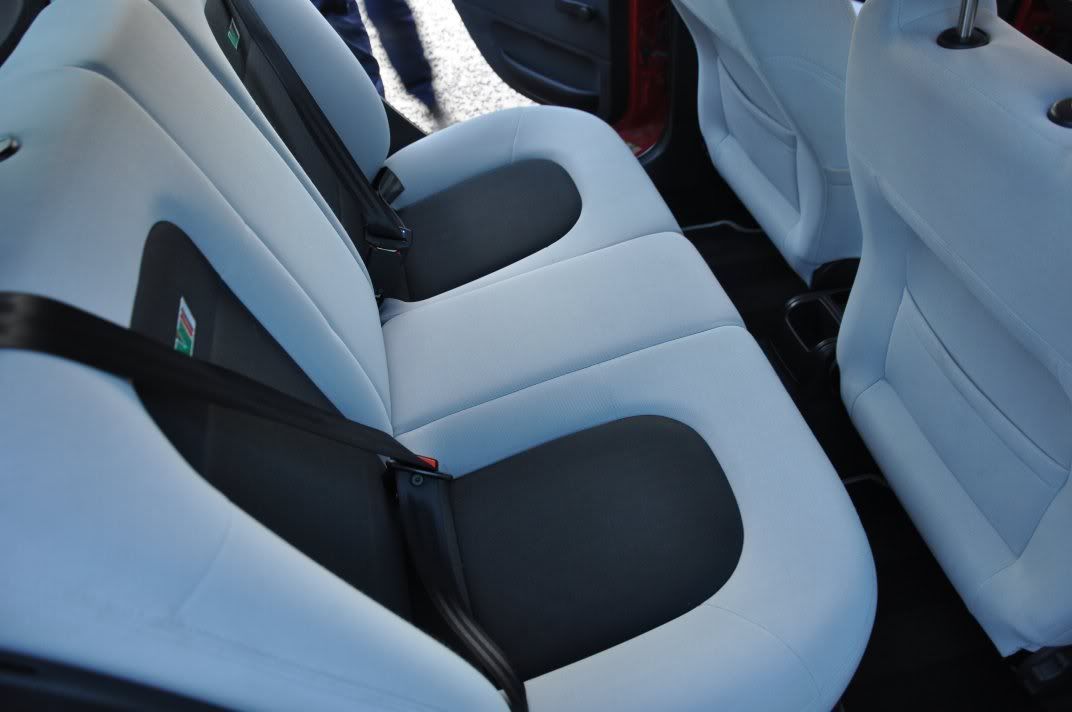
The end results on the interior:
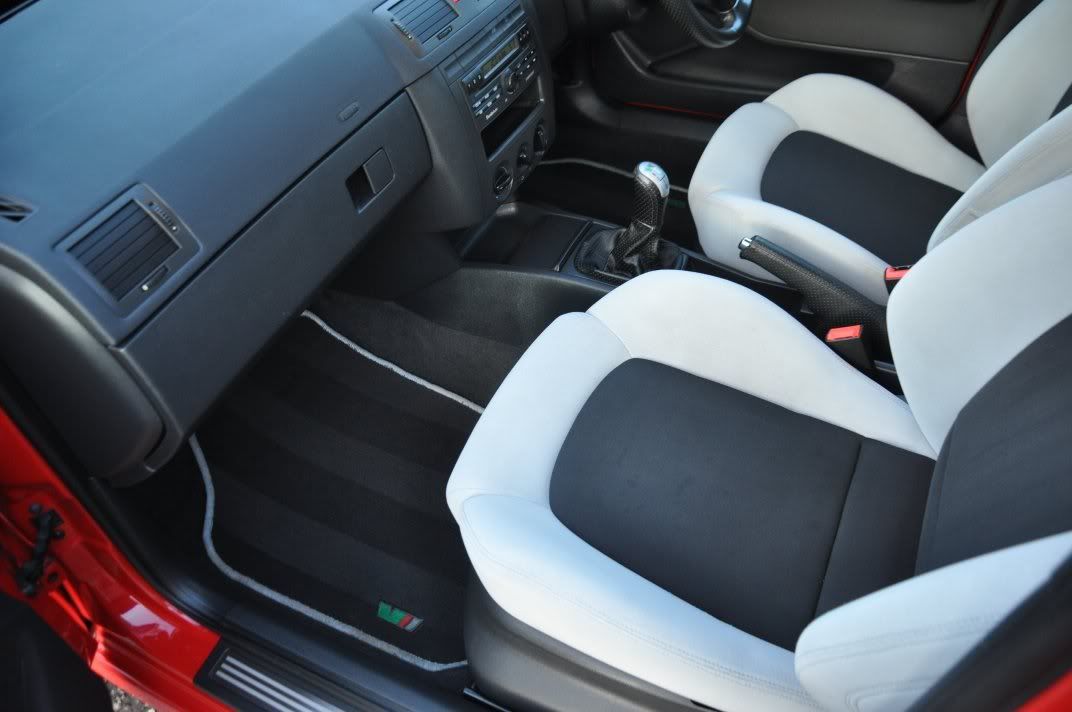
And to round off, some final afters inside the unit...


A long writeup this one, but there was a lot of work went into this car both inside and out so we thought it warranted the number of pics and detail Hope you enjoyed it.
Next writeup...
The car was booked in for an exterior paint correction, including stone chip repair on the bonnet, and interior steam clean to get rid of some severe staining on the light fabric upholstery. It was great to have Ally back again after the detail we did on his Focus RS As part of the day, Ally spent some time learning the DA polisher on a scrap panel and then his own car to get familiar with the machine he had bought for future spruce ups of the car months, and years down the line.The car arrived looking reasonably grimy...
Ally’s mate had rather usefully left us a key instruction incase we forgot...
The wheels were nicely coated in brake dust...
The car was washed indoors, with the bodywork being washed using Optimum No Rinse. You’ll probably be noticing this is featuring a lot more in our detailing of late, primarily because of the practicalities – its very easy to use, it is safe to use with the correct technique, and there is no run-off from the product. Two cap fulls in three gallons of water, one in a rinsing bucket and away you go... Light to no pressure, short distance passes to clean the paintwork...
Rinse sponge thoroughly, and the wash bucket should remain as clean as at the start. Follow the sponge stage with wiping with a drying towel...
And the car is washed with no need to rinse. Very practical where skooshing large amounts of water around is not practical!
The wheels on this car were cleaned using the steam cleaner... ONR could be used here too but we find the steam cleaner and brushes more effective, especially for wheel insides. We used Diablo Gel Wheel Cleaner (Chemical Guys) – this is a product we have been testing for a while now and we are getting to be really pleased with it... it sticks and clings to the wheel rather than running off, which allows us to use less and have less wastage – waste not, want not
Very effective cleaning too, I’d say on a par with Bilberry but from less product courtesy of its ability to cling. Just a couple of trigger pulls per wheel, one into the brush and agitate the wheels, using steam to clean and “rinse” off...Et voila...
Panel gaps and shuts were cleaned with APC, and wiped down with ONR...
Once the car was washed, the bodywork was clayed...
As were the wheels, which help removed a little stubborn tar spots and pitting...
The car was then ready for paintwork correction. This was carried out by diving the car into two main sections – the bonnet and the rest! The bonnet was singled out for stone chip repair which required a little painting, so correction here left until after the rest of the car. General before shots across the rest of the car...
Rear ¾ looked like it had been machine polished before, being notably less severe swirls...
Back to normal on the boot...
Regions of the passenger side were showing evidence of previous machine polishing too... note the swirls are not severe but what you can see are lots of finer circular scratches indicative of unbroken down abrasives – this is typical of DA micromarring and is caused by too large a work area or too short a work time...
On the bonnet, the owner was complaining of stone chips...
Skoda paint readied...
And Gordon set about filling the chips with an artist’s brush. The key here was very thin layers, and build these layers up rather than filling the chip in one go. Build layers until the repair sits proud of the paintwork where it can then be flatted back to blend...
Ready to be flatted...
Flatting... Using P2000 wetsand (paper and block as foam disks can mould round the repair rather than effectively flat back) to flat, with absolutely minimal pressure. Pressure and sanding can result in deep sanding marks which are impossible to remove. During the flatting...
P4000 was then used to refine the sanding pattern, and this was then polished out using Menzerna PO85RD3.02 Intensive Polish on a Chemical Guys Hexlogic white polishing pad. While this removed the hazing, there still remained some RDS which the sanding has also not removed so we opted for 3M Fast Cut on a yellow Hexlogic Compounding pad in the end to combine removing the sanding haze with knocking back the much deeper RDS as well. The end results of the correction process on the bonnet...
Checking under the 3M Sun Gun also for machine finish quality, and checking for stone chips as well (remaining ones would show as little dots in the light)...
For correction across the rest of the car, we assessed the paint thicknesses (pointing to full respray) and then worked through the polish and pad combinations from least aggressive first... We settled on Menzerna PO85RD3.02 on a Chemical Guys white Hexlogic pad...
For the majority of the correction stage. This pad has a little more bite than the 3M Yellow which came in handy when used with a regenerating technique to maximise the cut from the Intensive Polish without having to go to more severe compounds. The product was applied as follows:
1) Spread the polish at 600rpm.
2) Begin to work the polish at 900rpm, building a little heat in the panel to spread the residue evenly. Being a waxy lubricant the polish benefits from a little heat to evenly spread it out.
3) Work the polish at 1500 – 1800rpm with moderate pressure and steady sweeping movements of the rotary. The machine should glide over the panel, if not, return to lower speeds and coax the polish. The polish was worked until residue went clear.
4) Speed reduced to 1200rpm, and pressure lightened for a couple of passes and the residue came back and panel cooled a little.
5) Return to work speed of circa 1800rpm and work until residue clear again.
6) Reduce speed to 1200rpm to refine the finish.
Each set takes roughly five minutes but for us represents a more controlled way of removing paint as it was achieving the maximum correction desired with the minimum removed paint. Hitting it with 3M Fast Cut would have acheived faster correction but in a less controlled manner in the respect of removal rates – I’m never in a hurry so a little extra time doesn’t bother me
On regions with very deep RDS, such as the bonnet, Fast Cut was used where a removal of notably more paint was required.The finish was then refined using Meguiars #205 on a black Chemical Guys Hexlogic finishing pad...
Using a Double Zenith technique where the speed and pressure were raised and reduced in unison.
Another key factor when machine polishing is that no region is missed out... The sills before, for example, covered in swirls:
During...
And after...
After shots across the rest of the car – following correction and refining:
The beauty of the two day detail was that we were able to roll the car out into the sunlight to see the quality of the machine finish in natural daylight
And then roll the car back in to finish off... The paintwork was protected using Collinite 476S wax for its durability. Glass was cleaned inside and out and then sealed with Carlack Glass Sealant. Wheels protected with FK1000P, tyres dressed with Espuma RD50. Plastics were treated with Chemical Guys New Look Trim Gel, and the arches with Silkshine. Exhaust with the new Zeppelin metal polishes – the restorer and the custom metal polish.
The car was then rolled outside for some natural light after shots...
Stone chips be gone
Normally at this stage, that would be the end of the writeup... but this is just the half way point (so make another cuppa
) ... As the interior on this car was also cleaned, using the steam cleaner. The interior before was not too bad for general dust and dirt, but the staining on the upholstery was a bit awful!:A quick 50/50 of the effects of the steam cleaner and some APC...
The befores... (with the 50/50 as well
)The interior cleaning involved the use of the steam cleaner... which naturally led to some amusing photographs...
Steam cleaning in progress....
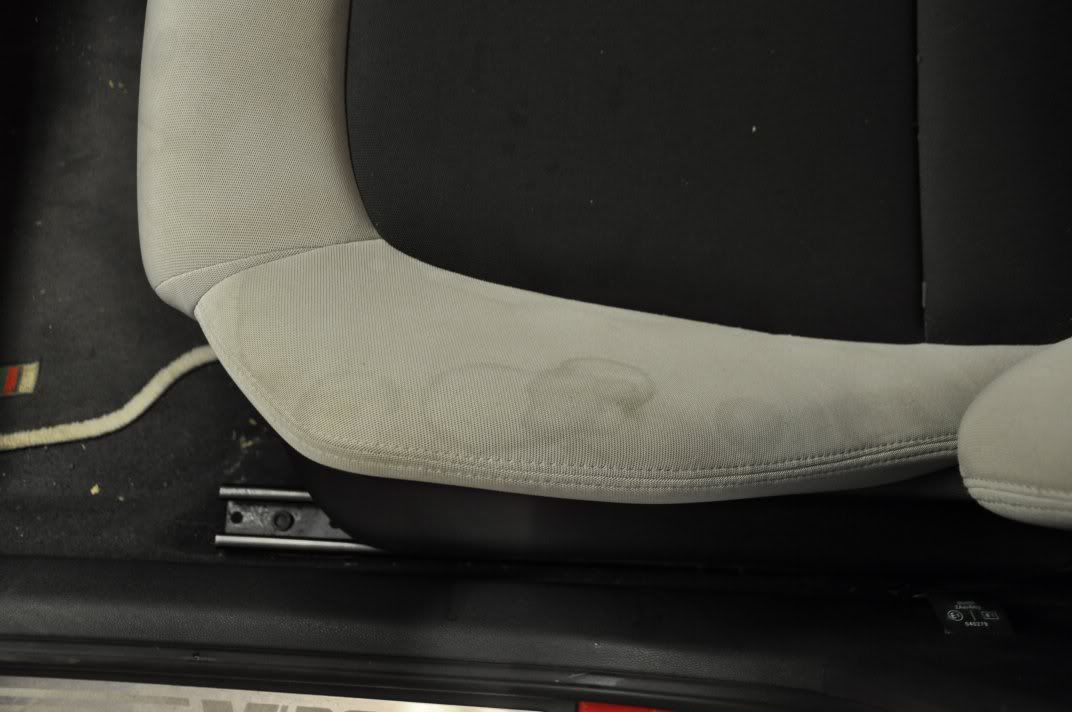
Before shot of seat bolster:
For the seats, All Purpose Cleaner was sprayed onto the fabric...
Agitated with a brush...
The steam cleaner was then used to remove the APC foam, and clean the seat...
The end result...
The same process was also used on the mats. The steam cleaner here was showing itself to be very practical and capable – effective like a wet vac, but the interior was dryer far faster and if anything the results were a little better than we have seen from a wet vac / extractor.
Interior plastics cleaned and dressed using Poorboys Natural Look which helped remove a shiny look originally on the trim.. I like Natural Look for its clean, matt finish.
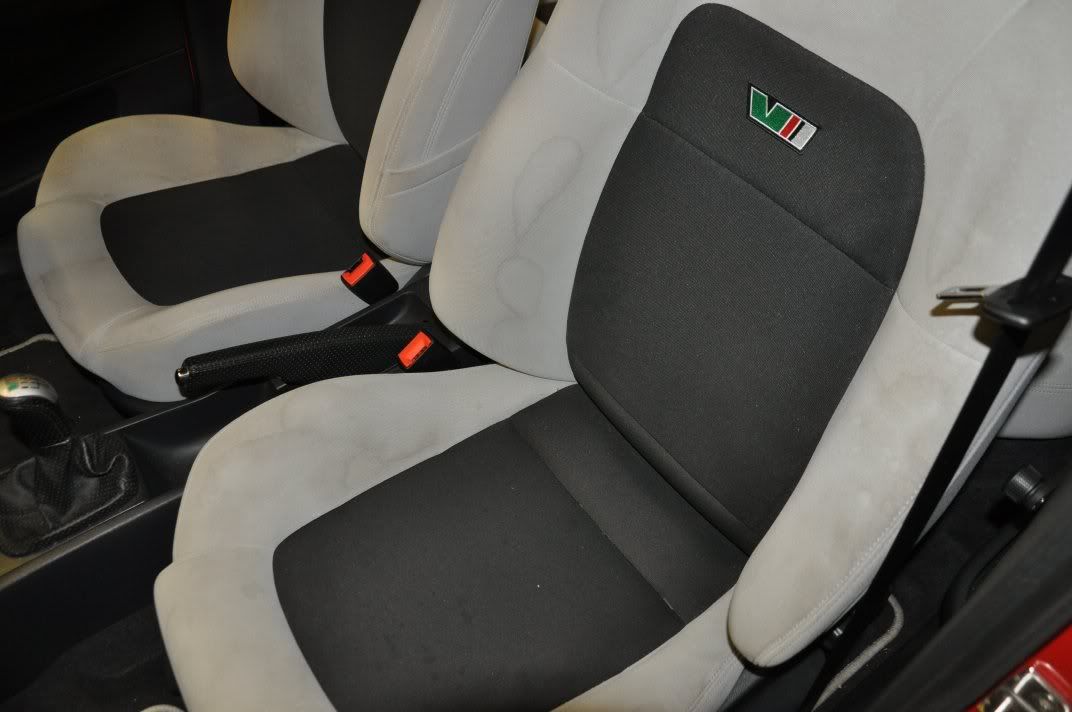
The end results on the interior:
And to round off, some final afters inside the unit...
A long writeup this one, but there was a lot of work went into this car both inside and out so we thought it warranted the number of pics and detail
Hope you enjoyed it.Next writeup...


Comment