

 Tweet
Tweet
Yesterday's detail, for myself and Gordon, was a brand new (just off the transporter a couple of days ago) Vauxhall VXR8. The dealer has done some light prep work on the car previously, but the point of this detail was to ensure that the car was looking its best and as a new car should look, and get it to a stage where the owner can maintain his pride and joy and keep it looking its best.
This will be a shorter writeup then normal from me, as we were a man down (lazy Davy was sunning himself at Edition 38, so we had to polish the bumpers ourselves :p:lol::lol and on such a big car, there was less focus on photographs - got as many as I could to show off the results though
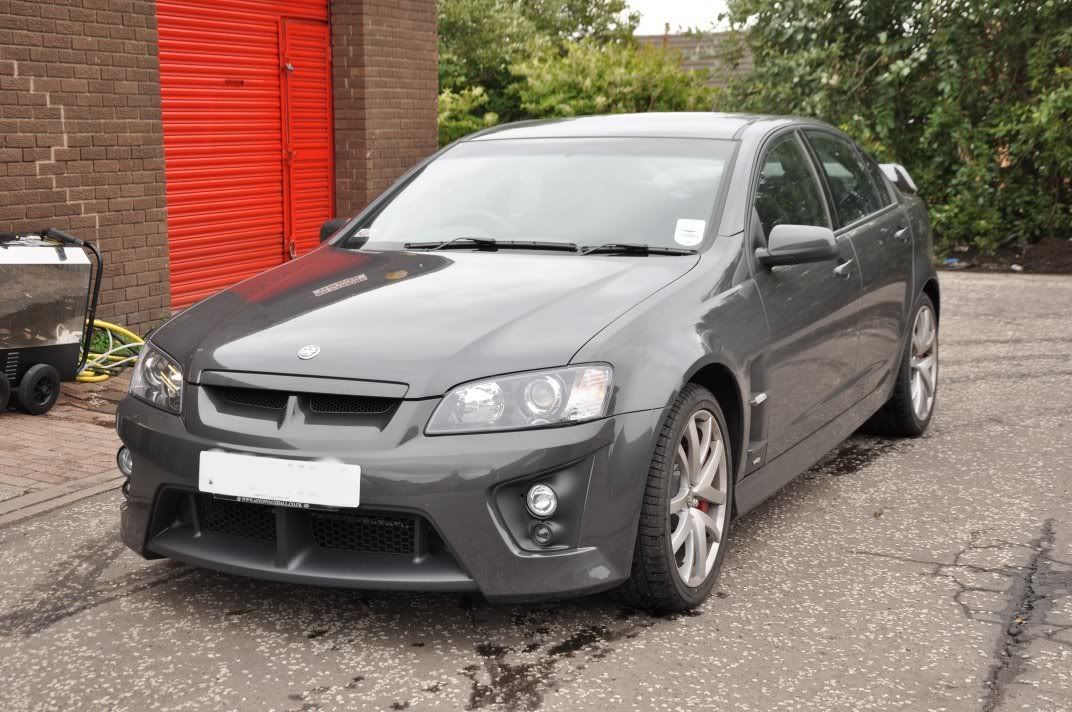
The car arrived looking like this...

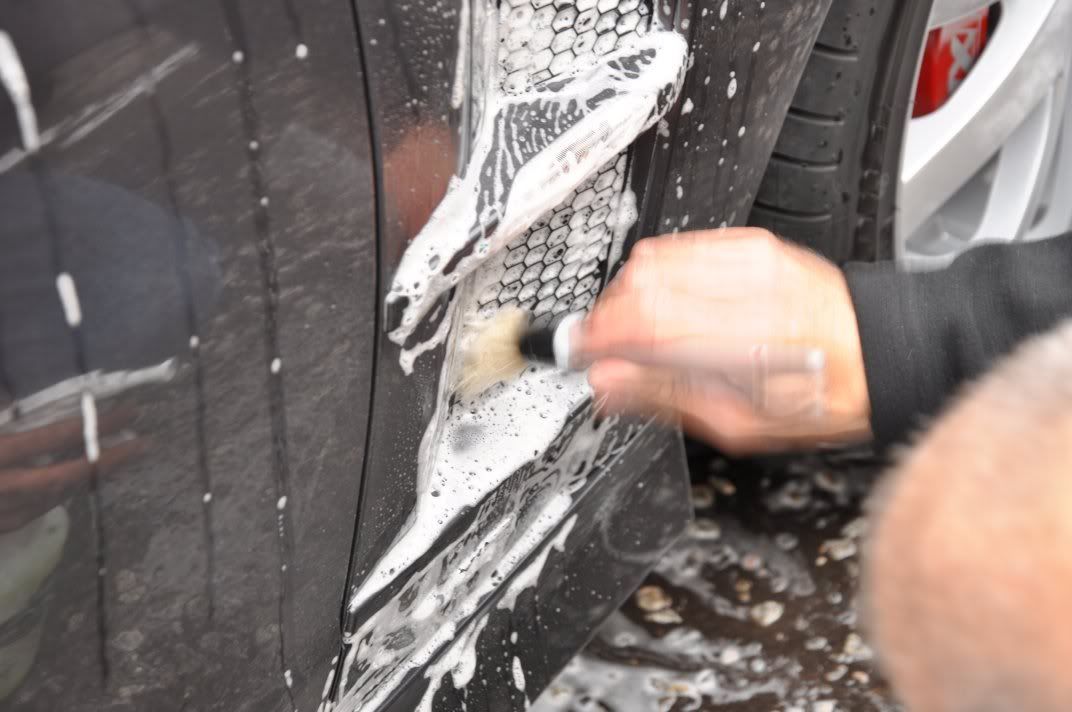
First off, we set about cleaning the wheels with Bilberry Wheel Cleaner, arches and tyres with G101. The plastics, rubbers and gaps were also all cleaned with G101 as there was transport grime and evidence of film and glue around the car, this process ensured that all the intricate areas were thoroughly cleaned out (such a process should form a part of every detail washing stage),
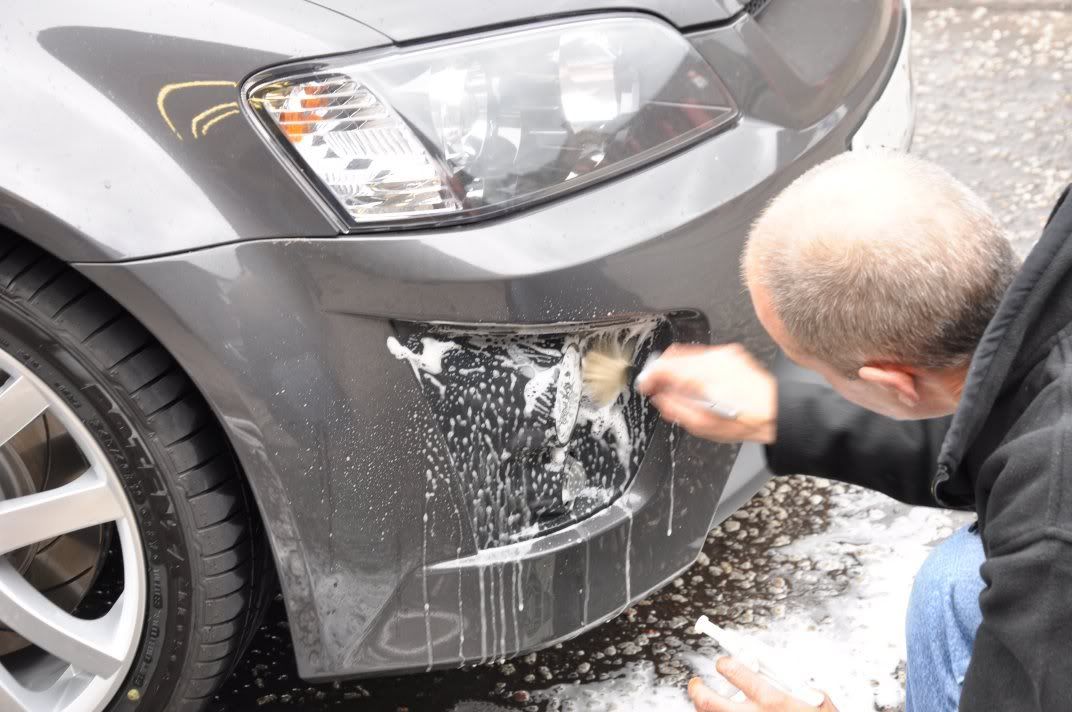
The car was then foamed and rinsed, then washed using the two bucket method and the new Chemical Guys shampoo, Glossworkz which was nice to use and the smell reminded me a lot of Zaino Z7.
After washing and drying, we went around the car looking for little bits of transport film...
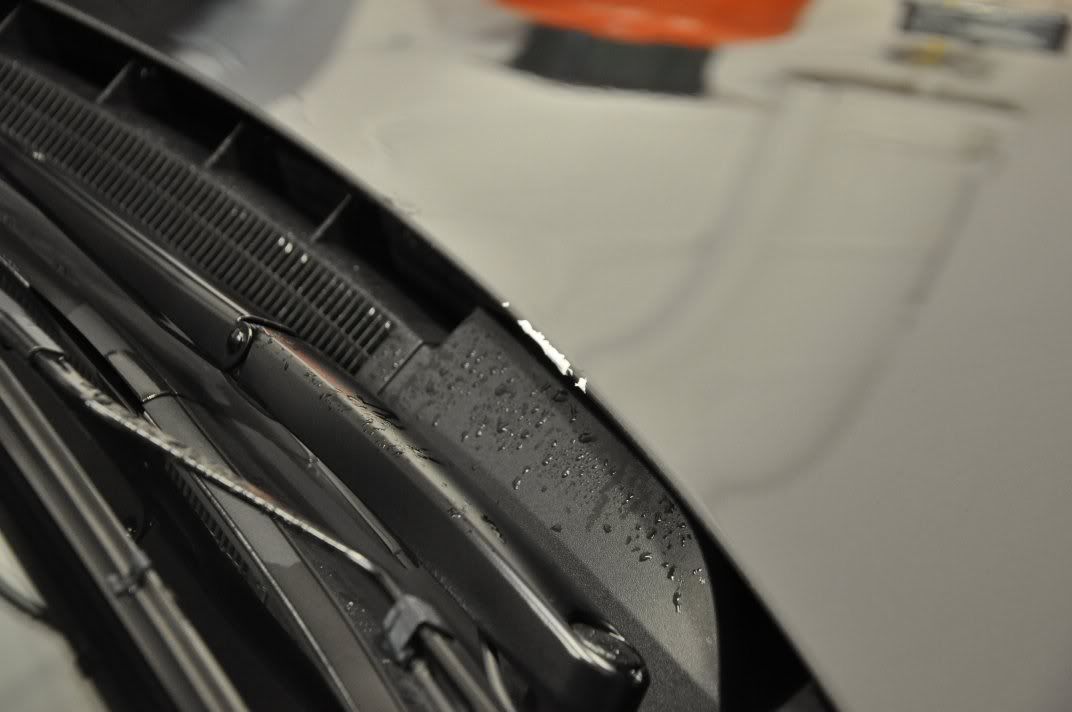

and tar and glue residue...
that was on the car. The film was gently peeled off, and large area of glue were all removed with Reflection Perfection Tar & Glue remover... this was carried out after the first was as on large areas, we chose to spray on and gently wipe off the glue after a dwell time, and this required clean paint to avoid marring. Once fully de-glued and all film removed, the car was then washed down again using Optimum No Rinse, dried off and then clayed with Meguiars QuikClay and Last Touch as a lube.
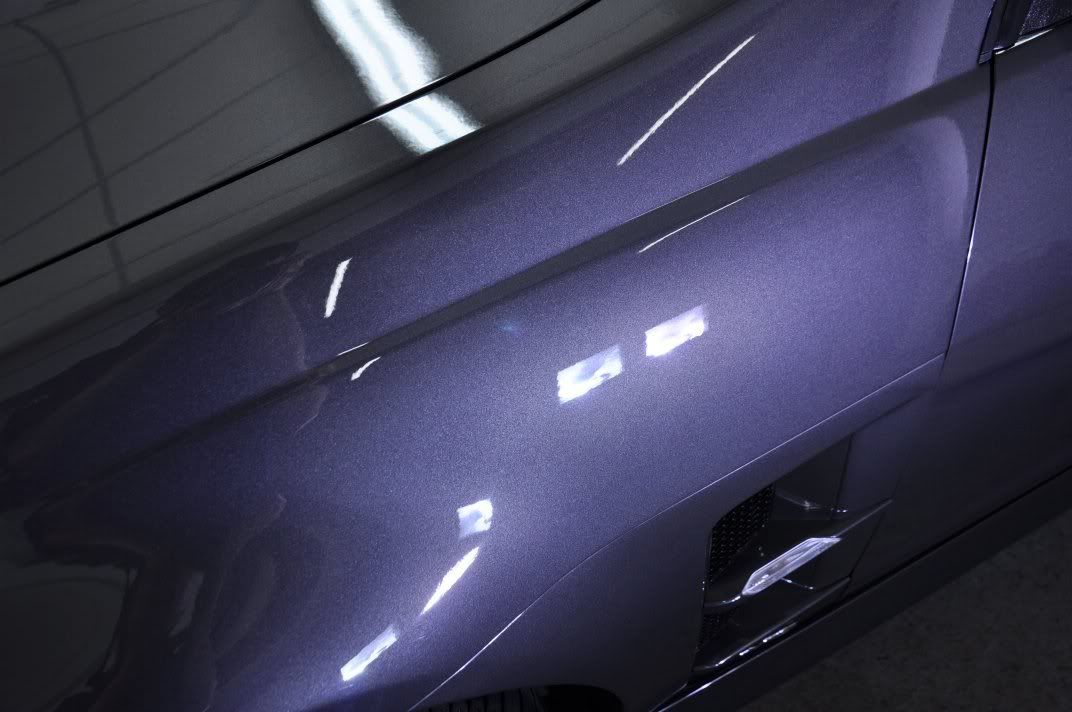
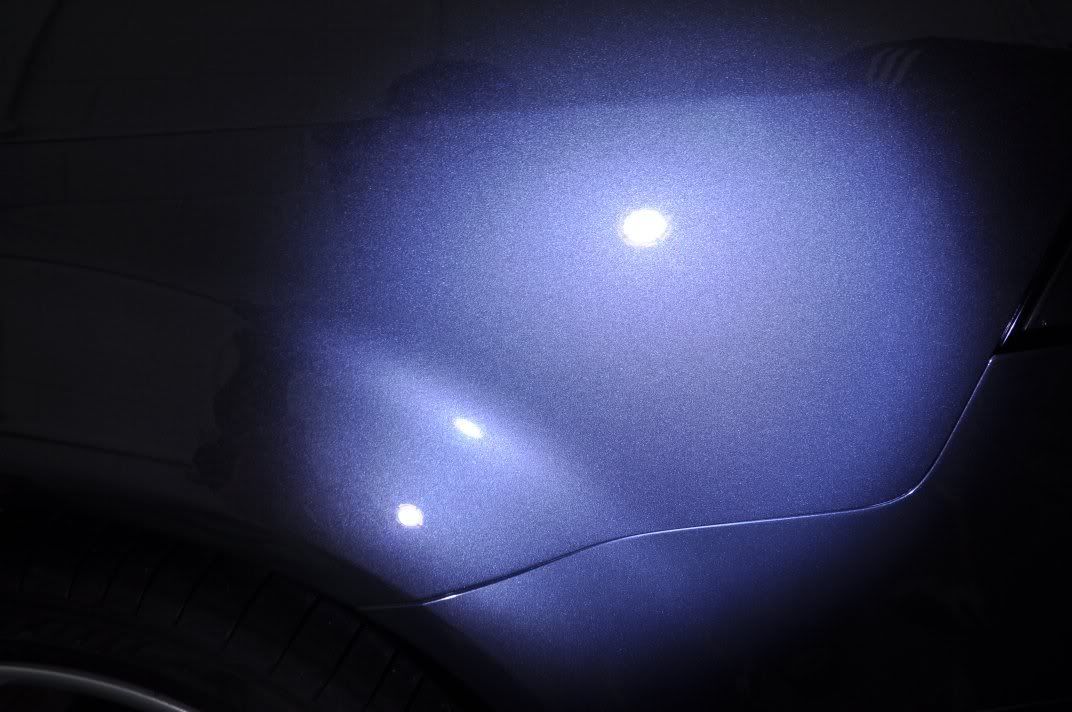
Once fully cleaned and decontaminated it was time to fully assess the paint finish. Before washing it was clear to see there were some marks on the car, but after cleaning it was then clear to see these marks were light and not excessive... though for a new car, they shouldn't be there at all! We started with the bonnet...

Assessing the polishing and pad combinations starting from the least aggressive (Menzerna PO85RD Final Finish on a finishing pad) and working up, we decided on Menzerna PO106FA Final Finish on a 3M Blue Waffle finishing pad for the required level of correction and finishing in a single polishing stage. The polish was applied uisng a regenerating technique as follows..
This paint presented a very slight drag to polishing, and higher than usual panel temperatures of up to 80degC during polishing - the above technique moderated the panel temperatures allowing longer work times for greater levels of correction and also better clarity in the finish through working the abrasives. The results after...
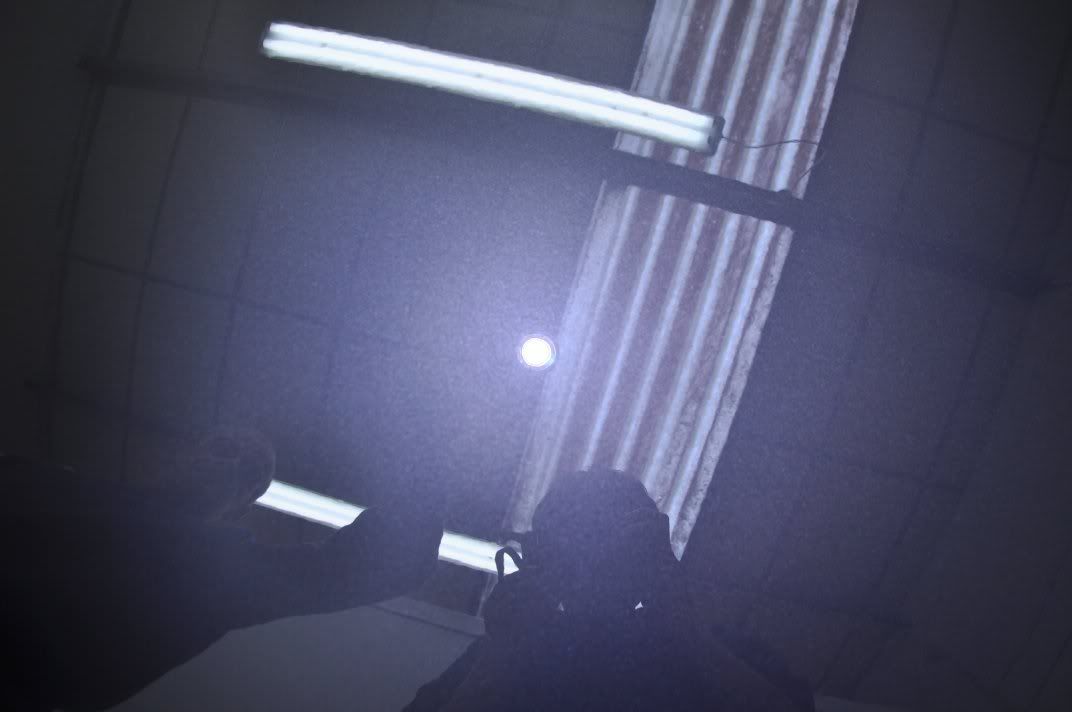
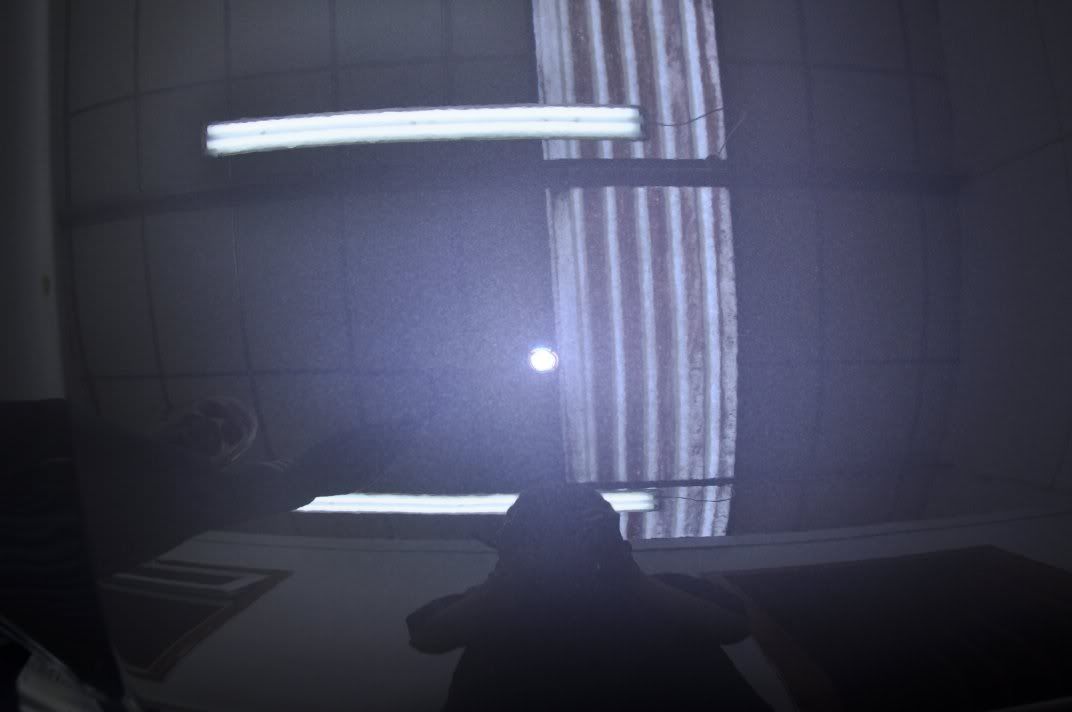
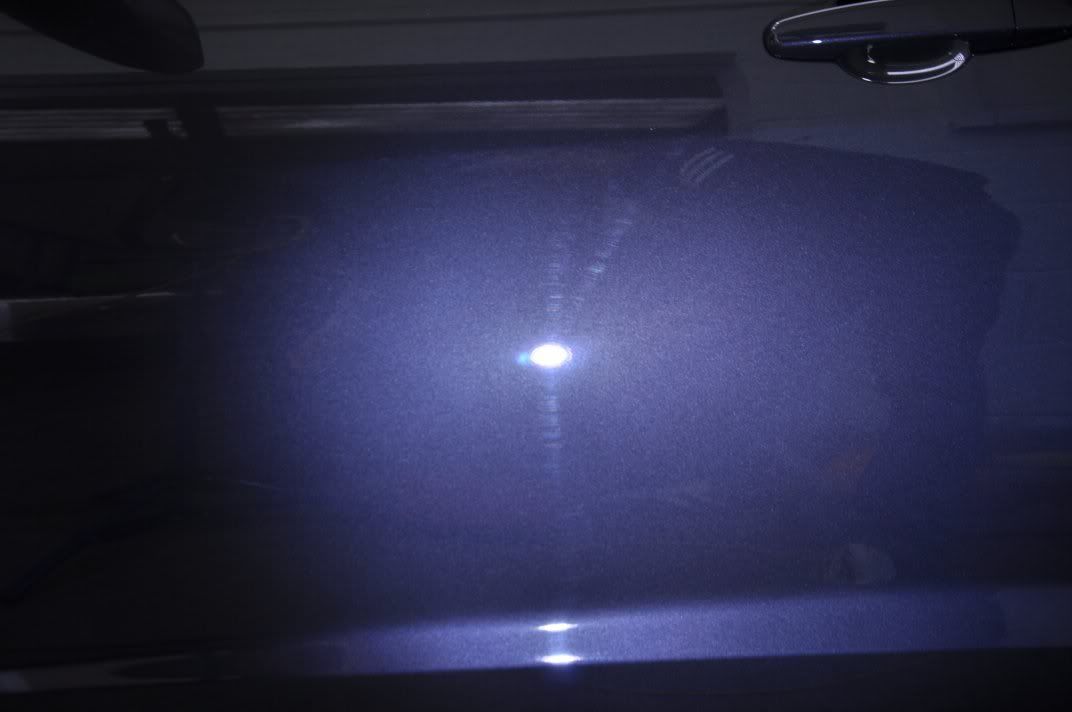
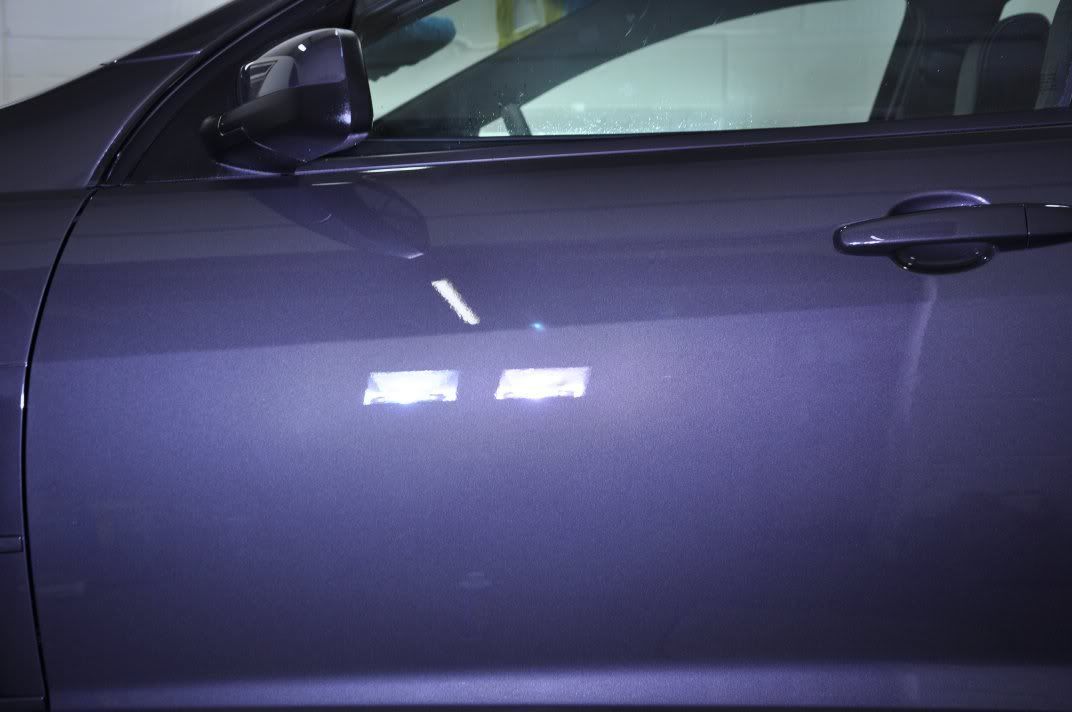
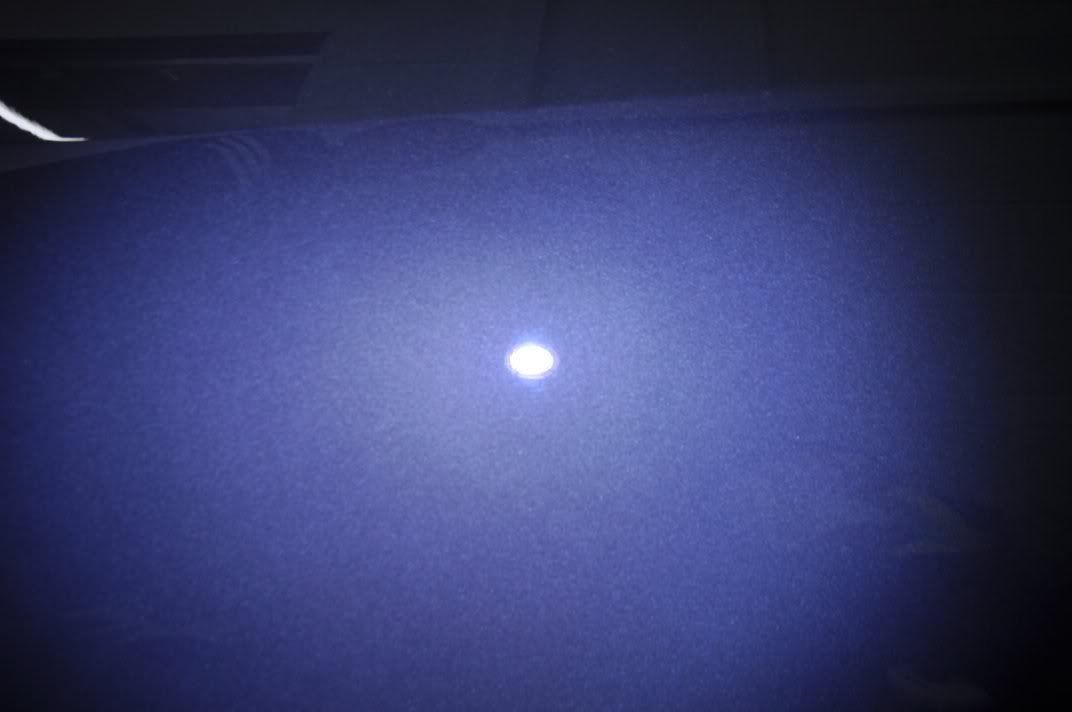
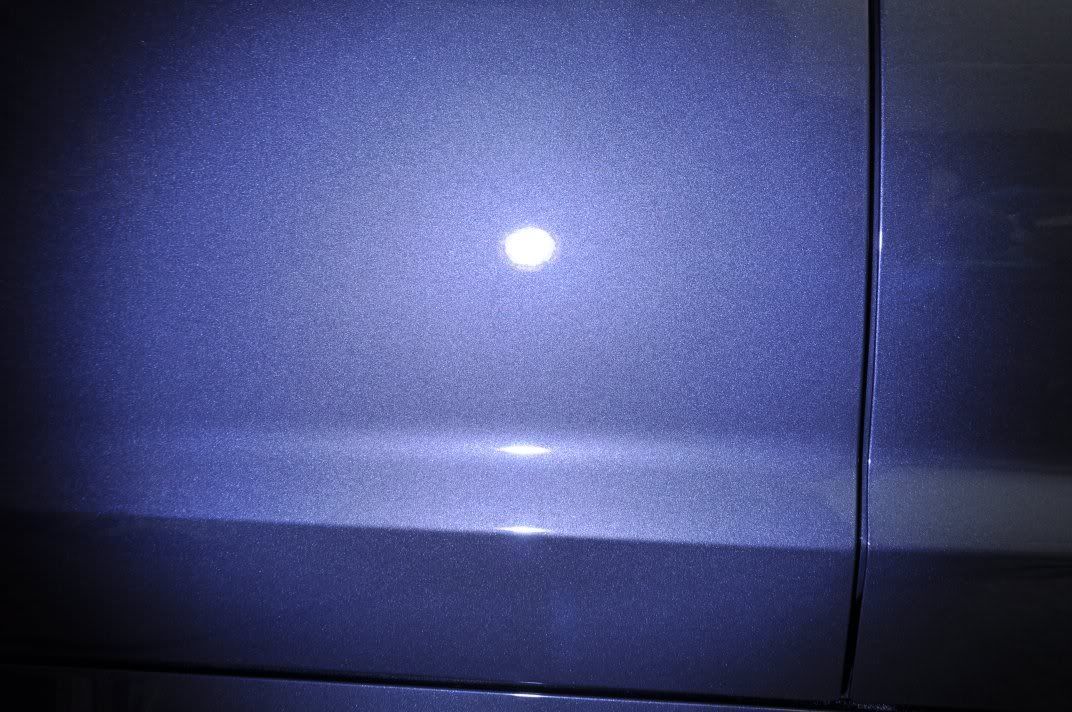
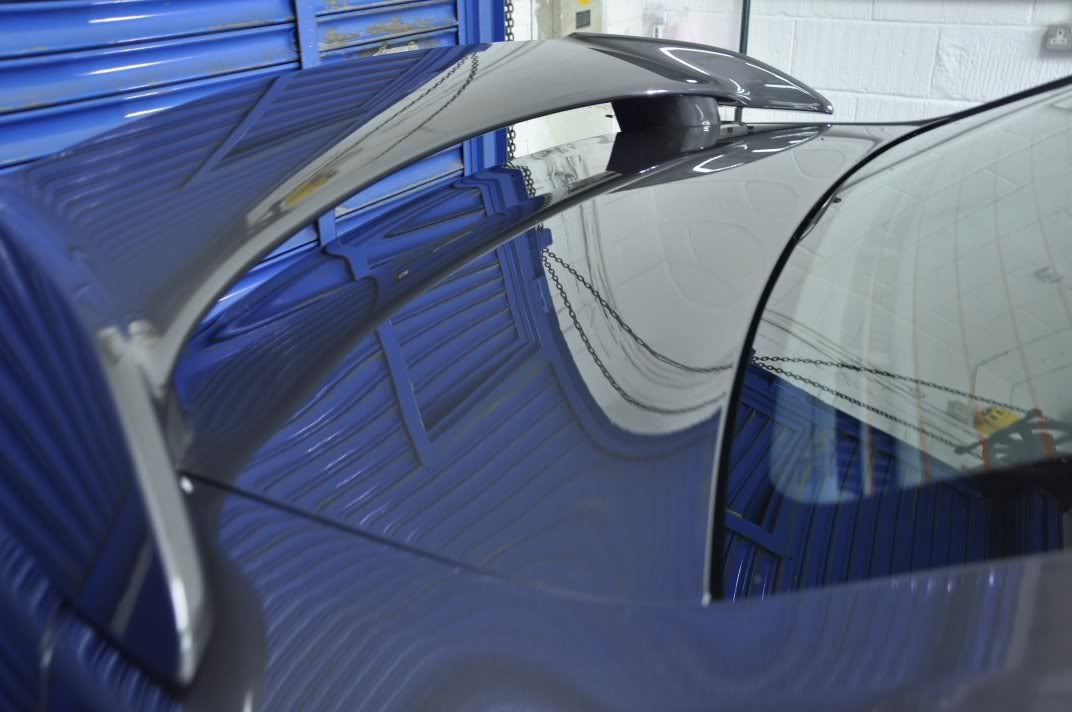
Nice glossy bonnet - doesn't show you the quality of the finish though, so out with the Sun Gun to really assess it:
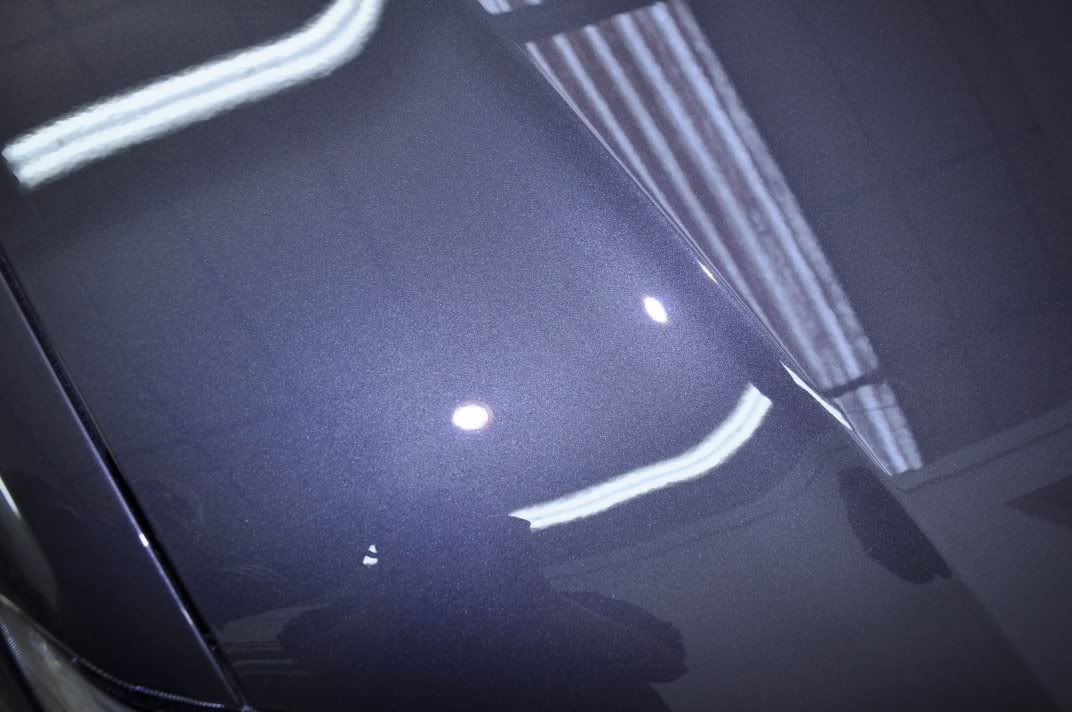

Happy with that
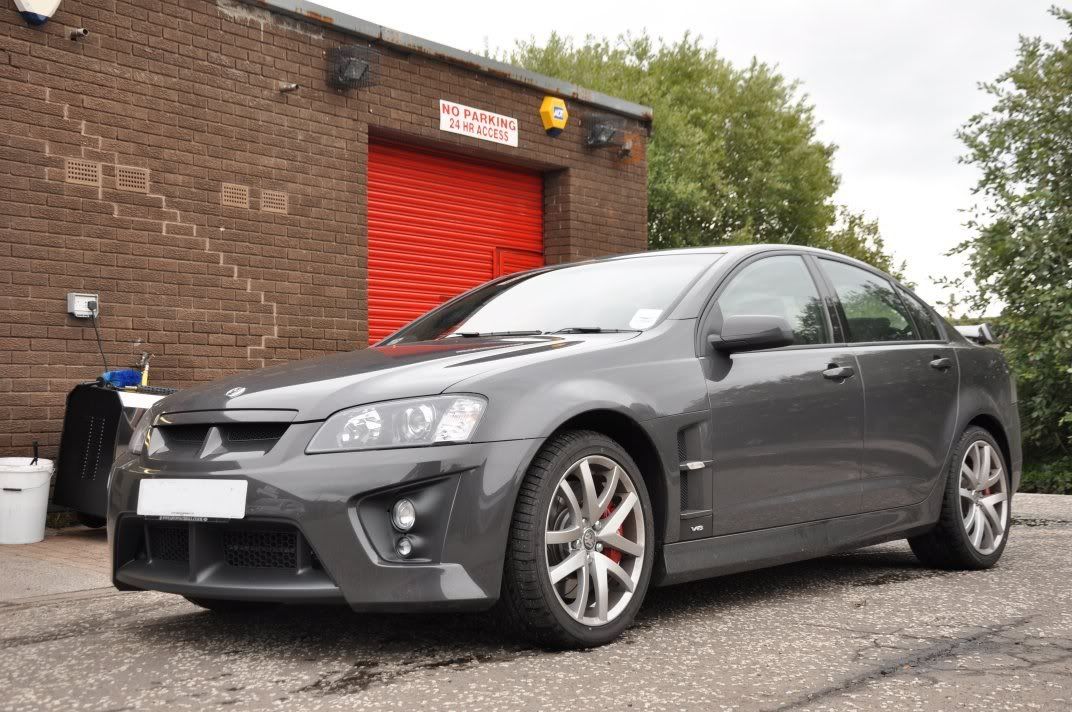
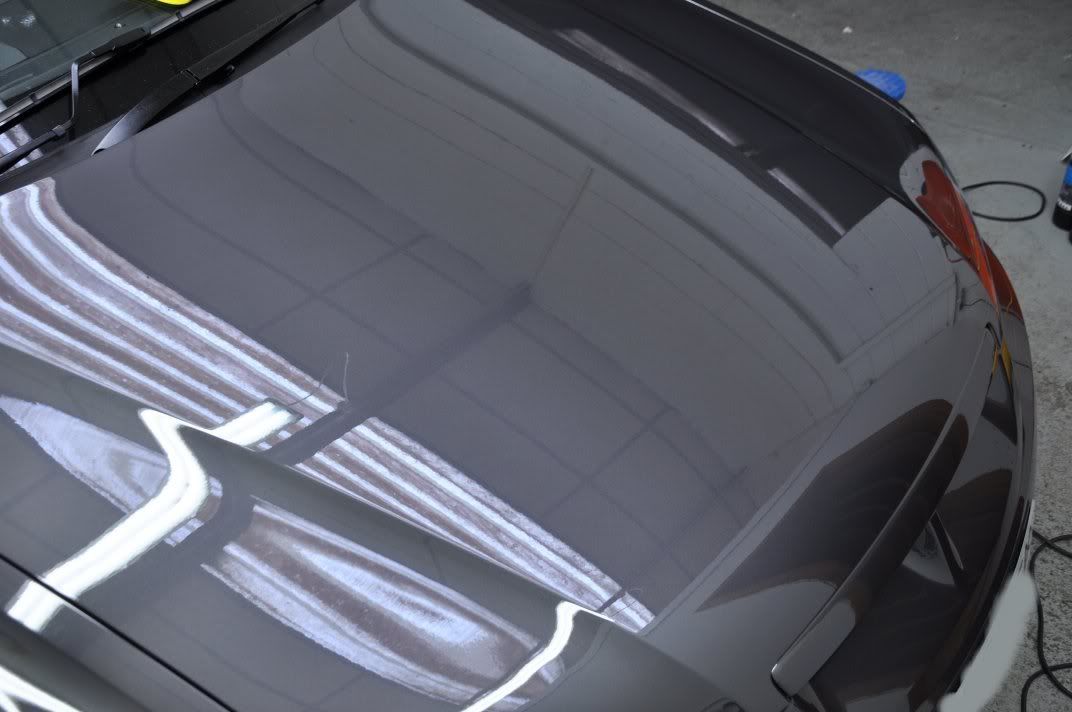
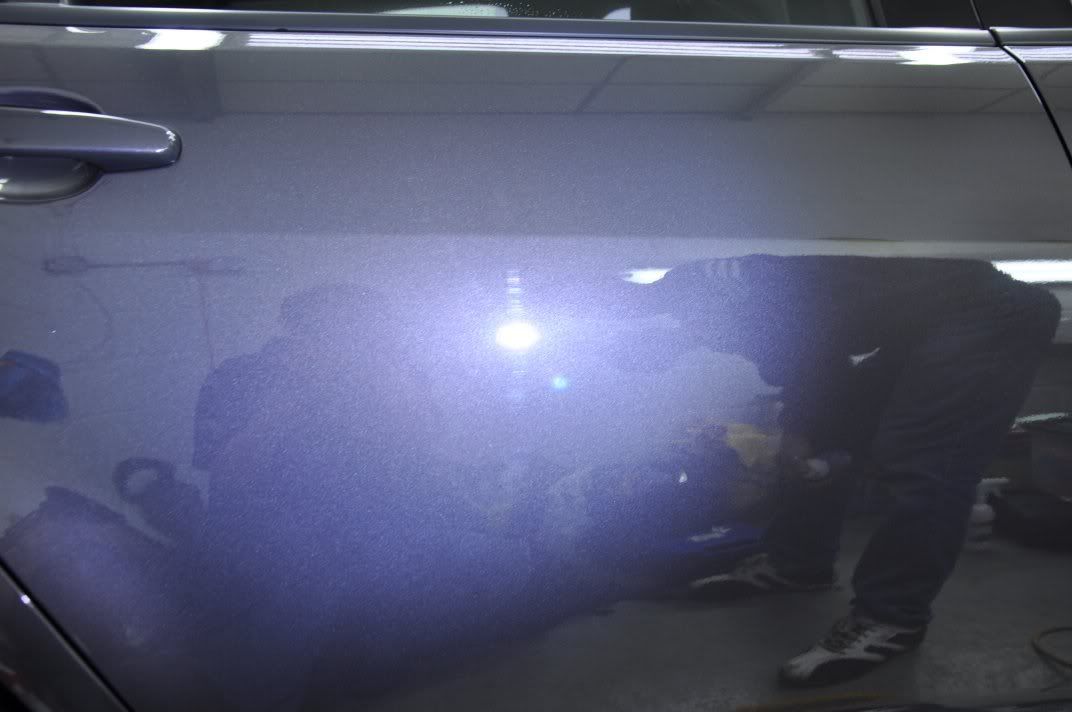
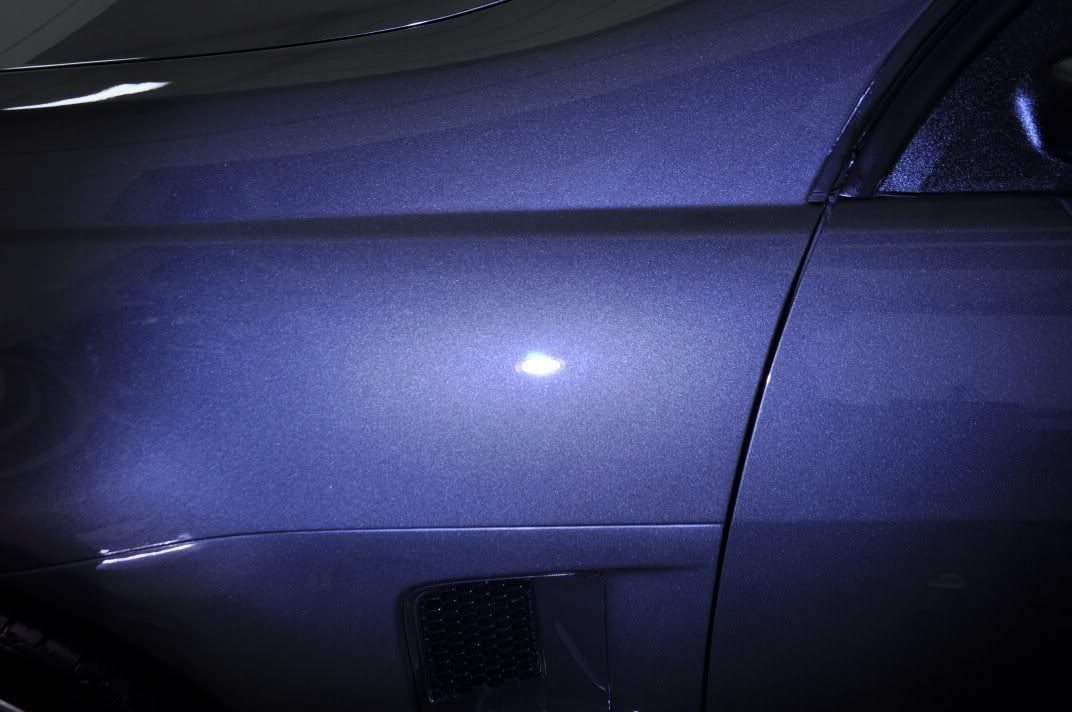
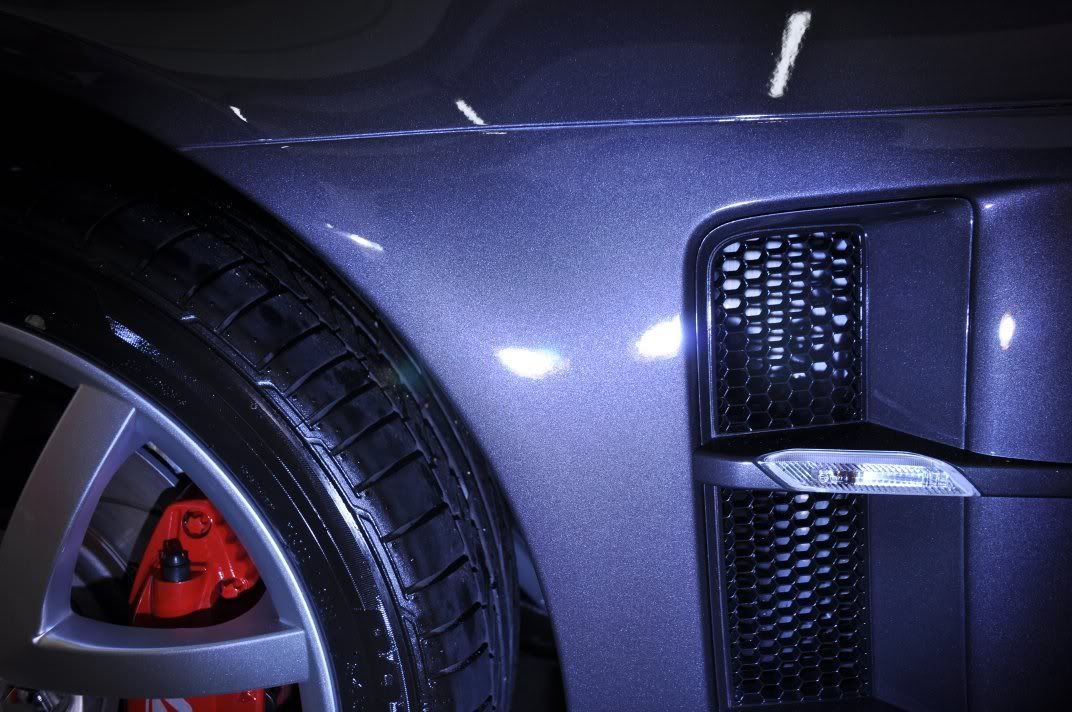
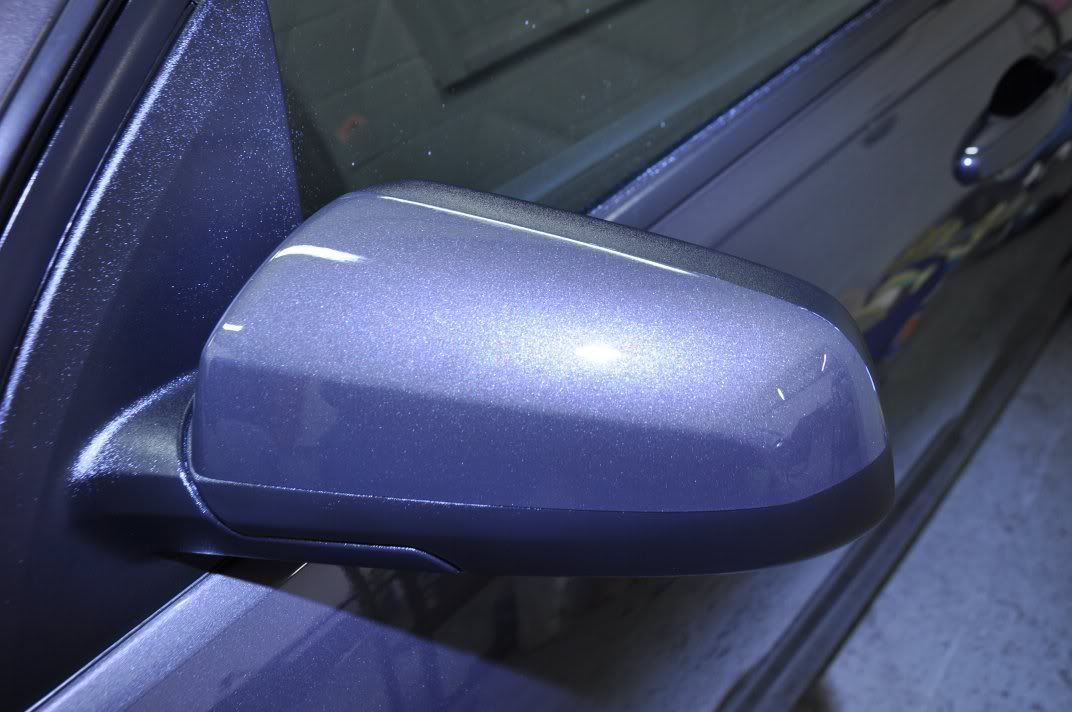
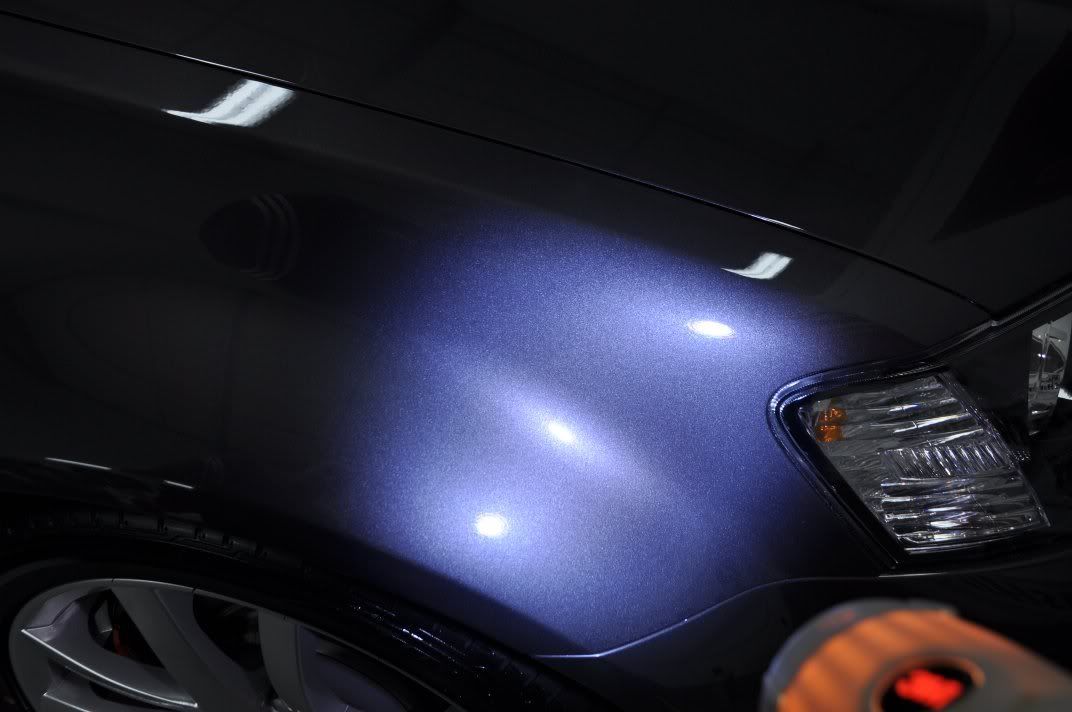
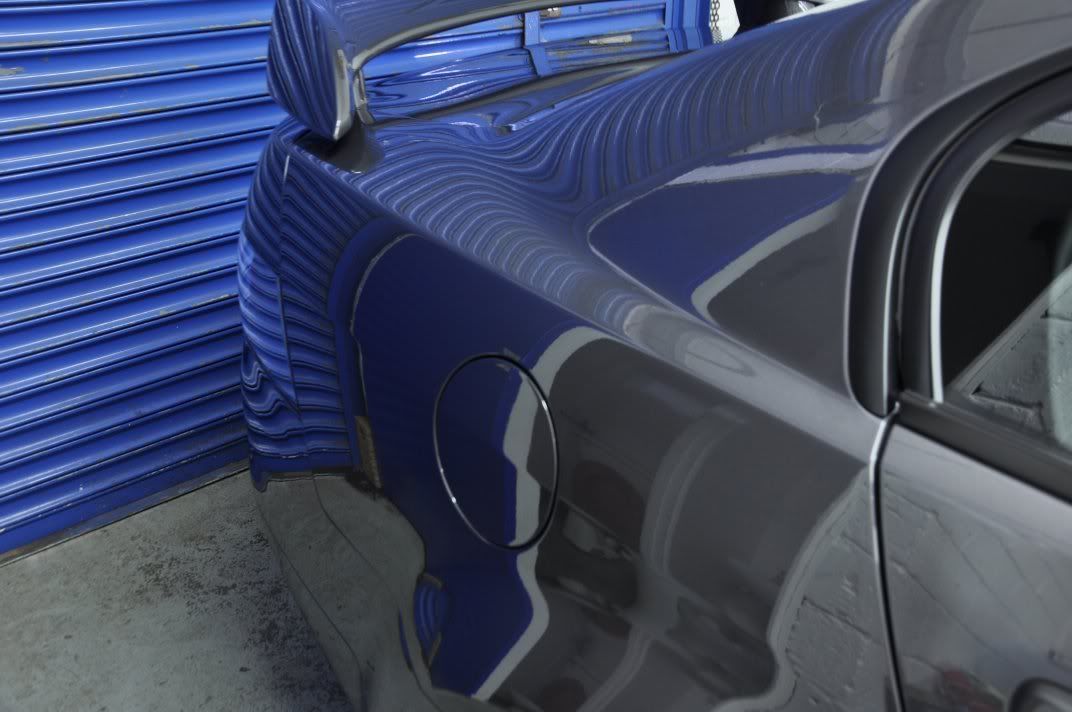
Onto the rest of the car, which is bigger in person that it looks in pictures!! Before shots from around the car...
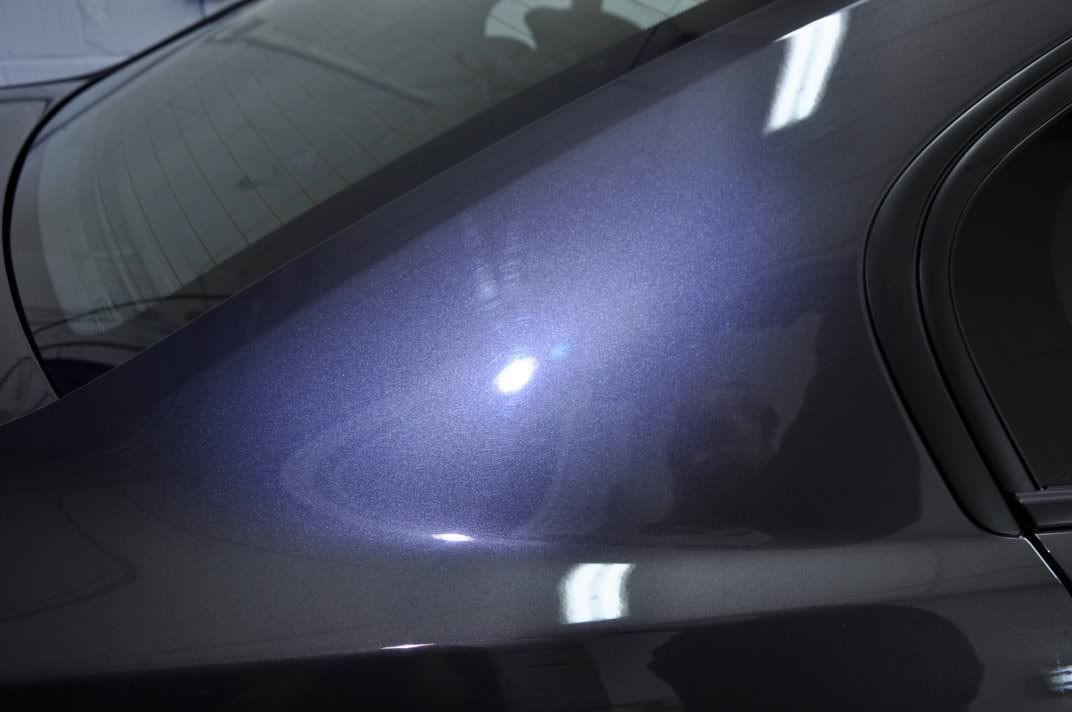
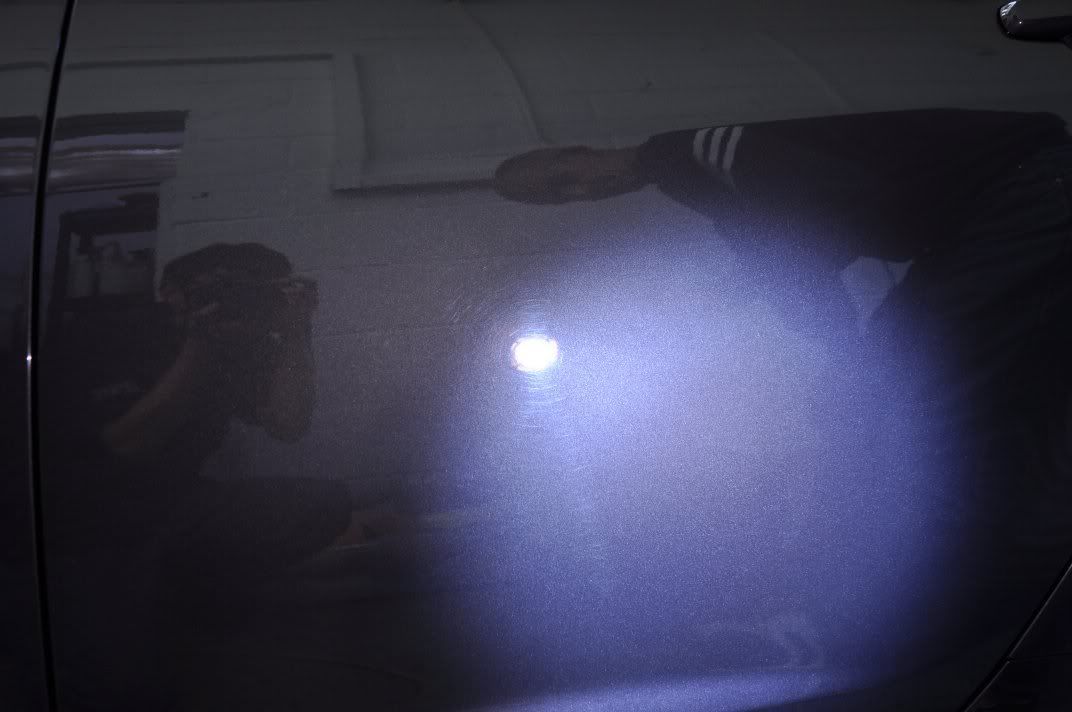
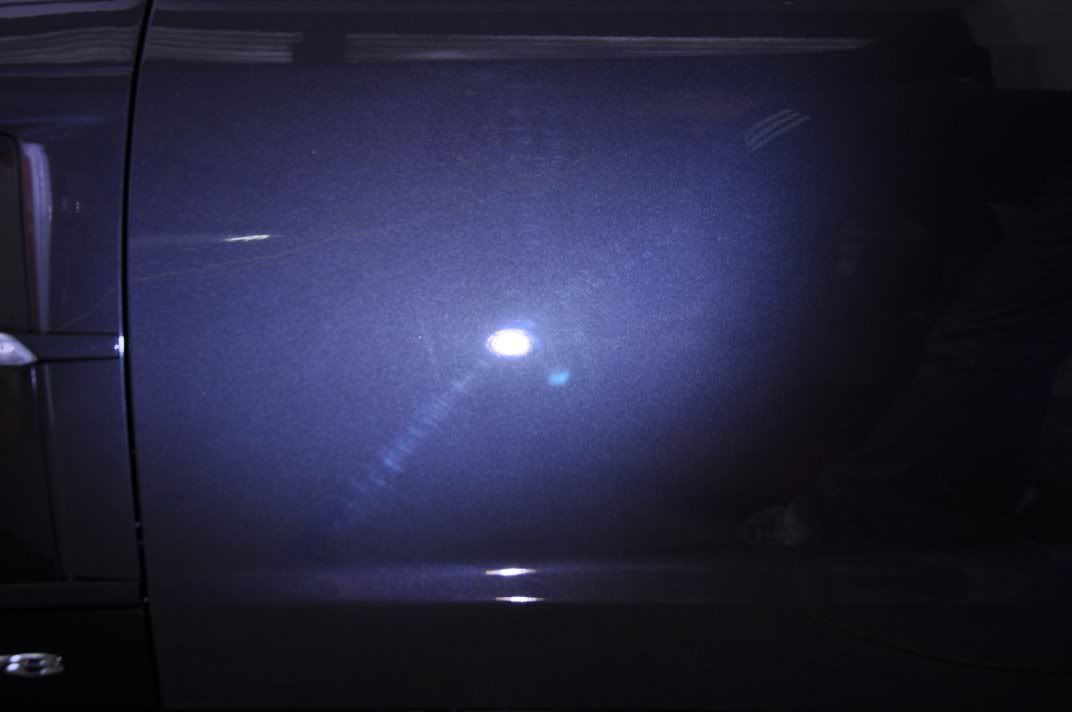
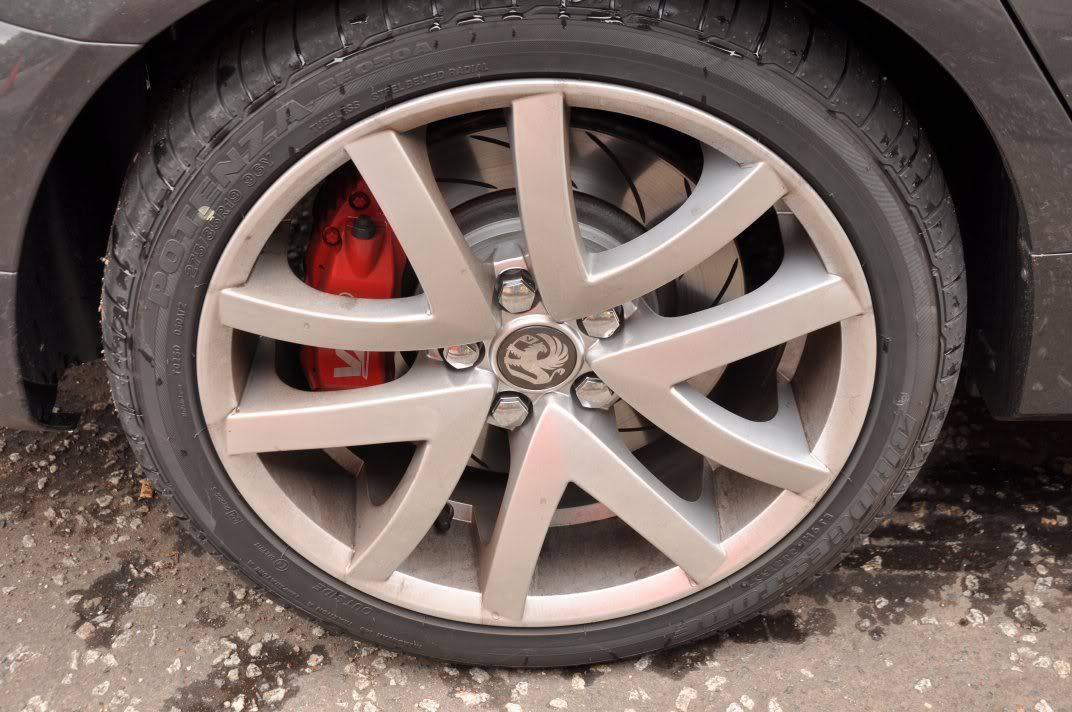
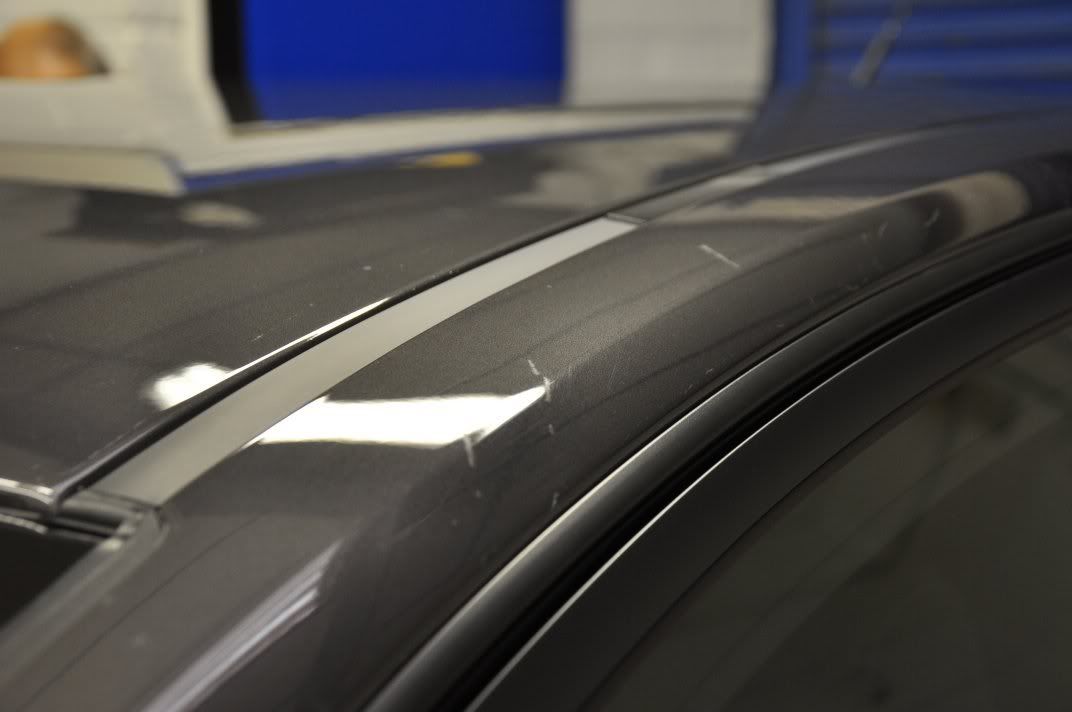
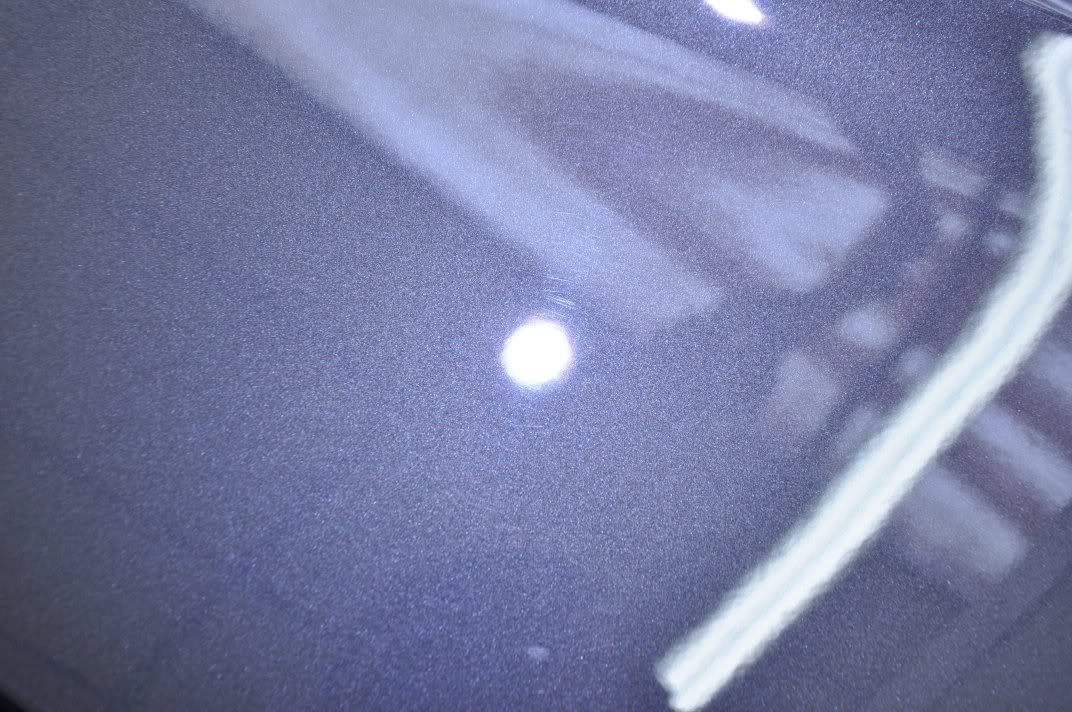
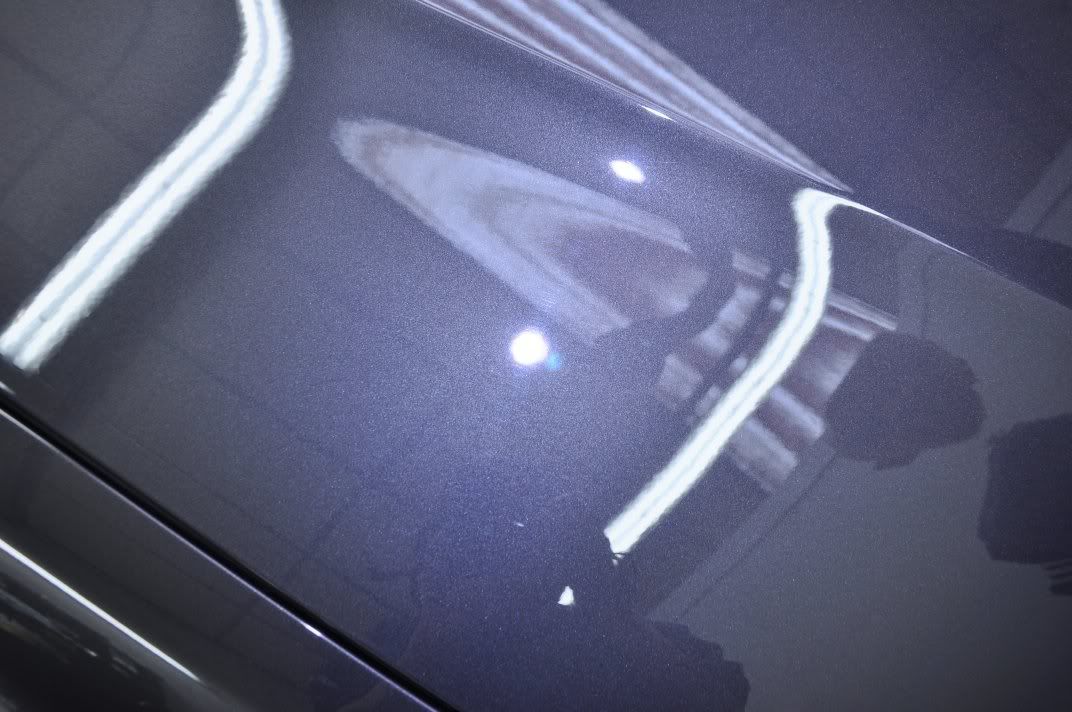
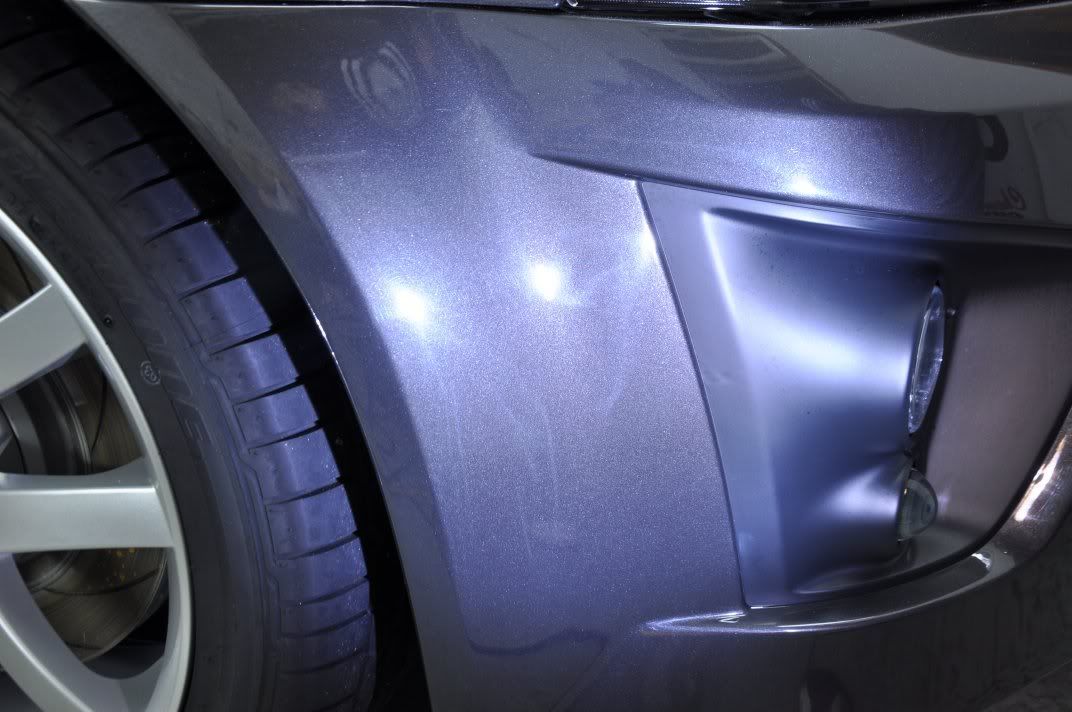
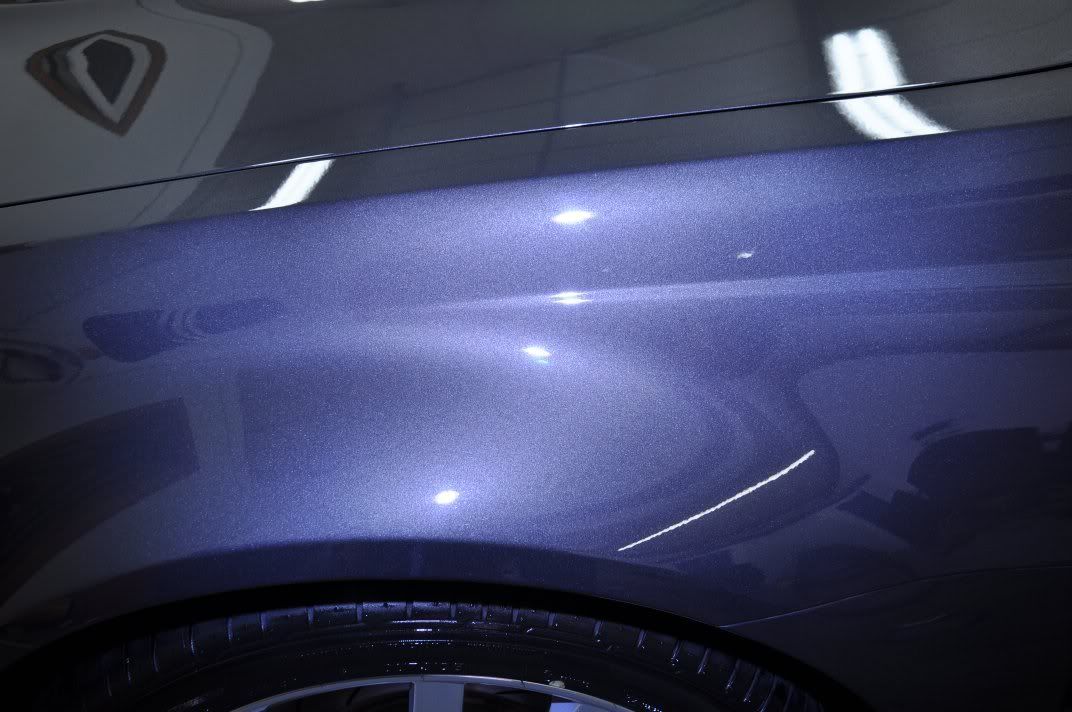
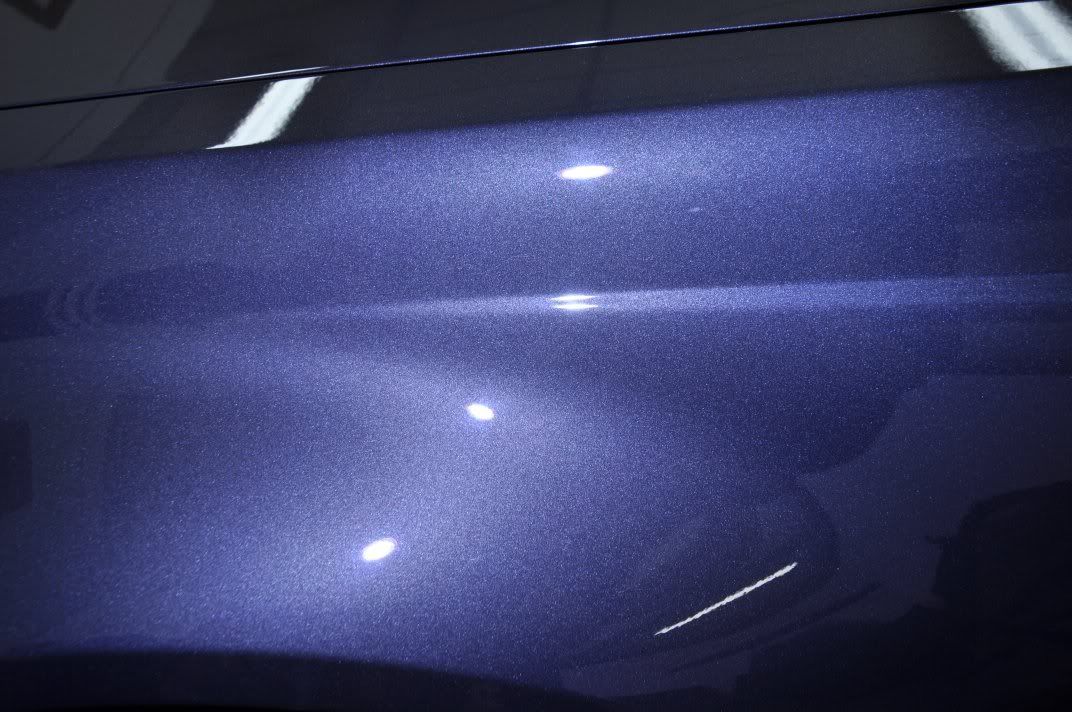
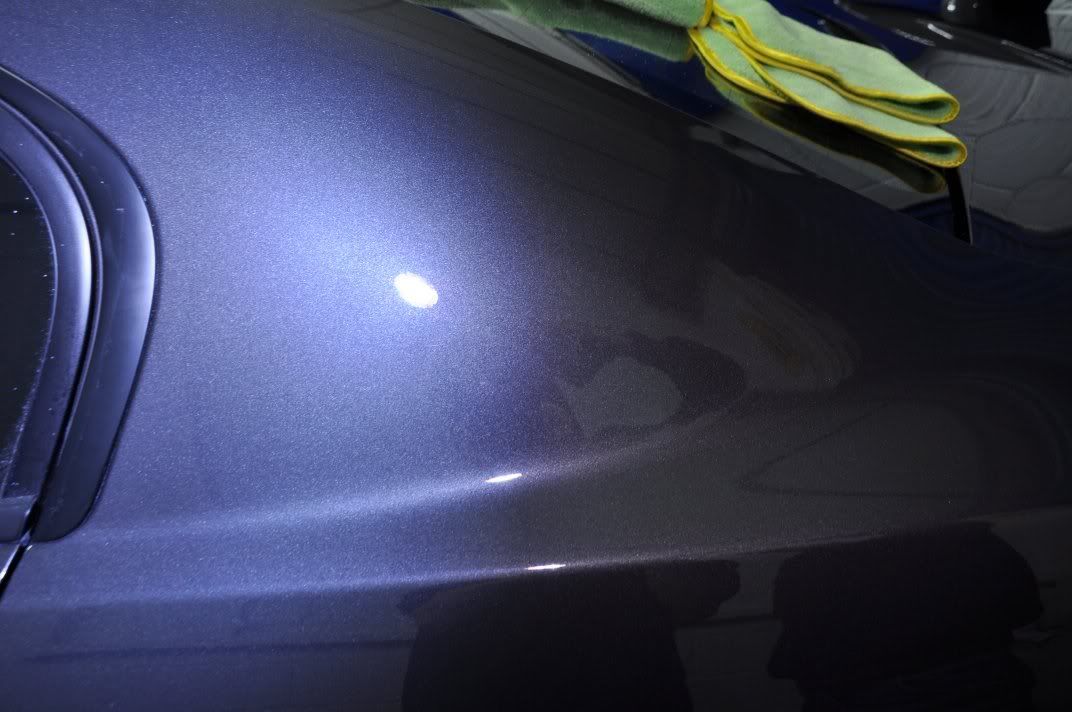
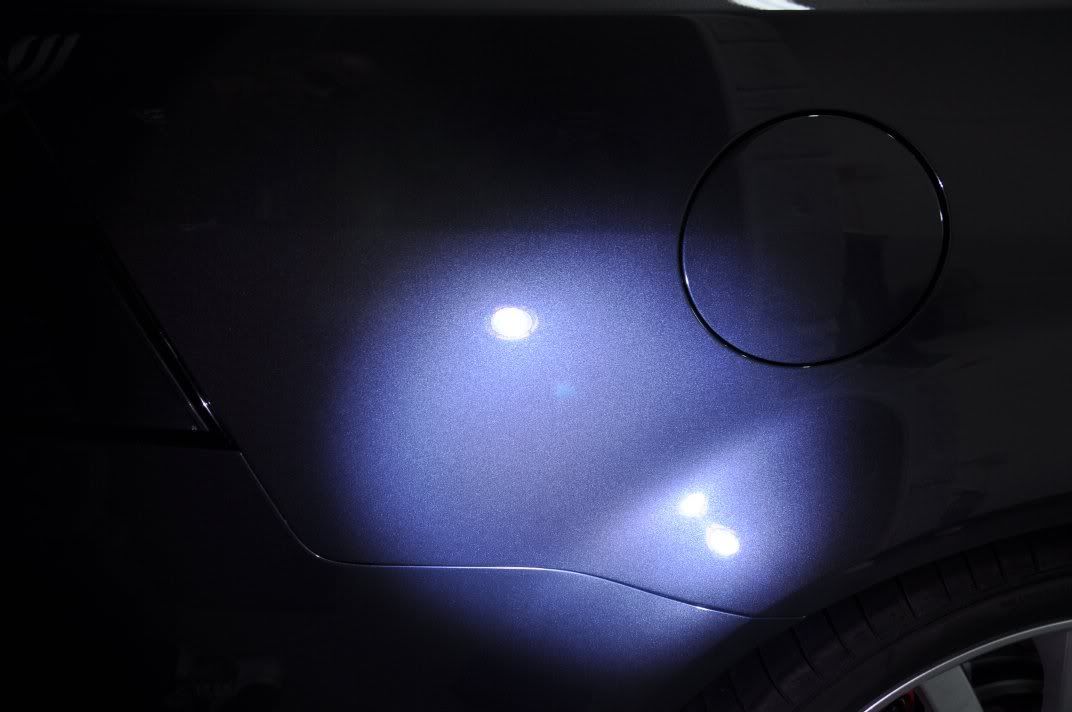
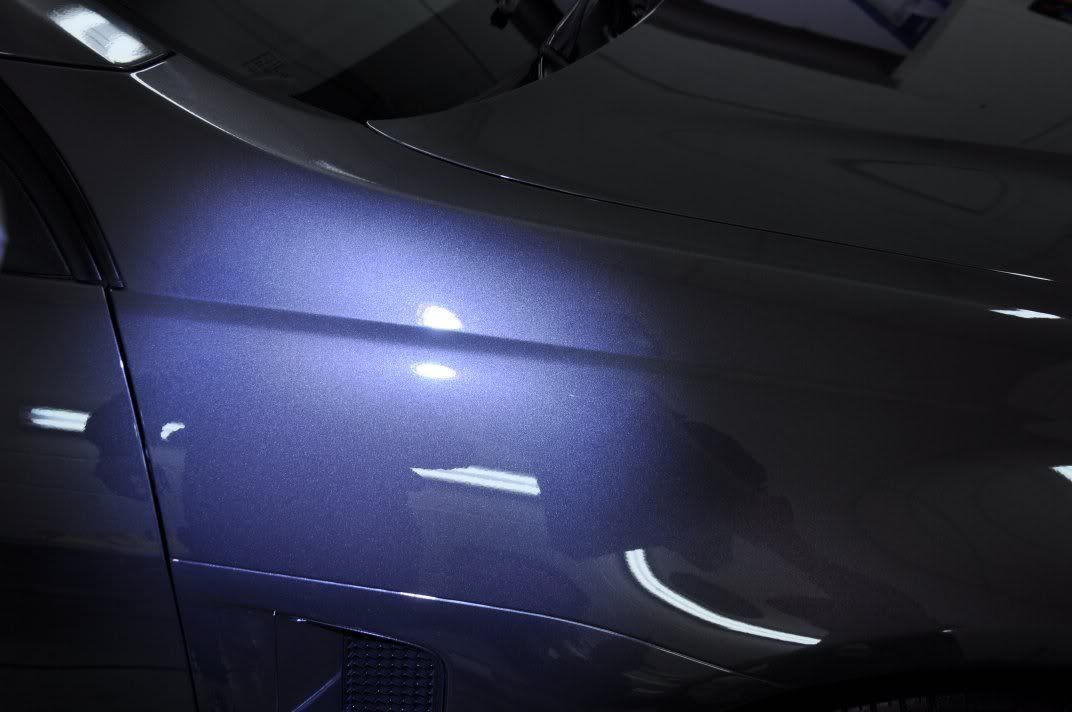
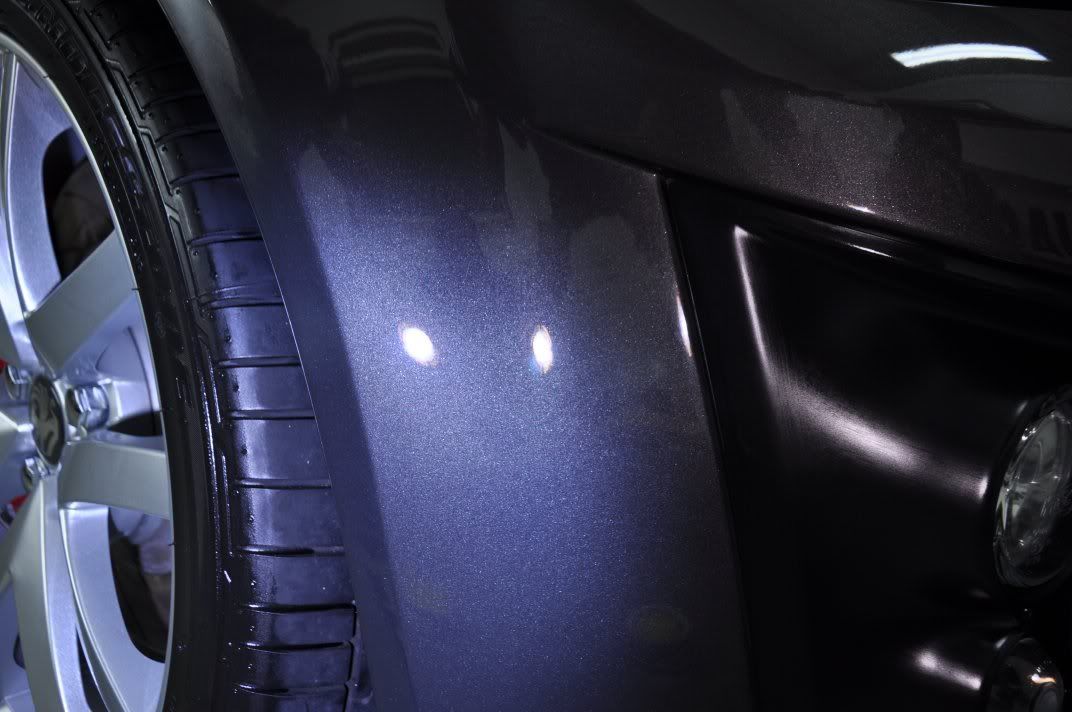
General light marring. The front bumper however, revealed a slightly different story, having clearly seen machine polishing work in the past as evidenced by the holograms...
Correction over the majority of the car was as described above with Menzerna PO106FA. The front bumper and a couple of other sections where slightly deeper marks were found required Menzerna PO85RD3.02 Intensive Polish applied uisng a 3M Yellow Waffle polishing pad as follows:
No refining stage was carried out as th IP was followed with Menzerna PO85RD Final Finish applied using the regenerating method described above to maximise the clarity by increasing the work time.
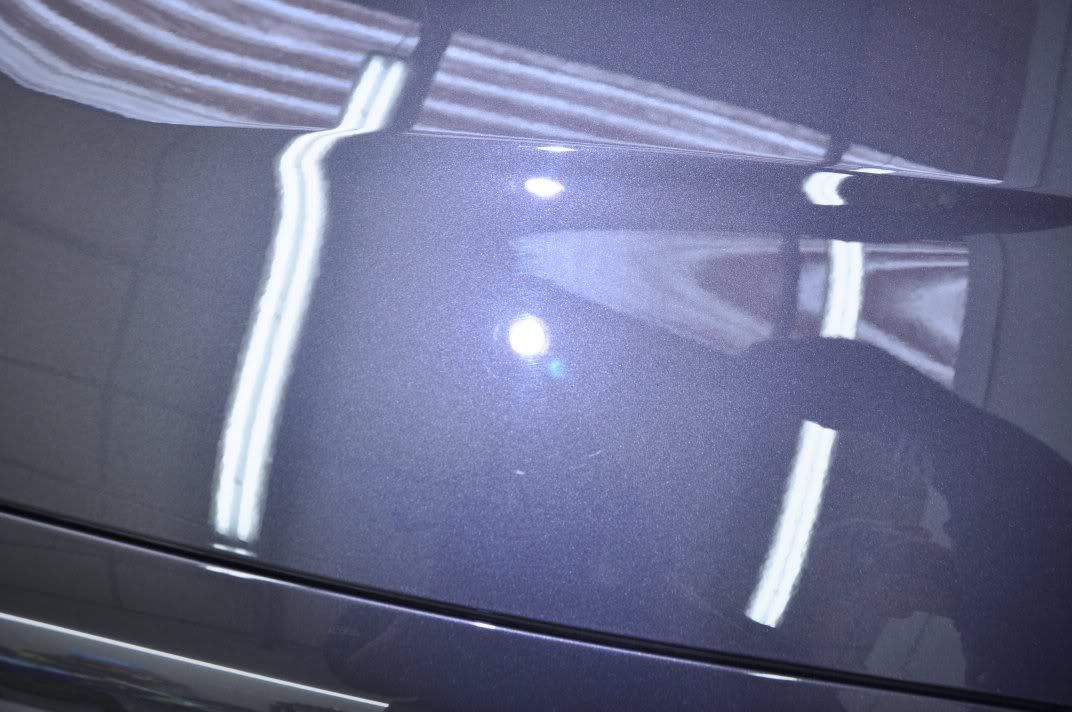
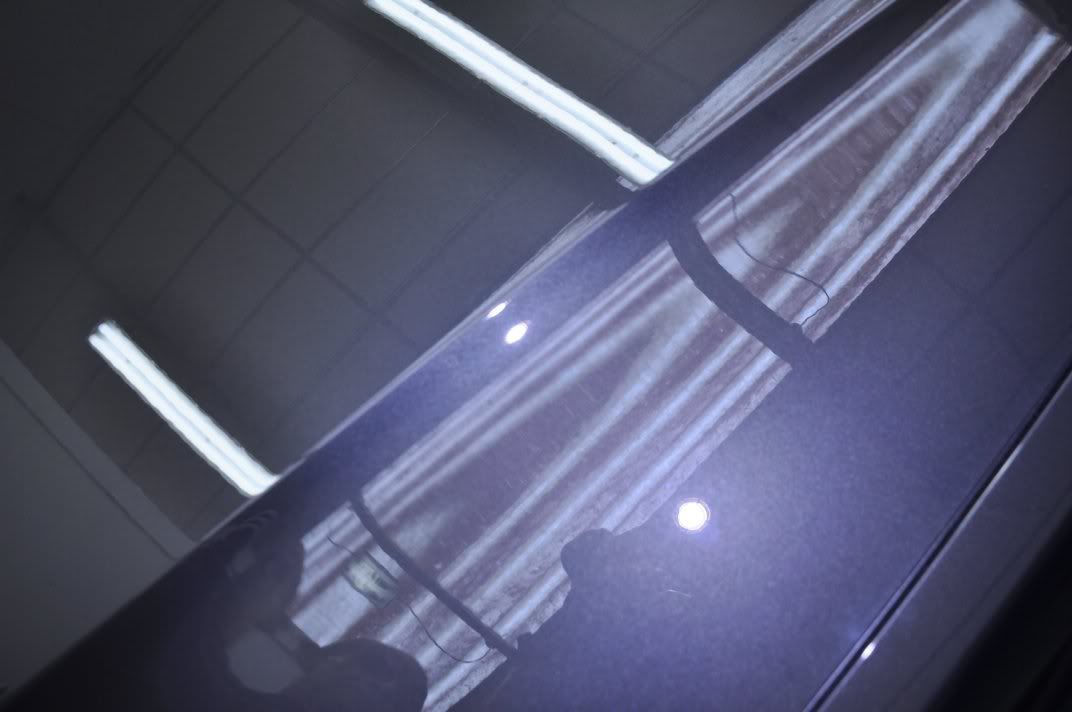
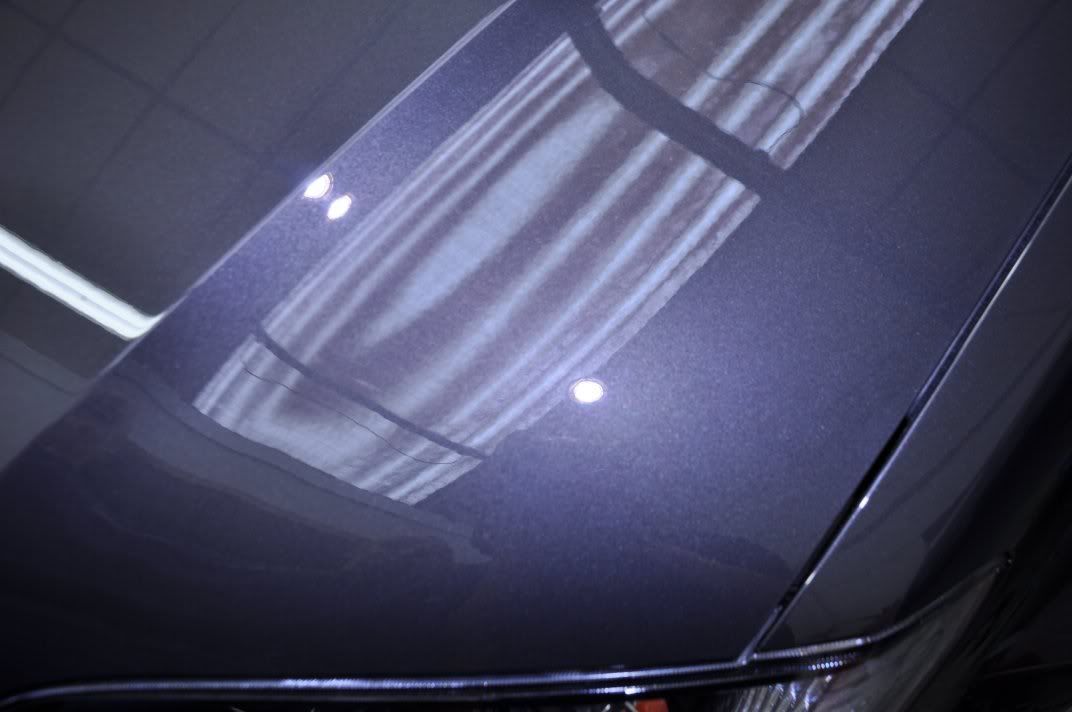
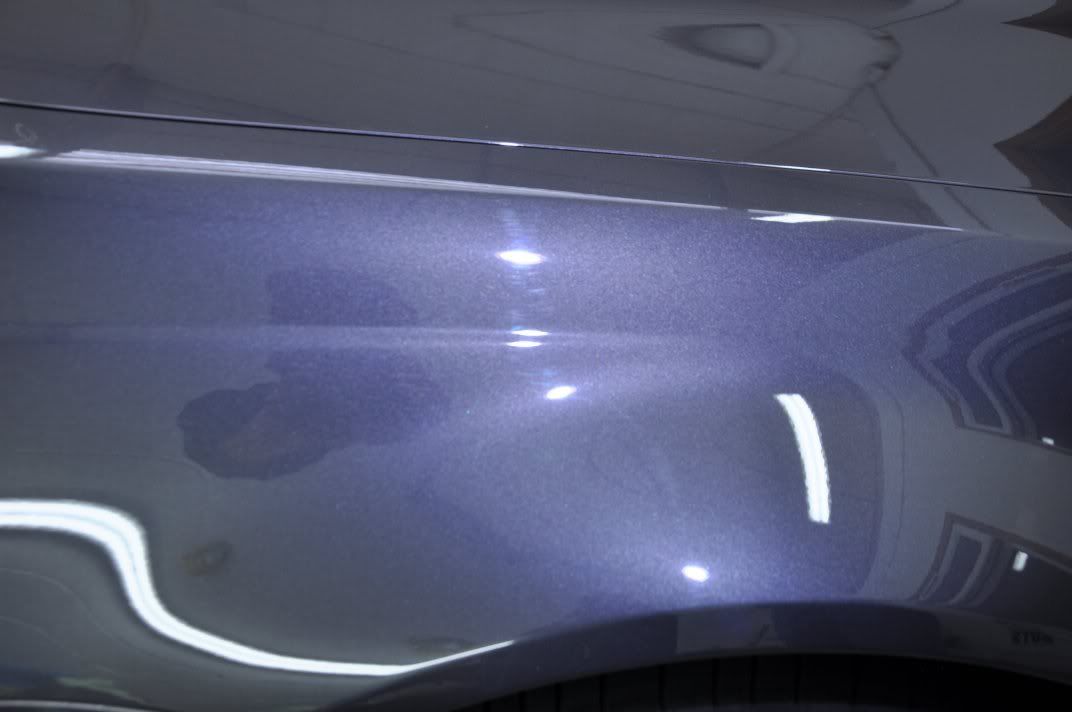
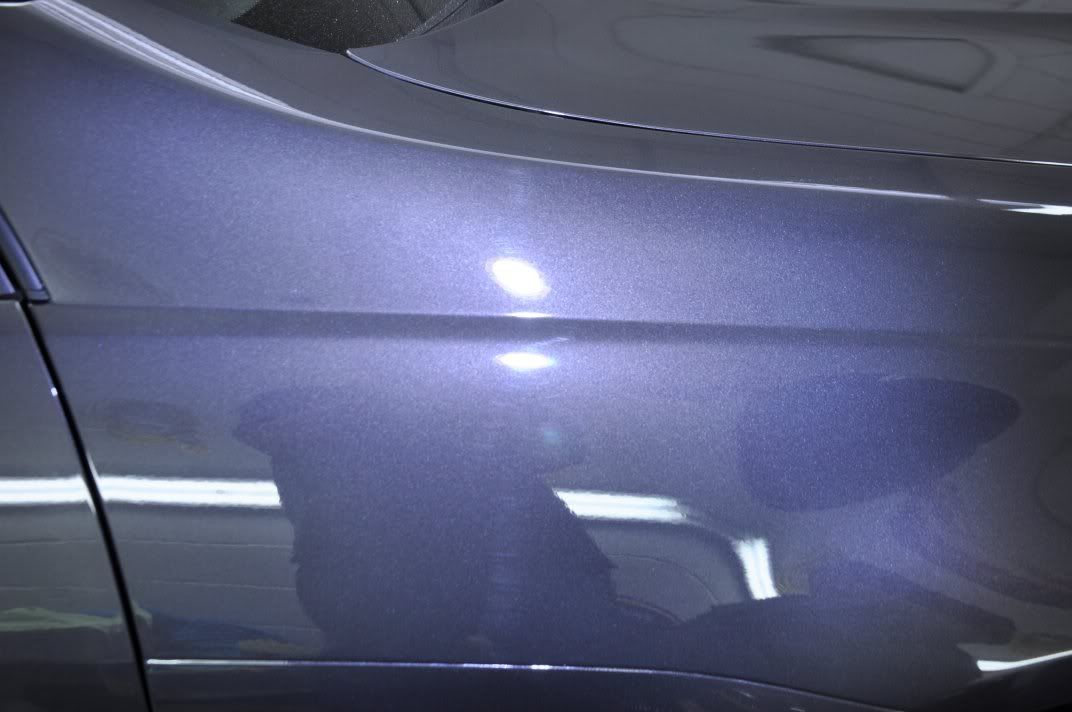
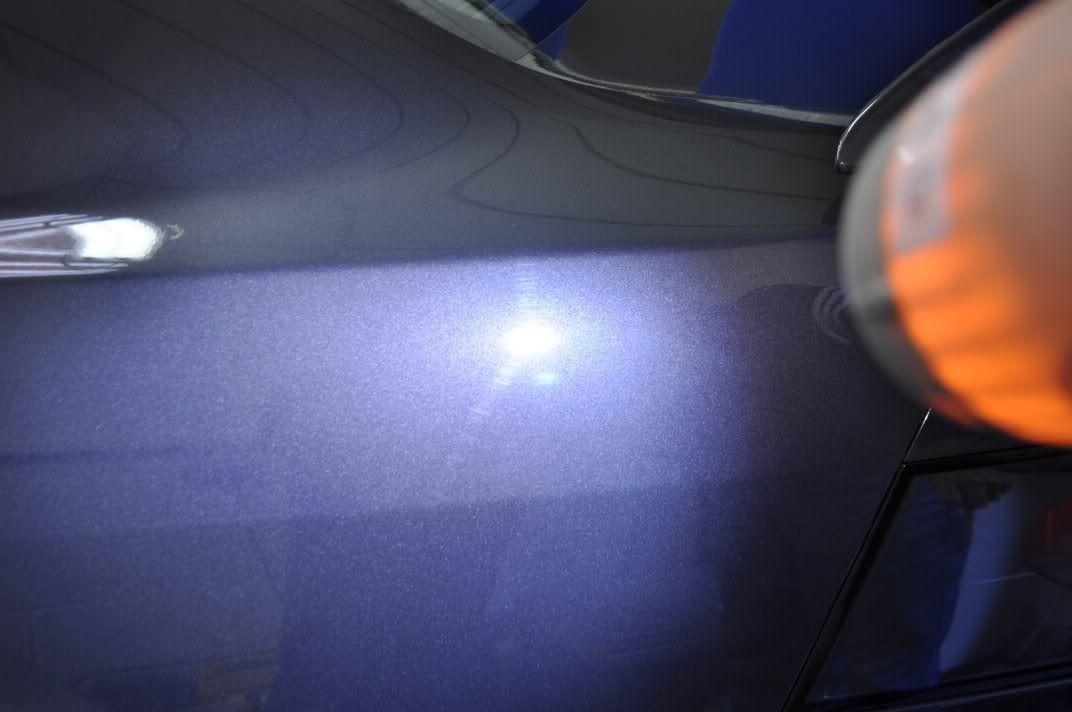
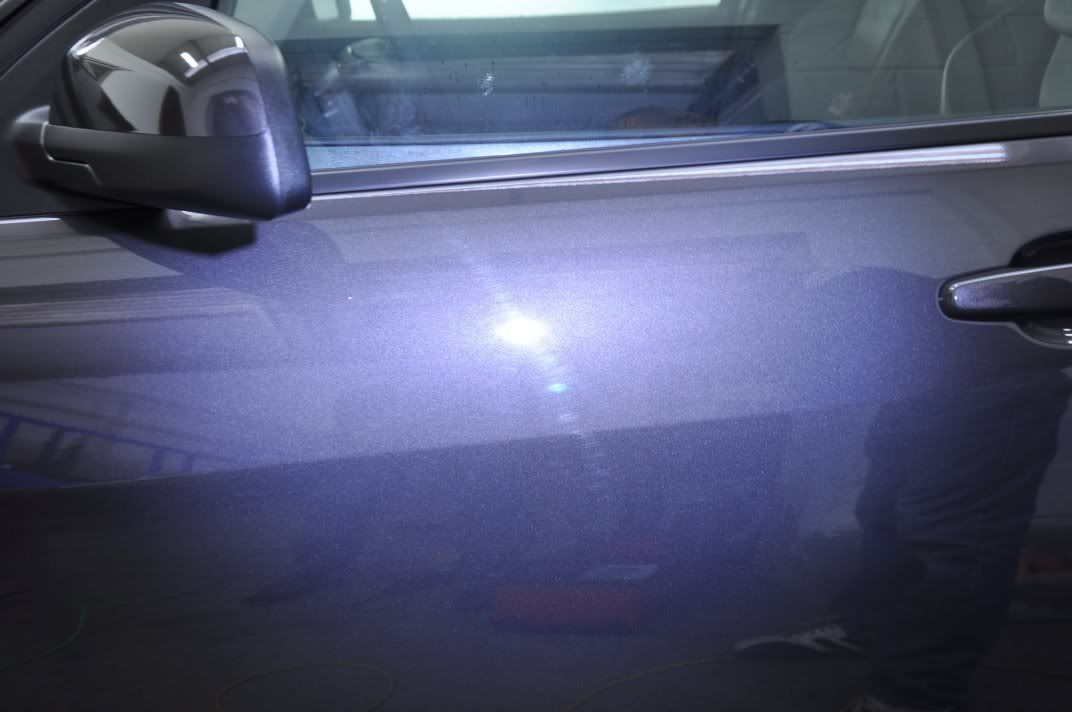
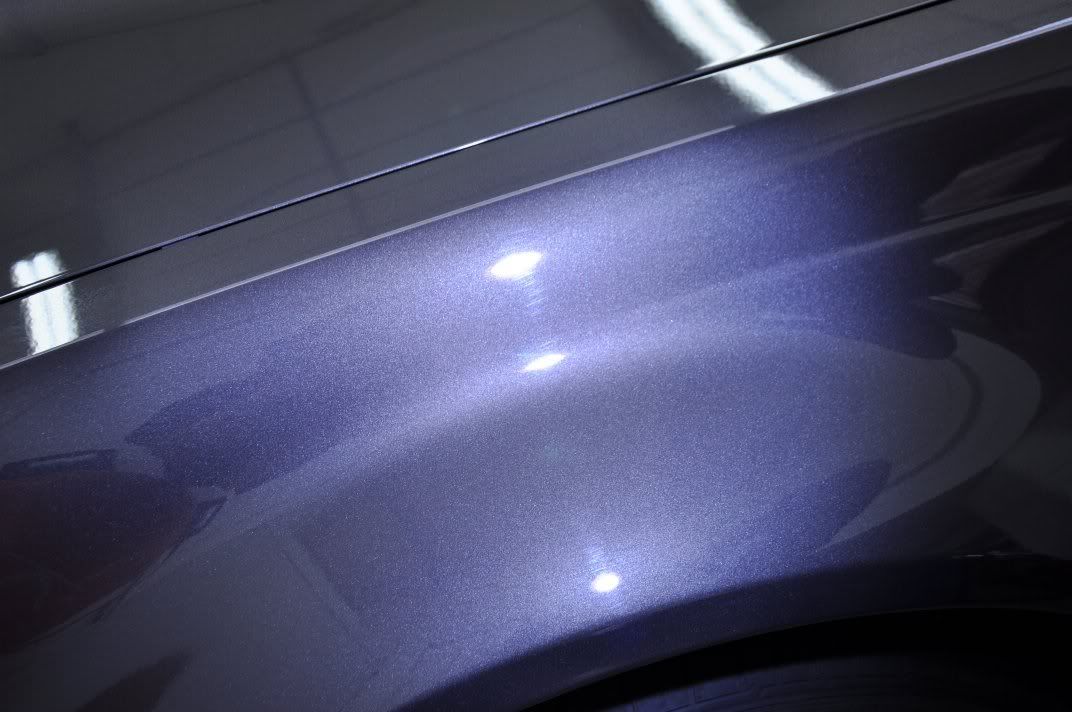
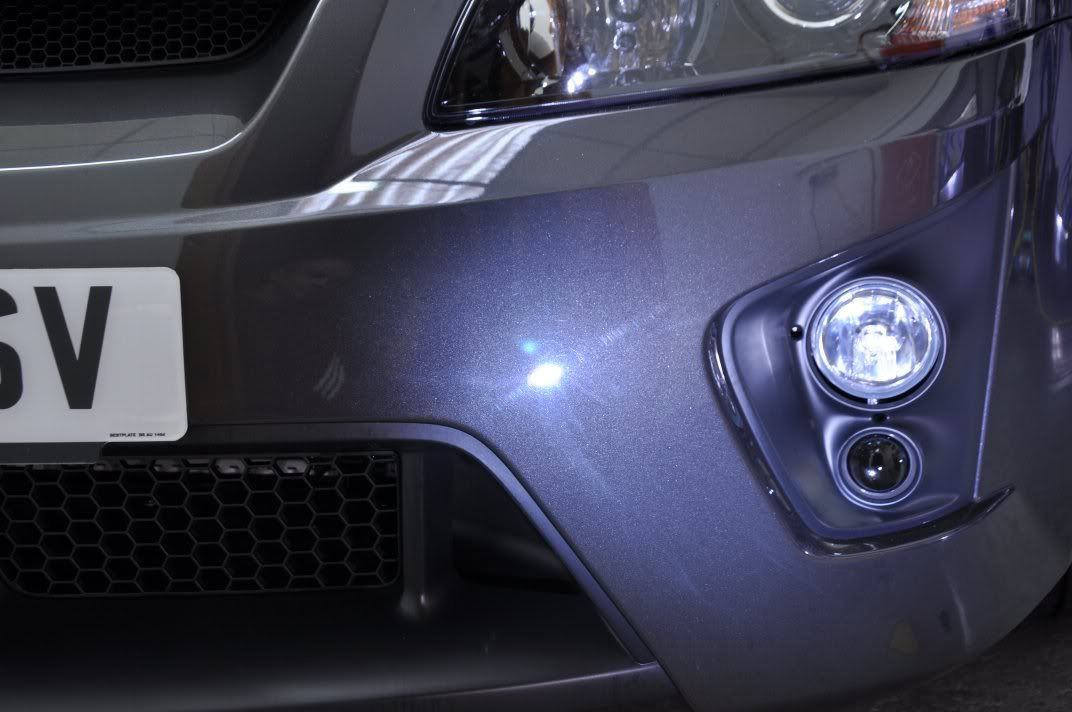
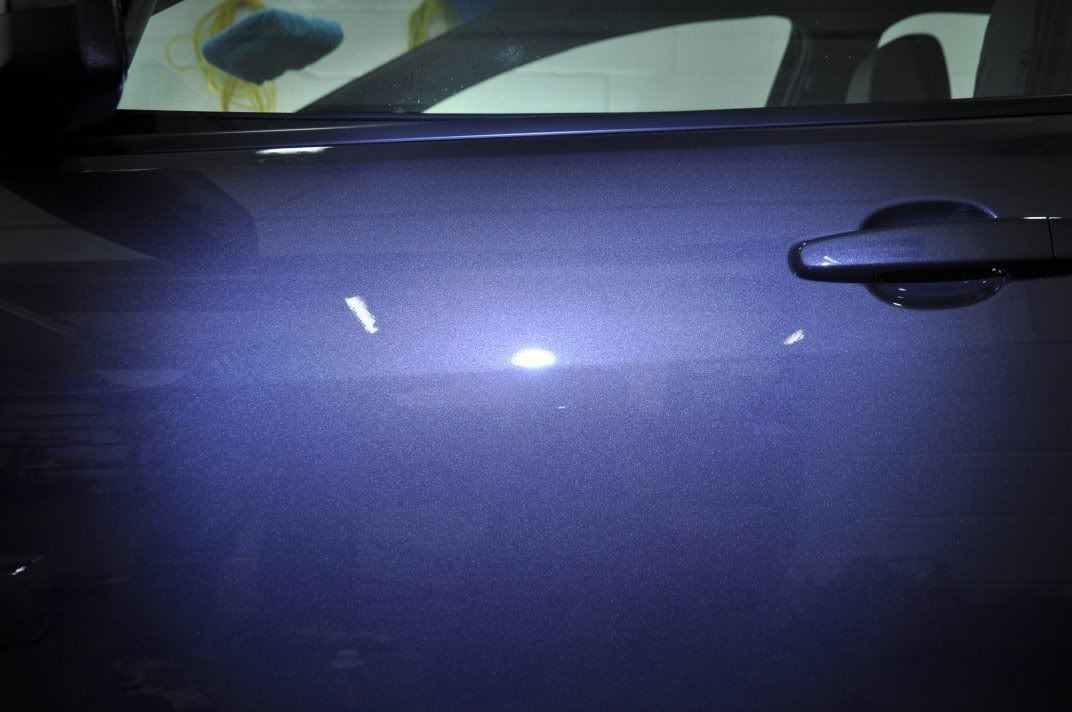
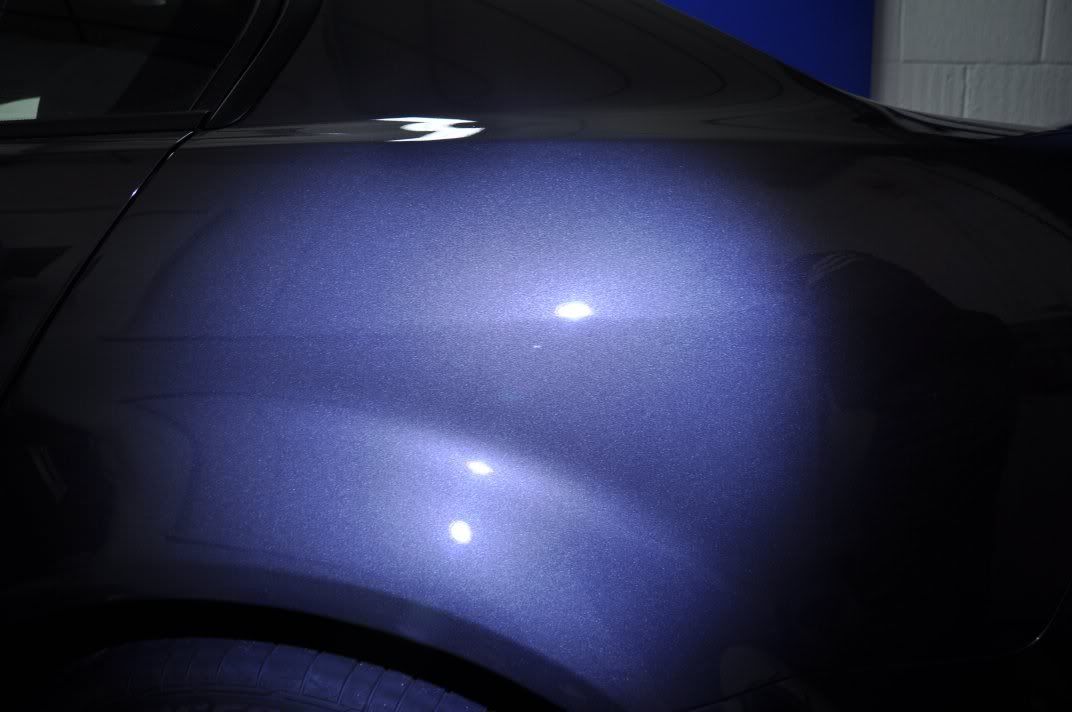
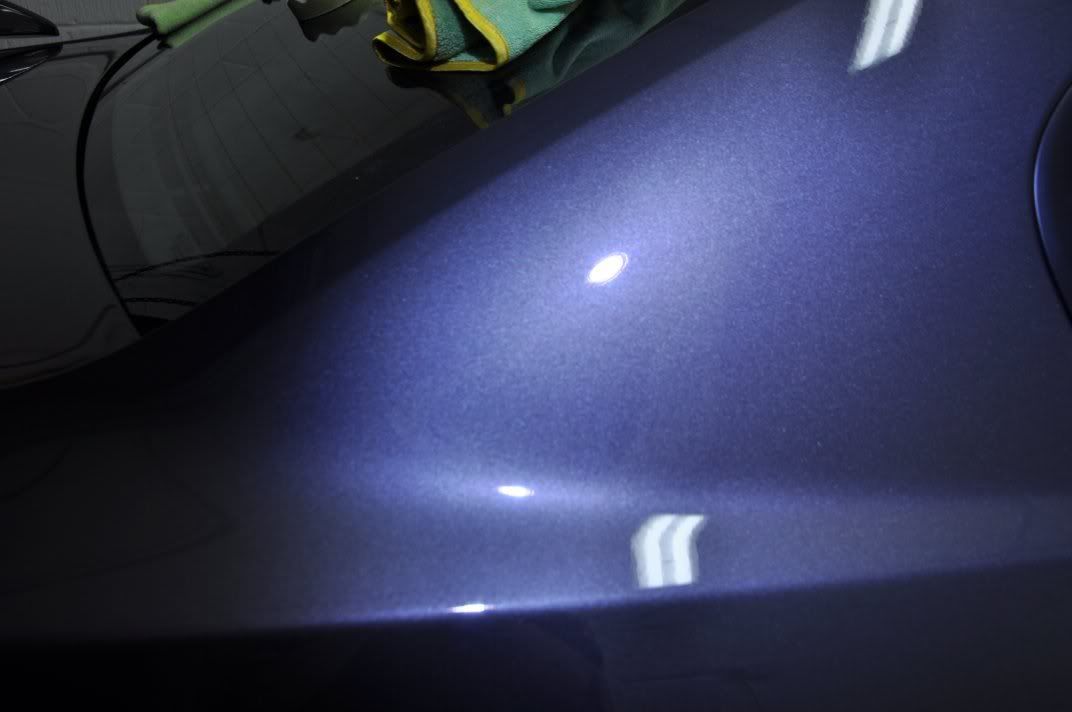
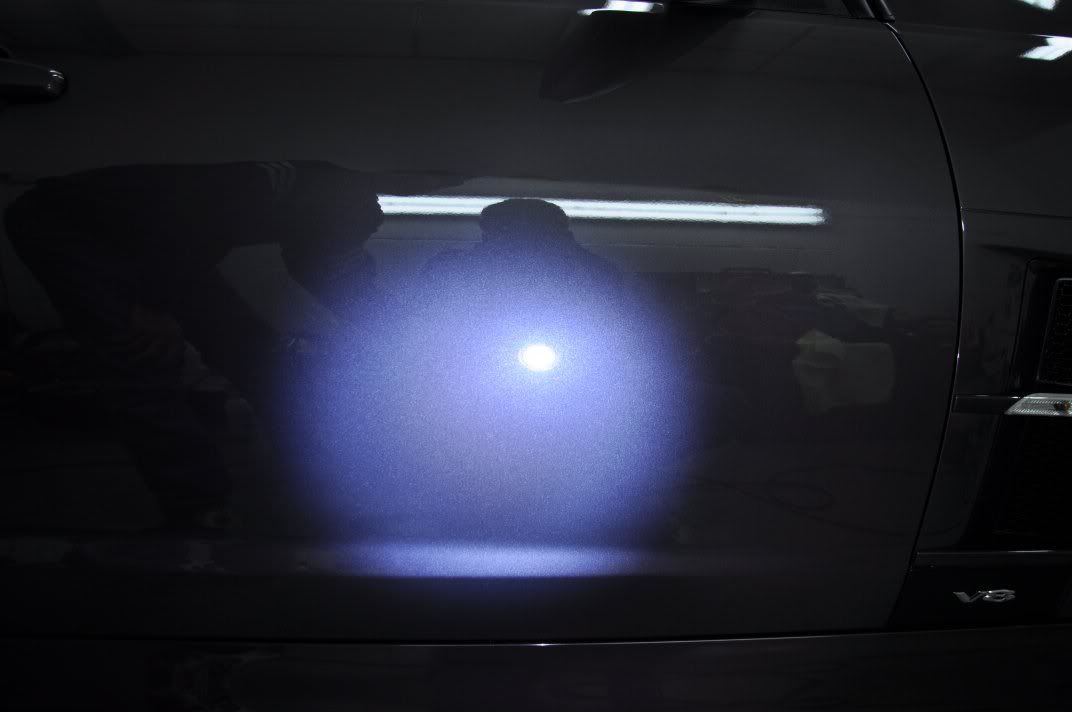
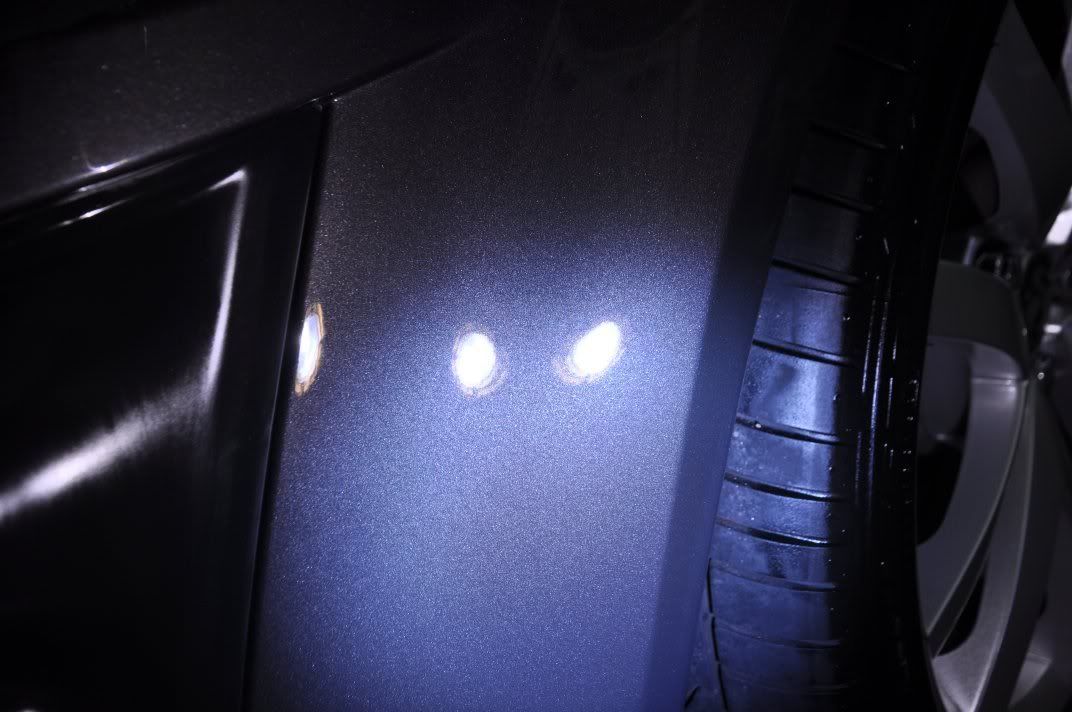
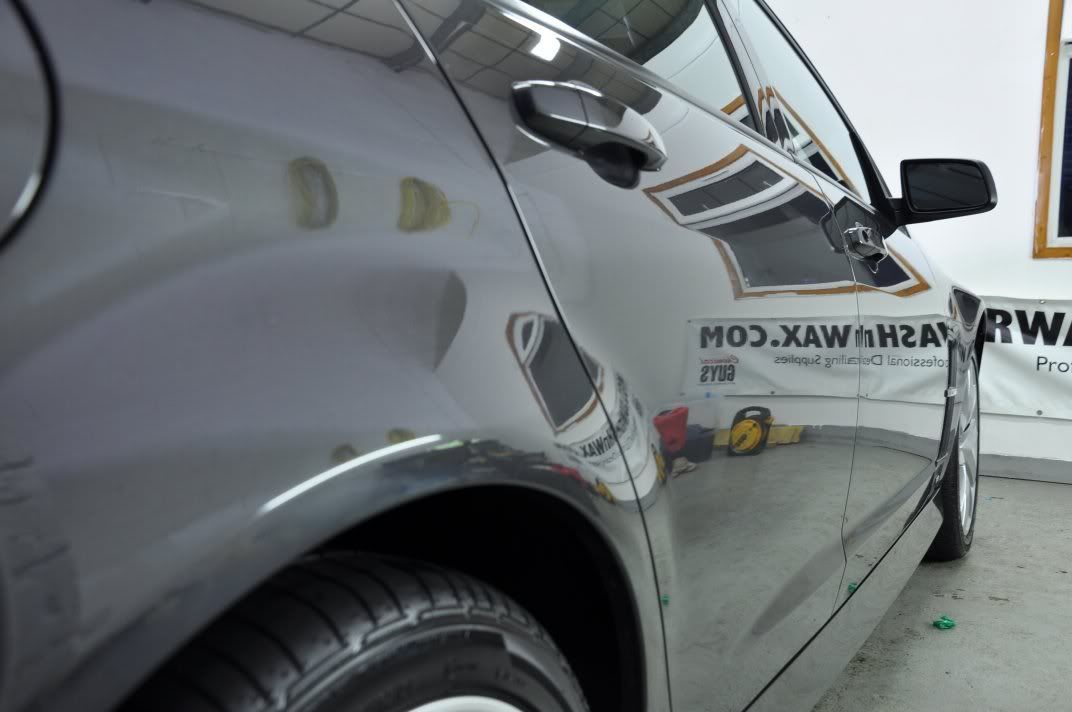
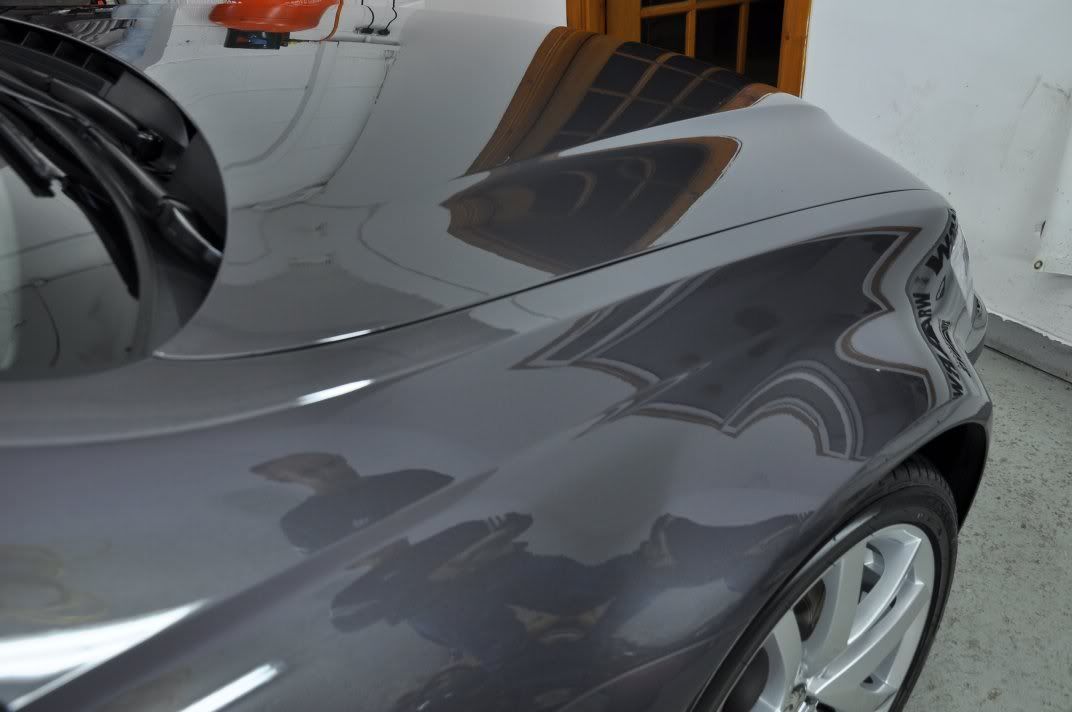
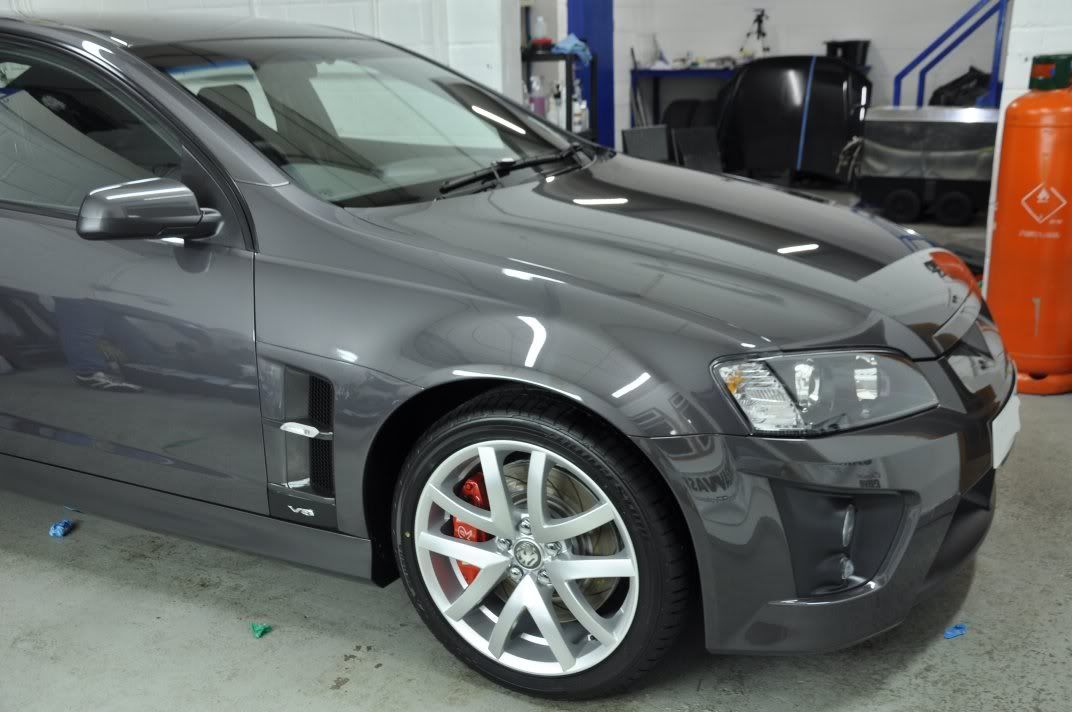
End results, after machining and wipe down with Menzerna Top Inspection, assessed using the metal halide lights...
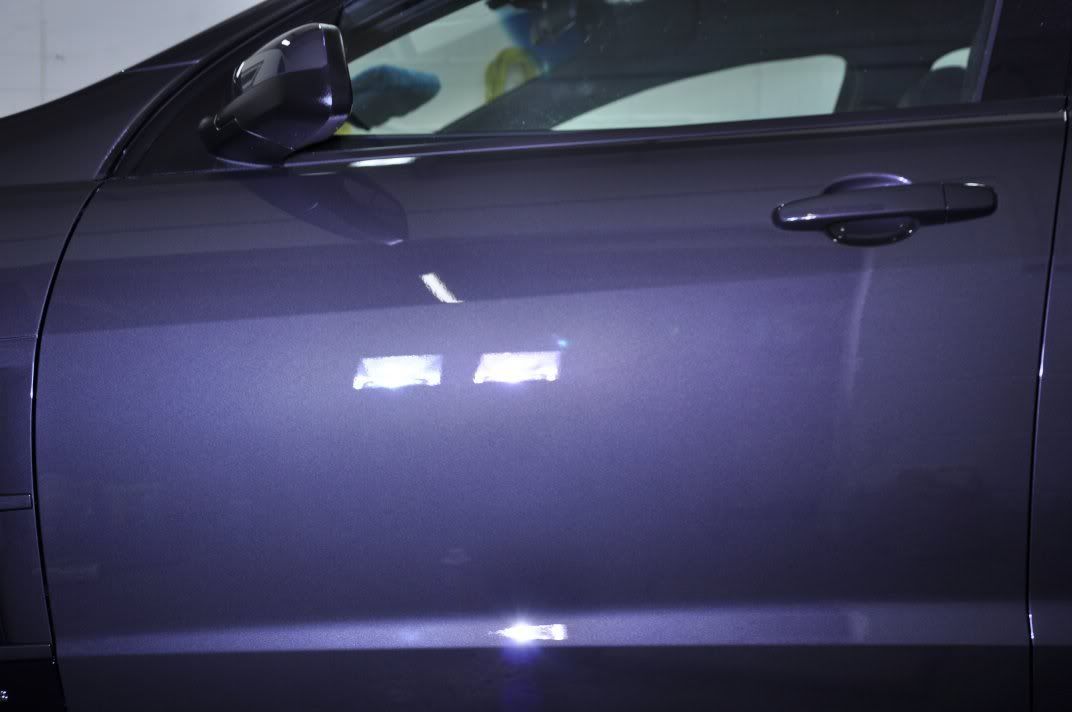

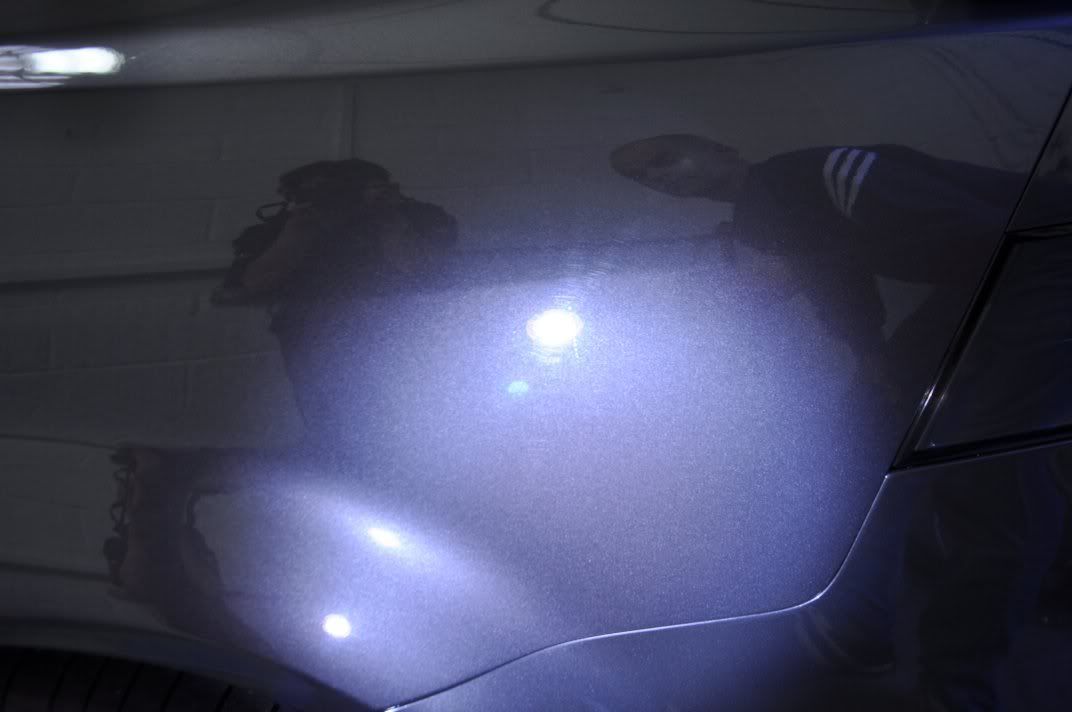
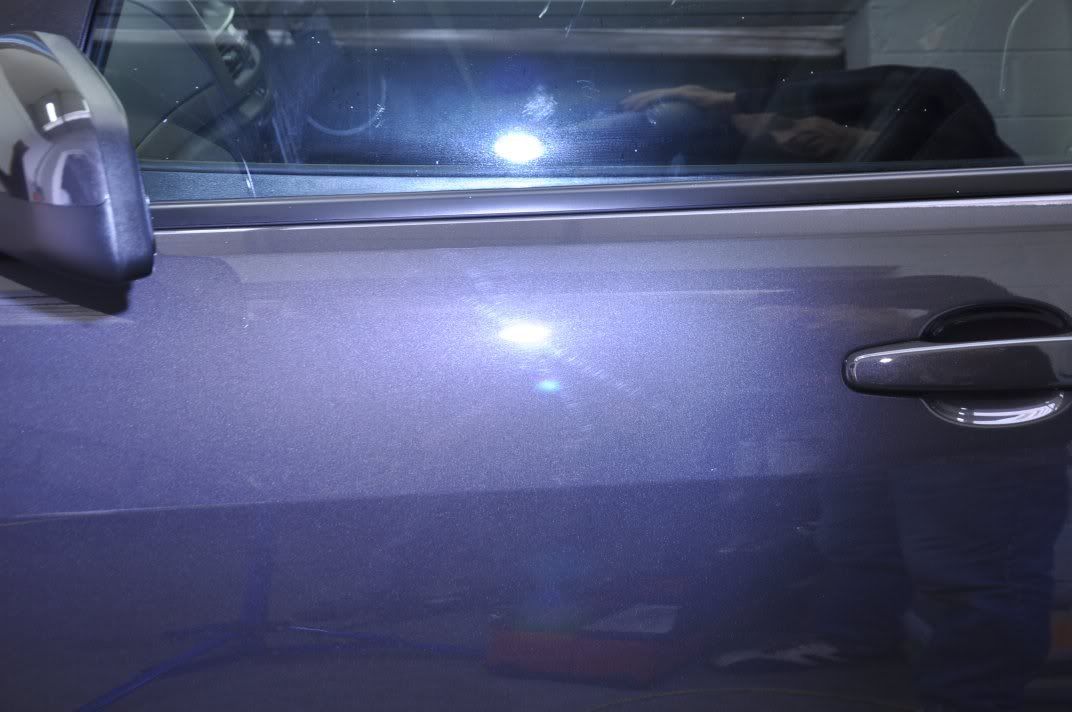
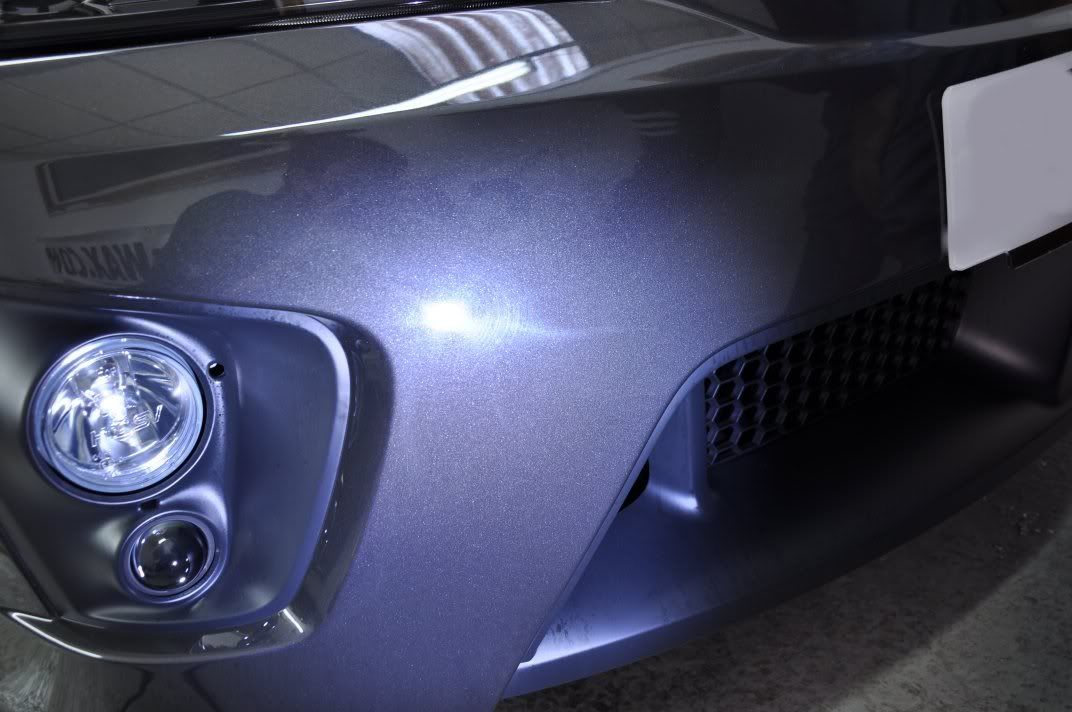
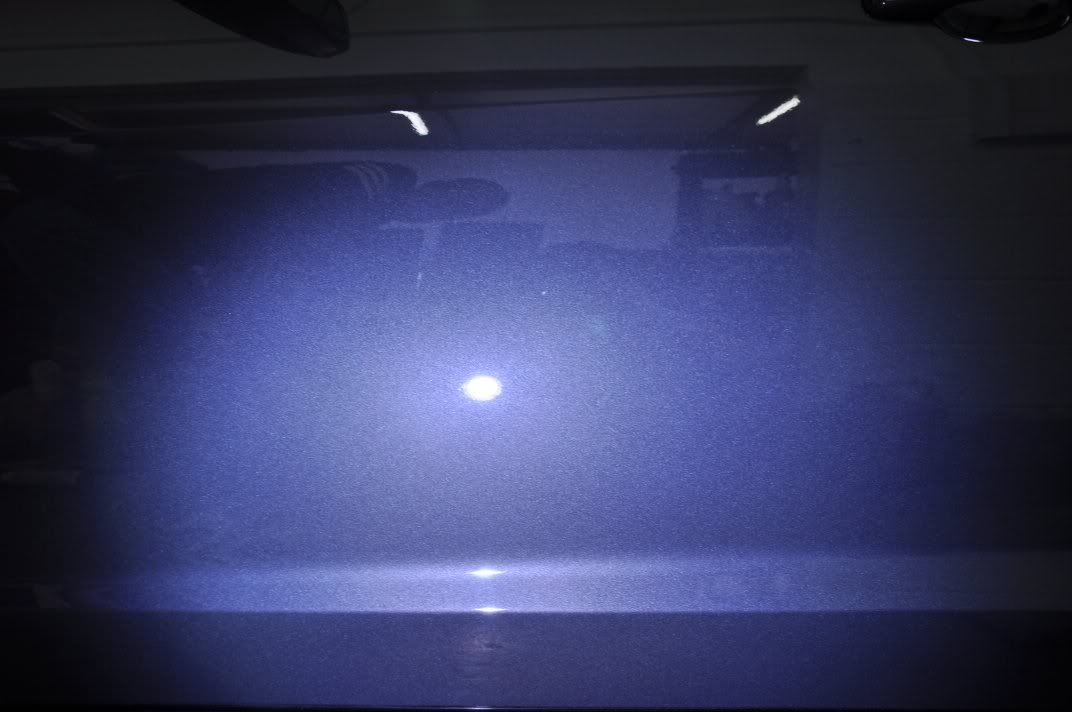
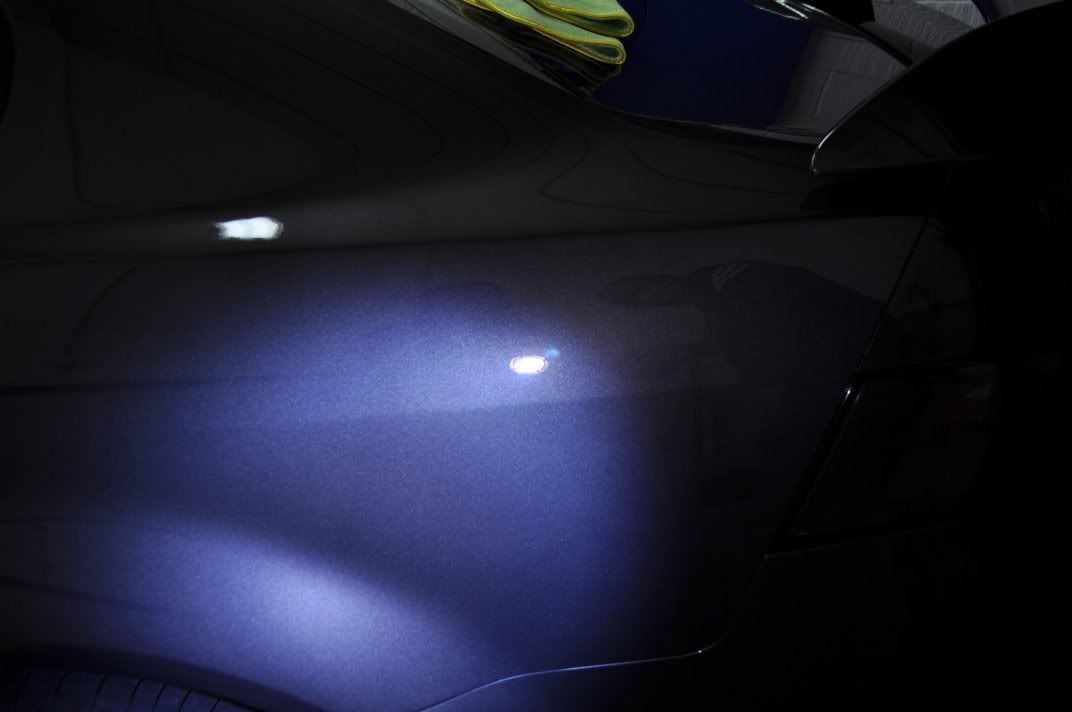
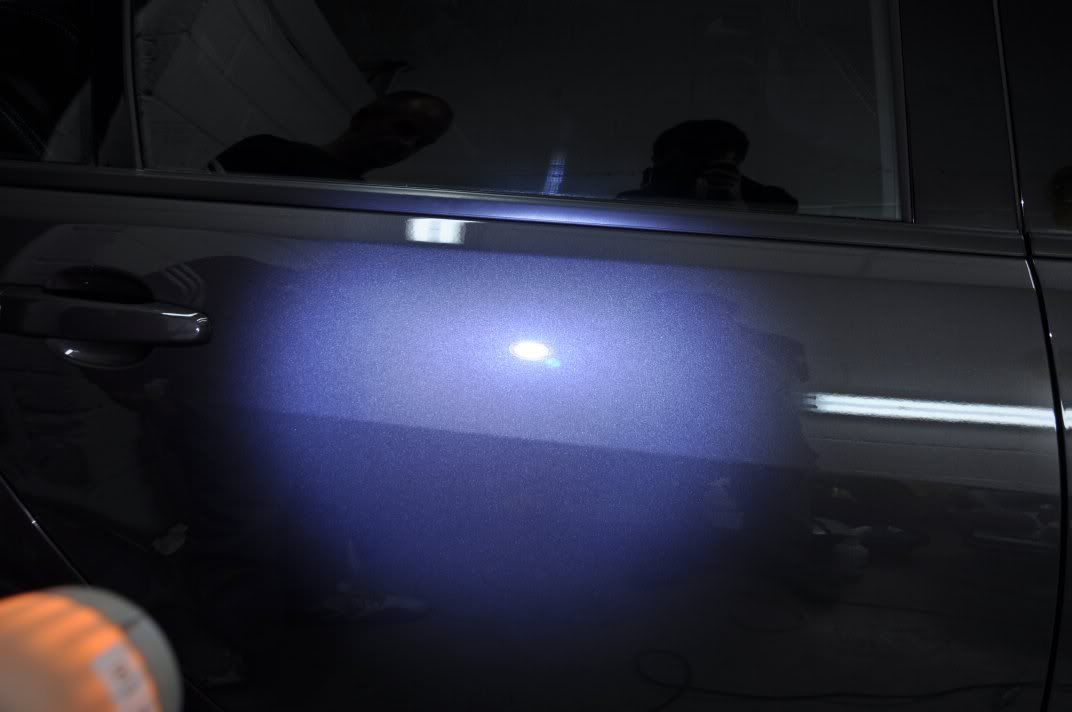
These lights are very good, a million miles better than standard halogen bulbs which can mask and hide a lot of imperfections... but they are still nor as good as the smaller area light from the Sun Gun which for me remains the ultimate light source for finish assessment. So, after shots with the Sun Gun...
The car was debadged at the owner's request...


The paintwork was then protected using Victoria Concours Wax.
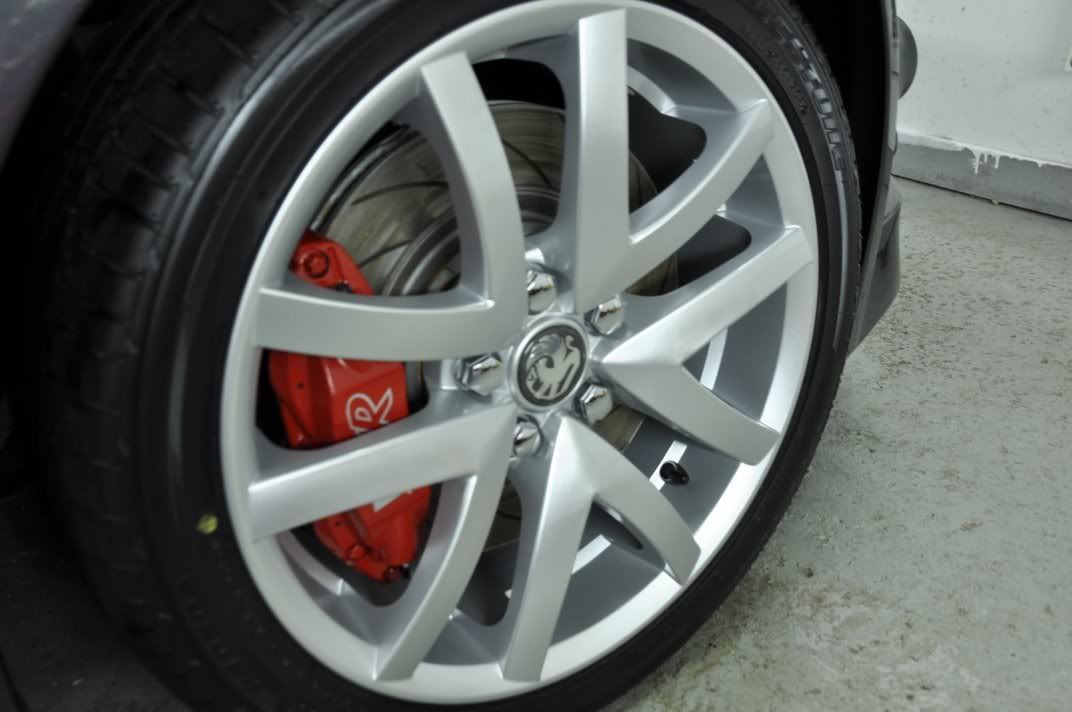
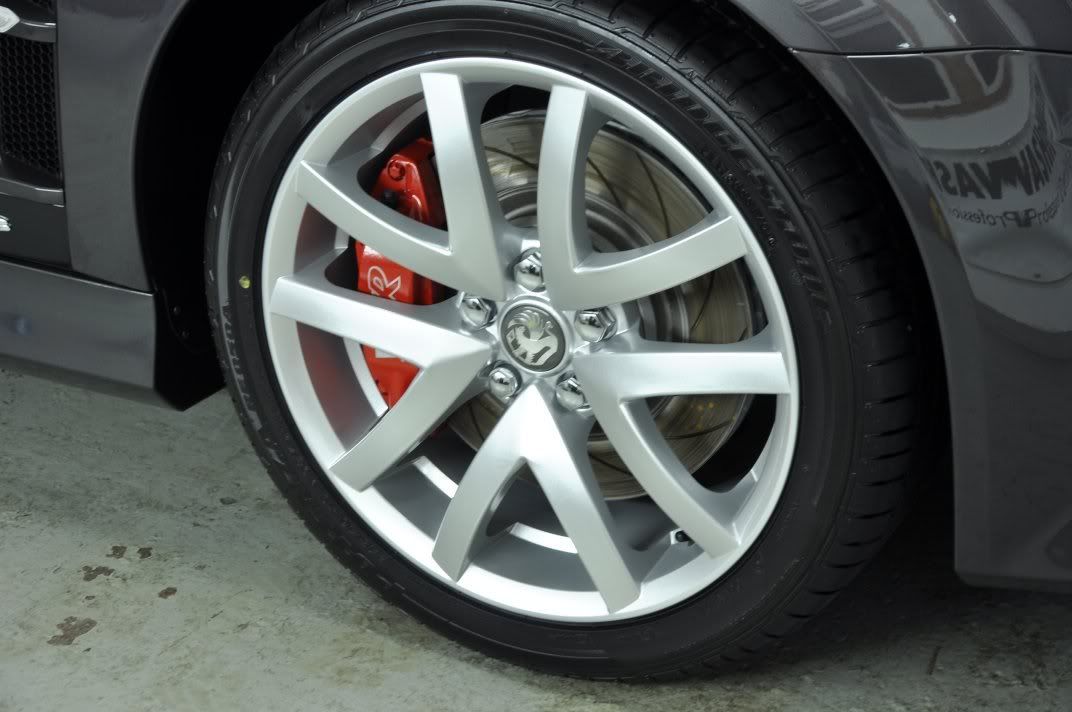
Tyres dressed with Espuma Tyre Dressing, wheels with FK1000P. Trim with Chemical Guys New Look Trim Gel, buffed at the very end of the detail before the after pics to ensure no smearing. Glass was Stoner Invisible Glass.
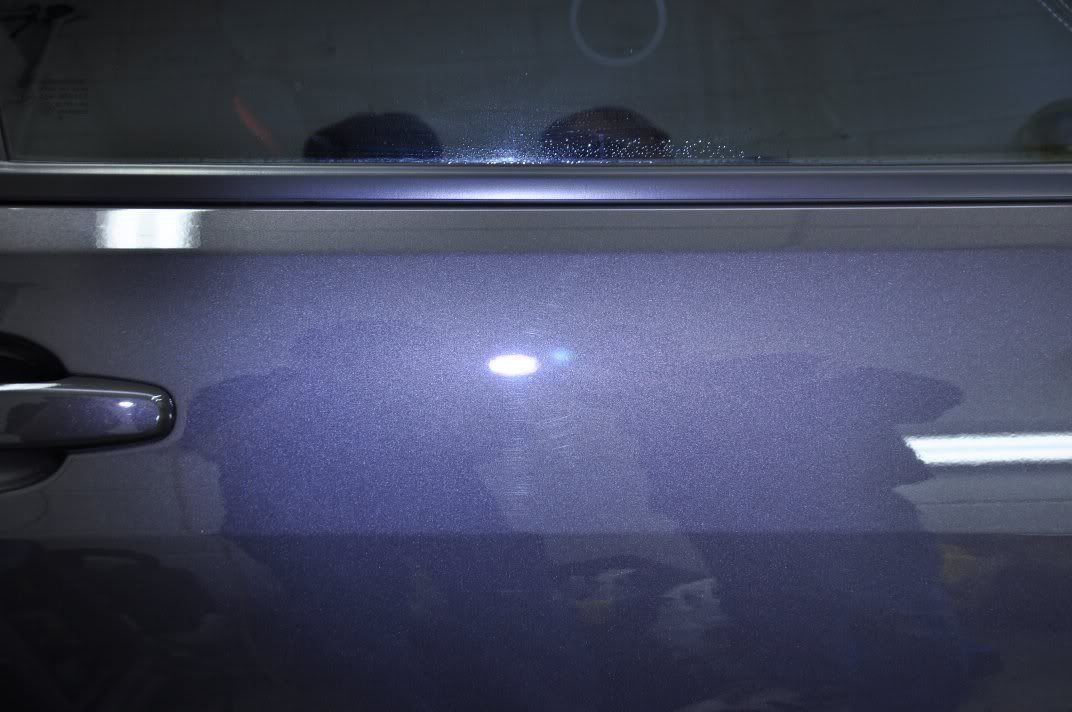
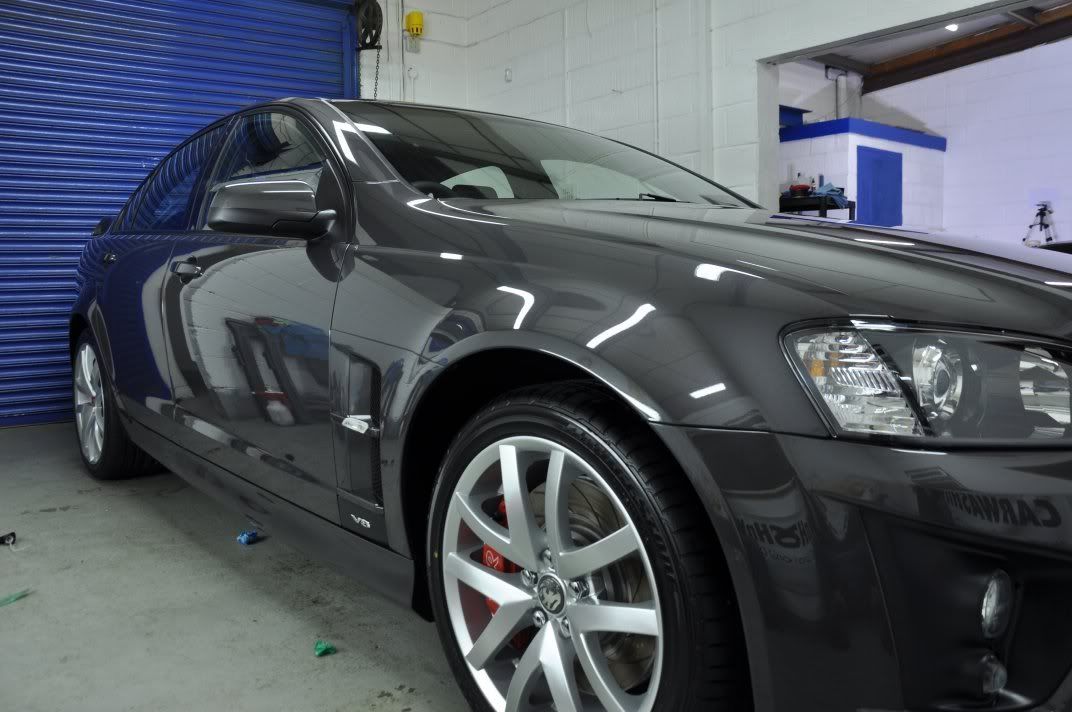
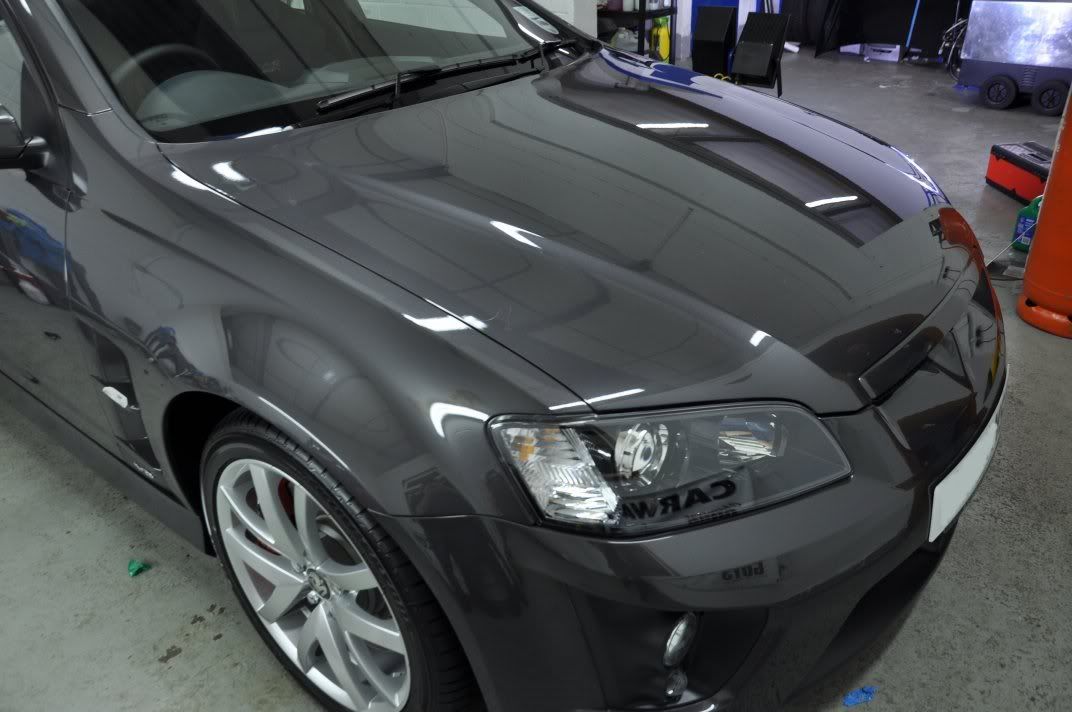
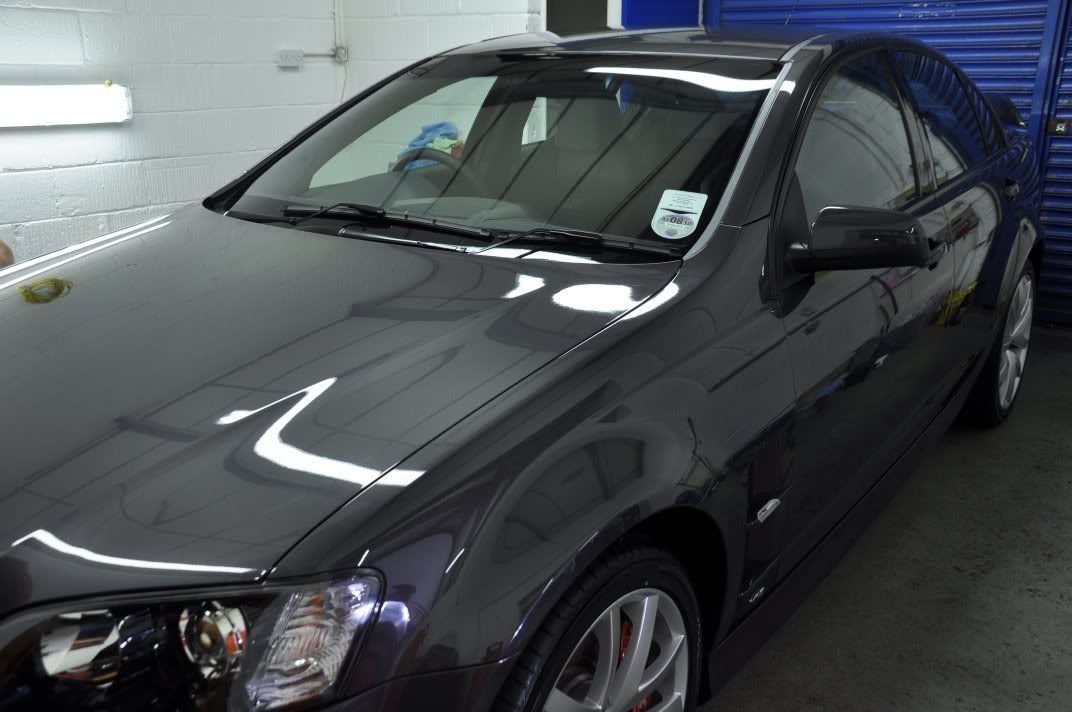
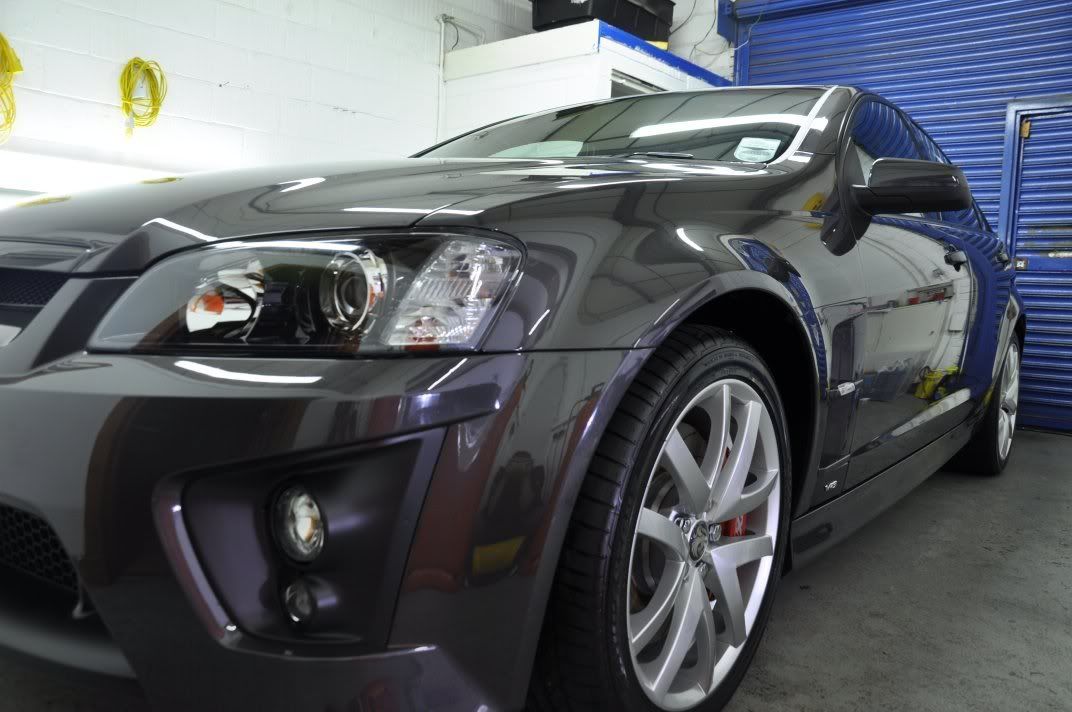
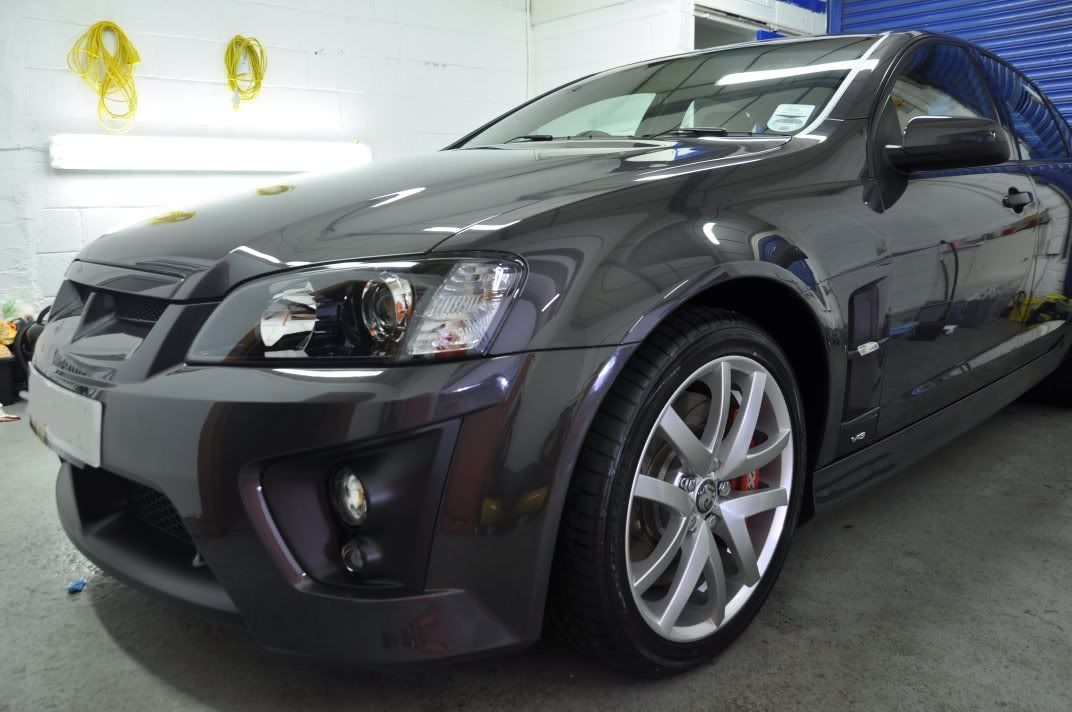
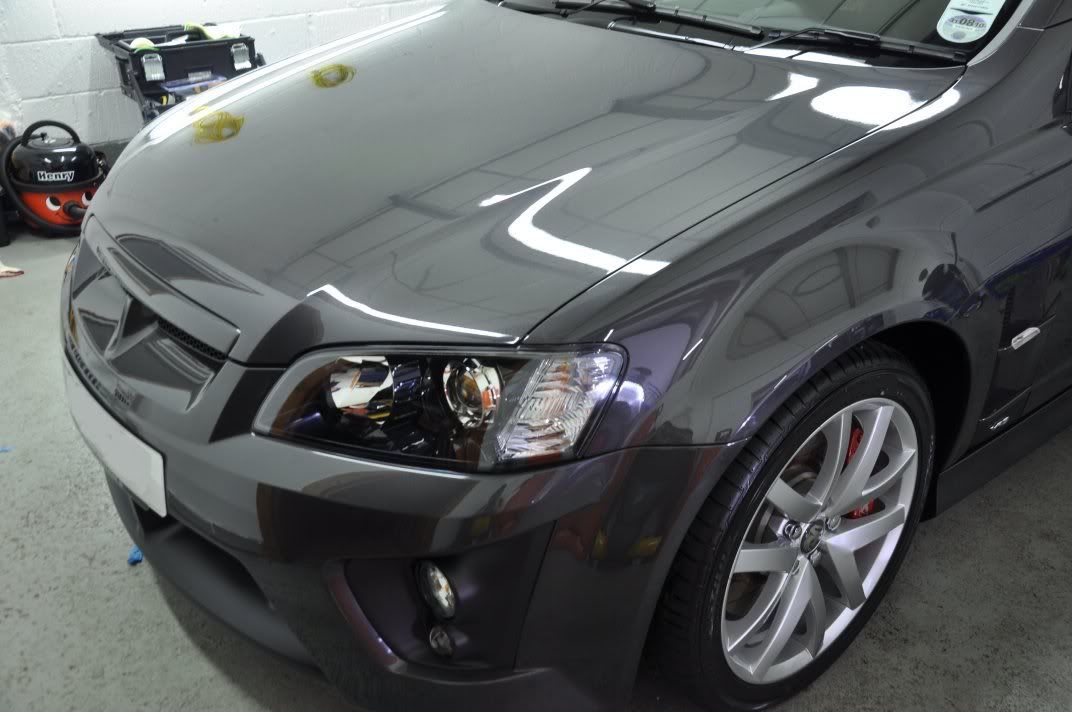
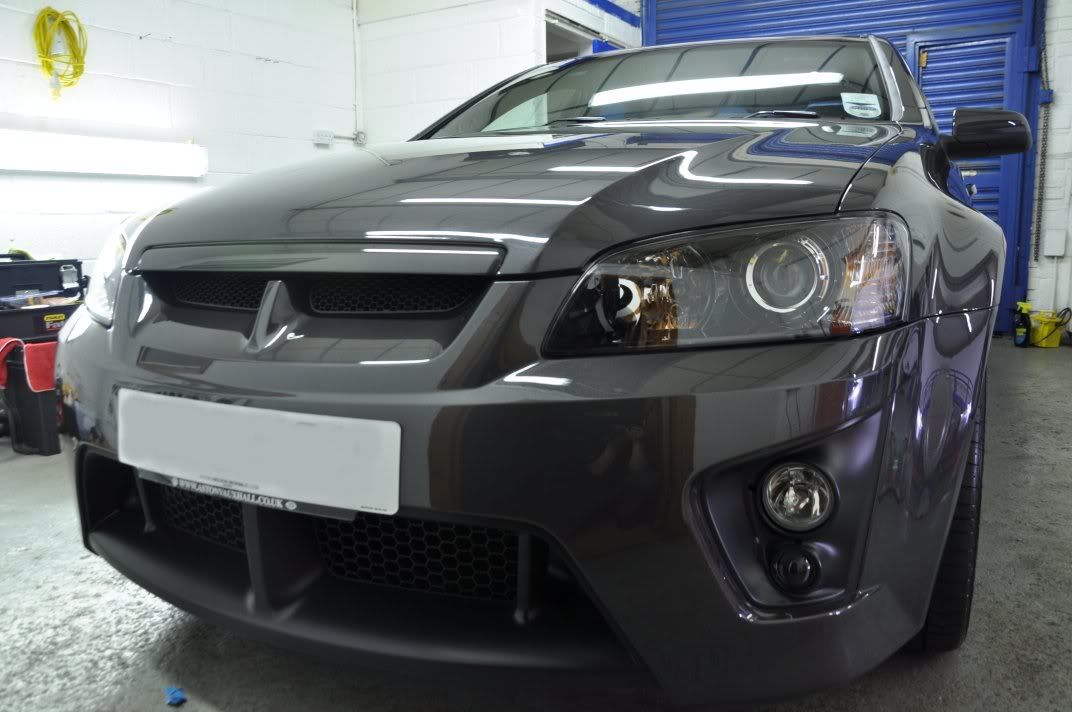
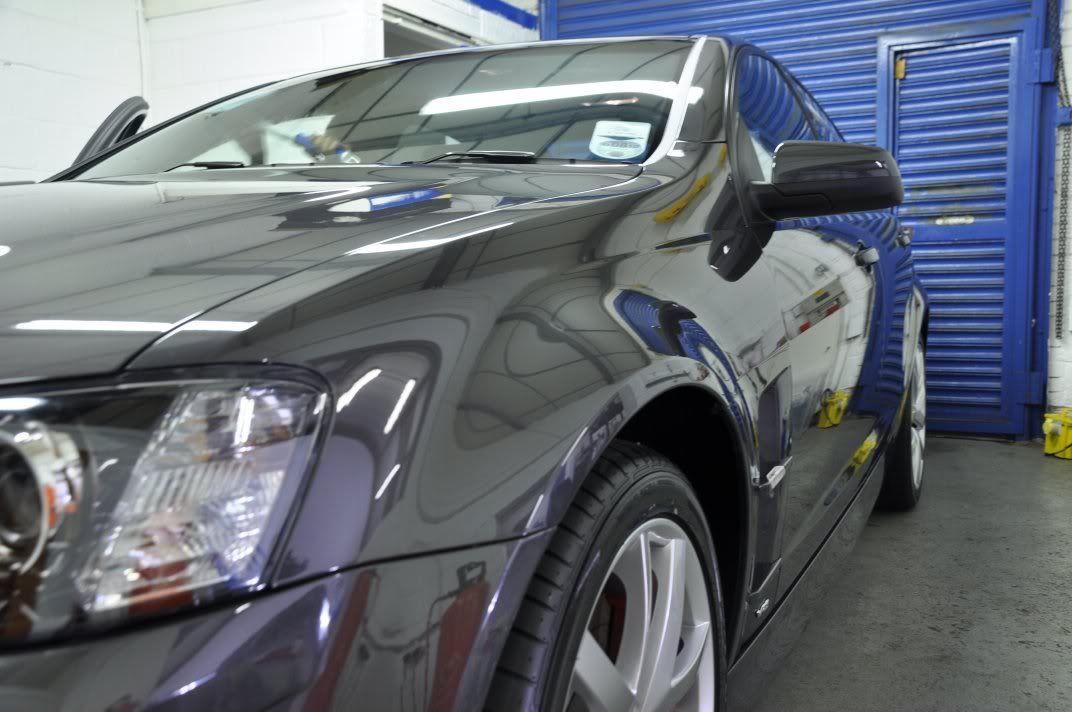
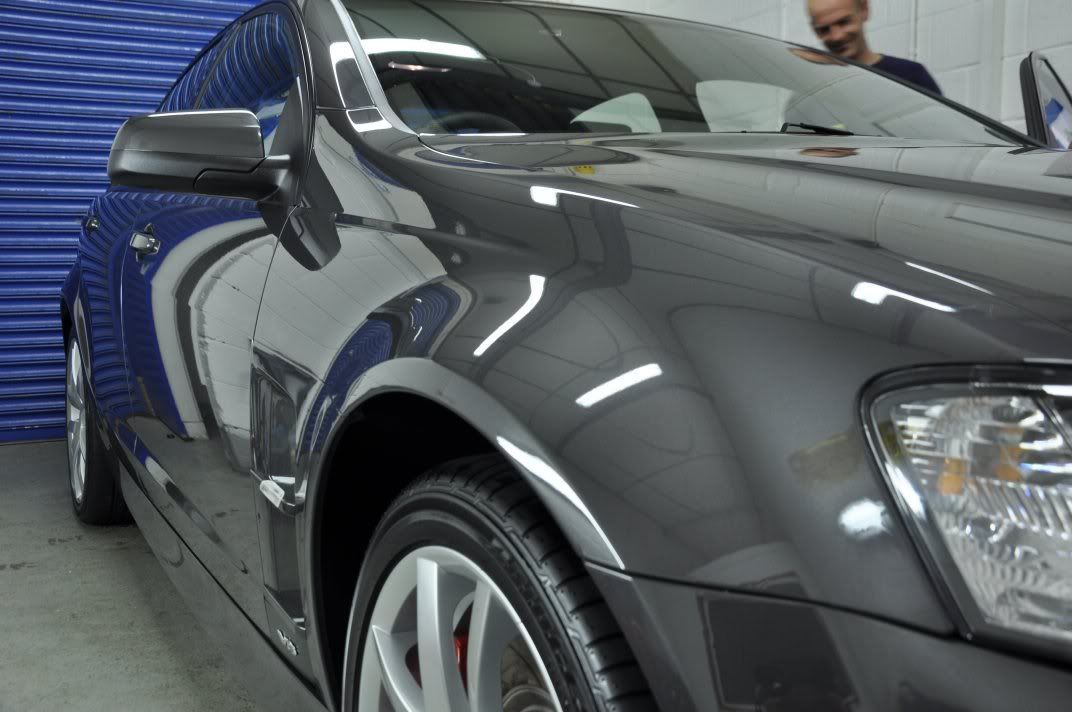
I'm afraid, owing to a finishing time of after midnight and typical Scottish weather (rain), after shots are all indoors... can't be helped sometimes, and I never want to rush a car finished to get pics outside in the daylight! Hopefully the above direct light shots give a good idea of the finish quality achieved, and the following afters show the car off as well as possible after detailing given the restricted space in the unit (there was a lot of contorsionist poses from me to get the full car after shots :lol::lol:
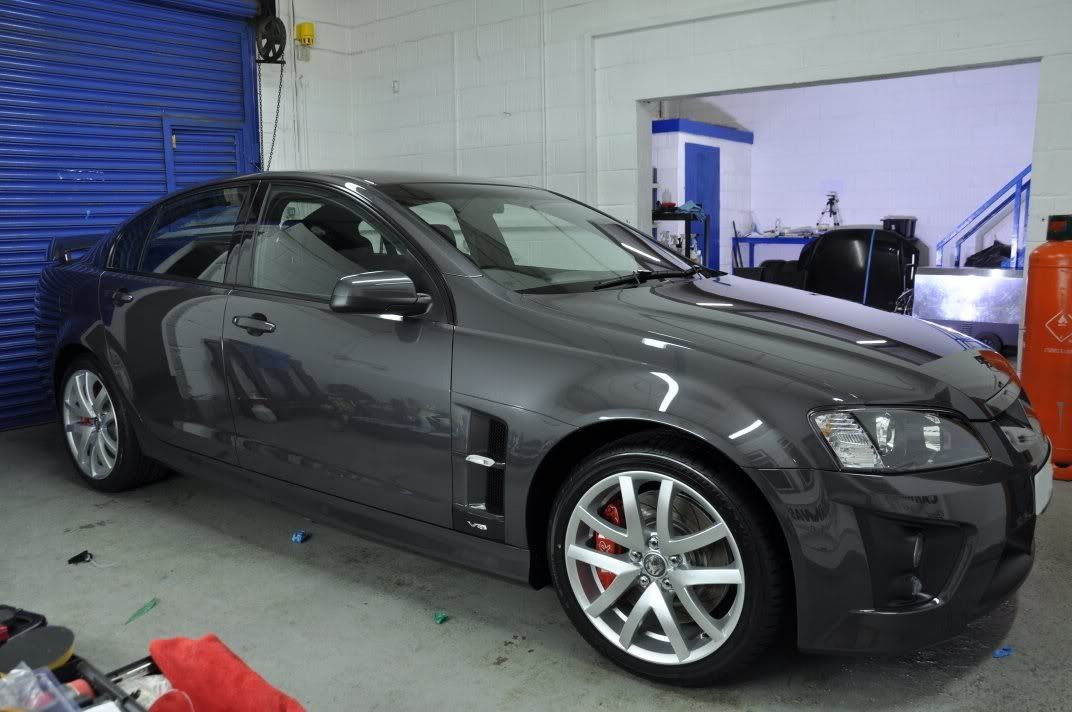
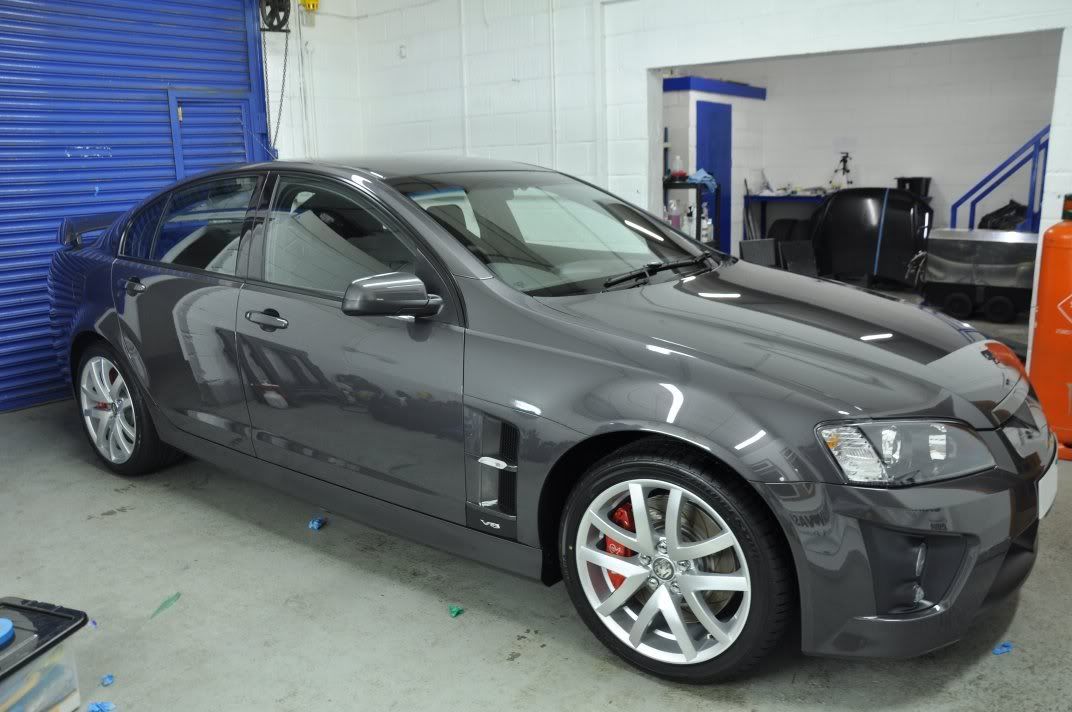
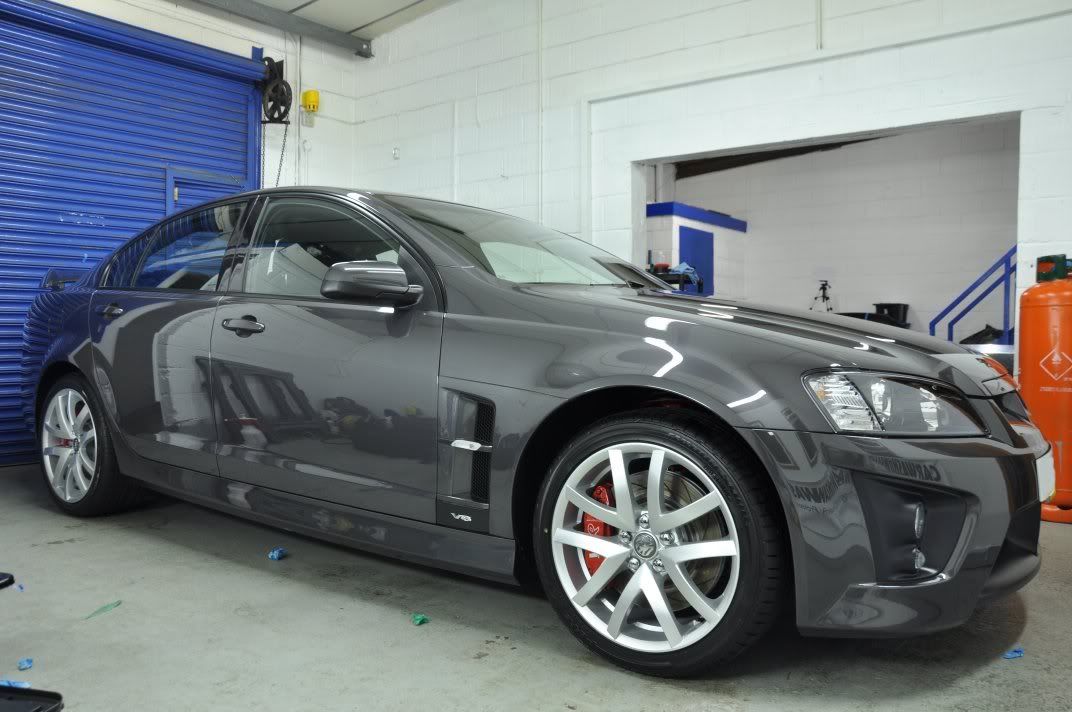
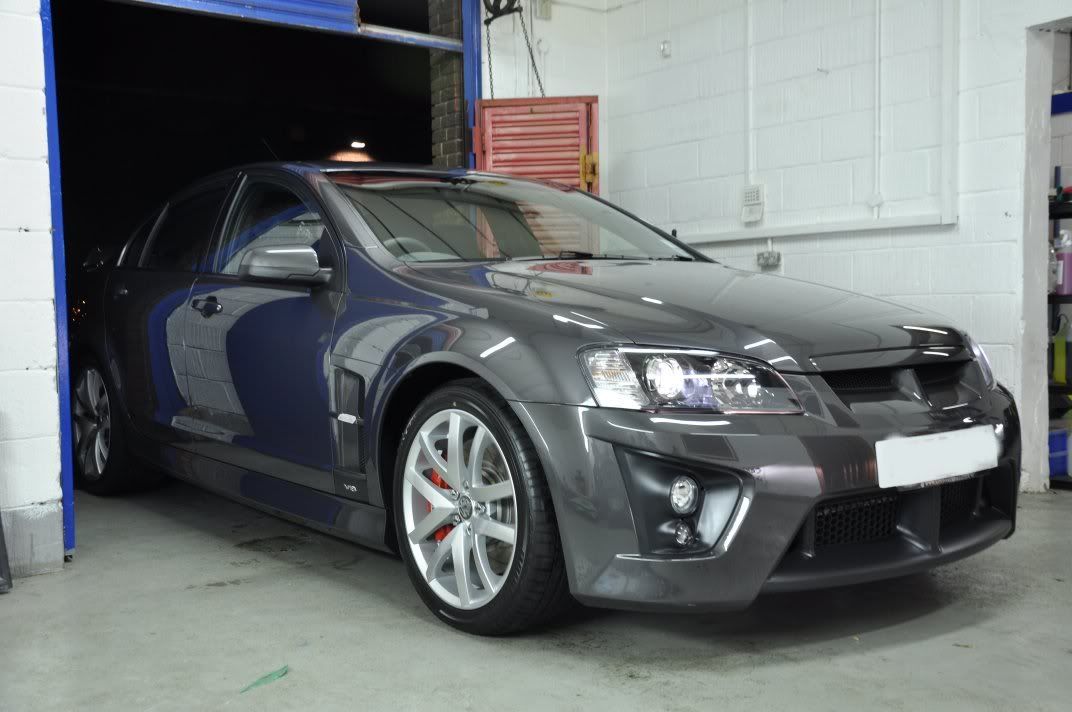
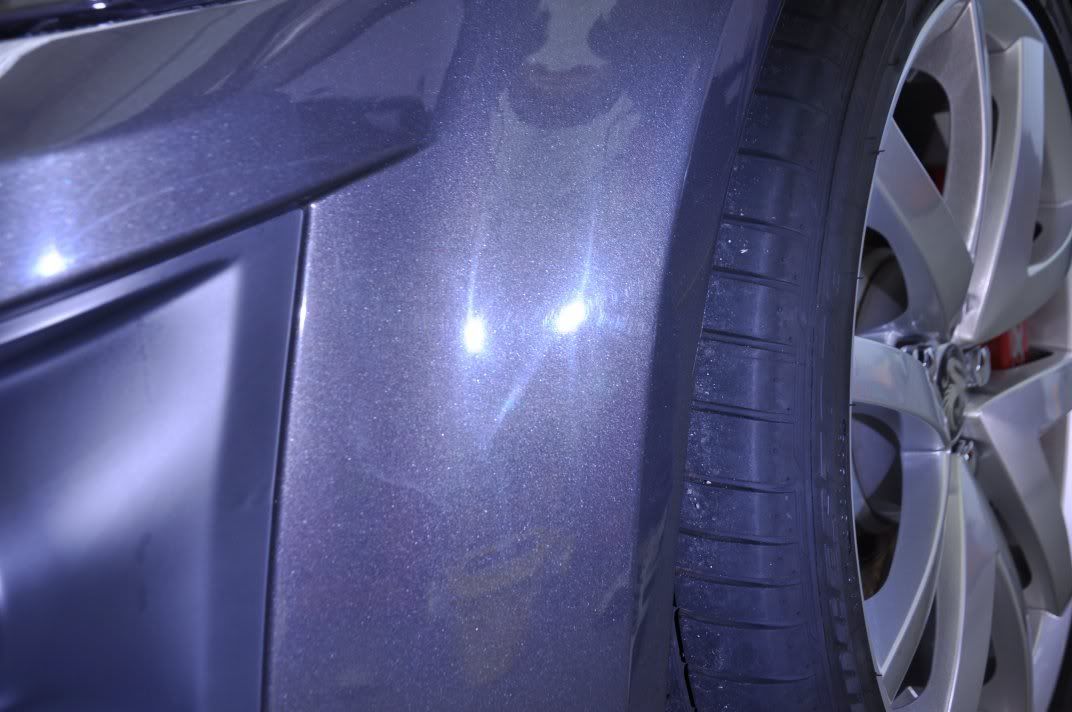
And some more shots from around the car
Enjoy I certainly enjoyed the detail :thumb:
This will be a shorter writeup then normal from me, as we were a man down (lazy Davy was sunning himself at Edition 38, so we had to polish the bumpers ourselves :p:lol::lol
and on such a big car, there was less focus on photographs - got as many as I could to show off the results though The car arrived looking like this...
First off, we set about cleaning the wheels with Bilberry Wheel Cleaner, arches and tyres with G101. The plastics, rubbers and gaps were also all cleaned with G101 as there was transport grime and evidence of film and glue around the car, this process ensured that all the intricate areas were thoroughly cleaned out (such a process should form a part of every detail washing stage
),The car was then foamed and rinsed, then washed using the two bucket method and the new Chemical Guys shampoo, Glossworkz which was nice to use and the smell reminded me a lot of Zaino Z7.
After washing and drying, we went around the car looking for little bits of transport film...
and tar and glue residue...
that was on the car. The film was gently peeled off, and large area of glue were all removed with Reflection Perfection Tar & Glue remover... this was carried out after the first was as on large areas, we chose to spray on and gently wipe off the glue after a dwell time, and this required clean paint to avoid marring. Once fully de-glued and all film removed, the car was then washed down again using Optimum No Rinse, dried off and then clayed with Meguiars QuikClay and Last Touch as a lube.
Once fully cleaned and decontaminated it was time to fully assess the paint finish. Before washing it was clear to see there were some marks on the car, but after cleaning it was then clear to see these marks were light and not excessive... though for a new car, they shouldn't be there at all! We started with the bonnet...
Assessing the polishing and pad combinations starting from the least aggressive (Menzerna PO85RD Final Finish on a finishing pad) and working up, we decided on Menzerna PO106FA Final Finish on a 3M Blue Waffle finishing pad for the required level of correction and finishing in a single polishing stage. The polish was applied uisng a regenerating technique as follows..
- Spread at 600rpm
- Begin working at 1200rpm, slow machine passes and light pressure for three or four passes till residue evenly spread
- Work at 1500 - 1800rpm, light to medium pressure and moderate speed machine movements until residue goes clear
- Reduce speed to 1200rpm, supporting weight of the machine for two or three slow passes to revive polish
- Repeat 1500-1800rpm passes until residue clear
- Refine at 1200rpm with light pressure, slow machine passes for a couple of passes
- Burnish at 900rpm supporting the weight of the machine for a couple of passes
This paint presented a very slight drag to polishing, and higher than usual panel temperatures of up to 80degC during polishing - the above technique moderated the panel temperatures allowing longer work times for greater levels of correction and also better clarity in the finish through working the abrasives. The results after...
Nice glossy bonnet - doesn't show you the quality of the finish though, so out with the Sun Gun to really assess it:
Happy with that
Onto the rest of the car, which is bigger in person that it looks in pictures!! Before shots from around the car...
General light marring. The front bumper however, revealed a slightly different story, having clearly seen machine polishing work in the past as evidenced by the holograms...
Correction over the majority of the car was as described above with Menzerna PO106FA. The front bumper and a couple of other sections where slightly deeper marks were found required Menzerna PO85RD3.02 Intensive Polish applied uisng a 3M Yellow Waffle polishing pad as follows:
- Spread at 600rpm
- Work at 1200rpm with light pressure to evenly spread residue
- Work at 1800rpm with moderate pressure, slow to medium machine movements until residue goes clear
No refining stage was carried out as th IP was followed with Menzerna PO85RD Final Finish applied using the regenerating method described above to maximise the clarity by increasing the work time.
End results, after machining and wipe down with Menzerna Top Inspection, assessed using the metal halide lights...
These lights are very good, a million miles better than standard halogen bulbs which can mask and hide a lot of imperfections... but they are still nor as good as the smaller area light from the Sun Gun which for me remains the ultimate light source for finish assessment. So, after shots with the Sun Gun...
The car was debadged at the owner's request...
The paintwork was then protected using Victoria Concours Wax.
Tyres dressed with Espuma Tyre Dressing, wheels with FK1000P. Trim with Chemical Guys New Look Trim Gel, buffed at the very end of the detail before the after pics to ensure no smearing. Glass was Stoner Invisible Glass.
I'm afraid, owing to a finishing time of after midnight and typical Scottish weather (rain), after shots are all indoors... can't be helped sometimes, and I never want to rush a car finished to get pics outside in the daylight! Hopefully the above direct light shots give a good idea of the finish quality achieved, and the following afters show the car off as well as possible after detailing given the restricted space in the unit (there was a lot of contorsionist poses from me to get the full car after shots :lol::lol
:And some more shots from around the car
Enjoy
I certainly enjoyed the detail :thumb:


Comment