

 Tweet
Tweet
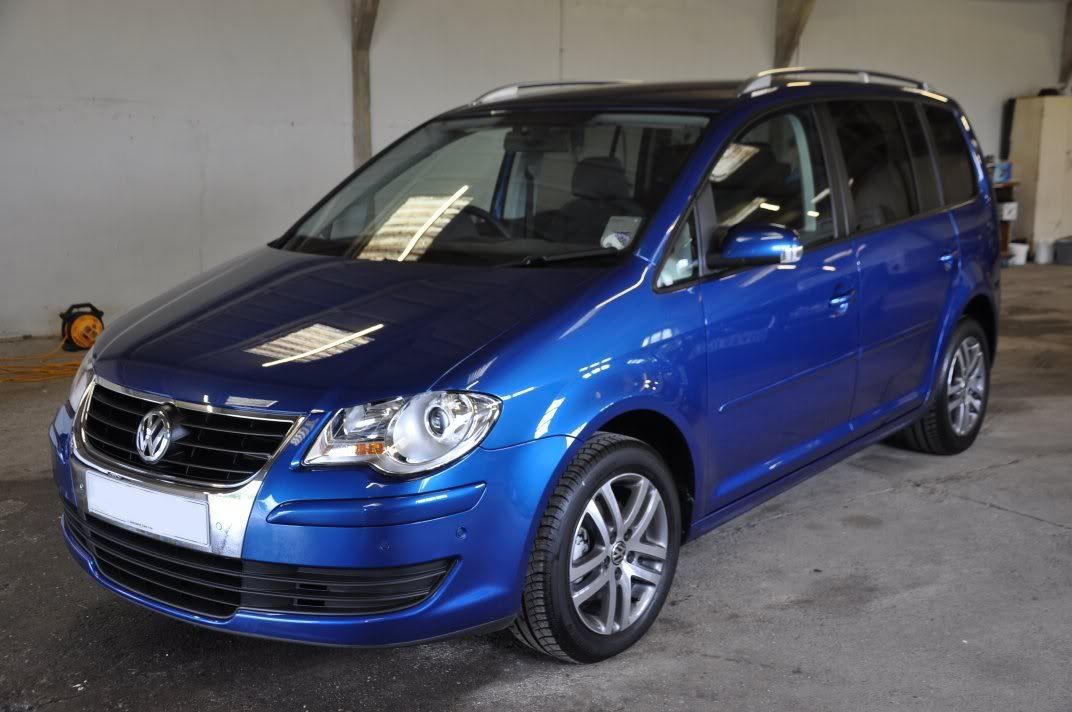
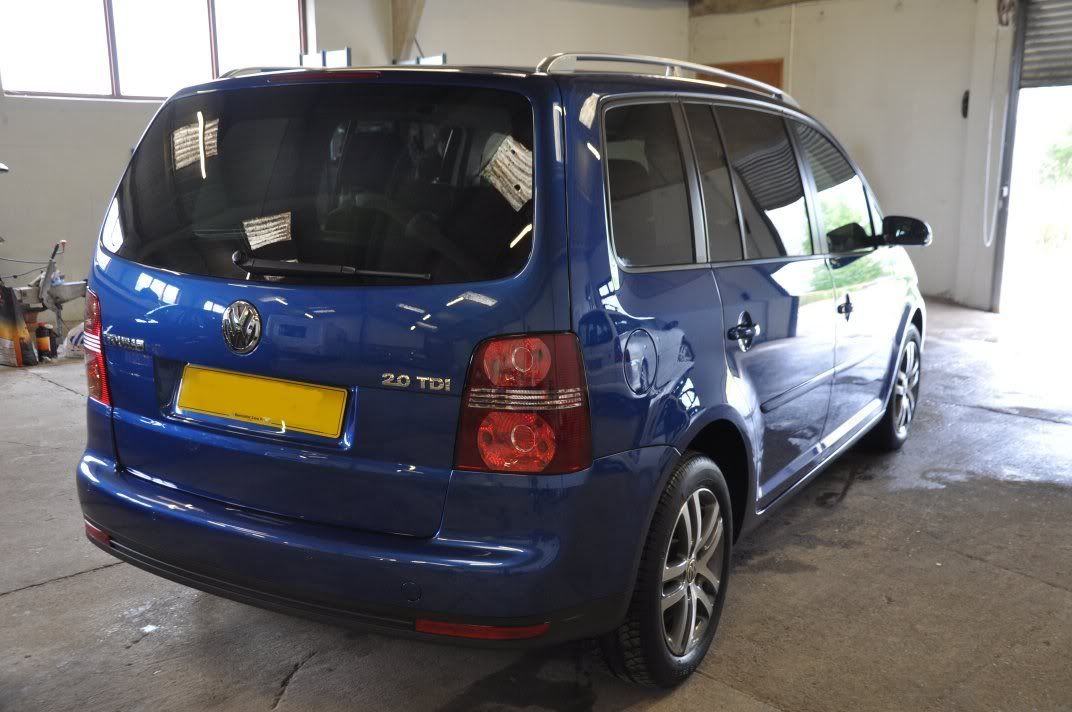
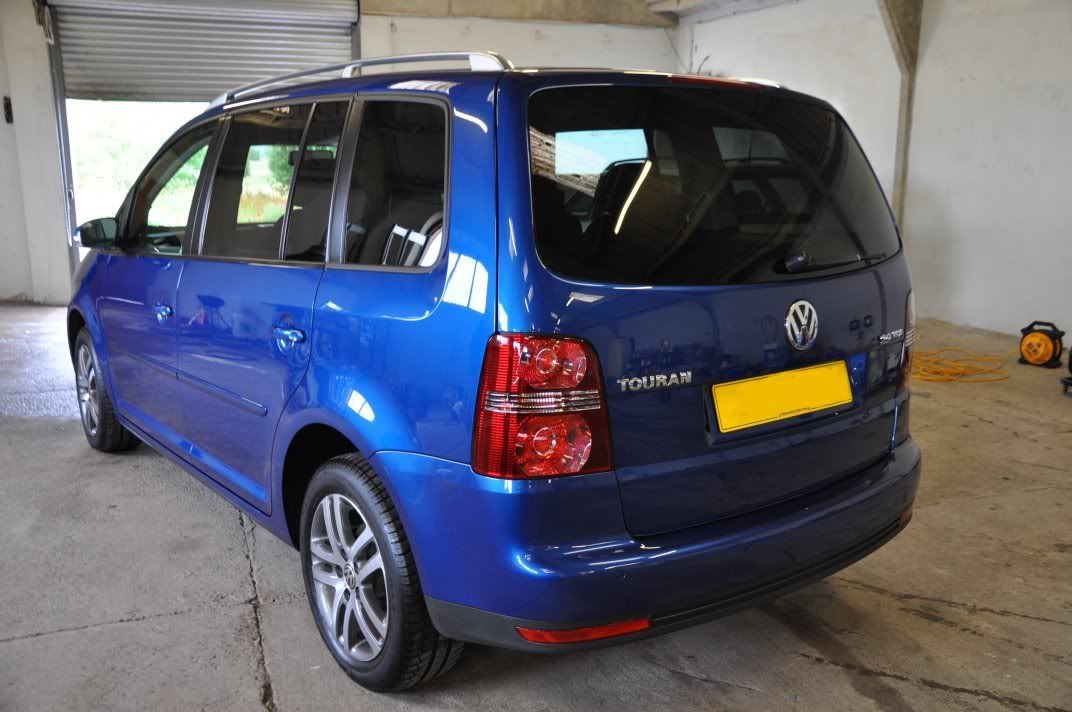
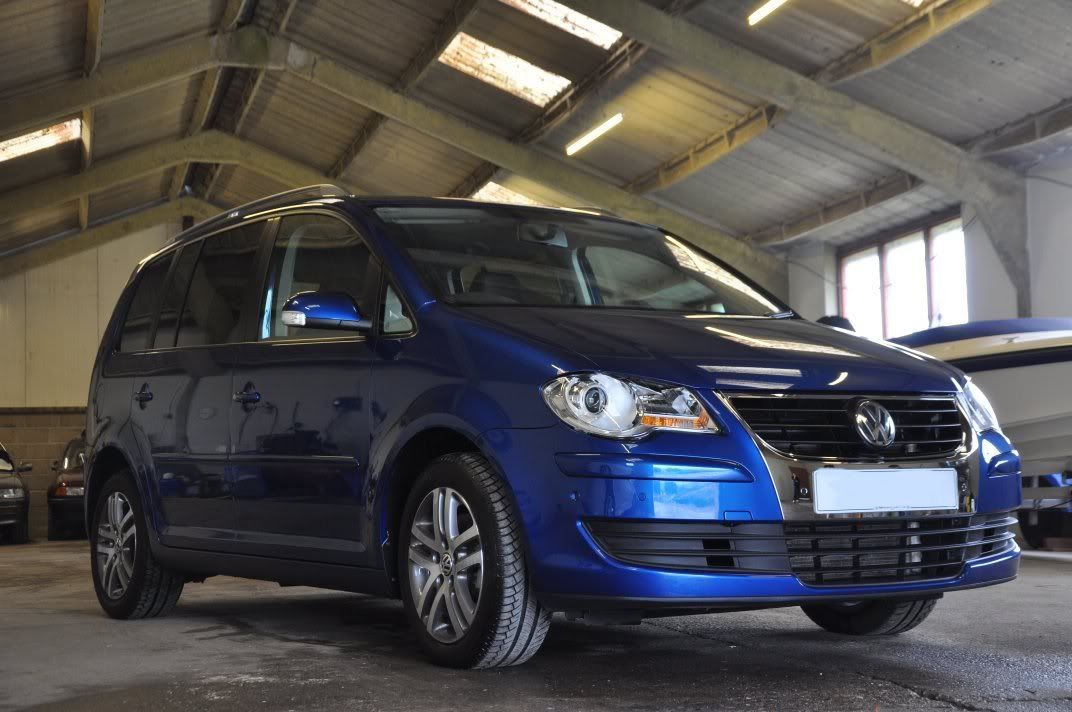
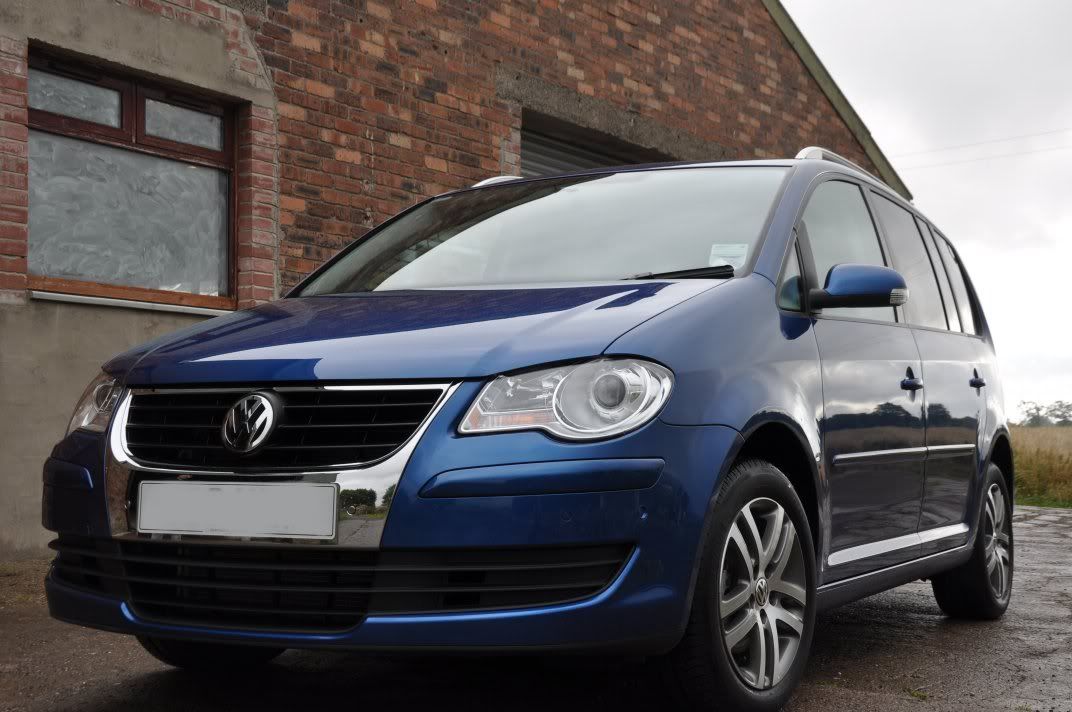
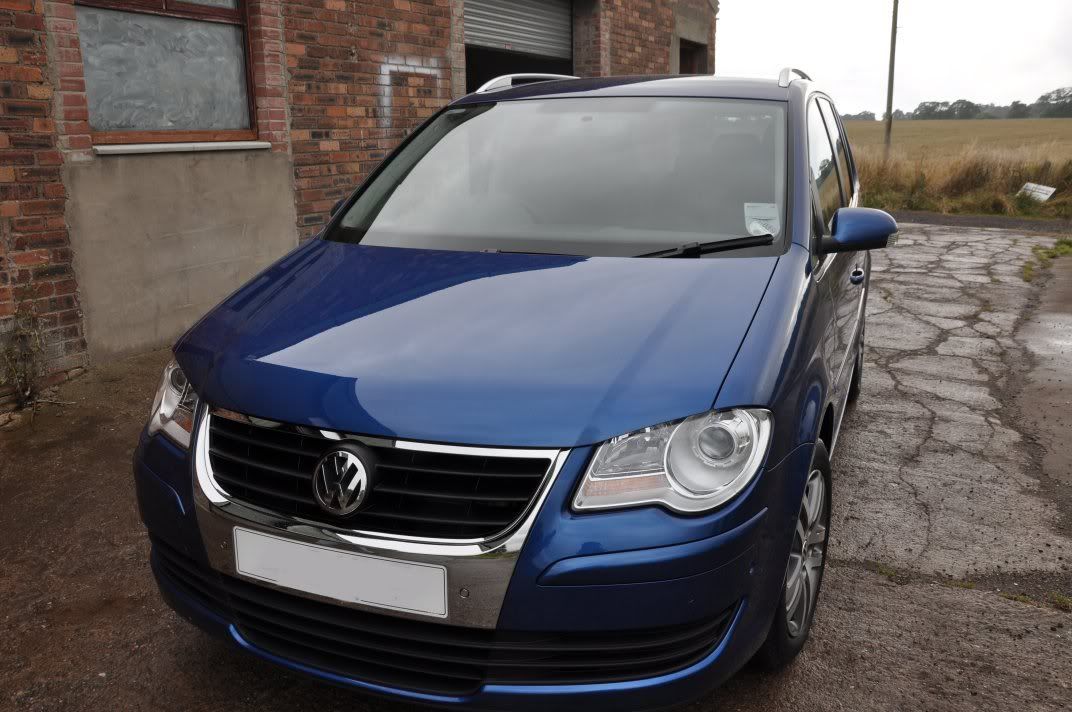
My most recent detail was with Bryan and Stuart, and it was on this mid-blue VW Touran:
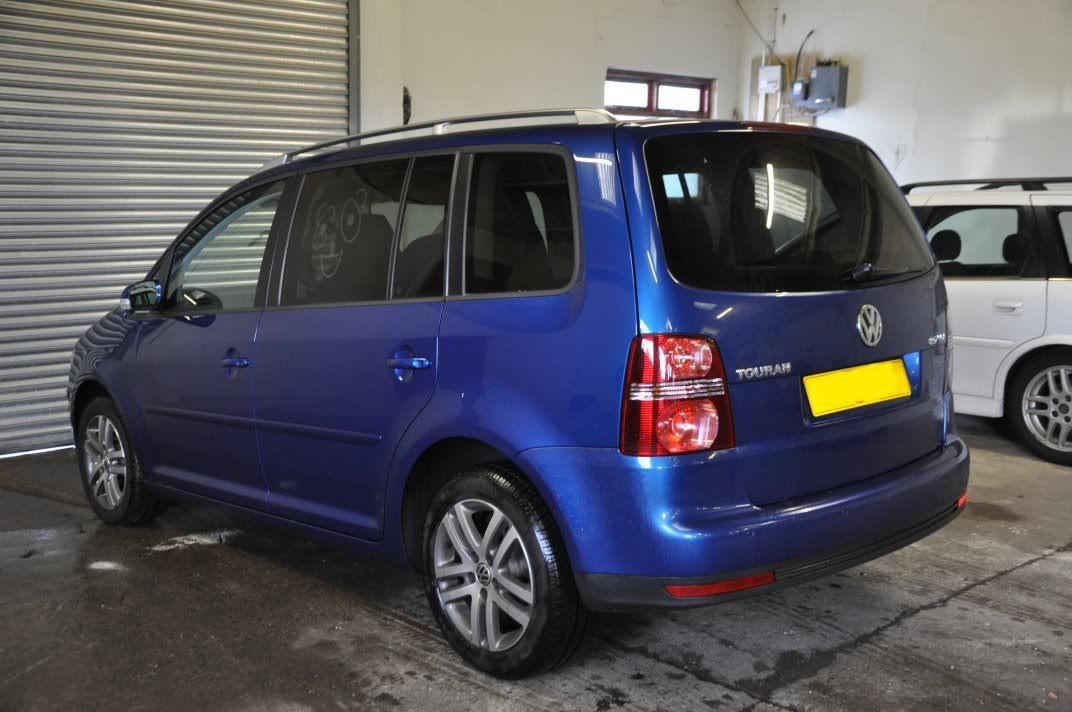
One year old, and this car was showing just how well cared for it was - had a couple of cars like this recently, where the owner's really do seem to know how to take care of their cars and it shows in a finish which was largely swirl free before the detail - is the car care word finally getting out there? Slowly, perhaps
Starting off with the wheels and arches,

Tyres cleaned with Meguiars All Purpose Cleaner and, yes, a toilet brush :
:
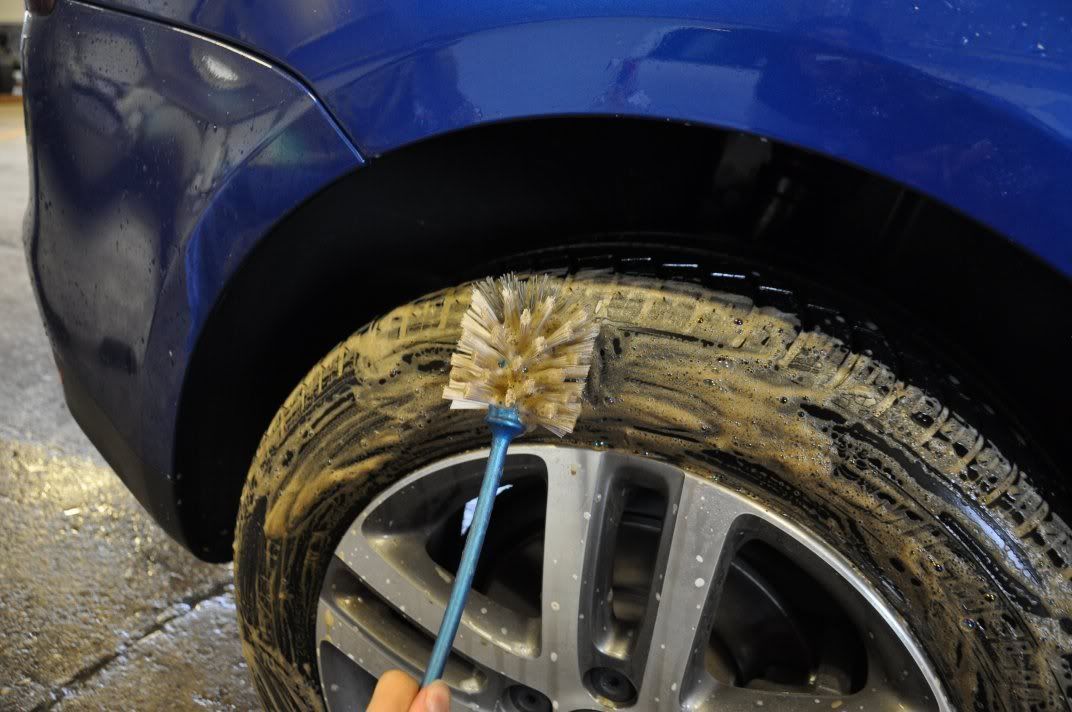
Note the grim coming out of the tyres - this must be removed in order to make your tyre dressings last a decent amount of time.
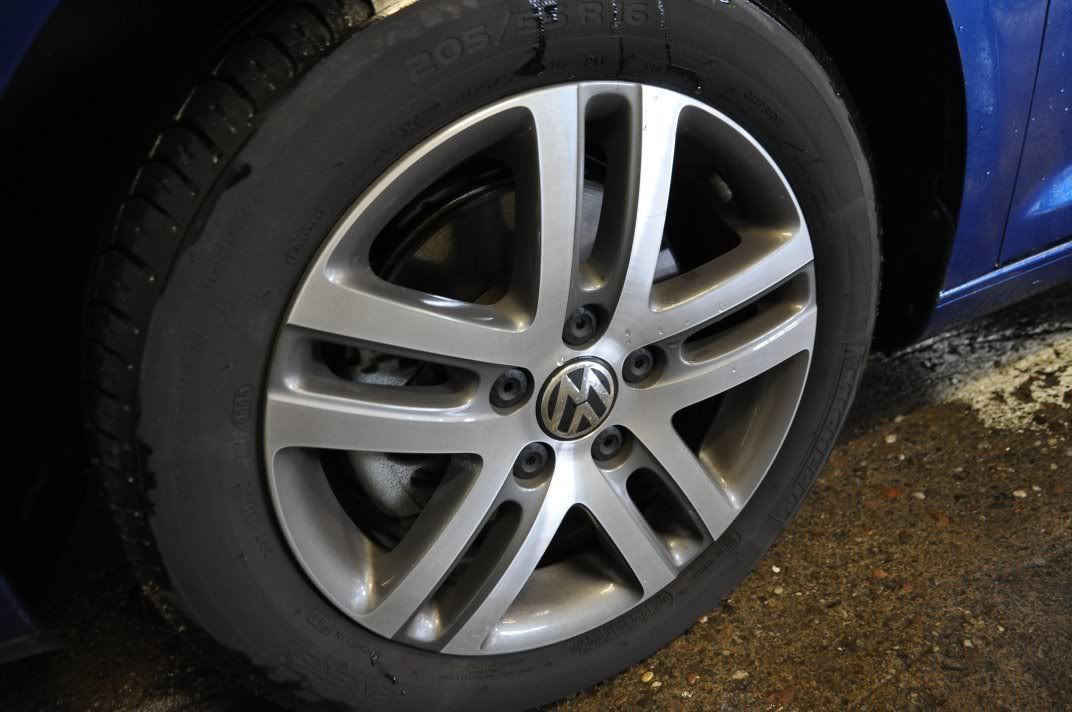
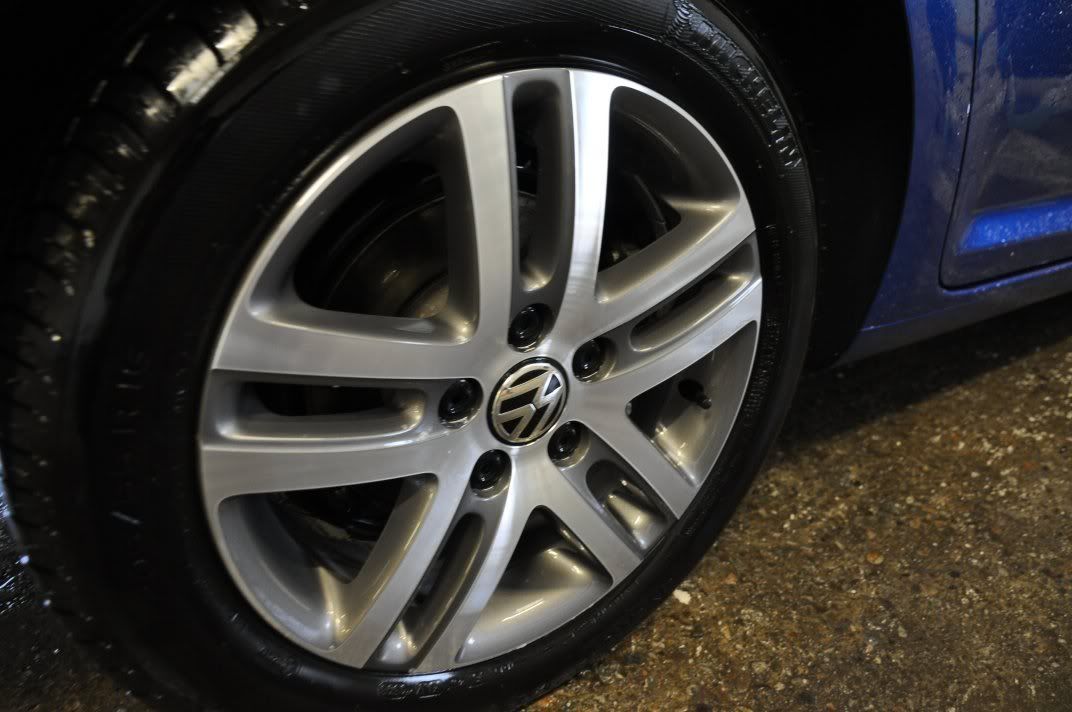
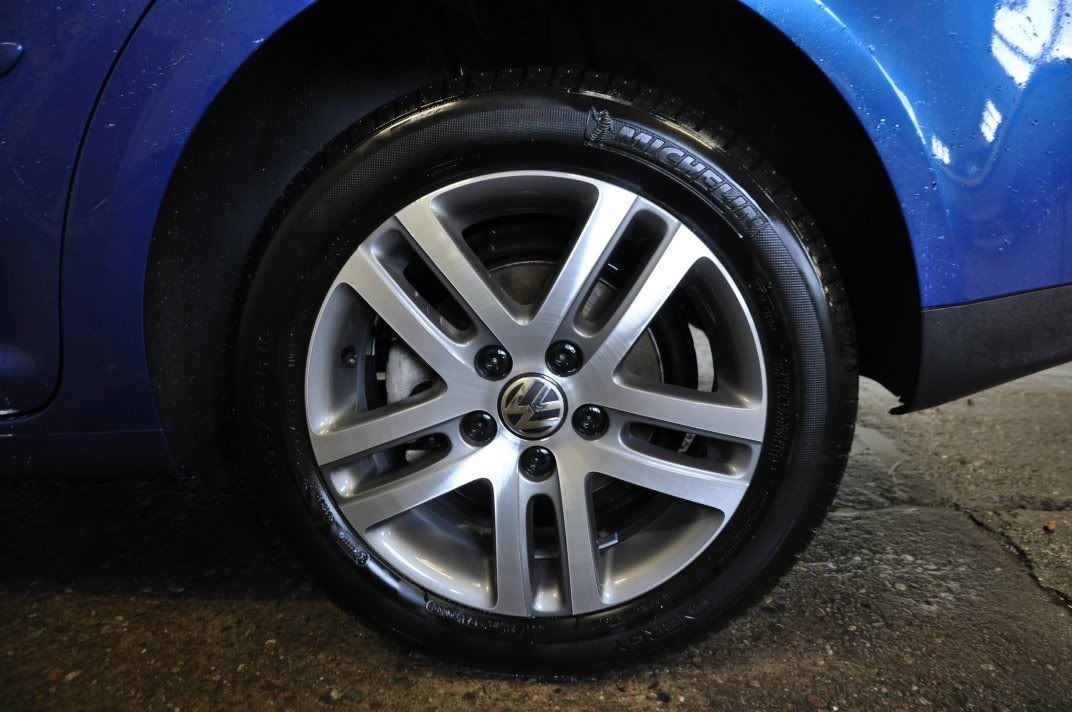
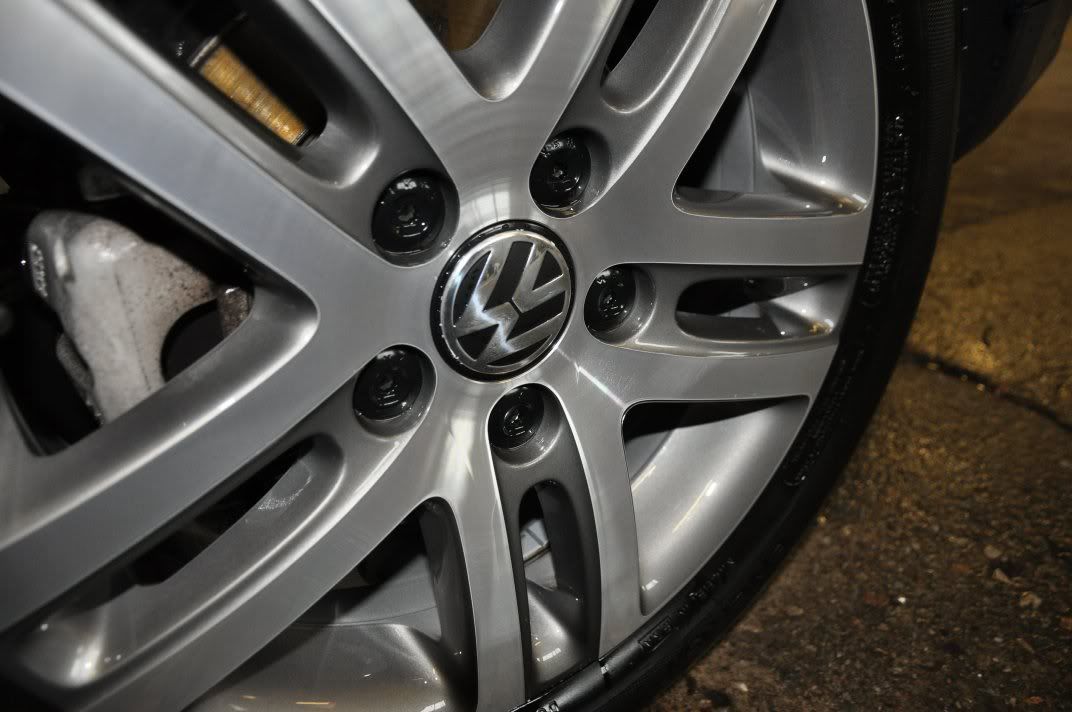
Wheels were cleaned using Bilberry Wheel Cleaner, arches with Meguiars APC.
The car was foamed before washing with the two bucket method - on a car where the finish is already very good, you want to be very careful on the washing stage to ensure you do no inflict damage on it. This goes for cars in poor condition too - why risk inflicting deep marks that you just need to polish out? So the car was foamed before washing...
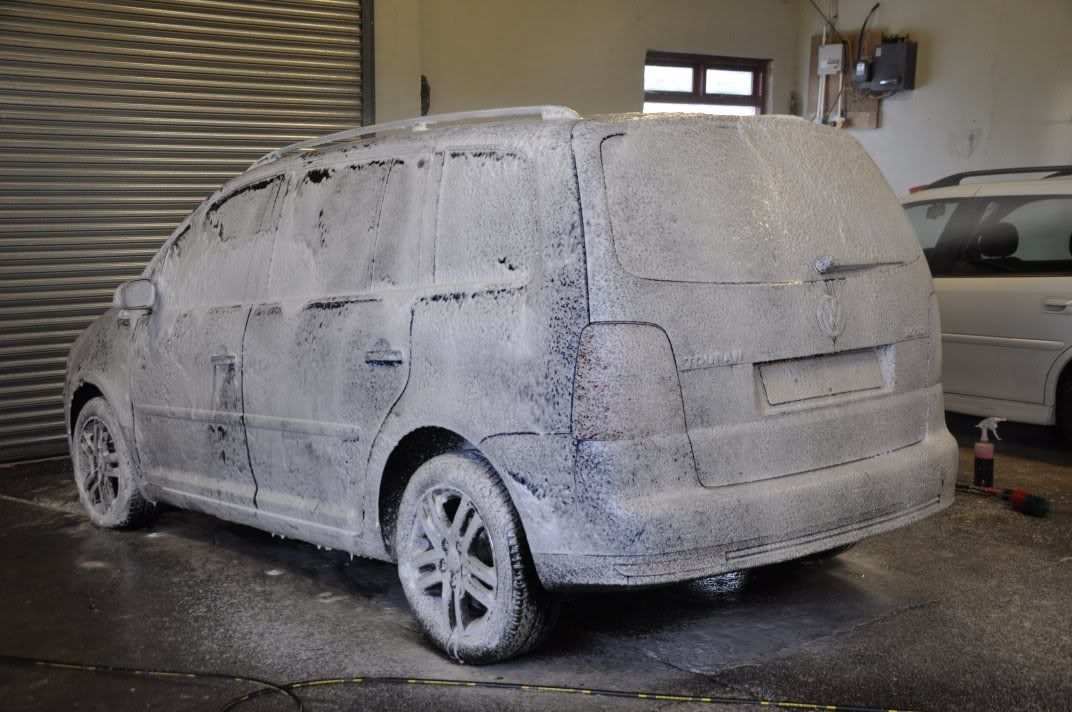
The car was then washed, rinsed and then clayed using Meguiars Mirror Glaze Mild Clay with Last Touch as a lube. After washing and claying, it was clear to see the car was very well cared for:
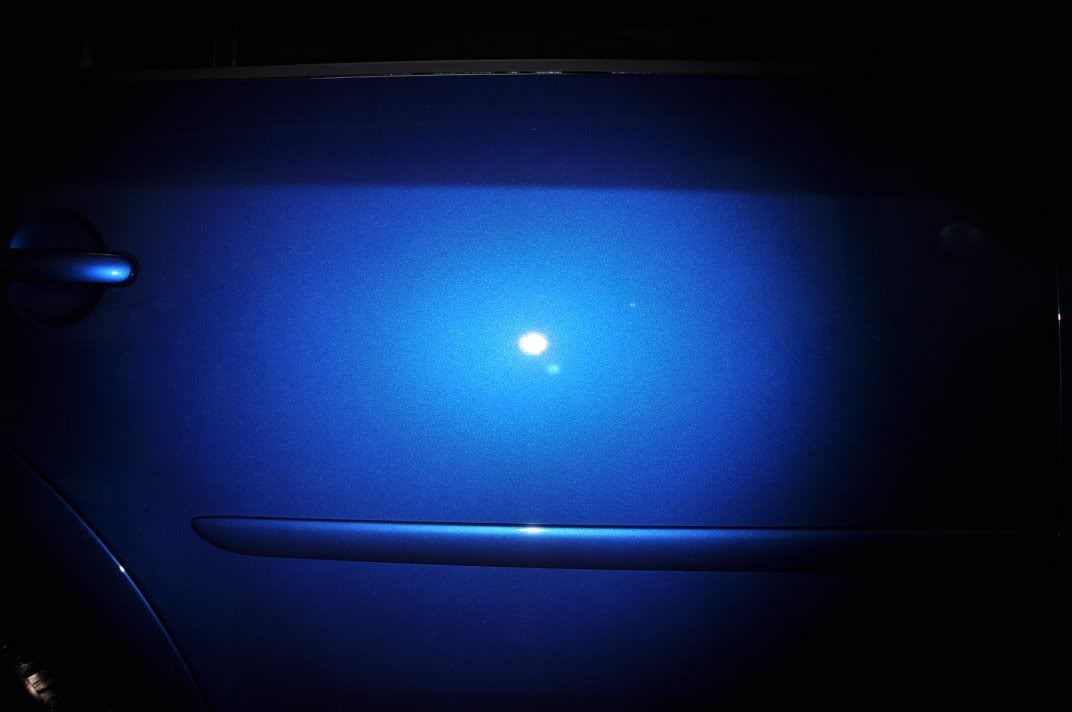
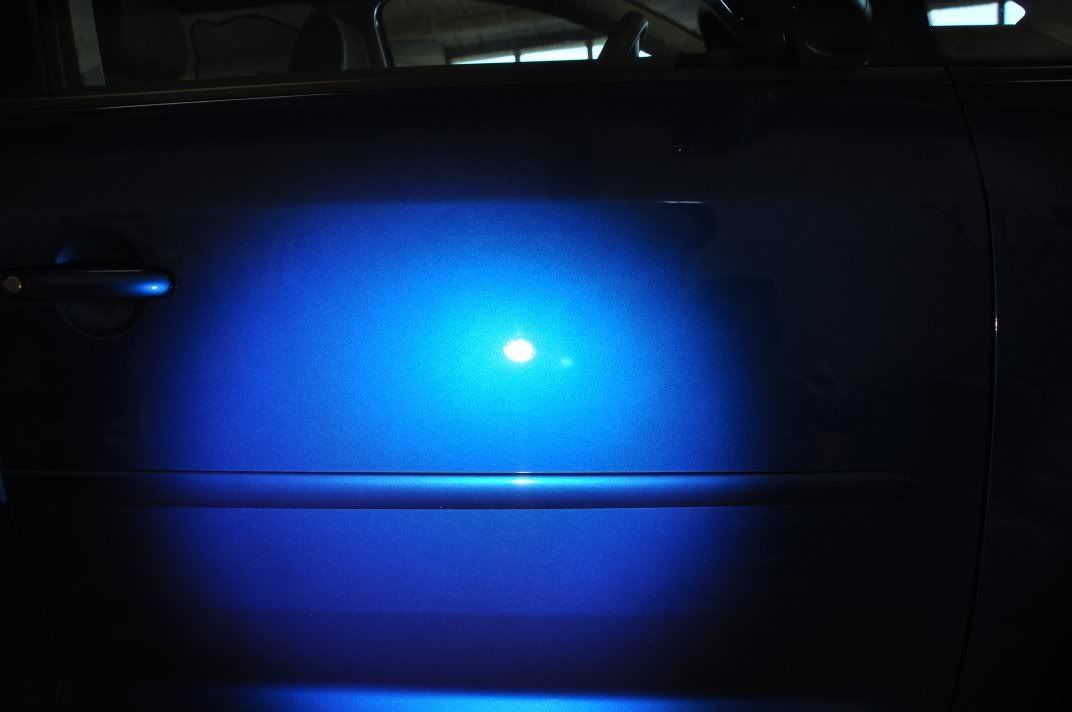
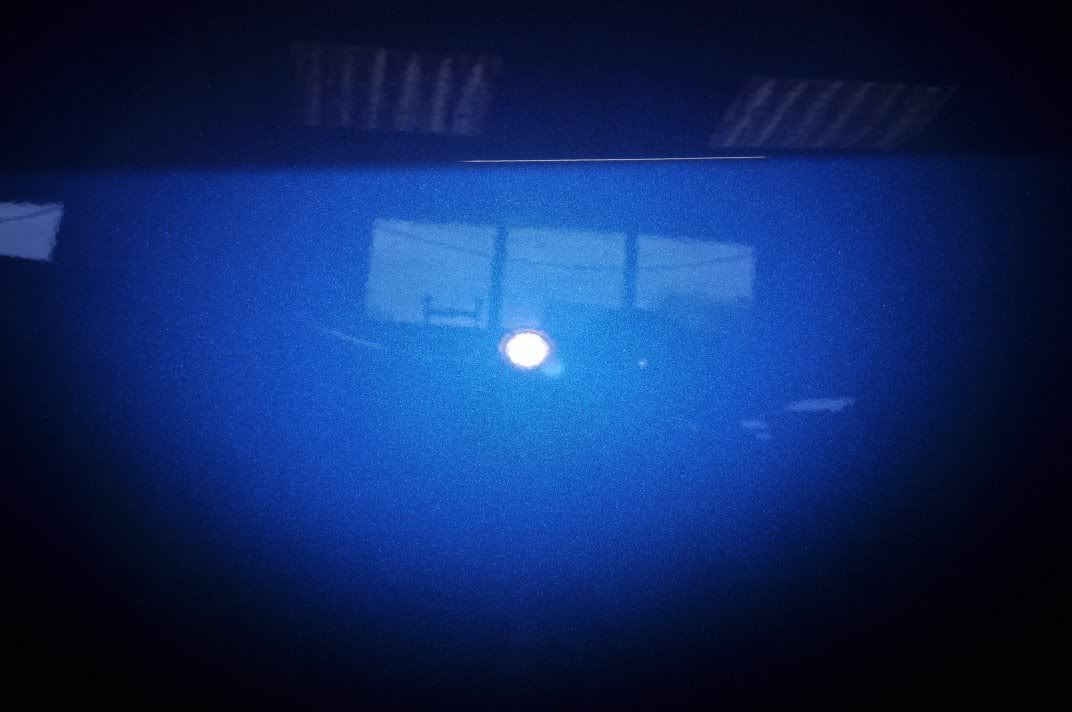
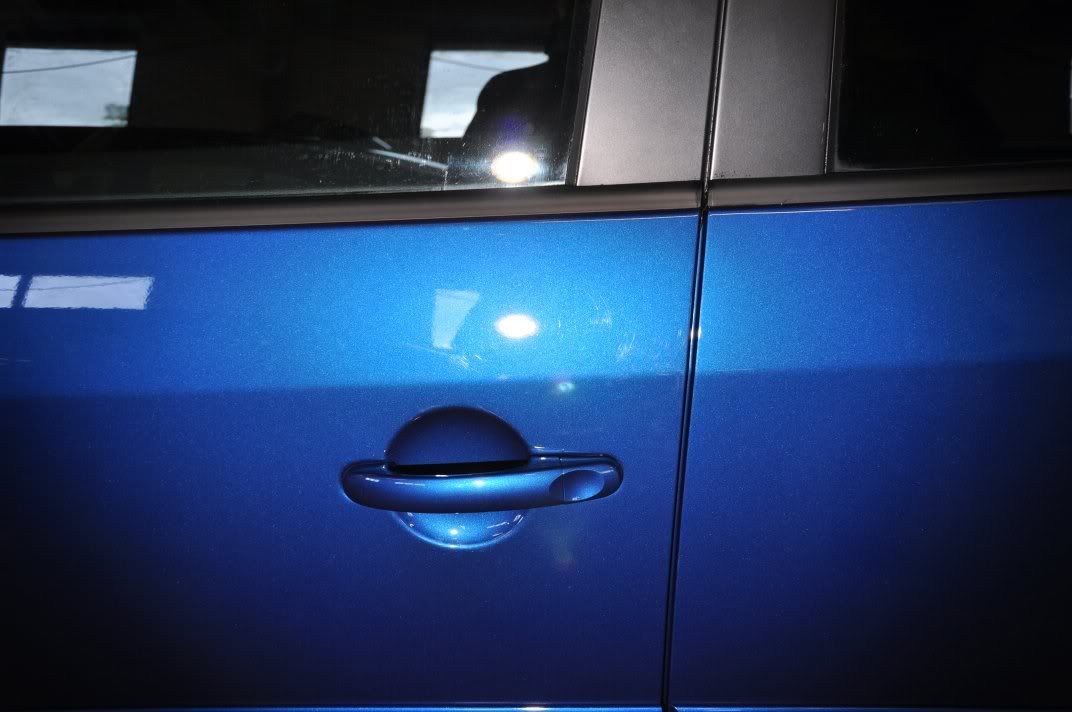
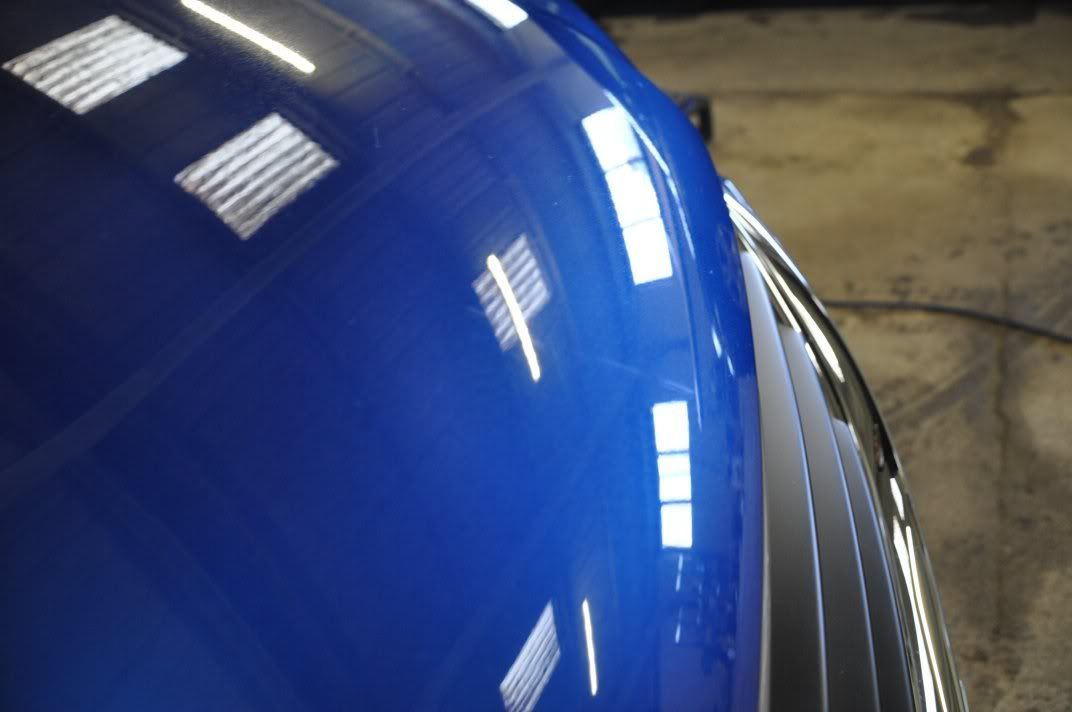
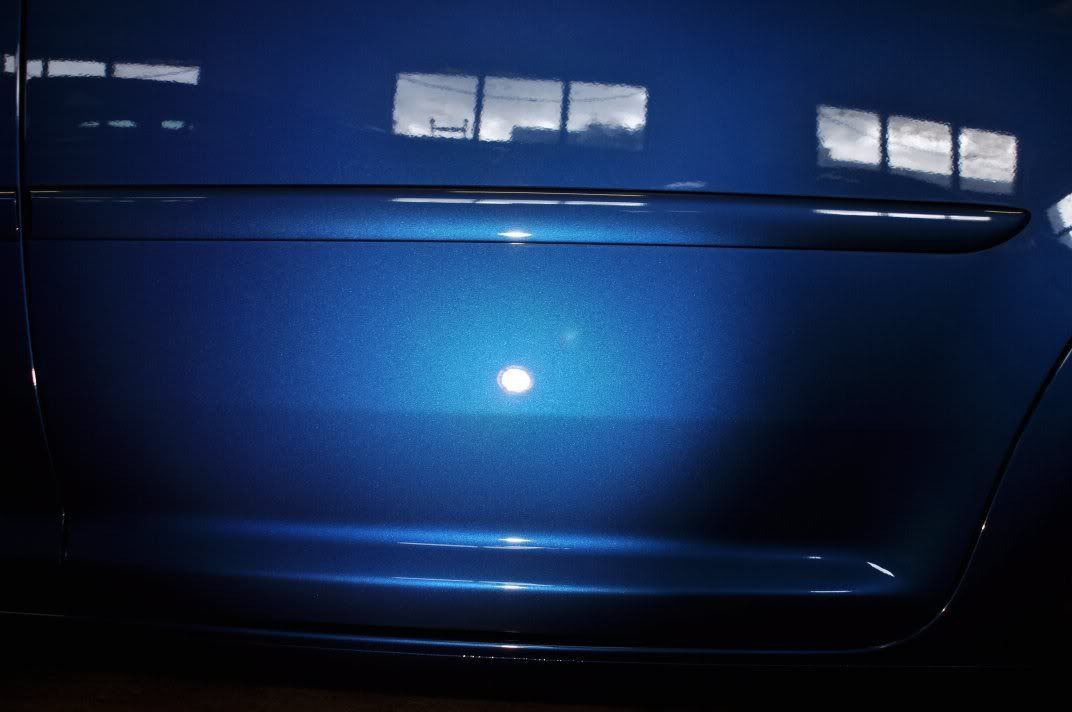
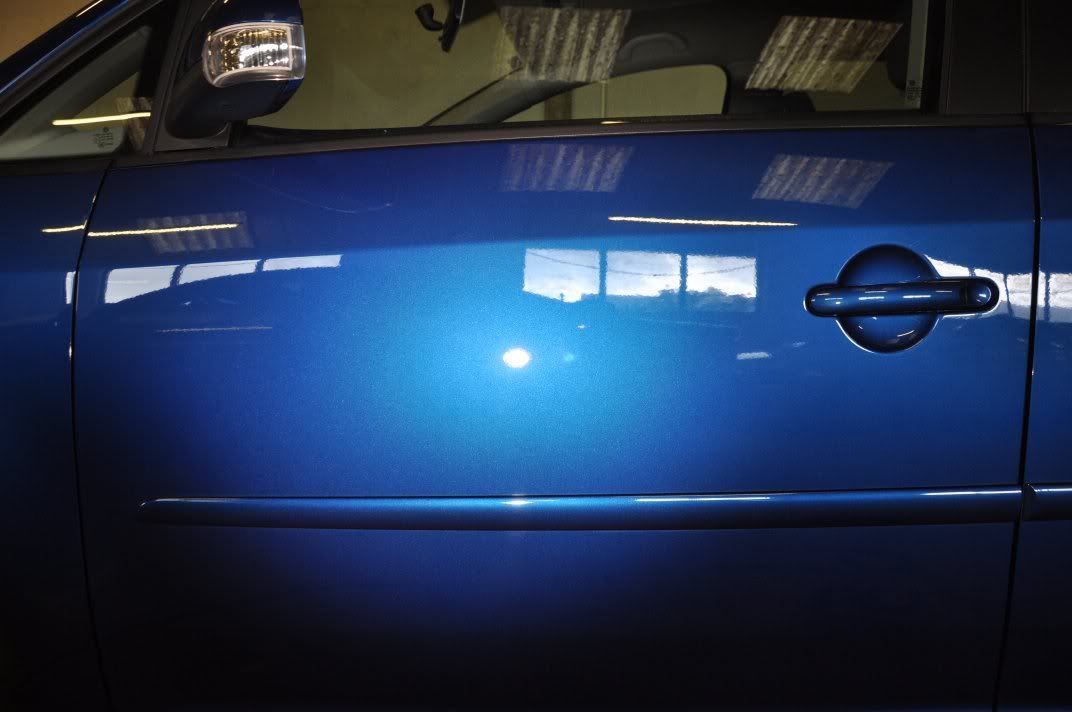
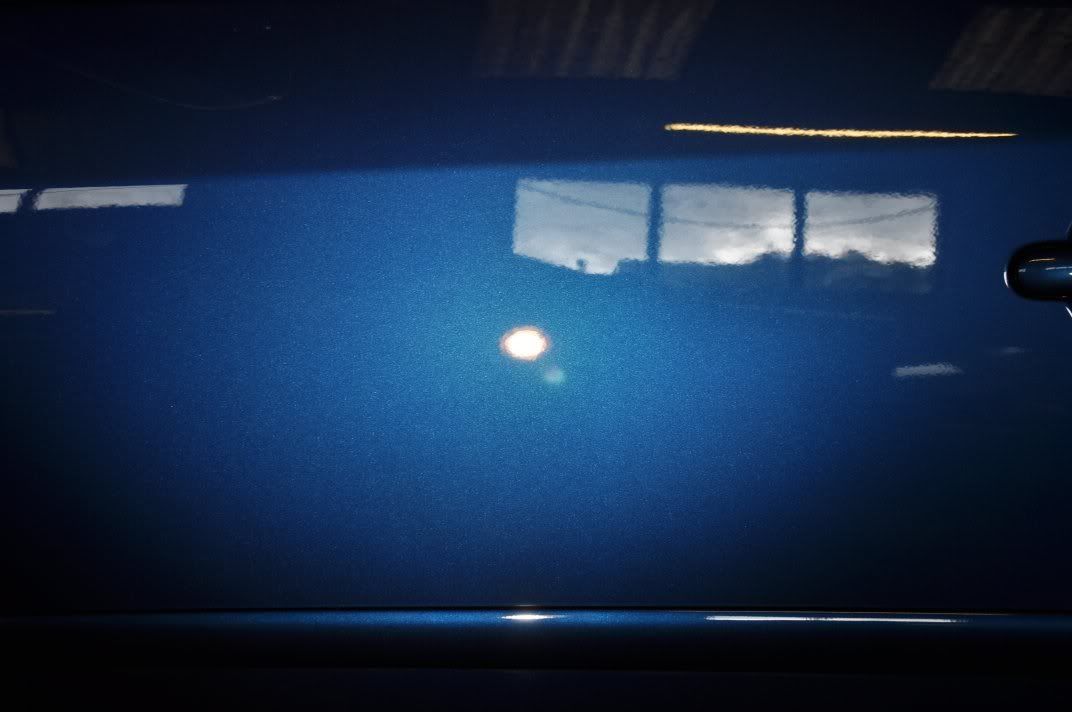
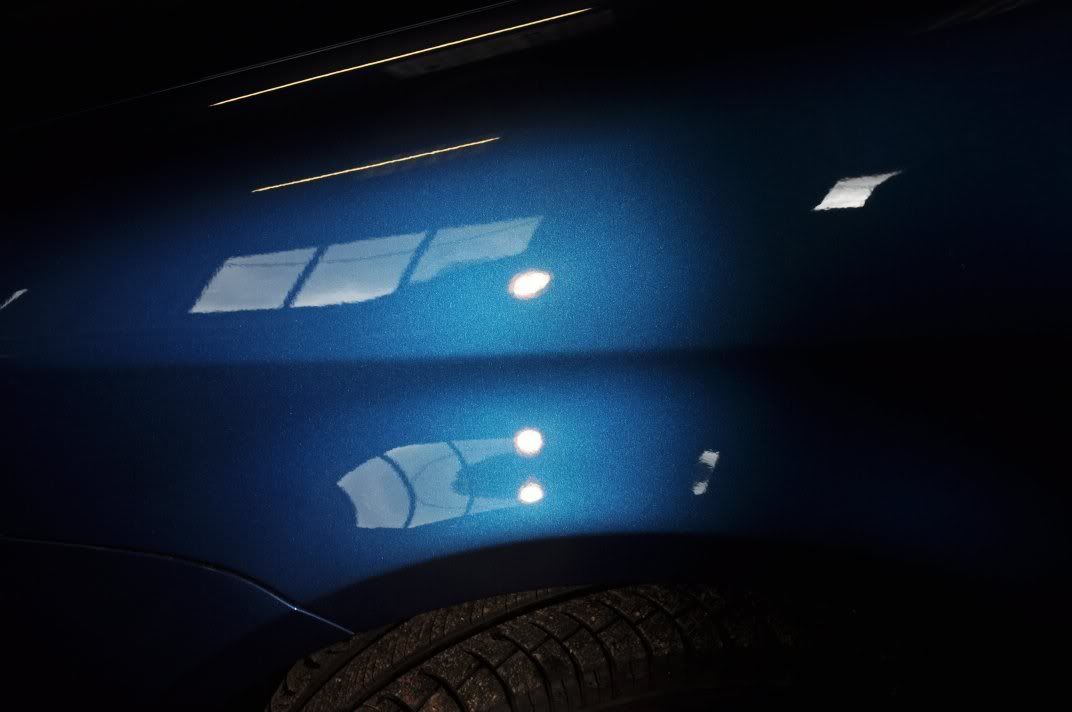
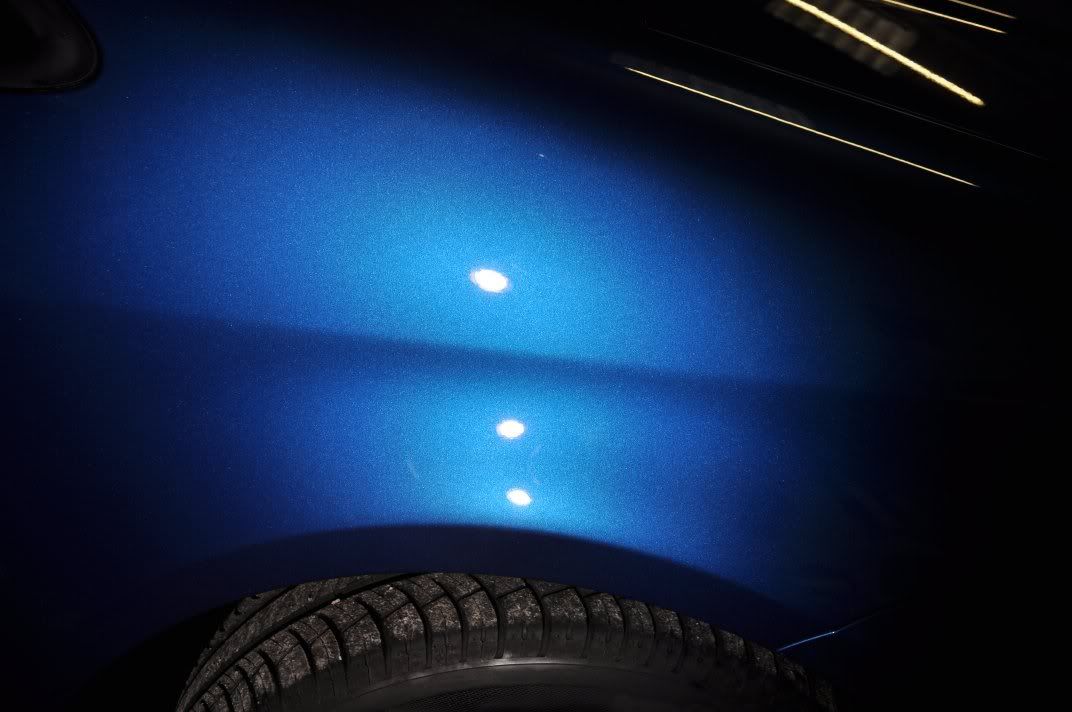
The before shots of the paintwork could be the after shots... very little if any swirls, and those there are could well have been inflicted by the dealer pre delivery! Before shots...
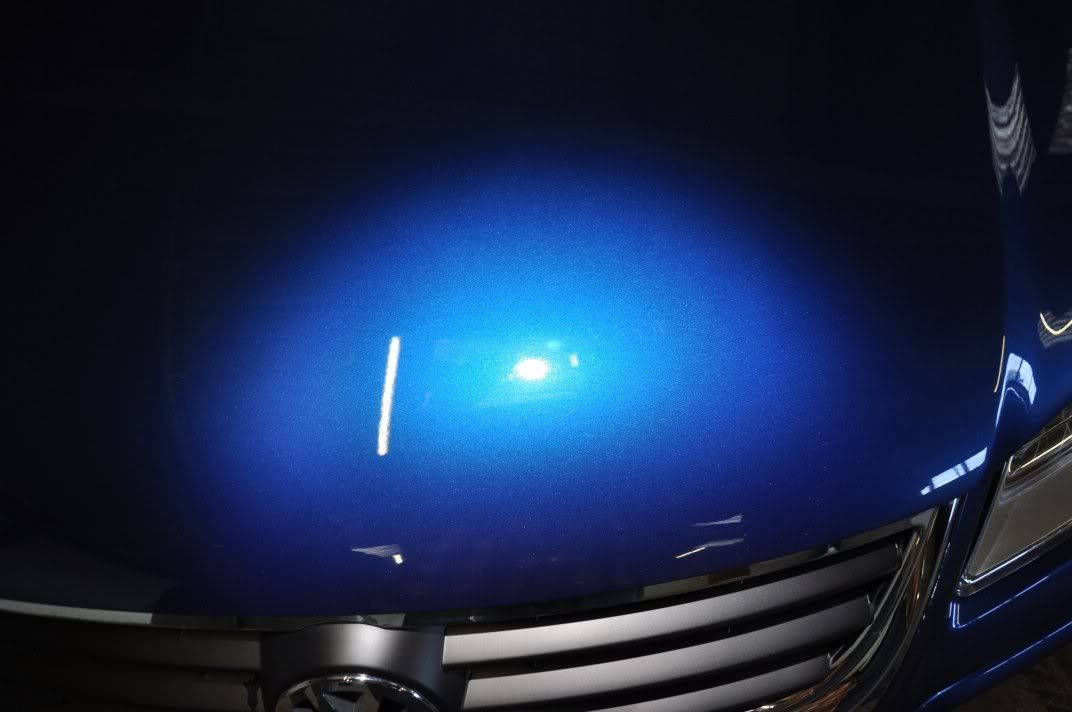

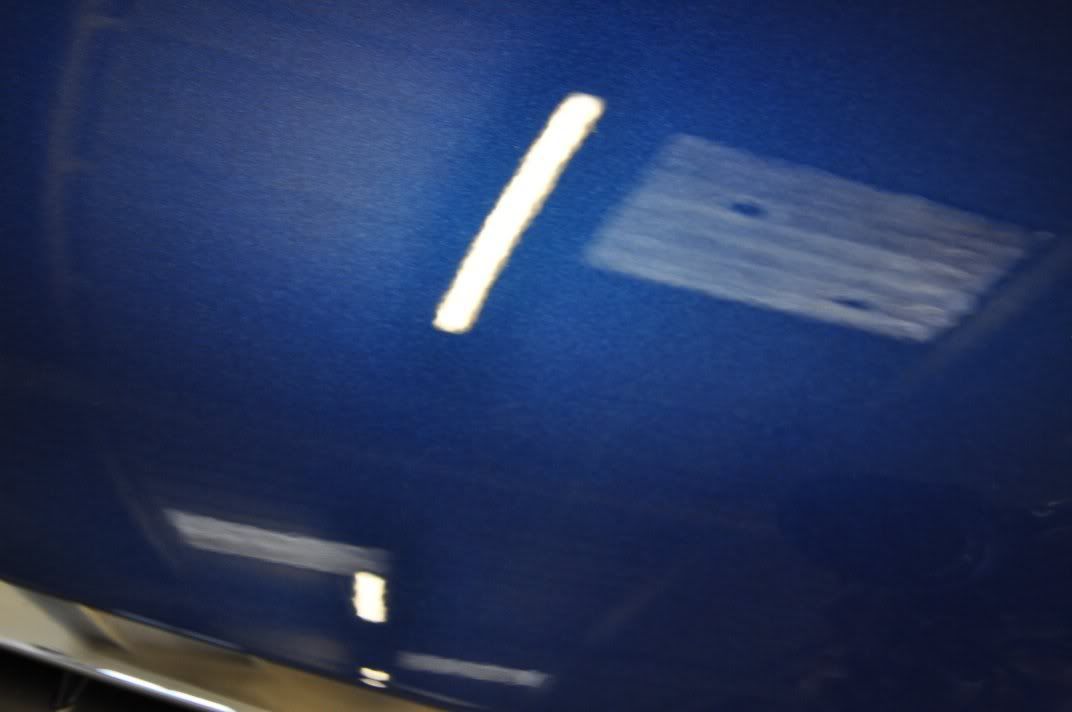
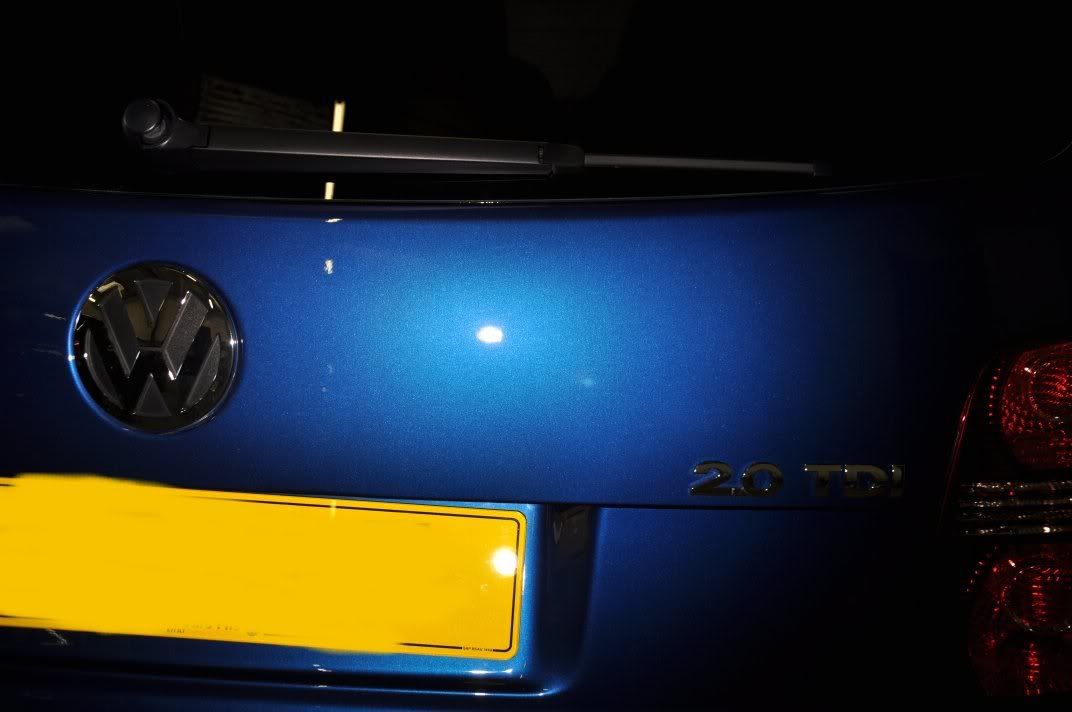
The finish was not completely perfect, however. An example of a deeper scratch on the finish is shown on the front of the bonnet...
These marks were few and far between. Correction of them was carried out using 3M Fast Cut applied as follows, using a Meguiars W7006 cutting pad:
These regions were the finished using the process used for the rest of the car.
The rest of the car was treated to Menzerna PO106FA Final Finish applied using a Meguiars W8006 polishing pad - this combo was found to be good for removing the odd light swirl here and there and enhance the gloss and clarity to the paintwork as well. Applied as follows, the classic Zenith Point Technique:
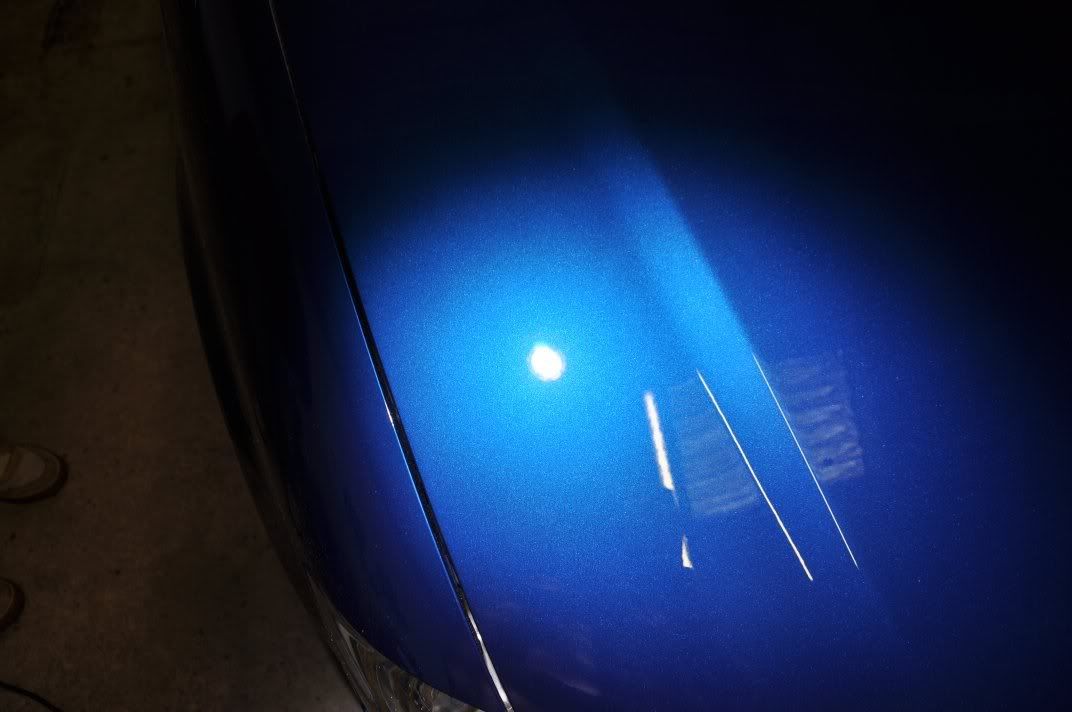
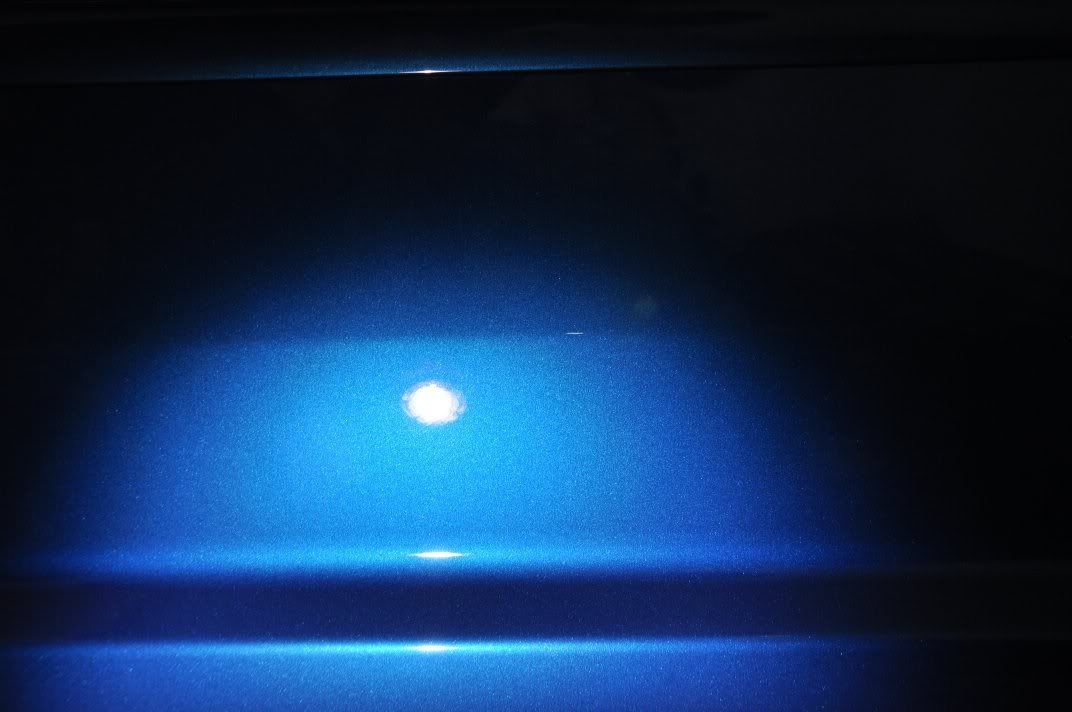
On the bonnet, the scratch not removed:
The finish after refining:
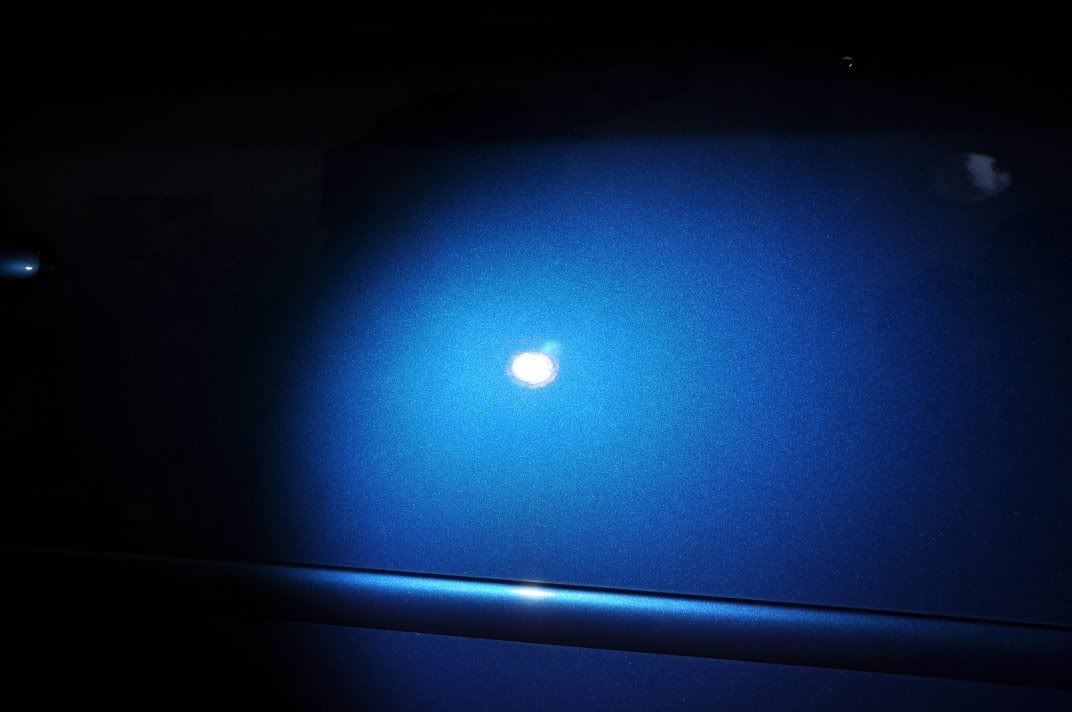
Another mark requiring specific attention - bird etching on the roof...
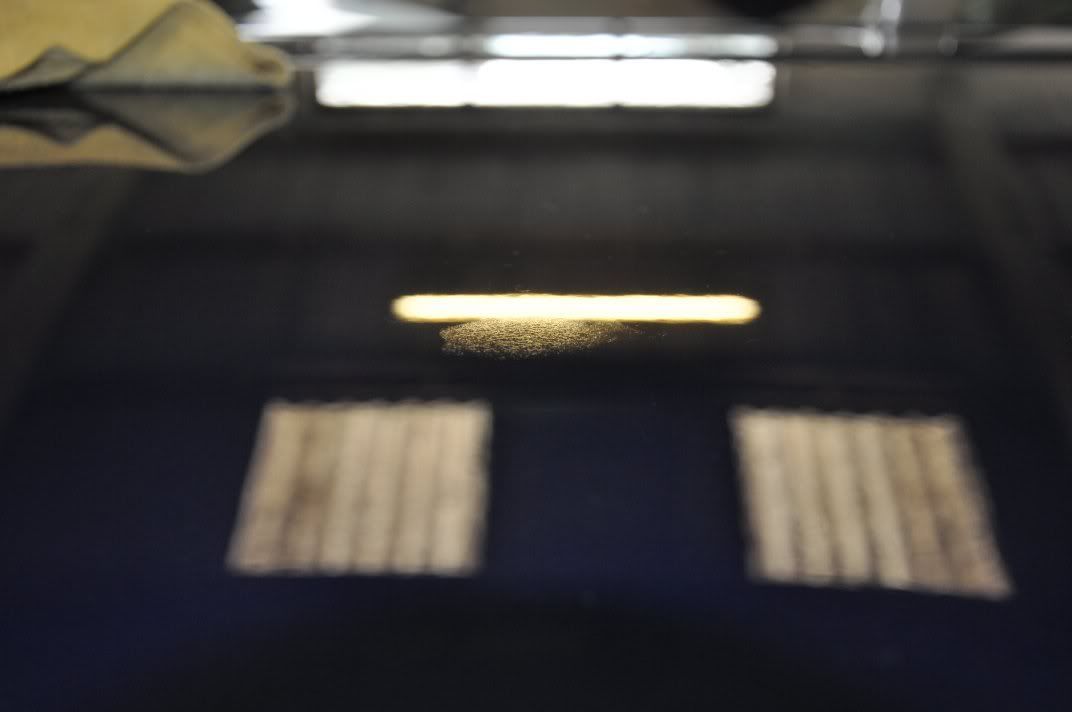
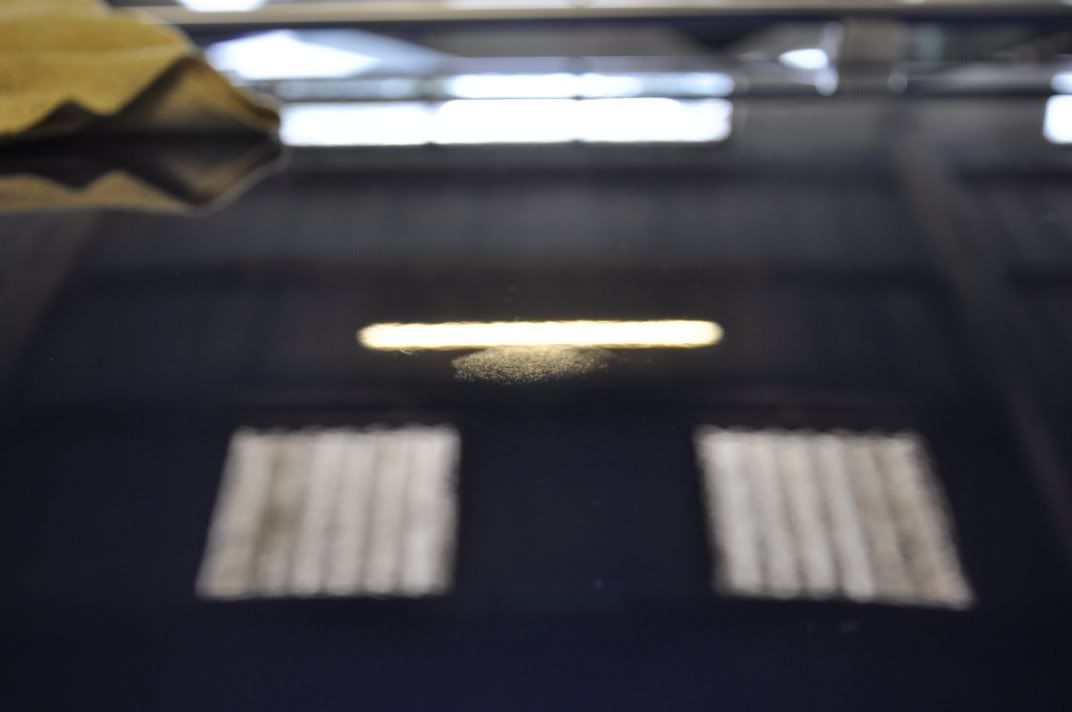
Three hits of Fast Cut applied as above required to fully remove this, at a cost of between 8 and 10um of paint (let this be a little lesson - get that bird **** off of the paint asap, it can do serious damage!):
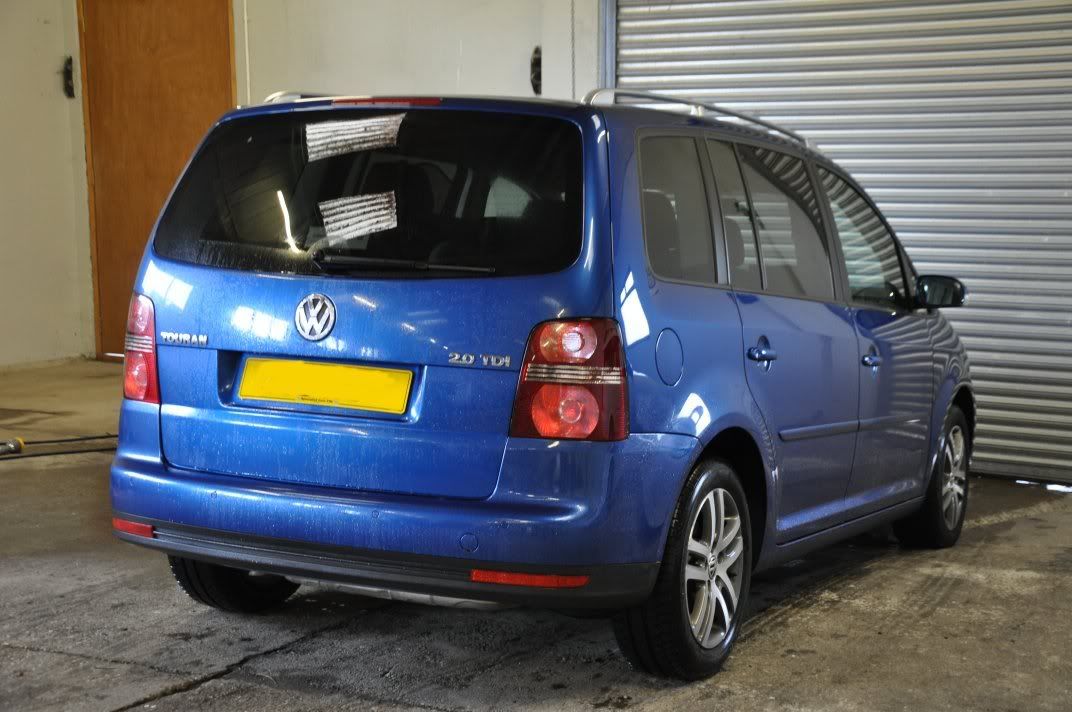
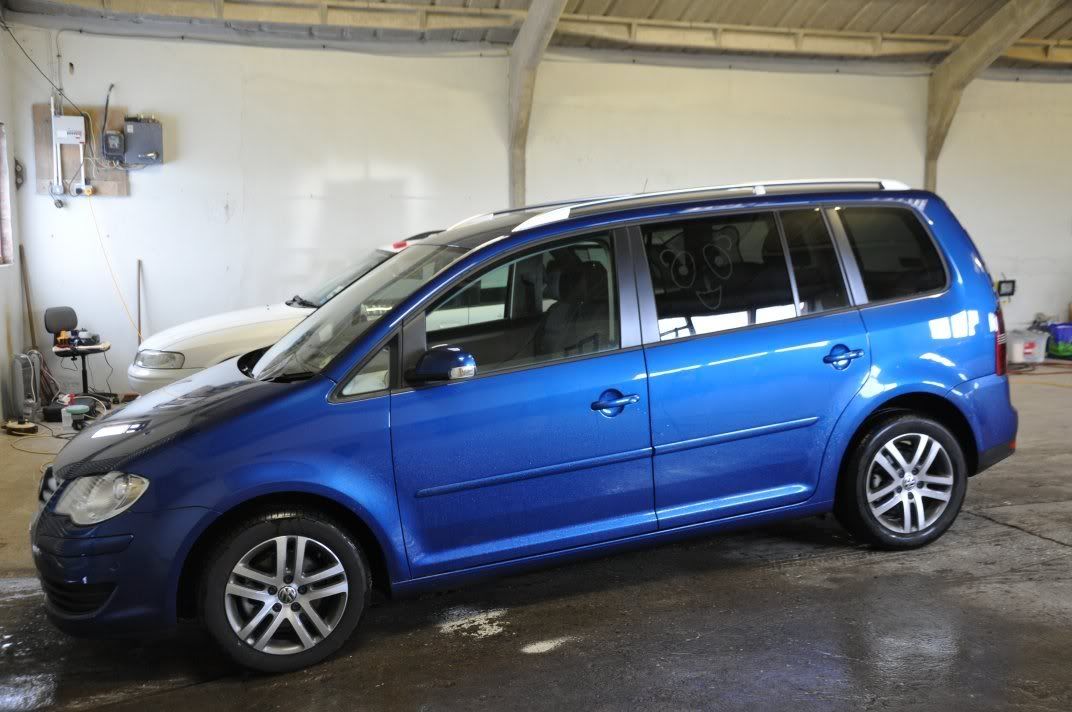
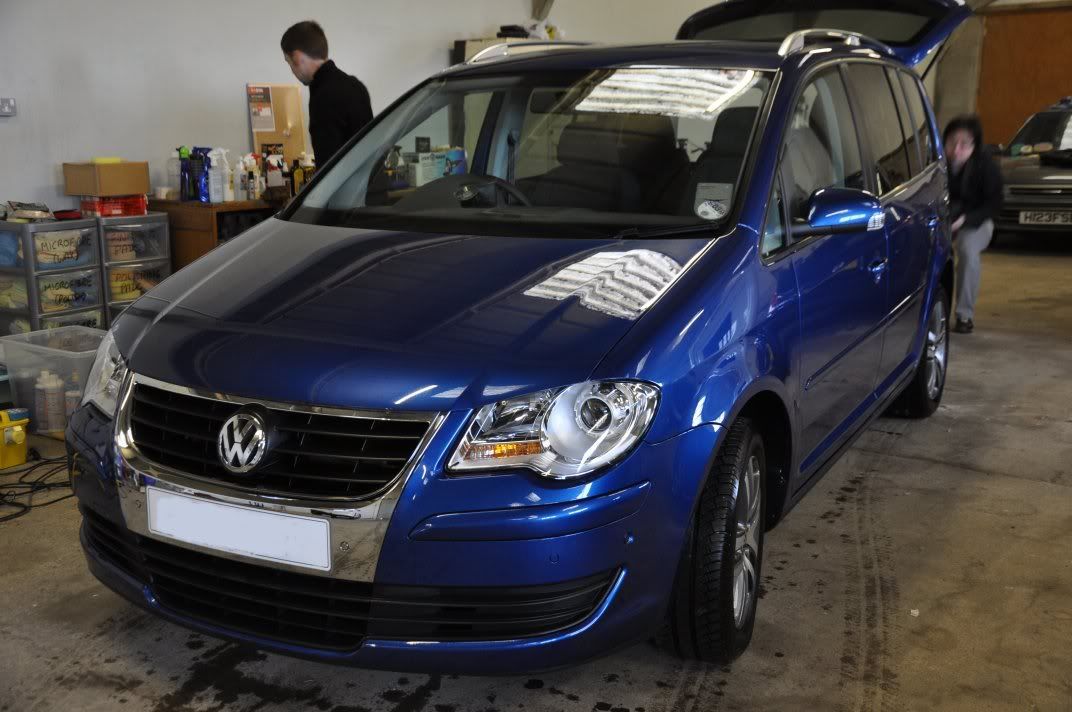
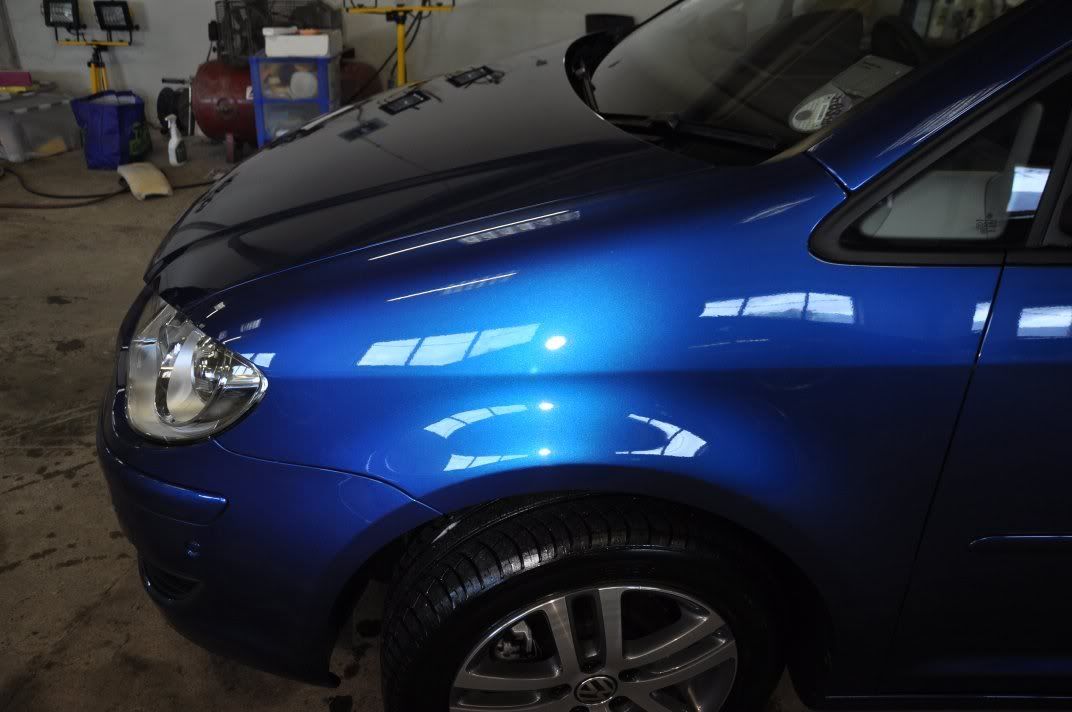
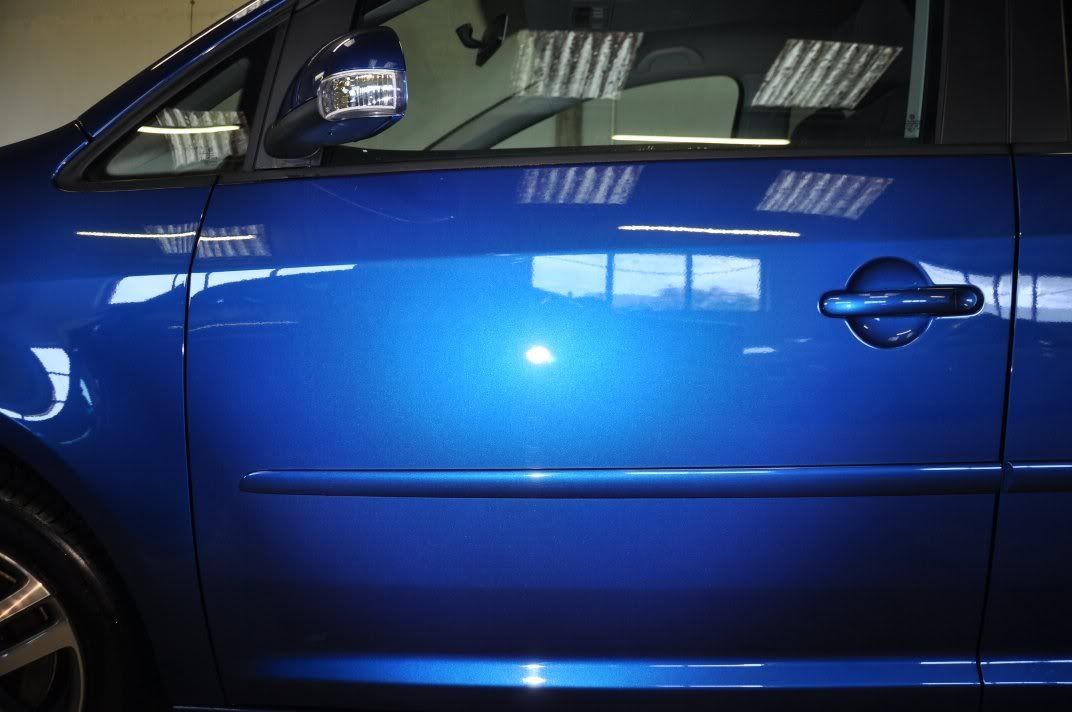
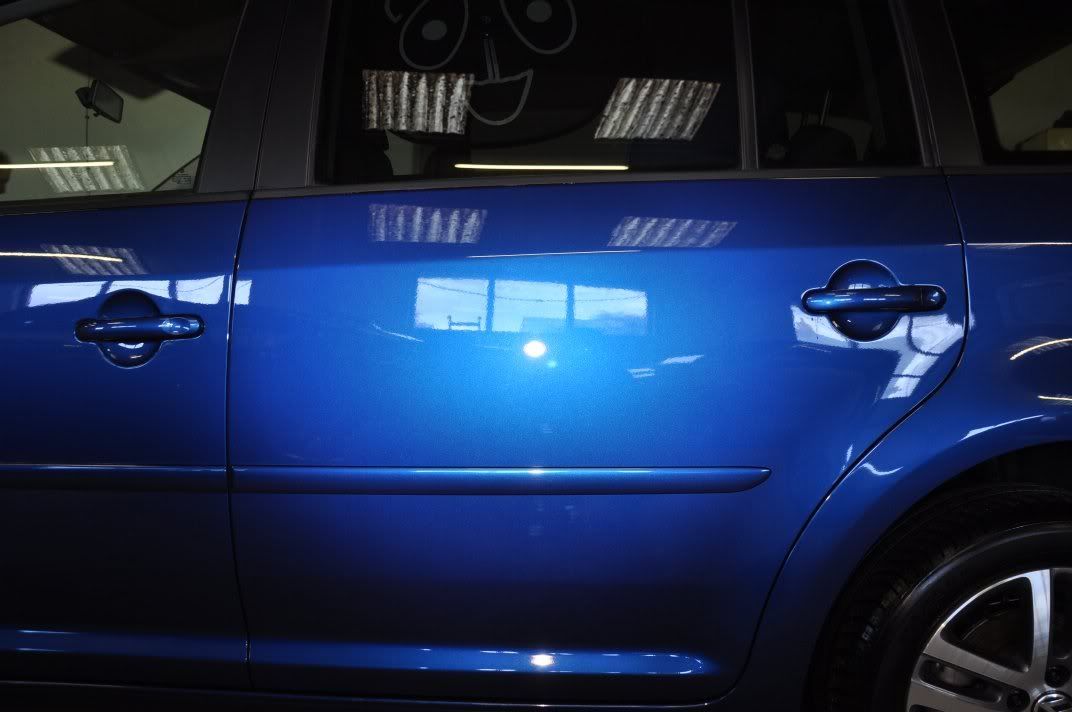
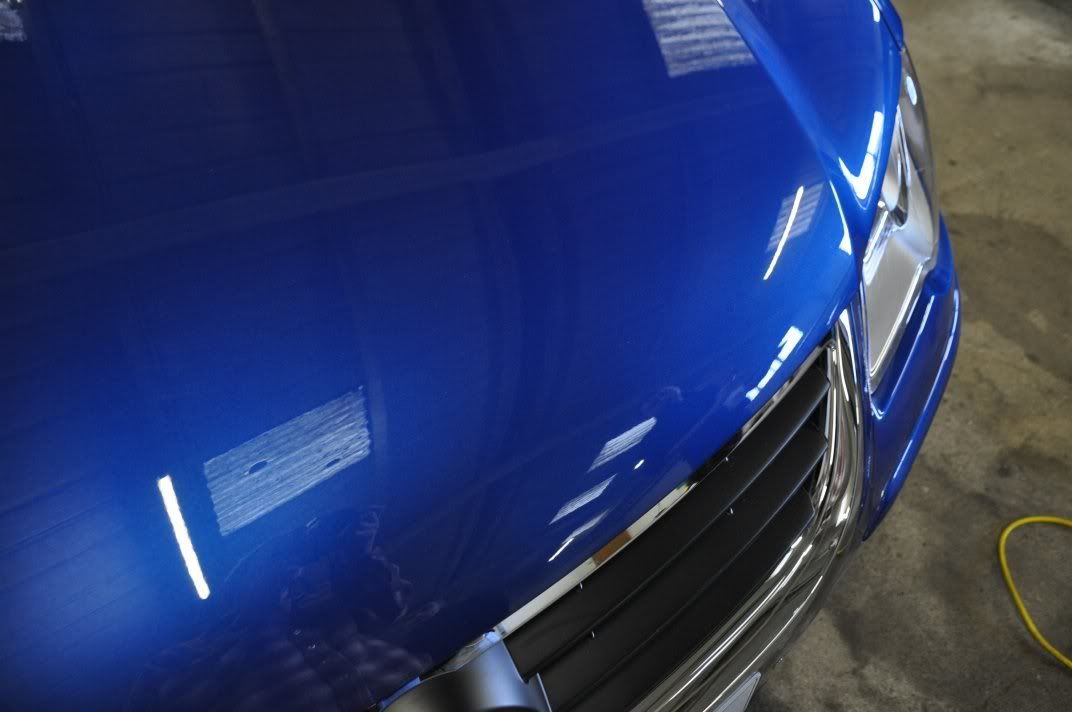
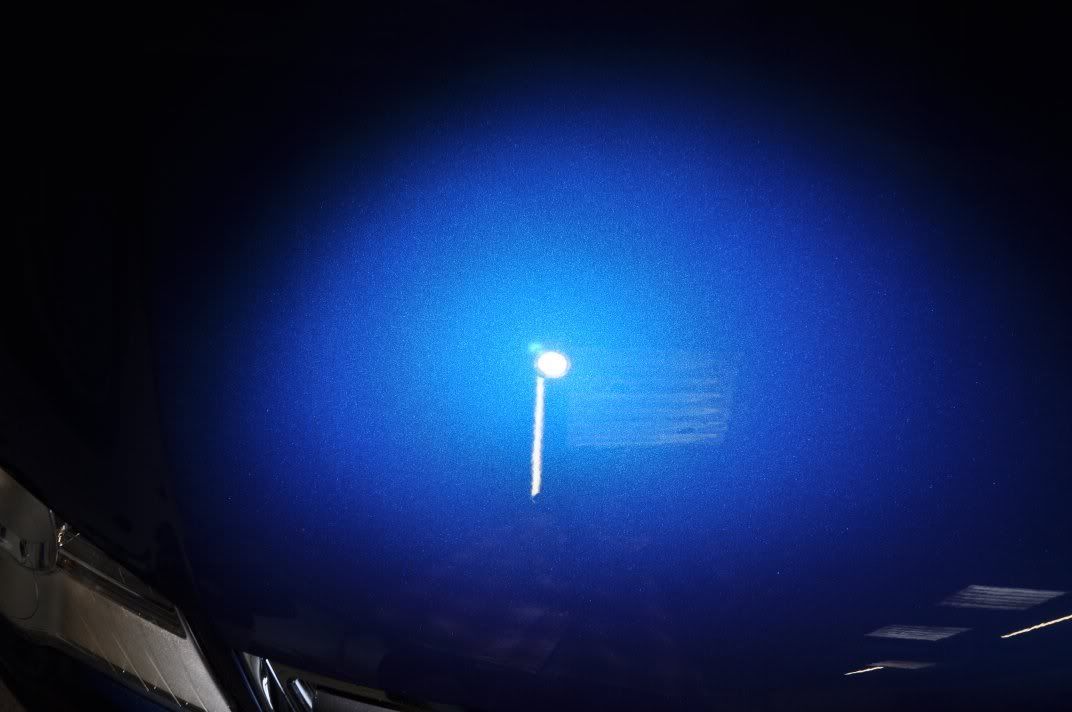
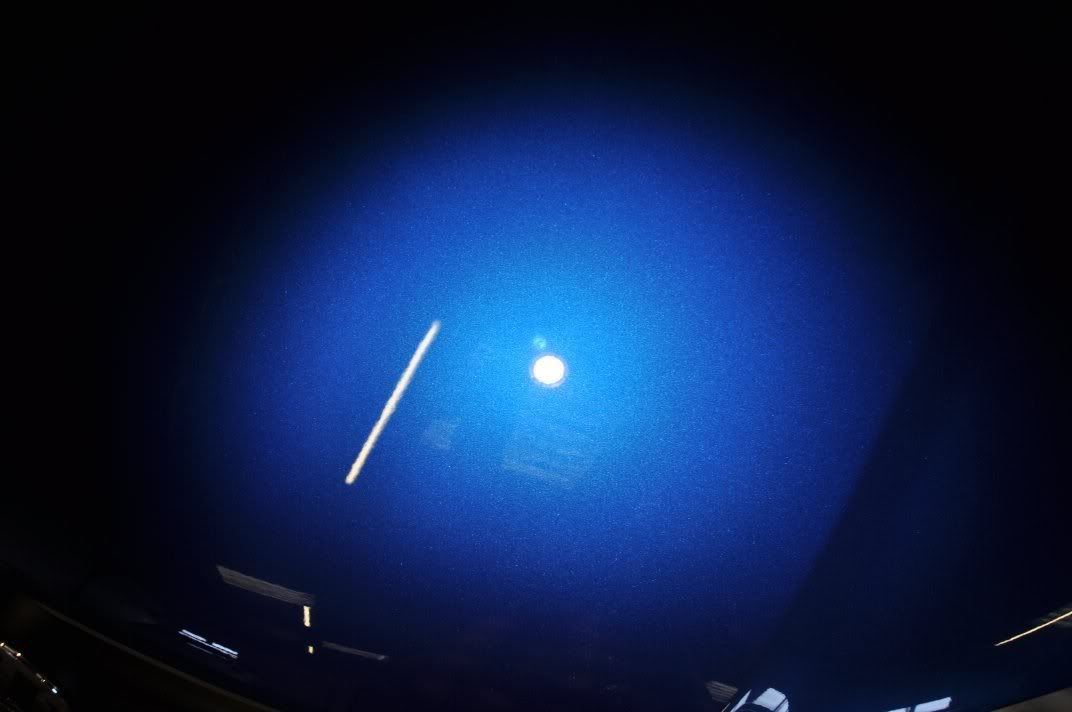
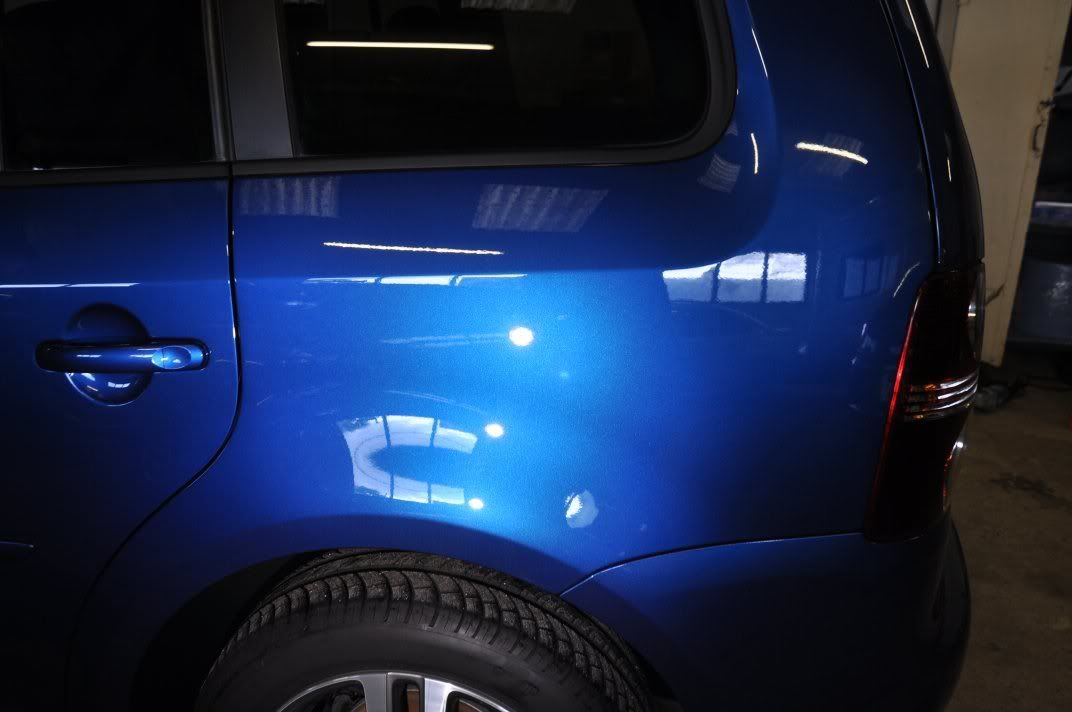
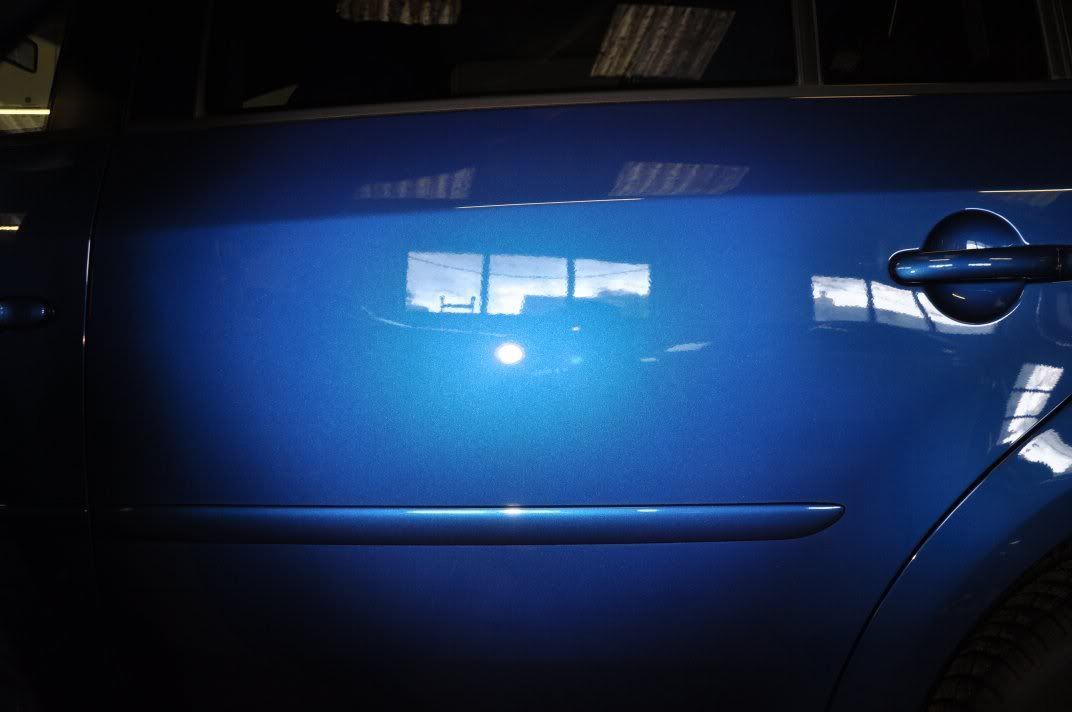
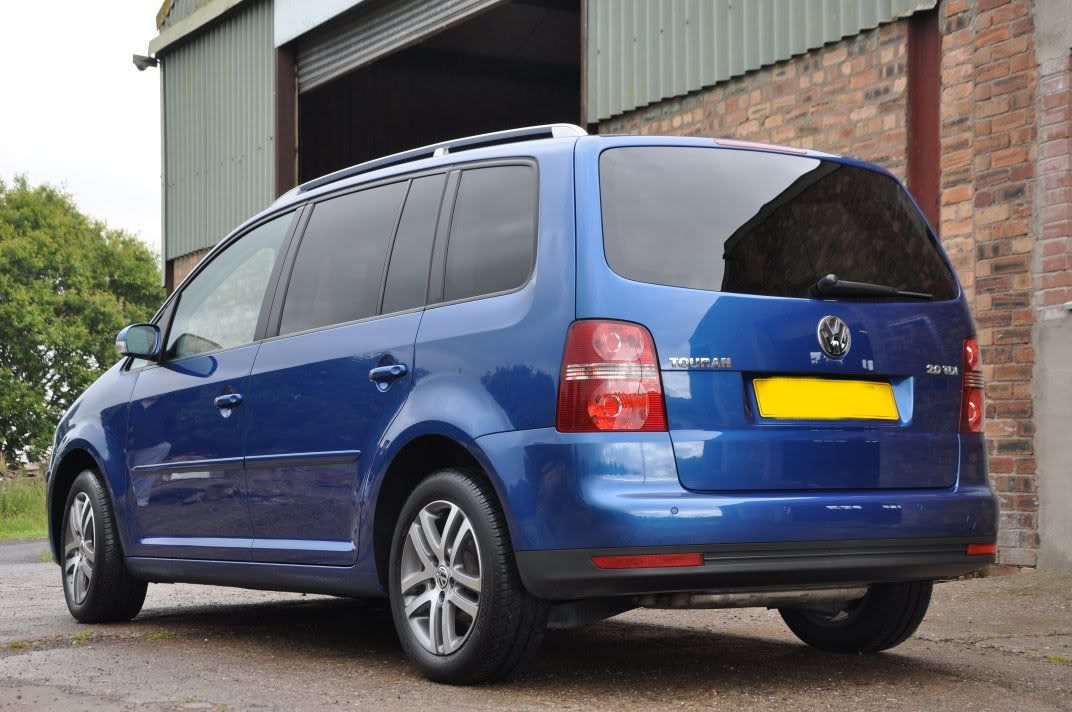
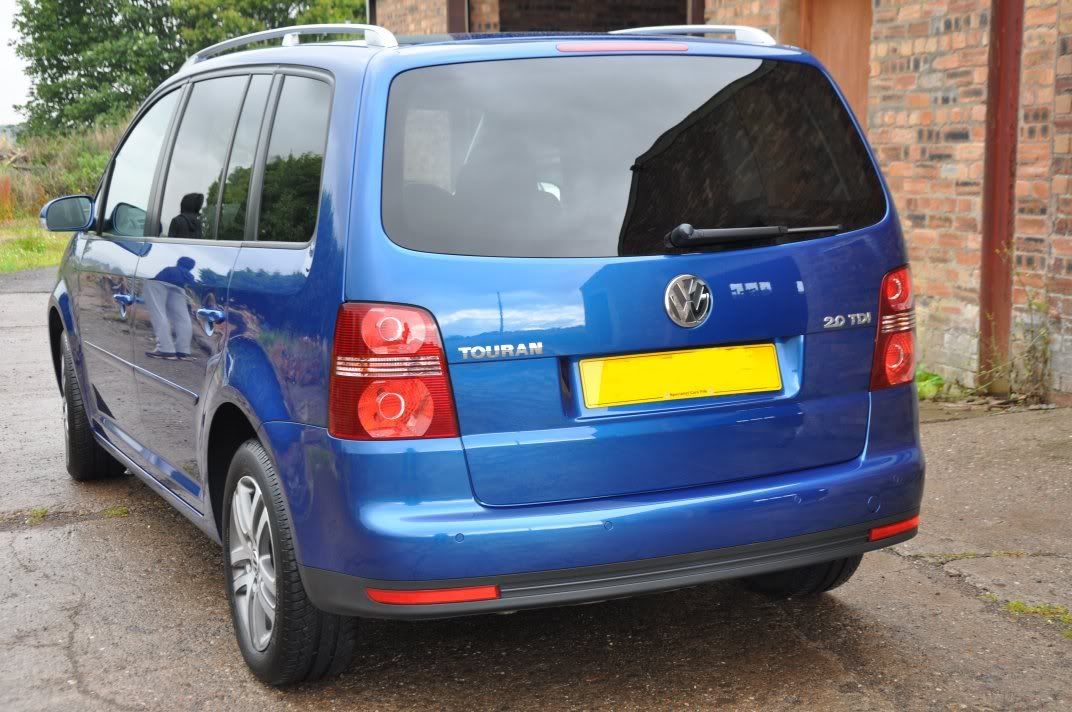
After shots across the car:


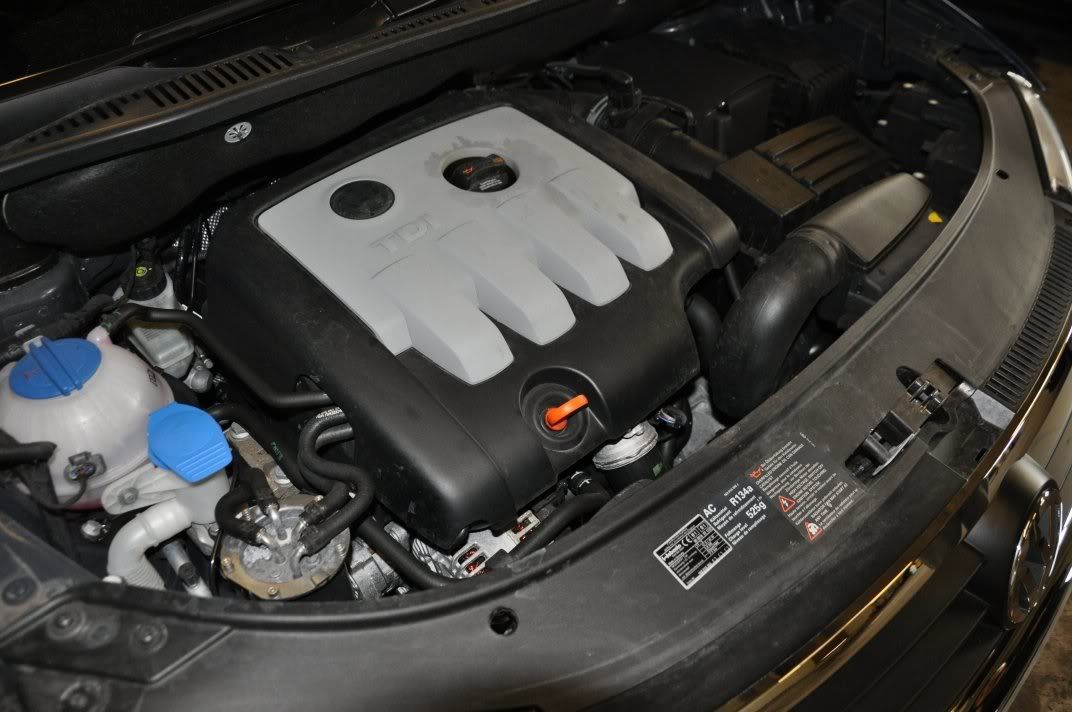
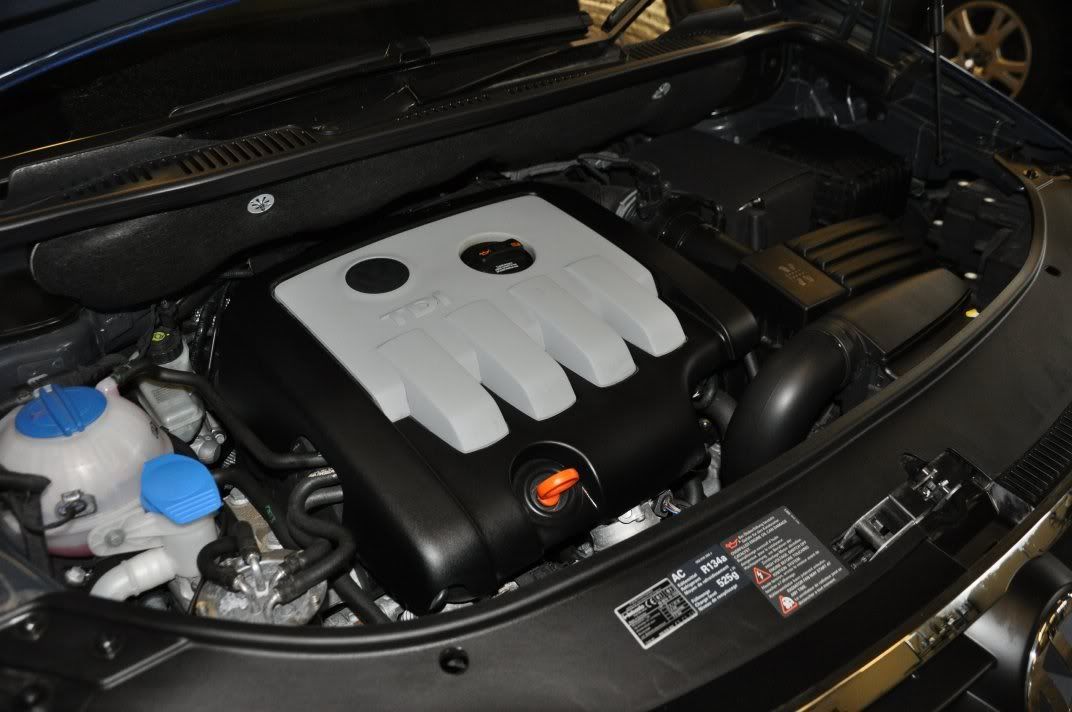
Engine bay was given a quick spruce up using Meguiars All Purpose Cleaner followed by Meguiars All Seasons Dressing. Before:

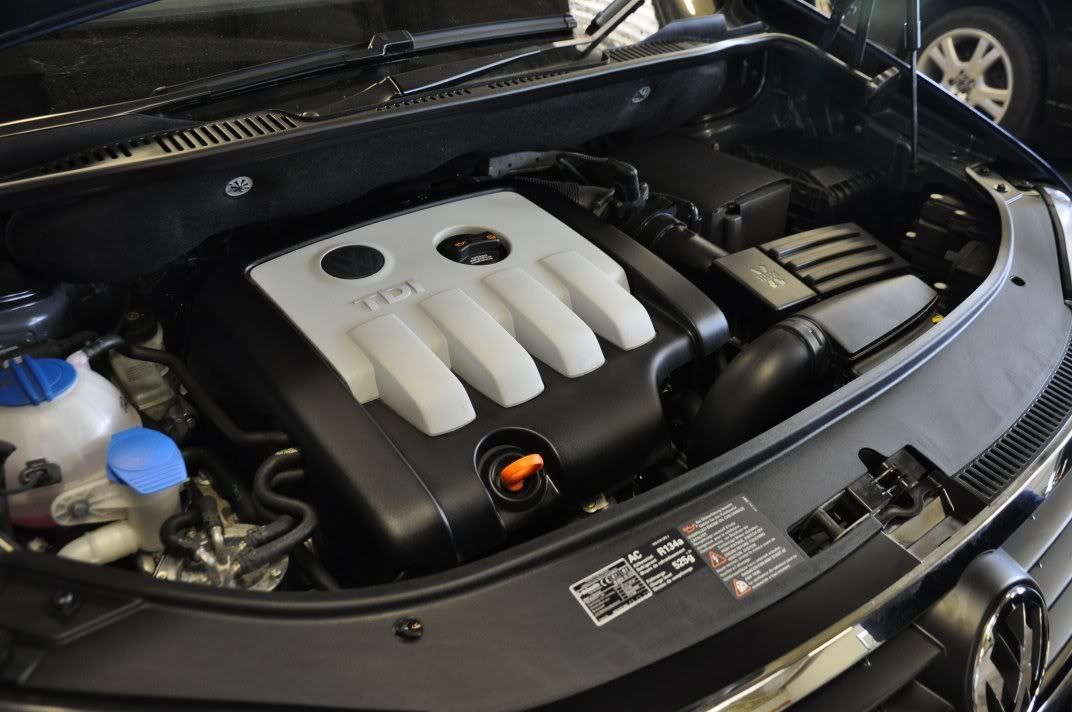
After:
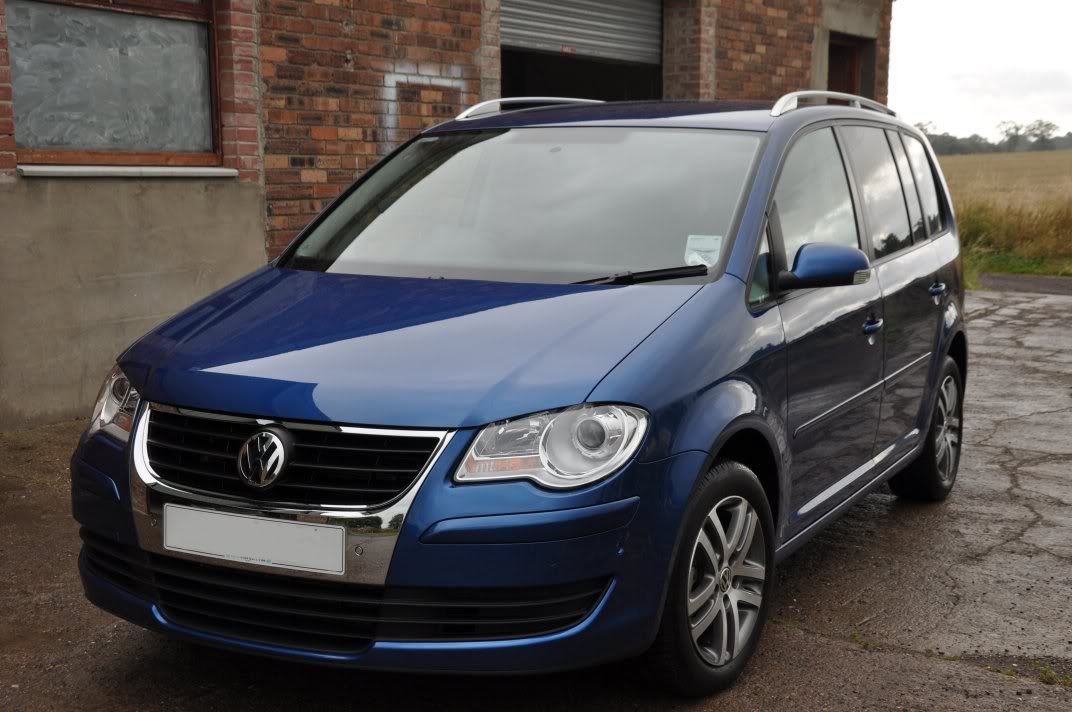
The paintwork was cleansed using Lusso Revitalising Cream and then protected using Meguiars #16 Paste Wax for a durable protective finish. Tyres, rubbers and arches dressed with All Seasons Dressing, wheels waxed with FK1000P for protection, glass cleaned with Stoner Invisible Glass. In the unit, the end results...
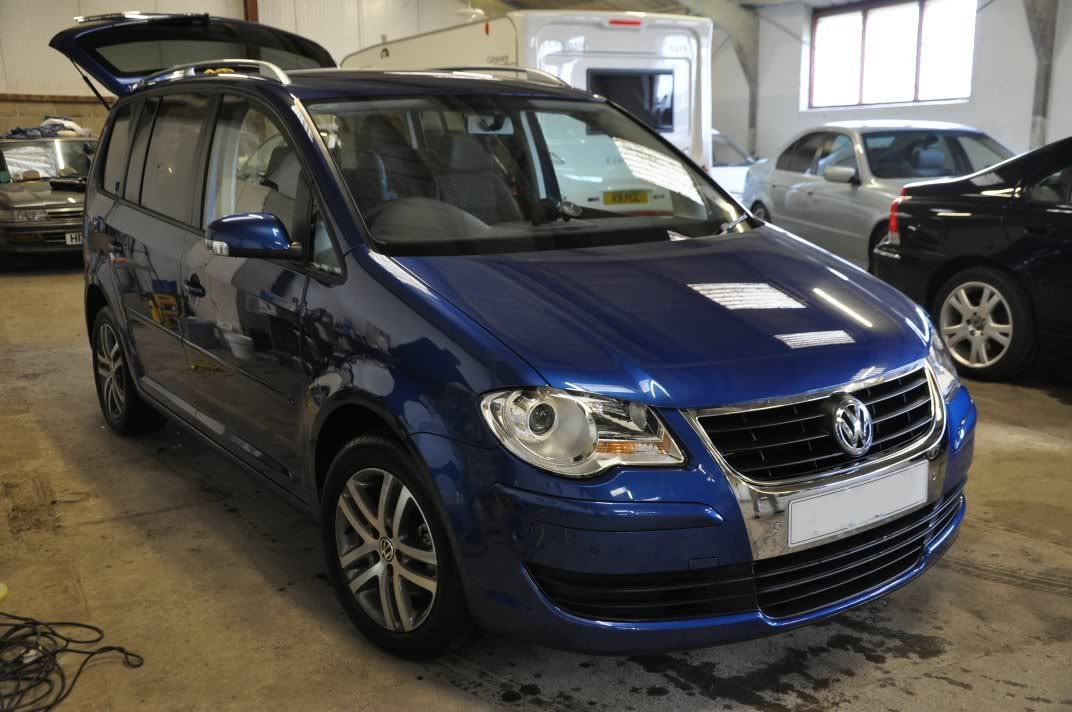
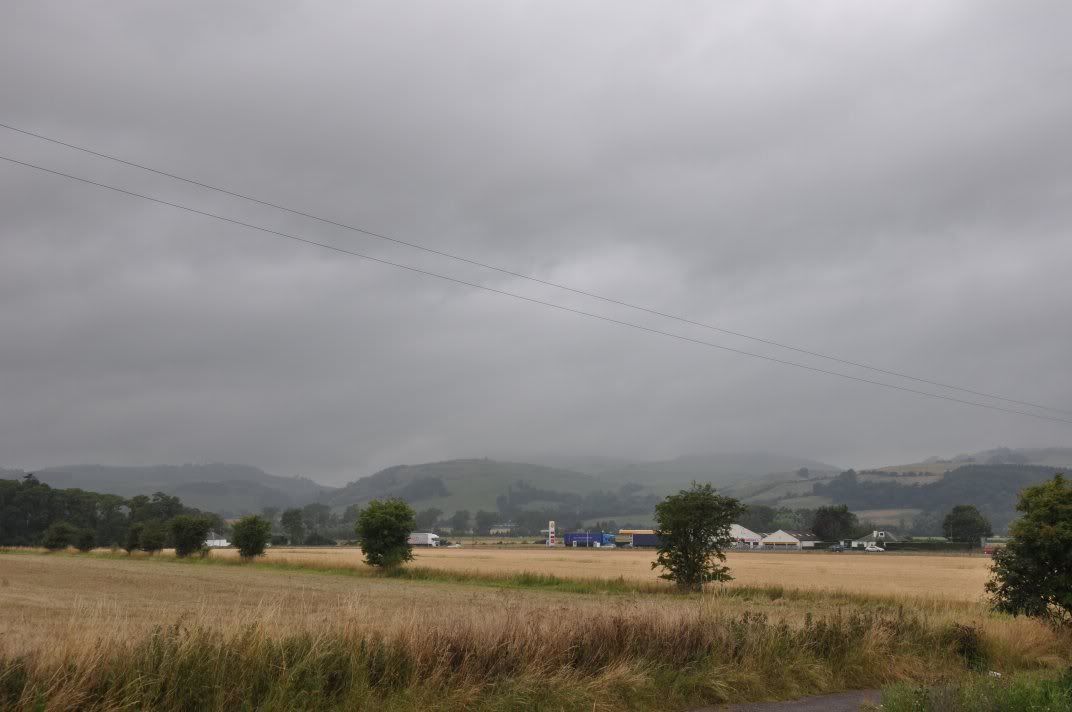
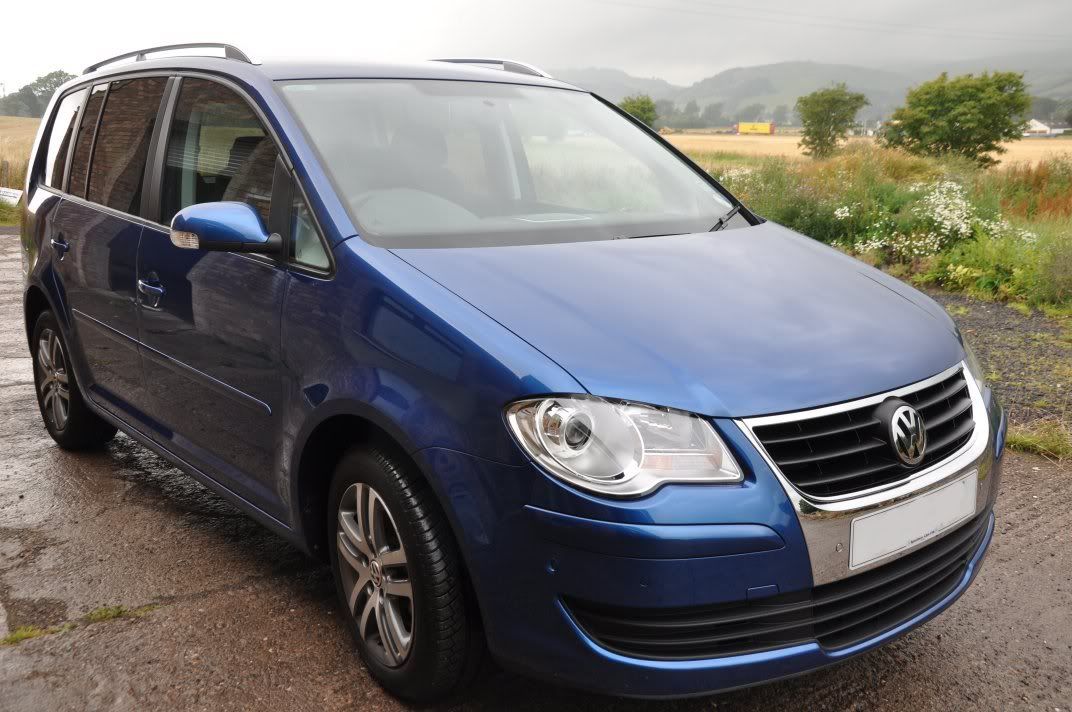
Alas, after all the excellent weather we've has recently for after pics, this is what greeted us today:
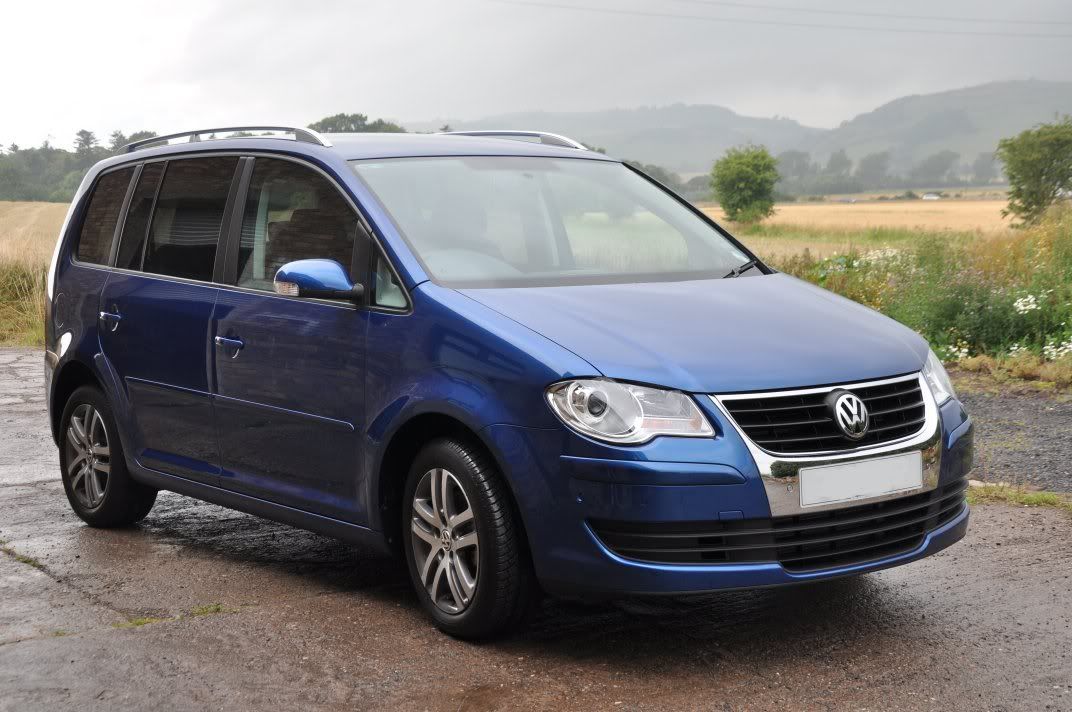
Not to worry, dim weather outdoor shots could still be taken All pics the follow and above taken using Nikon D90 camera, resized maintaining aspect ratio. No other editing.
The afters
:thumb:
One year old, and this car was showing just how well cared for it was - had a couple of cars like this recently, where the owner's really do seem to know how to take care of their cars and it shows in a finish which was largely swirl free before the detail - is the car care word finally getting out there? Slowly, perhaps
Starting off with the wheels and arches,
Tyres cleaned with Meguiars All Purpose Cleaner and, yes, a toilet brush
:Note the grim coming out of the tyres - this must be removed in order to make your tyre dressings last a decent amount of time.
Wheels were cleaned using Bilberry Wheel Cleaner, arches with Meguiars APC.
The car was foamed before washing with the two bucket method - on a car where the finish is already very good, you want to be very careful on the washing stage to ensure you do no inflict damage on it. This goes for cars in poor condition too - why risk inflicting deep marks that you just need to polish out? So the car was foamed before washing...
The car was then washed, rinsed and then clayed using Meguiars Mirror Glaze Mild Clay with Last Touch as a lube. After washing and claying, it was clear to see the car was very well cared for:
The before shots of the paintwork could be the after shots... very little if any swirls, and those there are could well have been inflicted by the dealer pre delivery! Before shots...
The finish was not completely perfect, however. An example of a deeper scratch on the finish is shown on the front of the bonnet...
These marks were few and far between. Correction of them was carried out using 3M Fast Cut applied as follows, using a Meguiars W7006 cutting pad:
- Spread at 600rpm
- Begin working at 1200rpm until residue evenly spread
- Work at 1800rpm until the defect removed
These regions were the finished using the process used for the rest of the car.
The rest of the car was treated to Menzerna PO106FA Final Finish applied using a Meguiars W8006 polishing pad - this combo was found to be good for removing the odd light swirl here and there and enhance the gloss and clarity to the paintwork as well. Applied as follows, the classic Zenith Point Technique:
- Spread at 600rpm
- Begin working at 1200rpm until residue well spread and panel temperature slightly rasied
- Work at 1500 - 1800rpm until residue goes clear
- Refine at 1200rpm for a couple of passes
- Burnish at 900rpm for a couple of passes with light pressure
On the bonnet, the scratch not removed:
The finish after refining:
Another mark requiring specific attention - bird etching on the roof...
Three hits of Fast Cut applied as above required to fully remove this, at a cost of between 8 and 10um of paint (let this be a little lesson - get that bird **** off of the paint asap, it can do serious damage!):
After shots across the car:
Engine bay was given a quick spruce up using Meguiars All Purpose Cleaner followed by Meguiars All Seasons Dressing. Before:
After:
The paintwork was cleansed using Lusso Revitalising Cream and then protected using Meguiars #16 Paste Wax for a durable protective finish. Tyres, rubbers and arches dressed with All Seasons Dressing, wheels waxed with FK1000P for protection, glass cleaned with Stoner Invisible Glass. In the unit, the end results...
Alas, after all the excellent weather we've has recently for after pics, this is what greeted us today:
Not to worry, dim weather outdoor shots could still be taken
All pics the follow and above taken using Nikon D90 camera, resized maintaining aspect ratio. No other editing. The afters
:thumb:


Comment