

 Tweet
Tweet

and
Isn't word of mouth great?! Anyway, the owner of this vehicle is a 20-year old nursing student and being in a rush on the way to school she clipped the mailbox in the front of the house while backing out. Sove severe RIDS and scattered contact-denting were created in the process. Down thru to the metal in many areas I immediately advised on a repaint of the specific areas and body panel adjustment for the best possible correction on a brand-new car.
The customer's financial situation (being a full-time student) didn't really lend itself to that at this time so we scheduled an appointment for a full detail and she advised me to do what I could with the scratches within the limited budget. Obviously as part of all the repeat business from this household I planned to give it a go.
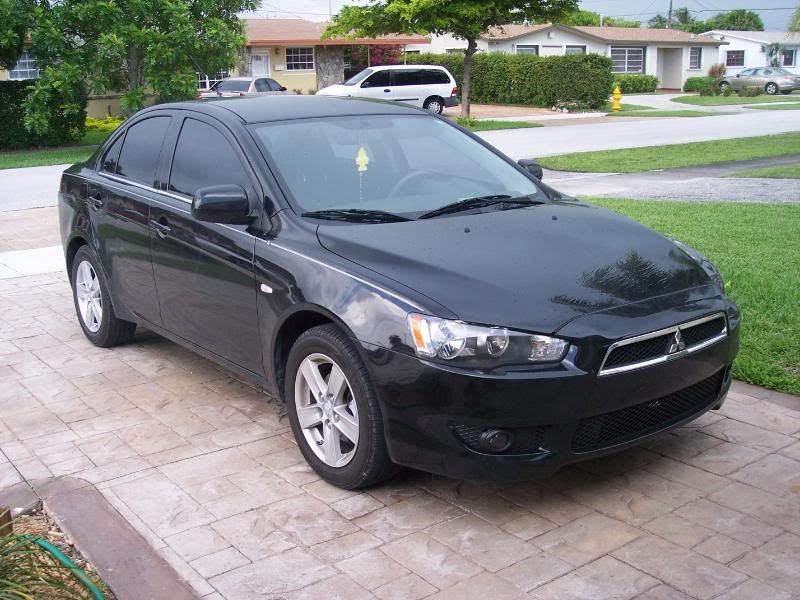
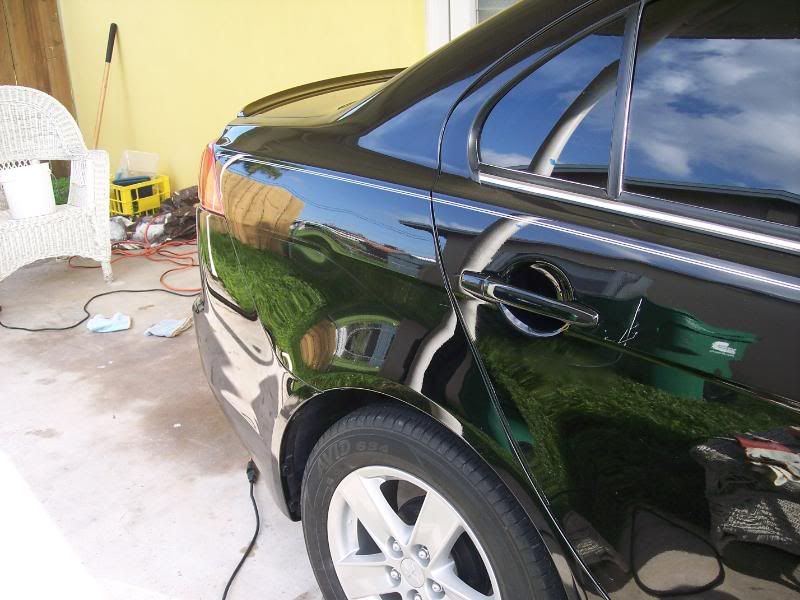
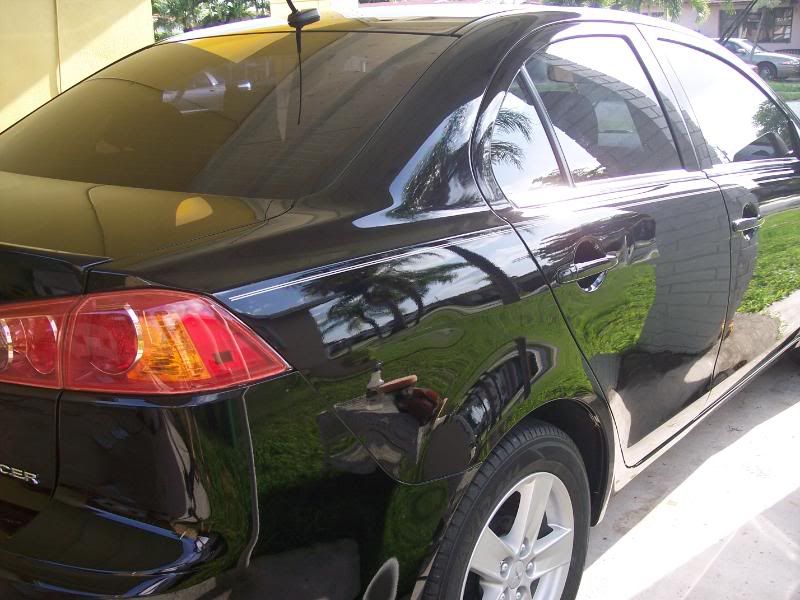
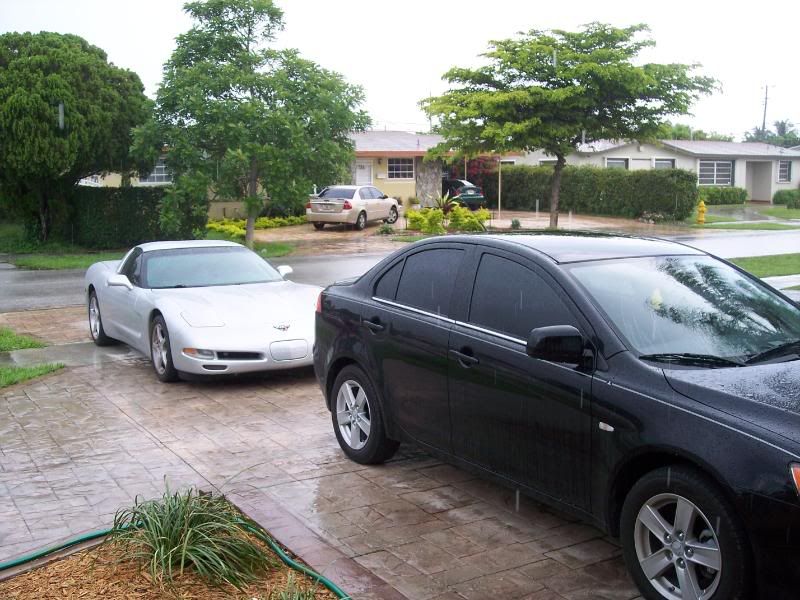
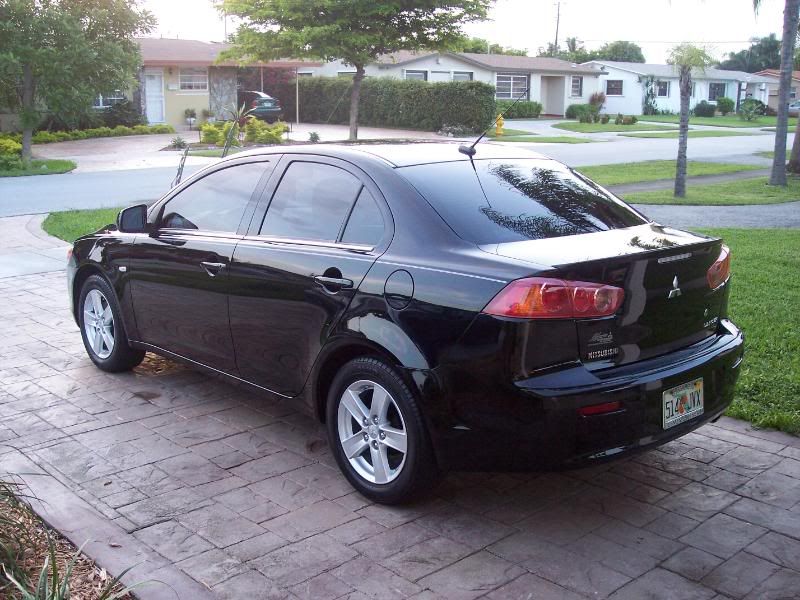
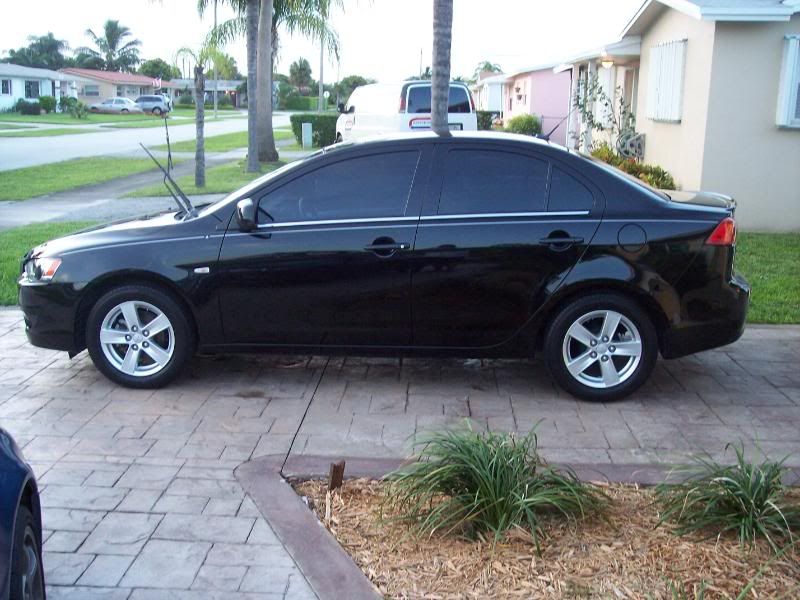
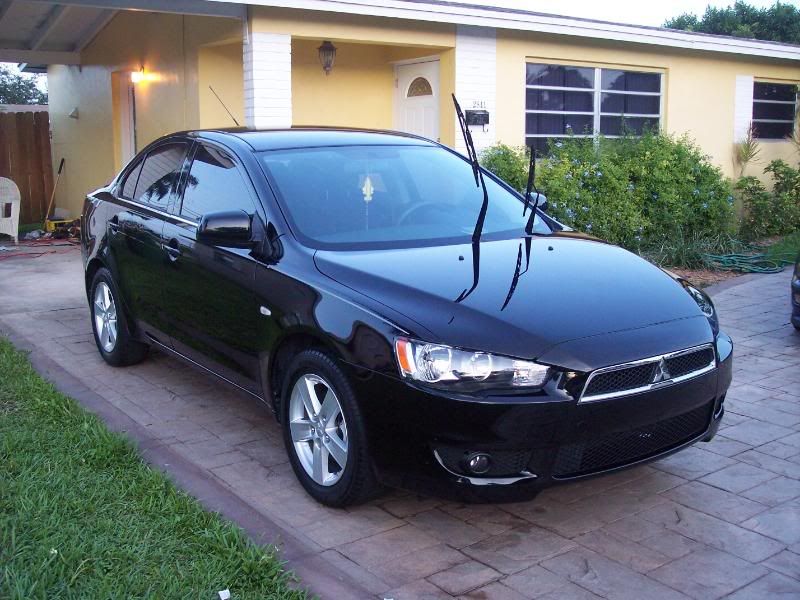
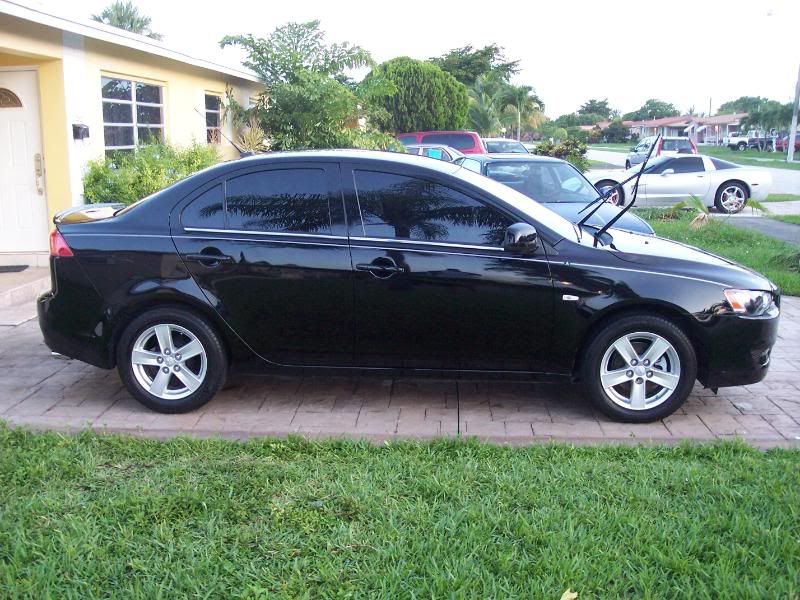
Due to the horrificly wet weather over the last two weeks, we weren't able to get together until this weekend. Pictures of vehicle as delivered:
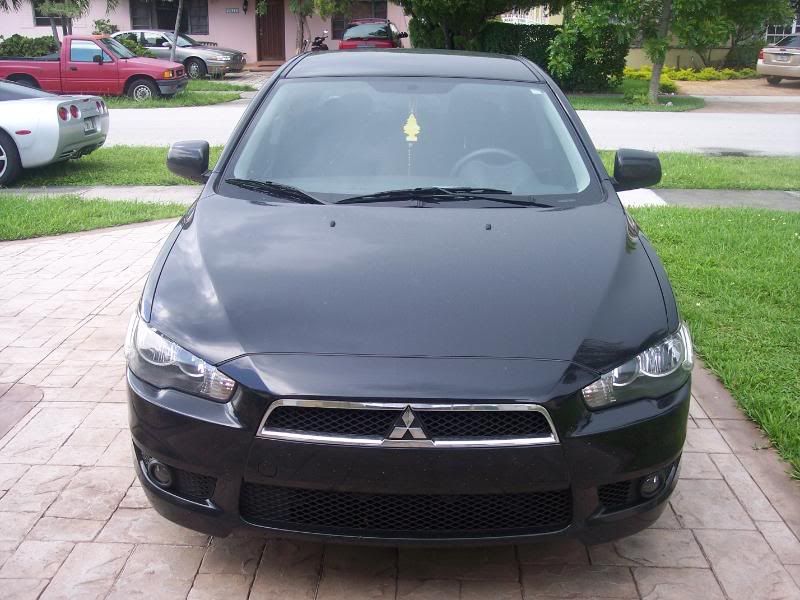
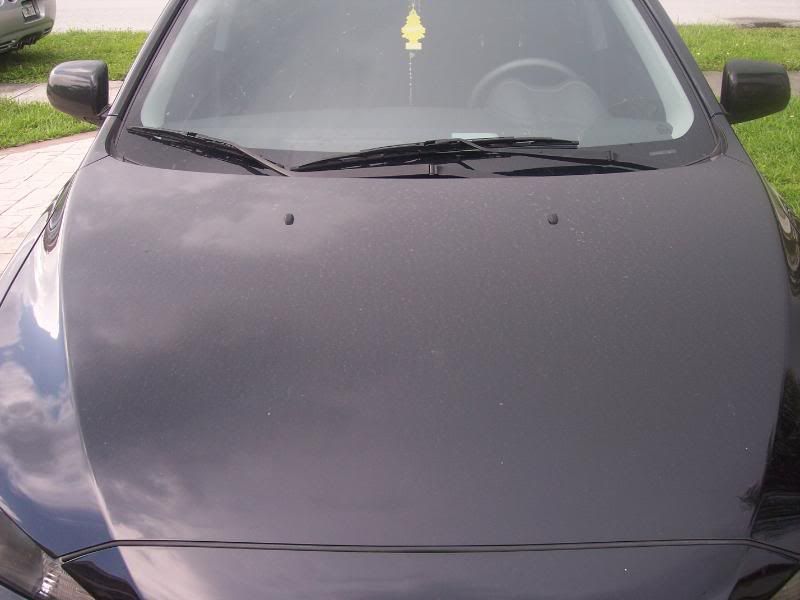
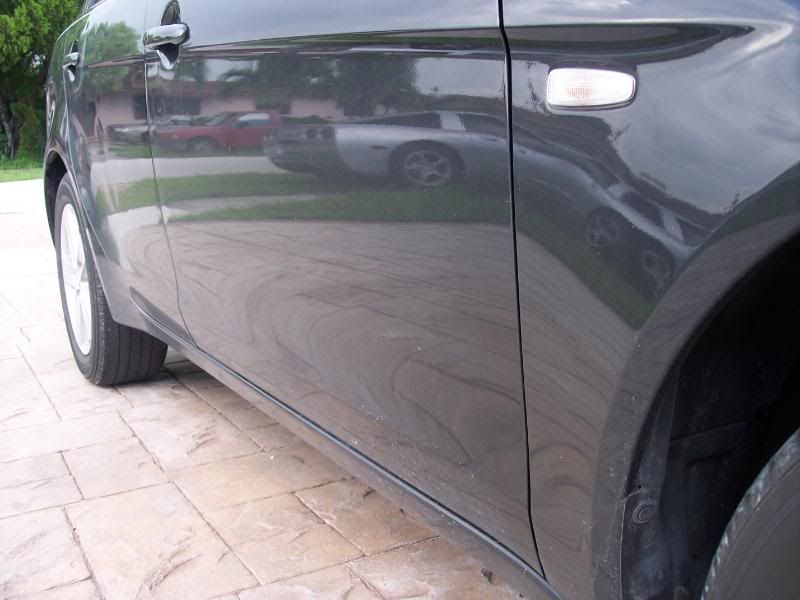
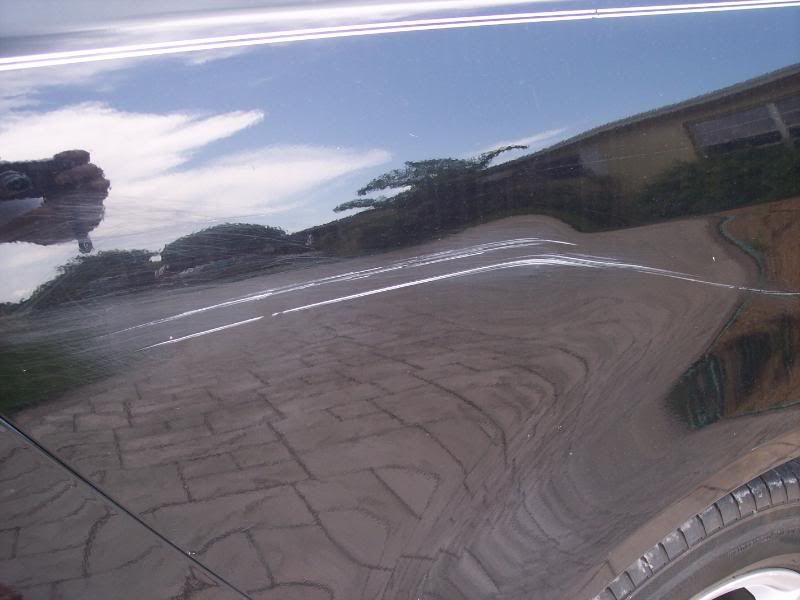
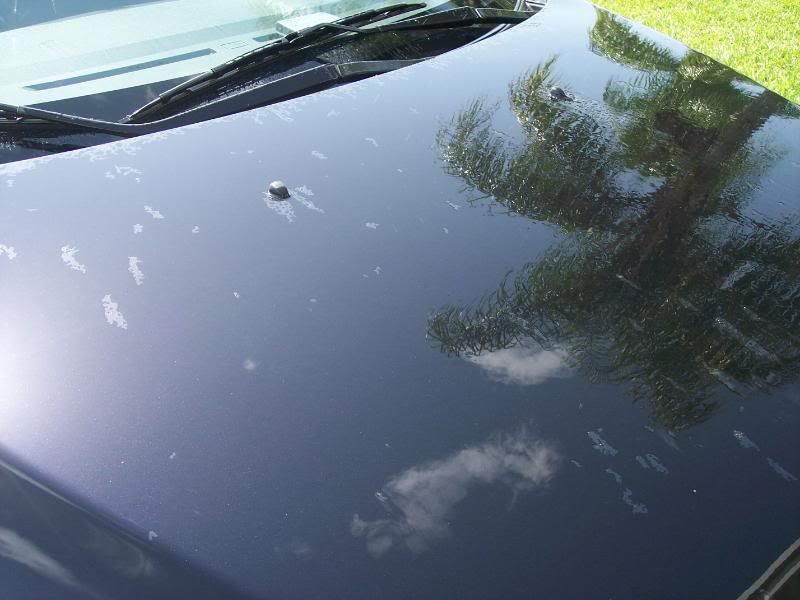
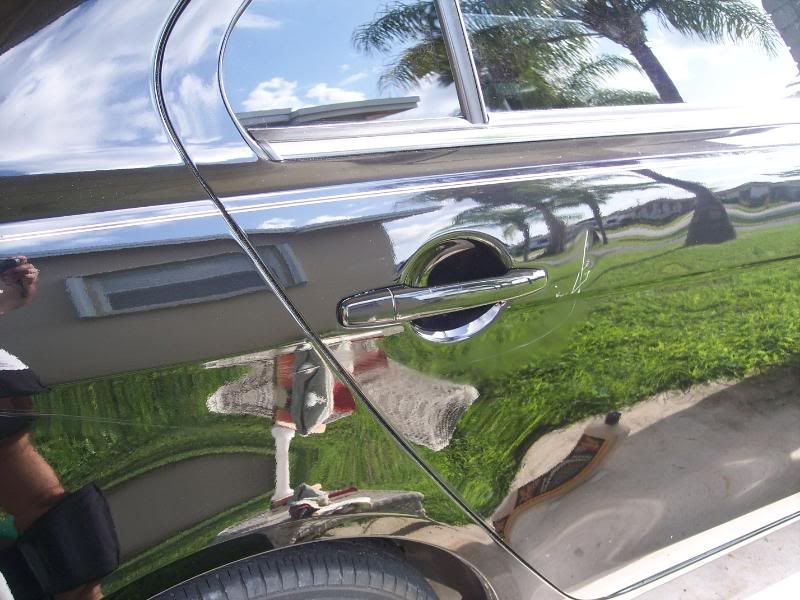
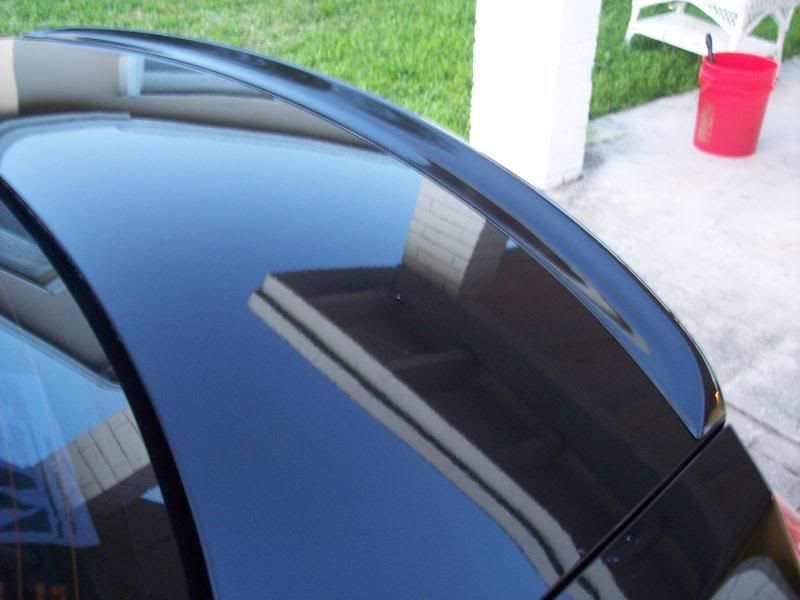
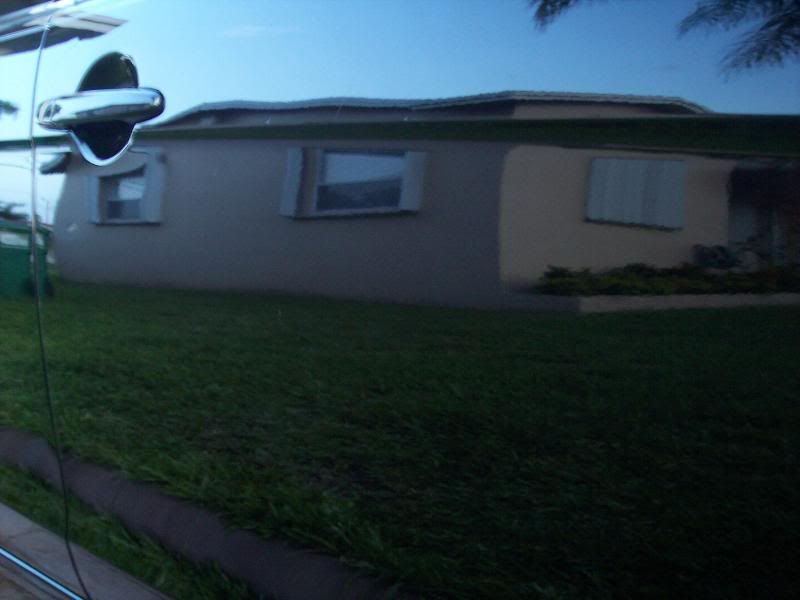
Close-up of water etching on paint surface (typical of all the cars I have done from this house)...
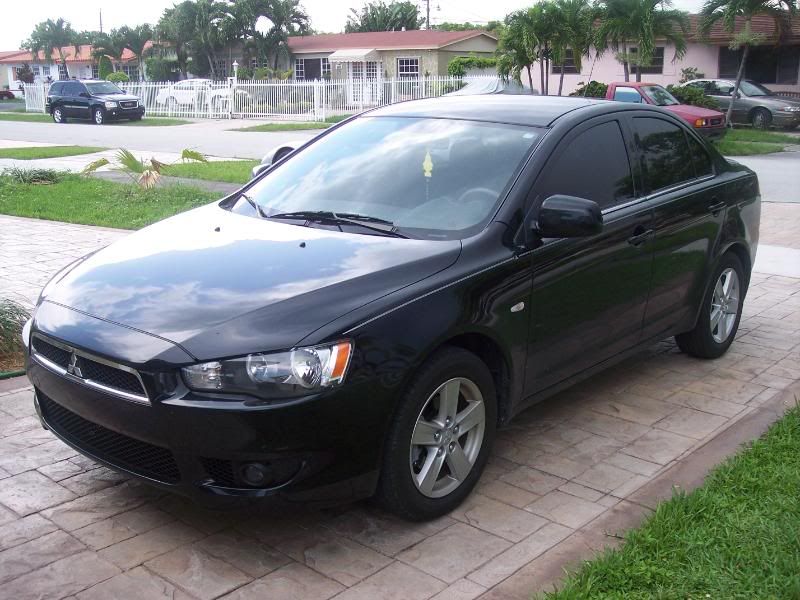
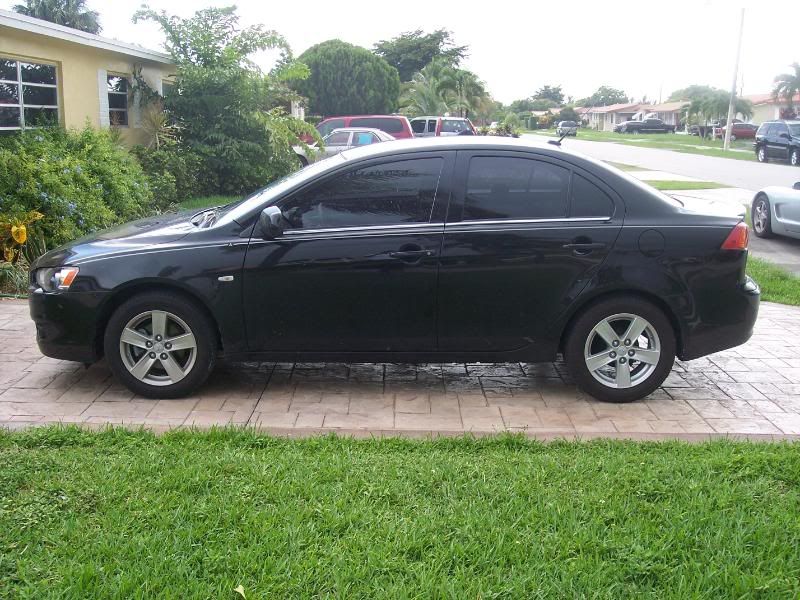
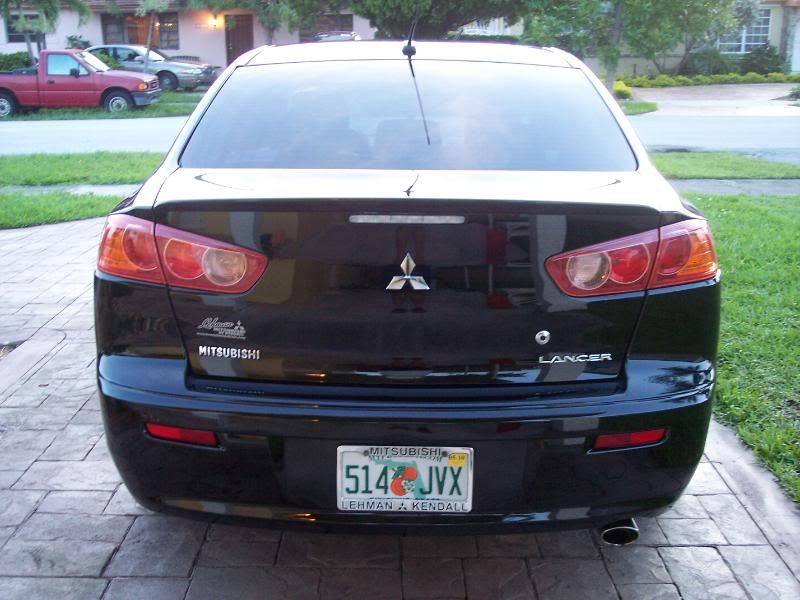
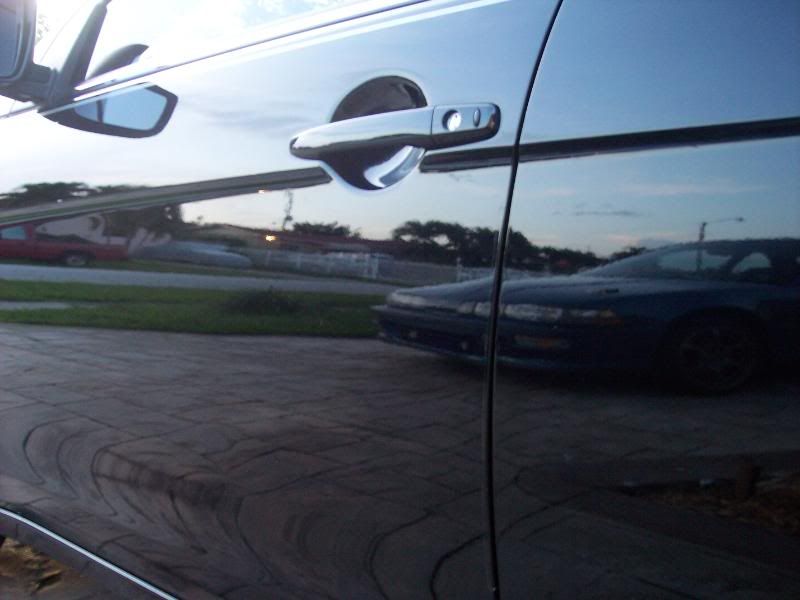
Around the vehicle...

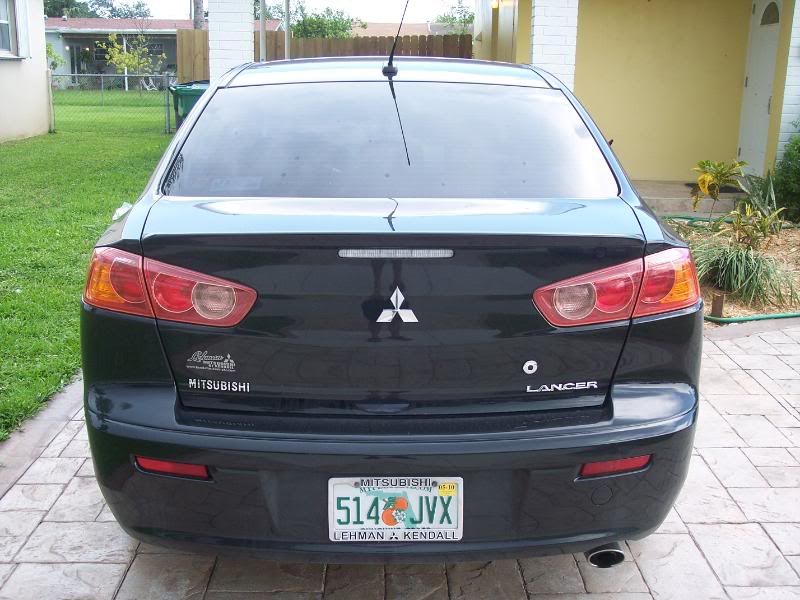
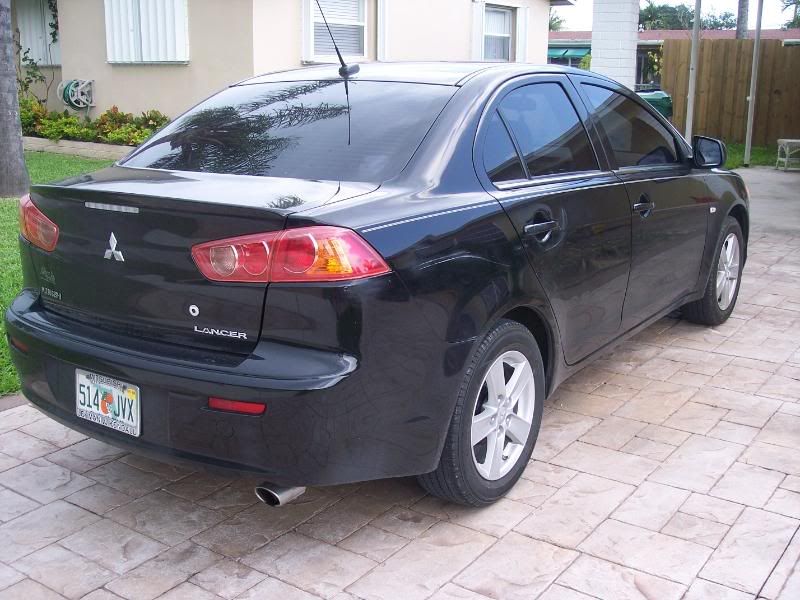
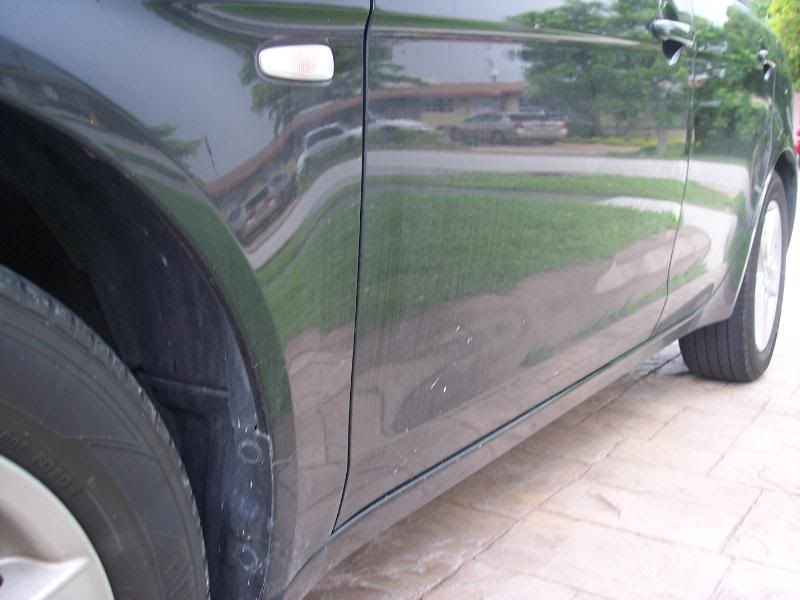
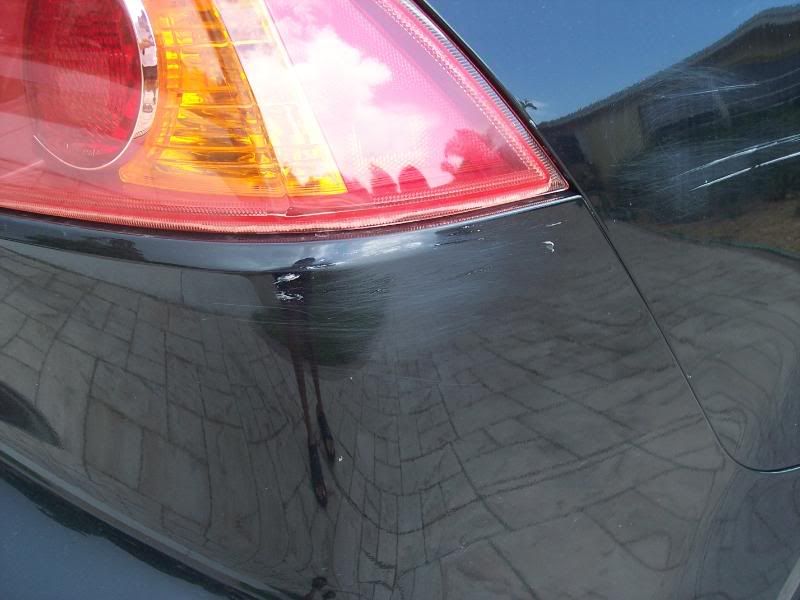
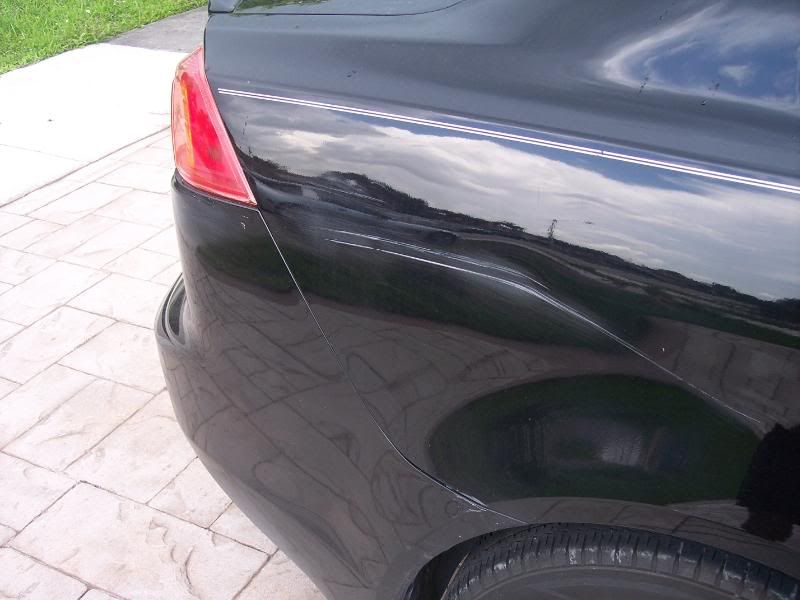
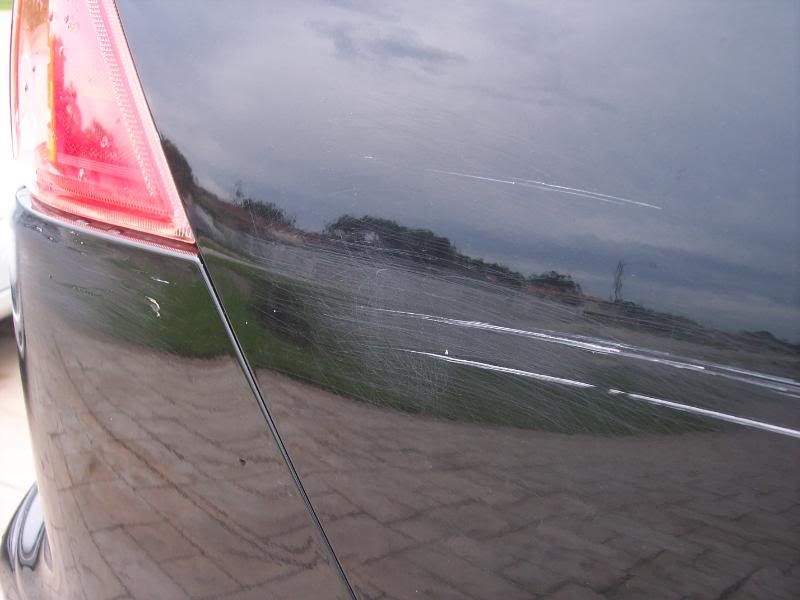
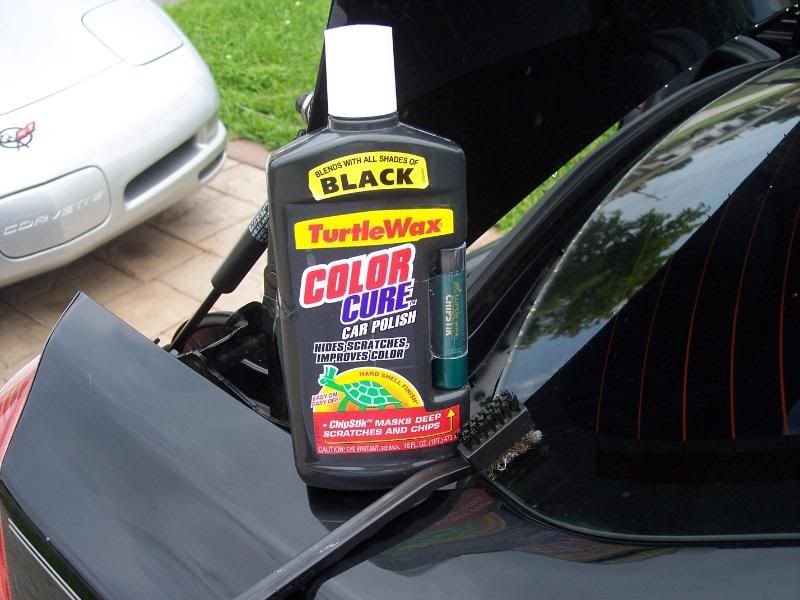
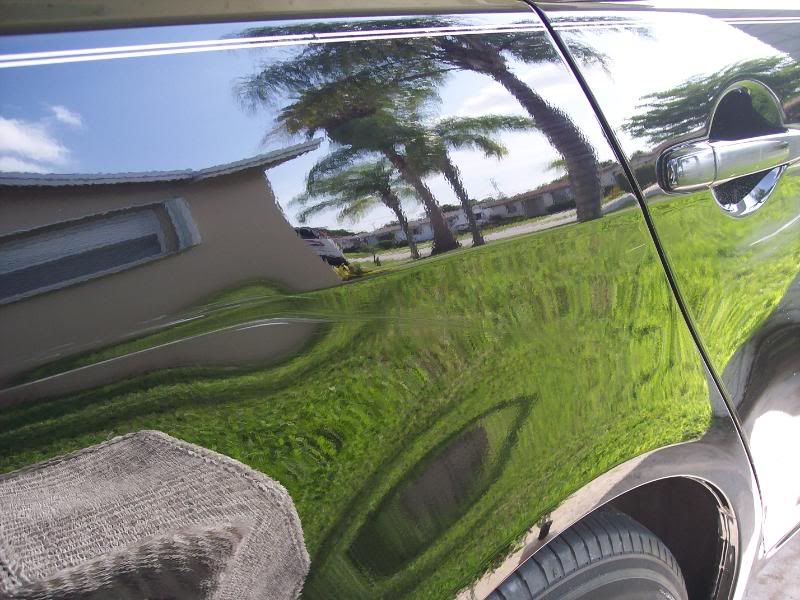
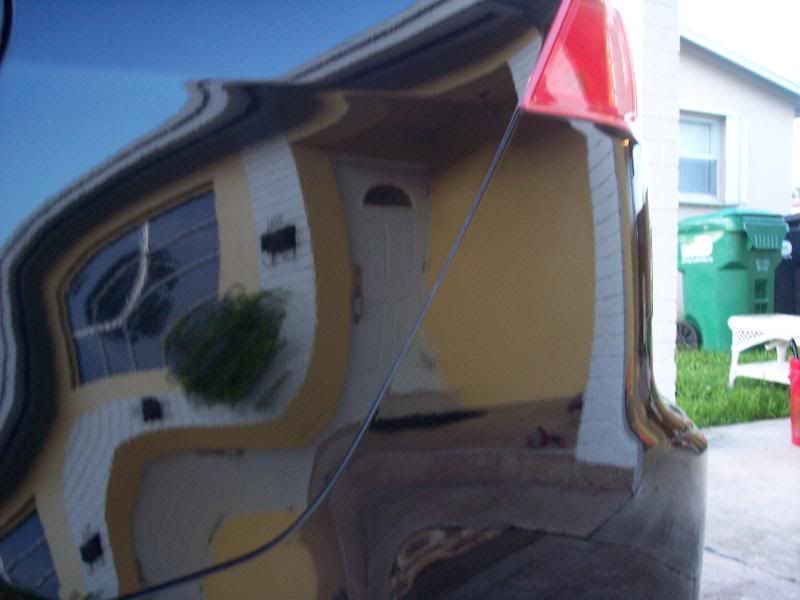
And now for the good stuff. Mitsubishi Lancer + 20-year old girl in a hurry + angry mailbox = this:

Exterior Correction Prep Procedure:
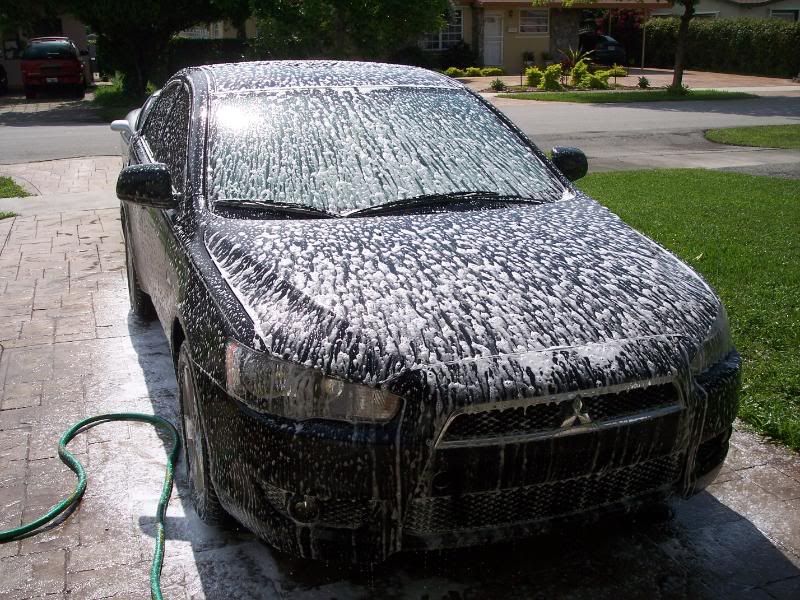
1. Performed a pre-soak on the vehicle with Pure Oceans Citrus Cleaner via foam gun
2. Applied DP Wheel Gel to rims/tires and allowed to dwell
3. Performed vehicle wash with NXT car shampoo via the 1-bucket/foam gun method using a HD Grout Sponge for agitation
4. Rinsed off wheels and tires and cleaned with assortment of brushes and remainder of wash solution
5. Cleaned wheel wells with APC+ and long-handled tire brush
6. Dried vehicle with synthetic absorber and Armor All drying towels
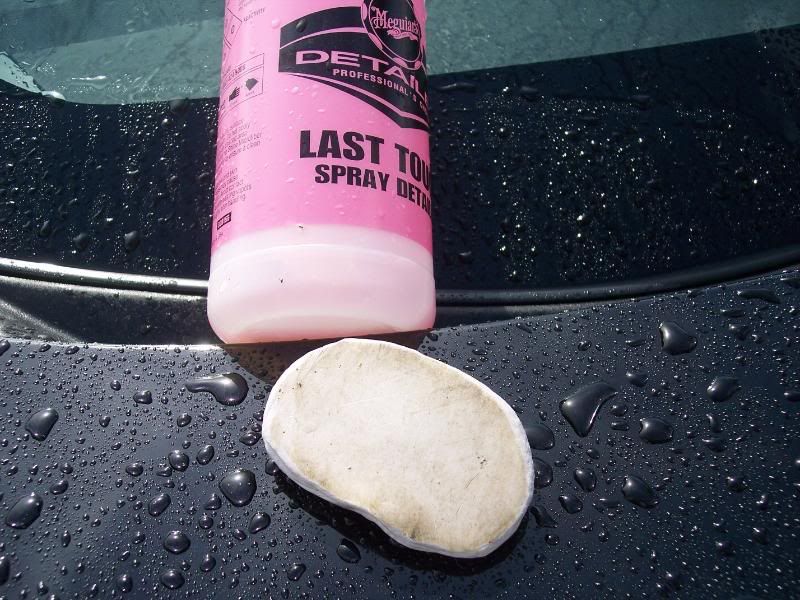
7. Clayed vehicle with DP Detailer's Clay with Meg's Last Touch diluted 1:1 as clay lubricant
8. Performed final soak and rinse via foam gun wit more NXT car shampoo to remove any clay residue
Pre-soak...
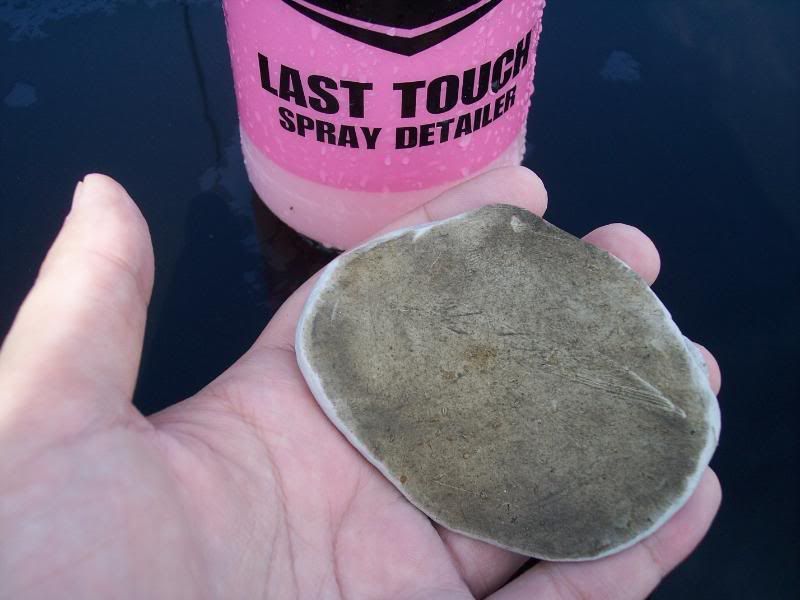
This, folks, is a paint surface with no wax and no protection...
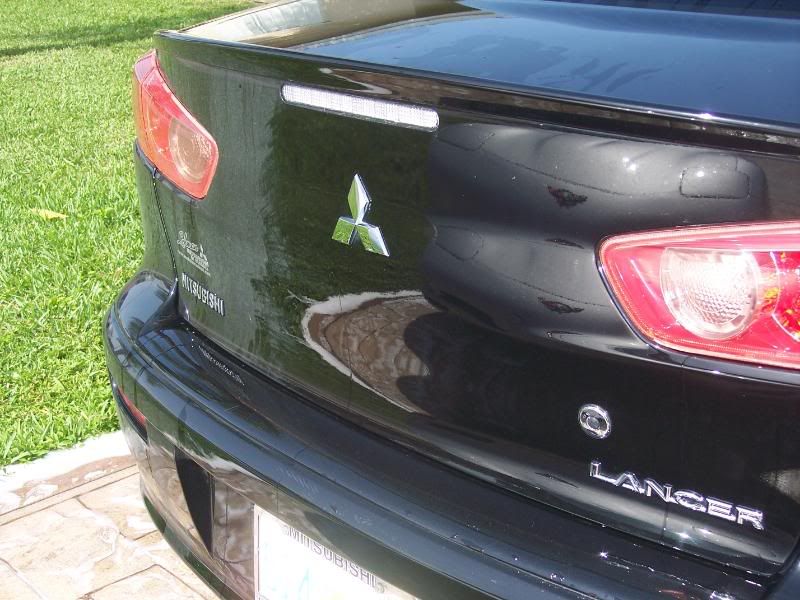
50/50 on rear trunk lid and bumper area...
Light contamination on hood/quarter panels...
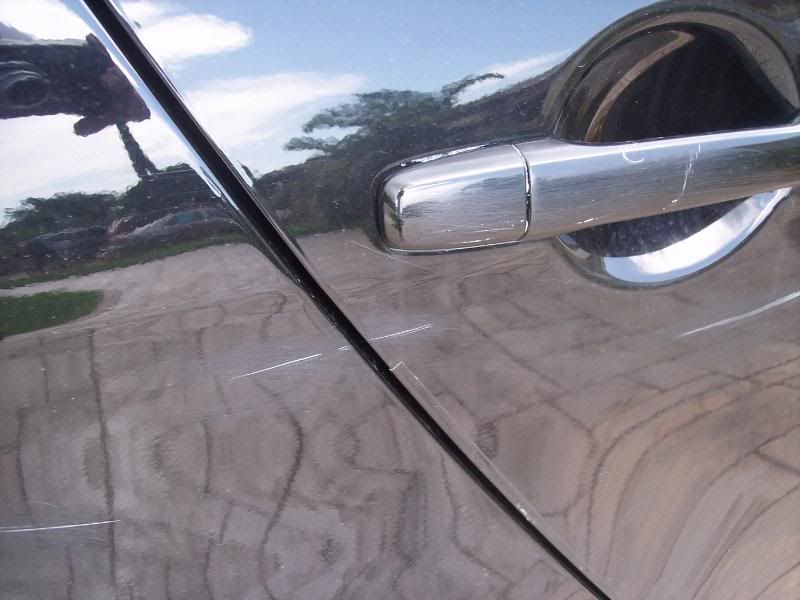
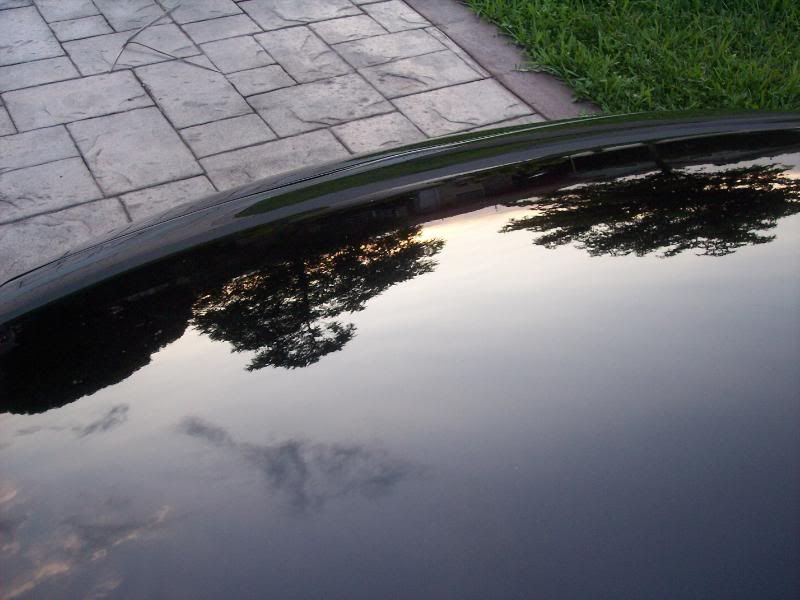
Medium contamination on roof/door panels...

WTF-type contamination on the rear of the car...
Spot Correction Procedure:
1. Apply M105 on an ADS-spec CCS Orange light cutting pad via Flex 3401 on speed setting 6.
2. Perform IPA wipedown
3. Repeated step one above on certain areas of minute marring from previous correction attempts
3. Performed second IPA wipedown to remove any product remnants and called it a day
Upon close inspection of the damaged areas I noticed a lot of marring and gouging around the previous damage I had intially seen when I inspected the vehicle. I suspected someone had tried to correct the car between then and now...
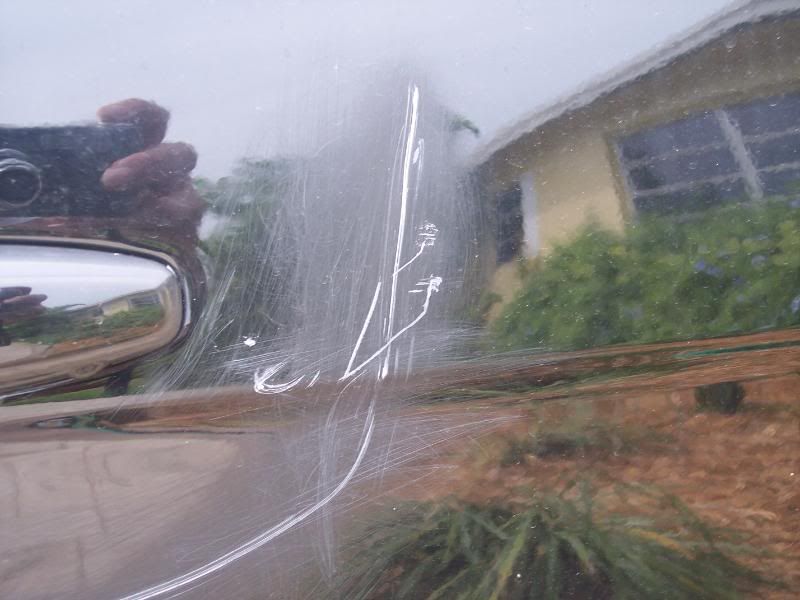
Sure enough, I looked in the trunk and found this...
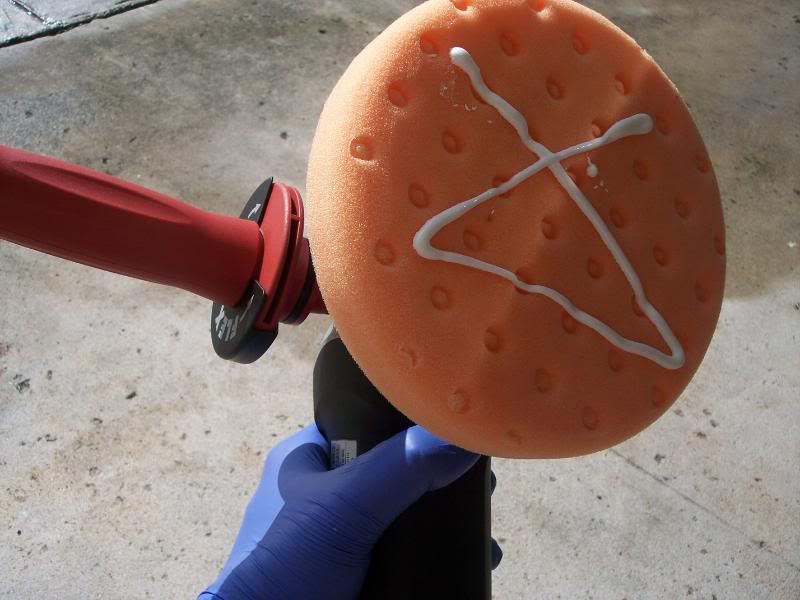
Grabbed the Flex, affixed an ADS-spec CCS Orange pad to the backing plate, primed it with a spritz of XMT Pad Conditioner, and applied an initial "x" of M105 to the face...
Kiss the pad to the are to be polished...
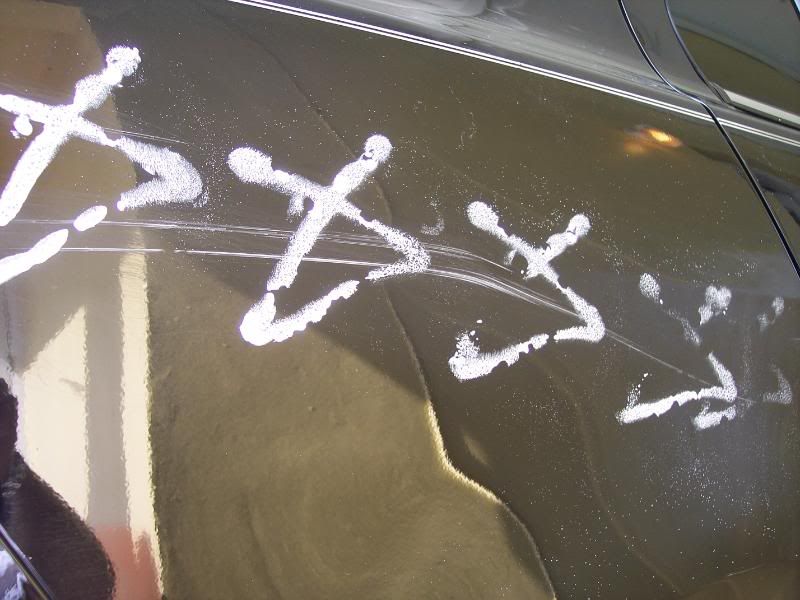
Spread it around both with the machine off and later with a slight squeeze of the trigger...

After one solid pass and a follow-up pass to hit certain spots I was left with this...
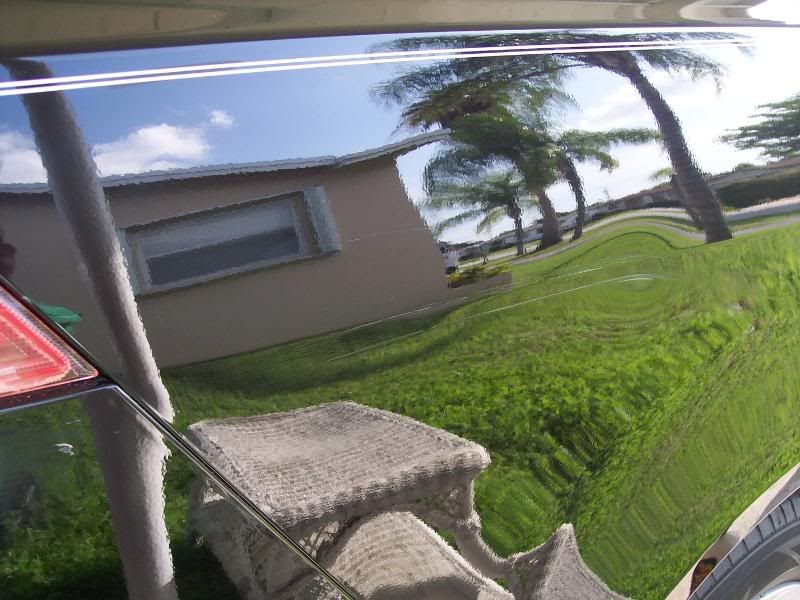
Surely not perfect by any means but much improved I felt. Was going to throw in a quick one-step with M205 on the car for all the referral business but this put a damper on my plans...
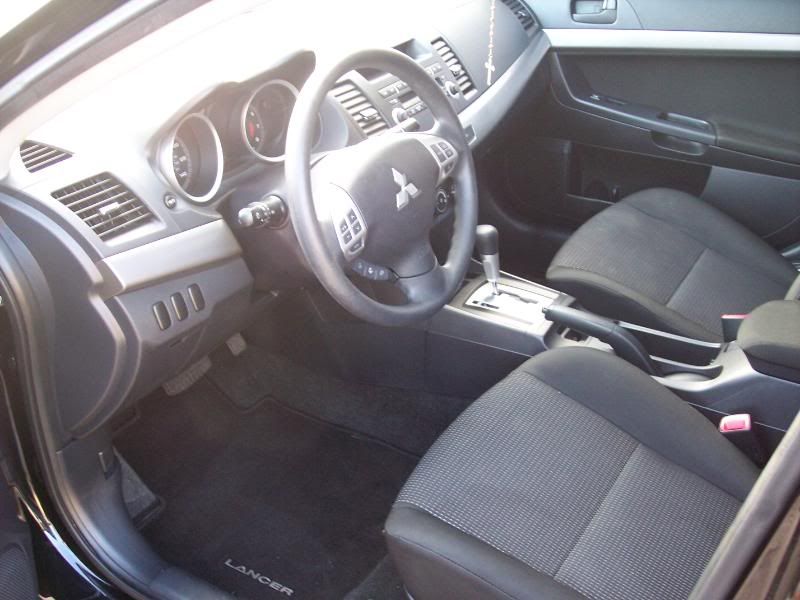
Too bad. The paint really needed correction for a lot of minor flaws, etchings, and water spots. But the rain had other ideas. So on to the interior instead. Condition as delivered...
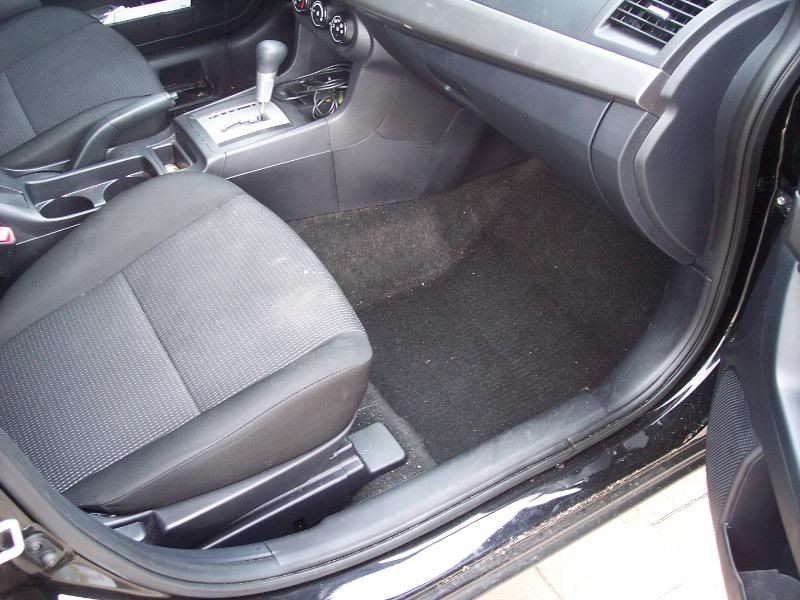
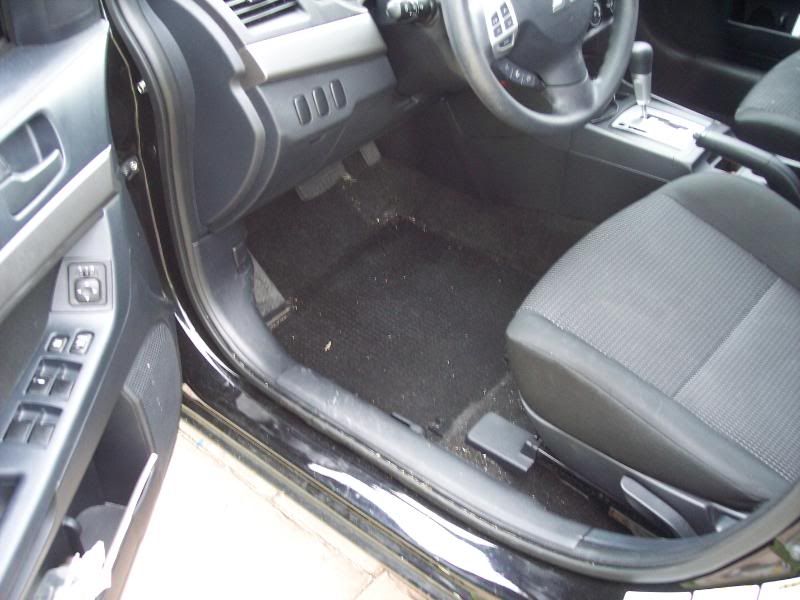

Interior Cleaning Procedure:
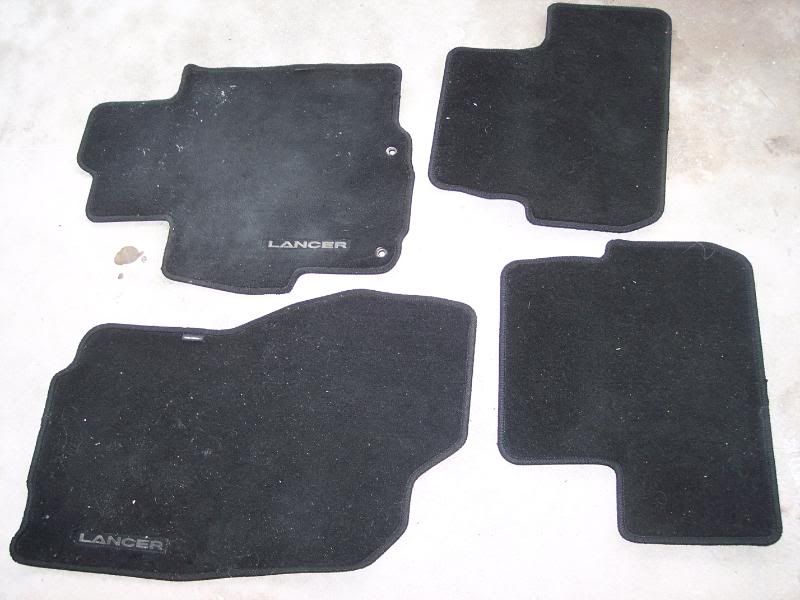
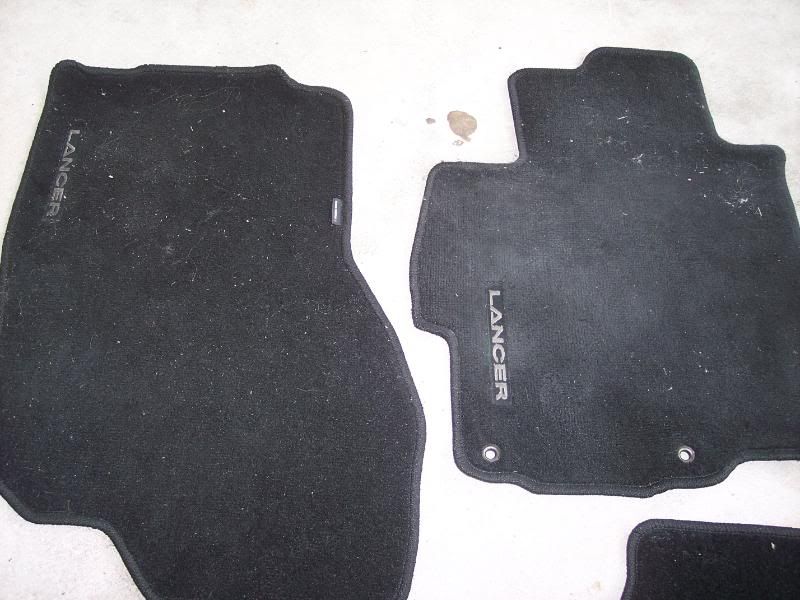
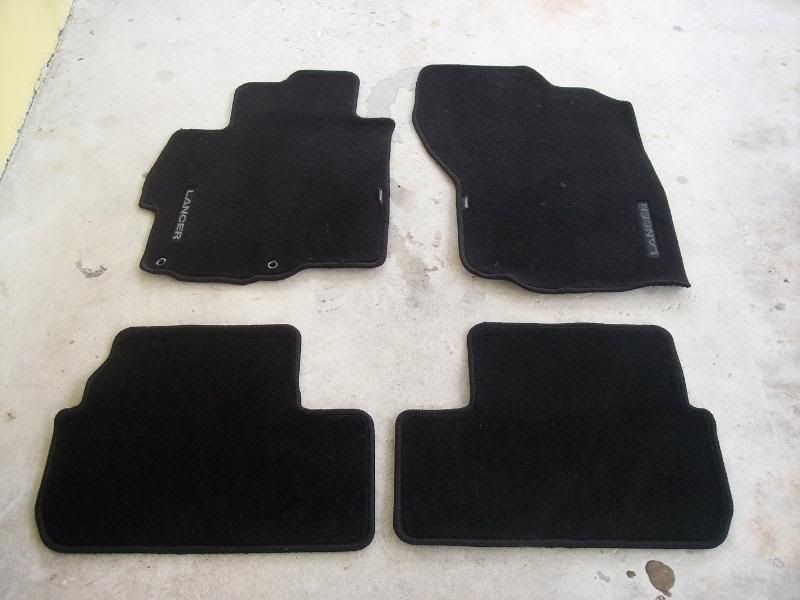
1. Remove all floor mats, loose trash, coins, tampons, hair clips, and the million other things I found in the car
2. Vacuumed carpeting and seats (cloth)
3. Vacuumed floor mats, cleaned with Meg's Carpet & Upholstery Cleaner and agitated with tampico brush
4. Performed wipedown of all interior plastic and vinyl surfaces with Meguiar's Quik Detail Wipes followed by clean microfiber wipedown
5. Treated all interior glass with Meg's NXT Glass Cleaner
6. Treated interior vinyl with Meg's Supreme Shine Interior Protectant
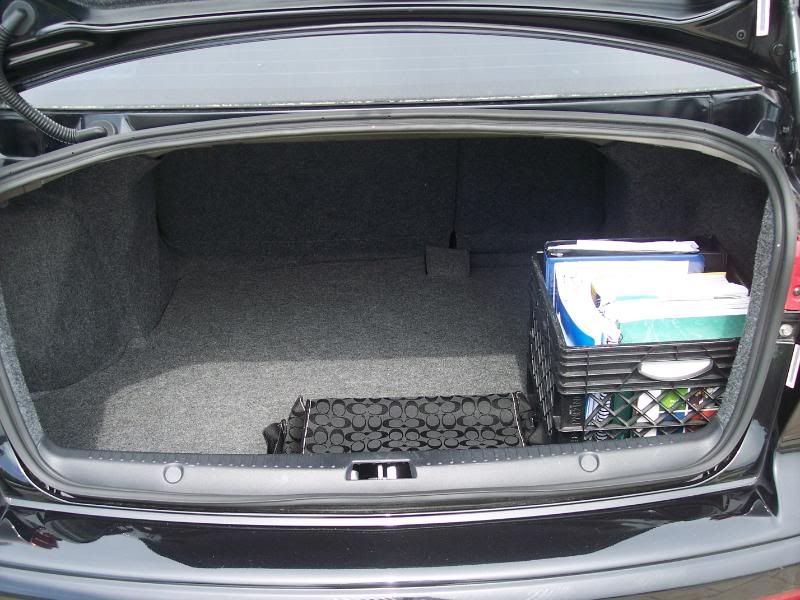
7. Reorganized trunk area with spare milk crate
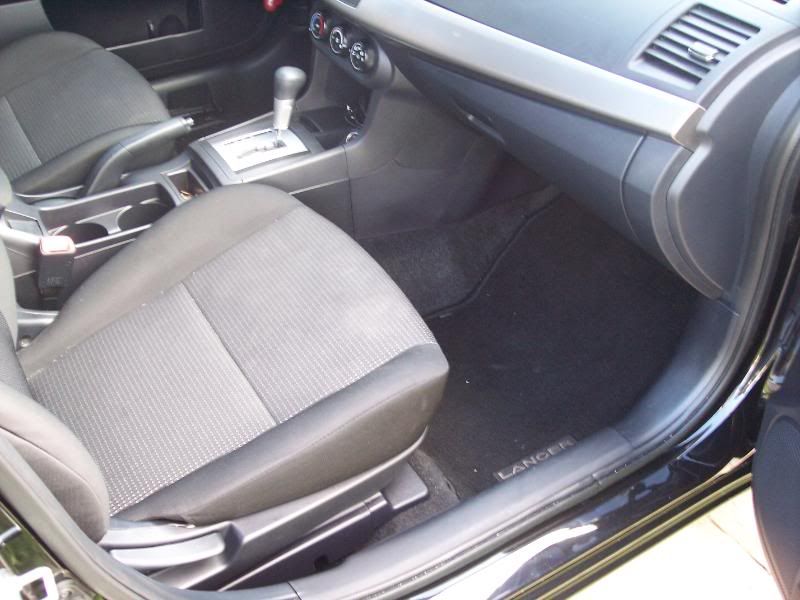
Completed interior work...
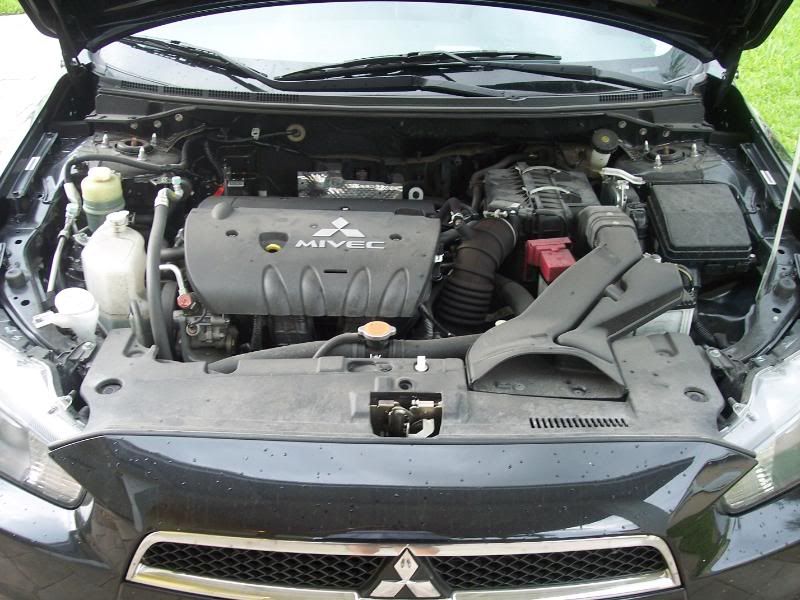
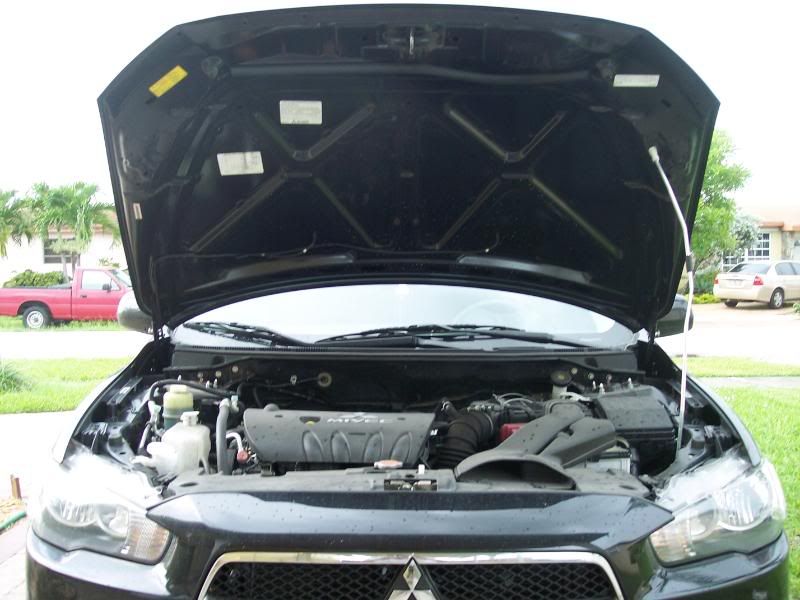
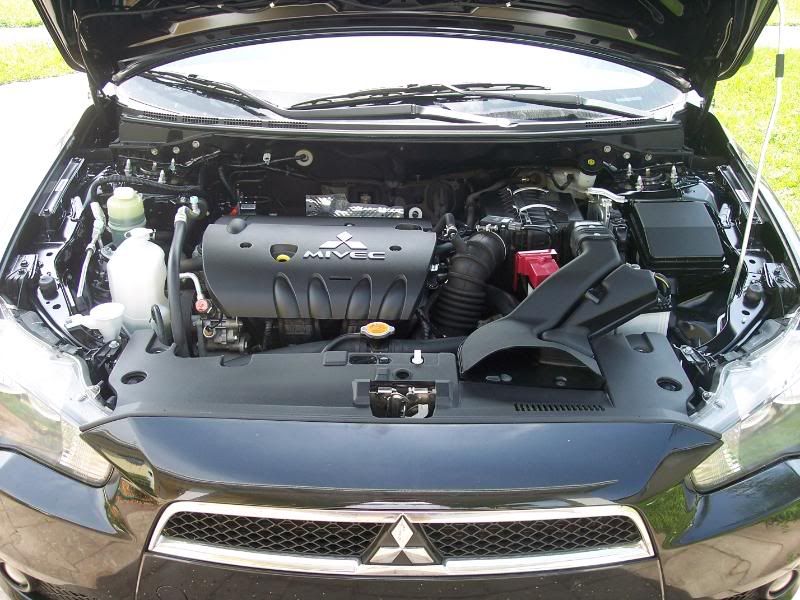
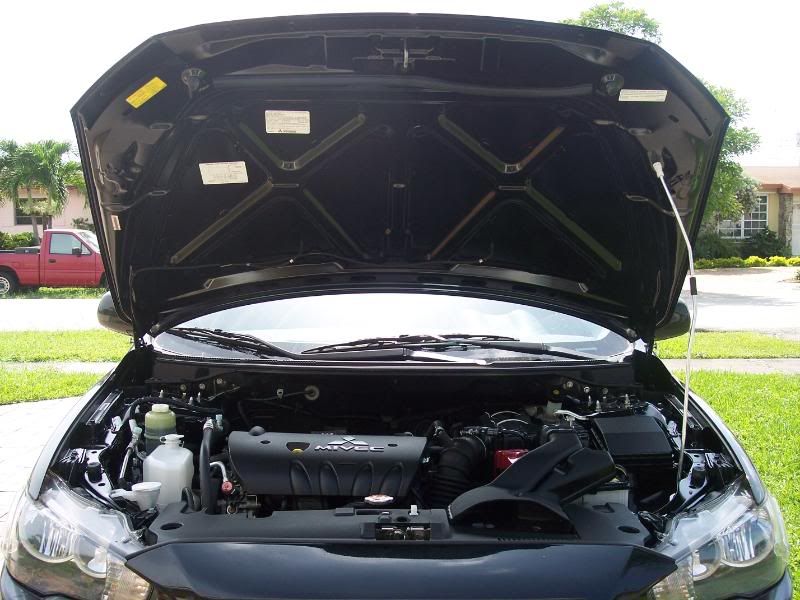
After the interior moved on to the engine bay portion of the detail. Condition of engine bay upon delivery...
Engine Detail Procedure:
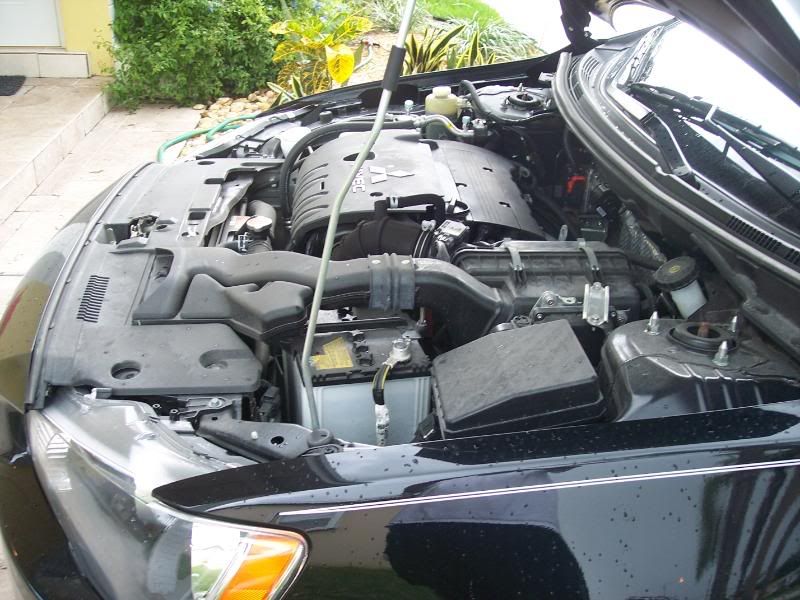
1. Covered all exposed electronic connections, wiring, and sensitive mechanical parts with household aluminum foil
2. Sprayed down engine bay with light mist of water
3. Applied Meguiar’s All Purpose Cleaner Plus (APC+) to everything quite liberally
4. Agitated with Mother’s Soft Wheel & Tire brush and some more APC+
5. Allowed to dwell for 10 minutes
6. Hosed off all residue with another light mist of water
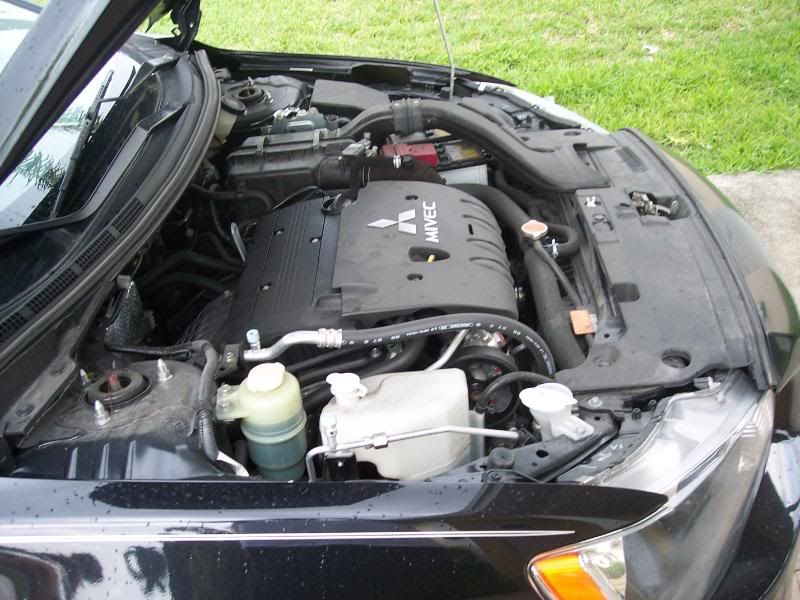
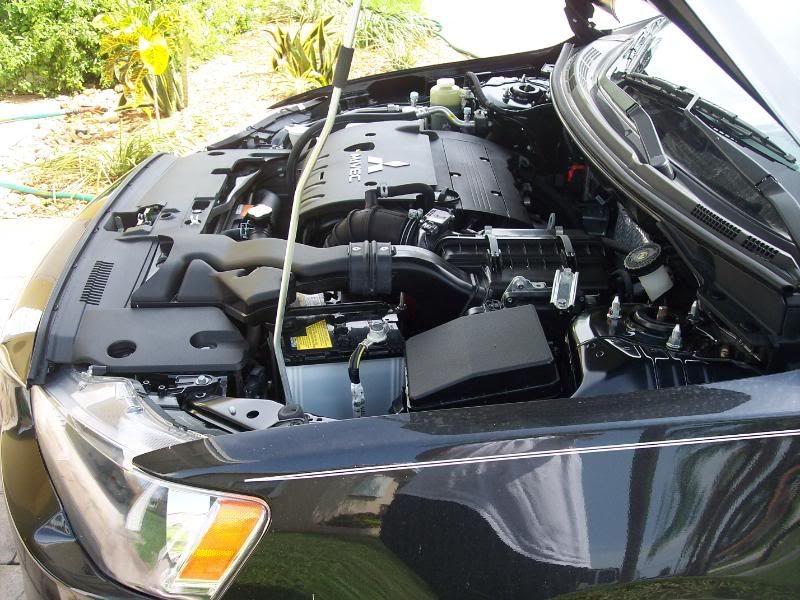
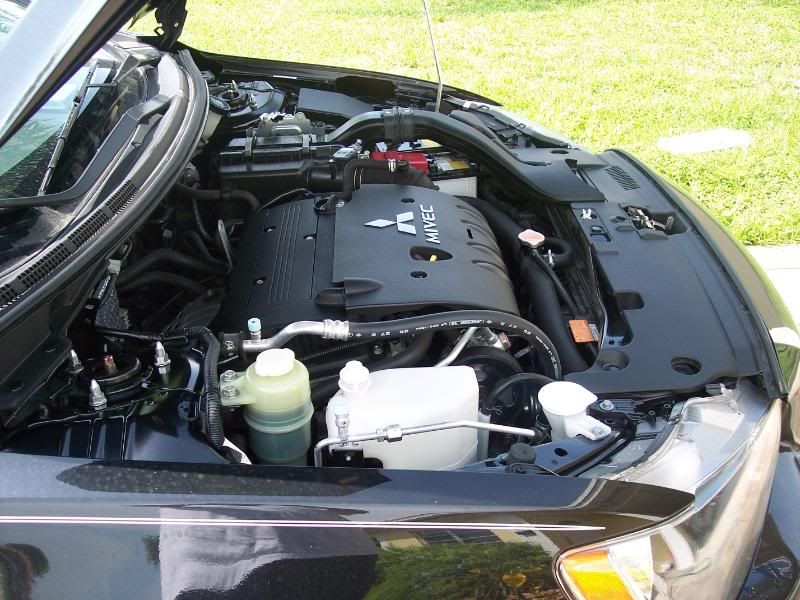
7. Cleaned all plastic engine covers, rubber mouldings, and plastic underhood parts with Meg’s M39 and dressed/protected with Meg’s M40
8. Underhood metal and painted surfaces cleaned with Meg’s Last Touch quick detailer and protected with DP Wheel Wax
1. All exterior metal surfaces cleaned with Meg's Hot Rims Chrome Polish Liquid
2. Glass cleaned with NXT Glass Cleaner
3. Tires dressed with Meg's High Endurance Tire Gel
4. Rims wiped down with Meg's Last Touch quick detailer and protected with DP Wheel Wax
5. Exterior rubber/vinyl cleaned and dressed with M40
6. LSP was two thin coats of Meguiar's Gold Class carnauba paste wax applied via foam applicator roughly two hours apart


 TOP
TOP


Comment