

 Tweet
Tweet
4 doors, 4x4, 4 days...
OK so not really 4 days, but pretty close. This truck was too high to fit under my canopy, so I had to work around the shade. Still, I put about 20 hours into this truck.

Day 1:
- wash
- clay
- chrome polishing
- some correction
Washing consisted of dosing the engine bay, fender wells, wheels and tires, and lower body with APC in various strengths, Super Degreaser, and the occasional Wheel Brightener (works great for behind the wheels). I was able to clean the undersides of the entire rear fender (basically: the bed) by sitting on the ground under the truck. The same with the wheels, just had to lay down to reach some areas. I used my pressure washer to rinse and help clean the very dirty undercarriage and engine. For some reason, Diesels are usually dirtier on the outside than gasoline engines. The body was then washed with Megs Gold Class straight up in the foam gun. Drying the body took 4 large drying MF towels and a leaf blower, and took around 30 minutes with 2 people. This was not a job I was going to finish in record time!
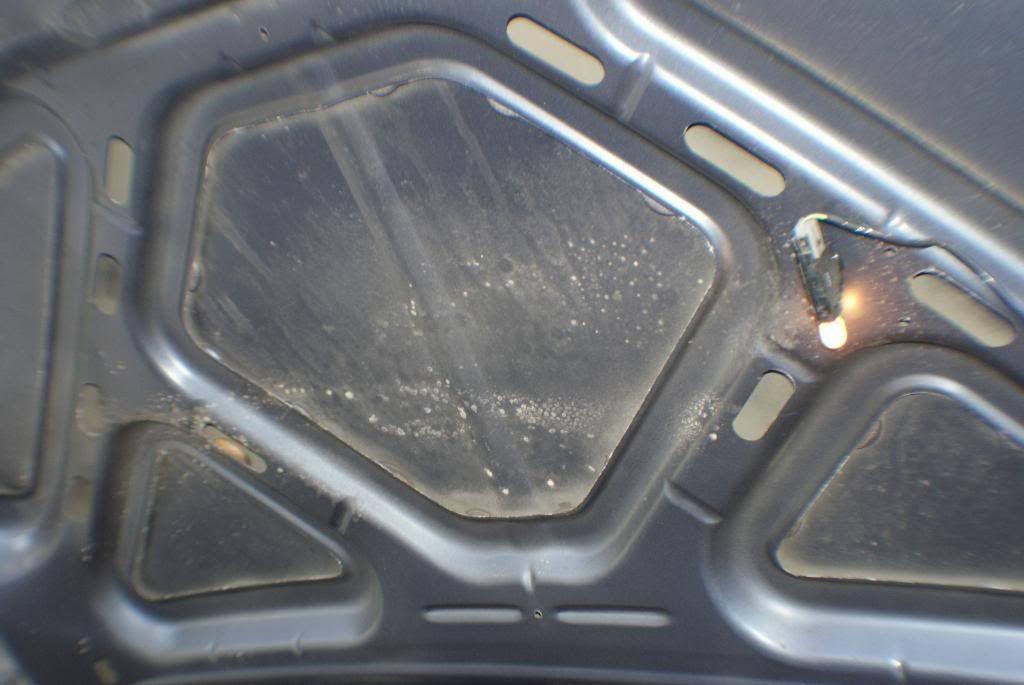


Claying consisted of Pinnacle Clay with both DP Final Gloss and Megs Last Touch as lubricants. the top portion was normal, but once I got to the beige colored lower portion of the panels, I found these:


It took around 3.5 hours to clay the bottom portion of the truck. The rust sports were really in there! I changed clays various times, from Pinnacle to Megs Medium to some Sonus I got to try out. The Megs did the best job here, but barely. Nothing would get the rust spots out easily. I tried pure water as lube, ONR, whatever I had. I was almost convinced to try some tar remover as lube!
While I was busy claying, Armando was busy polishing the chrome. He used Blue Magic Chrome Polish and a MF applicator with some MF towels, and followed up with Wenol Auto Polish. The chrome, too, was rusted and corroded. Unfortunately not all marks were corrected. Some were beyond what I could accomplish by hand. Still, it came out outstanding. The client was considering replacing the side steps for new ones due to the blemishes. Not any more.


We wrapped up as the sun set and went home to prepare for a long next day.
Day 2:
- exterior correction
- wheel polishing + tire dress
- interior
So day 2 started early with the rest of the correction. The client considers this a work truck he used to haul around his race car, so full correction was not necessary. We agreed on a 1-step polish topped with sealant and wax. I broke the hood into sections to test methods. My goal here was to achieve clarity, not correction, using only one step. I wanted some cut in the pad, but a good finishing compound. I started with PO85RD on a 5.5" (or 6?) green Edge pad on the Flex LTW rotary. It worked very well, taking care of many of the defects as well. However, I then tried the same pad with M205. The PO85RD did better at correcting, but lacked the clarity the M205 brought out. For the hood, I did PO85RD then M205 really quick. I had planned on using the Klasse Twins as sealant, so I figured I would apply the AIO on the PC 7424 and see if it would clear up the PO85RD. I was running out of M205, and with this size vehicle I didn't want to risk it if I could achieve the results with the PO85RD. Needless to say, Klasse AIO on a blue LCC pad on the PC 7424 did bring the pop back, and provided the first coast of sealant in one step. I applied the AIO fast, not trying to work it in or polish the paint to keep the job a "one-step". It barely took me more than application by hand. After the K-AIO, I applied the K-Glaze by hand to the panel and let dry, while I worked on the adjacent panel.
uncorrected:

after PO85RD:

another - notice the haziness

after M205 - notice most the defects still there, but more clear:

driver side: M205. Passenger side: PO85RD

panel after PO85RD + M205

another post combo:

and after Klasse AIO but prior to Glaze:

and another all sealed up:

me doing the roof the only way I could reach it (I am knealing on a blanket and the bottles are also resting on a MF towel):

The wheels were almost brand new, and required only a wipe with K-AIO to look stunning. Tires were dressed with Megs Extreme Shine Endurance tire dressing. I have found this dressing to last very long, and although too shiny for most cars I do, it looks good on a truck with big tires after a few washes. Since I was going to wash the truck during polishing and after, I dressed the tires early. In the final pics the tires have been "washed" twice:


Armando took care of the interior while I did the polishing. The interior was clean to begin with, and required vacuuming well. Surfaces were wiped down with Woolite 10:1 and DP Interior Cleaner in tougher spots. I have had a few experiences where APC even a 10:1 dilution still pulls tint from the leather in the steering wheels and seats in domestic vehicles. Since, I use Woolite 10:1 on all domestic vehicles, and opt up in strength slowly if the woolite doesn't cut it. Armando then applied DP Interior Protectant to all surfaces for a low shine, good-smelling, and protected interior. Unfortunately, no pics
Day 3:
- final wash
- final wax
- exterior trim detailing
At first I tried taping off the truck prior to polishing. One section took me almost as long to tape up as it did to polish! I opted to save the tape and since I was going to wash afterwards due to the airborne cottonwood seeds sticking to all dressed exterior parts (bedliner, tires, etc.), i figures it would save me time in the end. I dosed the crevices with APC 10:1 and used the pressure washer to clean all trim from splatter (not that there was any ) and white residue. Then back to the foam gun with Gold Class at half dilution. This time I used "the absorber", a synthetic drying chamois I have used for many many years. It ***** water ferociously and is easy to squeeze dry. It does not carry as much as the MF towels, but dry better in the end with a few passes. But it can mar if it is not very clean and if you apply too much pressure. Since it clings so hard to the surface, one tends to apply pressure to keep it moving. It dries just as well without pressure, but takes an extra wringing. I chased out the last drops with the leaf blower.
For wax I had decided on Collinite 845 Insulator Wax from m experience on the Dodge 3500 I did a few weeks back. Easy to apply, easy to get off (MUCH easier than the K-Glaze), and lasts long time. For the trim I tried Meguiar's Trim Detailer. This is now my favorite exterior trim detailer for the following reasons. Both 303 and Black WOW tend to stain after a rain, and are hard to wipe off glass and paint even immediately after application. Not the case with Megs Trim Detailer. I sprayed it on to a foam applicator, then wiped on the black plastic trim. It immediately erased specks from wax and polishing, and left a satin, dry finish. I loved it! Further, it was easy to wipe off paint and windows with just a MF towel. So I could really push and get the trim detailer into the crevices of the plastic trim and not worry of getting it off the paint. so, "I dig it!"
Now to the afters:


and one last pic with TDR ("the detail rig") peeking in the background

OK so not really 4 days, but pretty close. This truck was too high to fit under my canopy, so I had to work around the shade. Still, I put about 20 hours into this truck.
Day 1:
- wash
- clay
- chrome polishing
- some correction
Washing consisted of dosing the engine bay, fender wells, wheels and tires, and lower body with APC in various strengths, Super Degreaser, and the occasional Wheel Brightener (works great for behind the wheels). I was able to clean the undersides of the entire rear fender (basically: the bed) by sitting on the ground under the truck. The same with the wheels, just had to lay down to reach some areas. I used my pressure washer to rinse and help clean the very dirty undercarriage and engine. For some reason, Diesels are usually dirtier on the outside than gasoline engines. The body was then washed with Megs Gold Class straight up in the foam gun. Drying the body took 4 large drying MF towels and a leaf blower, and took around 30 minutes with 2 people. This was not a job I was going to finish in record time!
Claying consisted of Pinnacle Clay with both DP Final Gloss and Megs Last Touch as lubricants. the top portion was normal, but once I got to the beige colored lower portion of the panels, I found these:
It took around 3.5 hours to clay the bottom portion of the truck. The rust sports were really in there! I changed clays various times, from Pinnacle to Megs Medium to some Sonus I got to try out. The Megs did the best job here, but barely. Nothing would get the rust spots out easily. I tried pure water as lube, ONR, whatever I had. I was almost convinced to try some tar remover as lube!
While I was busy claying, Armando was busy polishing the chrome. He used Blue Magic Chrome Polish and a MF applicator with some MF towels, and followed up with Wenol Auto Polish. The chrome, too, was rusted and corroded. Unfortunately not all marks were corrected. Some were beyond what I could accomplish by hand. Still, it came out outstanding. The client was considering replacing the side steps for new ones due to the blemishes. Not any more.
We wrapped up as the sun set and went home to prepare for a long next day.
Day 2:
- exterior correction
- wheel polishing + tire dress
- interior
So day 2 started early with the rest of the correction. The client considers this a work truck he used to haul around his race car, so full correction was not necessary. We agreed on a 1-step polish topped with sealant and wax. I broke the hood into sections to test methods. My goal here was to achieve clarity, not correction, using only one step. I wanted some cut in the pad, but a good finishing compound. I started with PO85RD on a 5.5" (or 6?) green Edge pad on the Flex LTW rotary. It worked very well, taking care of many of the defects as well. However, I then tried the same pad with M205. The PO85RD did better at correcting, but lacked the clarity the M205 brought out. For the hood, I did PO85RD then M205 really quick. I had planned on using the Klasse Twins as sealant, so I figured I would apply the AIO on the PC 7424 and see if it would clear up the PO85RD. I was running out of M205, and with this size vehicle I didn't want to risk it if I could achieve the results with the PO85RD. Needless to say, Klasse AIO on a blue LCC pad on the PC 7424 did bring the pop back, and provided the first coast of sealant in one step. I applied the AIO fast, not trying to work it in or polish the paint to keep the job a "one-step". It barely took me more than application by hand. After the K-AIO, I applied the K-Glaze by hand to the panel and let dry, while I worked on the adjacent panel.
uncorrected:
after PO85RD:
another - notice the haziness
after M205 - notice most the defects still there, but more clear:
driver side: M205. Passenger side: PO85RD
panel after PO85RD + M205
another post combo:
and after Klasse AIO but prior to Glaze:
and another all sealed up:
me doing the roof the only way I could reach it (I am knealing on a blanket and the bottles are also resting on a MF towel):
The wheels were almost brand new, and required only a wipe with K-AIO to look stunning. Tires were dressed with Megs Extreme Shine Endurance tire dressing. I have found this dressing to last very long, and although too shiny for most cars I do, it looks good on a truck with big tires after a few washes. Since I was going to wash the truck during polishing and after, I dressed the tires early. In the final pics the tires have been "washed" twice:
Armando took care of the interior while I did the polishing. The interior was clean to begin with, and required vacuuming well. Surfaces were wiped down with Woolite 10:1 and DP Interior Cleaner in tougher spots. I have had a few experiences where APC even a 10:1 dilution still pulls tint from the leather in the steering wheels and seats in domestic vehicles. Since, I use Woolite 10:1 on all domestic vehicles, and opt up in strength slowly if the woolite doesn't cut it. Armando then applied DP Interior Protectant to all surfaces for a low shine, good-smelling, and protected interior. Unfortunately, no pics
Day 3:
- final wash
- final wax
- exterior trim detailing
At first I tried taping off the truck prior to polishing. One section took me almost as long to tape up as it did to polish! I opted to save the tape and since I was going to wash afterwards due to the airborne cottonwood seeds sticking to all dressed exterior parts (bedliner, tires, etc.), i figures it would save me time in the end. I dosed the crevices with APC 10:1 and used the pressure washer to clean all trim from splatter (not that there was any
) and white residue. Then back to the foam gun with Gold Class at half dilution. This time I used "the absorber", a synthetic drying chamois I have used for many many years. It ***** water ferociously and is easy to squeeze dry. It does not carry as much as the MF towels, but dry better in the end with a few passes. But it can mar if it is not very clean and if you apply too much pressure. Since it clings so hard to the surface, one tends to apply pressure to keep it moving. It dries just as well without pressure, but takes an extra wringing. I chased out the last drops with the leaf blower.
For wax I had decided on Collinite 845 Insulator Wax from m experience on the Dodge 3500 I did a few weeks back. Easy to apply, easy to get off (MUCH easier than the K-Glaze), and lasts long time. For the trim I tried Meguiar's Trim Detailer. This is now my favorite exterior trim detailer for the following reasons. Both 303 and Black WOW tend to stain after a rain, and are hard to wipe off glass and paint even immediately after application. Not the case with Megs Trim Detailer. I sprayed it on to a foam applicator, then wiped on the black plastic trim. It immediately erased specks from wax and polishing, and left a satin, dry finish. I loved it! Further, it was easy to wipe off paint and windows with just a MF towel. So I could really push and get the trim detailer into the crevices of the plastic trim and not worry of getting it off the paint. so, "I dig it!"
Now to the afters:
and one last pic with TDR ("the detail rig") peeking in the background

 TOP
TOP

Comment