

 Tweet
Tweet
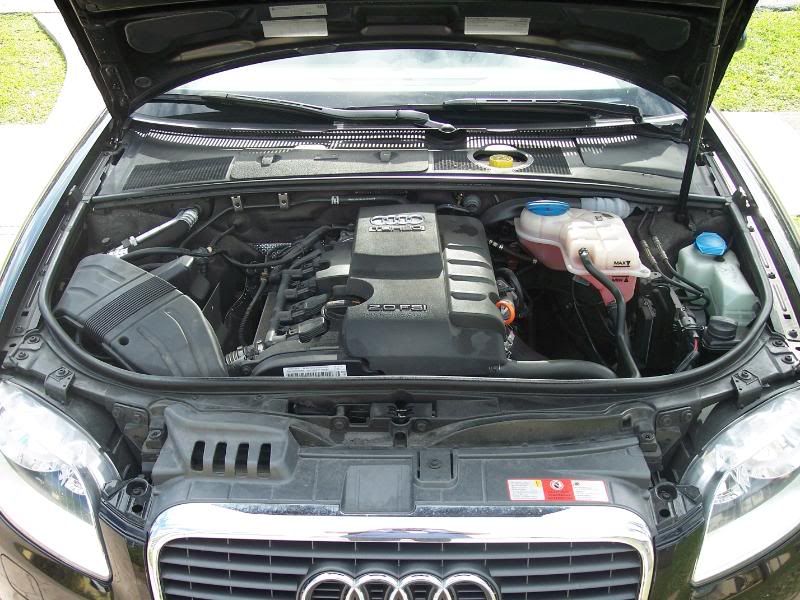
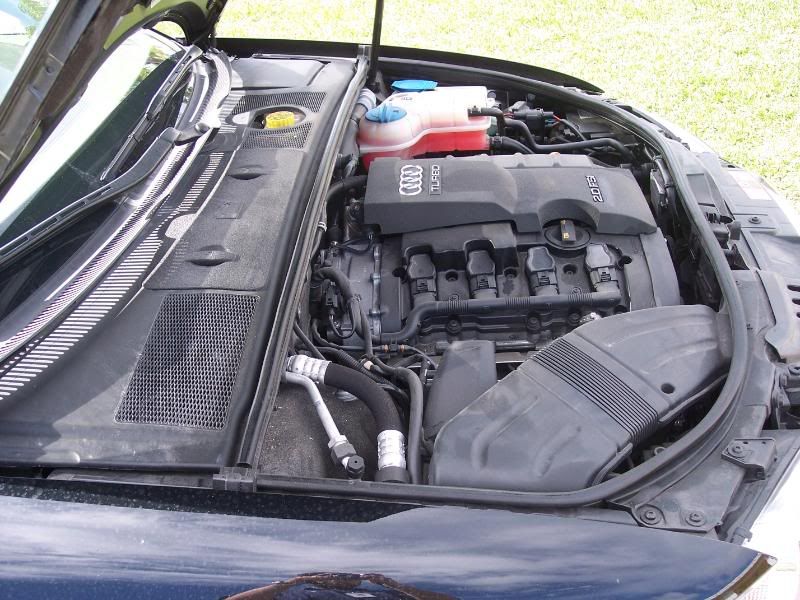
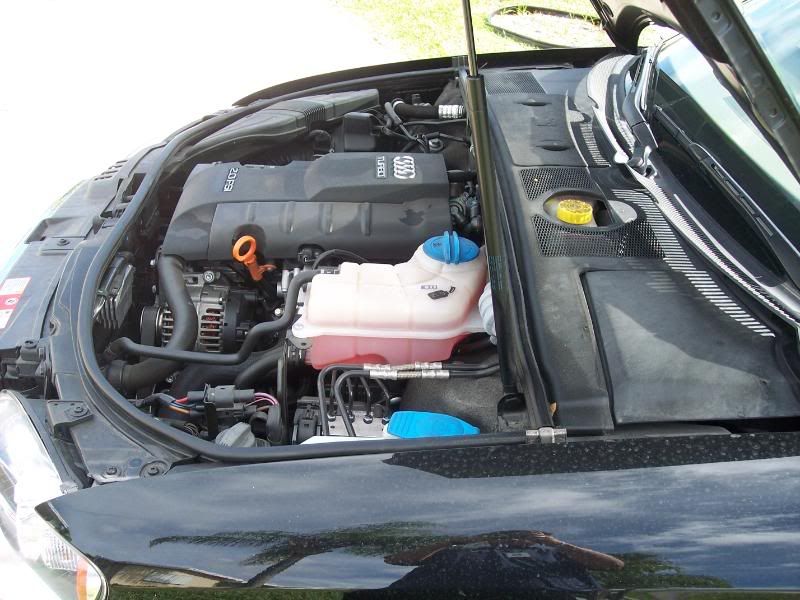
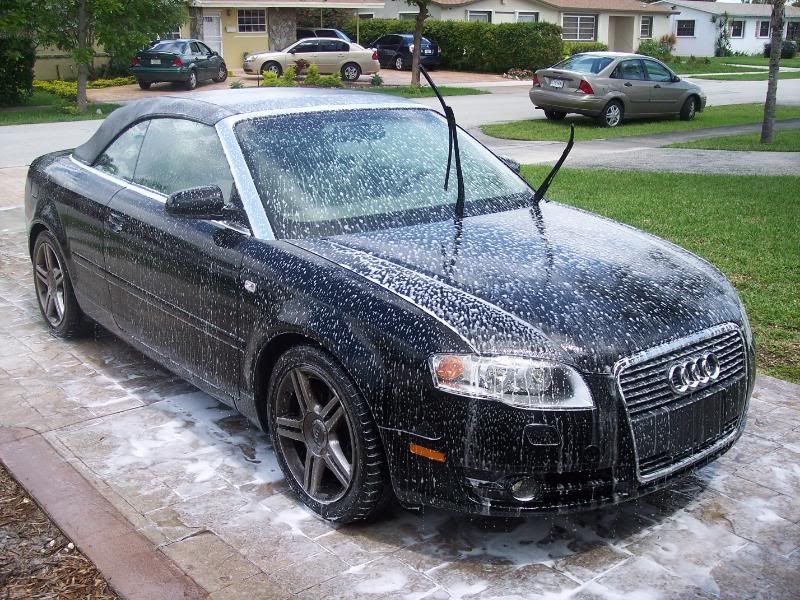
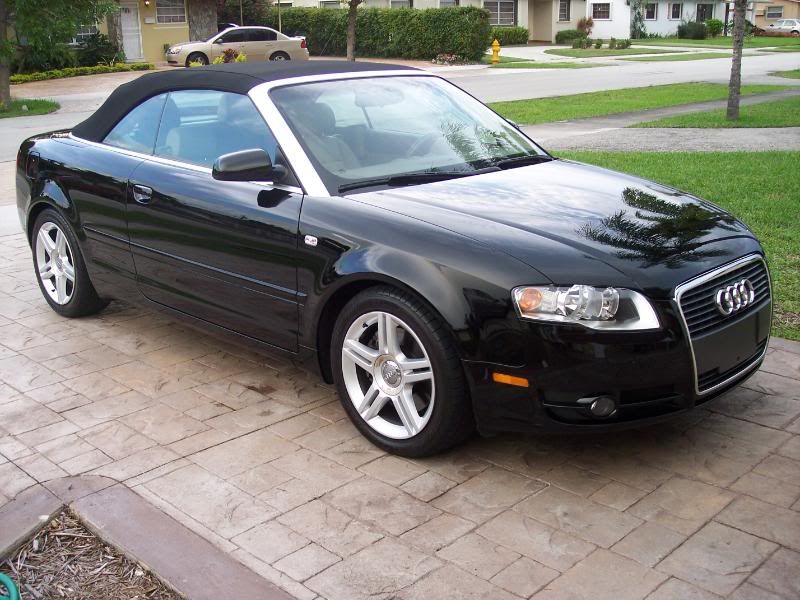
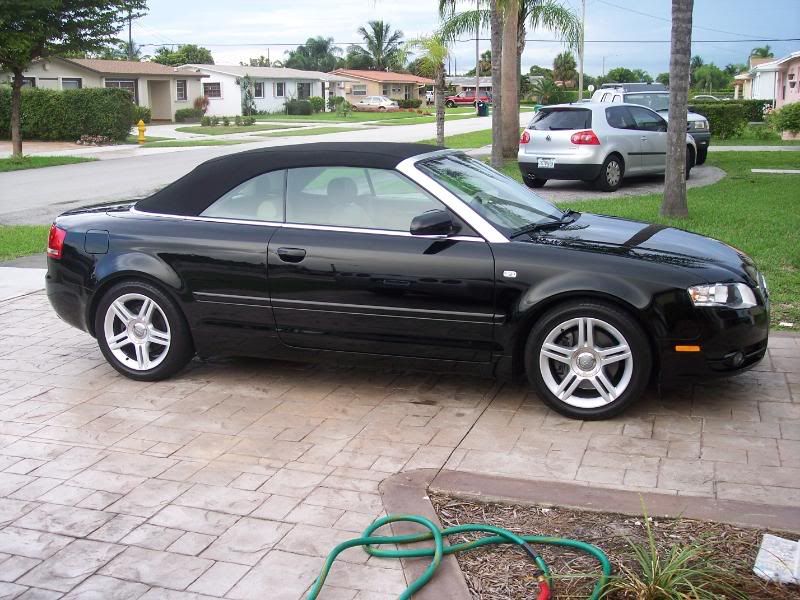
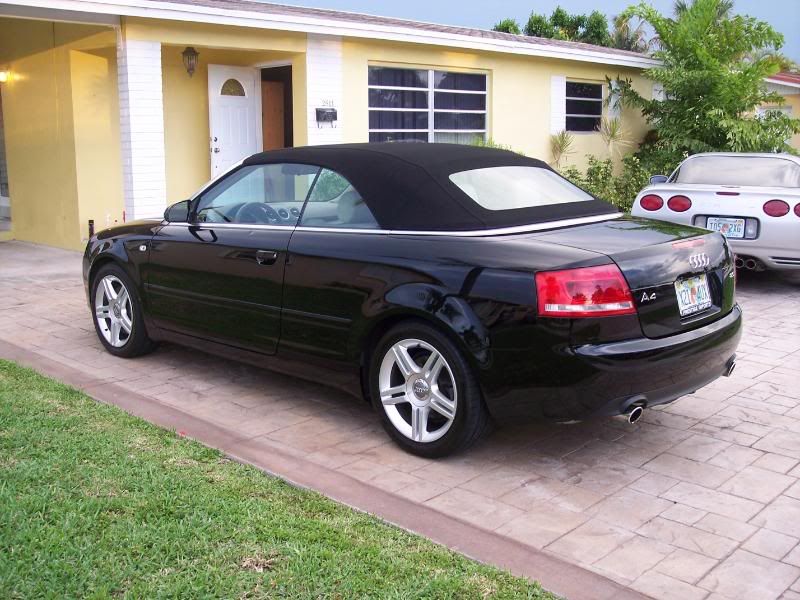
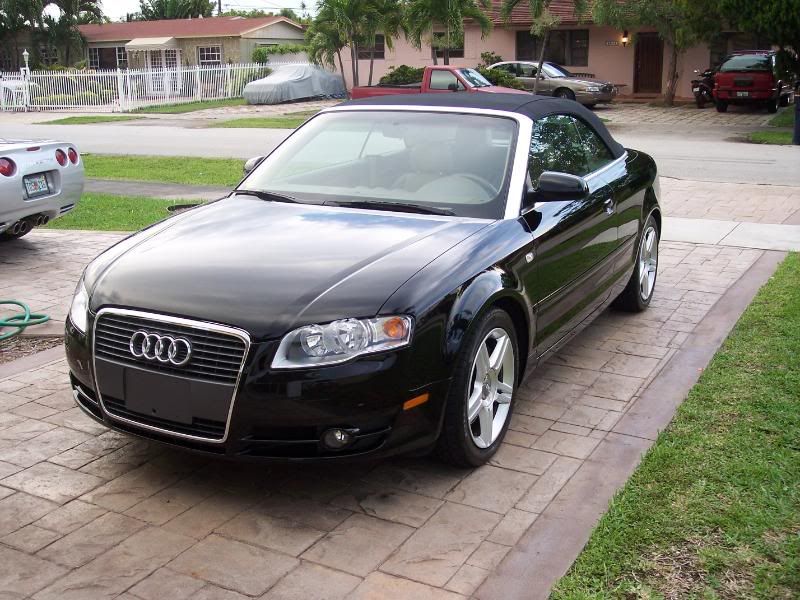
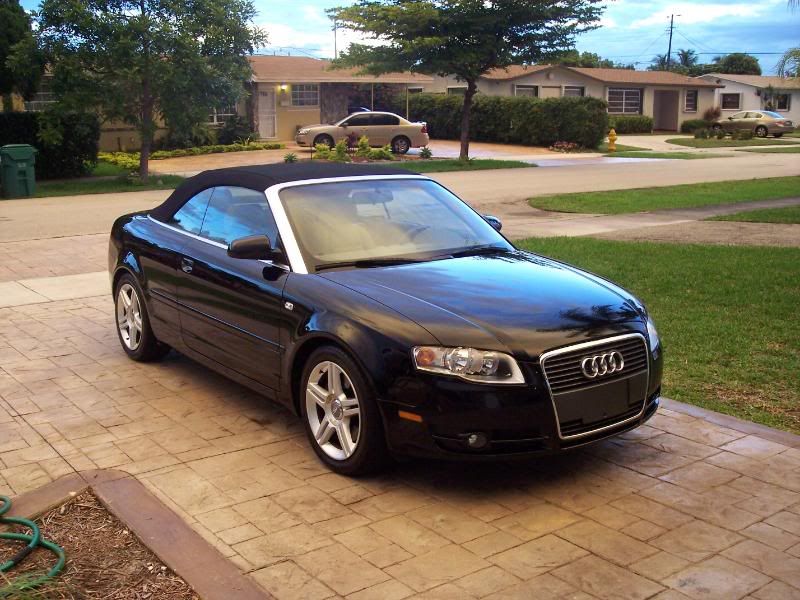
Following up the Lease Return "teaser" post I authored a few days ago, here's the detailed write-up on the job. Vehicle is a 2007 Audi A4 2.0T Cabriolet (convertible) being returned to the dealer. Going in I knew it would be tough as all the Audi's I have worked on lately have had typically hard clearcoats...on par with Mercedes CeramiClear. I figured a two-step would be needed but that was before I actually saw the paint condition.
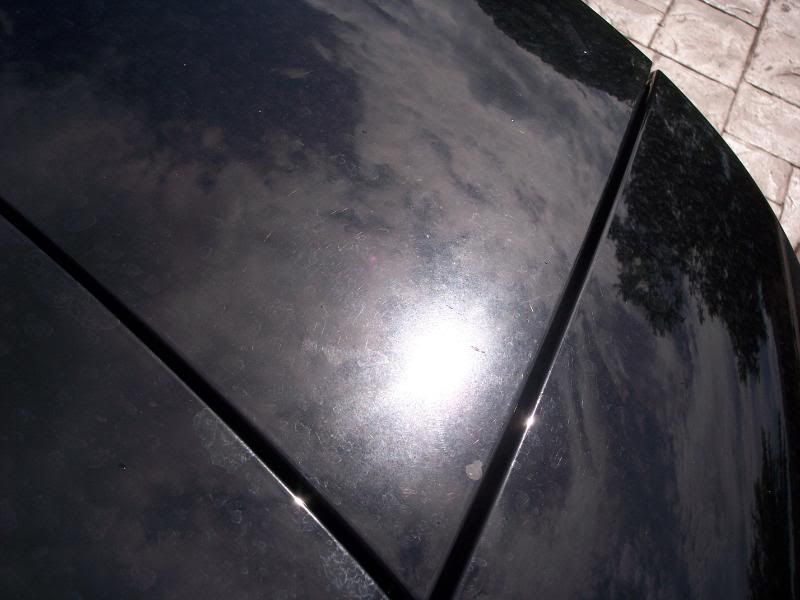
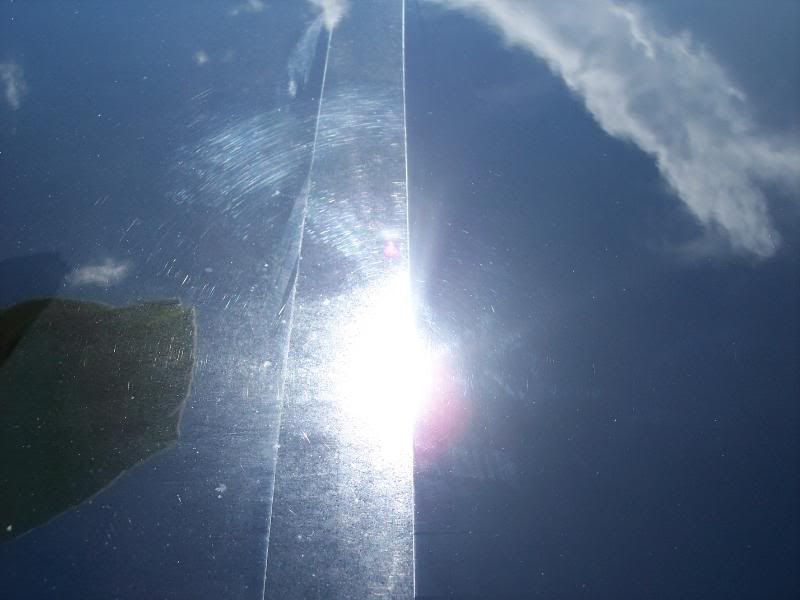
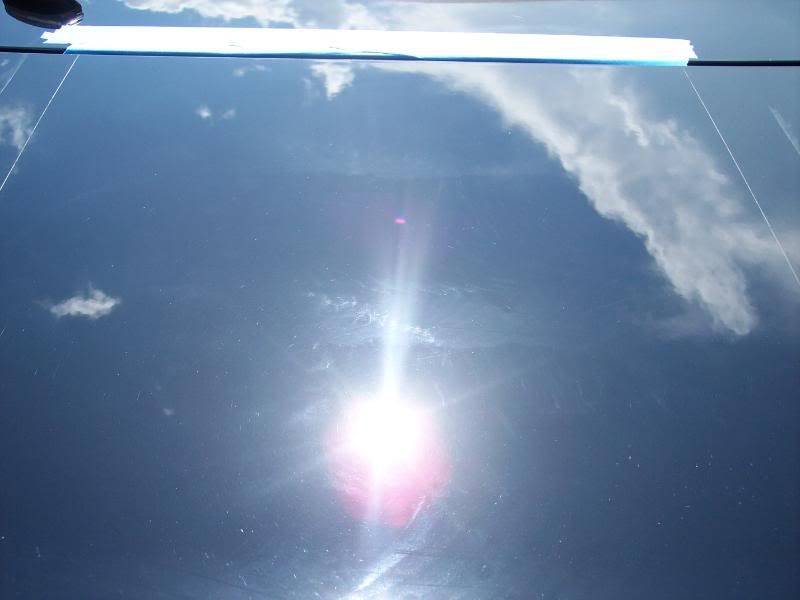
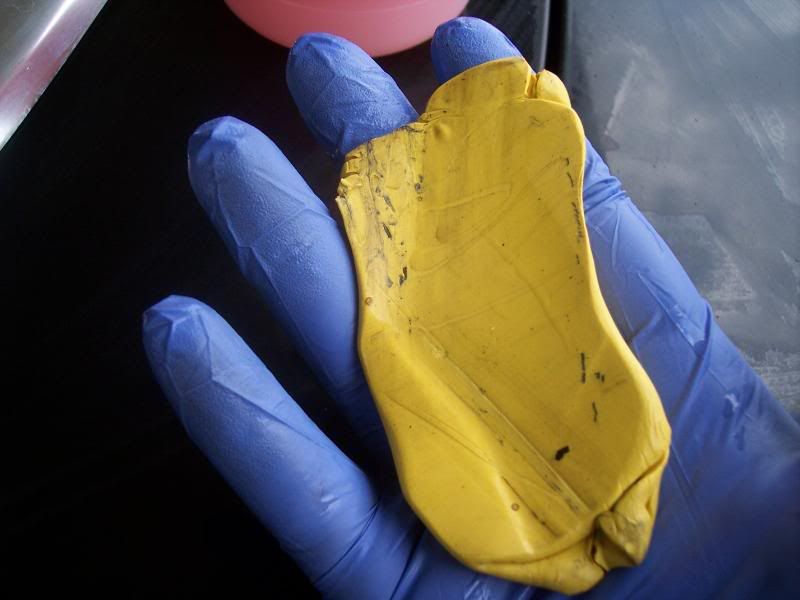
I brought the customer over for to work a test area and dial down the process and estimate the charges. After washing and claying the trunk lid, this is what I was left with...

After assessing the paint condition I advised on a two-step correction at minimum and my gut felt like a three-step would probably be required (Compound/PFW, Compound/Orange pad, Finishing Glaze/Green pad). Due to financial considerations, the owner was insistent on a one-step correction. Knowing this, I followed a recommendation from
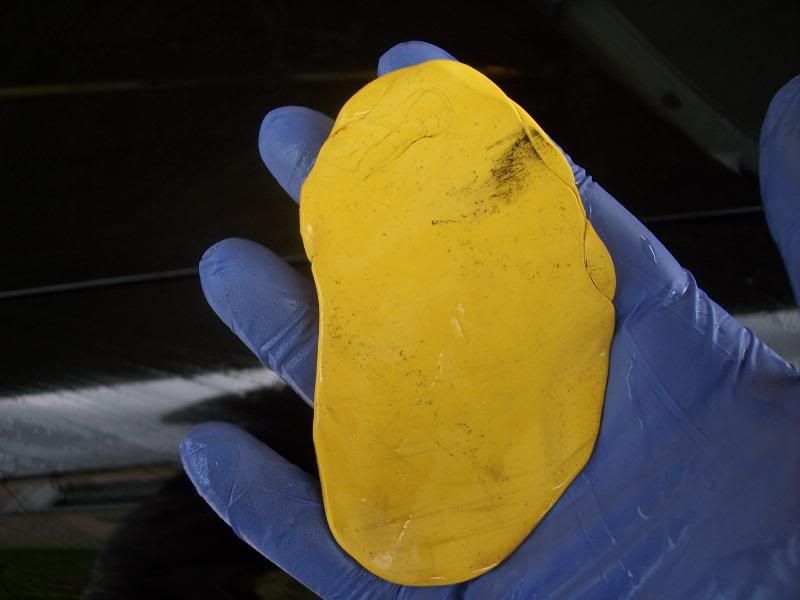
My goal for the one-step was to remove the oxidation and water etching and any swirls, RIDS, and marring that was removed I’d consider a bonus. I taped off a section of the aforephotographed trunk lid and applied D151 via Flex 3401 with an LC CCS Orange light-cutting pad (ADS-Spec) on speed setting 6. Product was worked for a total of eight passes over the work area (four vertical and four horizontal). I allowed the product to dry to a light haze and wiped off with a clean microfiber and a spritz of Meguiar’s Last Touch quick detailer. After one completed test run, here are the results…
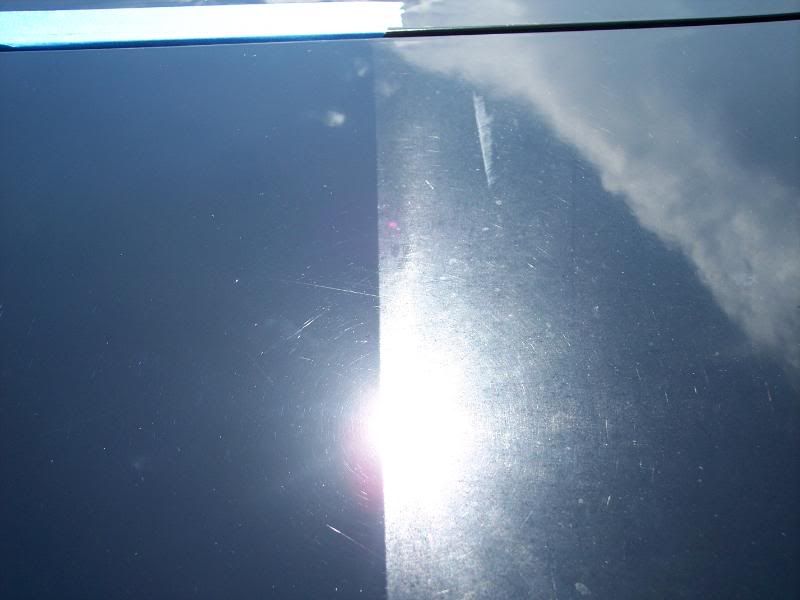
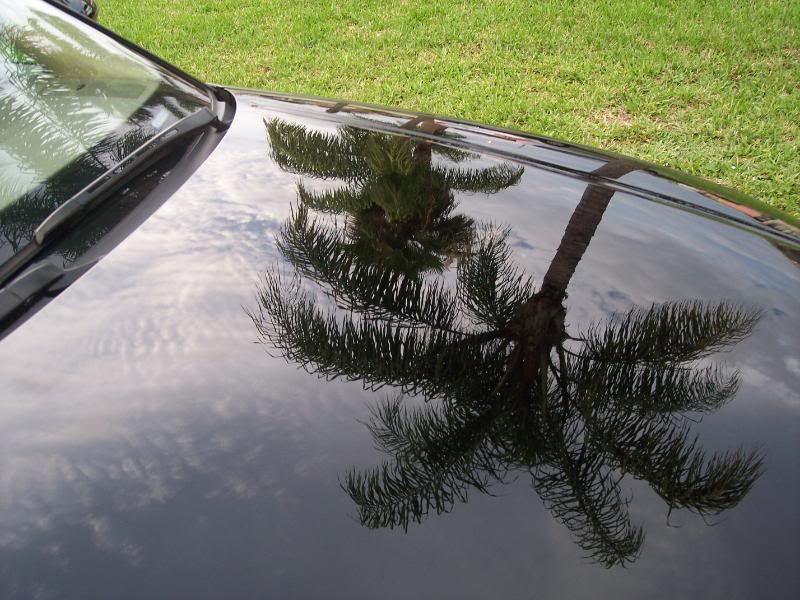
After one pass, the oxidation and water etching were completely removed and a vast majority of the swirling had also vanished. Only the deeper RIDS and swirls remained and the D151 had minimized them to a point that they appeared as minor defects. I was very pleased and the customer was absolutely floored. That sealed the deal on the one-step and I booked the job for this weekend.
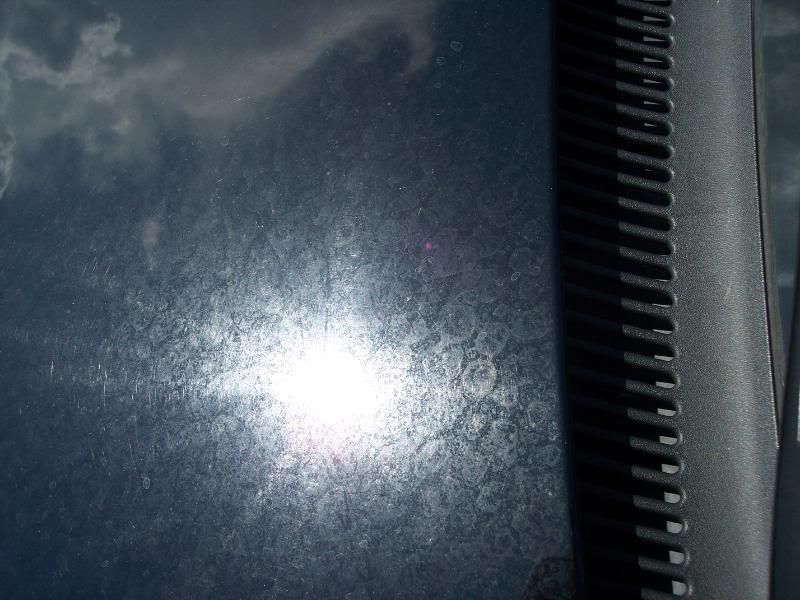
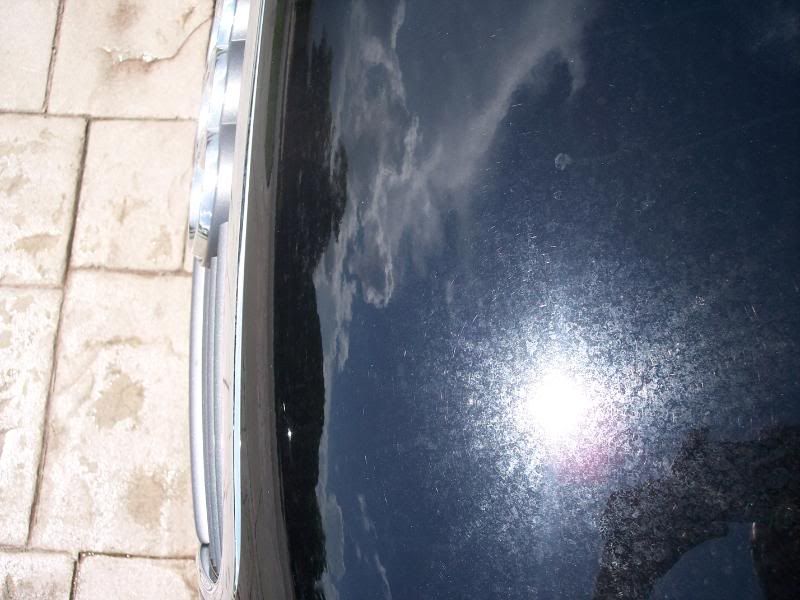
Condition as delivered…
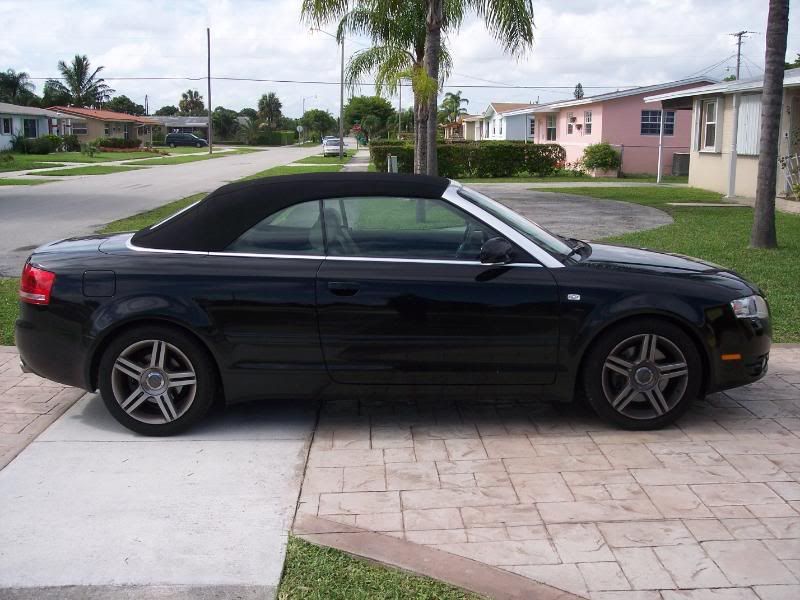
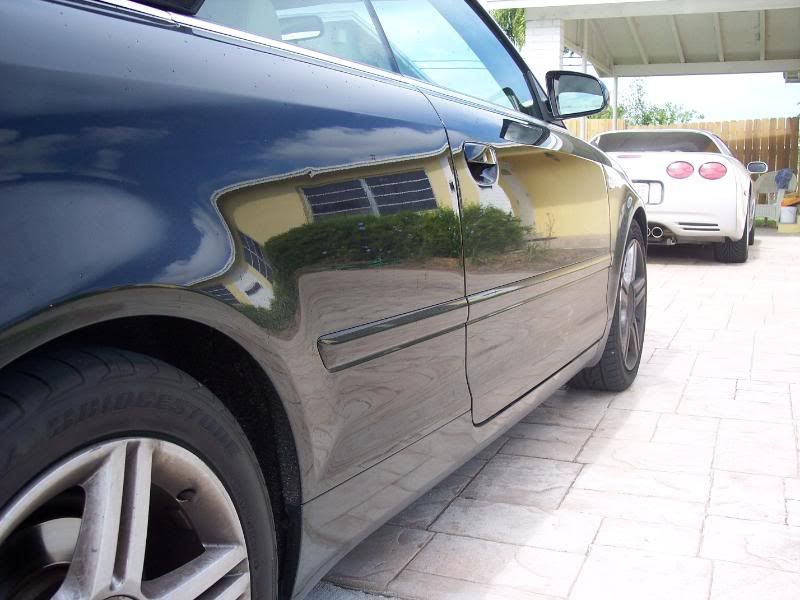
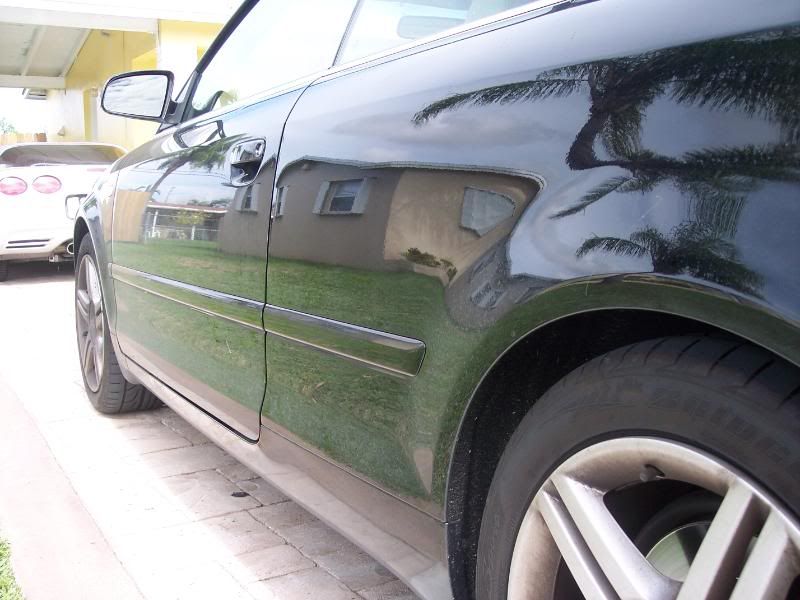
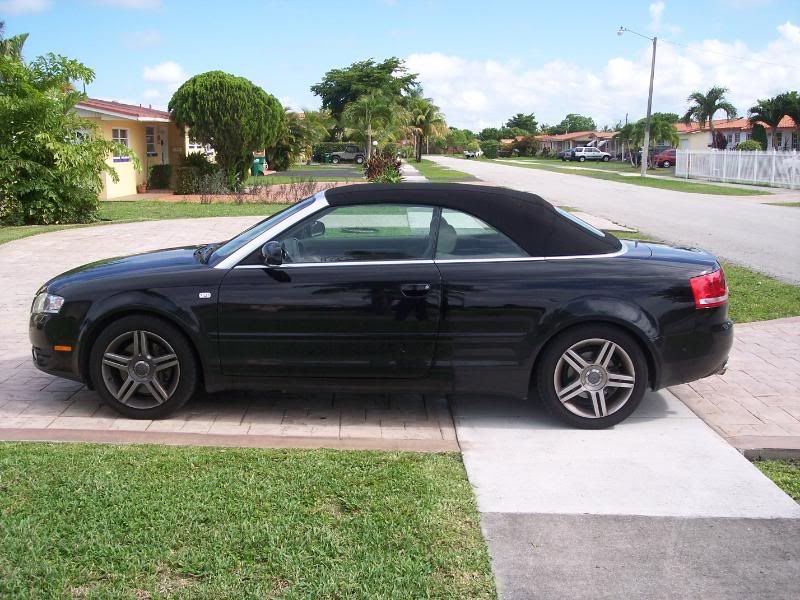
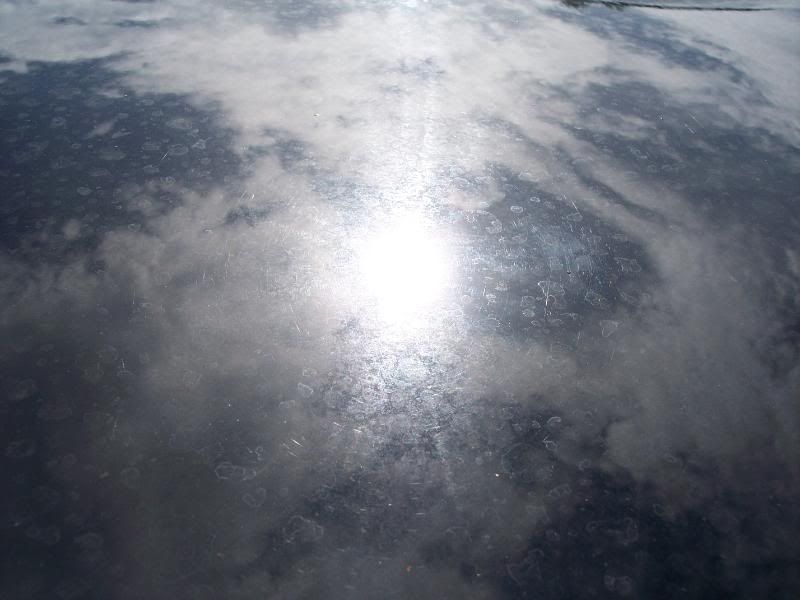
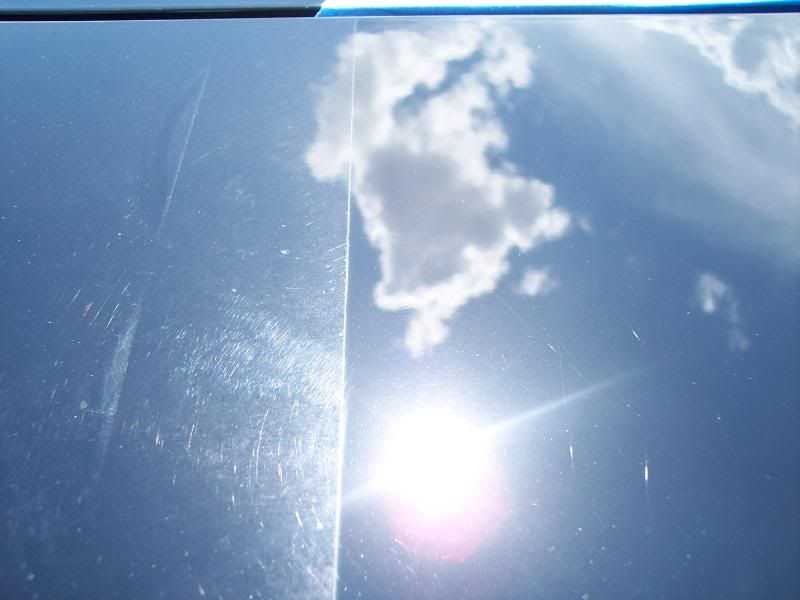
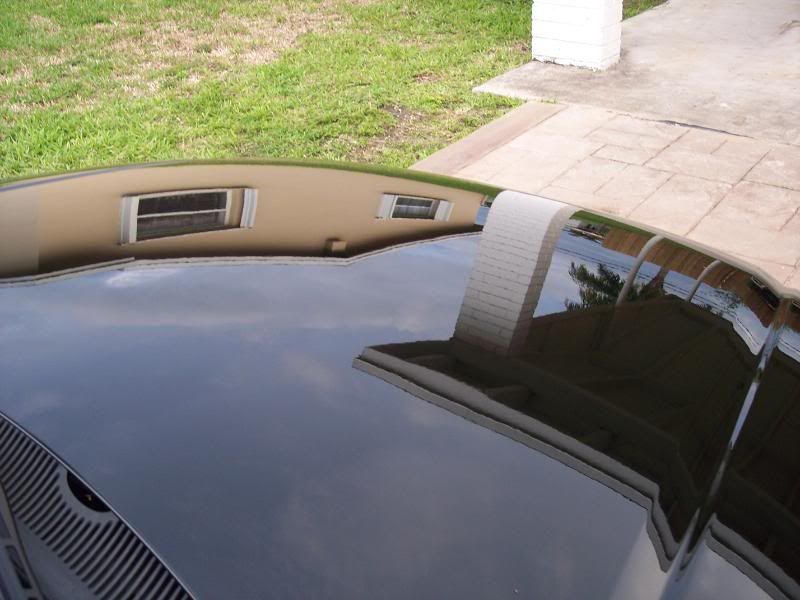
After finally being able to inspect the vehicle (rain just does not quit here) I found severe oxidation and water etching as well as moderate swirling throughout the finish. The entire paint surface had a scoured, dulled, and hazy appearance and looked more like a “matte” black than the true deep blacks associated with European cars. Apparently the car receives a daily dousing from sprinklers and this hard well water is allowed to sun dry on the finish (not a rare occurrence here). Car is "cared" for by monthly trips to the gas station automated car wash...aka Swirl Installer.
I brought the customer over for to work a test area and dial down the process and estimate the charges. After washing and claying the trunk lid, this is what I was left with...
After assessing the paint condition I advised on a two-step correction at minimum and my gut felt like a three-step would probably be required (Compound/PFW, Compound/Orange pad, Finishing Glaze/Green pad). Due to financial considerations, the owner was insistent on a one-step correction. Knowing this, I followed a recommendation from
My goal for the one-step was to remove the oxidation and water etching and any swirls, RIDS, and marring that was removed I’d consider a bonus. I taped off a section of the aforephotographed trunk lid and applied D151 via Flex 3401 with an LC CCS Orange light-cutting pad (ADS-Spec) on speed setting 6. Product was worked for a total of eight passes over the work area (four vertical and four horizontal). I allowed the product to dry to a light haze and wiped off with a clean microfiber and a spritz of Meguiar’s Last Touch quick detailer. After one completed test run, here are the results…
After one pass, the oxidation and water etching were completely removed and a vast majority of the swirling had also vanished. Only the deeper RIDS and swirls remained and the D151 had minimized them to a point that they appeared as minor defects. I was very pleased and the customer was absolutely floored. That sealed the deal on the one-step and I booked the job for this weekend.
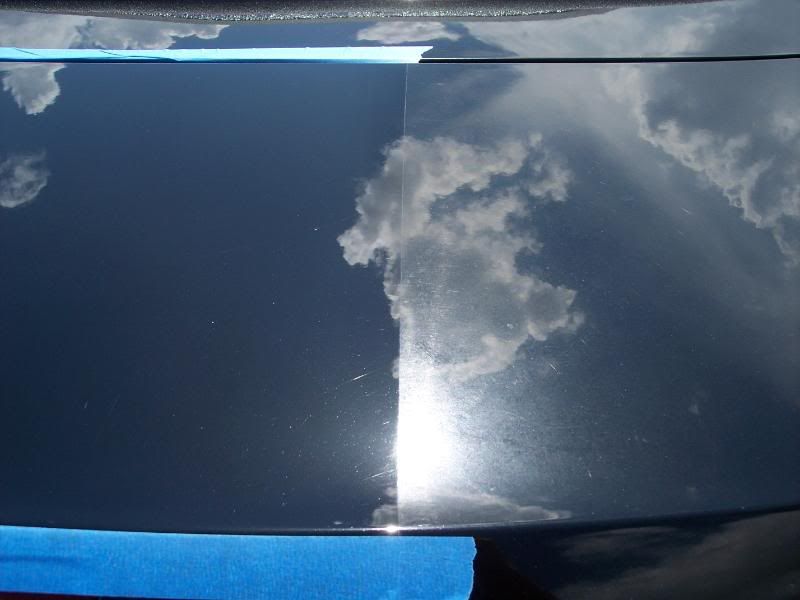
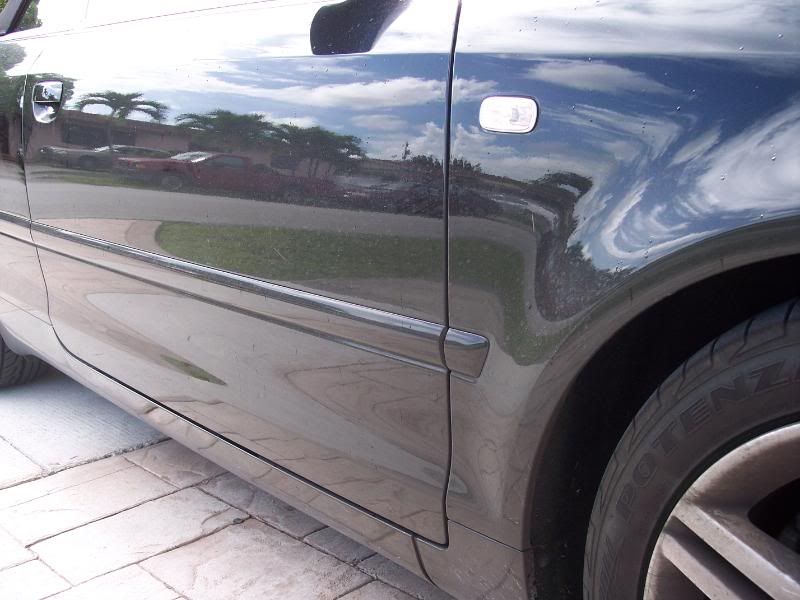
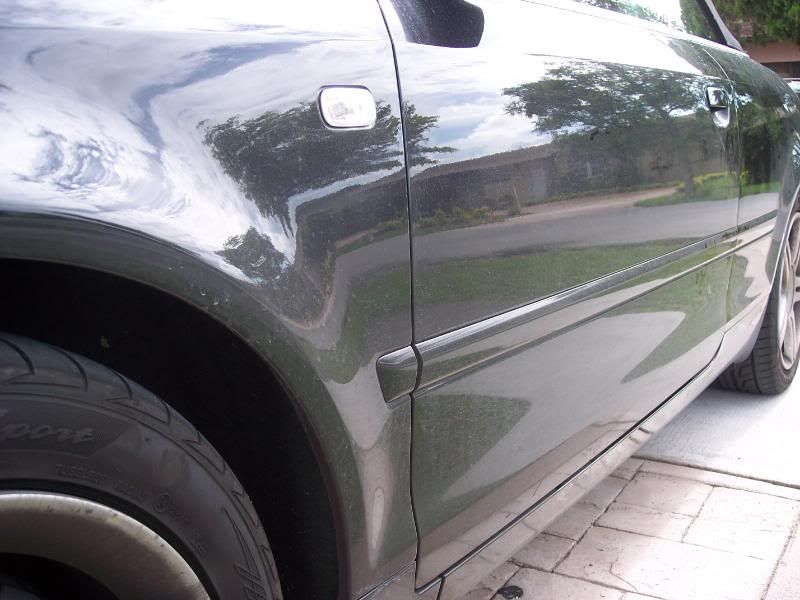
Condition as delivered…


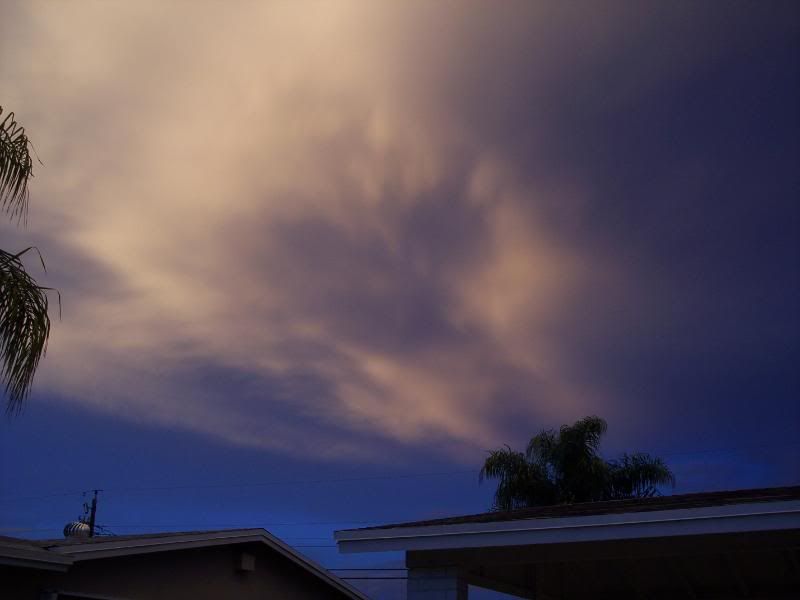
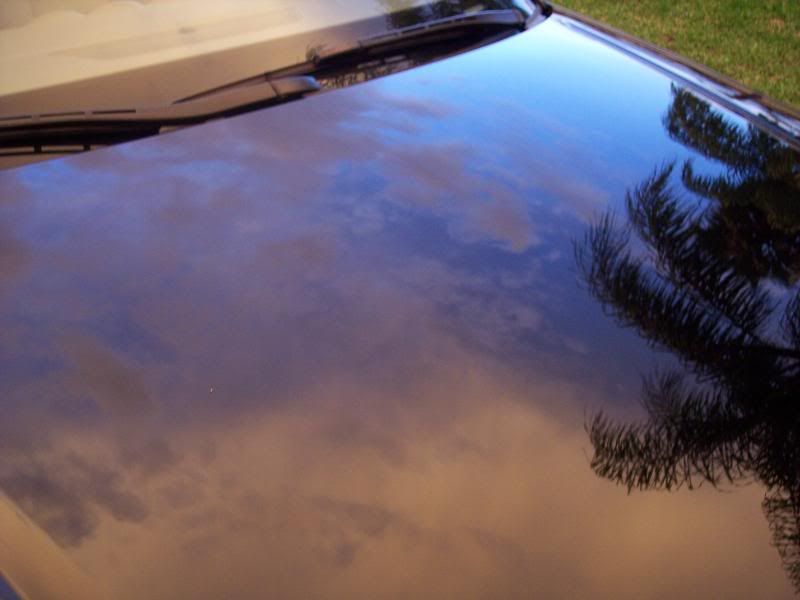

 I love those funky lighting pictures - that's so cool!
 TOP
TOP


Comment