


 Tweet
Tweet
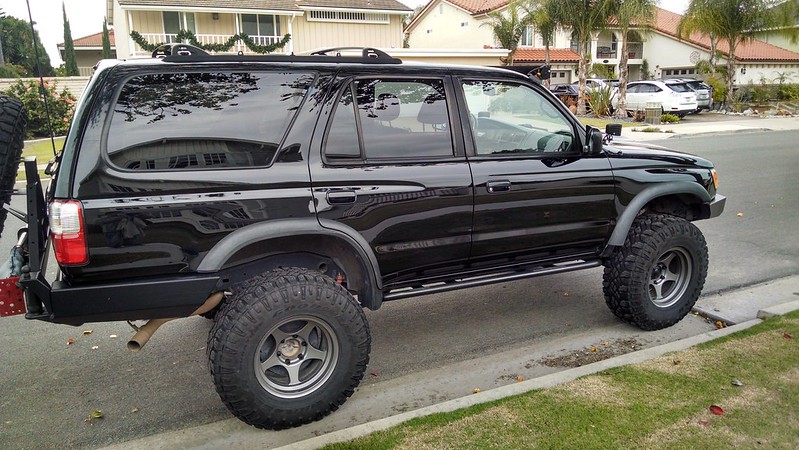
This is a daily driven 4runner that sees off road trails fairly regularly. Most of the "pinstripes" you see came from one particular trail.
The owner wanted me to "make it look better" and so I did. Well, at the minimum, he's quite happy with the results.
The goal wasn't perfection. It wasn't to even come close. After discussion with the owner, it was agreed that I would work out as many of the bigger scratches as I can, without removing too much paint. Knowing that the 4Runner would continue to see daily driver duty and more off road fun, we agreed that a simple correction would do. Make it look better.
The process: Standard wash and clay. Followed by correction with M105 on a Hex Logic Orange pad. I skipped the M205 step (on most of it) and went for a glaze. I did stray from the Megs line-up here, since I had read good things about the glaze I ended up using, and wasn't sure which of the Megs glaze would work. (I was still fairly new to paint correction at this point. Honestly, I still don't know the entire Megs line up and what they're best suited for). I used the PC for most of the work, and used Meg's DA Power System on my Dewalt cordless for the pillars and other smaller spots. With the DAPS, I still used Hex Logic pads and M105 for most of the work. I did, however, use Ultimate Compound and Ultimate Polish on their respective burgandy and yellow pads on one quarter panel, for a video I made for YouTube.
Anyway, on to some pics...
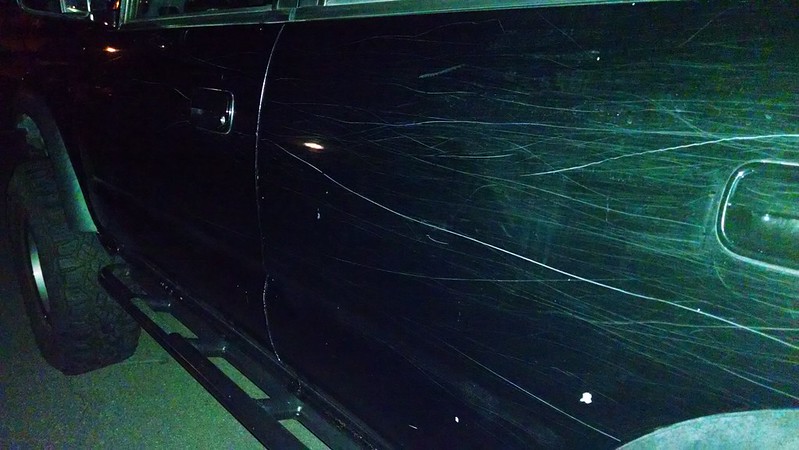
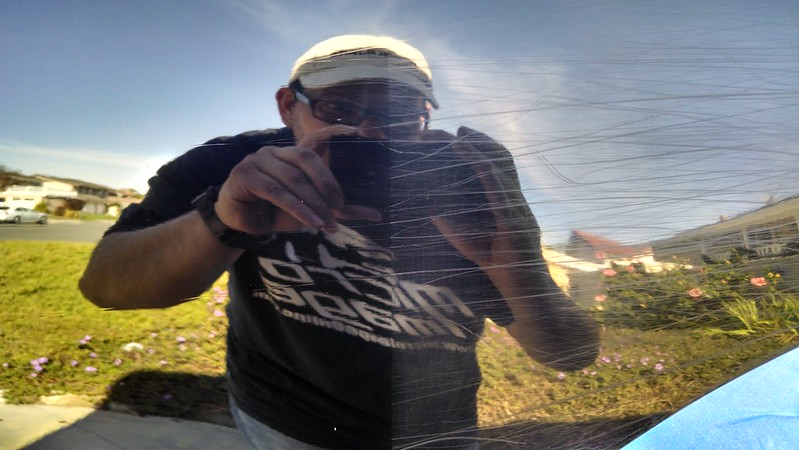
From the night before. One angle under one type of lighting. Shows you what I'm working with!
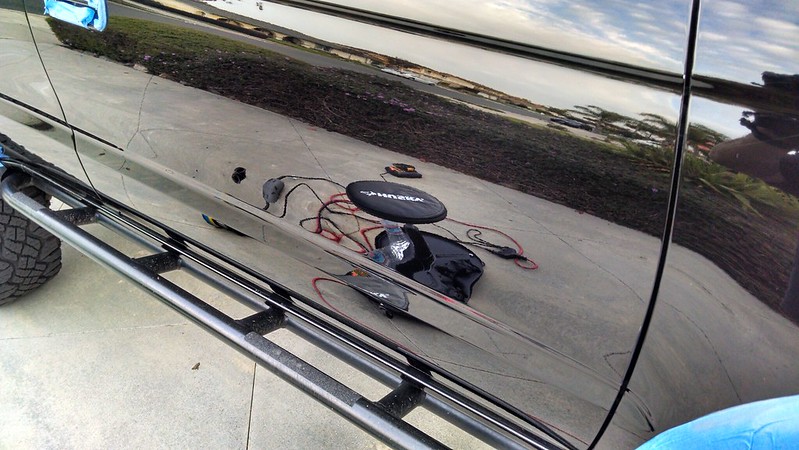
Another before pic. Just prior to starting the clay process.
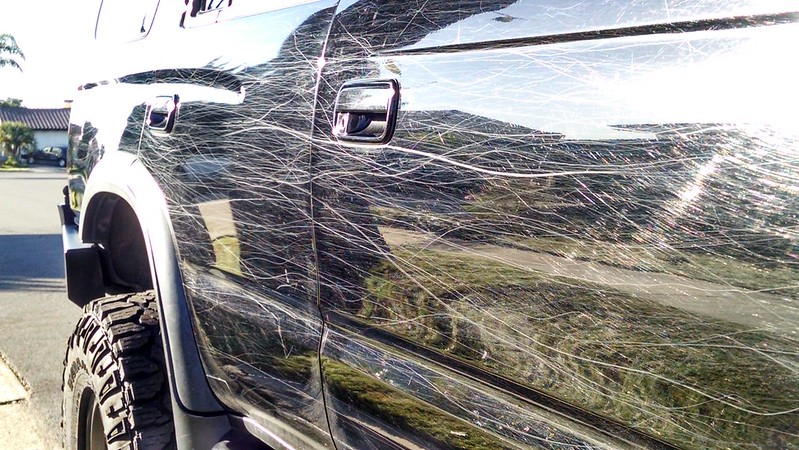
More close up to the wonderful mess.
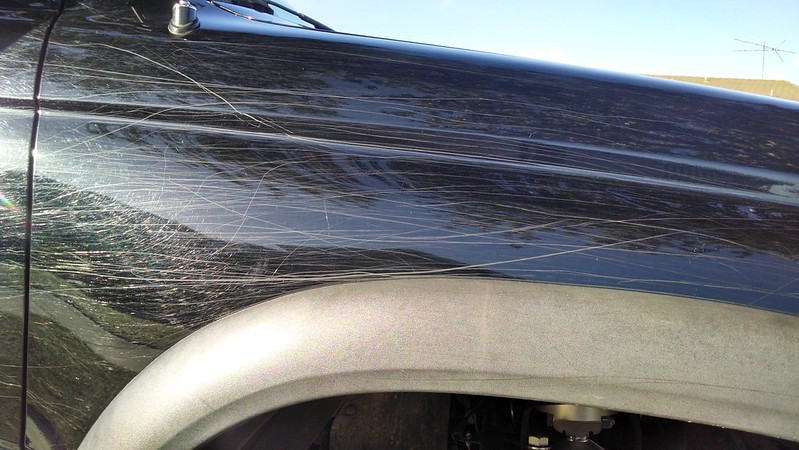
Ahhh, the front fender. This was fun.
Test spot. I used the Hex Logic Yellow pad, and decided I didn't like it. Went with Orange for the rest.
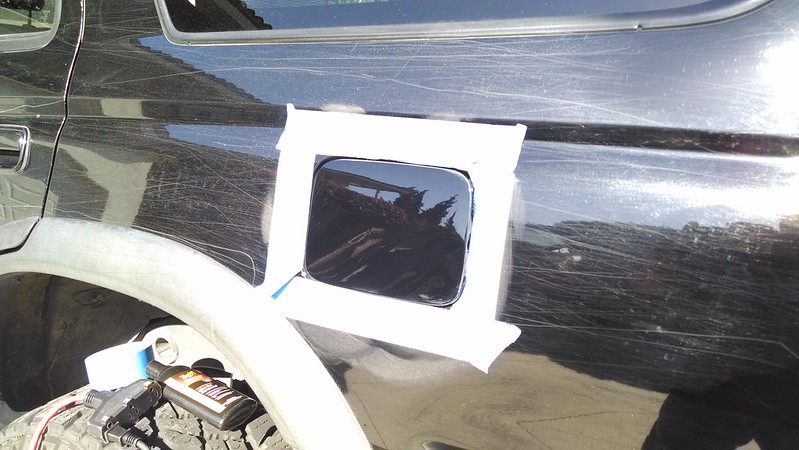
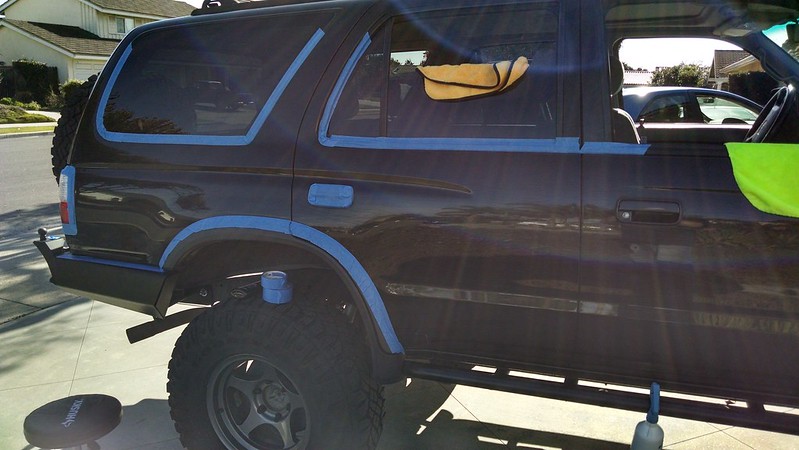
Taping off some edges. (Damn, that is time consuming!)
The mandatory 50/50 shot. You can still see the deeper scratches on the "good" side, but it's much improved.
A "detail" shot showing some pretty decent reflection (If I do say some myself)
And this side is done!
Thank you for reading / viewing.
The owner wanted me to "make it look better" and so I did. Well, at the minimum, he's quite happy with the results.
The goal wasn't perfection. It wasn't to even come close. After discussion with the owner, it was agreed that I would work out as many of the bigger scratches as I can, without removing too much paint. Knowing that the 4Runner would continue to see daily driver duty and more off road fun, we agreed that a simple correction would do. Make it look better.
The process: Standard wash and clay. Followed by correction with M105 on a Hex Logic Orange pad. I skipped the M205 step (on most of it) and went for a glaze. I did stray from the Megs line-up here, since I had read good things about the glaze I ended up using, and wasn't sure which of the Megs glaze would work. (I was still fairly new to paint correction at this point. Honestly, I still don't know the entire Megs line up and what they're best suited for). I used the PC for most of the work, and used Meg's DA Power System on my Dewalt cordless for the pillars and other smaller spots. With the DAPS, I still used Hex Logic pads and M105 for most of the work. I did, however, use Ultimate Compound and Ultimate Polish on their respective burgandy and yellow pads on one quarter panel, for a video I made for YouTube.
Anyway, on to some pics...
From the night before. One angle under one type of lighting. Shows you what I'm working with!
Another before pic. Just prior to starting the clay process.
More close up to the wonderful mess.
Ahhh, the front fender. This was fun.
Test spot. I used the Hex Logic Yellow pad, and decided I didn't like it. Went with Orange for the rest.
Taping off some edges. (Damn, that is time consuming!)
The mandatory 50/50 shot. You can still see the deeper scratches on the "good" side, but it's much improved.
A "detail" shot showing some pretty decent reflection (If I do say some myself)
And this side is done!
Thank you for reading / viewing.


 haha, it does look better than it has a right to! But he still wants it looking pretty.
Comment