

 Tweet
Tweet
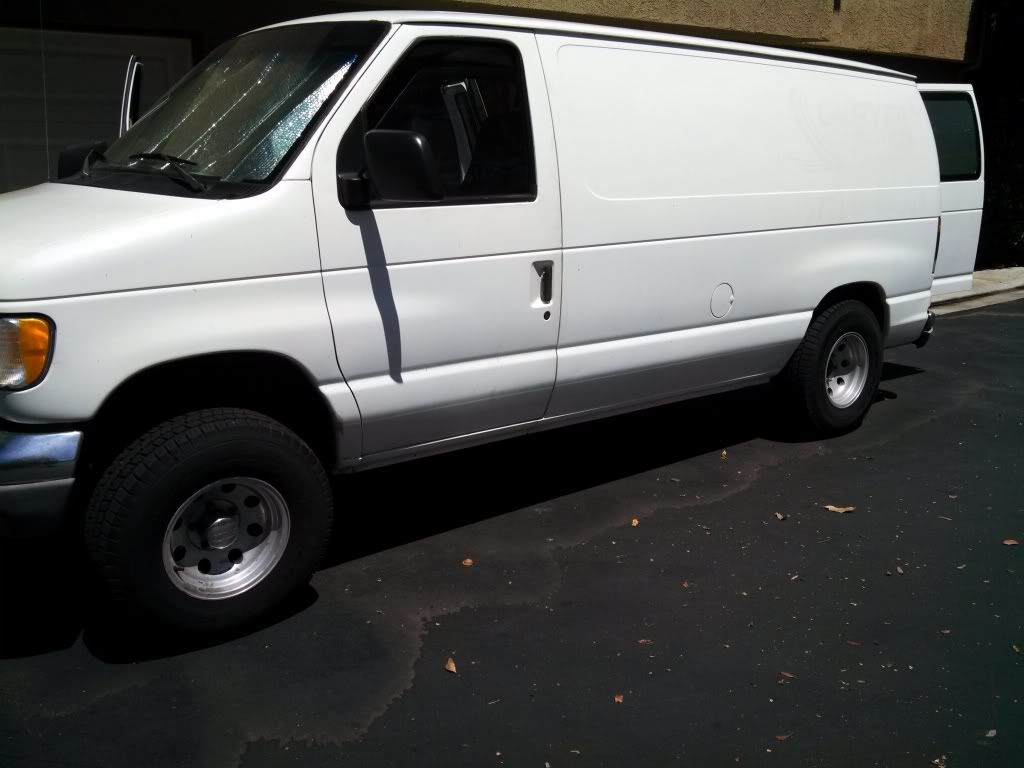
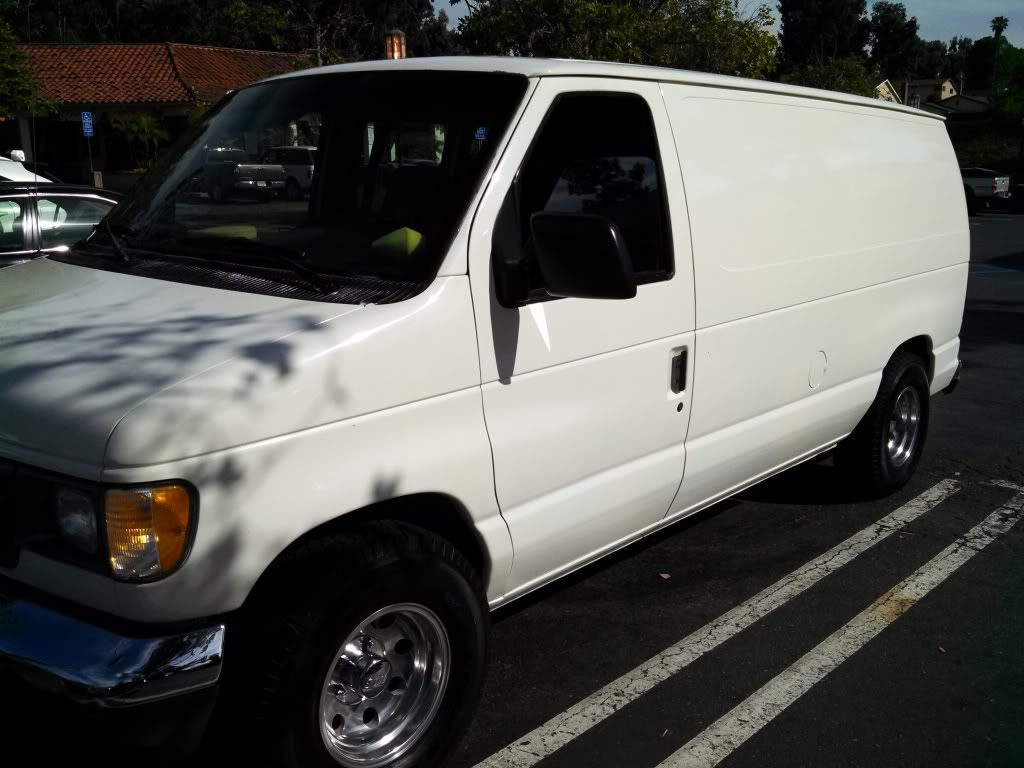
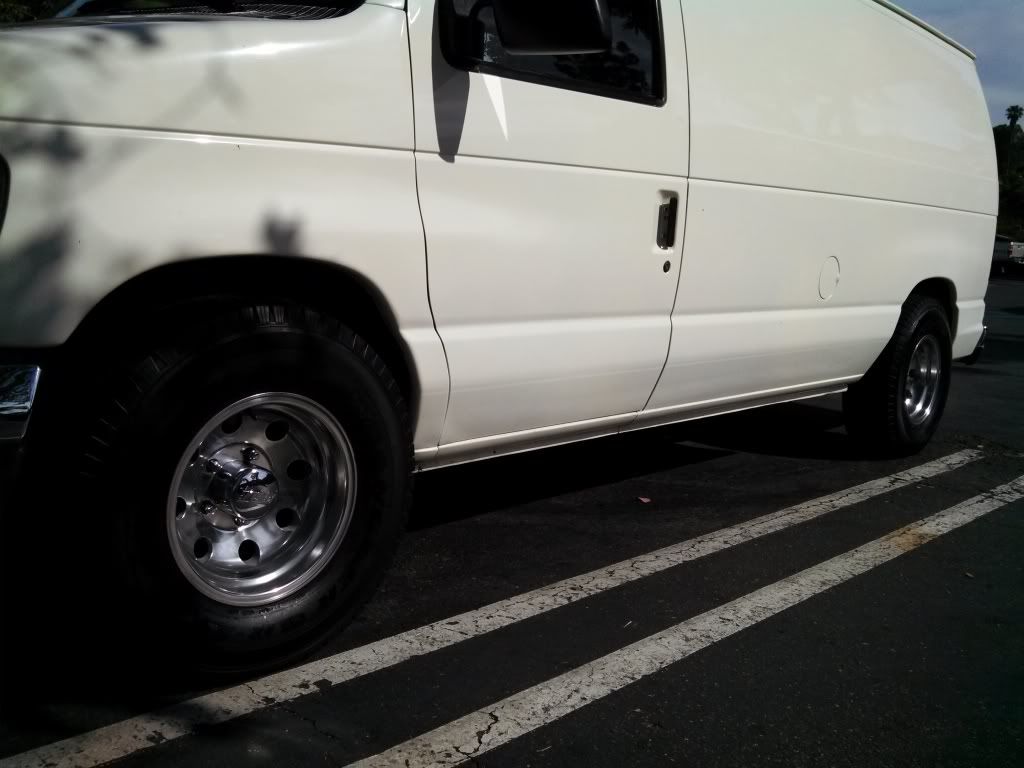
Here are my rims on my "new" van. One of the reasons I got this van was because the rims were bare Aluminum and I can polish heck out of Aluminum!
***** Warning*****
Please don't use Acid on Bare Aluminum if your an amateur. Only experienced detailers should attempt to acid wash bare Aluminum.
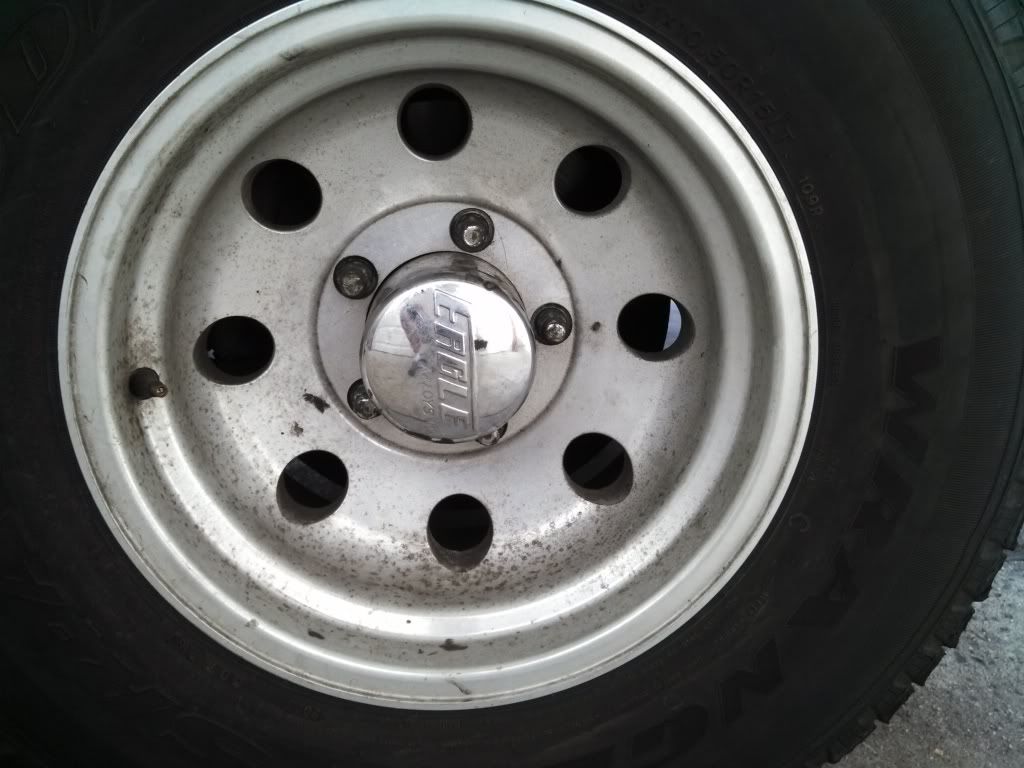
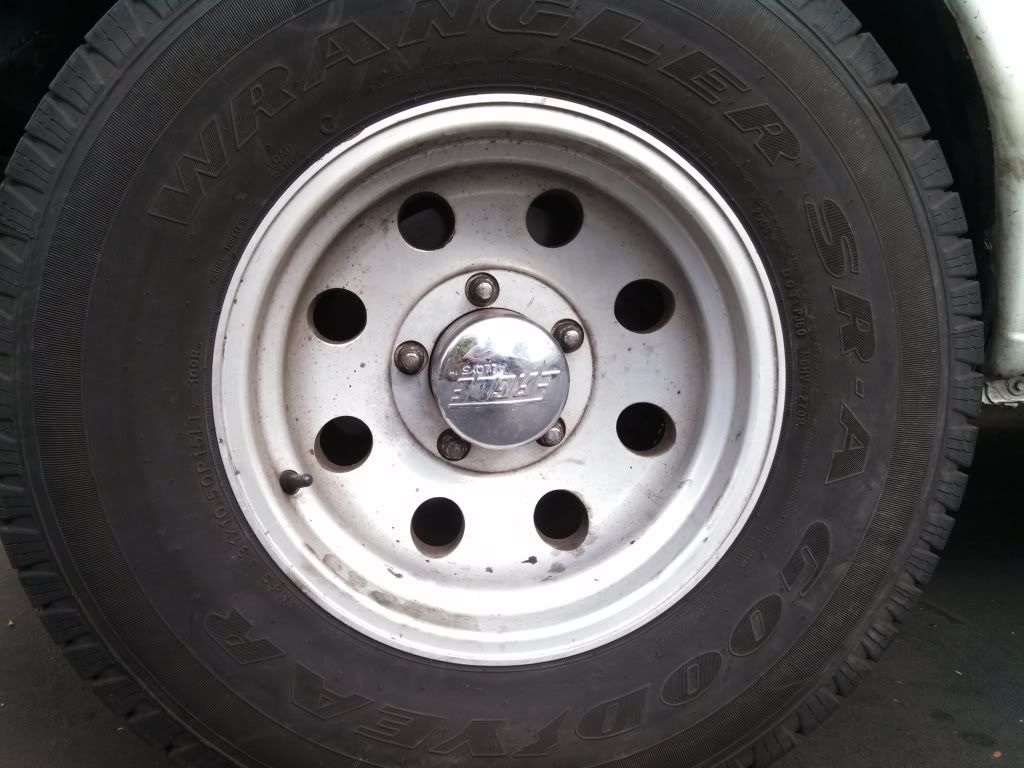
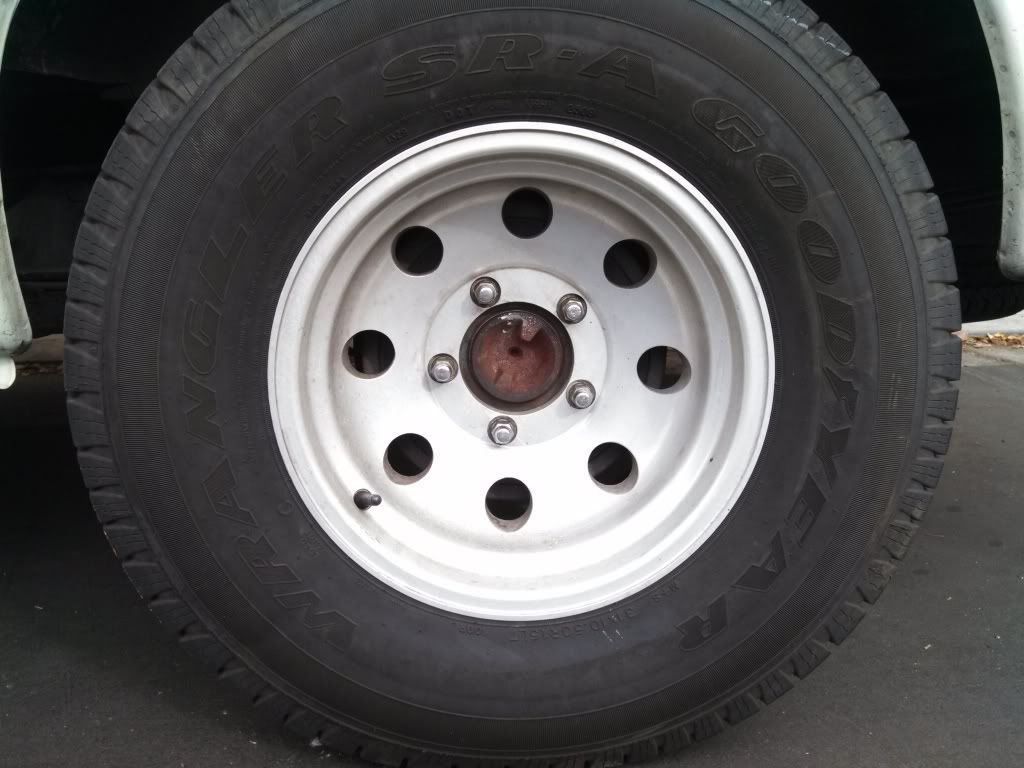
These rims were in bad shape and from the looks of them, they had never been polished or protected. They are aftermarket Pepboys rims.
I washed the rims with soap then sprayed Wheel Brightener 3 times until the dirt was out of them. You know when this happen when the acid turned a milky white.
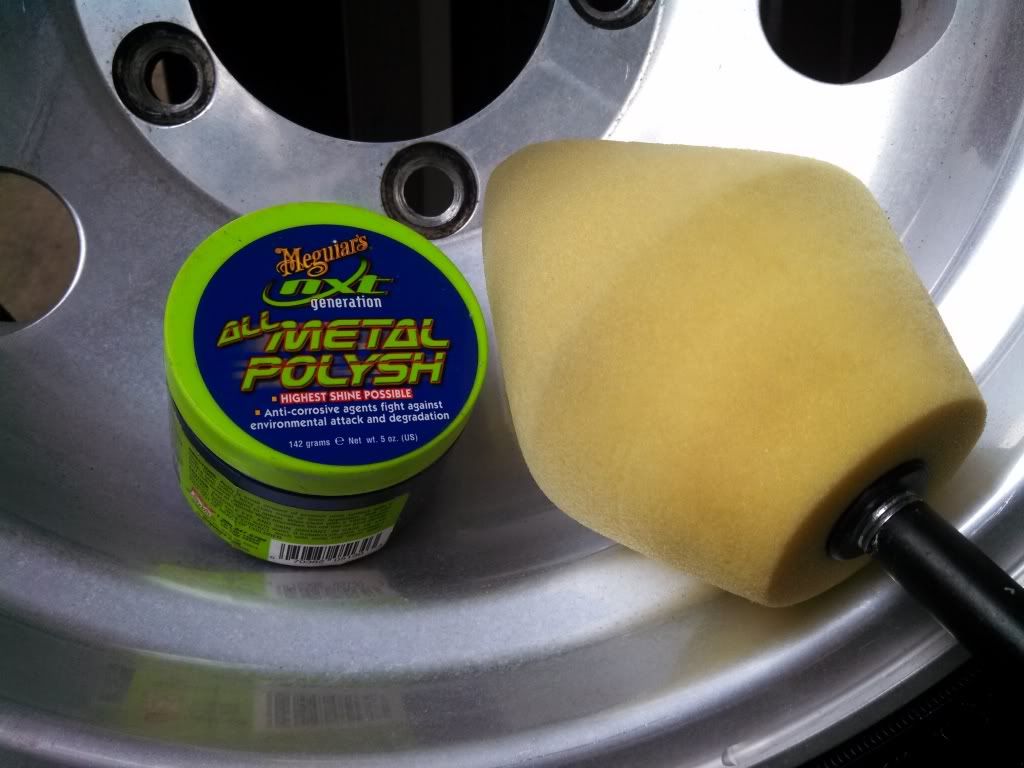
I choose NXT All Metal Polish for a basic polish with Meg's Dyna Cone 3 times.
These rims need a deep, deep polish but until I have time to spend a whole day to fully correcting each one of them this "light" polish will do the job well.
Here's the before's:
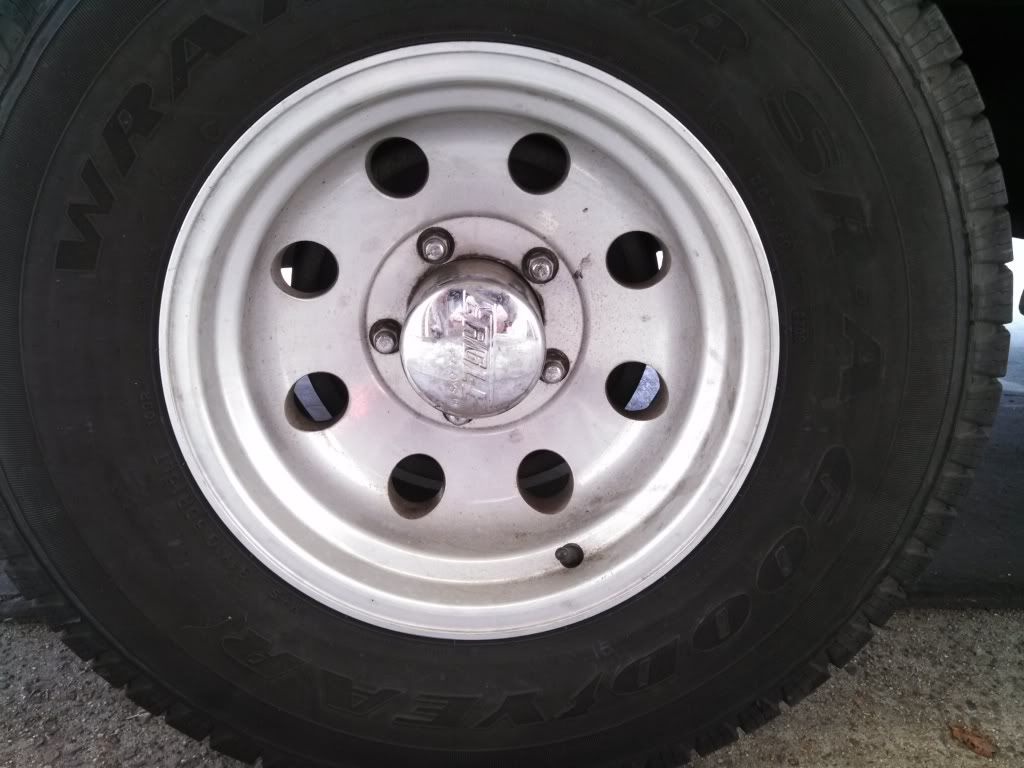
This one is missing the Cap but I ordered one today
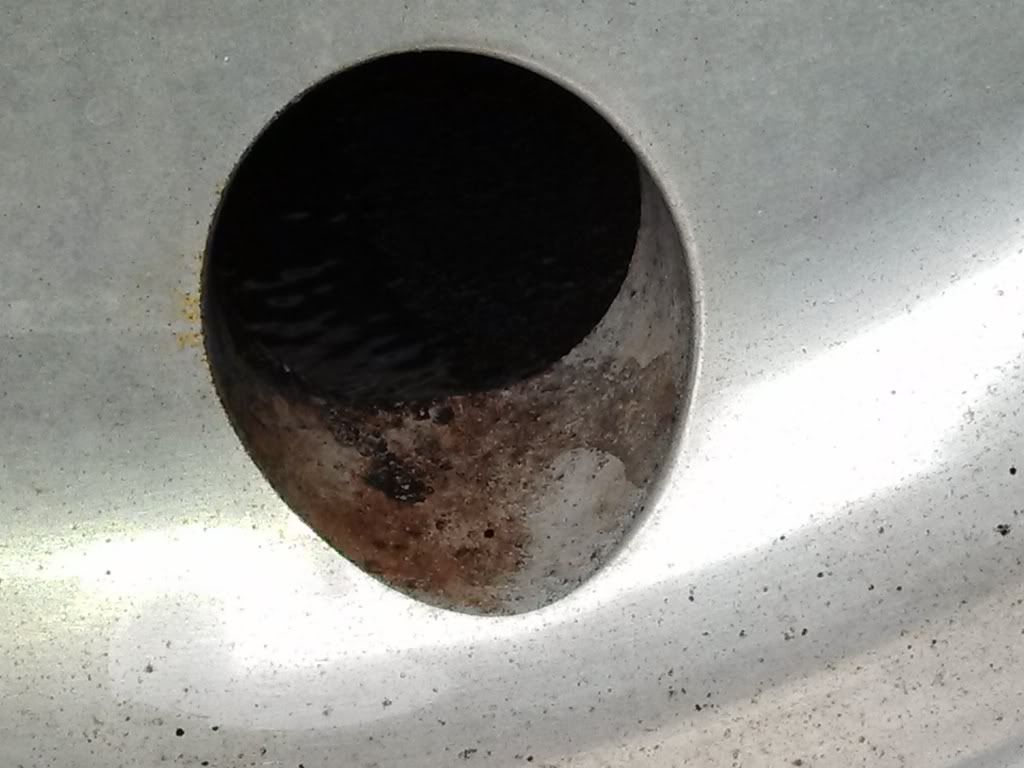
The holes were really dirty and not polished at all so these are another day each to correct.
Here's a good pic of the lug nuts, cap and nasty rim.

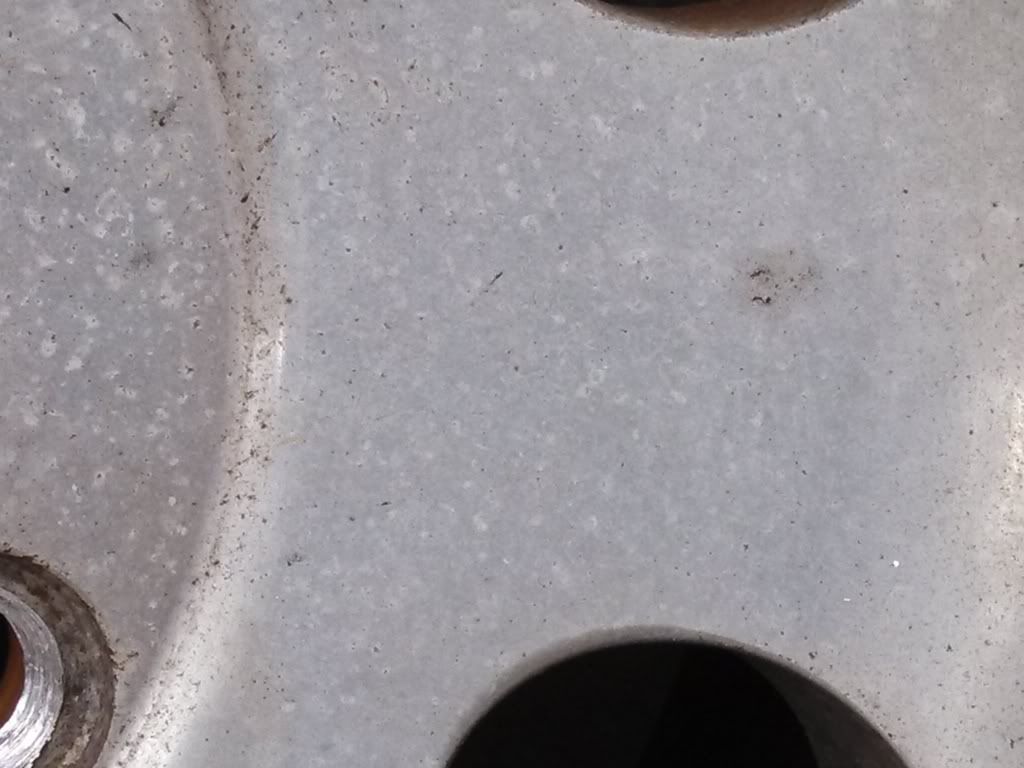
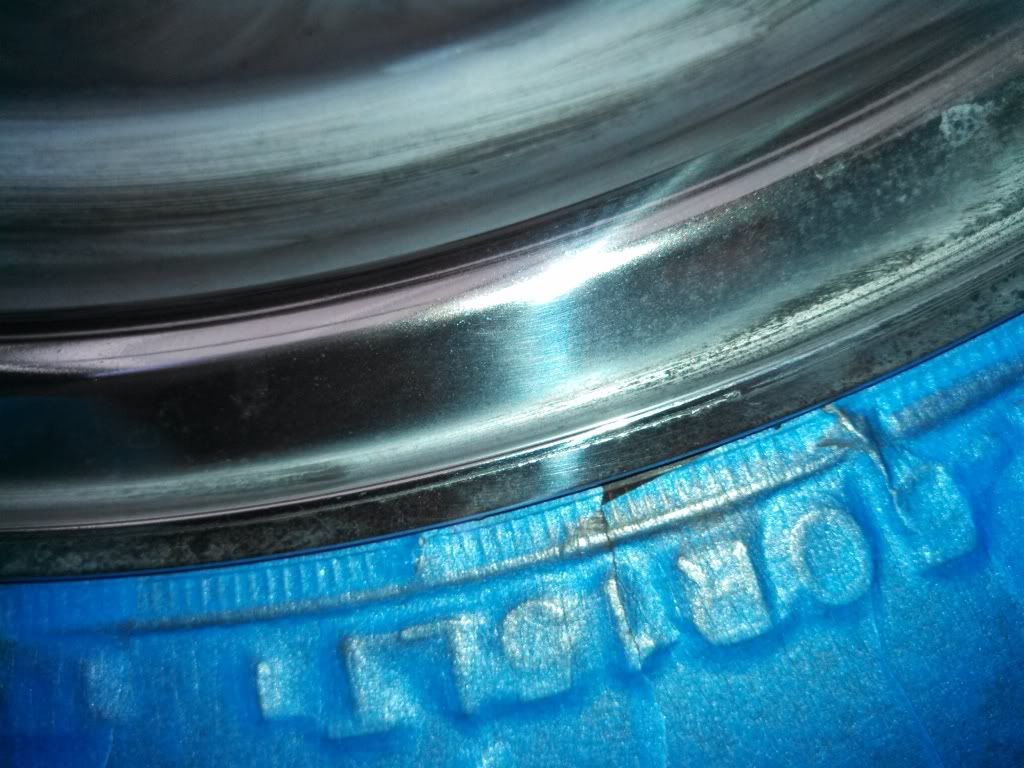
Here's a close up of the bare, unprotected Aluminum
After washing it was Acid washing time

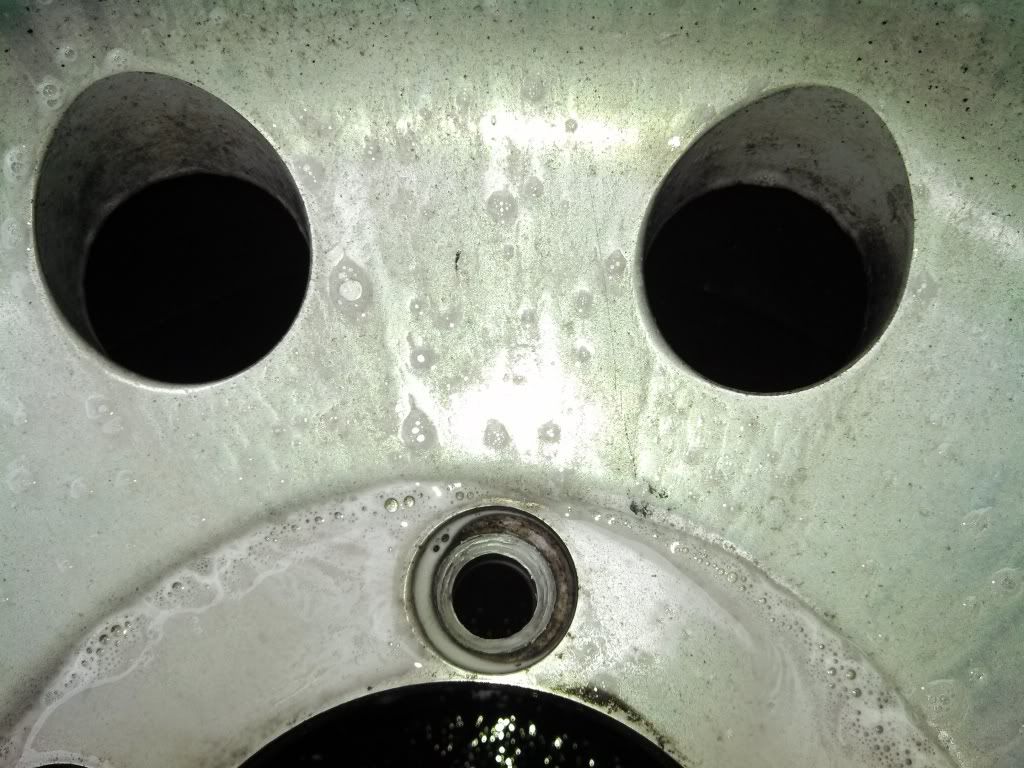
This is the first application of Wheel Brightener. You can see it's clear and not milky so it's telling me it's dirty, dirty, dirty.
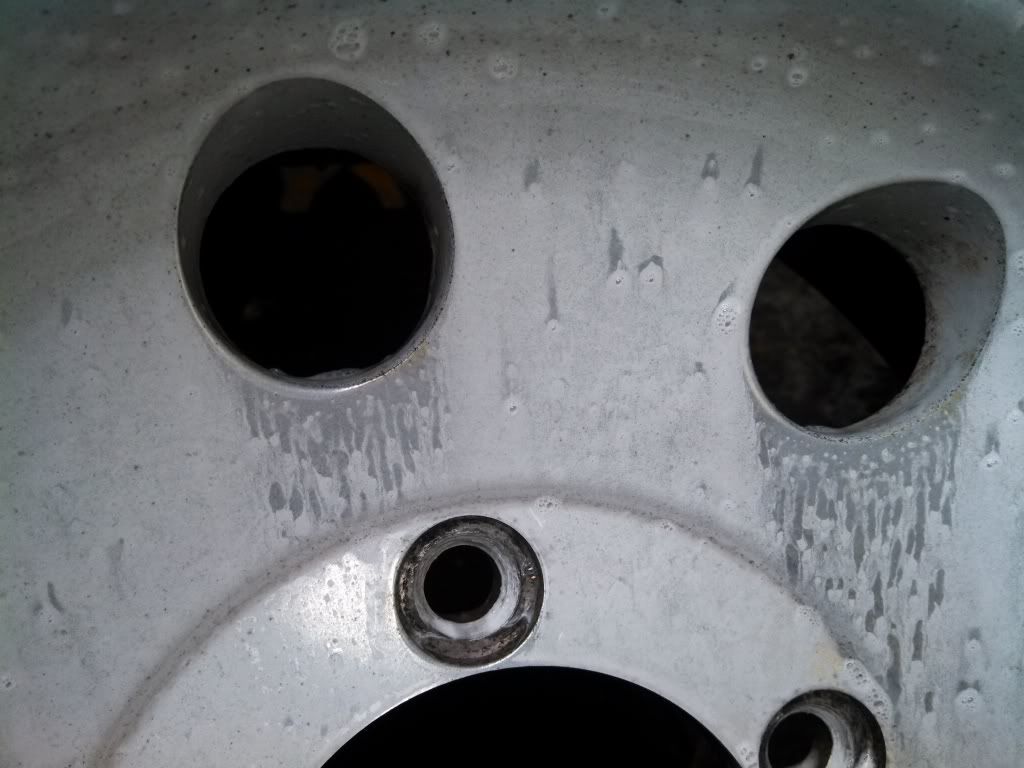
On the third application of Wheel Brightener it turns milky white telling me the dirt is gone and now only Aluminum is left and ready for polishing.
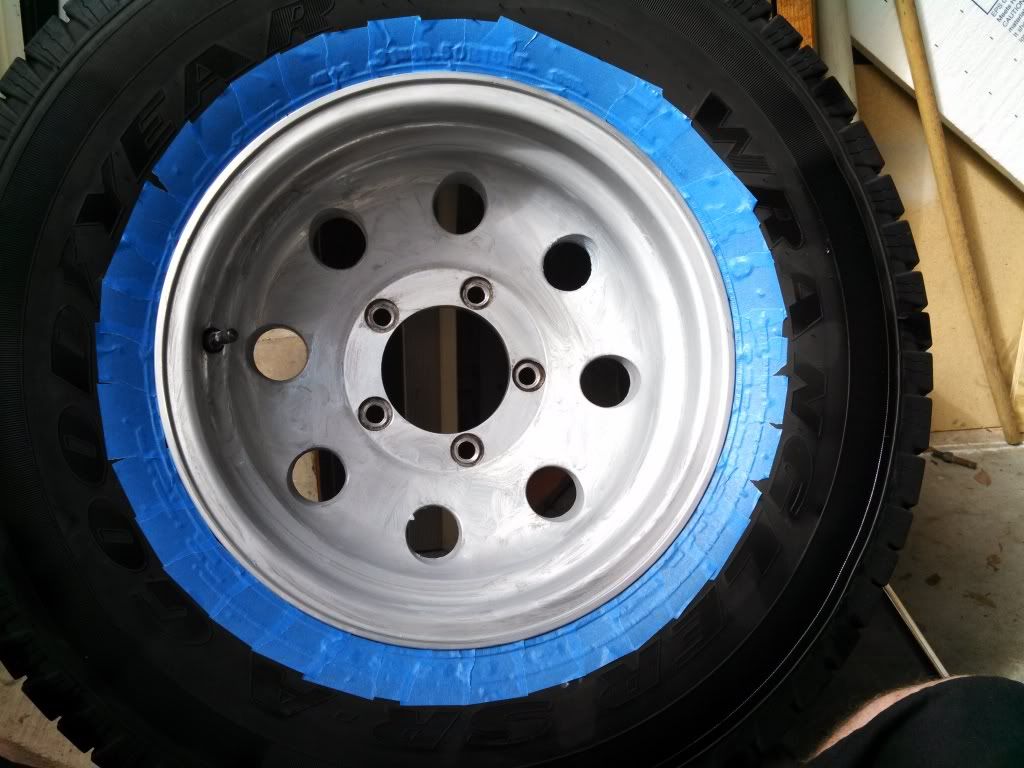
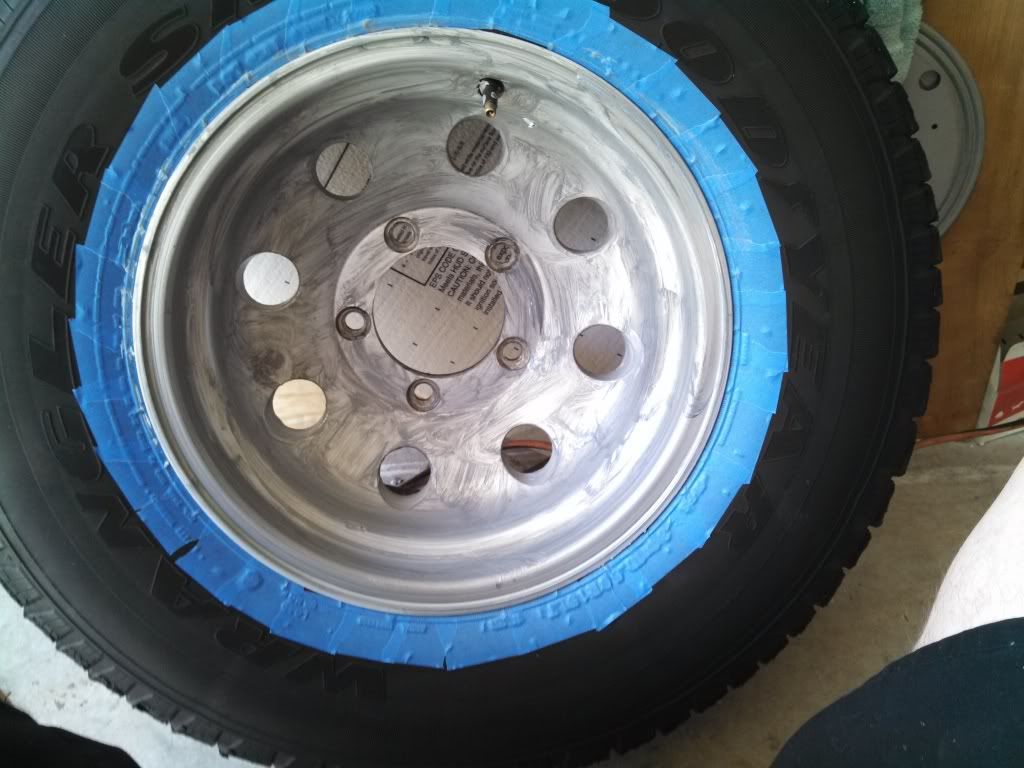
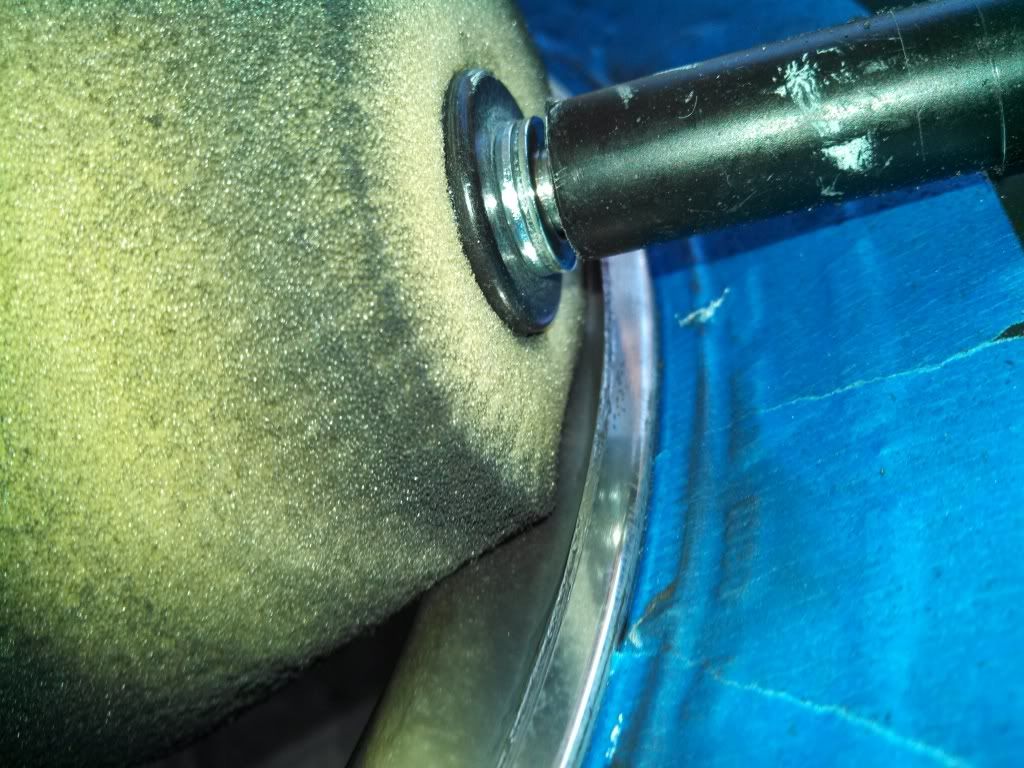
Taping off the tire will prevent the metal polish from getting into the tire. You must tape! If you don't then you'll be cleaning polish out of you tire for hours.
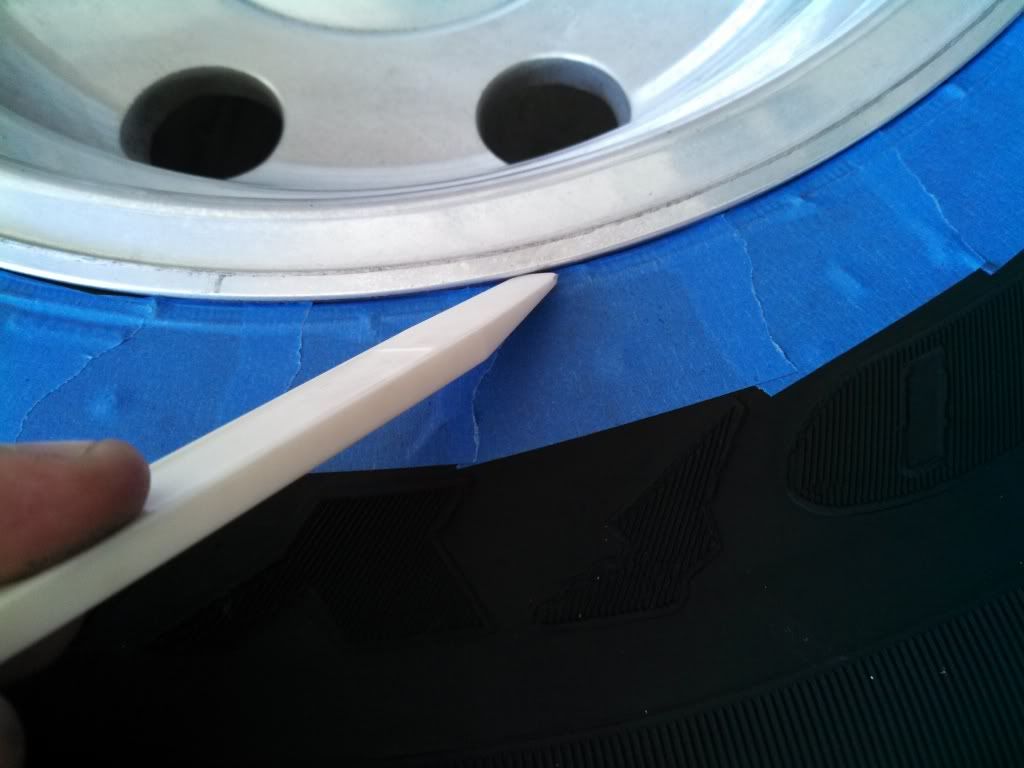
Using a "detailing stick" I made sure the tape was secured to the tire so the Dyna Cone wouldn't lift it.
My weapons of Restoration
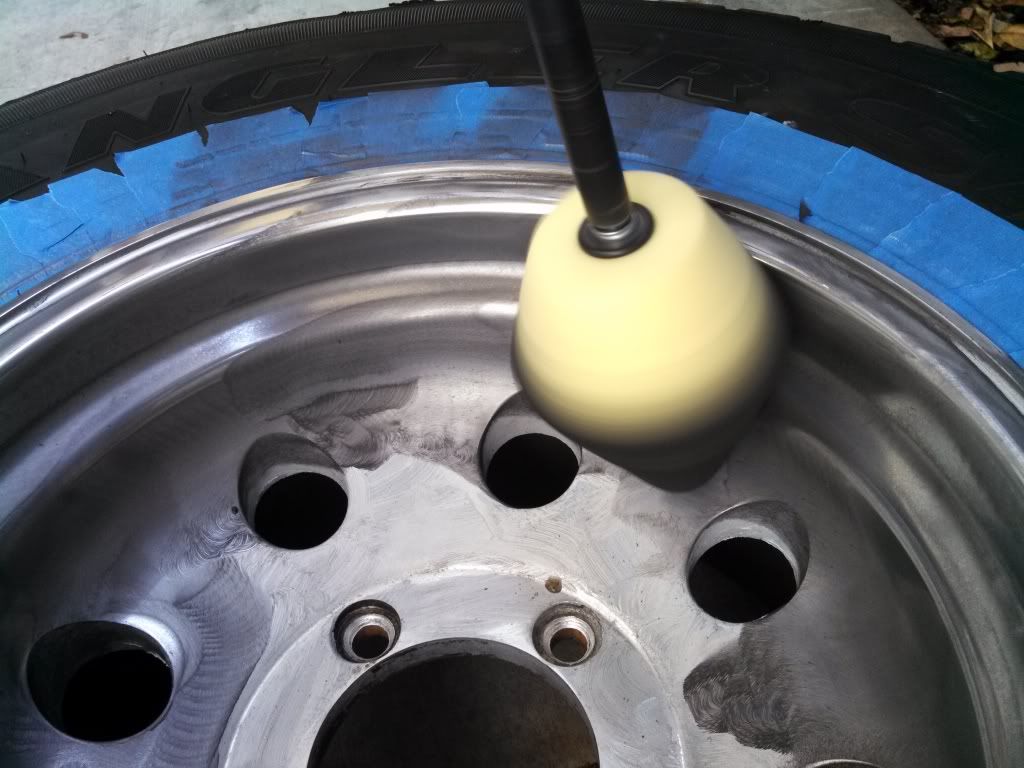
I use a little piece of fine steel wool so I can work the polish into the Aluminum
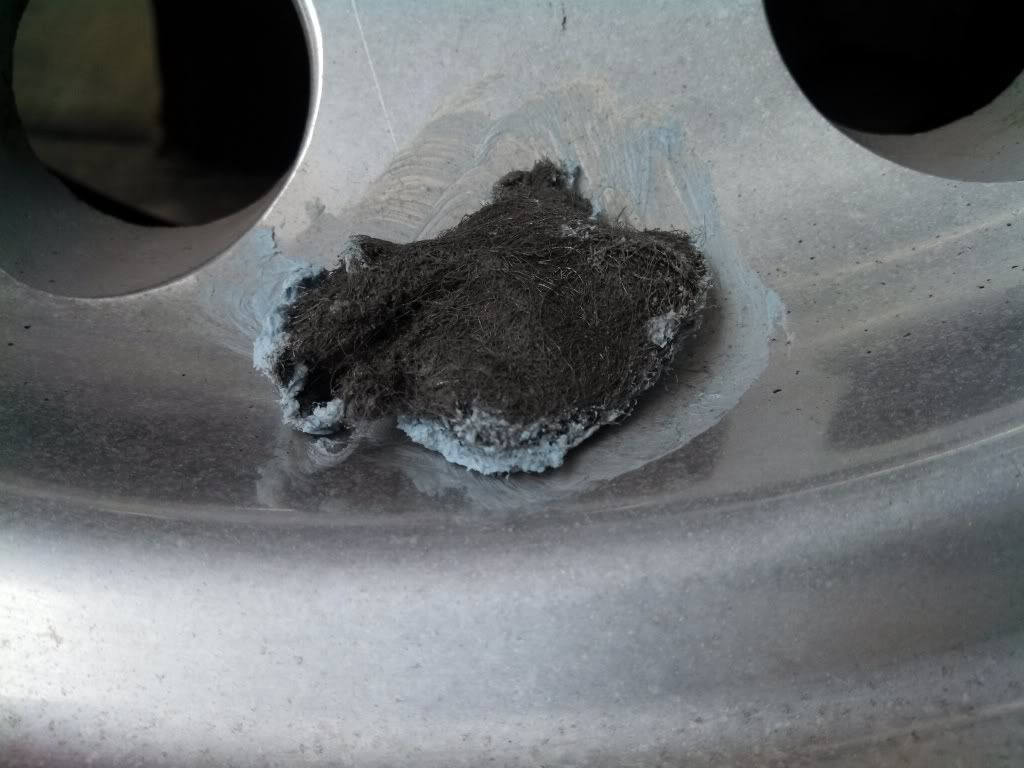
The first rim I applied the polish to the whole rim. I don't recommend this. You need the polish wet in order to work it into the Aluminum and to remove it. I had to re-apply the polish to remove/work this dried polish.
So apply the polish to one area at a time
I started on the edge and worked my way to the center.
Now the Dyna cone has two ends so I used both of them. This edge needed the right angel of the back of the Dyna Cone.
That's better!
On to the rest of the rim
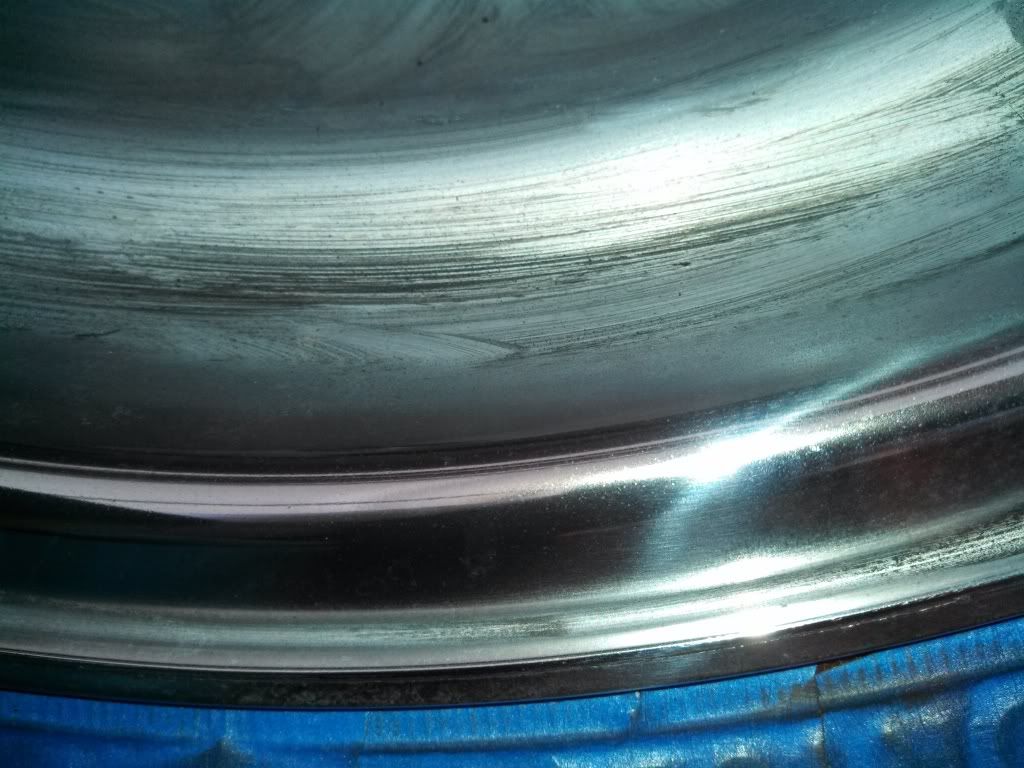
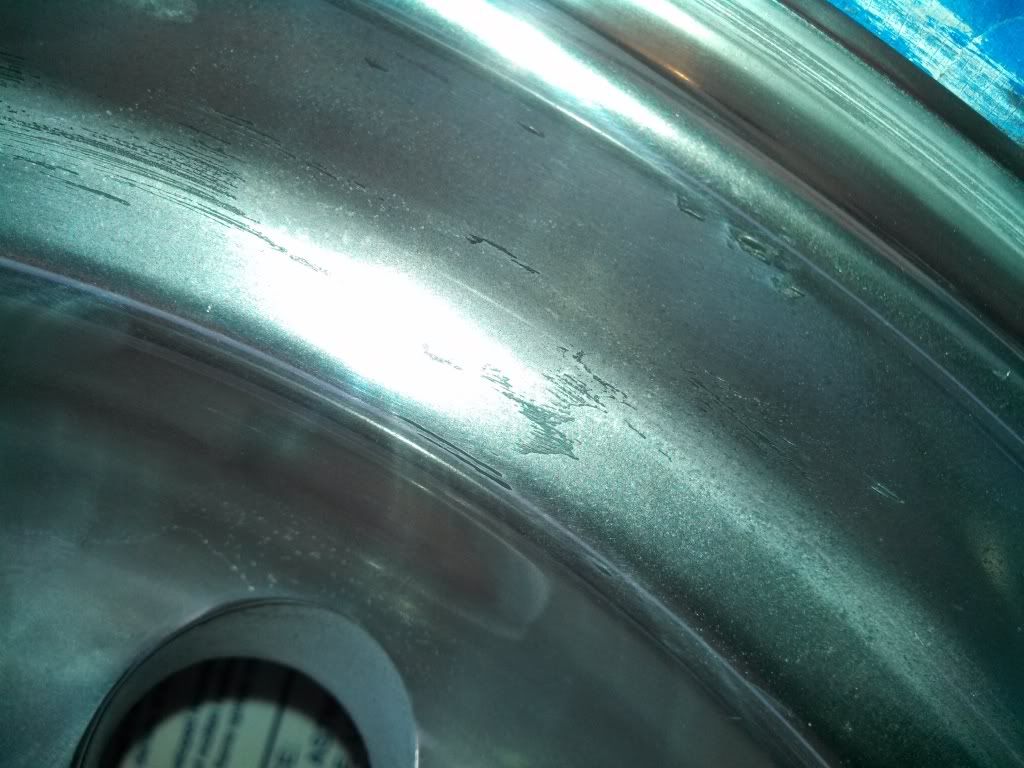
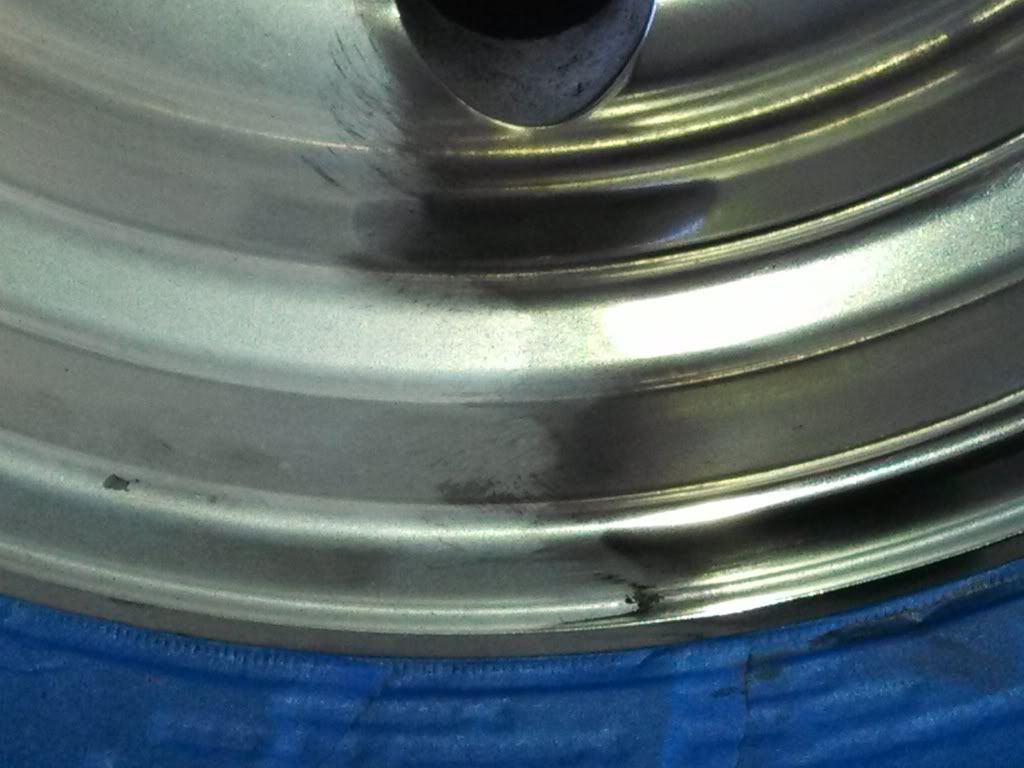
Here is the rim after the first polishing. It's shinier, but not there yet.
Now after the first polish you'll notice these black marks. They are polish that has stuck to the Aluminum. Don't try to polish these off. Leave them until you apply the second coat of polish and these will come right off.
Here's a good pic of the three steps at once. The third step is just the Dyna Cone by itself with not additional polish. Just a "high speed"

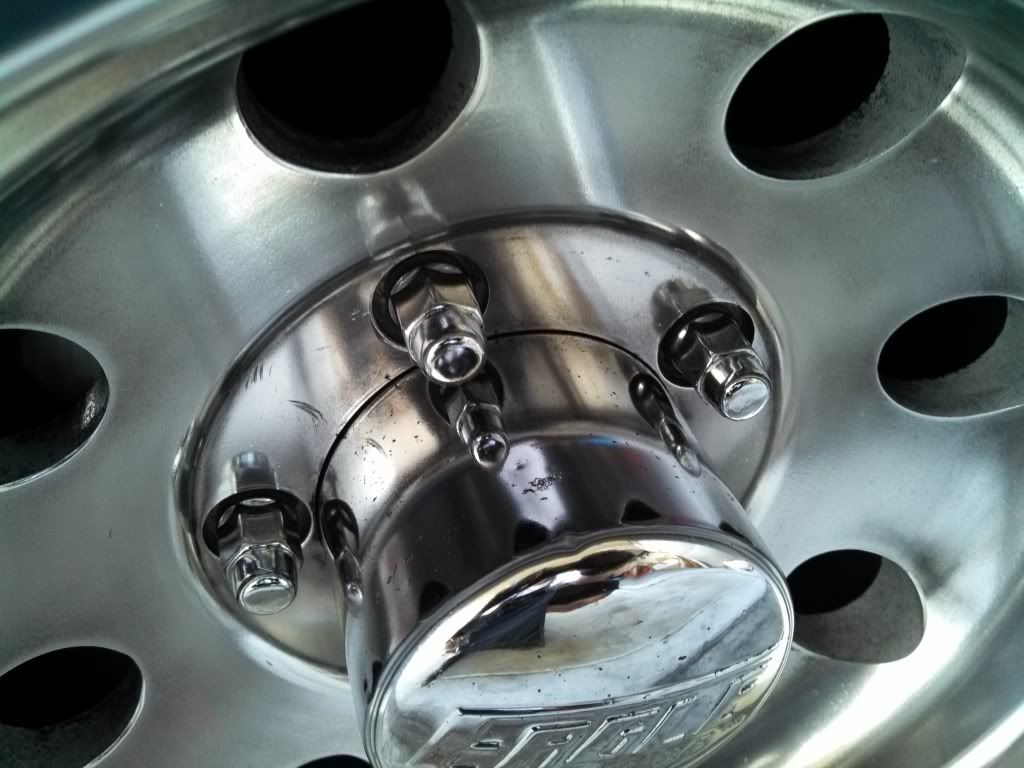
Up close and personal
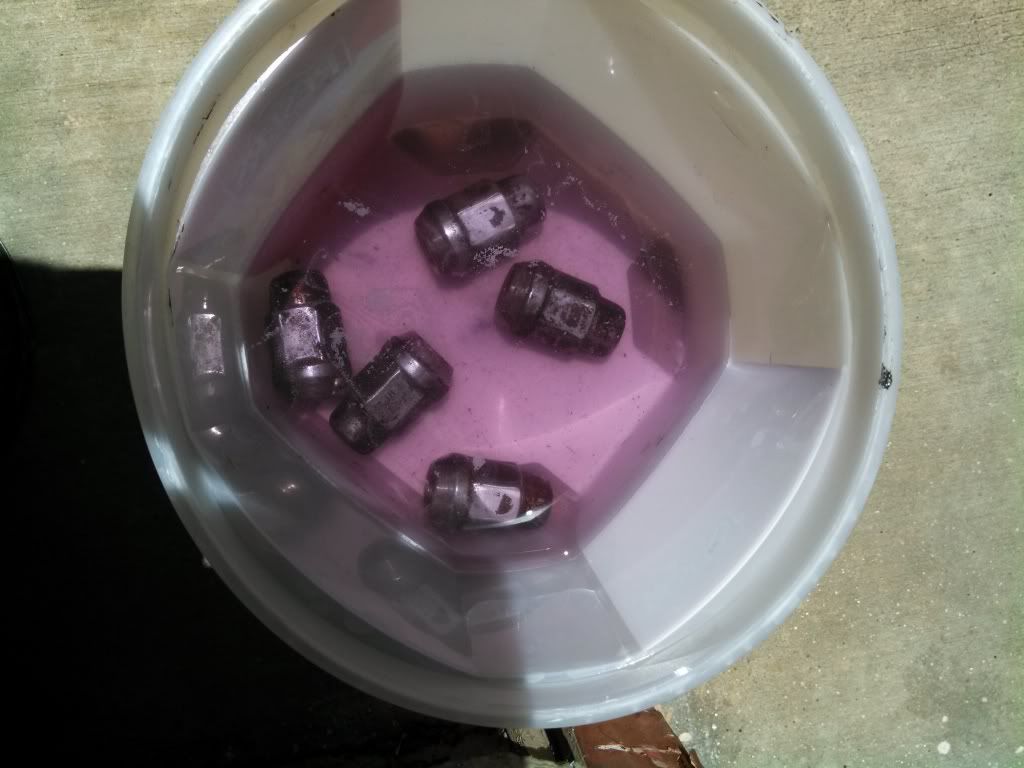
The lug nuts were soaked in some WB and water for the duration of the polishing and the wiped clean with a soapy MFT
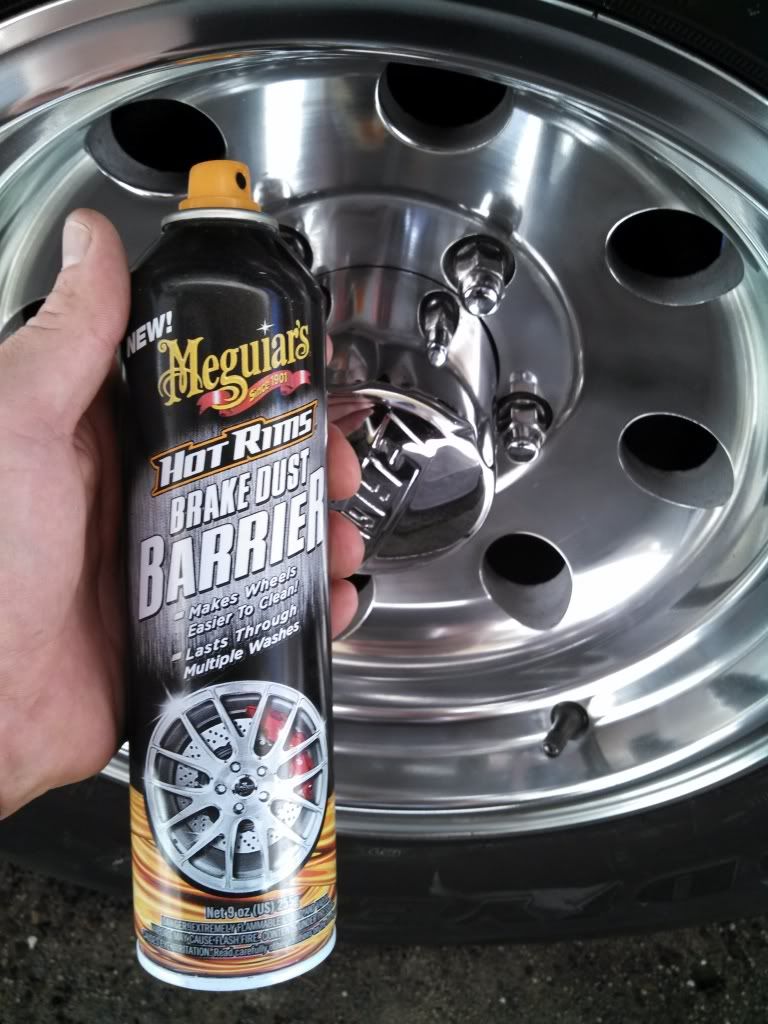
After the rims were back on I sprayed them down with Break Dust Barrier to make sure the shine will be there for a long time
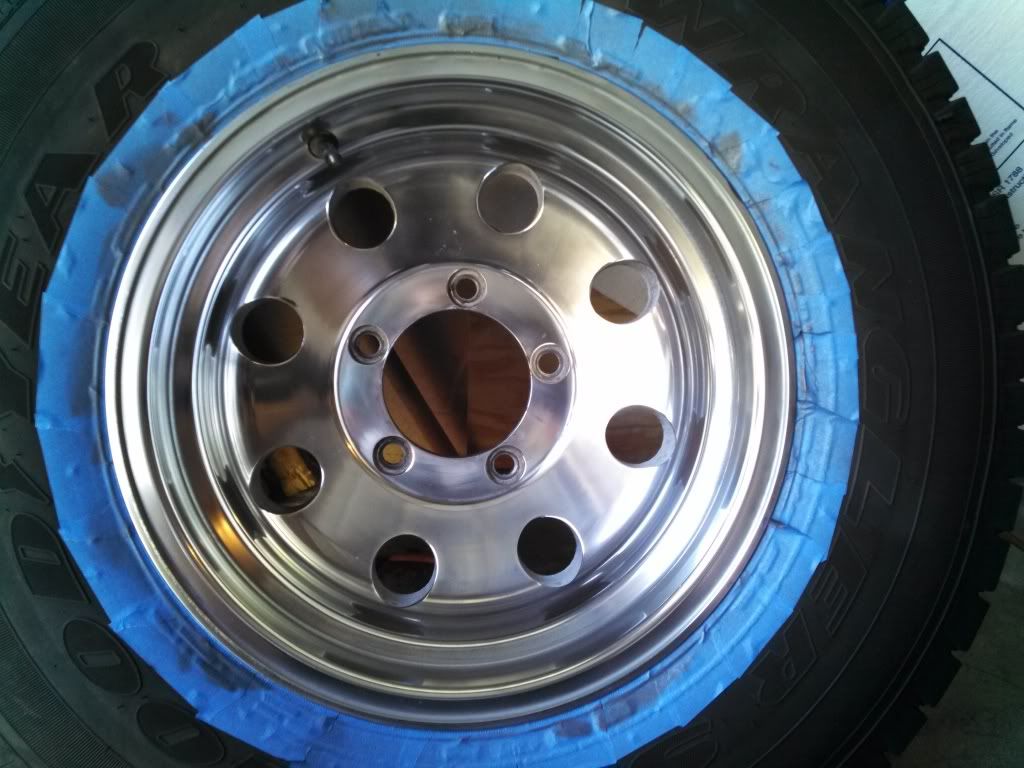
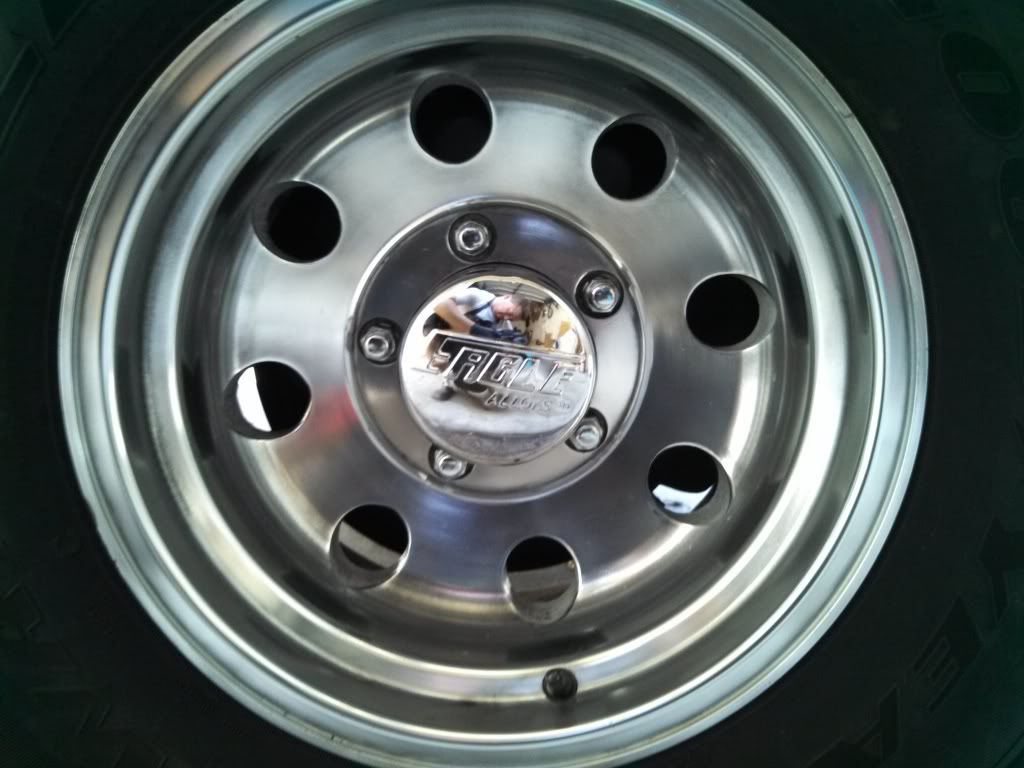
Ta Da!
Much better

Before and After
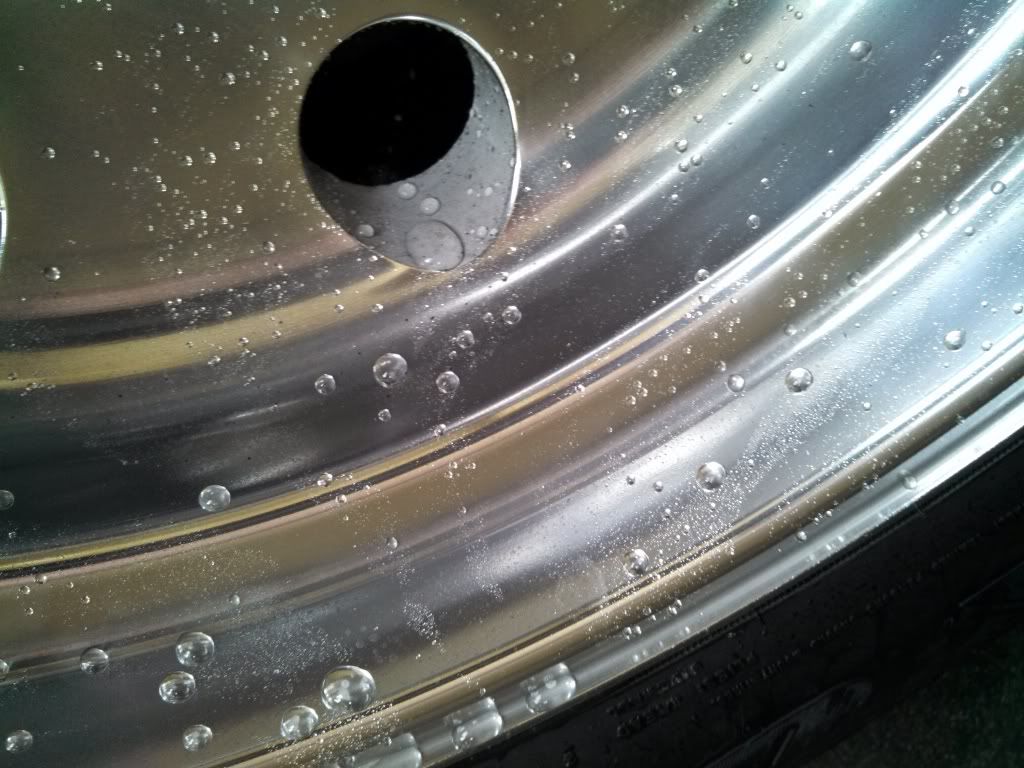
The rims the next day when I was washing it before it's detail of the rest of it.
The water just beads off nicely!
***** Warning*****
Please don't use Acid on Bare Aluminum if your an amateur. Only experienced detailers should attempt to acid wash bare Aluminum.
These rims were in bad shape and from the looks of them, they had never been polished or protected. They are aftermarket Pepboys rims.
I washed the rims with soap then sprayed Wheel Brightener 3 times until the dirt was out of them. You know when this happen when the acid turned a milky white.
I choose NXT All Metal Polish for a basic polish with Meg's Dyna Cone 3 times.
These rims need a deep, deep polish but until I have time to spend a whole day to fully correcting each one of them this "light" polish will do the job well.
Here's the before's:
This one is missing the Cap but I ordered one today
The holes were really dirty and not polished at all so these are another day each to correct.
Here's a good pic of the lug nuts, cap and nasty rim.
Here's a close up of the bare, unprotected Aluminum
After washing it was Acid washing time
This is the first application of Wheel Brightener. You can see it's clear and not milky so it's telling me it's dirty, dirty, dirty.
On the third application of Wheel Brightener it turns milky white telling me the dirt is gone and now only Aluminum is left and ready for polishing.
Taping off the tire will prevent the metal polish from getting into the tire. You must tape! If you don't then you'll be cleaning polish out of you tire for hours.
Using a "detailing stick" I made sure the tape was secured to the tire so the Dyna Cone wouldn't lift it.
My weapons of Restoration
I use a little piece of fine steel wool so I can work the polish into the Aluminum
The first rim I applied the polish to the whole rim. I don't recommend this. You need the polish wet in order to work it into the Aluminum and to remove it. I had to re-apply the polish to remove/work this dried polish.
So apply the polish to one area at a time
I started on the edge and worked my way to the center.
Now the Dyna cone has two ends so I used both of them. This edge needed the right angel of the back of the Dyna Cone.
That's better!
On to the rest of the rim
Here is the rim after the first polishing. It's shinier, but not there yet.
Now after the first polish you'll notice these black marks. They are polish that has stuck to the Aluminum. Don't try to polish these off. Leave them until you apply the second coat of polish and these will come right off.
Here's a good pic of the three steps at once. The third step is just the Dyna Cone by itself with not additional polish. Just a "high speed"
Up close and personal
The lug nuts were soaked in some WB and water for the duration of the polishing and the wiped clean with a soapy MFT
After the rims were back on I sprayed them down with Break Dust Barrier to make sure the shine will be there for a long time
Ta Da!
Much better
Before and After
The rims the next day when I was washing it before it's detail of the rest of it.
The water just beads off nicely!


Comment