

 Tweet
Tweet
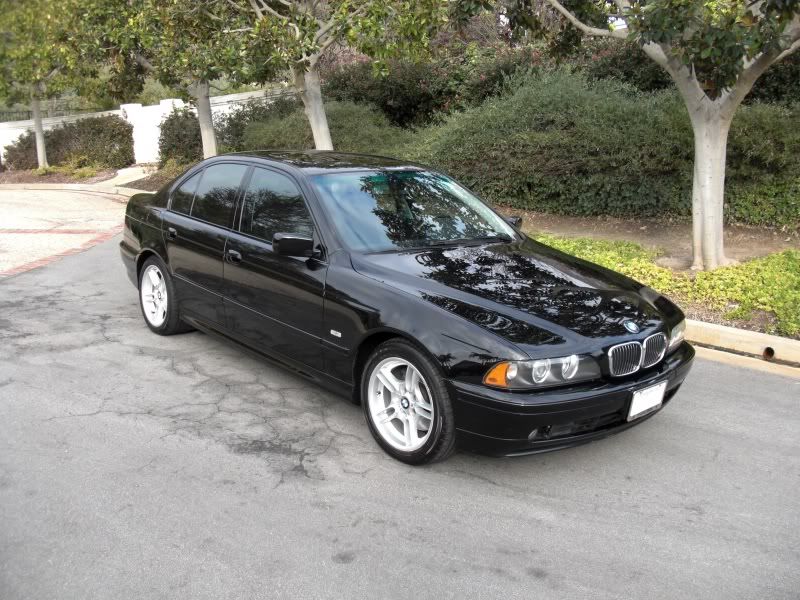
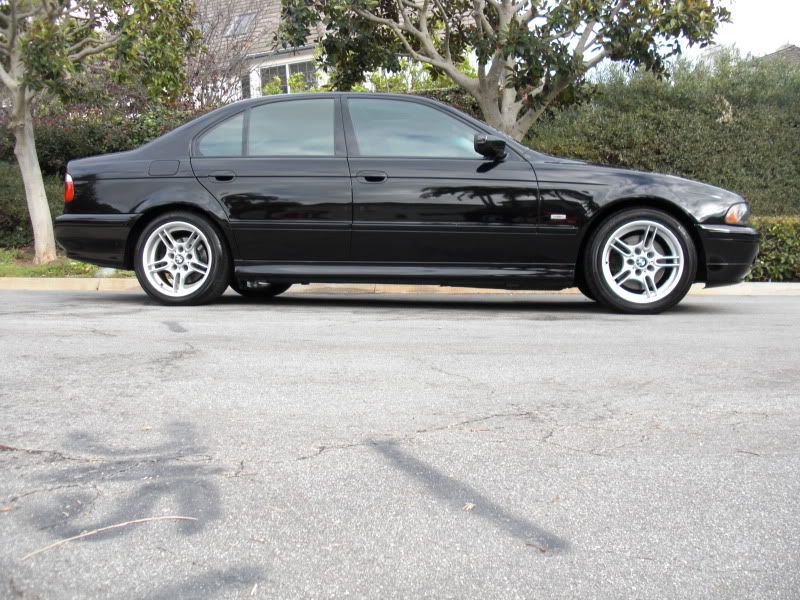
The owner of this 2001 BMW 540i was not satisfied with the current condition of his paint and was going to have his car repainted because there were too many scratches and imperfections. I told him that I could make his car look a lot better than he could ever image for a fraction of the price of a new paint job. He let me go for it and here’s how it went.
Process:
Wash with Hyper Wash and an ounce of ONR
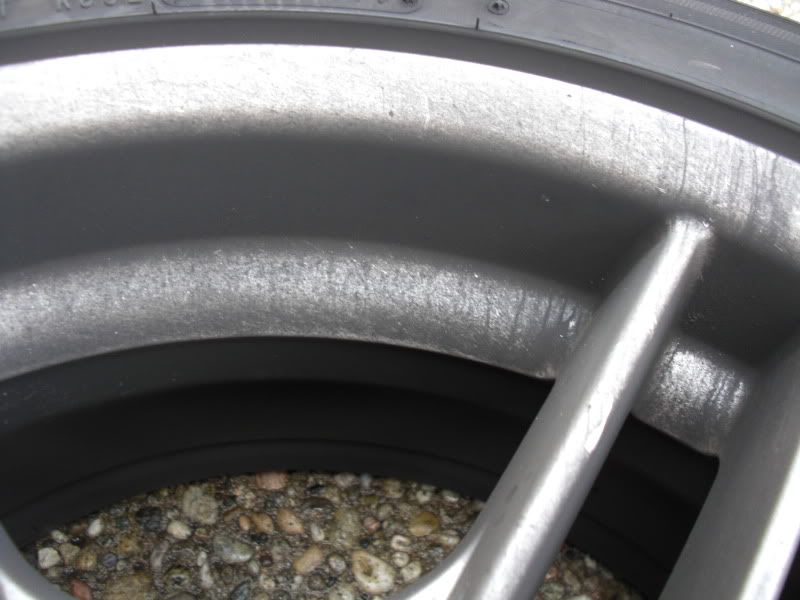
Wheels with Wheel Brightener and various brushes
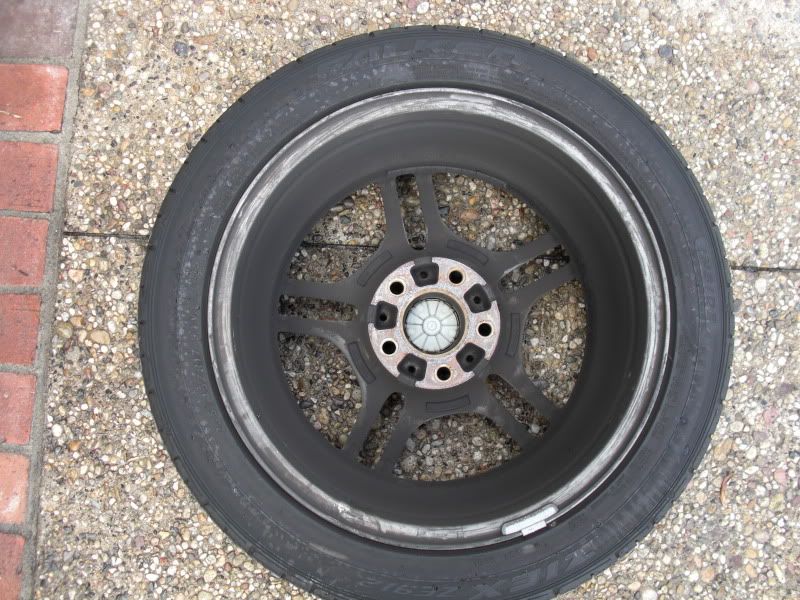
Tires and wheel wells with APC+ and foaming sprayer
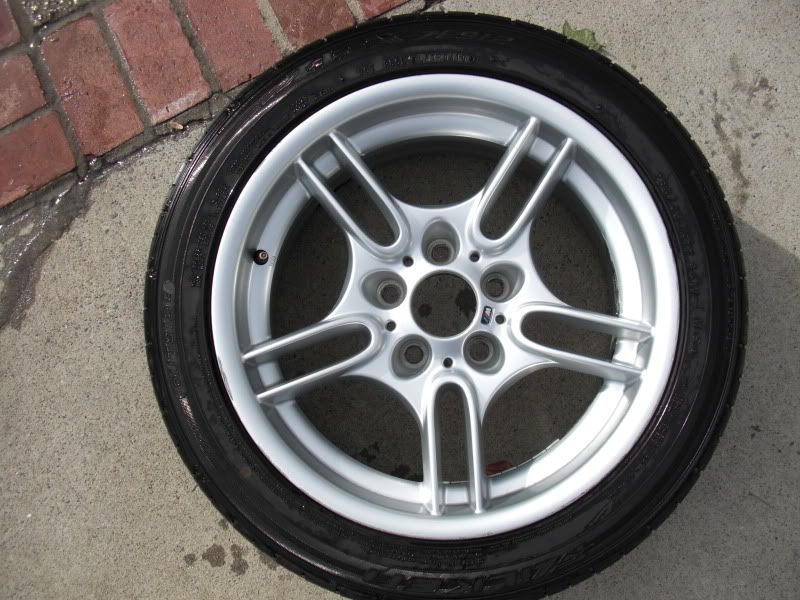
Wheels dressed with Hot Shine Tire Gel
Wheel wells dressed with HD 4:1
Plastics dressed with Gold Class Trim Detailer
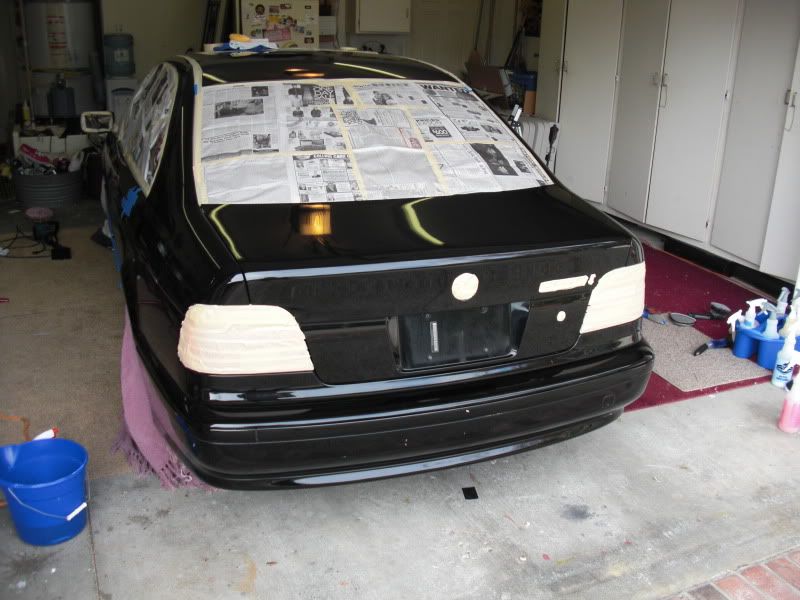
Windows, wheels, and plastics taped off with Meguiar’s Masking Tape and covered with newspaper. My reason for this was that I knew how dirty the W5000 pad makes the rest of the car with all of the shedding wool (and not to mention that it was inevitable that I spray compound at some point or another while doing the entire car with a rotary)
Windows cleaned with D Line Window Cleaner
Clay with Mild Blue Clay and Last Touch as Lubricant
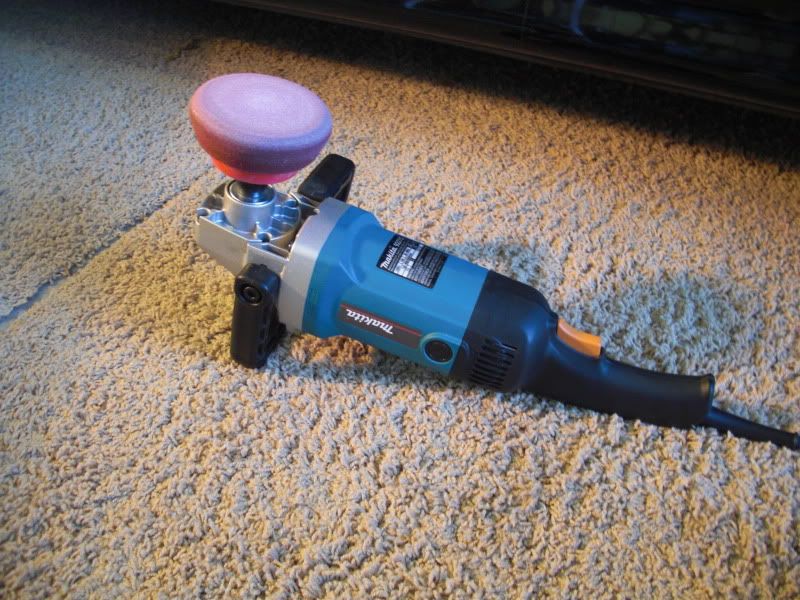
M105 on W5000 wool pad via rotary – I tried using the Solo maroon pad, but it wasn’t quite achieving the level of correction I wanted because there were some pretty deep RIDS
Bumpers with M105 on 4” Maroon Cutting Pad via rotary
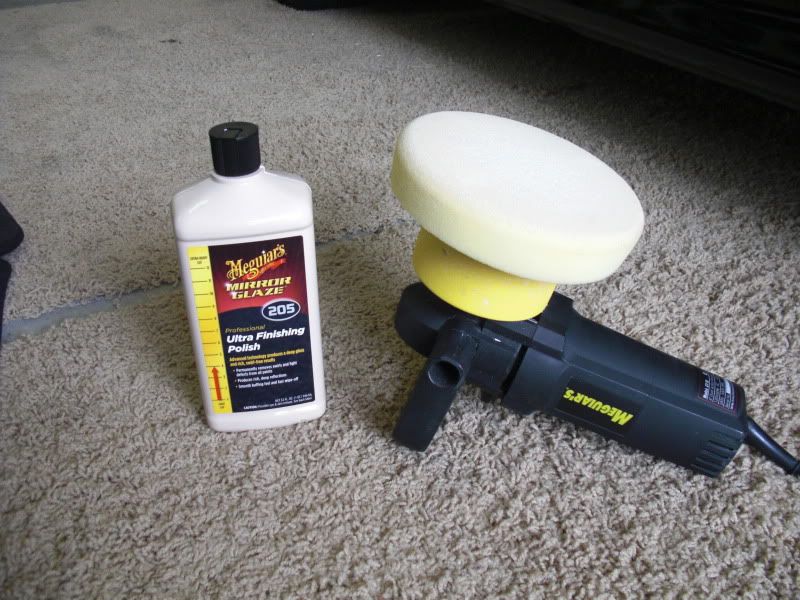
M205 on polishing pad via DA and 4” polishing pad for bumpers
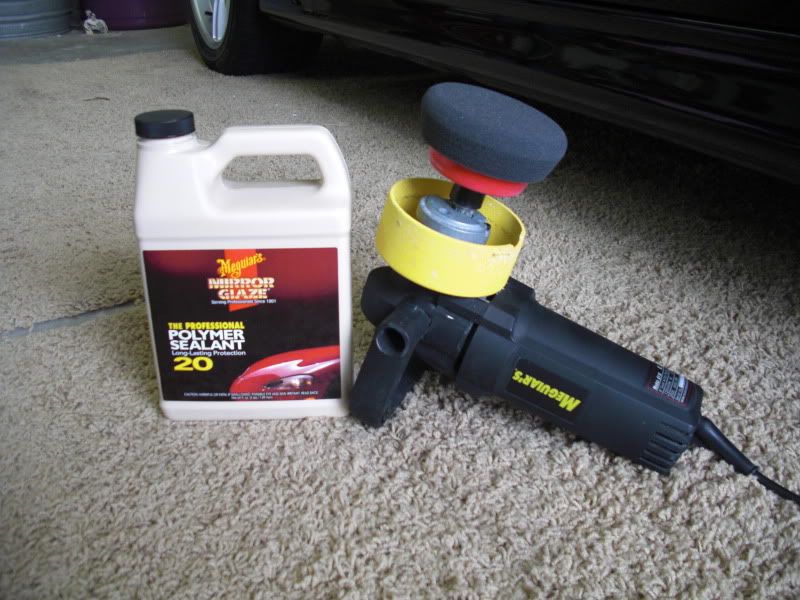
M20 on finishing pad via DA and 4” finishing pad for bumpers
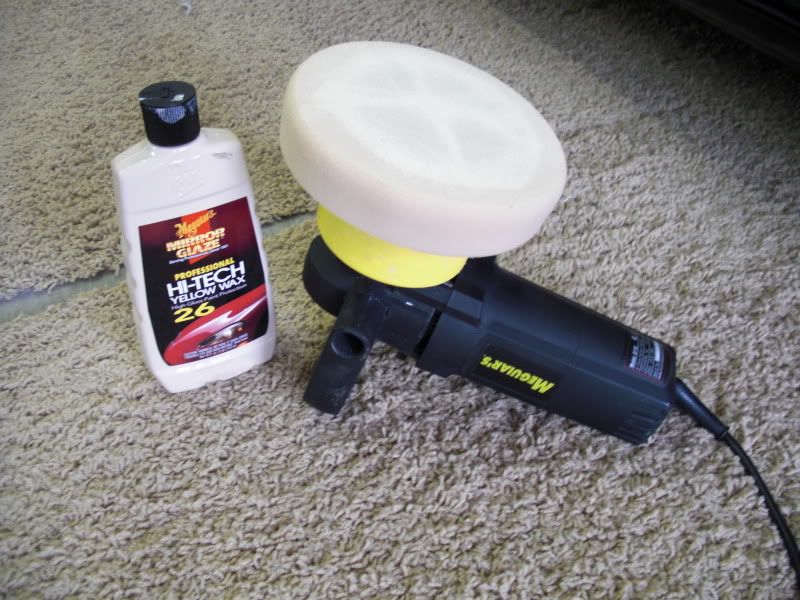
M26 on finishing pad via DA and 4” finishing pad for bumpers
Interior:
I didn’t get many pictures of the interior as it was not my main focus but here is what I did.
Vacuumed entire interior
2 Applications of D Line Leather Cleaner
Interior Cleaned with Quik Interior Detailer
Interior Dressed with M40
Interior Windows cleaned with D Line Window Cleaner
Door Jambs cleaned with Last Touch
Touch Up Paint Process:
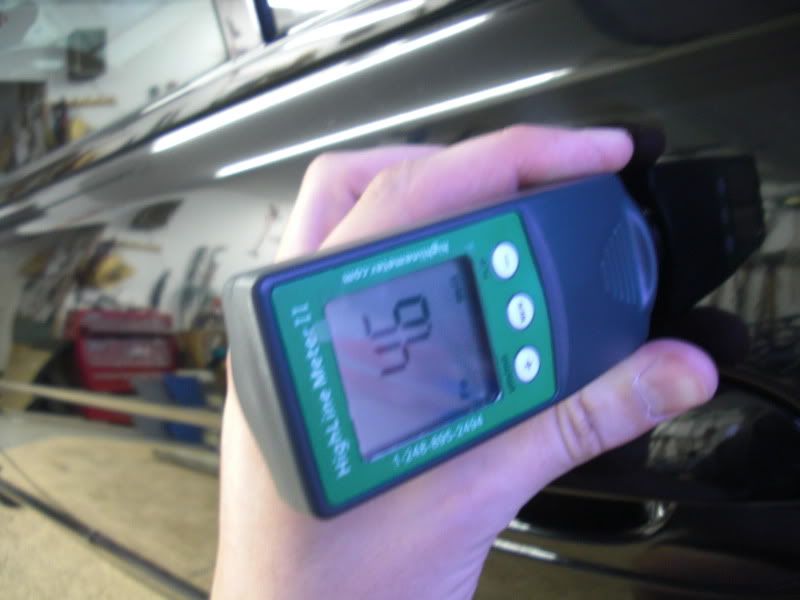
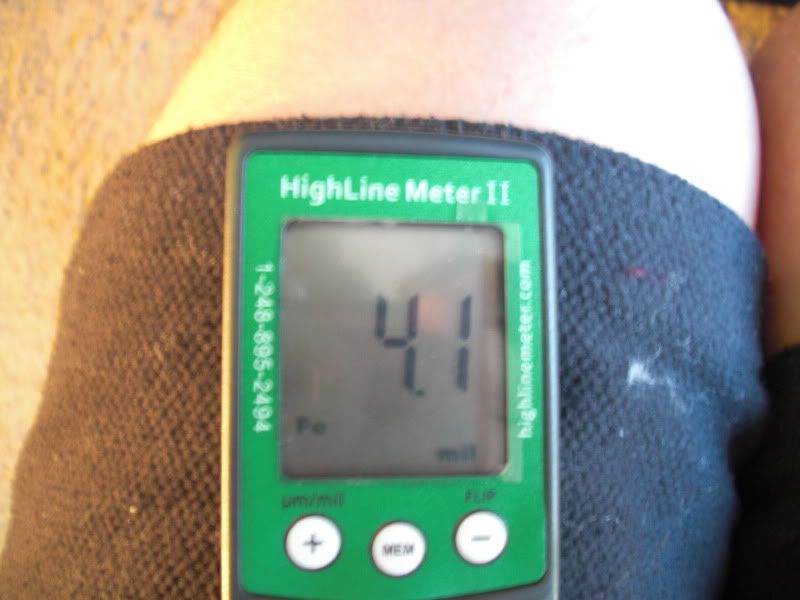
Hit the area with M105 on Solo Maroon Pad to remove any paint transfer. Taped off area and applied base coat. Let dry overnight, then applied Clear Coat. All application was done with a toothpick. I tried to sand the area down with the tape still on, but it wasn’t cutting properly so I ended up sanding the whole touch up paint area. 2500 grit sand paper was used. The PTG showed that about .5 mils of paint were removed. It didn’t come out perfect, but it looked a lot better than it did before.
Before:
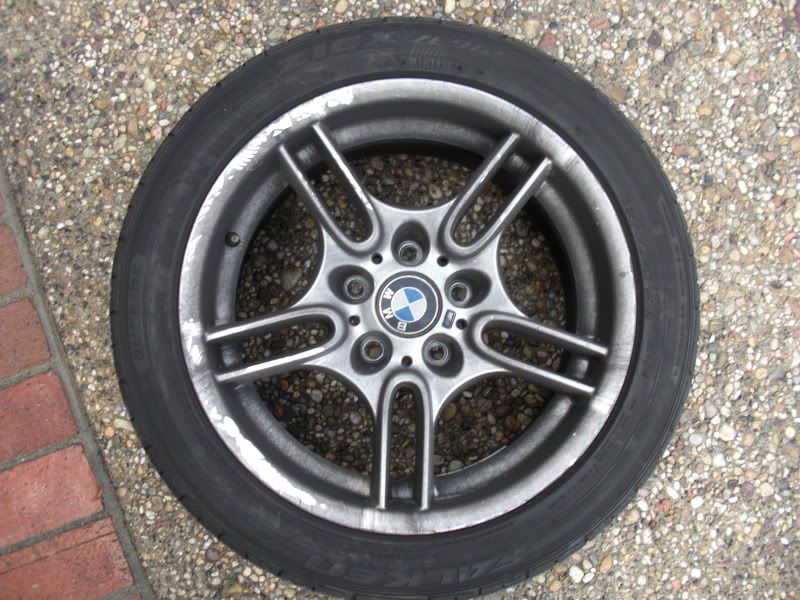
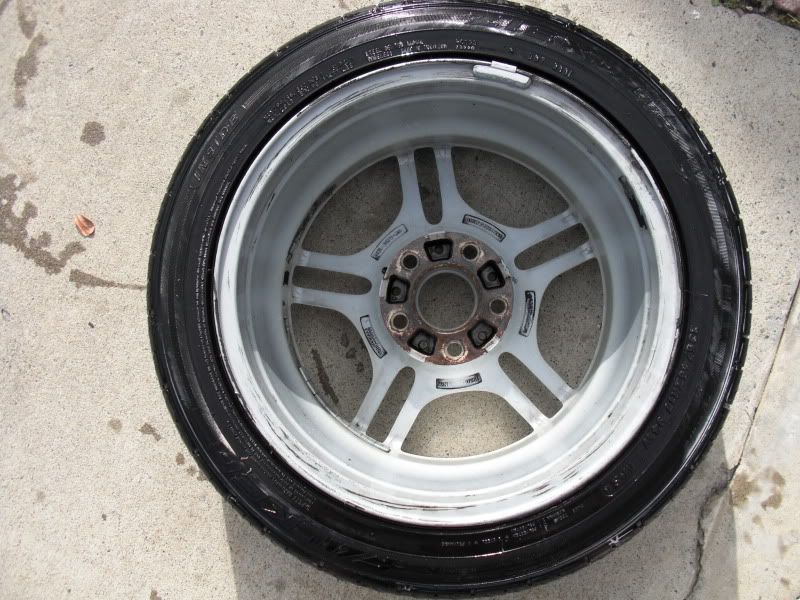
Clean Wheels:
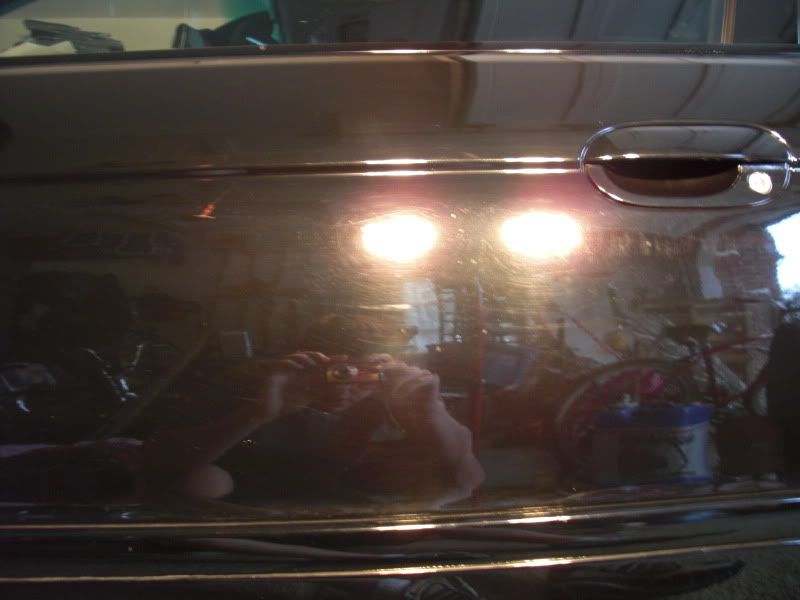
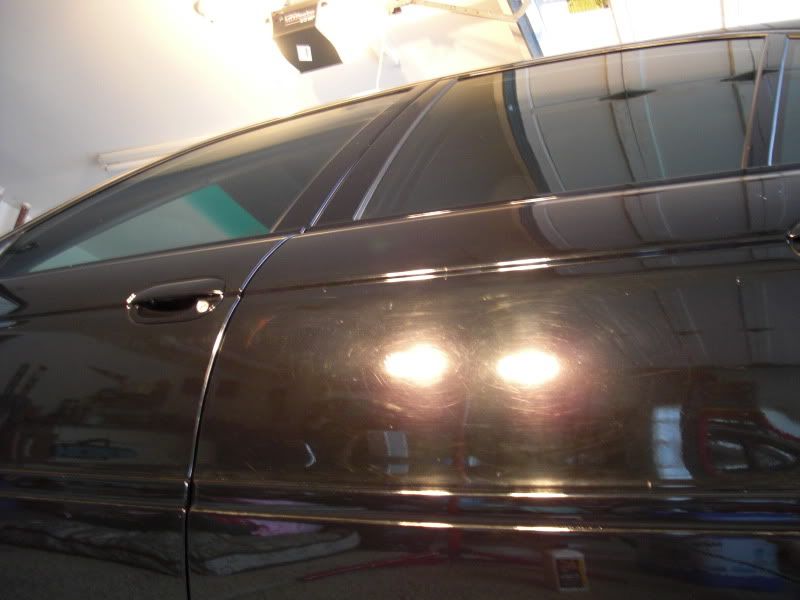
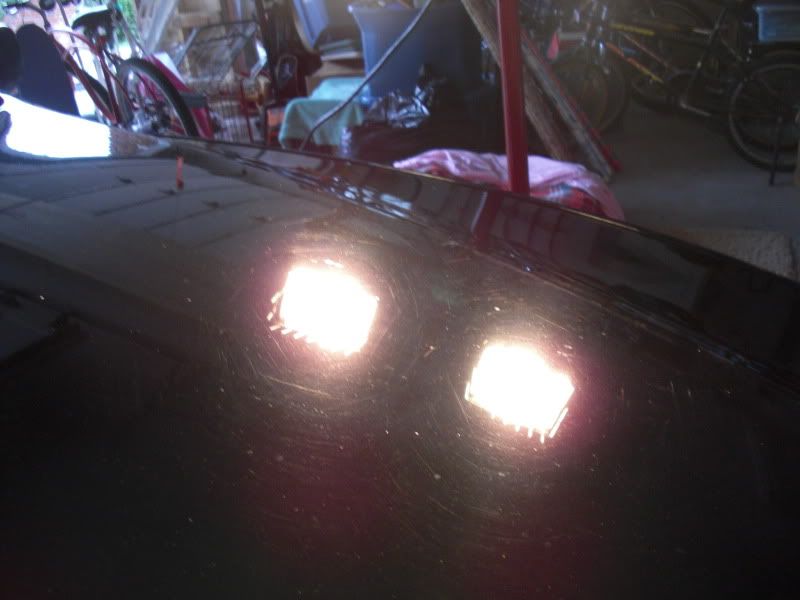
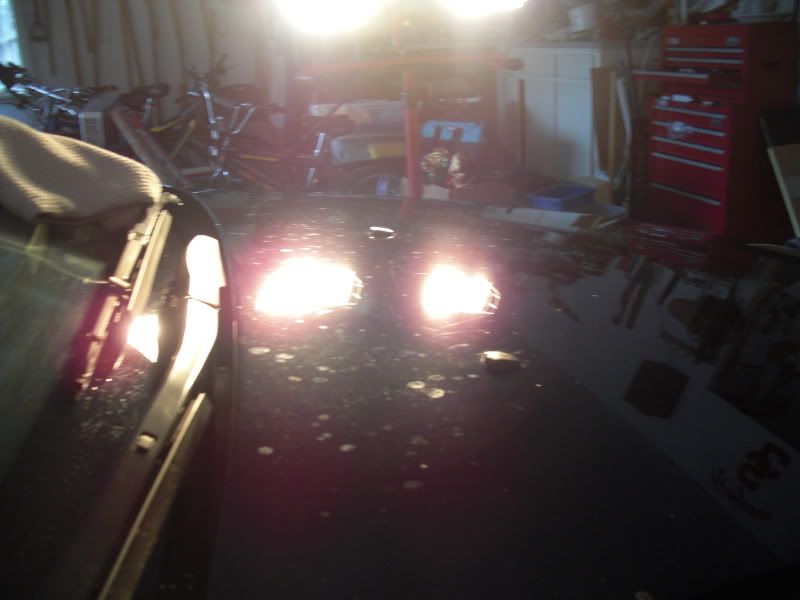
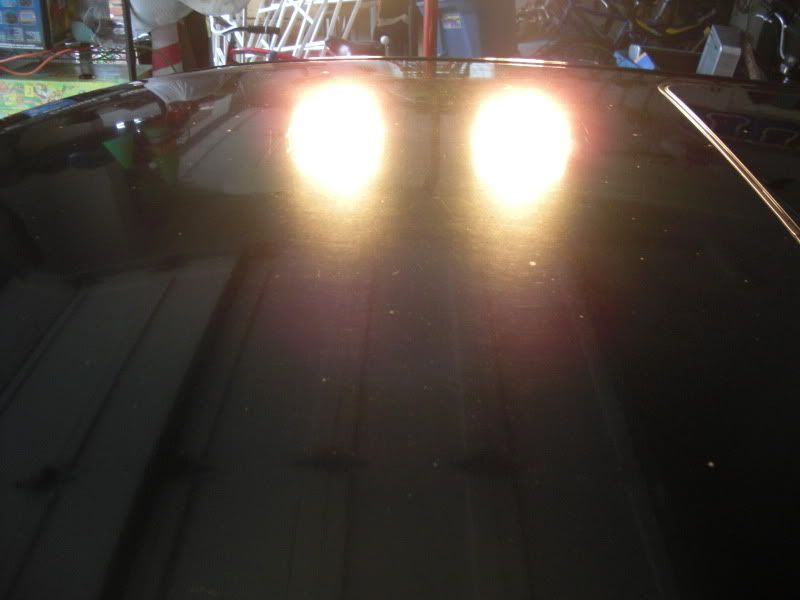
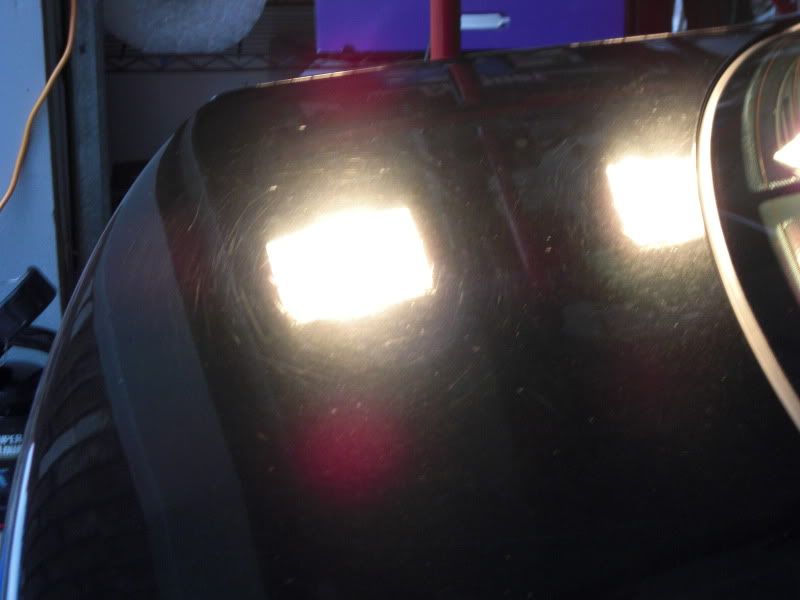
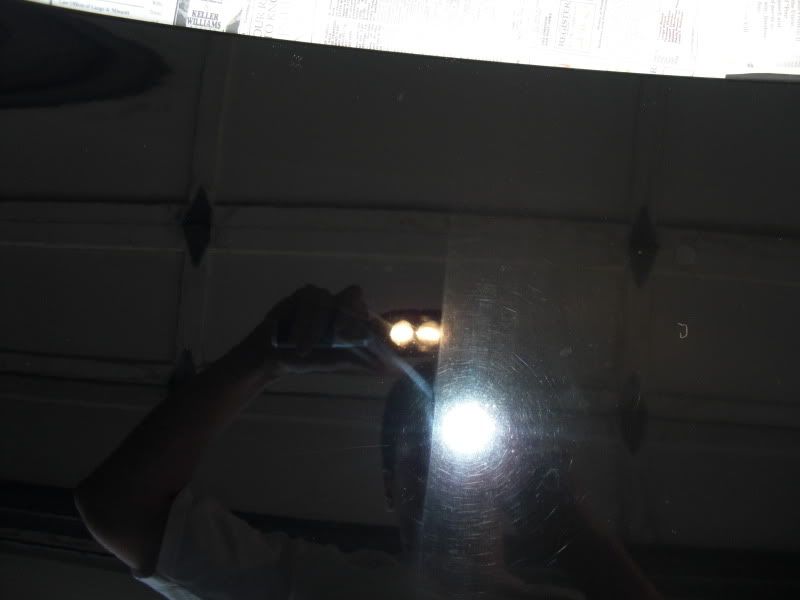
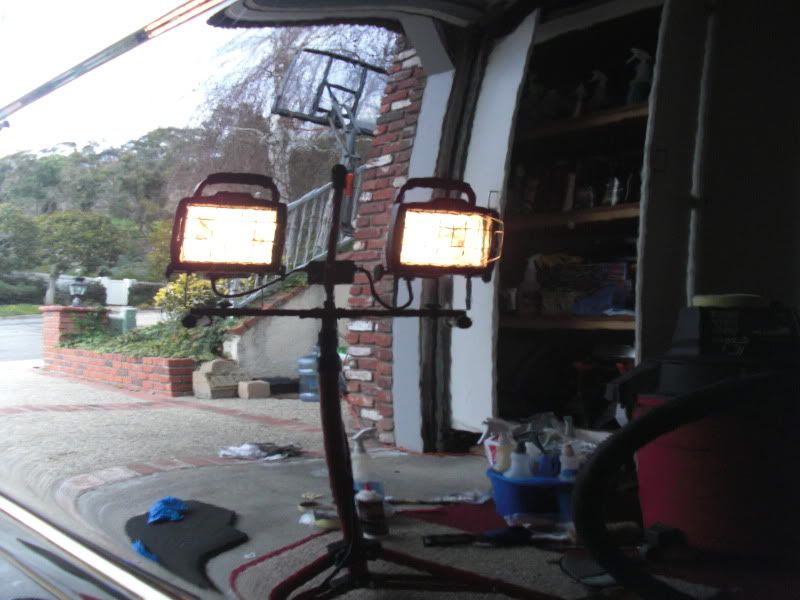
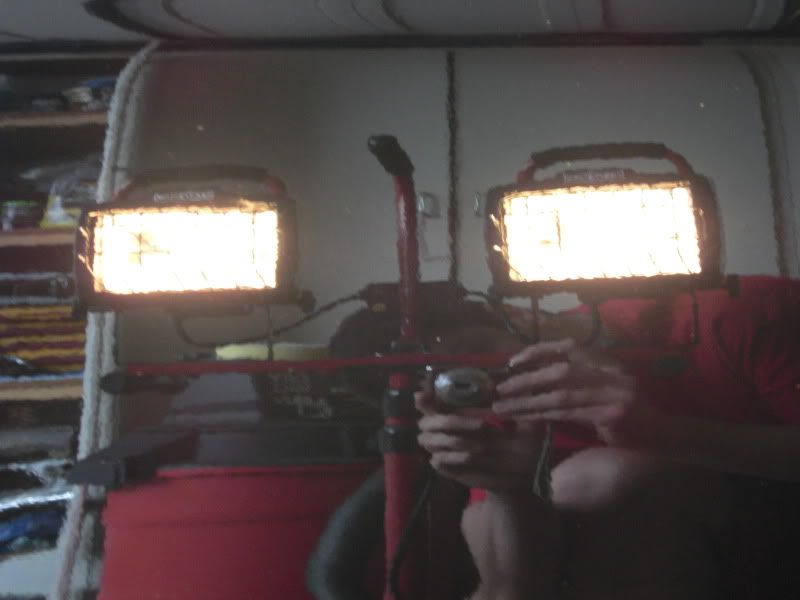
The sun wasn’t out so I could only capture the swirls using artificial lighting:
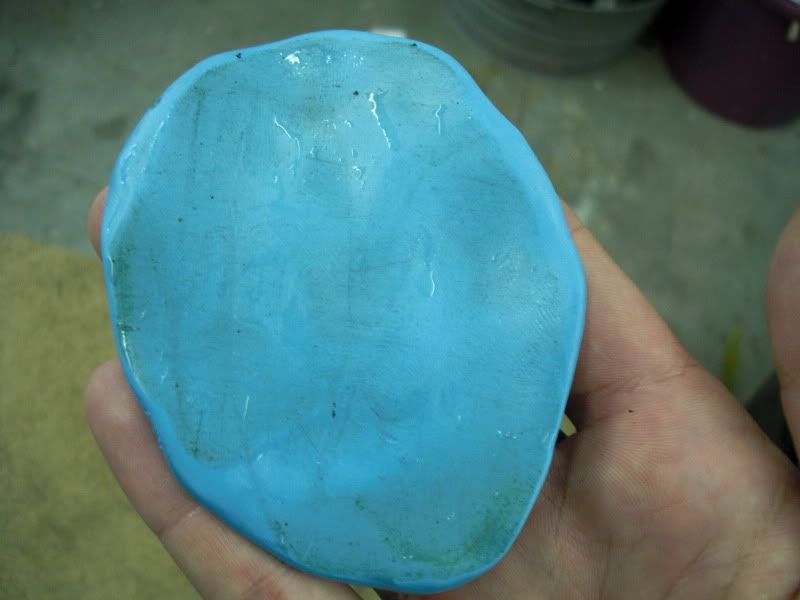
The Clay was Mildly Dirty:
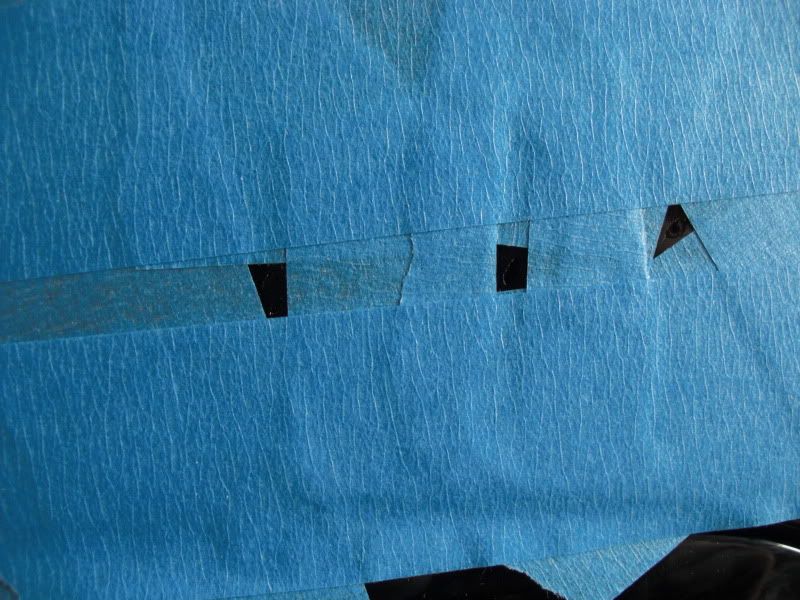
All Taped off and cover – Ready For Compounding!

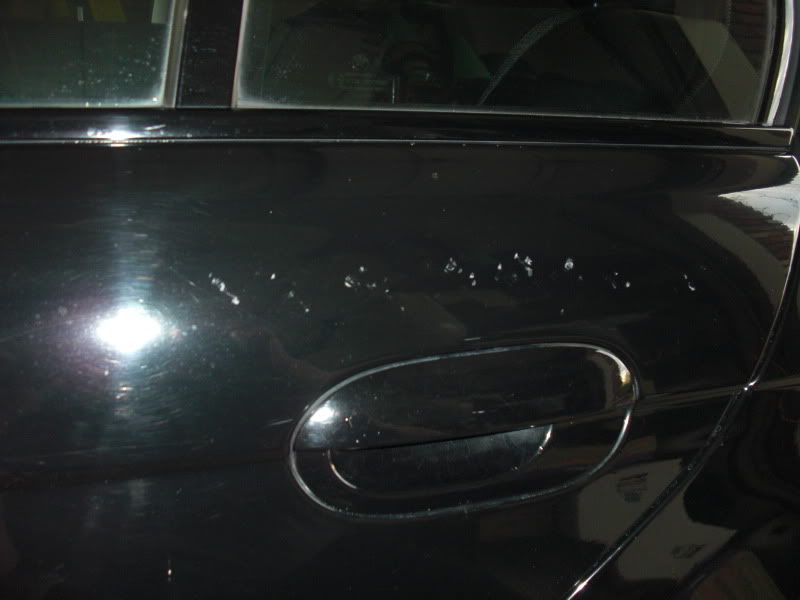
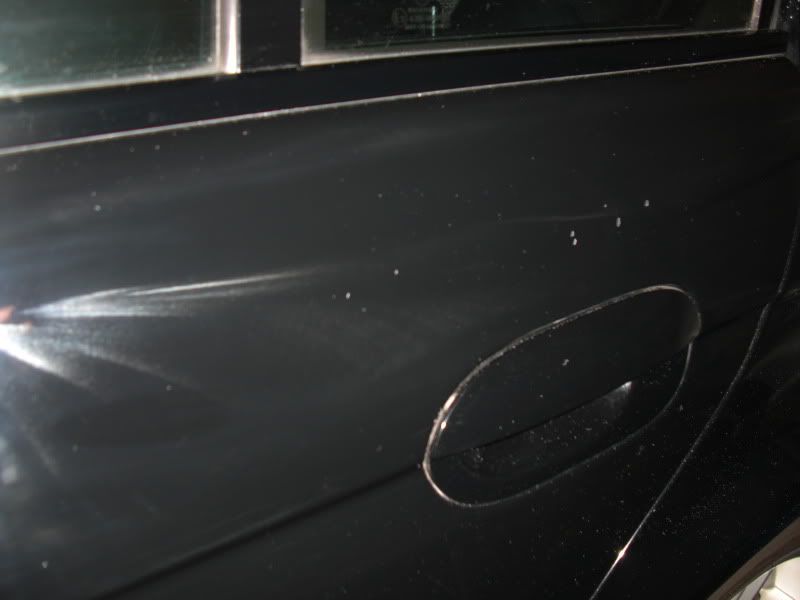
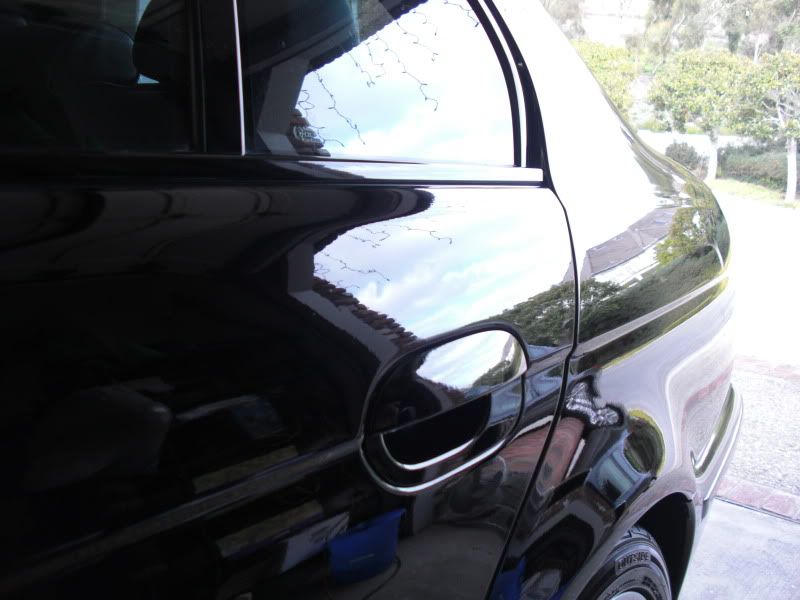
Chip Repairs – (His wife kept opening her door into his in the garage…)
Before M105 and Solo Pad
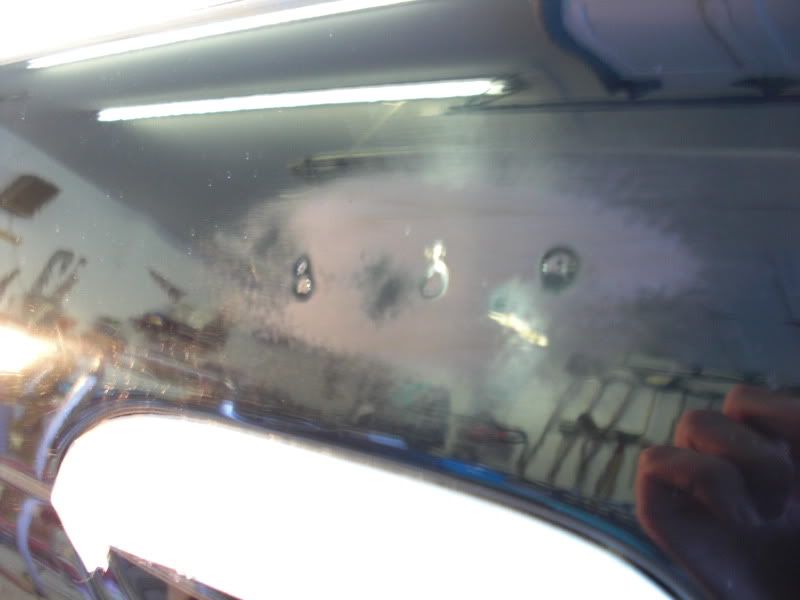
PTG Reading Before
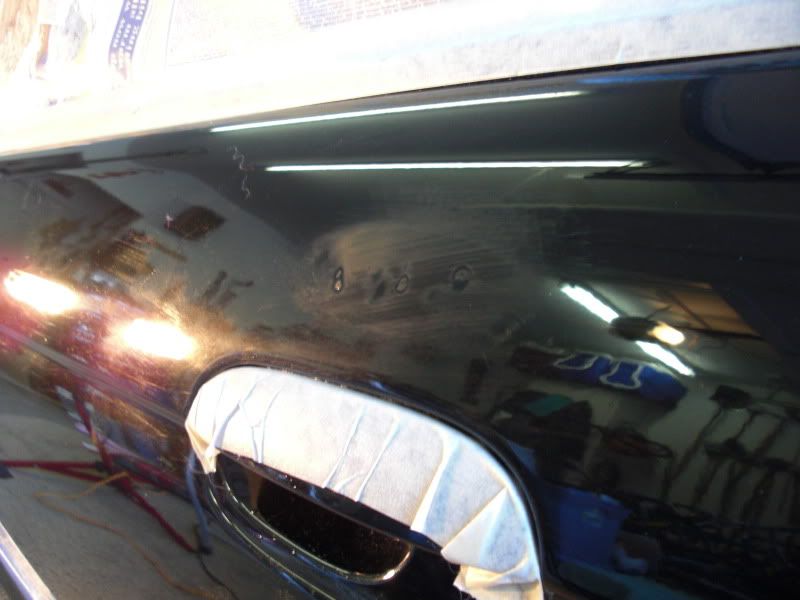
After M105 and Solo Pad
Taped Off with base coat paint
After: ( You can tell very close up, but take a step back from the car and you can’t even see where the chips were)
PTG After
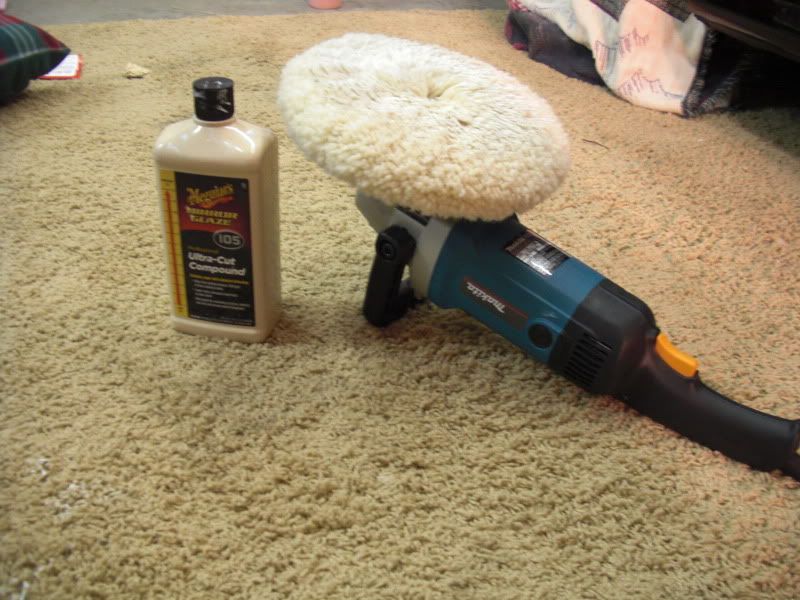
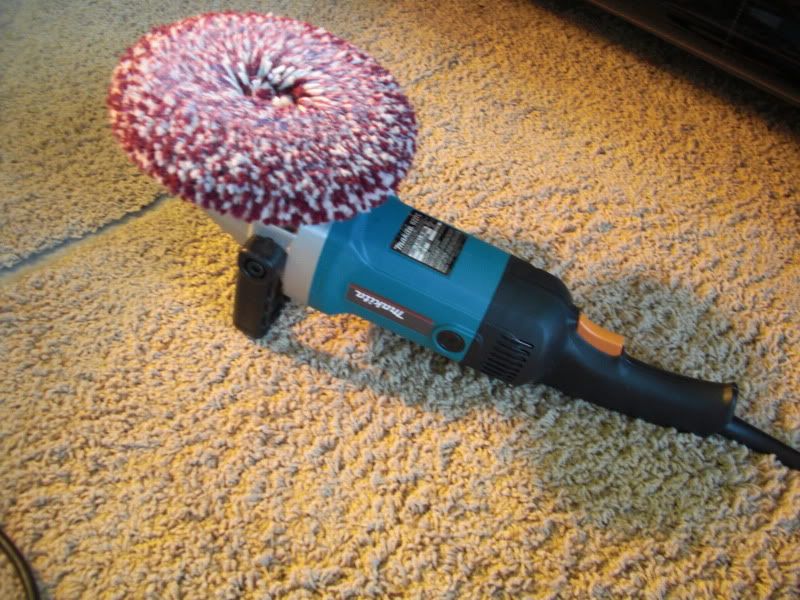
Compounding:

The Weapons:

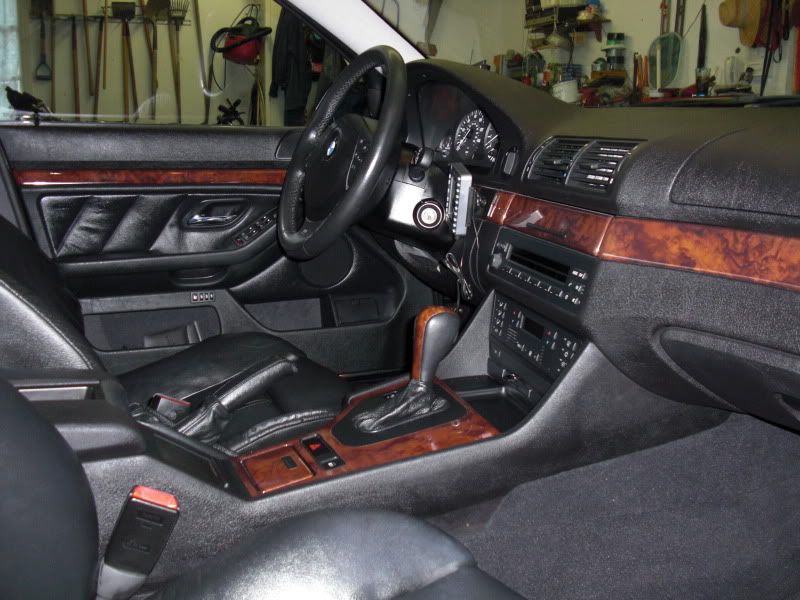
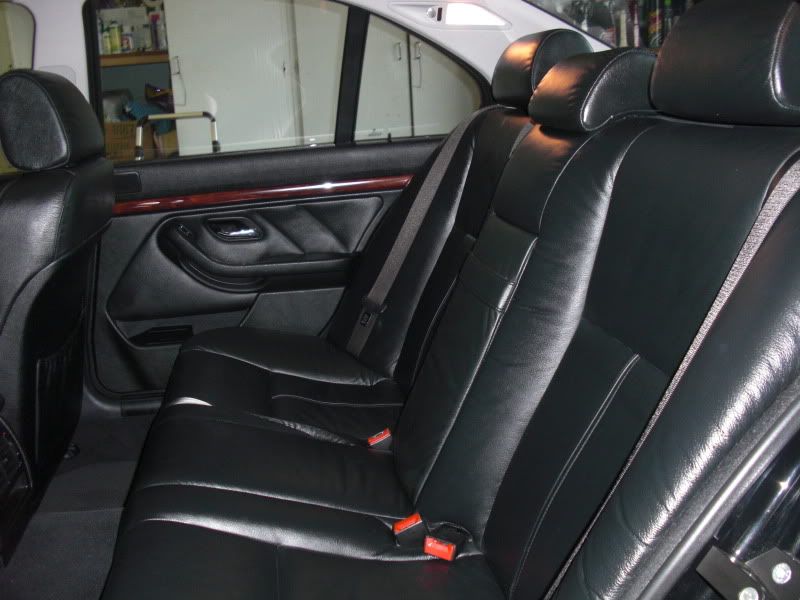
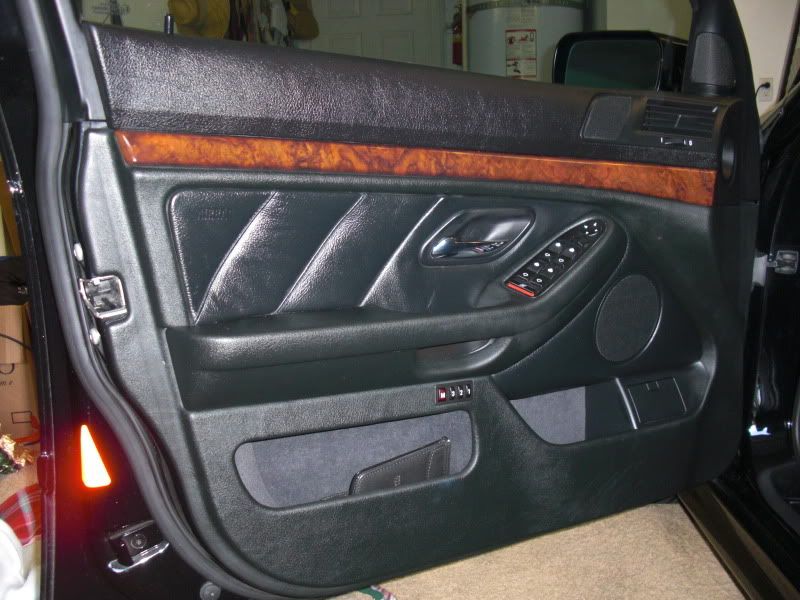
Interior Afters:
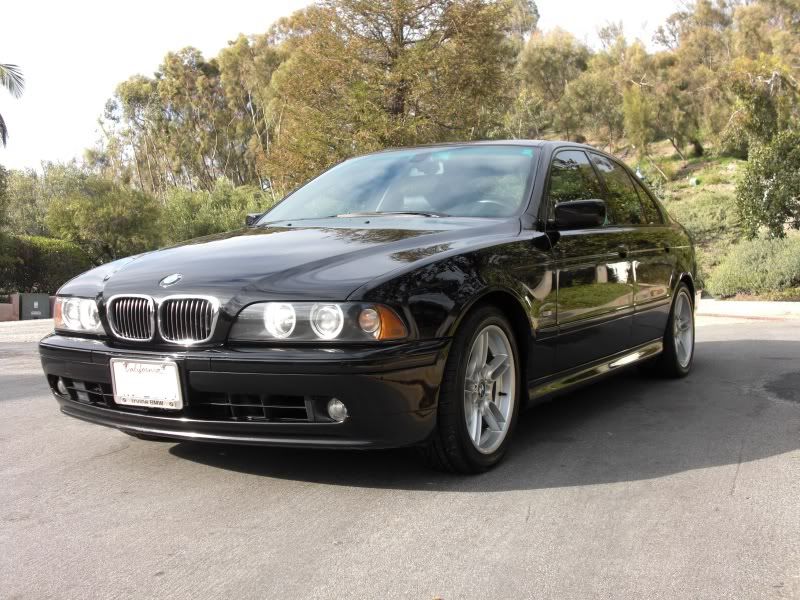
And finally The Exterior After Photos!

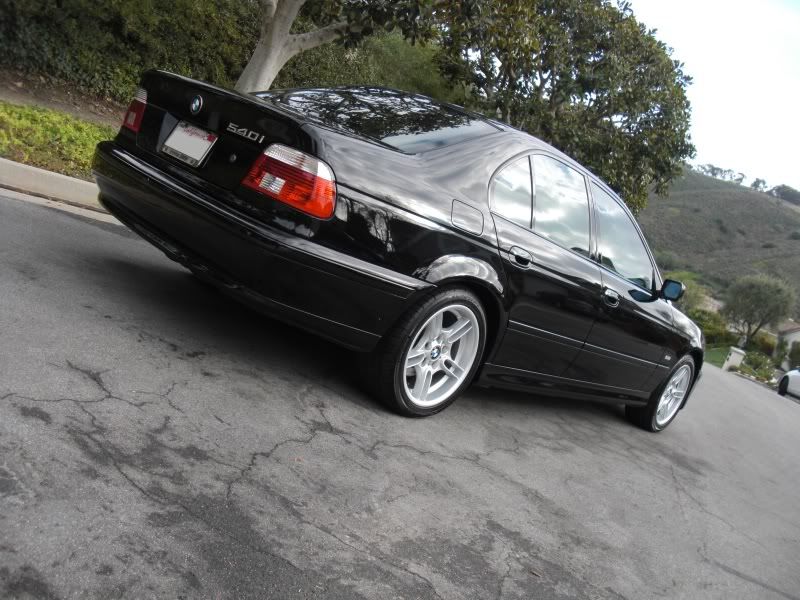
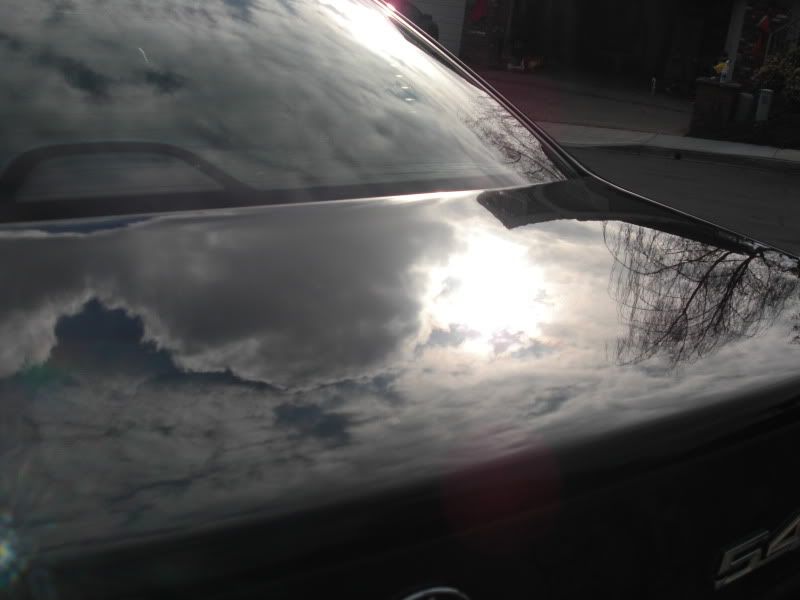
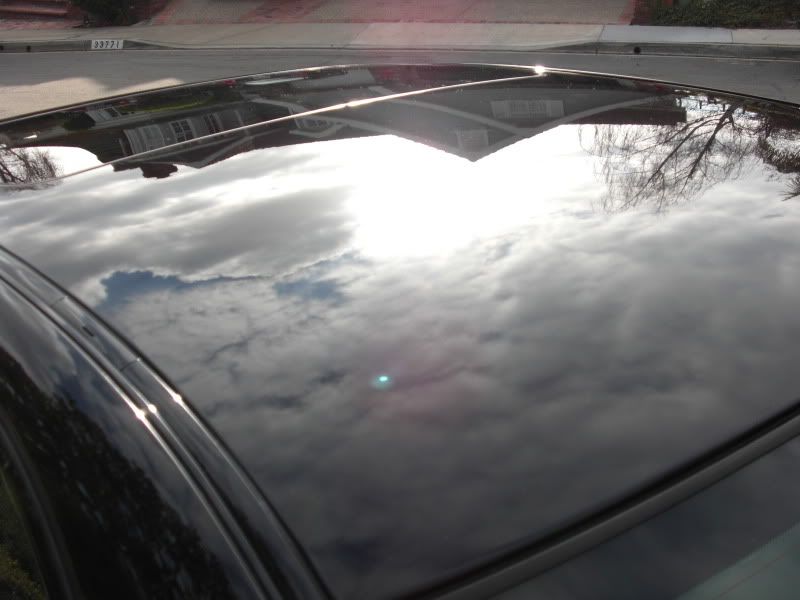
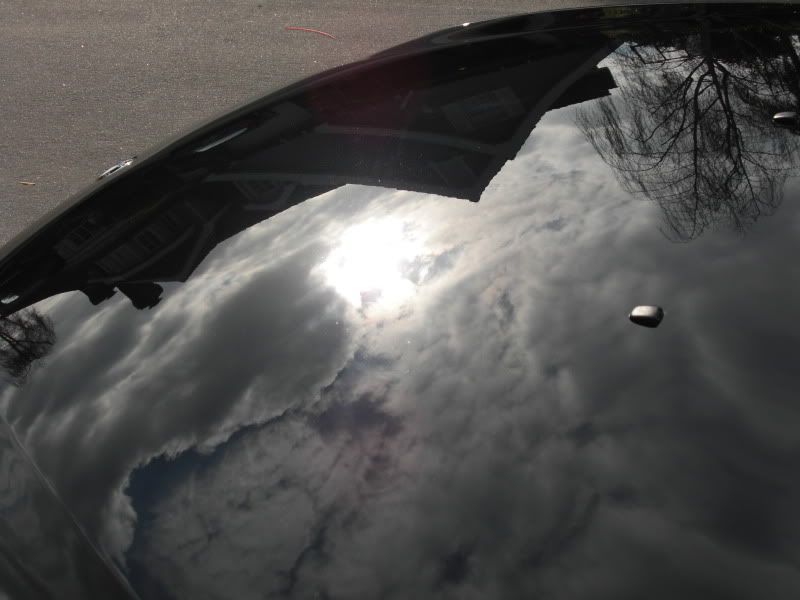
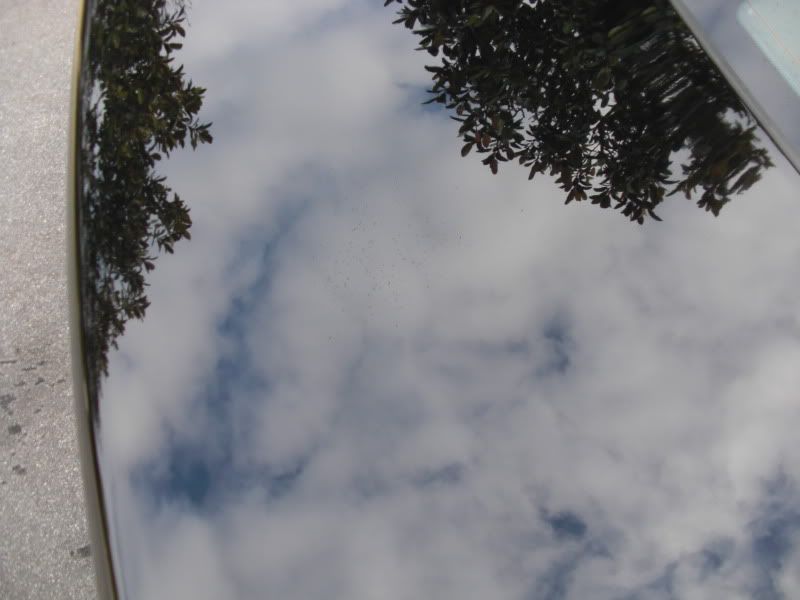
Reflection Shots!
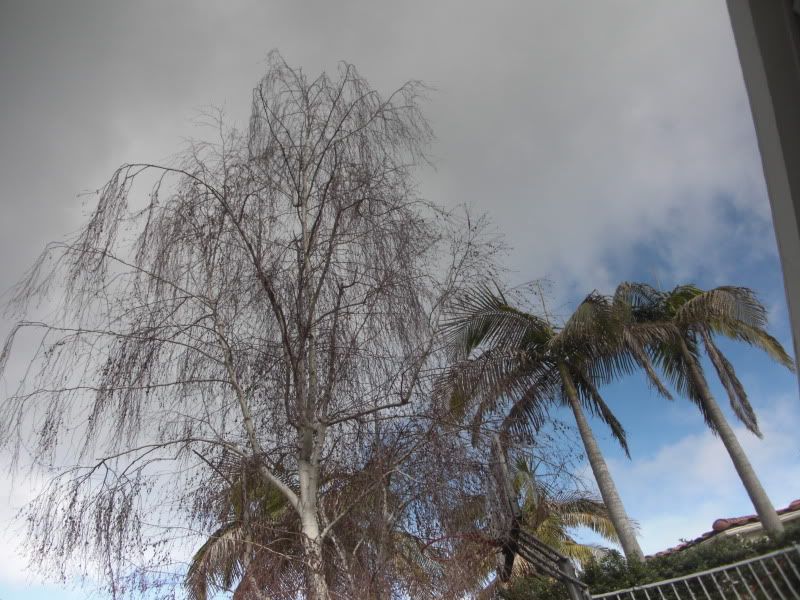
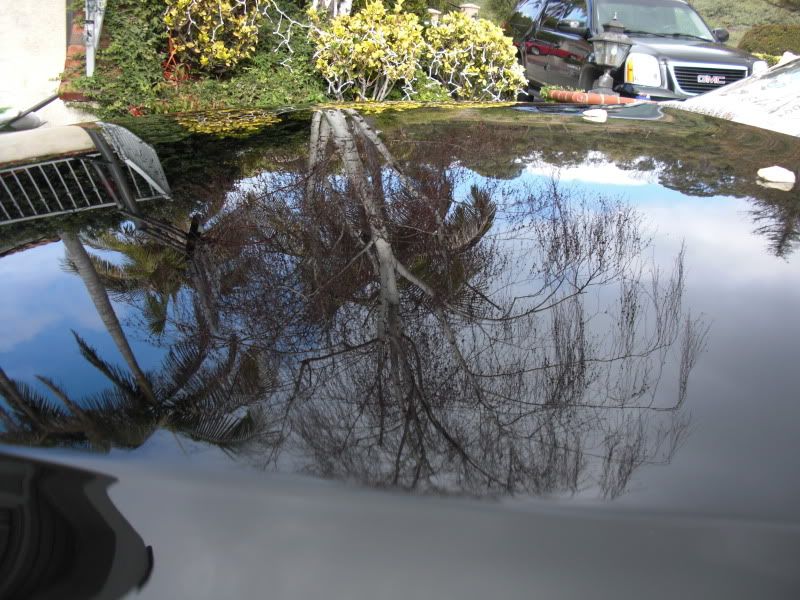

See those specs in the paint. That is a flock of Crows Flying Very High Up above that I was able to capture a picture of in the reflection
Thanks for looking!
Process:
Wash with Hyper Wash and an ounce of ONR
Wheels with Wheel Brightener and various brushes
Tires and wheel wells with APC+ and foaming sprayer
Wheels dressed with Hot Shine Tire Gel
Wheel wells dressed with HD 4:1
Plastics dressed with Gold Class Trim Detailer
Windows, wheels, and plastics taped off with Meguiar’s Masking Tape and covered with newspaper. My reason for this was that I knew how dirty the W5000 pad makes the rest of the car with all of the shedding wool (and not to mention that it was inevitable that I spray compound at some point or another while doing the entire car with a rotary)
Windows cleaned with D Line Window Cleaner
Clay with Mild Blue Clay and Last Touch as Lubricant
M105 on W5000 wool pad via rotary – I tried using the Solo maroon pad, but it wasn’t quite achieving the level of correction I wanted because there were some pretty deep RIDS
Bumpers with M105 on 4” Maroon Cutting Pad via rotary
M205 on polishing pad via DA and 4” polishing pad for bumpers
M20 on finishing pad via DA and 4” finishing pad for bumpers
M26 on finishing pad via DA and 4” finishing pad for bumpers
Interior:
I didn’t get many pictures of the interior as it was not my main focus but here is what I did.
Vacuumed entire interior
2 Applications of D Line Leather Cleaner
Interior Cleaned with Quik Interior Detailer
Interior Dressed with M40
Interior Windows cleaned with D Line Window Cleaner
Door Jambs cleaned with Last Touch
Touch Up Paint Process:
Hit the area with M105 on Solo Maroon Pad to remove any paint transfer. Taped off area and applied base coat. Let dry overnight, then applied Clear Coat. All application was done with a toothpick. I tried to sand the area down with the tape still on, but it wasn’t cutting properly so I ended up sanding the whole touch up paint area. 2500 grit sand paper was used. The PTG showed that about .5 mils of paint were removed. It didn’t come out perfect, but it looked a lot better than it did before.
Before:
Clean Wheels:
The sun wasn’t out so I could only capture the swirls using artificial lighting:
The Clay was Mildly Dirty:
All Taped off and cover – Ready For Compounding!
Chip Repairs – (His wife kept opening her door into his in the garage…)
Before M105 and Solo Pad
PTG Reading Before
After M105 and Solo Pad
Taped Off with base coat paint
After: ( You can tell very close up, but take a step back from the car and you can’t even see where the chips were)
PTG After
Compounding:
The Weapons:
Interior Afters:
And finally The Exterior After Photos!
Reflection Shots!
See those specs in the paint. That is a flock of Crows Flying Very High Up above that I was able to capture a picture of in the reflection
Thanks for looking!


Comment