

 Tweet
Tweet
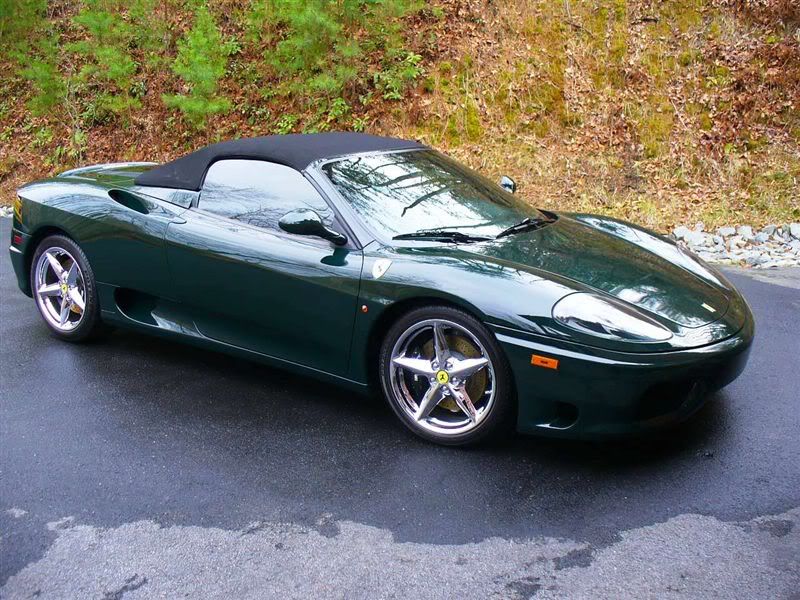
It's pretty cool to work on any Ferrari. Throw in a one-of-four in British racing green and I get nervous. Then top it off with the only one in the four with black interior. That got my stomach flipping!
Yep. You usually see the "F's" in red, yellow, and a few other traditional Ferrari colors but never green. This is the gentleman that owns the ZR-1 and several other rides that I've posted lately. I started by pointing out some damage that had been caused by a rotary during a previous detail. Believe me, he was well aware of it. I could tell this by the way his face turned red! New trim has already been ordered and scheduled for installation. Other than that, it was a typical detail. Tons of swirls caused by the use of a quick detailer and terry towel along with bad wash habits from a Ferrari dealership.
Well off to polishing!
Detail Description:
Exterior with paint correction and protection.
Goal:
To remove defects (from previous detailing), enhance gloss/depth, and protect.
Wash Cycle:
Dawn Wash (2 oz. per 2 gallons of water)...rinse.
Clayed using Meguiar's Last touch 1:1
Whatever LSP it had on it, it was tough. I ended up spraying Meguiar's APC (10:1) on each panel while washing. This finally broke it down. Only a few areas required fulling claying.
Paint Correction Phase 1:
Meguiar's 105 via G110 using Meguiar's Yellow 2.0 Polishing Pad
(Used LC's 5.5 White Polishing in the smaller areas....hint hint Meguiars!)
I had to use 105 by hand with an orange LC hand applicator in the vents. 105 shines when used by hand. Finishes out flawless.
A complete wipedown was done using Meguiar's Detailer Line glass cleaner.
Paint Correction Phase 2:
Meguiar's 205 via G110 using Meguiar's Yellow 2.0 Polishing Pad
(LC's White 5.5 Polishing Pad was also used in confined areas)
A complete wipedown was done using Meguiar's Detailer Line glass cleaner.
Paint Protection:
Lusso Oro Paste Wax
Wheel Protection:
Meguiar's Ultimate Quick Wax
Tire Protection:
Meguiar's Endurance Tire Gel
Time accumulated:
7 hours
This shot is during the initial rinse. You can see the beading from the previous applied LSP....

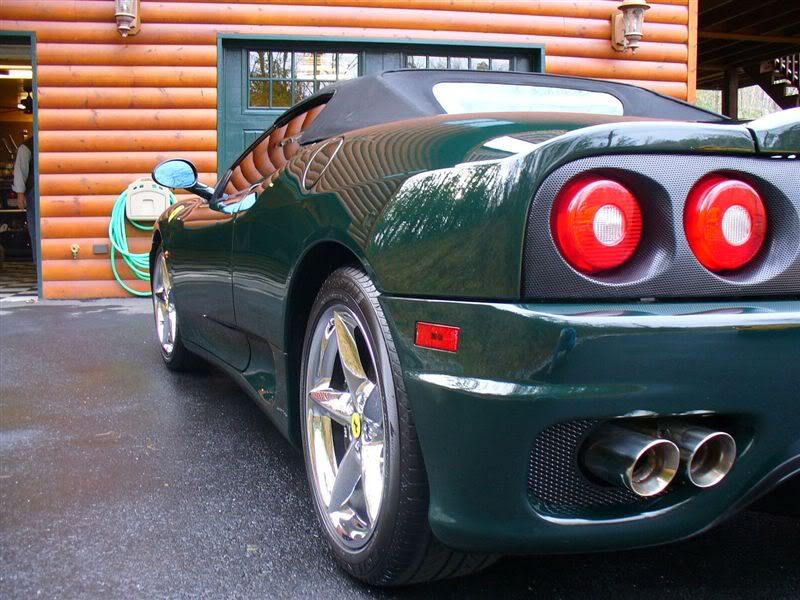
Here you can see the clear bra. There was similar protection everywhere on various panels and lights.

This why you must tape when you using a polisher.......unless you know exactly what you are doing.


With the top down, some of the deeper paint damage showed up. This where the fabric top met the paint. I'm betting that there is a ton of vibrations coming from the engine!


There were a few buffer trails here and there.

Left over compound/wax in crevices.


There was no lack of swirls....


After a few passes of 105. A little marring but a ton better.


Something was very strange. There was a lot more swirls on the driver side than the passenger's. There was no evidence of a repaint. This was confirmed with the customer.


After some time with 105 and a wipe down....

That's my polishing residue. It was later removed.
More before and afters....


The car was re washed and rinsed to remove dust. It was blown dry and waxed.
(Sorry for the lack of pictures. Rain was coming.)


Yep. You usually see the "F's" in red, yellow, and a few other traditional Ferrari colors but never green. This is the gentleman that owns the ZR-1 and several other rides that I've posted lately. I started by pointing out some damage that had been caused by a rotary during a previous detail. Believe me, he was well aware of it. I could tell this by the way his face turned red! New trim has already been ordered and scheduled for installation. Other than that, it was a typical detail. Tons of swirls caused by the use of a quick detailer and terry towel along with bad wash habits from a Ferrari dealership.
Well off to polishing!
Detail Description:
Exterior with paint correction and protection.
Goal:
To remove defects (from previous detailing), enhance gloss/depth, and protect.
Wash Cycle:
Dawn Wash (2 oz. per 2 gallons of water)...rinse.
Clayed using Meguiar's Last touch 1:1
Whatever LSP it had on it, it was tough. I ended up spraying Meguiar's APC (10:1) on each panel while washing. This finally broke it down. Only a few areas required fulling claying.
Paint Correction Phase 1:
Meguiar's 105 via G110 using Meguiar's Yellow 2.0 Polishing Pad
(Used LC's 5.5 White Polishing in the smaller areas....hint hint Meguiars!)
I had to use 105 by hand with an orange LC hand applicator in the vents. 105 shines when used by hand. Finishes out flawless.
A complete wipedown was done using Meguiar's Detailer Line glass cleaner.
Paint Correction Phase 2:
Meguiar's 205 via G110 using Meguiar's Yellow 2.0 Polishing Pad
(LC's White 5.5 Polishing Pad was also used in confined areas)
A complete wipedown was done using Meguiar's Detailer Line glass cleaner.
Paint Protection:
Lusso Oro Paste Wax
Wheel Protection:
Meguiar's Ultimate Quick Wax
Tire Protection:
Meguiar's Endurance Tire Gel
Time accumulated:
7 hours
This shot is during the initial rinse. You can see the beading from the previous applied LSP....
Here you can see the clear bra. There was similar protection everywhere on various panels and lights.
This why you must tape when you using a polisher.......unless you know exactly what you are doing.
With the top down, some of the deeper paint damage showed up. This where the fabric top met the paint. I'm betting that there is a ton of vibrations coming from the engine!
There were a few buffer trails here and there.
Left over compound/wax in crevices.
There was no lack of swirls....
After a few passes of 105. A little marring but a ton better.
Something was very strange. There was a lot more swirls on the driver side than the passenger's. There was no evidence of a repaint. This was confirmed with the customer.
After some time with 105 and a wipe down....
That's my polishing residue. It was later removed.
More before and afters....
The car was re washed and rinsed to remove dust. It was blown dry and waxed.
(Sorry for the lack of pictures. Rain was coming.)


Comment