Another great day of introducing people to wet sanding and rotary polishing techniques. Following the classroom portion of the day it was time to get into the garage and put practical knowledge to use.
Here we start with some basic wet sanding by hand.

Hand sanding on the panel edge, being careful not to go over the edge due to the thinness of the paint on the edge. Remember this rule of thumb: don't sand where you can't buff!

This panel posed an interesting dilemma: you can see that where we sanded there are two dull sections with a shiny area in the middle. That's because of the body line here, and sanding along it is both dangerous (you're sanding on the high spot) and it leaves a very non-uniform finish (the shiny area that the sandpaper didn't touch).

Coming back at the contour with short strokes, but using the exact same piece of sandpaper and backing pad, yields a much different result..........

Look closely and you'll see a uniformly sanded area next to the problem area. A little change up in technique is all it took to get the desired results.

On a different panel, a quick example of light sanding (2500 grit here) and how it only starts cutting on the tops of the orange peel texture.

Looking closely at the sanded area, you can see shiny spots (a mottled appearance) that indicates our sanding media has only touched the tops of the texture, leaving shiny areas in the low points of that texture.

Continued sanding will level the paint.

A quick cross cutting motion with the sand paper (whether a finer grit or the same grit as previously used, if that previous cut was with a very fine grit).

Flattened texture, but still some gloss due to fine grit of the final sanding process.

DA sanding back on the hood. We started with 1500 grit and finished with 3000 grit.


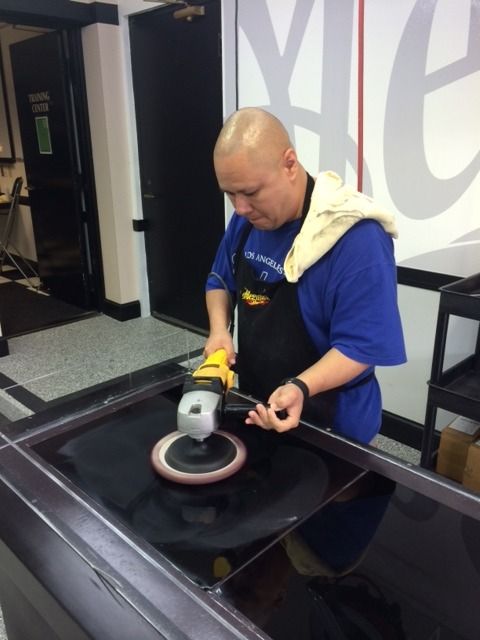
Rotary compounding comes next, but make sure your pad is clean before you start!

Picking up the bead of M105.

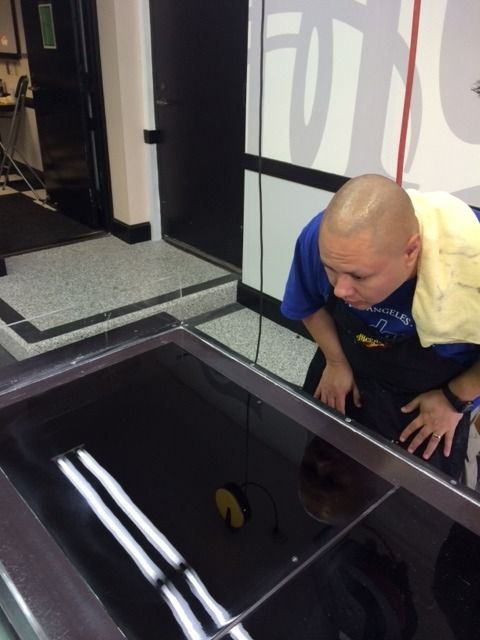
Compounded area, showing gloss once again after removal of sanding marks.

Working the wool pad into the tighter contour on the side of the hood.

After the demos it was time for the students to try their hand (no pun intended) at all of these processes. Here, the hand is flat on the backing pad, the pad is angled and the strokes are short and tightly spaced. Beautiful!!

Look at Huan, on the right, using his fingers as a guide to keep him from sanding off the edge of the panel.

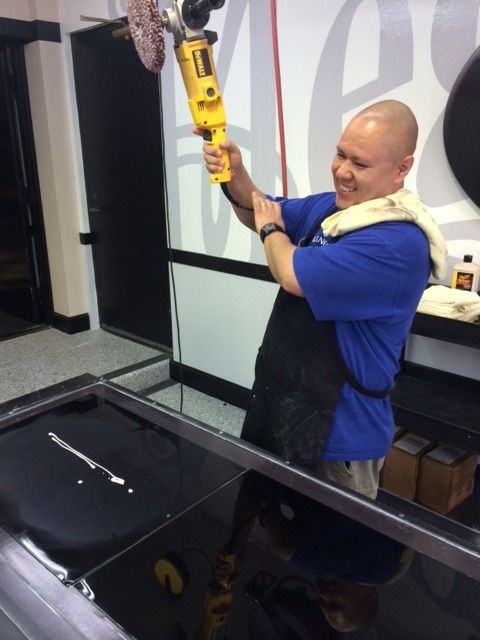
Kevin getting to grips with the rotary.

Here we start with some basic wet sanding by hand.
Hand sanding on the panel edge, being careful not to go over the edge due to the thinness of the paint on the edge. Remember this rule of thumb: don't sand where you can't buff!
This panel posed an interesting dilemma: you can see that where we sanded there are two dull sections with a shiny area in the middle. That's because of the body line here, and sanding along it is both dangerous (you're sanding on the high spot) and it leaves a very non-uniform finish (the shiny area that the sandpaper didn't touch).
Coming back at the contour with short strokes, but using the exact same piece of sandpaper and backing pad, yields a much different result..........
Look closely and you'll see a uniformly sanded area next to the problem area. A little change up in technique is all it took to get the desired results.
On a different panel, a quick example of light sanding (2500 grit here) and how it only starts cutting on the tops of the orange peel texture.
Looking closely at the sanded area, you can see shiny spots (a mottled appearance) that indicates our sanding media has only touched the tops of the texture, leaving shiny areas in the low points of that texture.
Continued sanding will level the paint.
A quick cross cutting motion with the sand paper (whether a finer grit or the same grit as previously used, if that previous cut was with a very fine grit).
Flattened texture, but still some gloss due to fine grit of the final sanding process.
DA sanding back on the hood. We started with 1500 grit and finished with 3000 grit.
Rotary compounding comes next, but make sure your pad is clean before you start!
Picking up the bead of M105.
Compounded area, showing gloss once again after removal of sanding marks.
Working the wool pad into the tighter contour on the side of the hood.
After the demos it was time for the students to try their hand (no pun intended) at all of these processes. Here, the hand is flat on the backing pad, the pad is angled and the strokes are short and tightly spaced. Beautiful!!
Look at Huan, on the right, using his fingers as a guide to keep him from sanding off the edge of the panel.
Kevin getting to grips with the rotary.


Comment