

 Tweet
Tweet
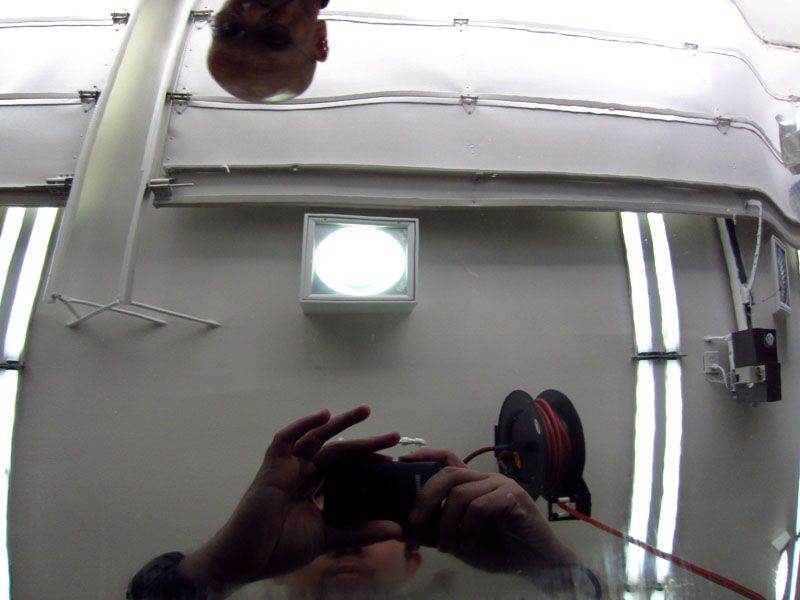
Advanced Classes are great fun, and the group we had over the weekend was just awesome - great enthusiasm, open minded and fast learning to boot!
Following the classroom portion of the day we went out to the training garage for some hands on work. First, a demonstration of hand sanding. Here we're wrapping a sheet of 1500 grit Unigrit Sandpaper around the backing pad.

This is true wet sanding - the abrasive media had been soaking in a bucket of water overnight, and we used plenty of water on the area to be sanded. It is critically important to keep the abrasive media clean in order to avoid deep scratches, called tracers, from forming.

Keep your hand flat on the backing pad to avoid pressure points that will cut deeper into the paint.

We also did some DA sanding, which is a damp sanding process instead of true wet sanding. By that we mean that the abrasive discs do not need to be soaked in water and you only need a few sprays of water on the area you're sanding. DA sanding is actually less aggressive than hand sanding, all else being equal.

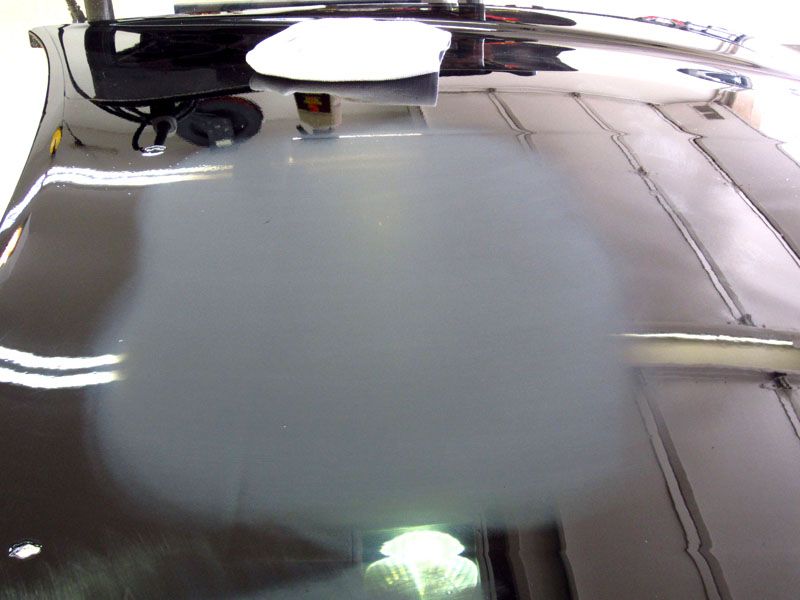
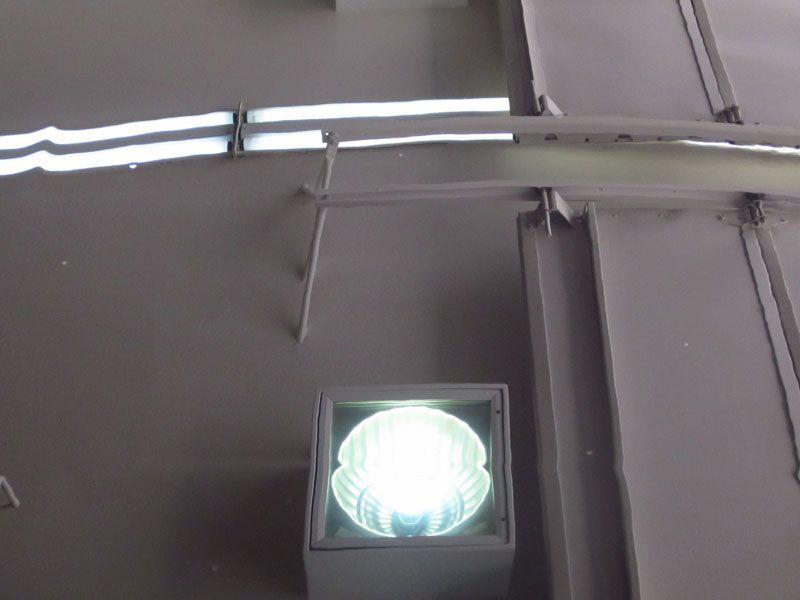
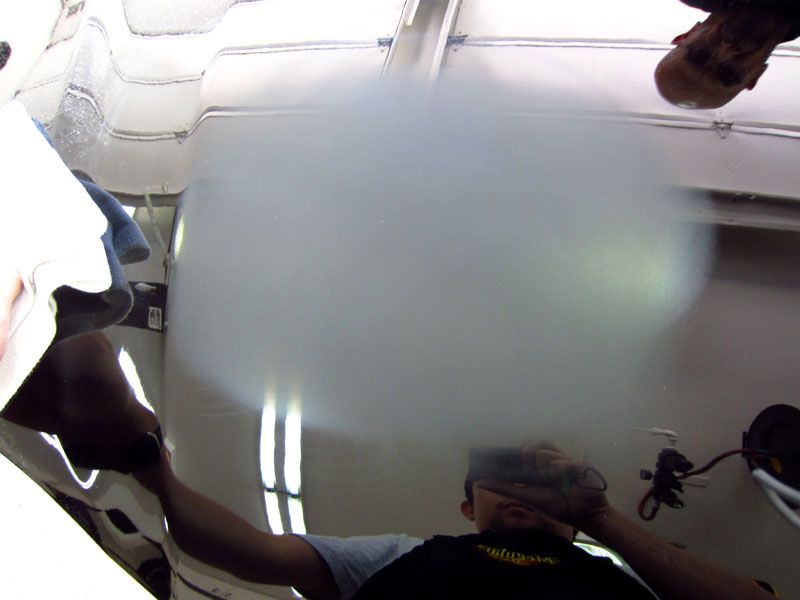
The white foam is actually the clear coat being abraded away.

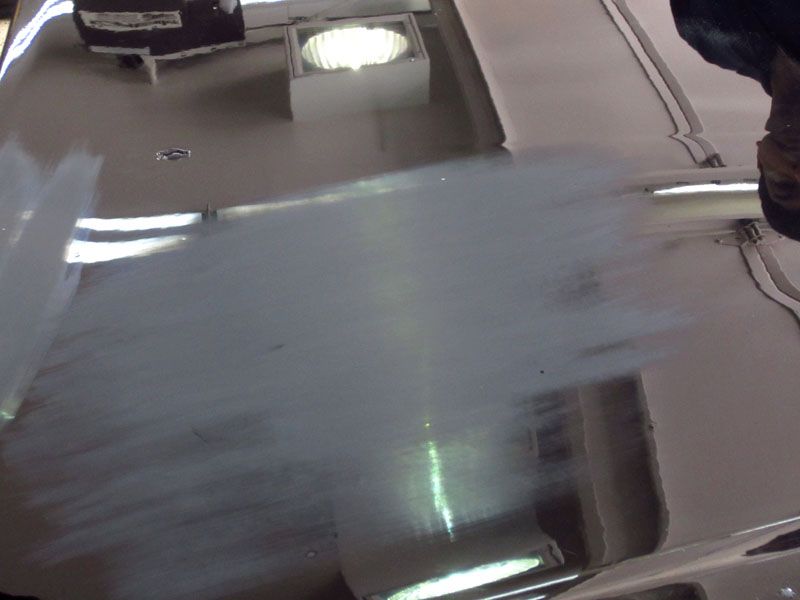
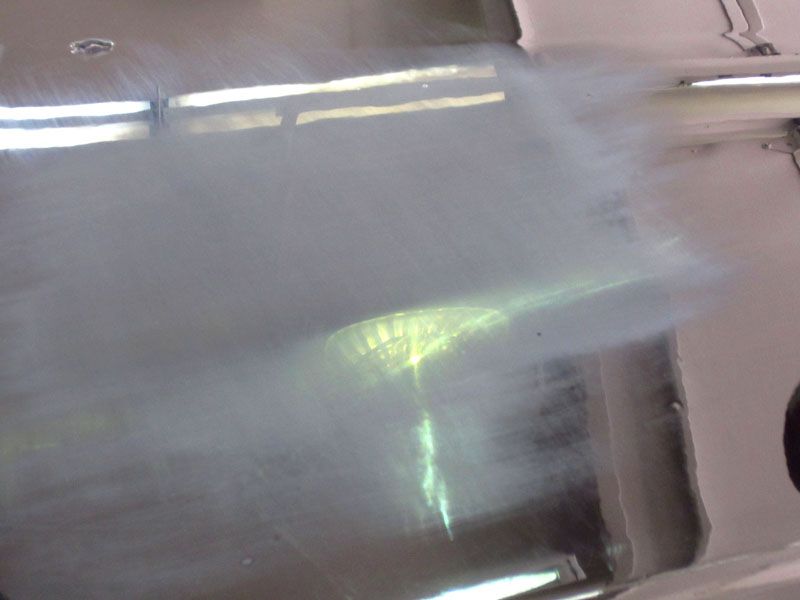
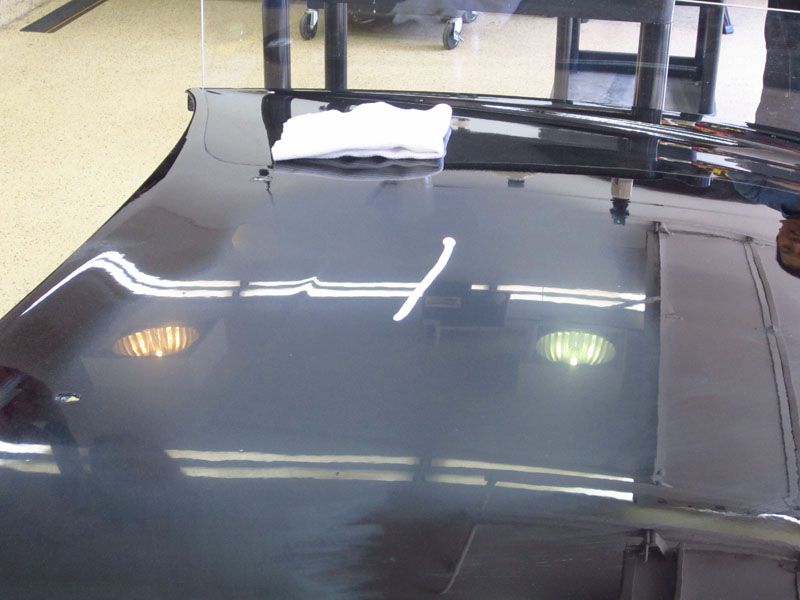
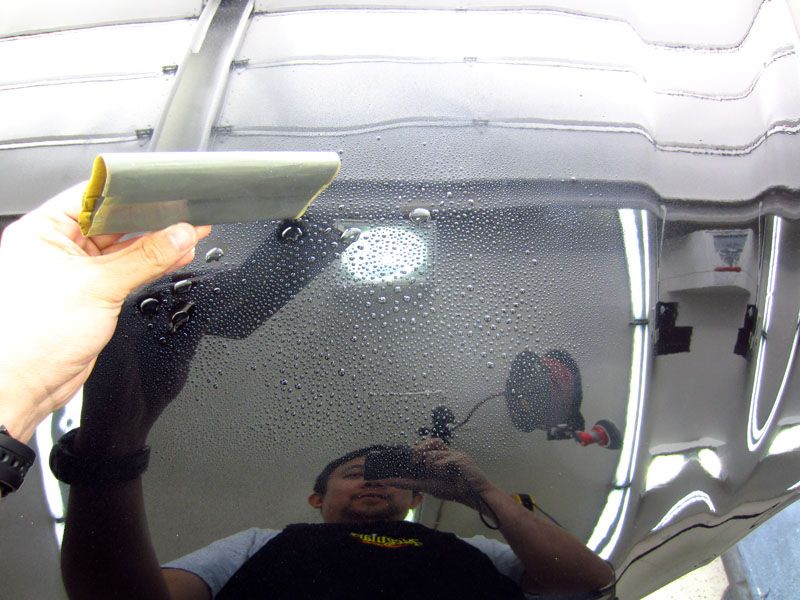
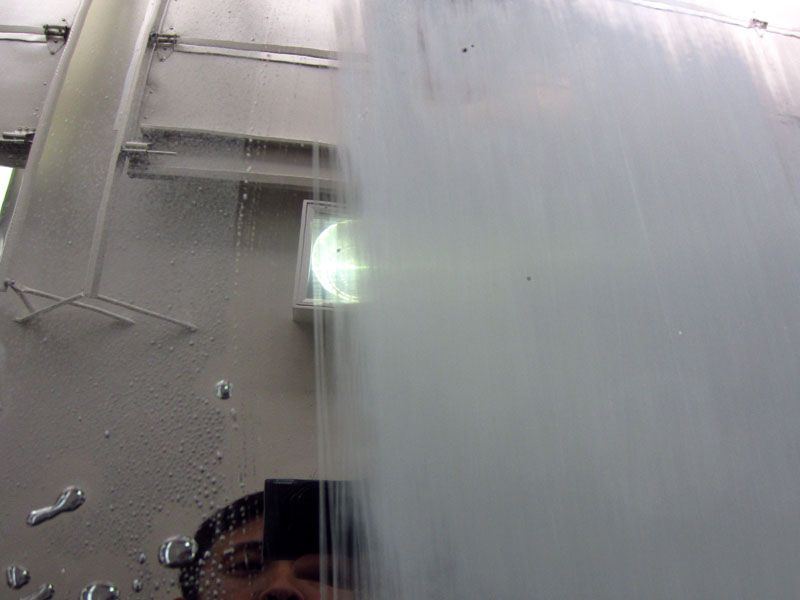
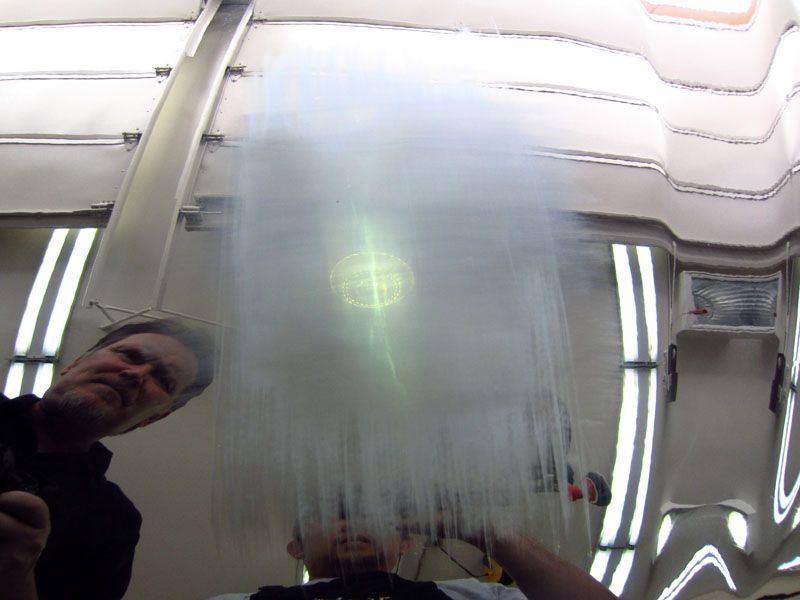
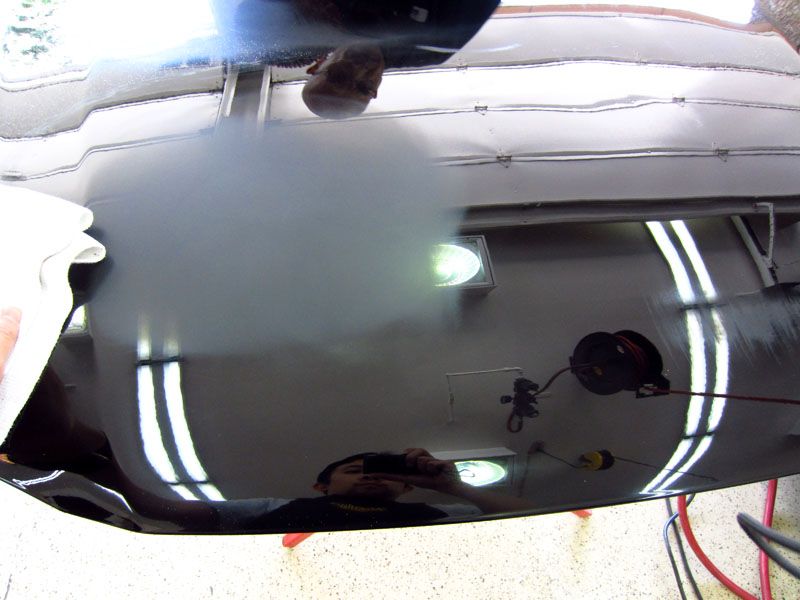
We DA sanded with 1500 grit and 3000 grit. In the area below you see the reflection of the student getting cut off. This is because we sanded an area with 1500 grit and then just half of that area with 3000 grit. You can see that after proper 1500 grit sanding there is no reflection at all, but the area that was refined with 3000 grit has noticeable gloss. Imagine how much easier it is to then buff out the 3000 grit sanding marks than the 1500 grit.

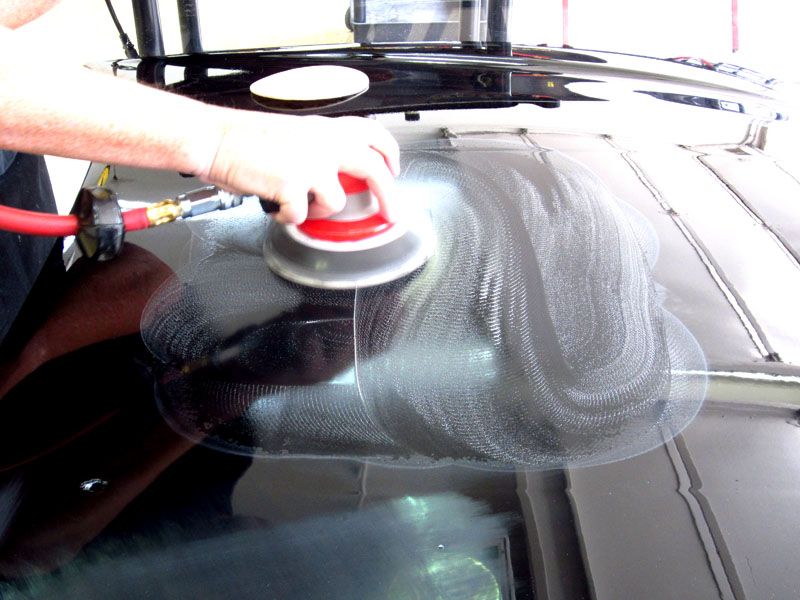
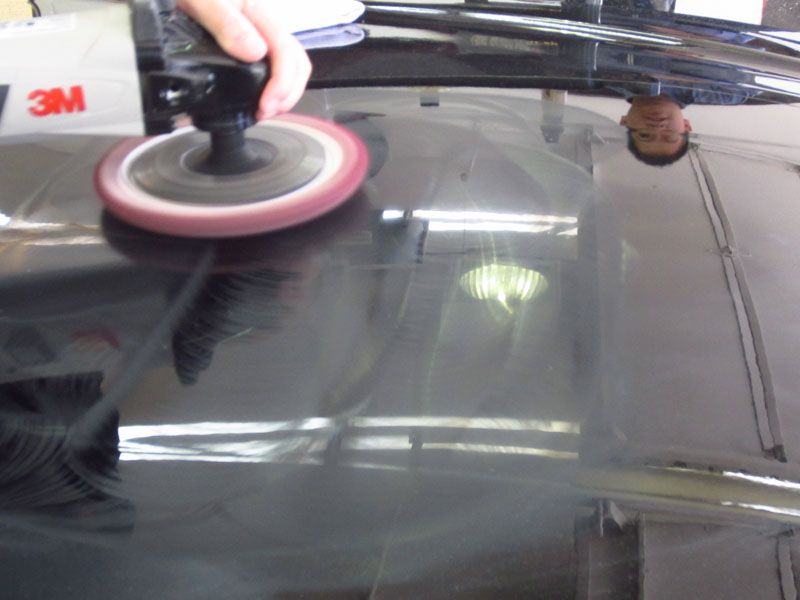
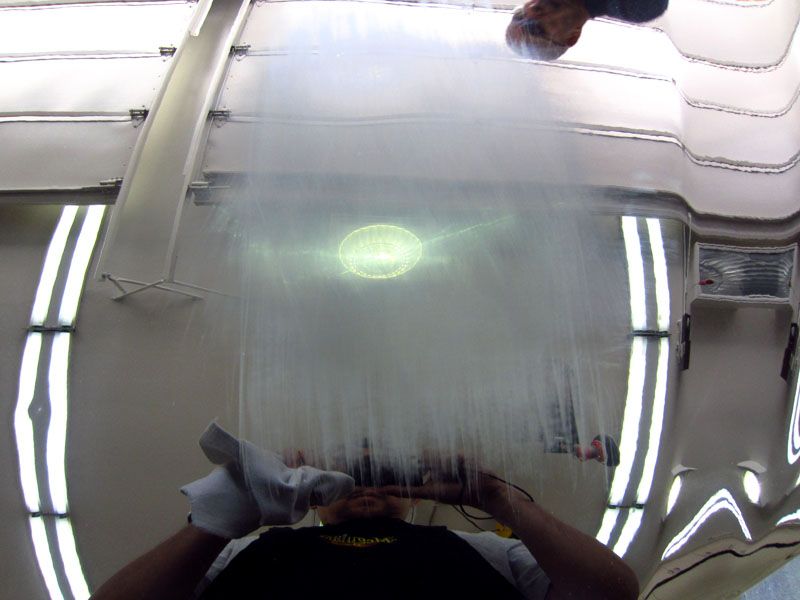
Laying down a bead of M105 to be picked up by the wool pad on the rotary buffer. Again, from this angle you can see the difference in gloss between the 1500 grit only section (the right side end of the product bead) versus the more refined 3000 grit side (the area directly under the bottle).

About to pick up the bead - with a slight tilt of the pad the bead is picked up and pulled under the pad to eliminate (or at least greatly reduce) sling.

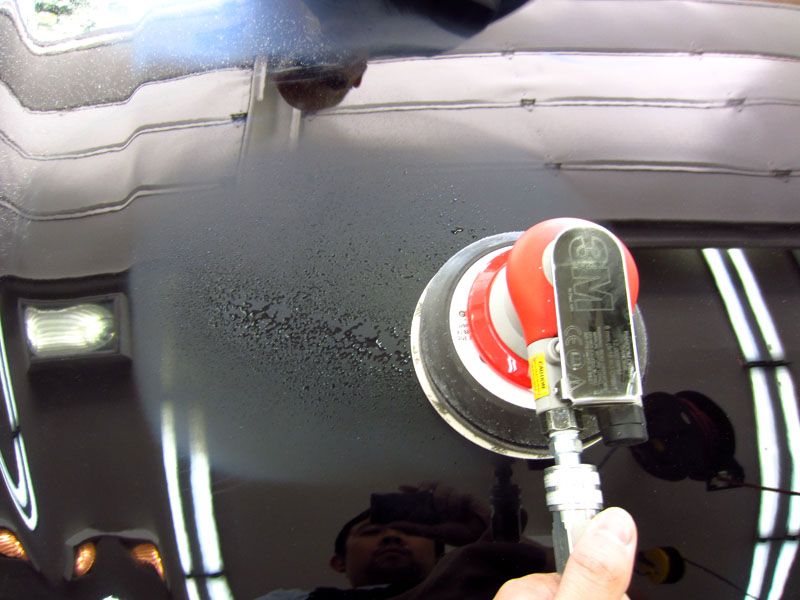
We also showed the foam cutting pad. While not as aggressive as the most aggressive wool pads, the foam cutting can generate a lot of heat in a very short period of time.

This image shows what NOT to do on a panel edge. The pad is spinning in a clockwise motion and the way it's being held against the panel here it is riding up on the edge. This makes it very difficult to control the tool but more importantly it risks damage to the paint. Remember, the paint on a panel edge is very thin, and aggressive buffing will burn through in a matter of seconds. This process will do just that - burn the paint right off the edge. Proper technique here would be to tip the pad so that the side you see here is lifted slightly off the paint. The pad is then just dropping off the panel on the other side, which is the safe way to go.

A quick break for lunch and it was time for the students to get to work.

A nicely hand sanded section, done with 1500 grit. This would be followed with 2500 grit to refine the finish.

True wet sanding - plenty of water to lubricate the surface.

1500 grit sanding marks up close. Notice the small dirt nib that has yet to be completely leveled. To address just this small nib we would use either our Unigrit Sanding Blocks or a 3" sanding disc on a mini DA air tool.

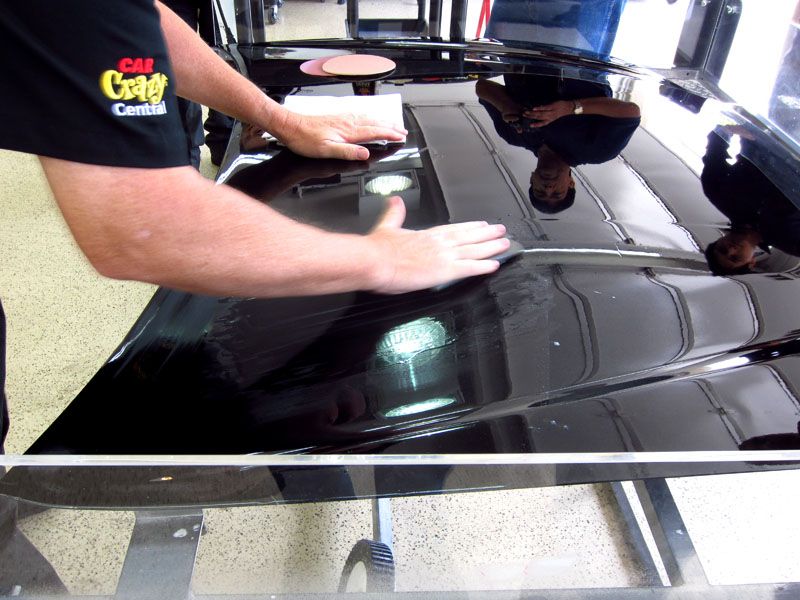
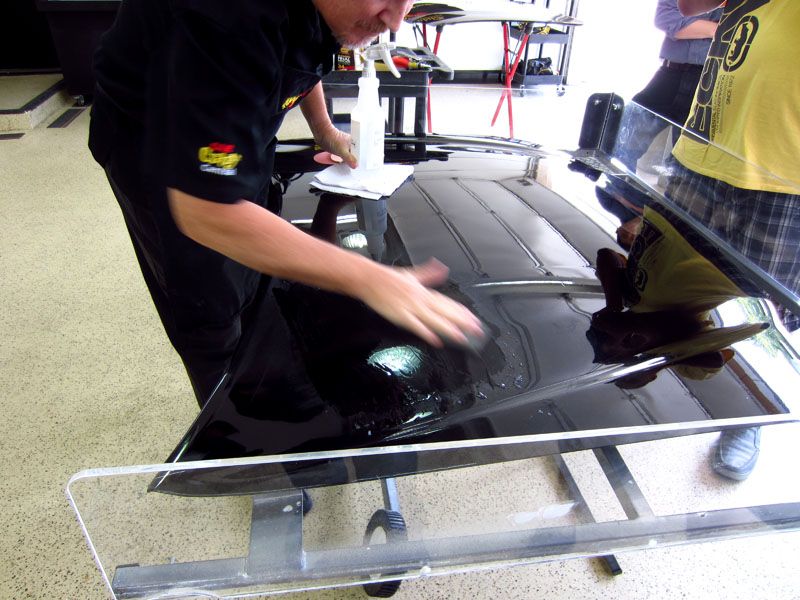
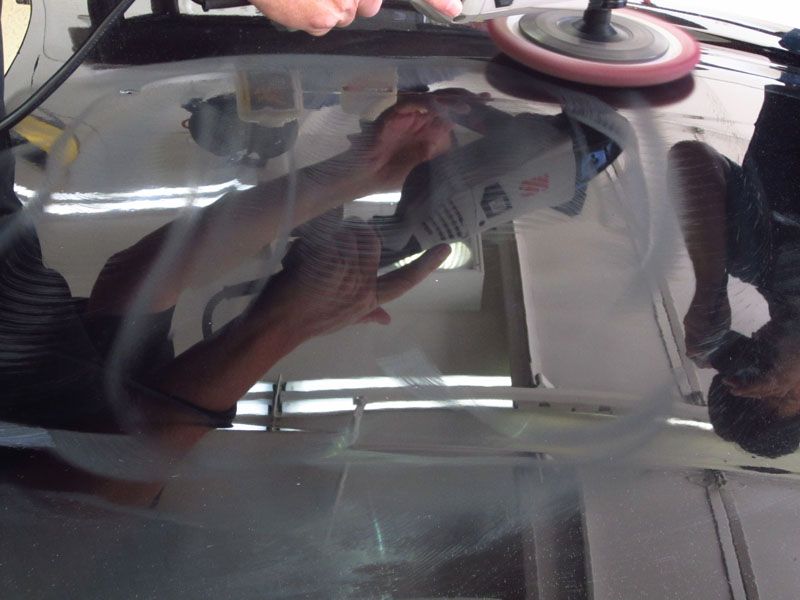
When rotary buffing, keep the pad as flat as possible with maybe just an easing up of one edge to keep the pad from wanting to skip. The panel being buffed here has a slight curve to it so the pad can't be totally flat, but the centerline of the pad is in contact with the panel, which is what you want.


Using the foam interface pad on the DA sander along with foam finishing discs affords a lot of leeway when it comes to sanding over some body contours.

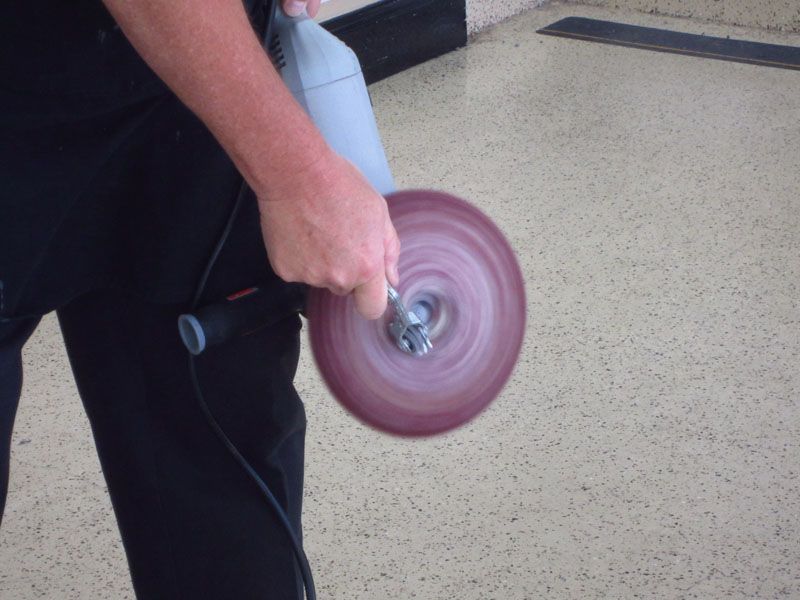
Using the pad washer to clean a wool pad prior to compounding.

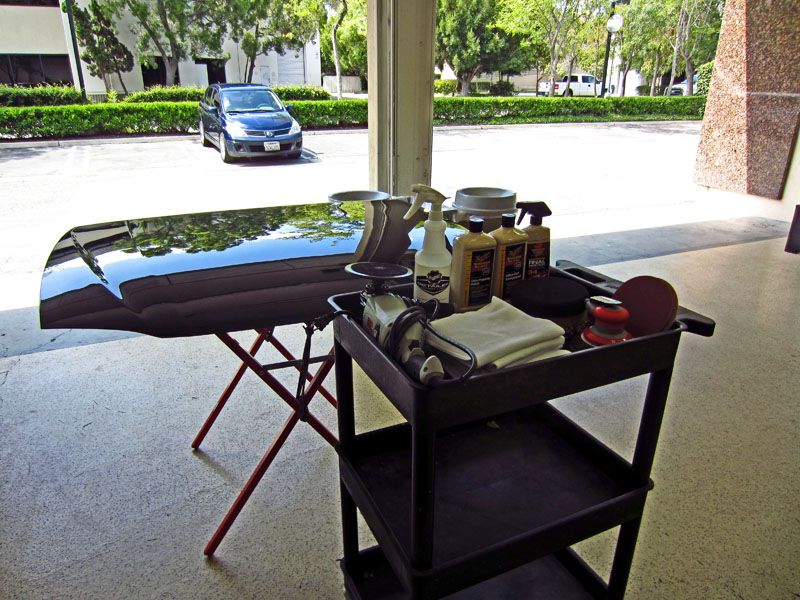
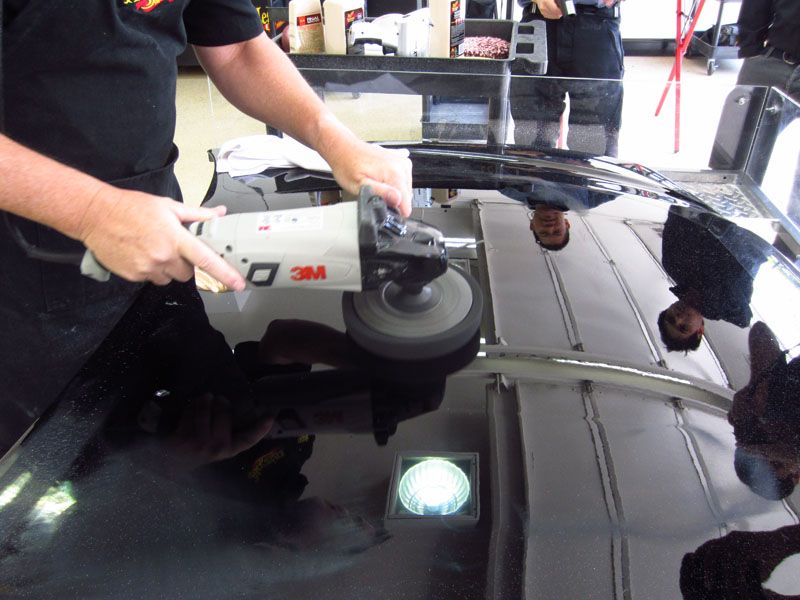
Sanding done, it's time to bust out the rotary.

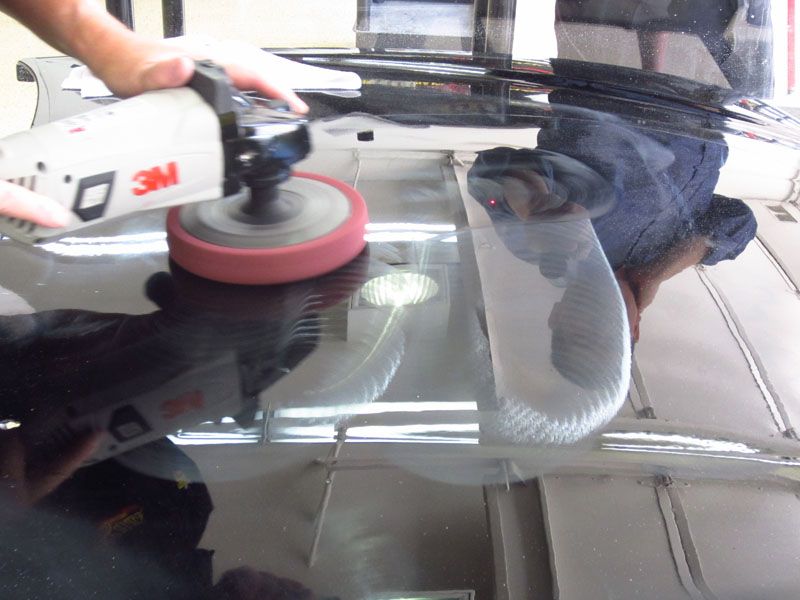
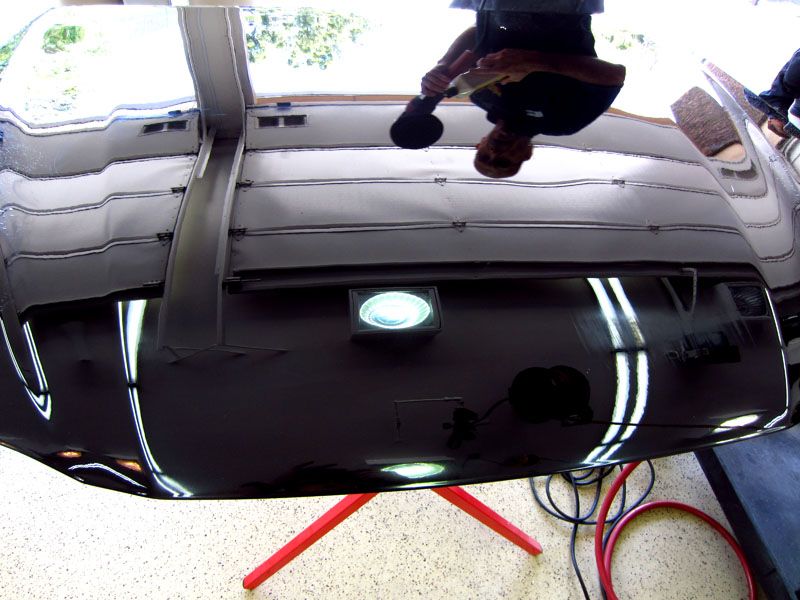
This is after sanding with 1500 grit and removing all gloss, refining with 3000 grit, then compounding with M105 and finish polishing with M205 on a black foam finishing pad. Nice work!!

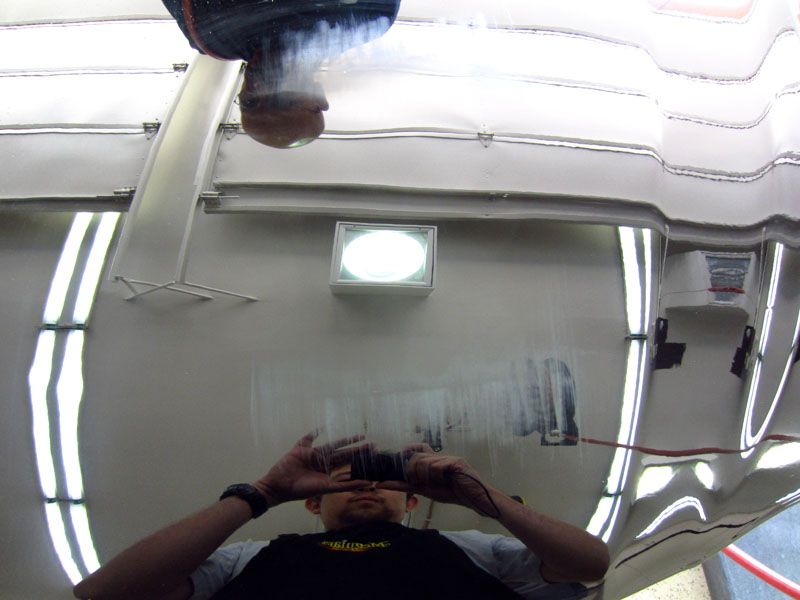
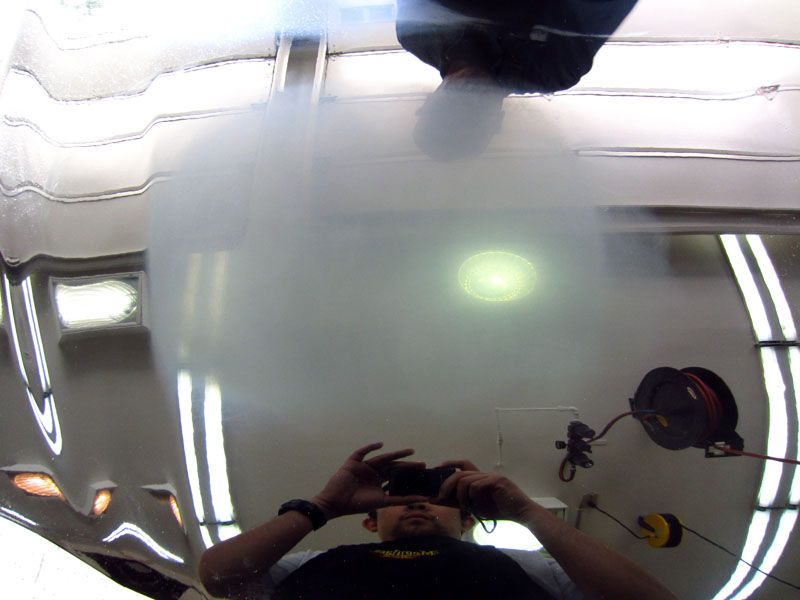
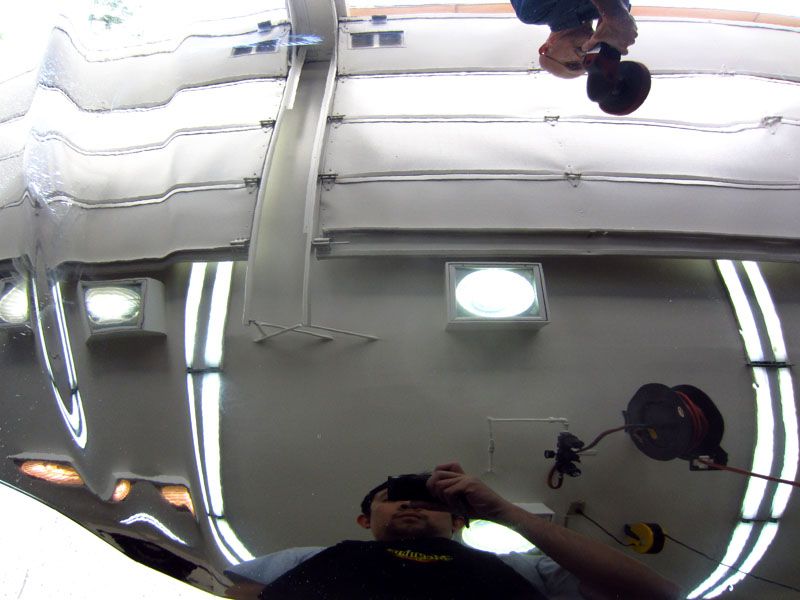
A portrait of a man in action.

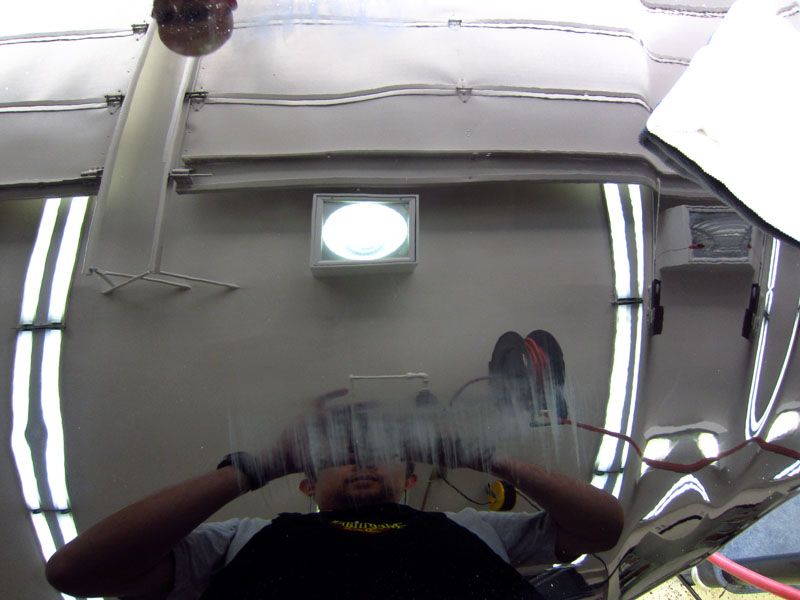
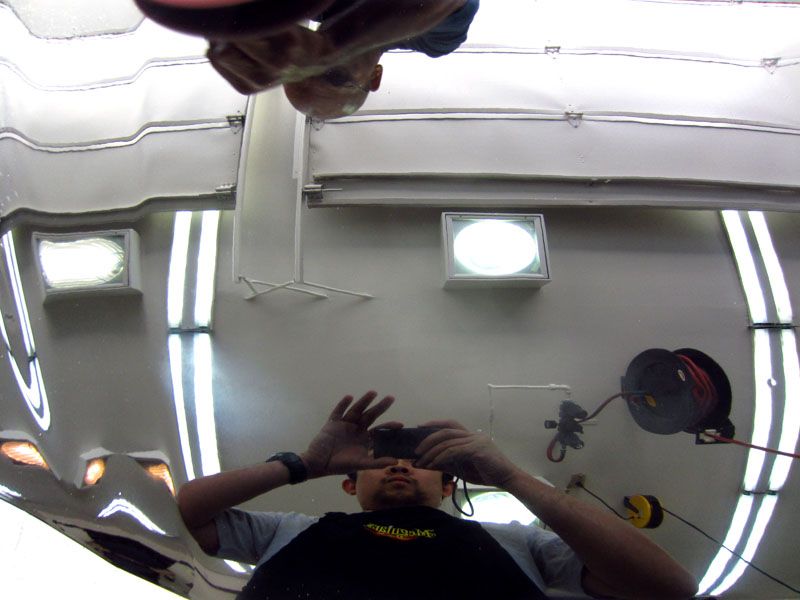
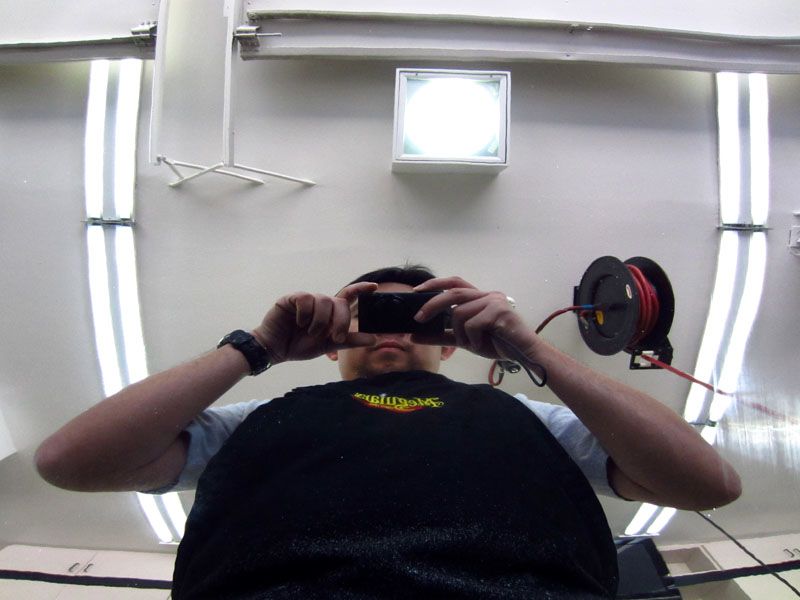
Another portrait of the finished process. Like looking into a mirror!

Following the classroom portion of the day we went out to the training garage for some hands on work. First, a demonstration of hand sanding. Here we're wrapping a sheet of 1500 grit Unigrit Sandpaper around the backing pad.
This is true wet sanding - the abrasive media had been soaking in a bucket of water overnight, and we used plenty of water on the area to be sanded. It is critically important to keep the abrasive media clean in order to avoid deep scratches, called tracers, from forming.
Keep your hand flat on the backing pad to avoid pressure points that will cut deeper into the paint.
We also did some DA sanding, which is a damp sanding process instead of true wet sanding. By that we mean that the abrasive discs do not need to be soaked in water and you only need a few sprays of water on the area you're sanding. DA sanding is actually less aggressive than hand sanding, all else being equal.
The white foam is actually the clear coat being abraded away.
We DA sanded with 1500 grit and 3000 grit. In the area below you see the reflection of the student getting cut off. This is because we sanded an area with 1500 grit and then just half of that area with 3000 grit. You can see that after proper 1500 grit sanding there is no reflection at all, but the area that was refined with 3000 grit has noticeable gloss. Imagine how much easier it is to then buff out the 3000 grit sanding marks than the 1500 grit.
Laying down a bead of M105 to be picked up by the wool pad on the rotary buffer. Again, from this angle you can see the difference in gloss between the 1500 grit only section (the right side end of the product bead) versus the more refined 3000 grit side (the area directly under the bottle).
About to pick up the bead - with a slight tilt of the pad the bead is picked up and pulled under the pad to eliminate (or at least greatly reduce) sling.
We also showed the foam cutting pad. While not as aggressive as the most aggressive wool pads, the foam cutting can generate a lot of heat in a very short period of time.
This image shows what NOT to do on a panel edge. The pad is spinning in a clockwise motion and the way it's being held against the panel here it is riding up on the edge. This makes it very difficult to control the tool but more importantly it risks damage to the paint. Remember, the paint on a panel edge is very thin, and aggressive buffing will burn through in a matter of seconds. This process will do just that - burn the paint right off the edge. Proper technique here would be to tip the pad so that the side you see here is lifted slightly off the paint. The pad is then just dropping off the panel on the other side, which is the safe way to go.
A quick break for lunch and it was time for the students to get to work.
A nicely hand sanded section, done with 1500 grit. This would be followed with 2500 grit to refine the finish.
True wet sanding - plenty of water to lubricate the surface.
1500 grit sanding marks up close. Notice the small dirt nib that has yet to be completely leveled. To address just this small nib we would use either our Unigrit Sanding Blocks or a 3" sanding disc on a mini DA air tool.
When rotary buffing, keep the pad as flat as possible with maybe just an easing up of one edge to keep the pad from wanting to skip. The panel being buffed here has a slight curve to it so the pad can't be totally flat, but the centerline of the pad is in contact with the panel, which is what you want.
Using the foam interface pad on the DA sander along with foam finishing discs affords a lot of leeway when it comes to sanding over some body contours.
Using the pad washer to clean a wool pad prior to compounding.
Sanding done, it's time to bust out the rotary.
This is after sanding with 1500 grit and removing all gloss, refining with 3000 grit, then compounding with M105 and finish polishing with M205 on a black foam finishing pad. Nice work!!
A portrait of a man in action.
Another portrait of the finished process. Like looking into a mirror!


Comment