

 Tweet
Tweet
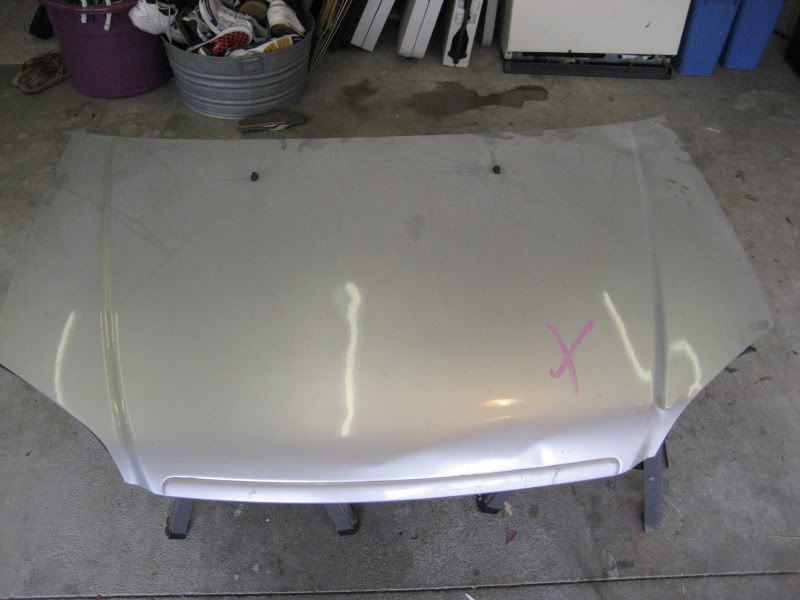
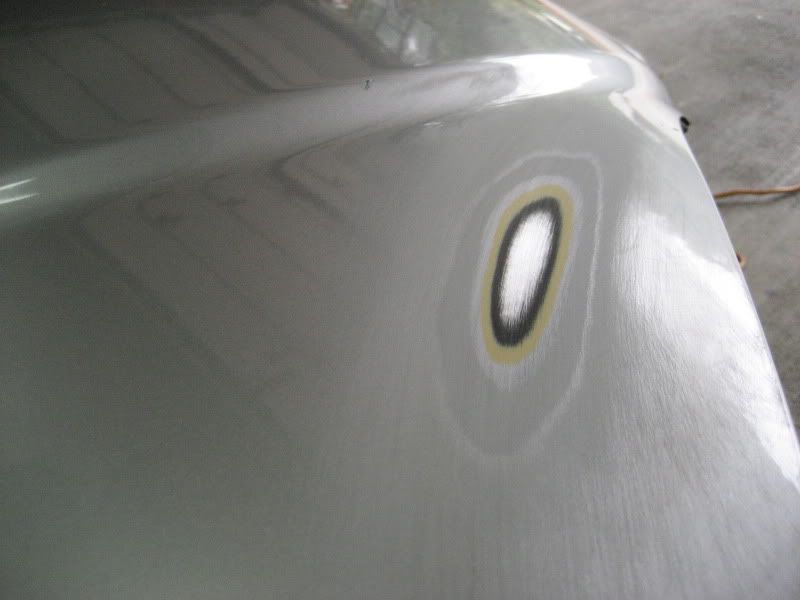
So I went down to a local body shop and picked up a hood to fool around with my new rotary on. Unfortunately the only one that they had there was a light silver hood.... which hid defects like you cannot believe. I took the fined sandpaper I had laying around to mar it up, but it was only 220 grit 
As you can see, a horrible color to work on for defects:
Overall, it was a good run, but even though I went ahead and barely even went over the surface with the 220 grit, there was just no way to completely remove all of those marks.
Here are my Issues:
I'm waiting on my Meguiar's pads and backing plates to come in, so I was just using the Makita Rotary backing plate and 2 wool pads that come with it. They aren't the best pads, because they are very hard to center and they feel like they are offbalance and wobble when running the machine.
I was running it at around 1400 rpms and sometimes close to 1800 rpms. Is it just me, or is it the pads, because I felt like whenever I applied any pressure, it would try to move its own direction and I would have to fight it somewhat.
When I was just guiding the machine, it behaved fairly well, but every-once and a while it would try to go its own direction.
Any Tips?
And now for the FUN STUFF!
So I got a little bored and decided to see what it would take to burn through the paint. I went ahead and kicked the Makita up to 2500 RPM's and put it at an angle for about 5 seconds, an voila! I could smell it and yep there it was, burnt paint
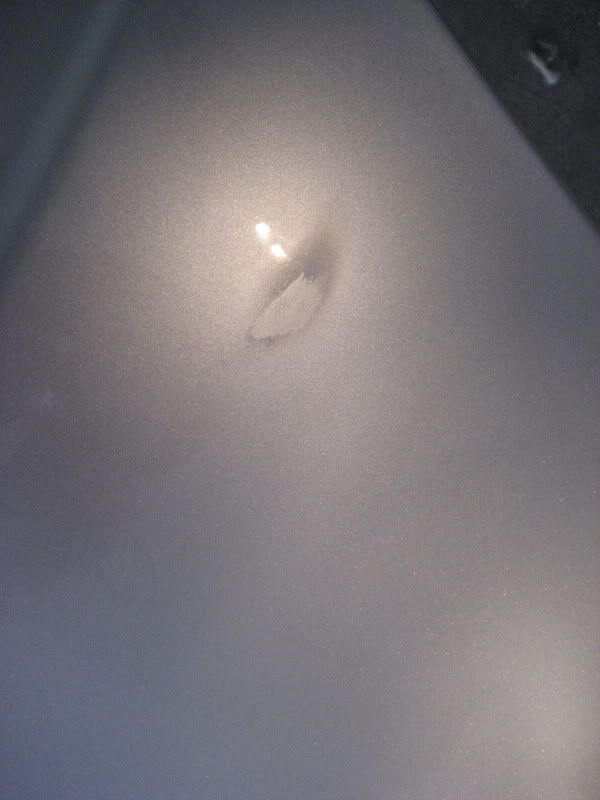
It was funny looking, because the clear almost wasn't burnt, but just pushed up and away off the surface of the base coat.
I was a little more aggressive here:
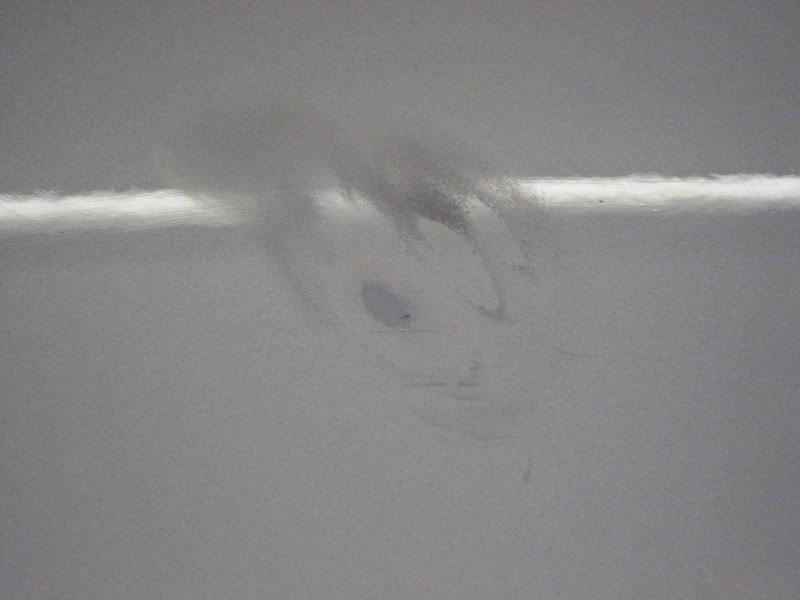
Then I got to wondering what it would look like all the way down to the metal, so I went to town with some 150 grit
Ok, Through the clear
Down to the Metal, Anyone know why there are so many layers?
Can't wait to try my Makita out again once I get my Meguiar's pads in. I think I may actually scrap this hood and go to another body shop, looking for in a better color, because this was just a pain to work with. I couldn't tell if there were holograms or anything left behind because you could barely see the dang 220 grit sanding marks on it!
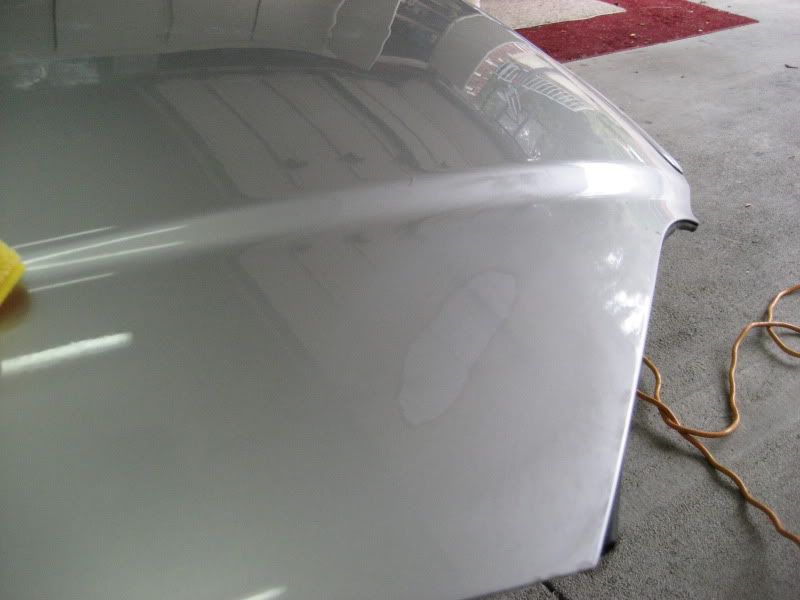
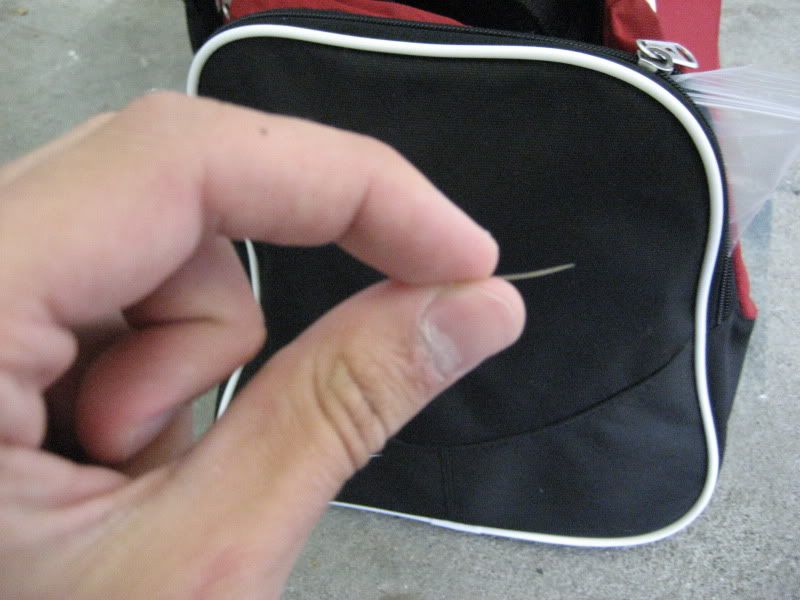
For those of you wondering how thin paint really is, be amazed! It looks thicker in this picture than it really is because it was on a slight angle because my camera couldn't pick it up. It is literally about the thickness of a couple pieces of notebook paper (this is a chip of primer, base, and clear too!)
I'll post more up once I get my pads and a new hood!
As you can see, a horrible color to work on for defects:
Overall, it was a good run, but even though I went ahead and barely even went over the surface with the 220 grit, there was just no way to completely remove all of those marks.
Here are my Issues:
I'm waiting on my Meguiar's pads and backing plates to come in, so I was just using the Makita Rotary backing plate and 2 wool pads that come with it. They aren't the best pads, because they are very hard to center and they feel like they are offbalance and wobble when running the machine.
I was running it at around 1400 rpms and sometimes close to 1800 rpms. Is it just me, or is it the pads, because I felt like whenever I applied any pressure, it would try to move its own direction and I would have to fight it somewhat.
When I was just guiding the machine, it behaved fairly well, but every-once and a while it would try to go its own direction.
Any Tips?
And now for the FUN STUFF!
So I got a little bored and decided to see what it would take to burn through the paint. I went ahead and kicked the Makita up to 2500 RPM's and put it at an angle for about 5 seconds, an voila! I could smell it and yep there it was, burnt paint
It was funny looking, because the clear almost wasn't burnt, but just pushed up and away off the surface of the base coat.
I was a little more aggressive here:
Then I got to wondering what it would look like all the way down to the metal, so I went to town with some 150 grit
Ok, Through the clear
Down to the Metal, Anyone know why there are so many layers?
Can't wait to try my Makita out again once I get my Meguiar's pads in. I think I may actually scrap this hood and go to another body shop, looking for in a better color, because this was just a pain to work with. I couldn't tell if there were holograms or anything left behind because you could barely see the dang 220 grit sanding marks on it!
For those of you wondering how thin paint really is, be amazed! It looks thicker in this picture than it really is because it was on a slight angle because my camera couldn't pick it up. It is literally about the thickness of a couple pieces of notebook paper (this is a chip of primer, base, and clear too!)
I'll post more up once I get my pads and a new hood!


Comment