

 Tweet
Tweet
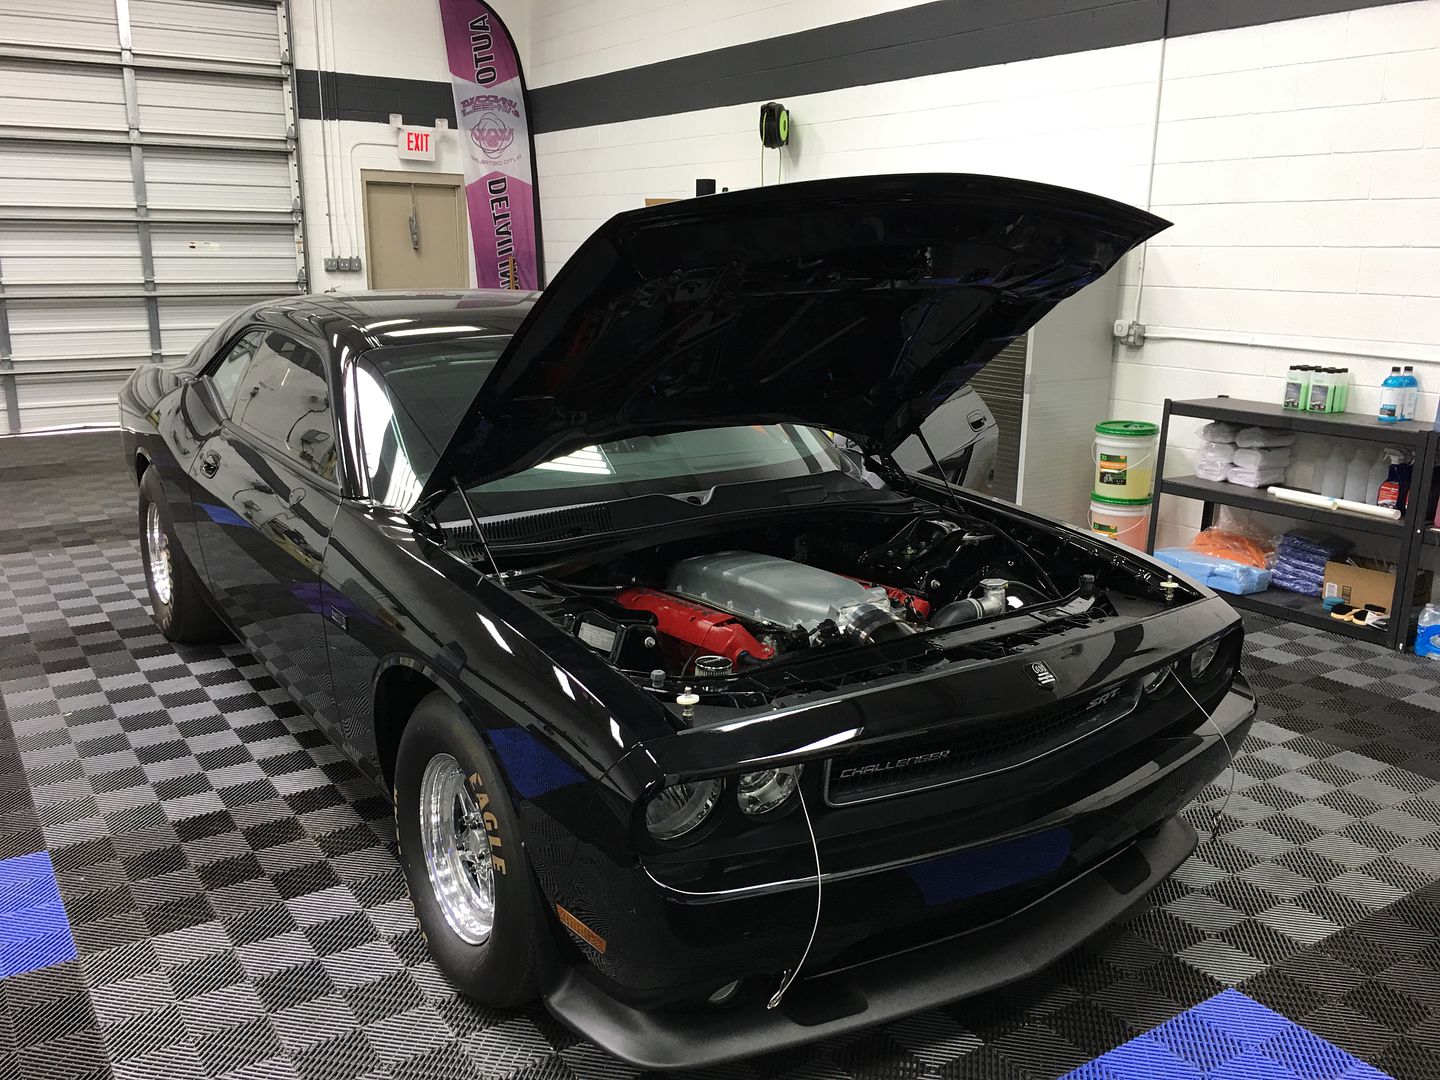
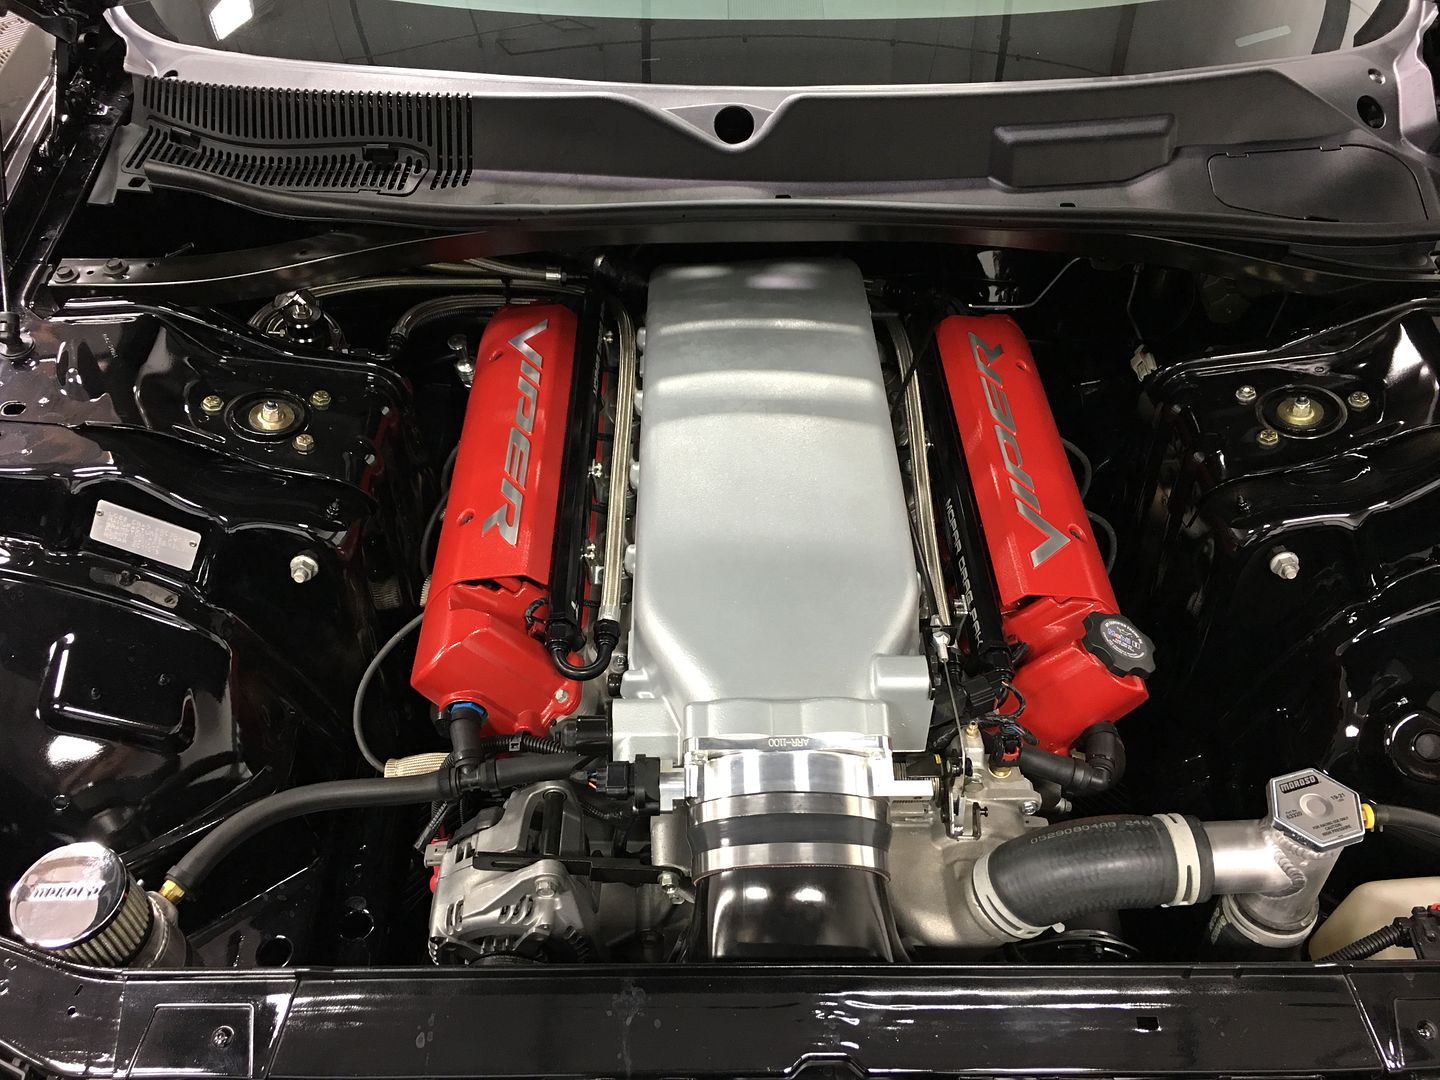
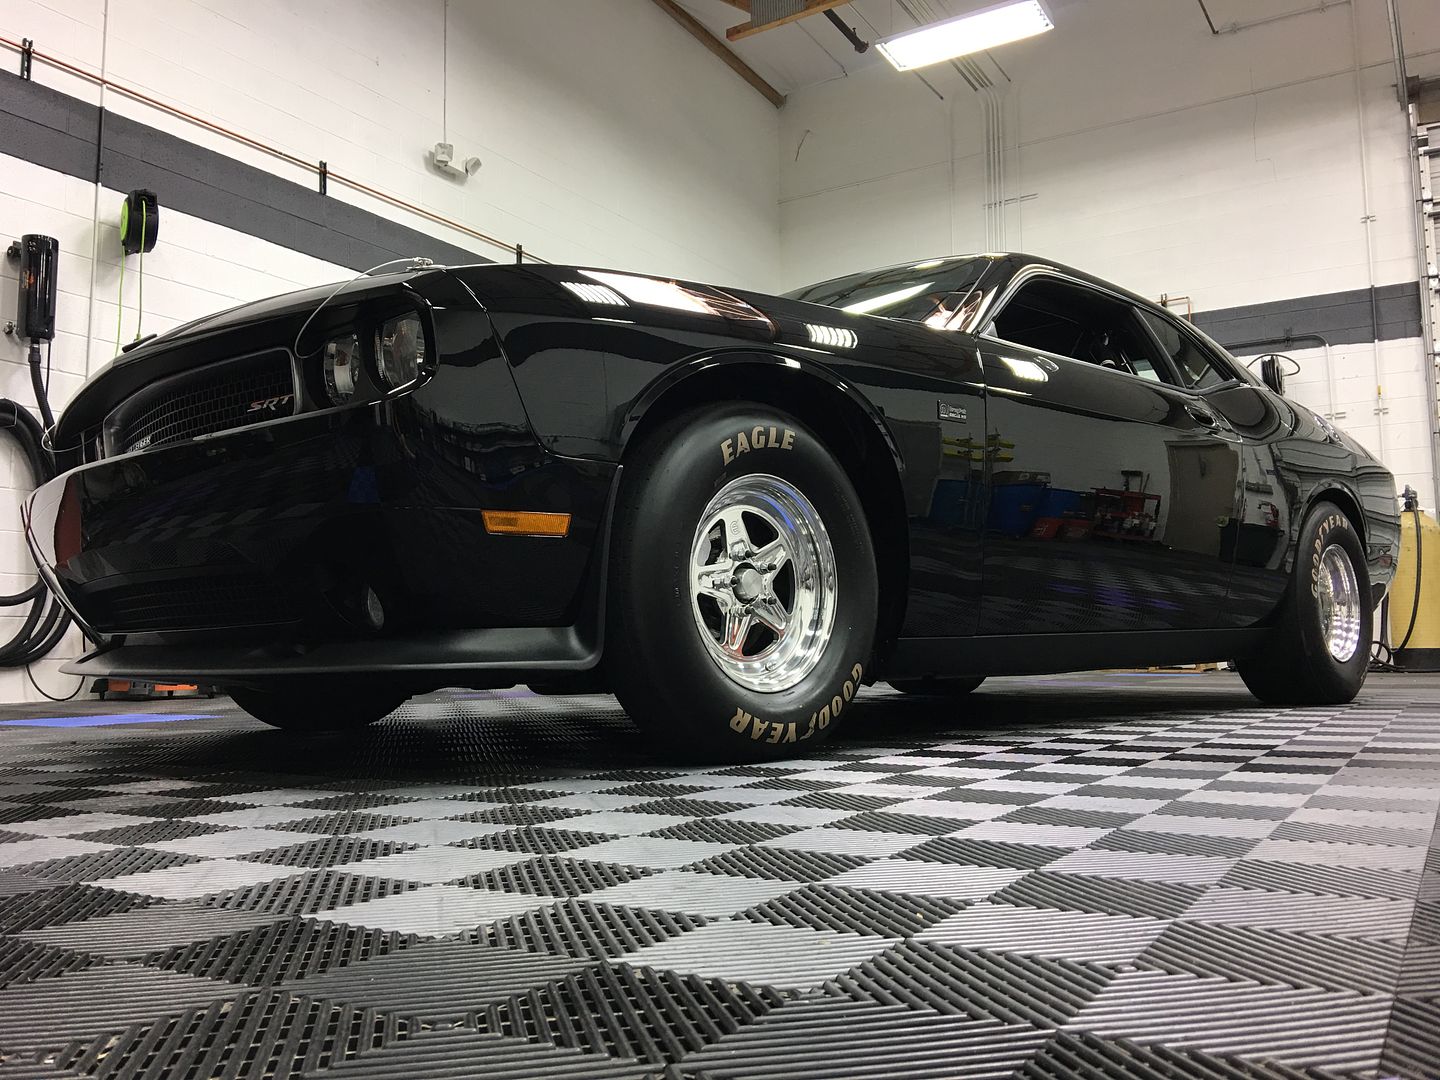
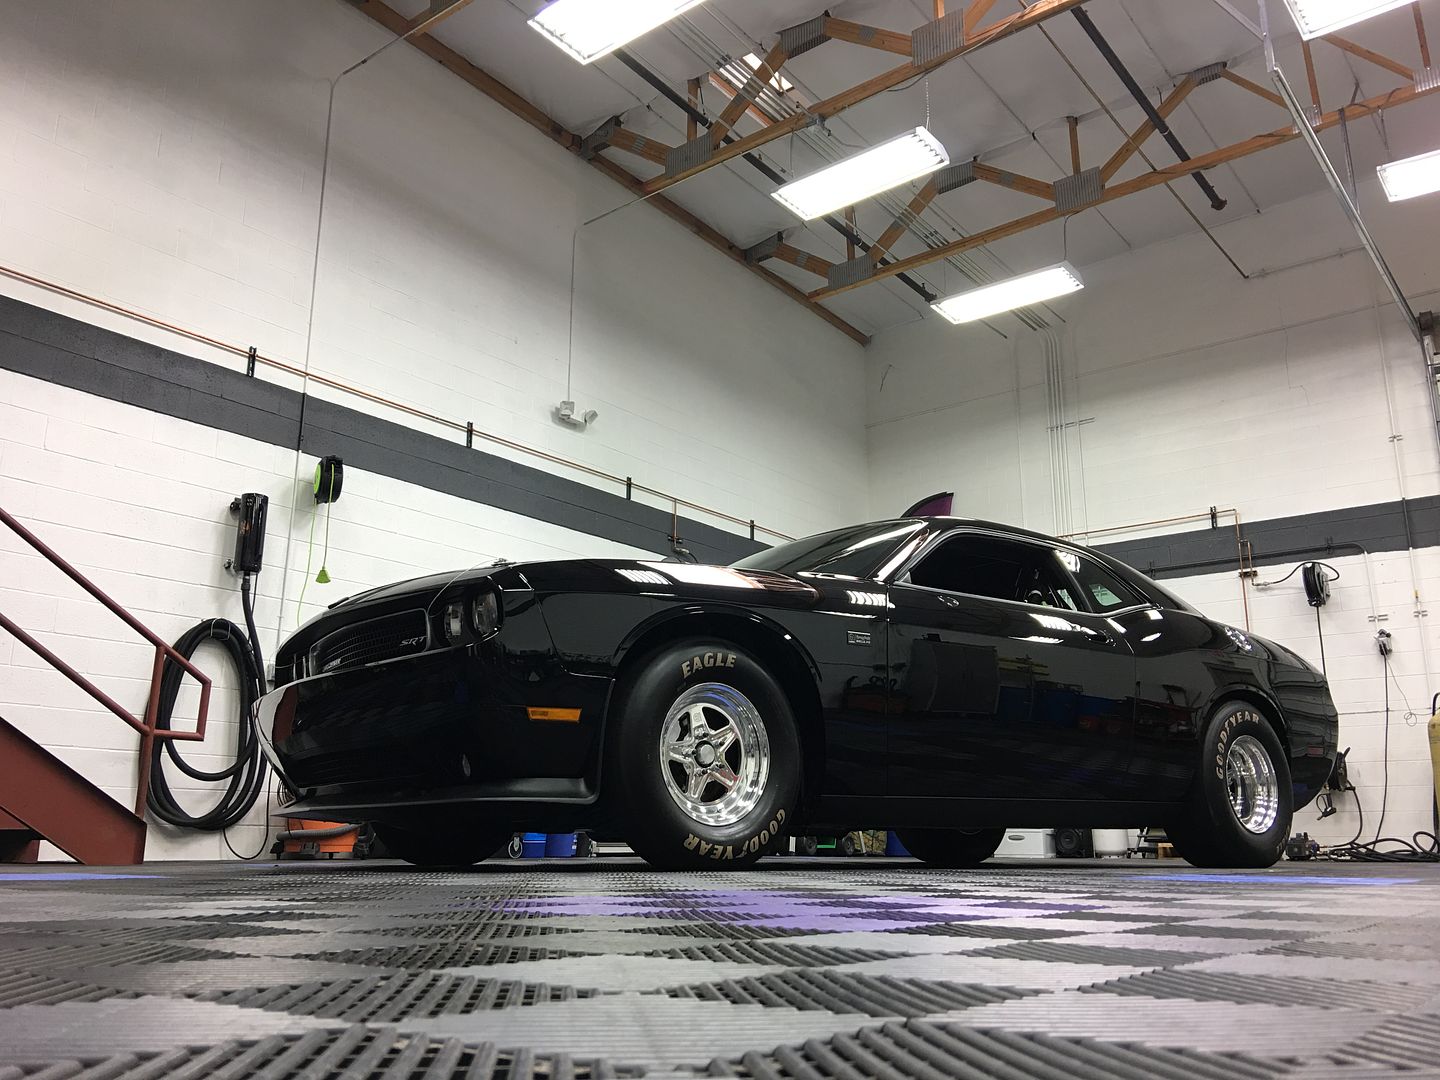
With 800+ horse power, a Viper V-10 motor, fully caged interior, below seat exhaust cut off and fat racing slicks...it was clear that this was not your daddy's Challenger!
Having to be trailered to our Gilbert location (due to it not being street legal) - it had a rather unassuming presence about it. From 10 feet back, if you didn't take note of the racing slicks,
you wouldn't know this was a 1 of 50 Dodge Challenger Drag Pak.
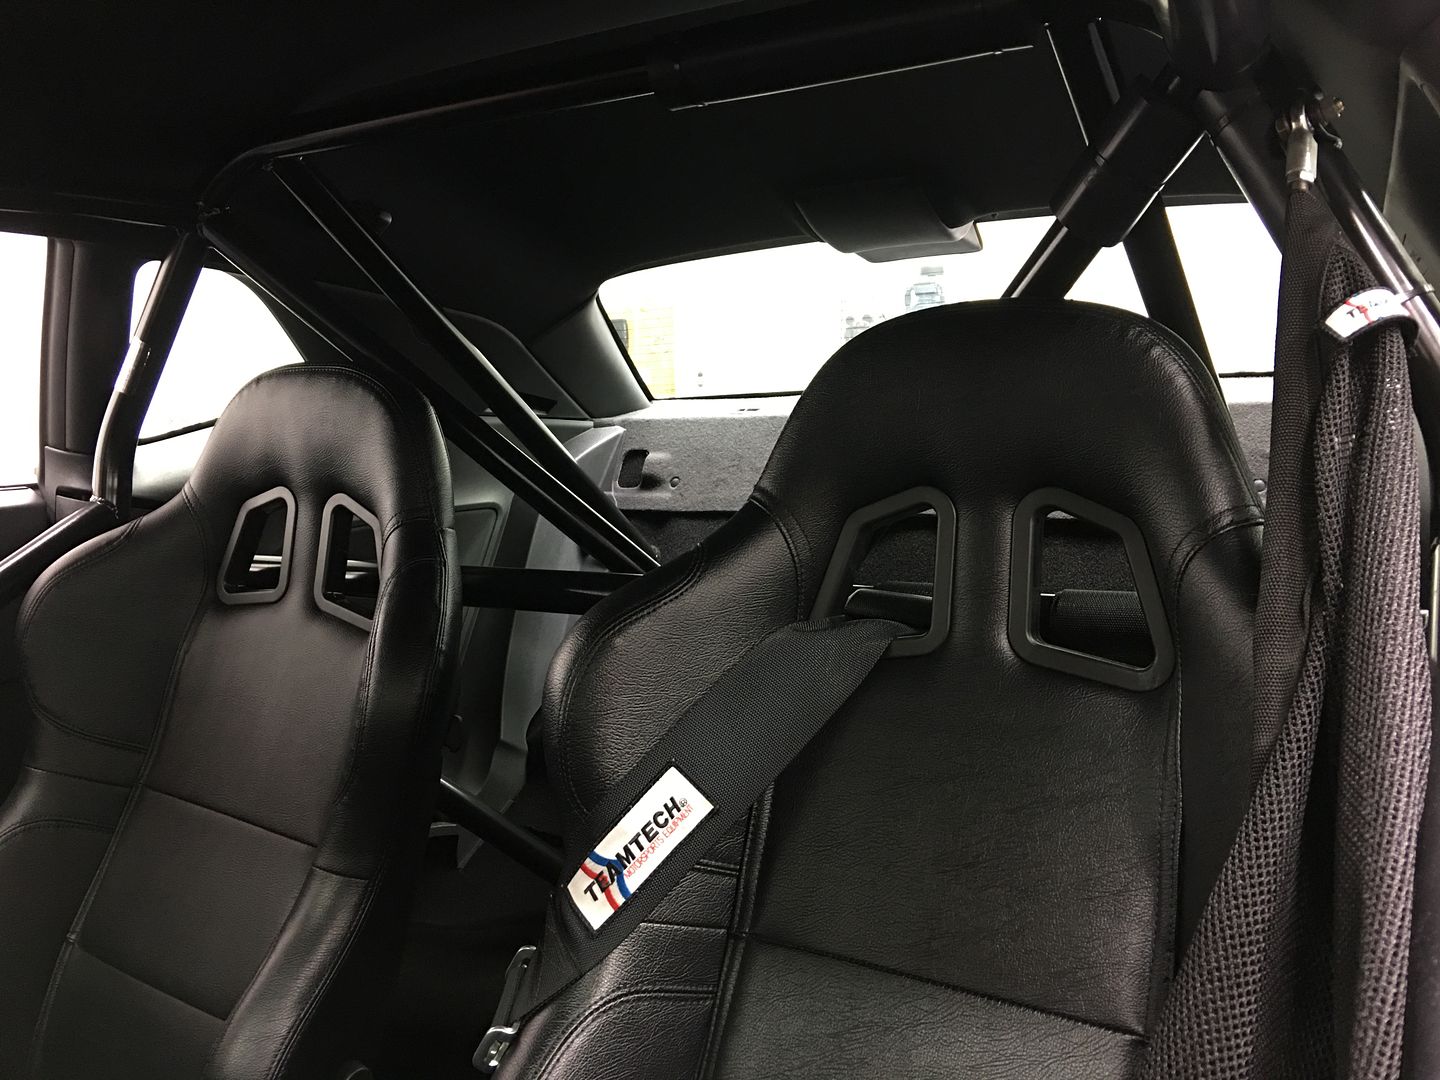
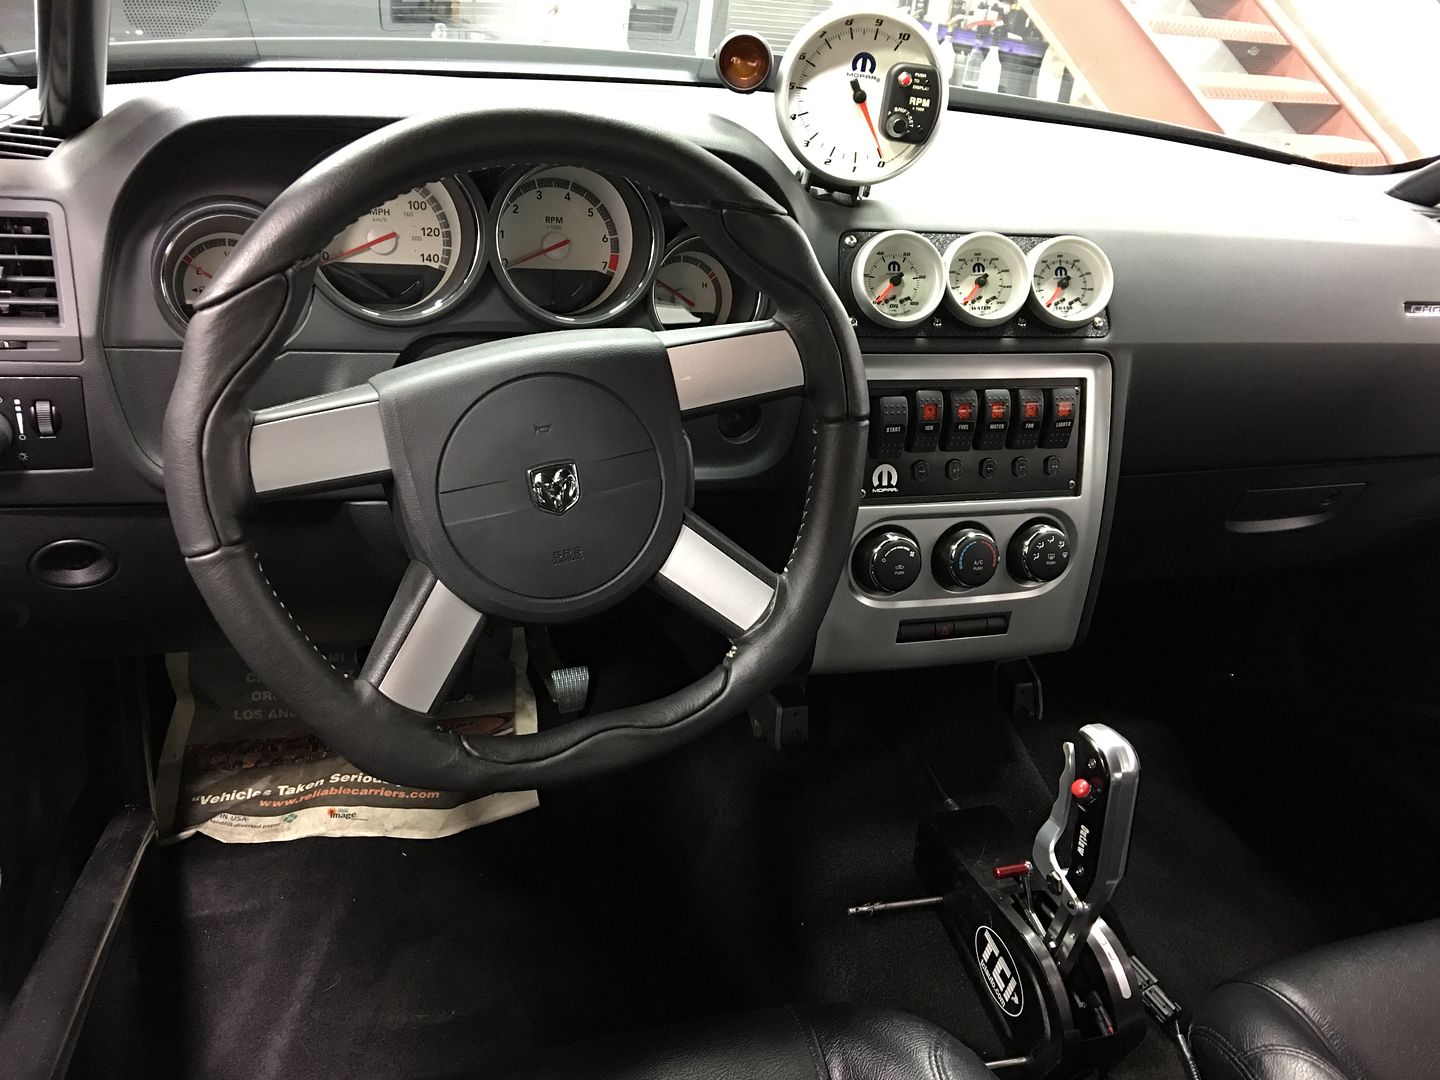
If you did happen to walk up a bit closer to take a look at the inside, the fully caged interior may pique your interest:
However, once you walked up to it and saw what was under the hood...your intrigue would likely be confirmed
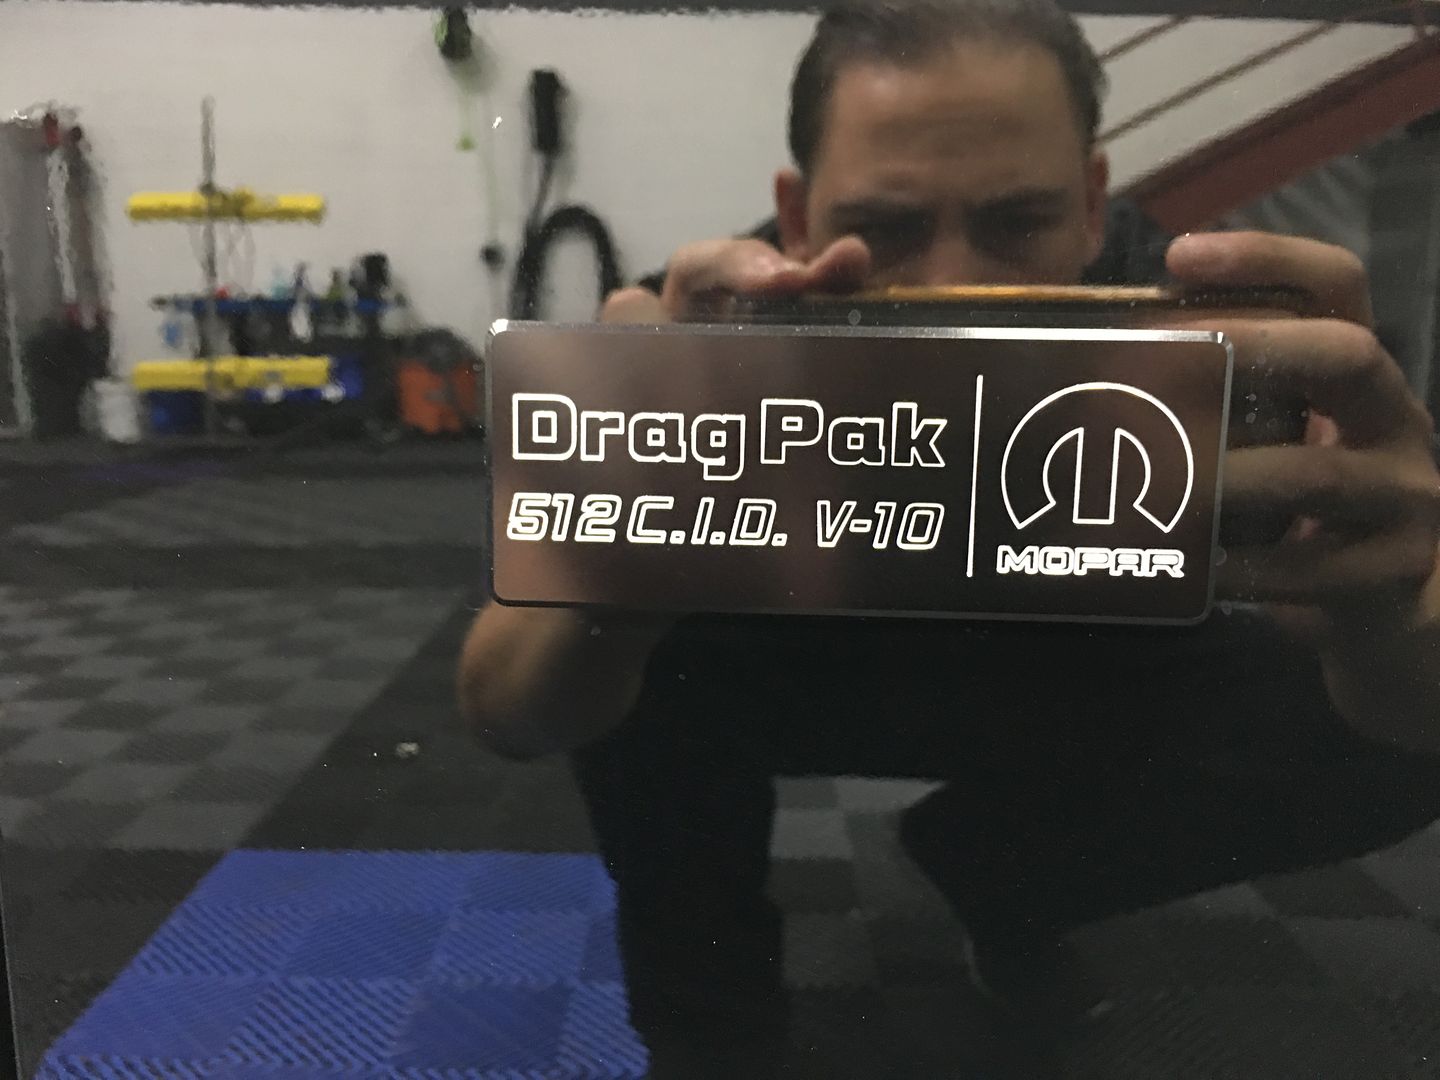
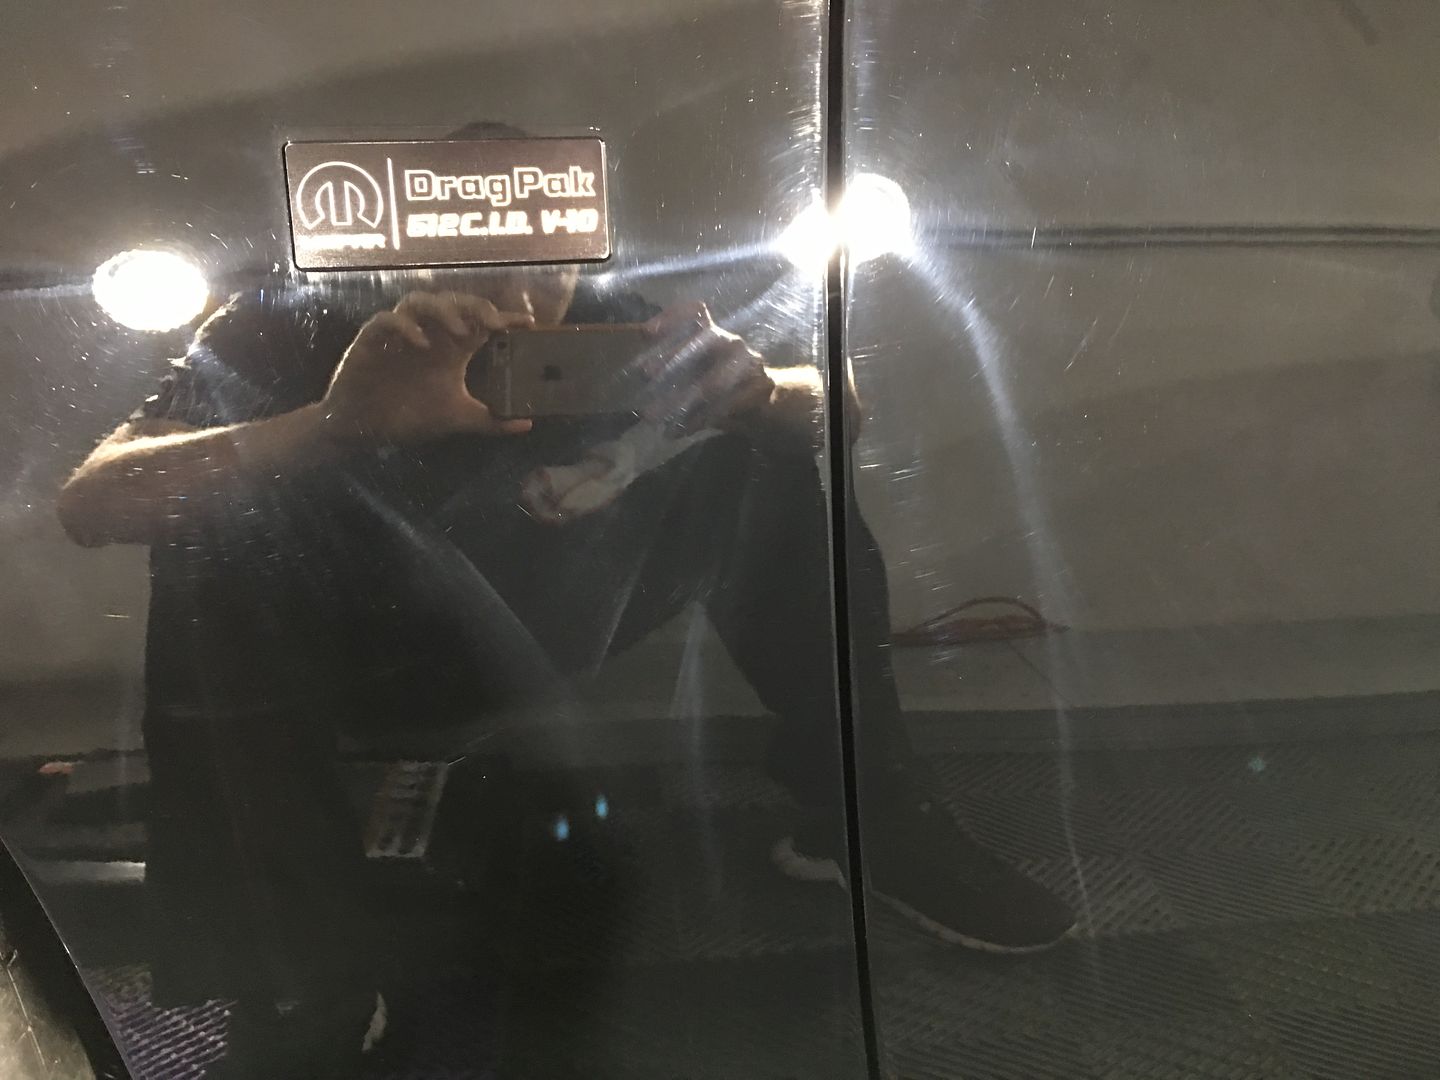
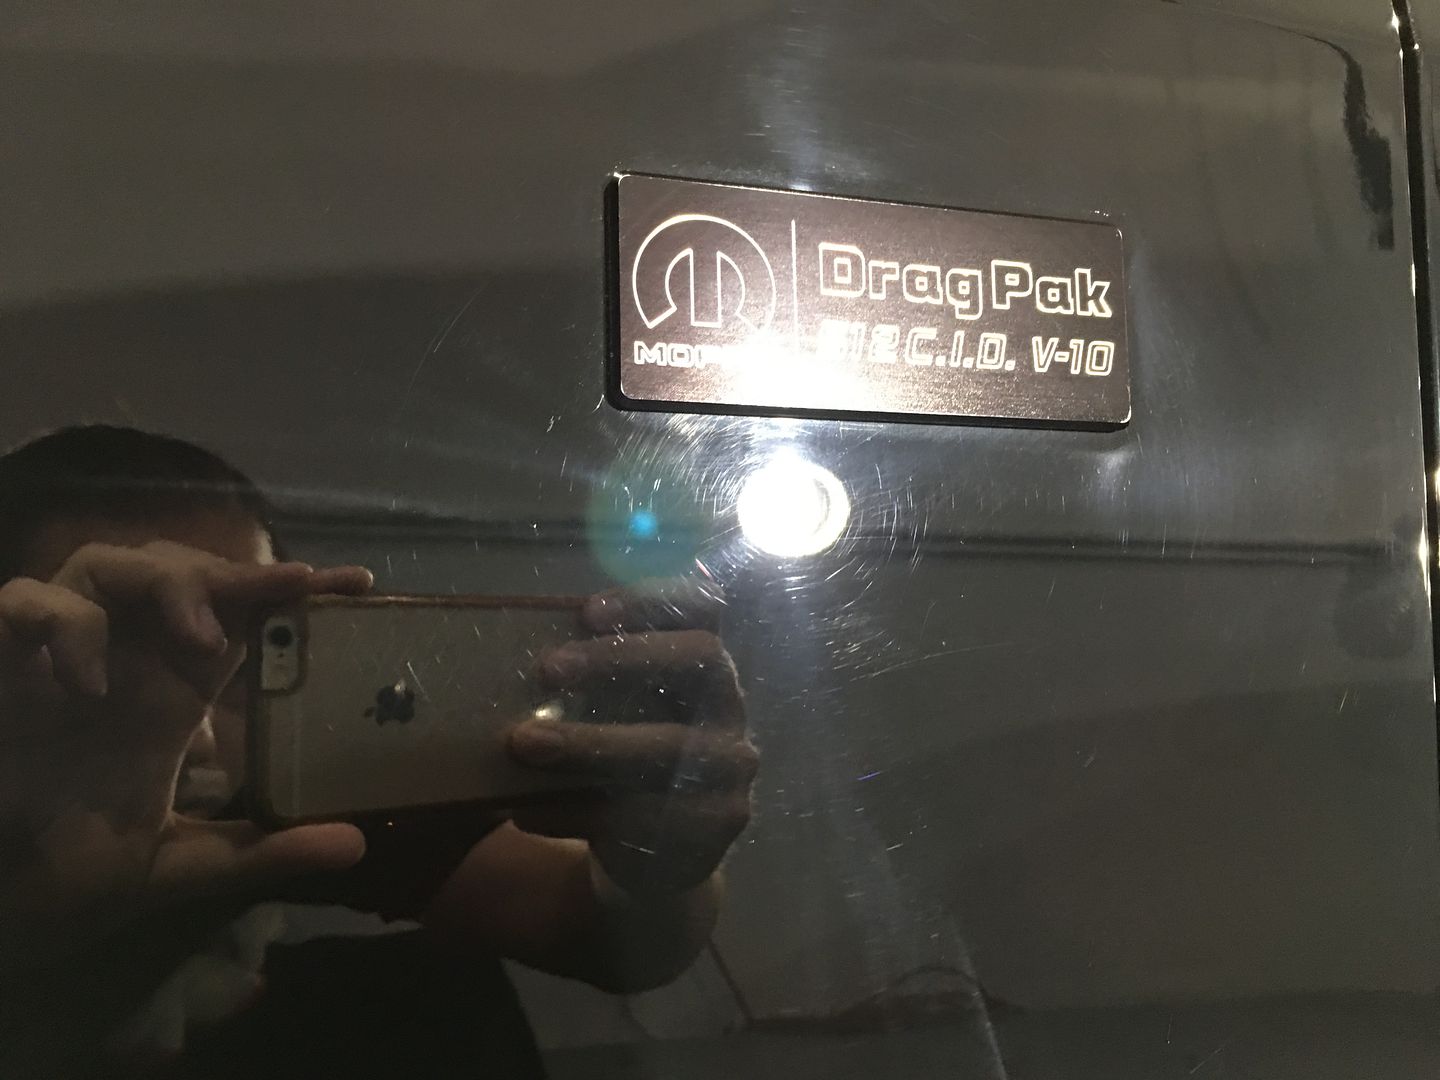
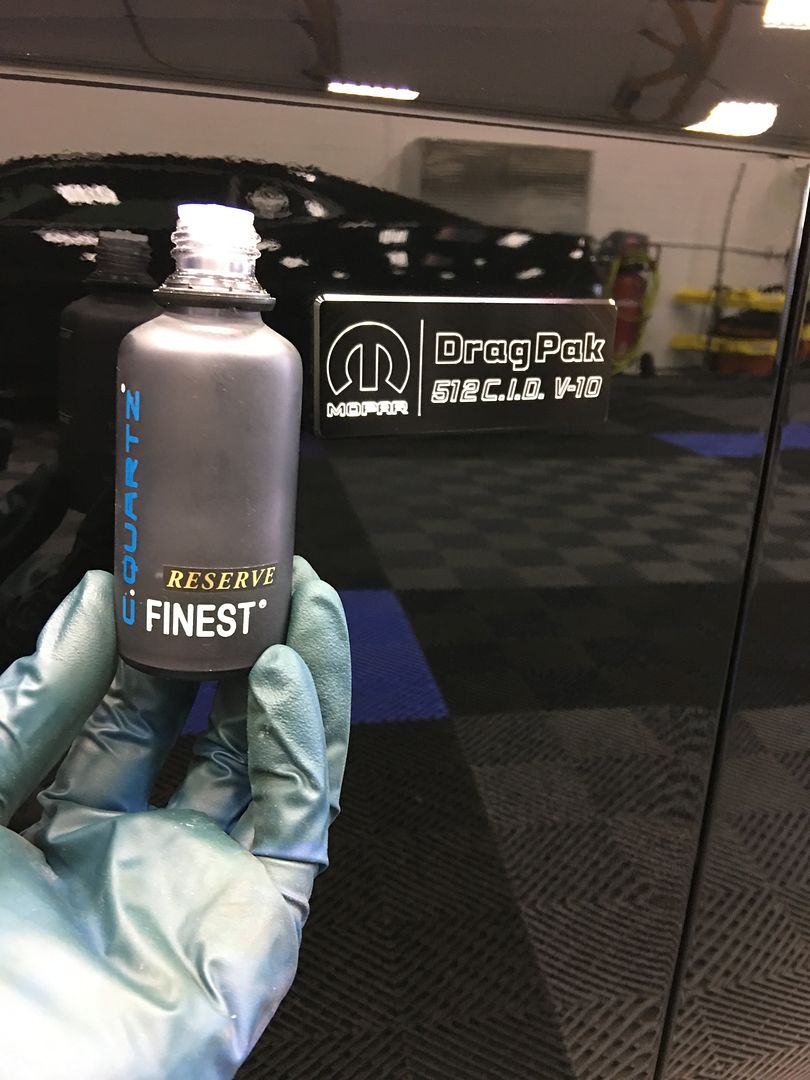
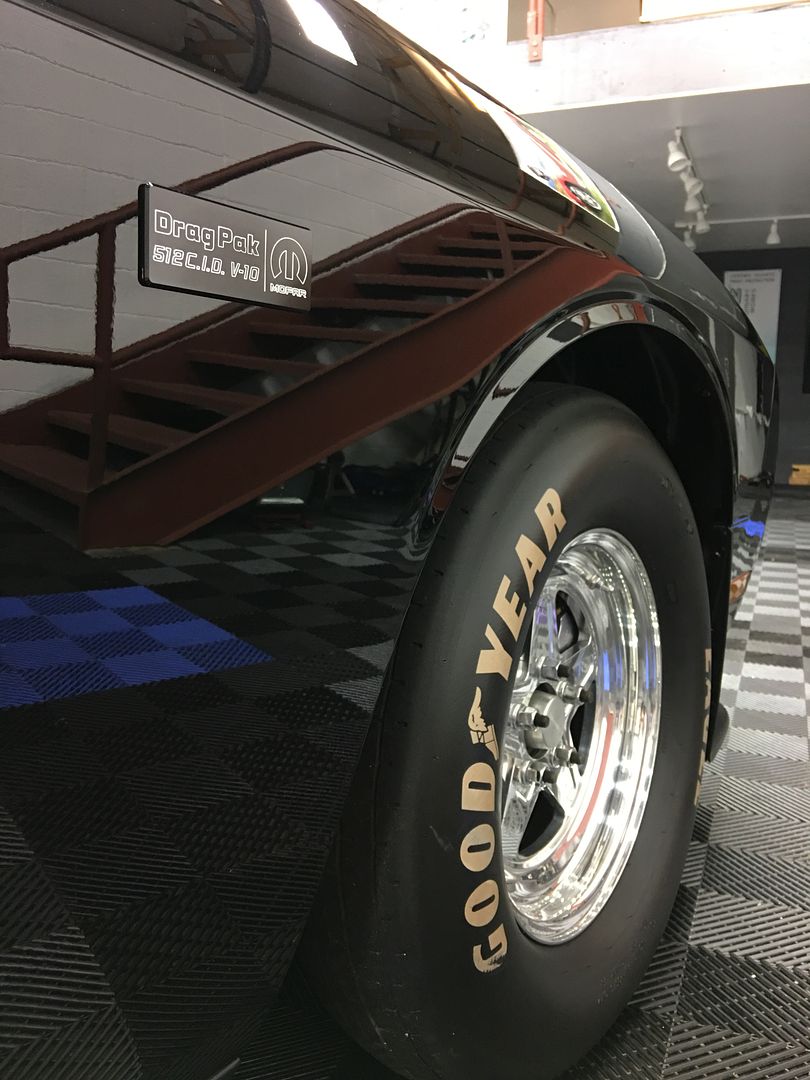
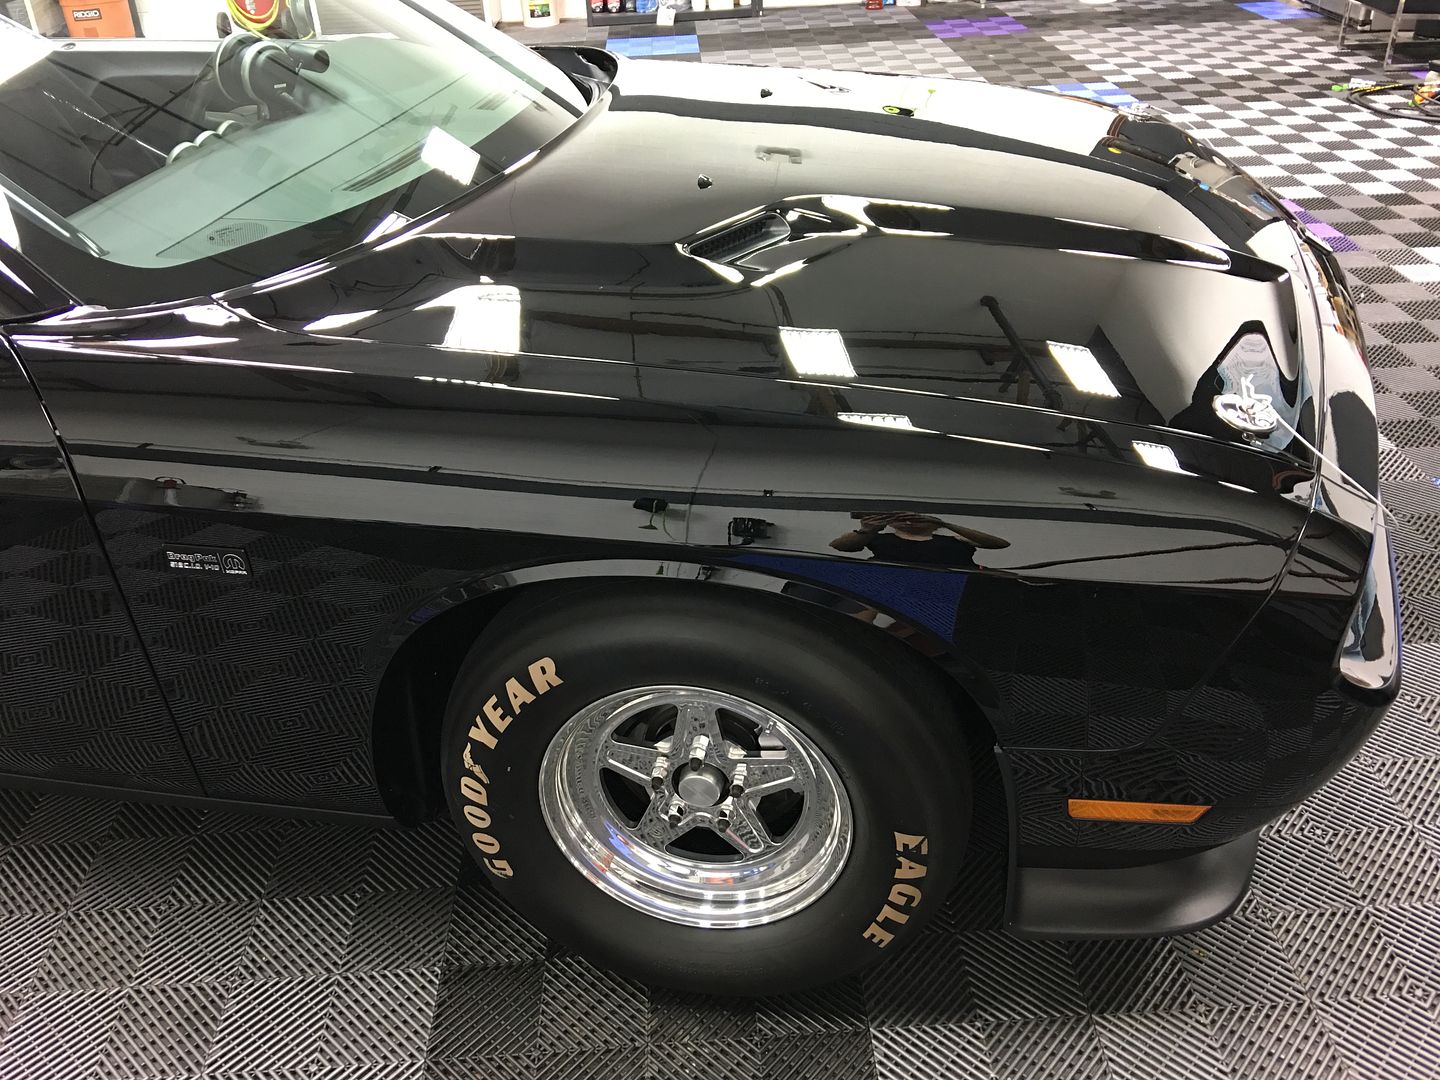
The small badges on the fenders also were a small indicator of the power this monster packed:
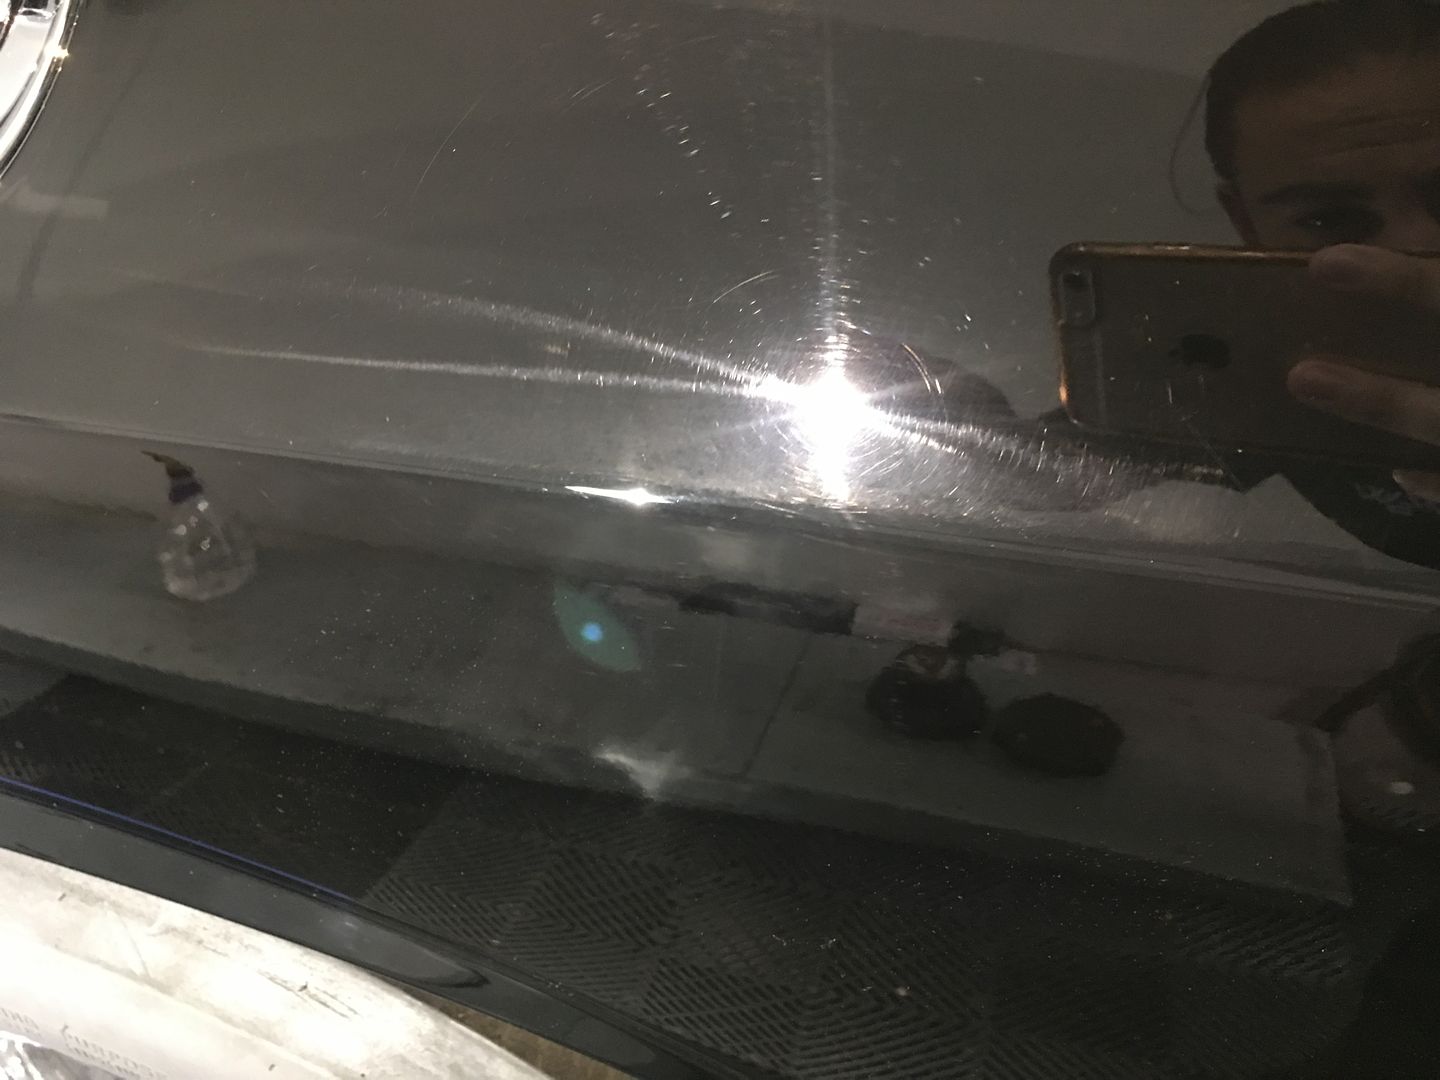
Now while we all love cool / rare cars, this story focuses around the appearance (specifically the paint) of this Drag Pak and how we took this:
And turned it into this:
Now then, if you've recovered from the initial shock of how bad this paint was before, we will continue our journey...
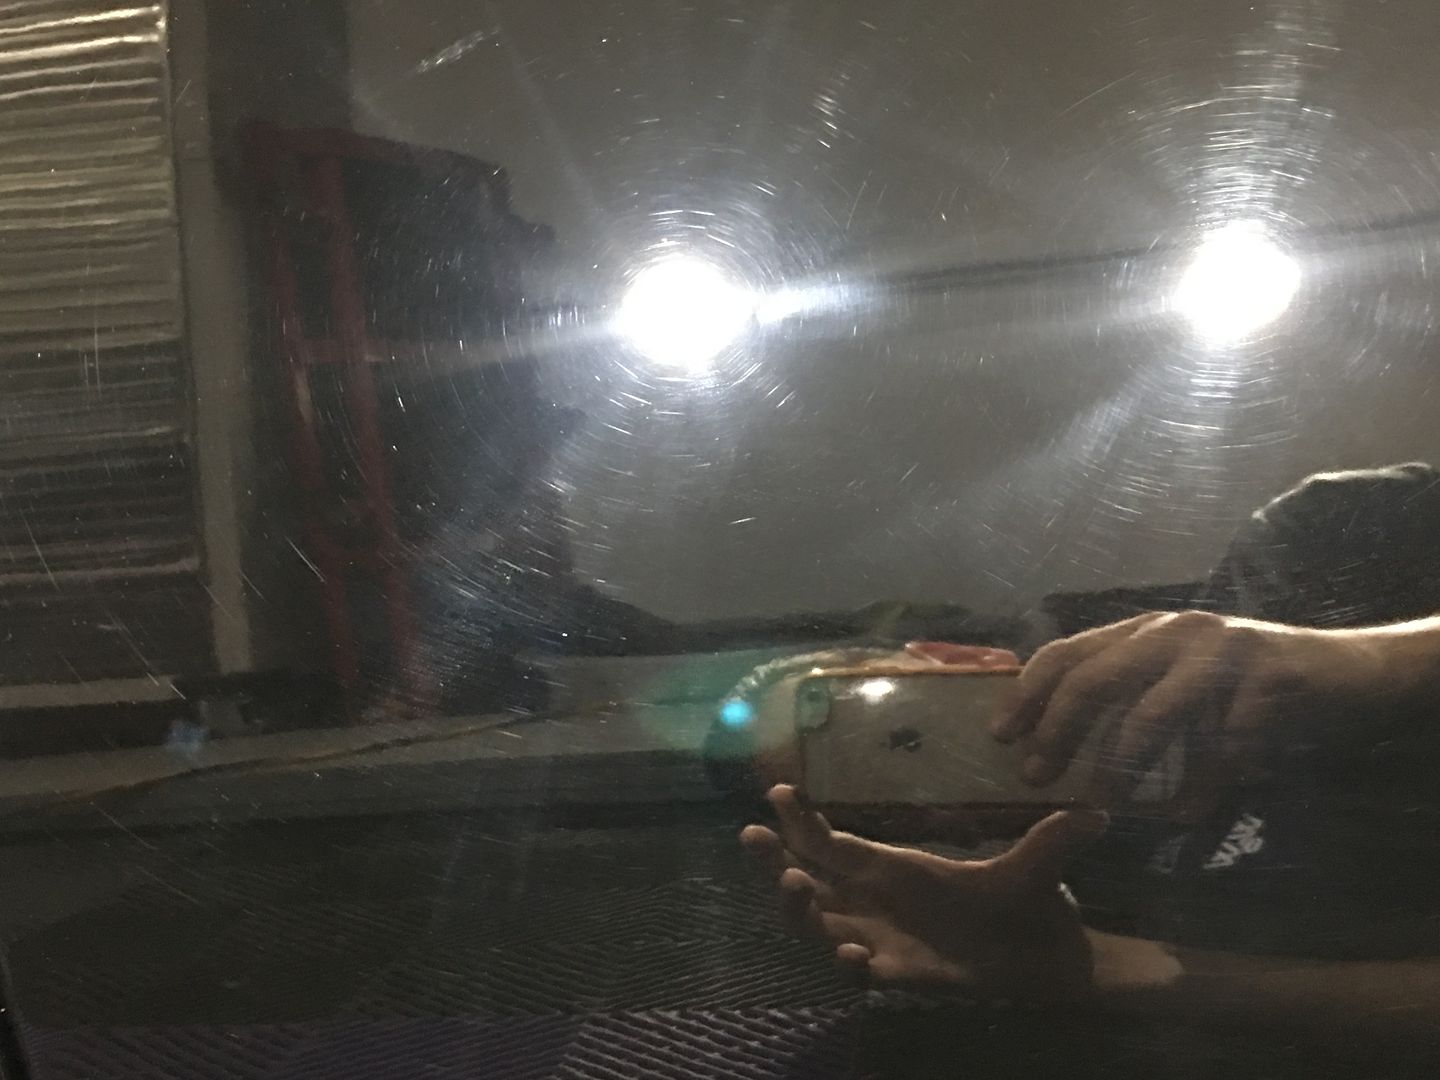
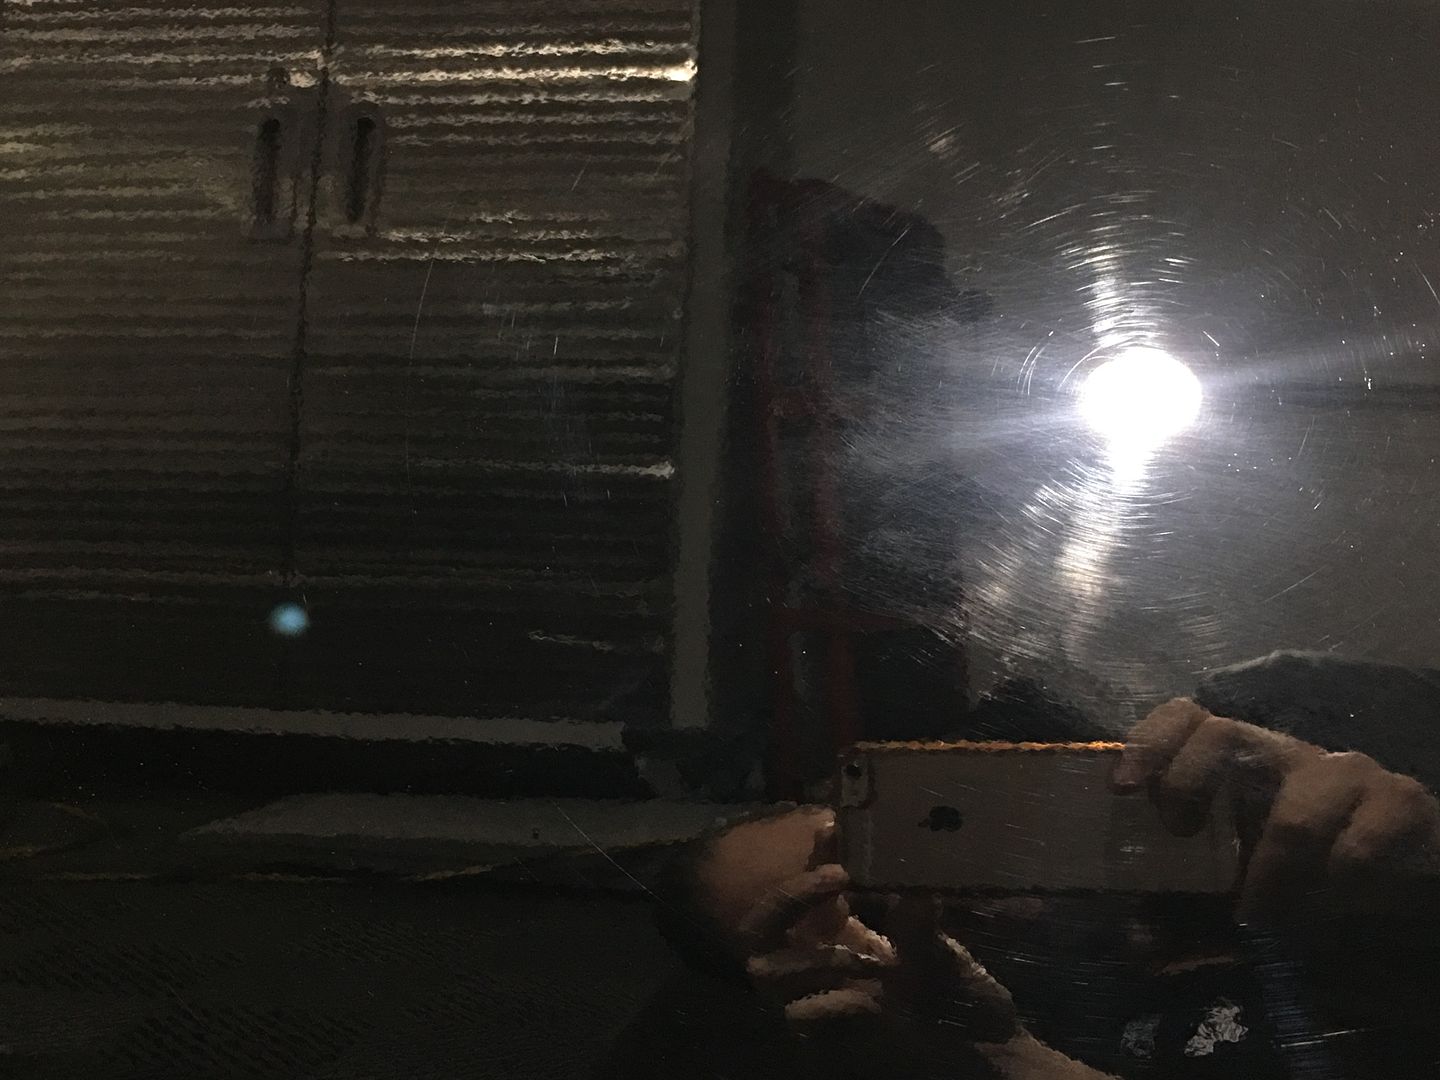
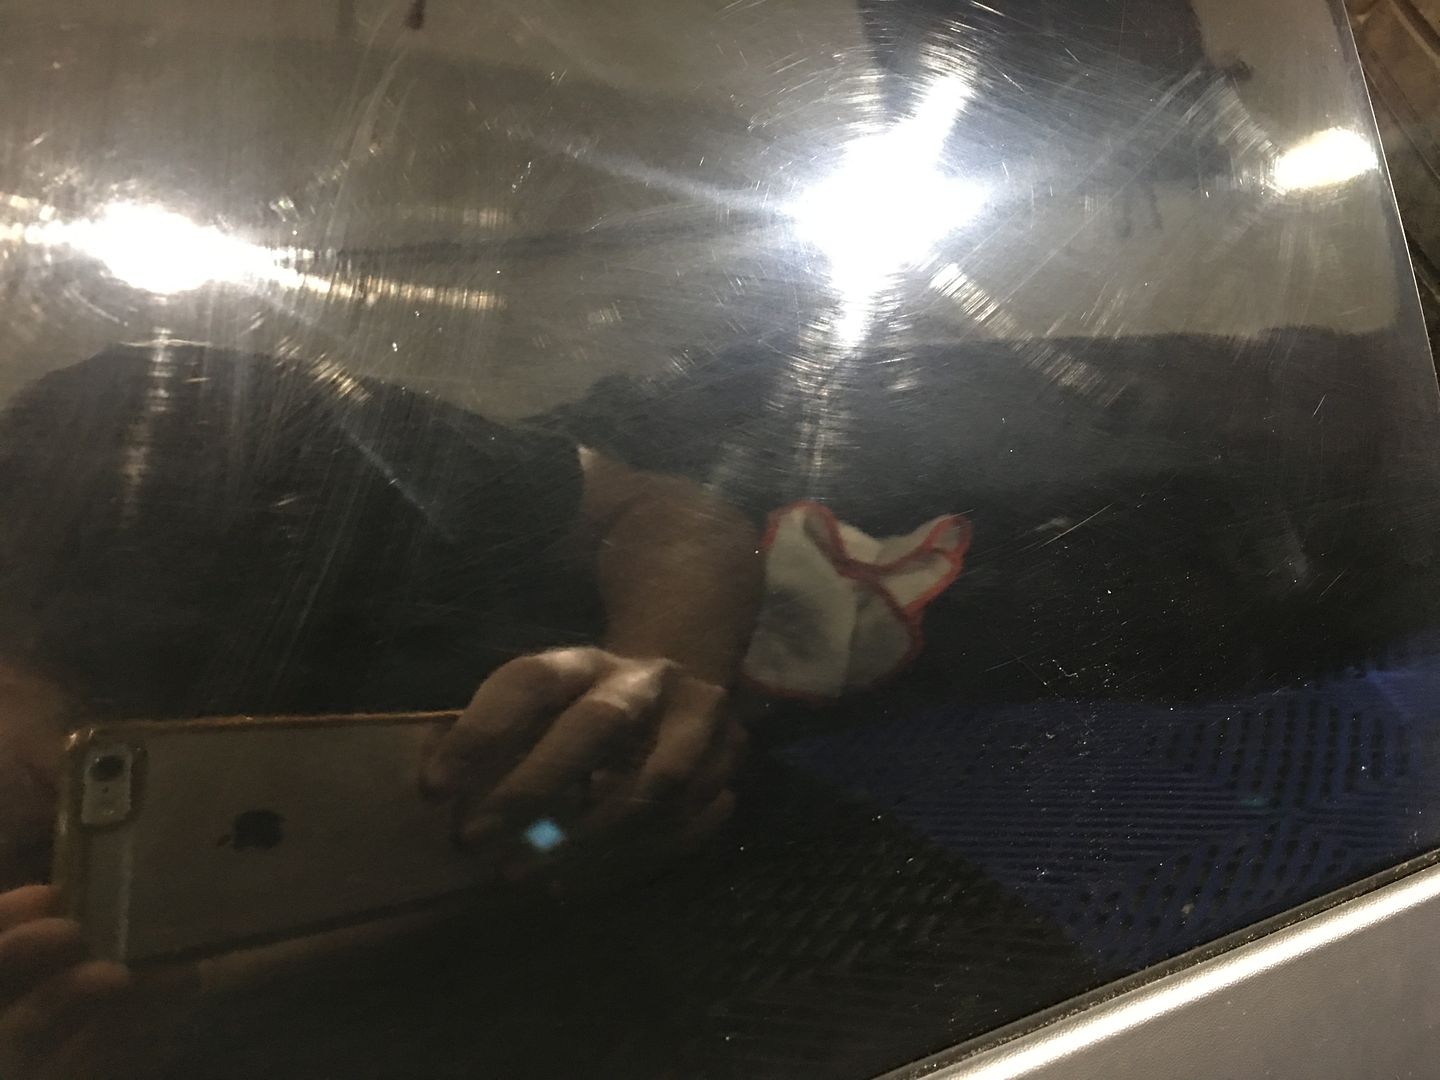
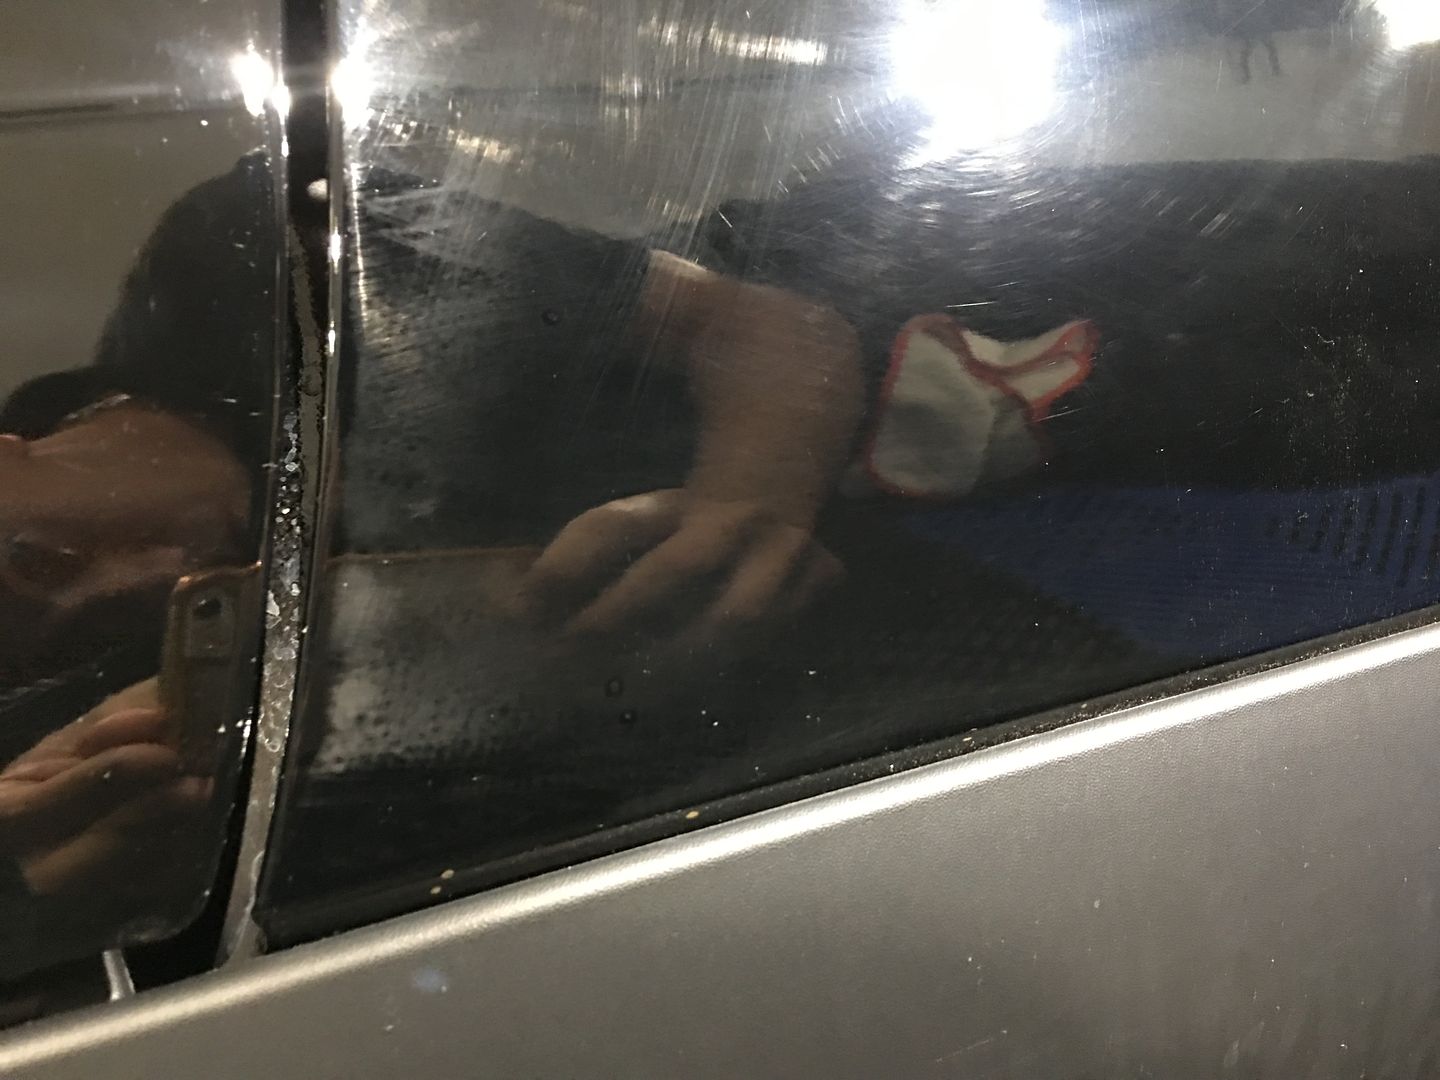
You see, the paint on this Challenger was not totally factory. It had been re-sprayed and received a full wet sand (evident by all the sanding marks LEFT in the paint!) to remove orange peel and achieve a higher level of clarity. However, that whole clarity and gloss thing doesn't quite come together without the proper finishing work. While in the shade the reflections were decent and not as "wavy" as you typically see on todays factory paint jobs, under direct lighting the paint's finish was fairly frightening.
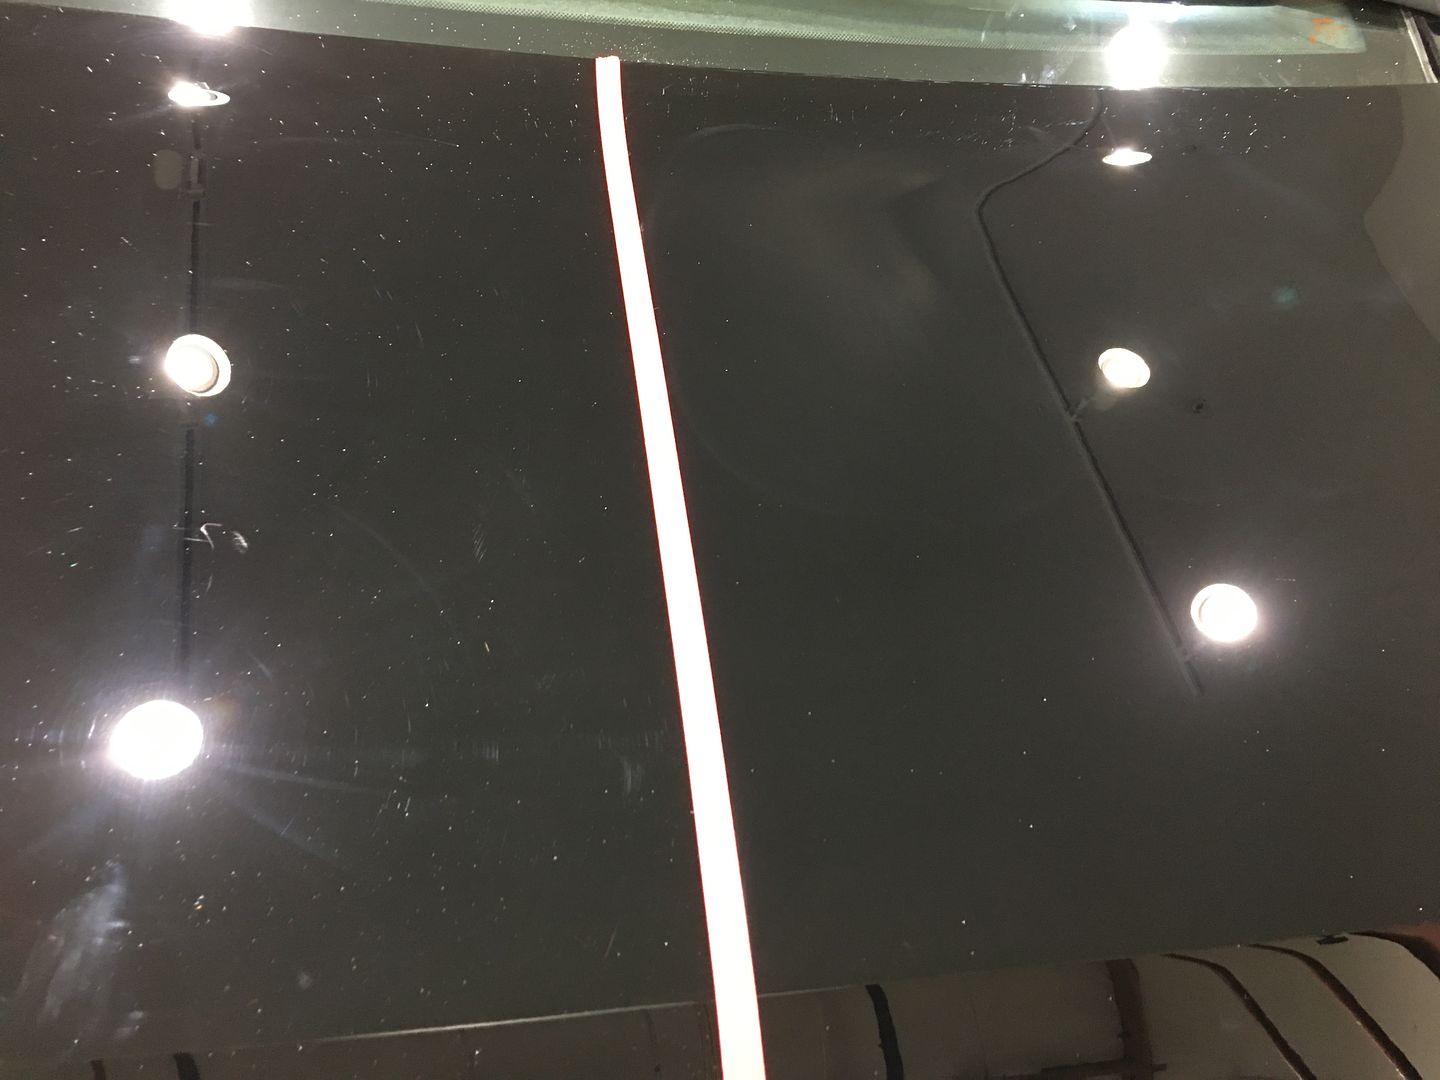
Lets take a closer look at the car in its entirety:
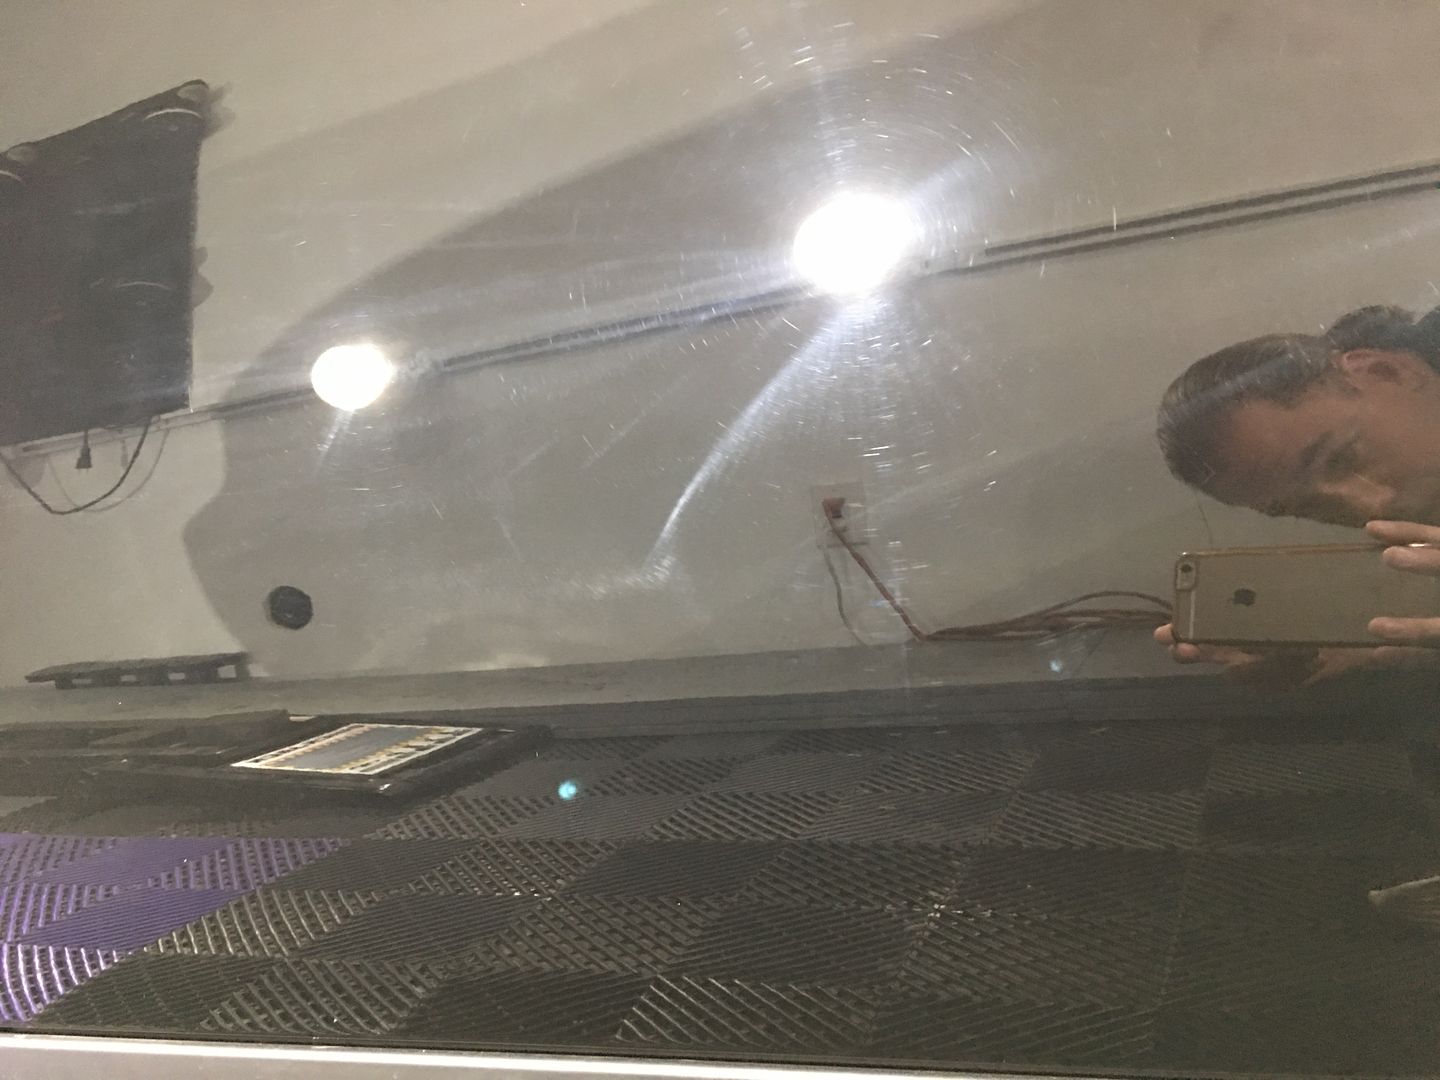

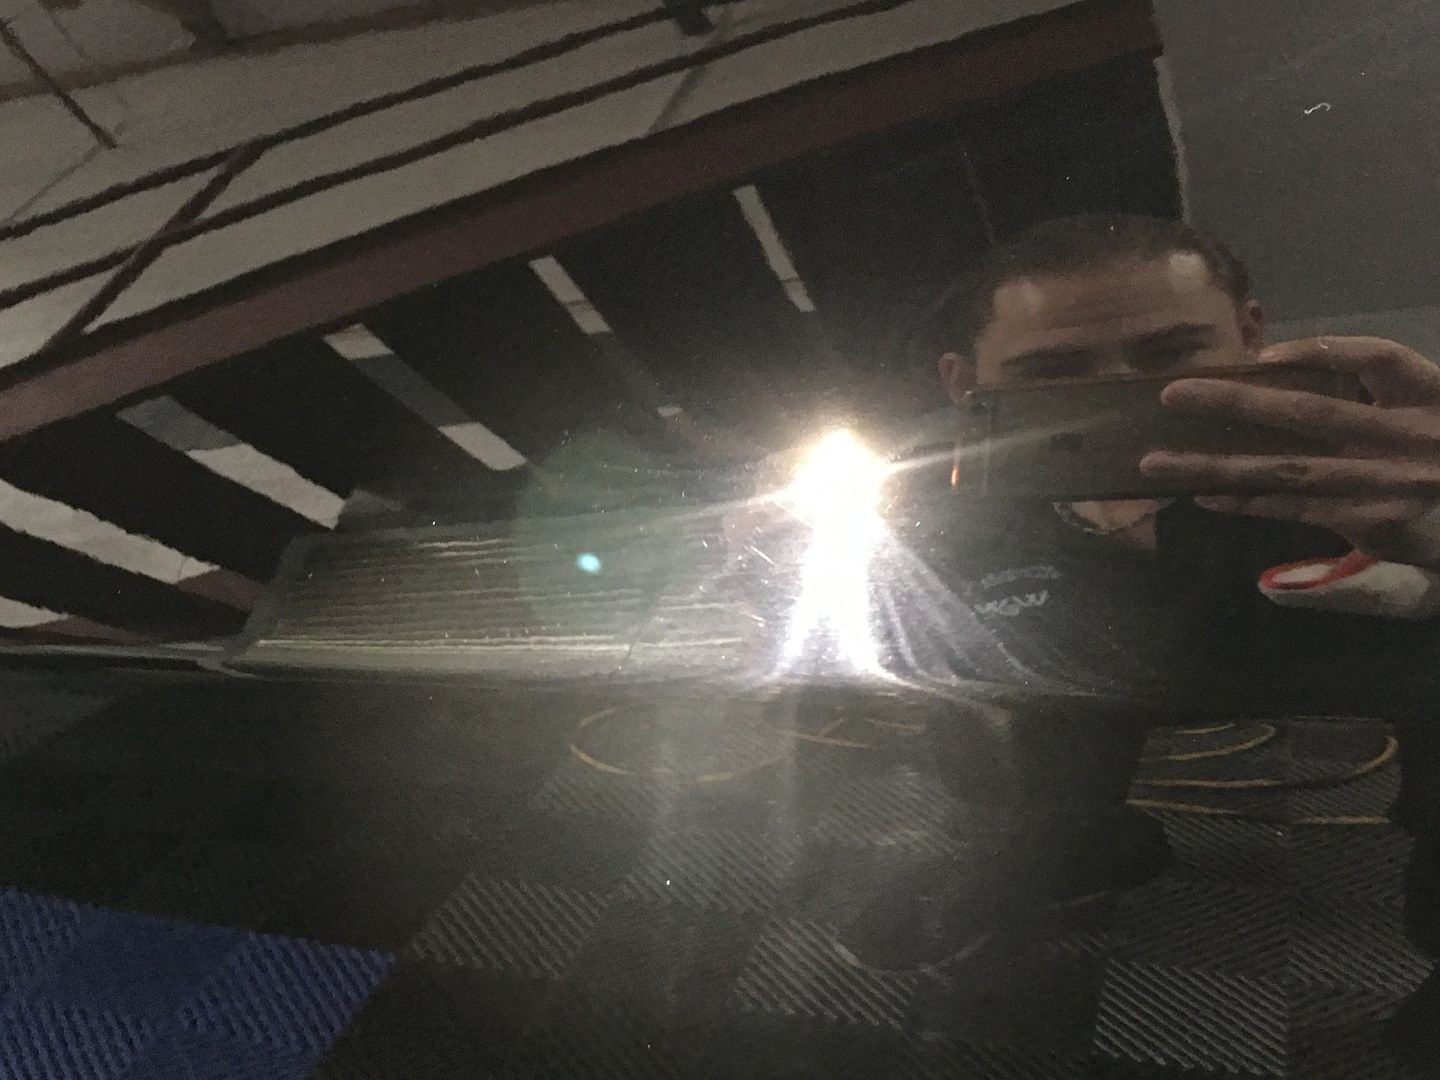
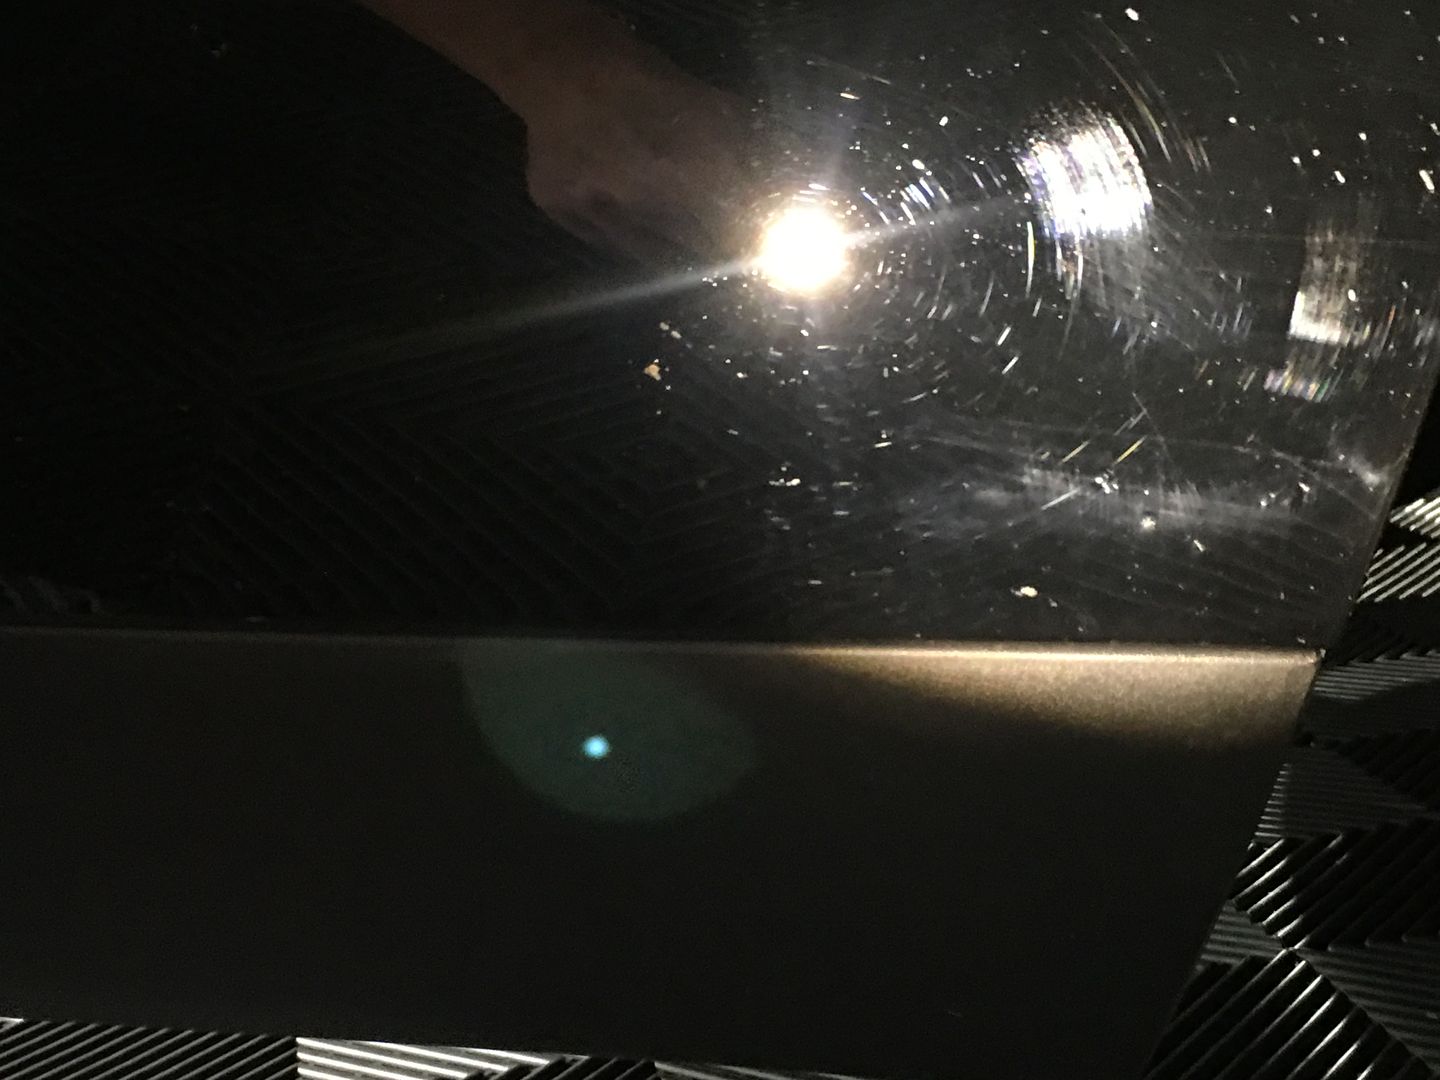

As you can see, this was not an "isolated" infestation of swirls. No no, they had taken over! Top to bottom, this whole car was covered with buffer trails, sanding marking, rids and even some things we are not able to fix (fish eyes and solvent pops). We had, undoubtedly, quite the battle in front of us.
The first step was of course, dialing in our process. We needed a combo that would cut all this damage out but would leave the finish in decent condition to where we would not have to do an abundance of final polishing steps to try to clear up every little faint tic mark in the paint. The better our first step looked - the easier our following step(s) would be.
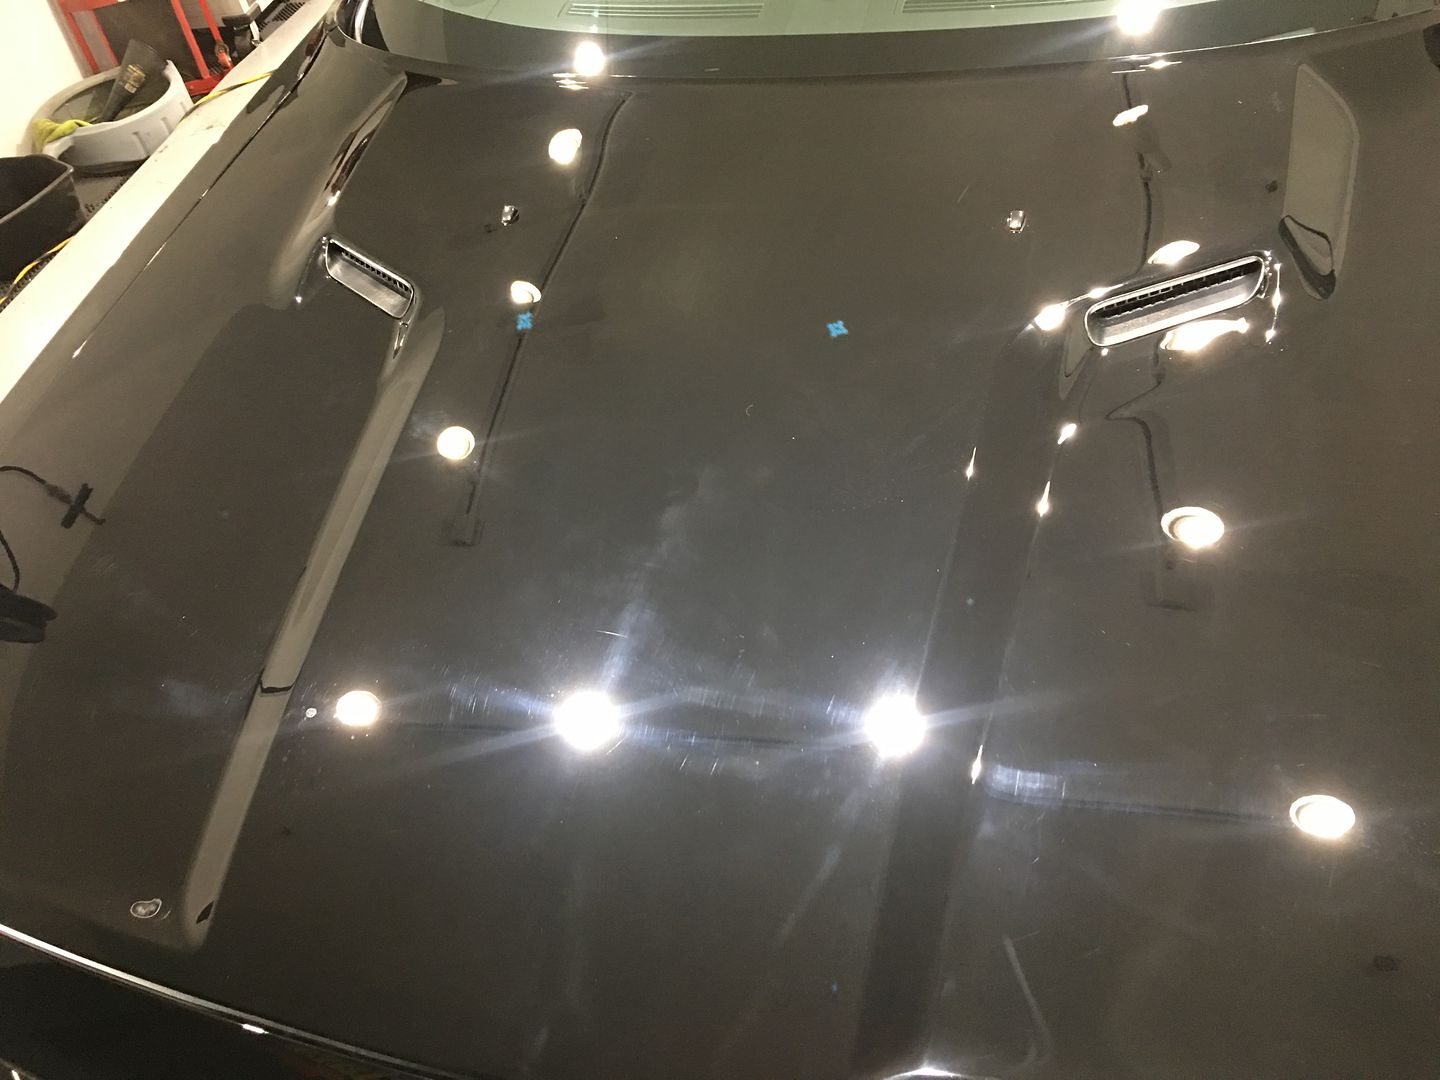
For this lovely, we reached for our Rupes 21's, Meguiars Burgundy cutting discs and Meguiars M205 (yup, 205). This combo actually did an extremely impressive job at cutting out all of this mess without leaving a ton of hazing:
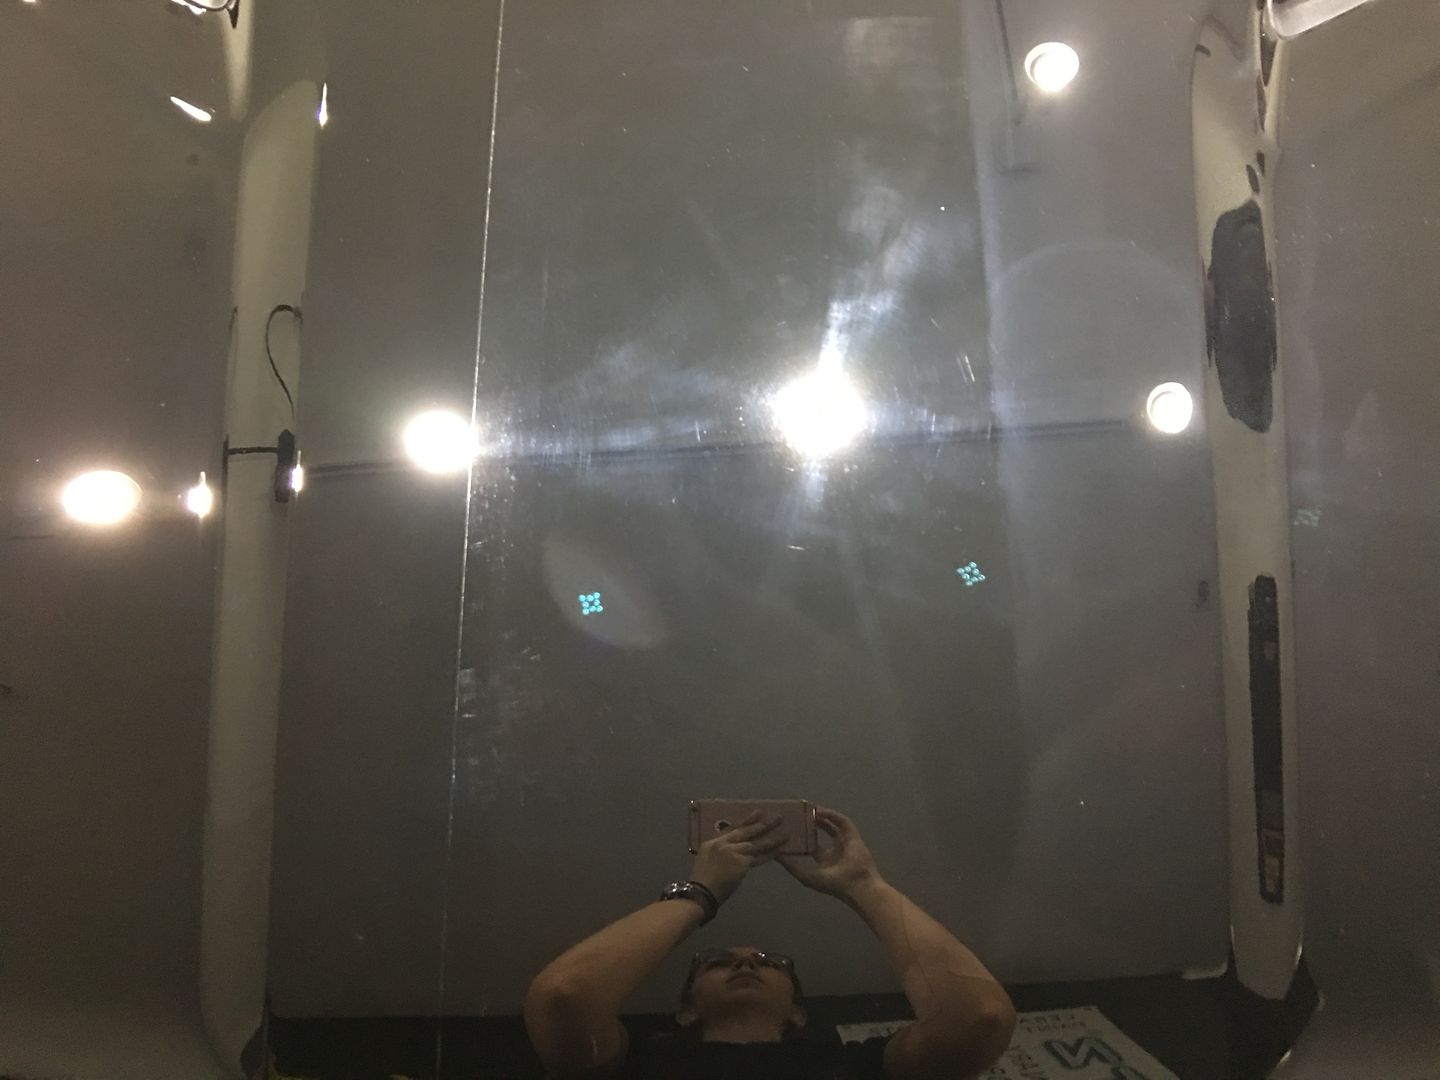
If you look closely on the right side, in the upper left corner of that section, you can see some light hazing. This was even more evident on the hood test area:

Here you can see the middle is completely undone, the right side has been "cut" with the combo listed above and the left side has been completely finished.
Now that we knew the combo for our first line of attack, it was off to the races. A very slow, tedious, time consuming race!
As noted above, we wanted to make sure our cutting step was relatively "easy" to polish down to a perfect gloss with our final polishing step. This combo ended up being Carpro's Essence combined with a black Meguiars Finishing disc:
I think it's safe to say, we made a nice improvement...just a lil bit.
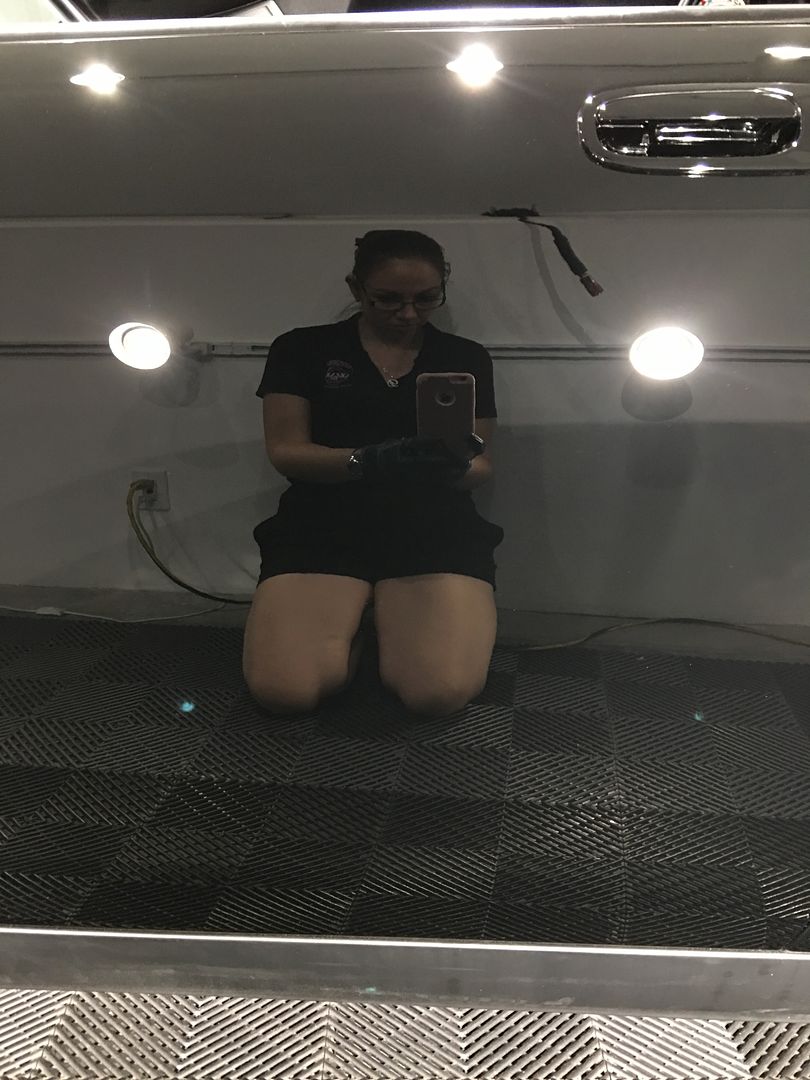
This was most definitely a team effort...everybody had hands on this guy at some point or another.
For once, it was Daniela taking the picture and showing that hey, I actually do work and not just do write ups
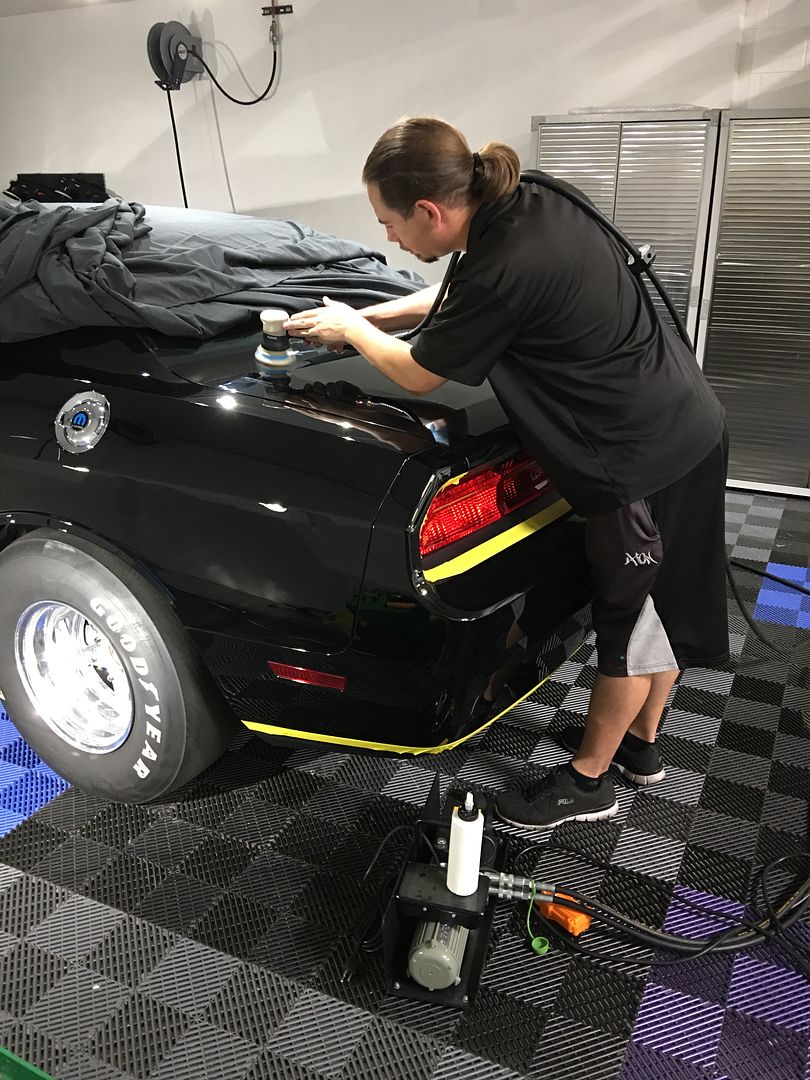
For the upper part of the trunk our Rupes 75 pneumatic was a dream as always. We combine it with a Carpro Gloss Pad for finishing work. It fit right into that slight curve just perfectly and left an insane amount of gloss in its wake.
Another interesting note on these cars...the owner informed us the side windows are plexi-glass. Thus much easier to scratch than standard glass. We took a little extra precaution by applying plastic over them and of course taped off ALL 1,832 miles of plastic trim as well.

Here's a quick little detailers tip - for full correction work like this, especially with many hours and many hands on the car, its often easy to miss something. It happens. However, thats why after our final polishing step we will meticulously circle the car to see if we did in fact miss something. If we find anything, we'll then use a grease marker to mark off the area to let whoever is doing the spot polishing/correcting know "Hey, this needs attention".
It was very small, but we saw it, so we wanted it gone!
For especially deep sanding marks like what we had circled, Meguiars M100 was what we reached for to be able to give us the extra cut we needed in order to remove deeper scratches such as those.
Our little Rupes iBrid Nano also comes in extremely handy for jobs like this. Put into rotary mode, it was a great tool to trace around the badges to get as close as possible without damaging the badge itself:
I know many will tape badges off and we sometimes do as well - but in some cases we do not due to the fact that there is almost always a little bit of glue residue from the tape that gets caught in our towel or pad and ends up leaving gummy **** on the paint (which then leads to marring the paint when you try to remove it!)

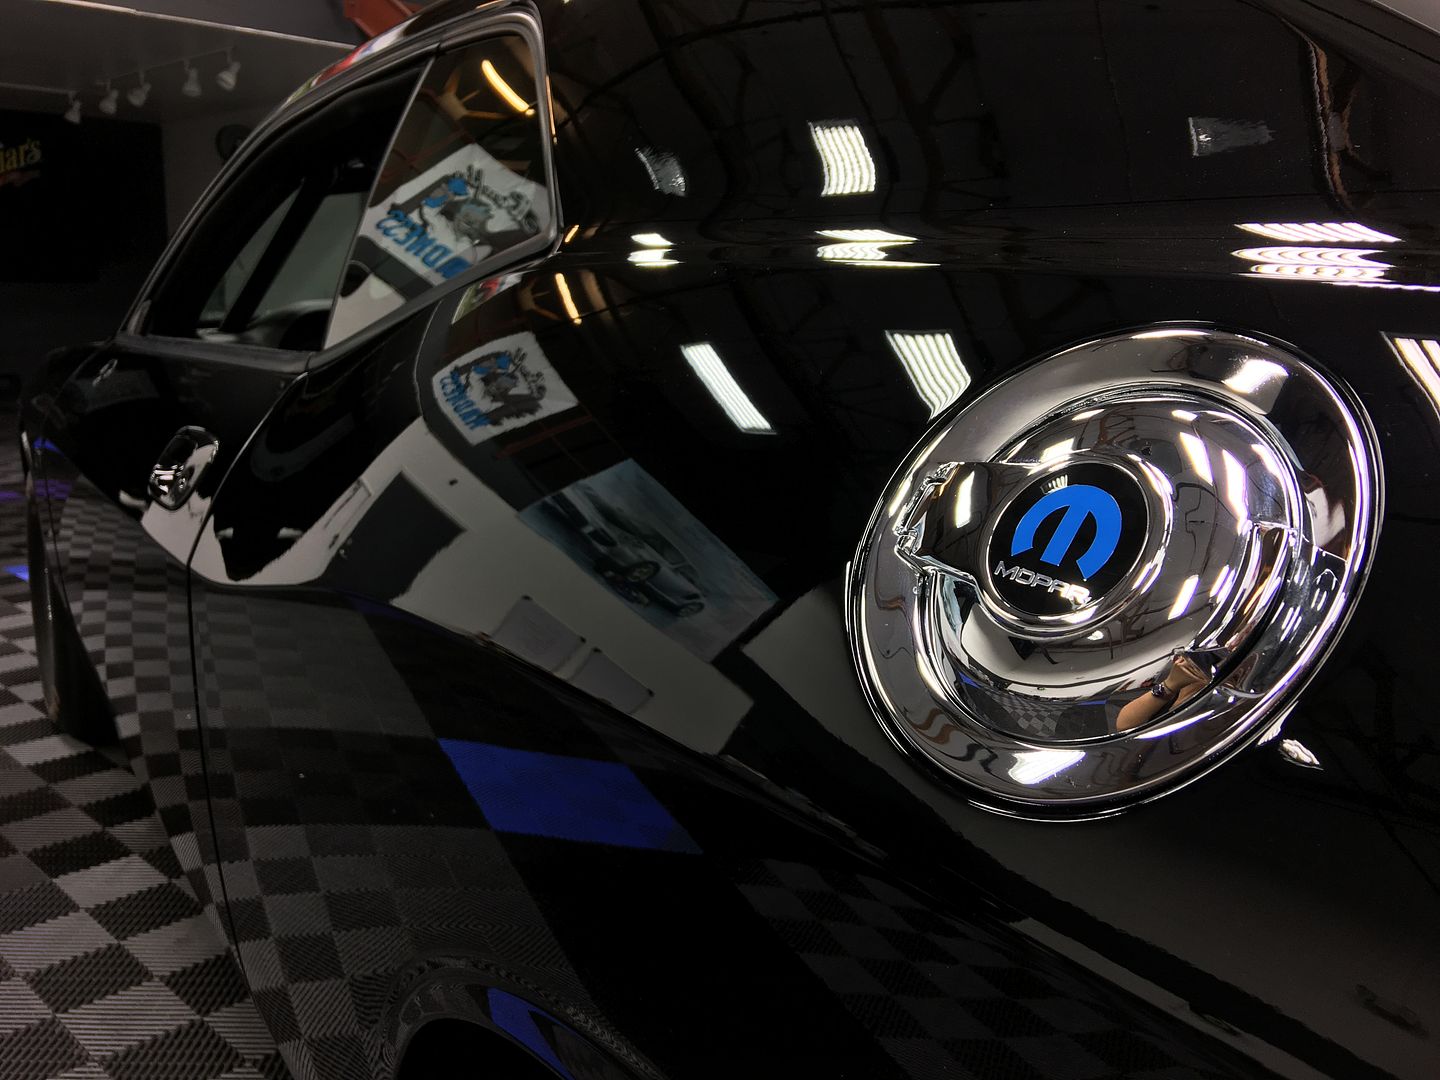
Finally, after multiple days and multiple hours - the correction was complete and it was time to get to the good stuff. A super rare car deserves a super rare coating - and the new CQuartz Finest Reserve was up to bat:
After two coats, with an hour of wait time between coats - the gloss on this unique Challenger was coming to life:

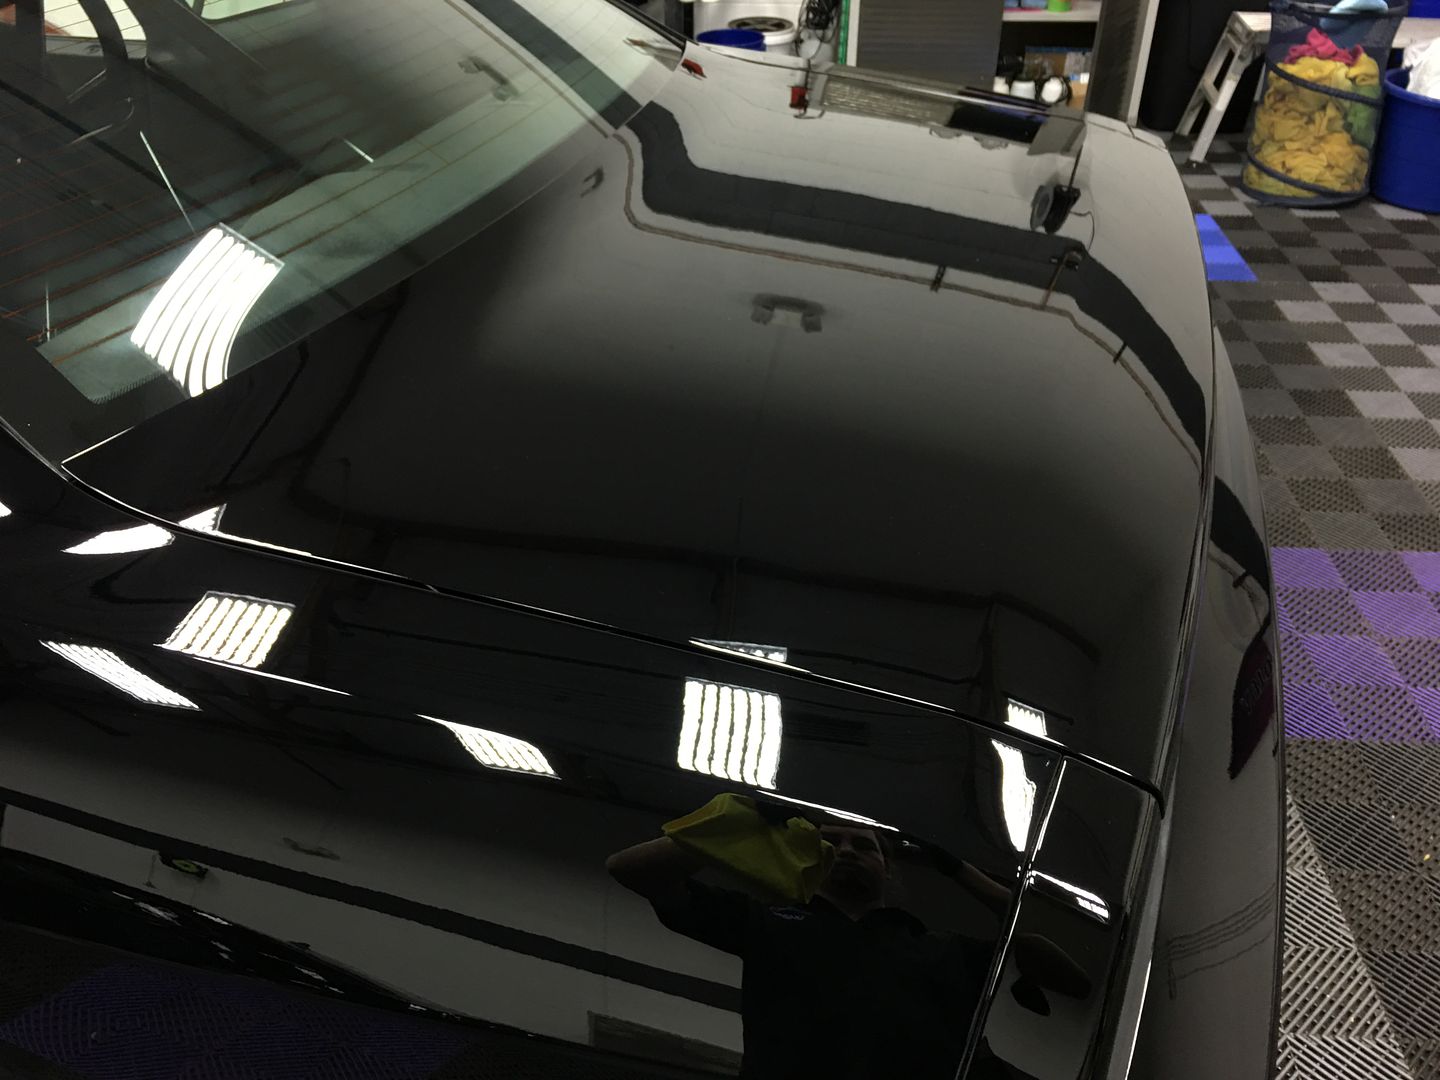
You can see our infrared lamps in the reflection of the fender here. I.R lamp curing is a must when installing a high grade coating. It allows the coating to actually swell up and cure a bit thicker, harder and glossier. It also catalyzes the bonding of the product to the paint, which is most definitely what we want.
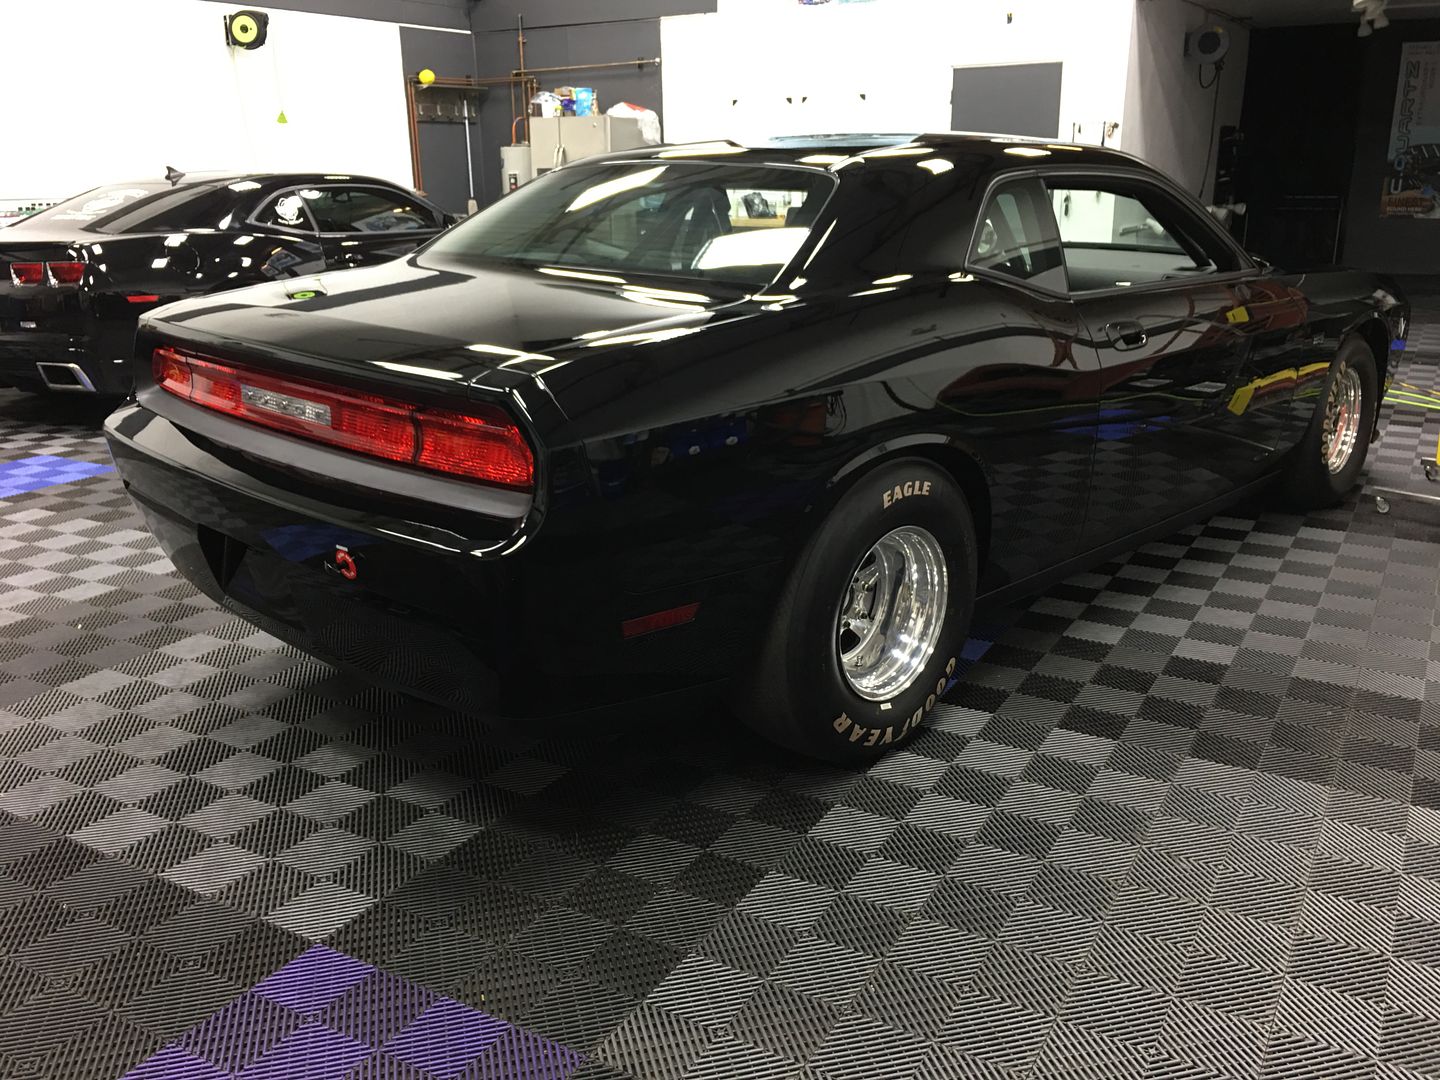
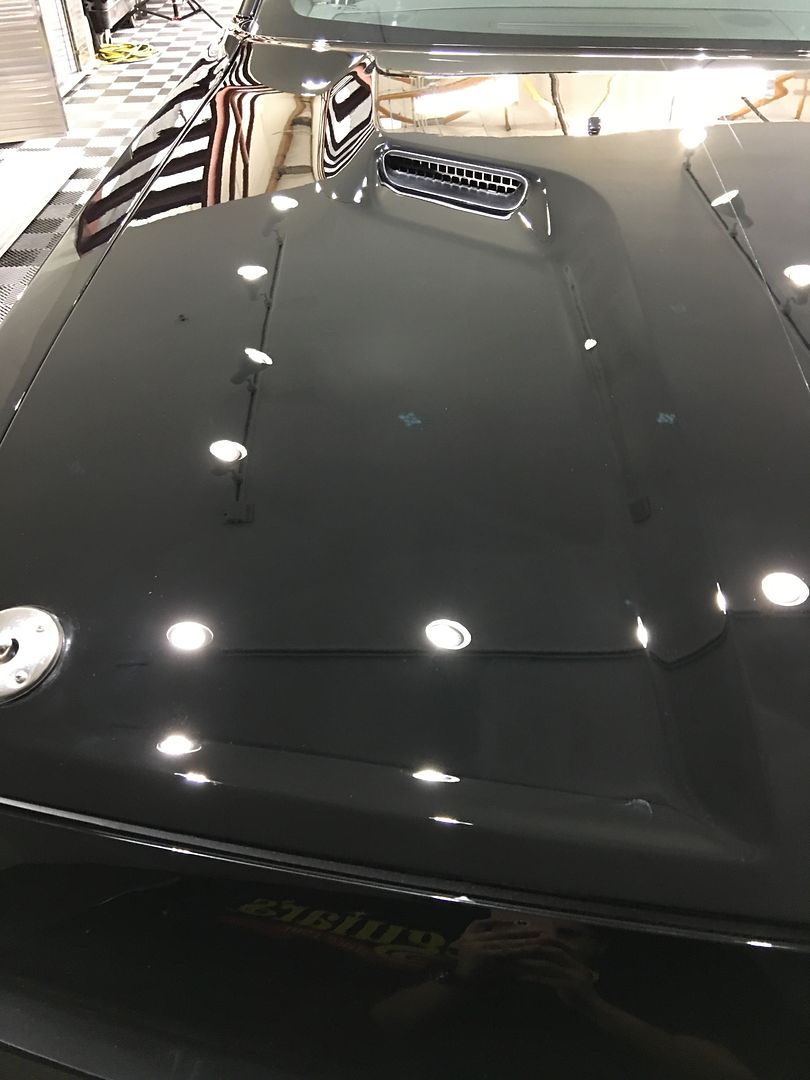
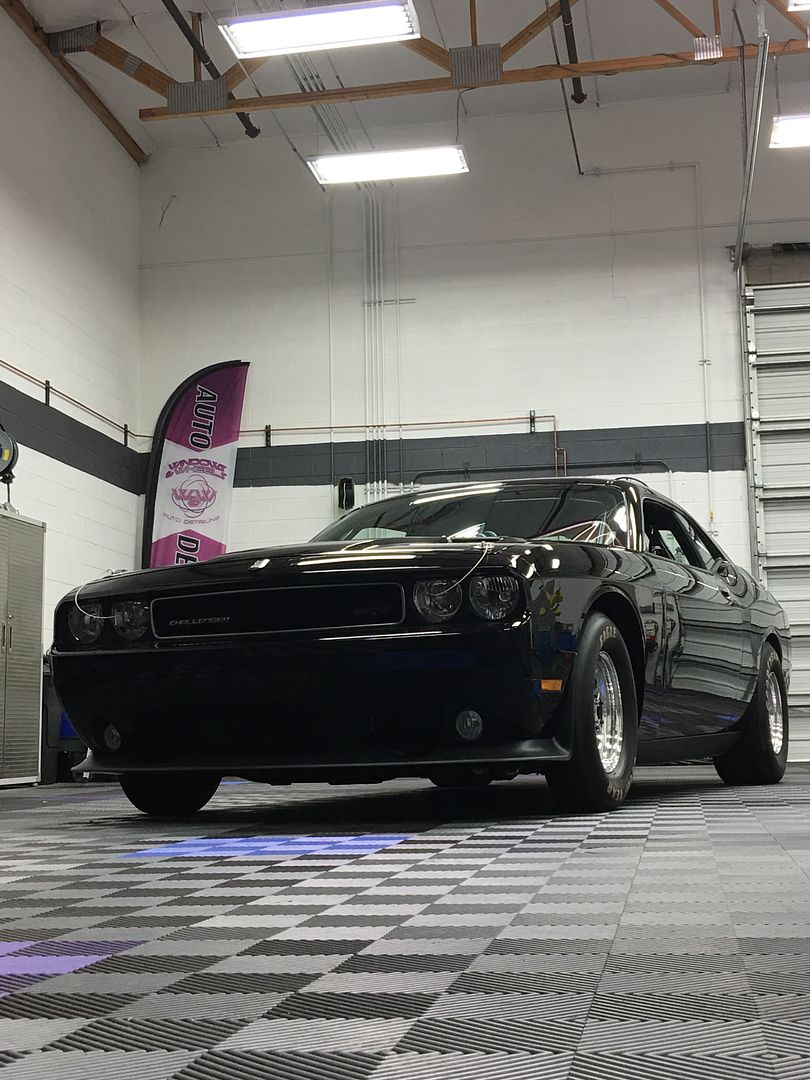
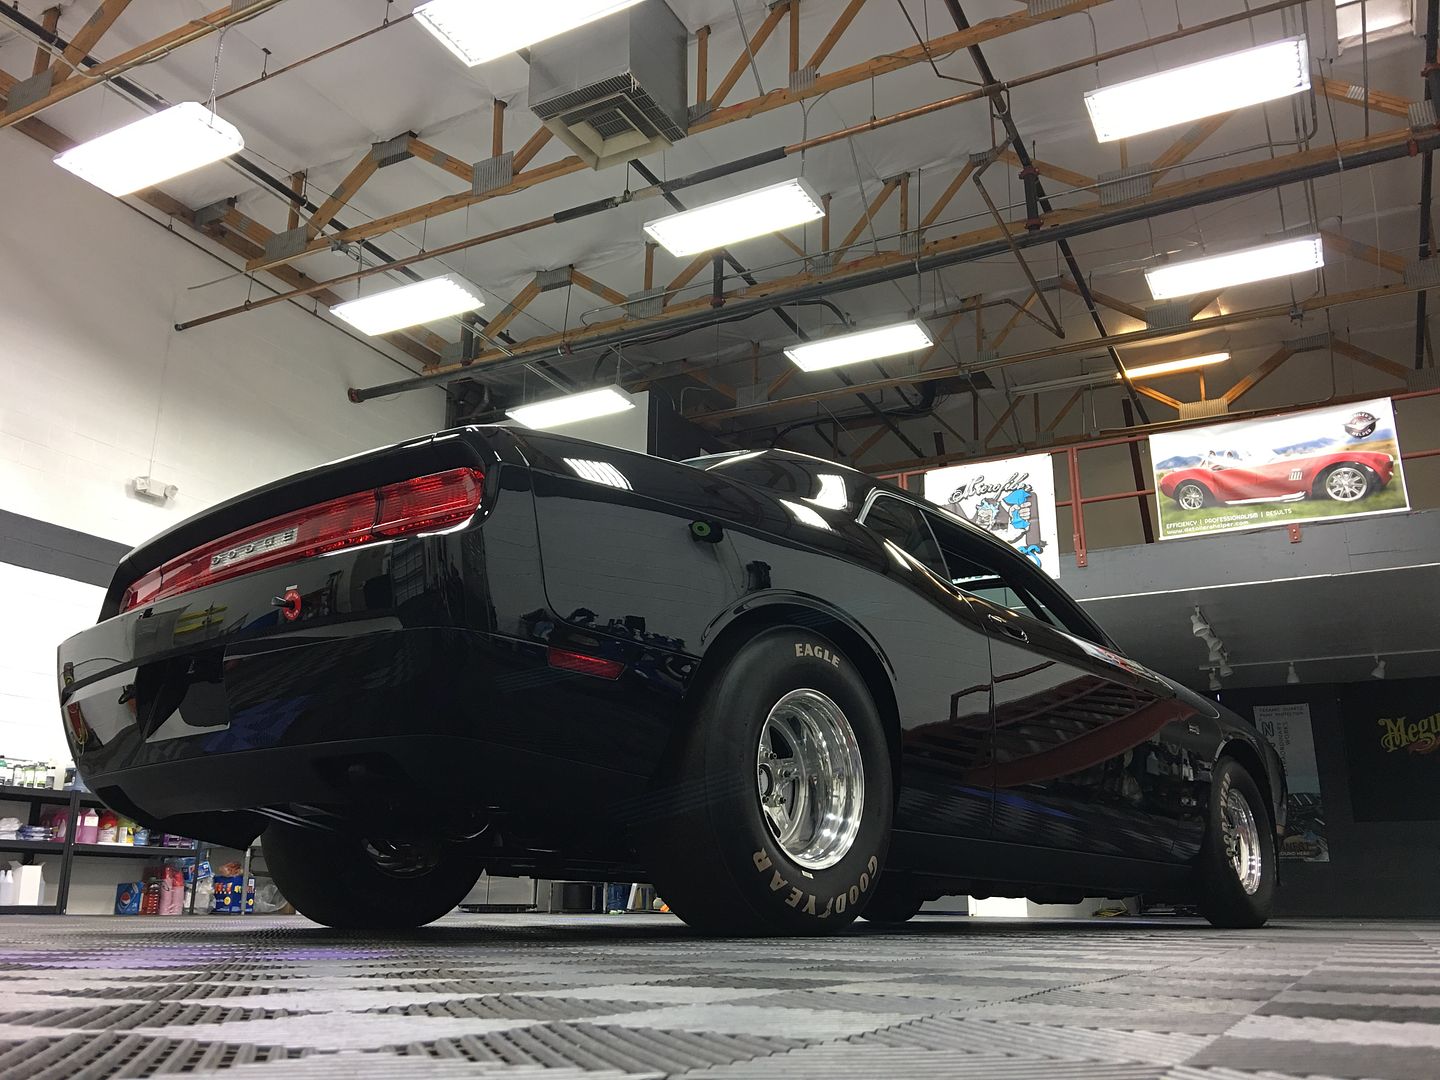
The finished product was most definitely something to behold.
One of my favorite shots:

It was a long and hard fought battle - but in the end we were able to win. Considering this was the 3rd vehicle the same owner has brought to us - I think its safe to say he's been satisfied with our work (the others were also both black, both swirled and both awesome muscle cars - GT350 and an all original 1981 Z28 Camaro w/5,000 original miles).
I hope you all enjoyed the eye candy, the process and more of the eye candy! I will be back soon with more fun paint correction and details we've been working on.
If you're curious to see what we're up to day to day - feel free to follow us on facebook. We're always doing posts, videos and live feeds to keep things fun
Thanks all!
Having to be trailered to our Gilbert location (due to it not being street legal) - it had a rather unassuming presence about it. From 10 feet back, if you didn't take note of the racing slicks,
you wouldn't know this was a 1 of 50 Dodge Challenger Drag Pak.

If you did happen to walk up a bit closer to take a look at the inside, the fully caged interior may pique your interest:


However, once you walked up to it and saw what was under the hood...your intrigue would likely be confirmed

The small badges on the fenders also were a small indicator of the power this monster packed:

Now while we all love cool / rare cars, this story focuses around the appearance (specifically the paint) of this Drag Pak and how we took this:


And turned it into this:

Now then, if you've recovered from the initial shock of how bad this paint was before, we will continue our journey...
You see, the paint on this Challenger was not totally factory. It had been re-sprayed and received a full wet sand (evident by all the sanding marks LEFT in the paint!) to remove orange peel and achieve a higher level of clarity. However, that whole clarity and gloss thing doesn't quite come together without the proper finishing work. While in the shade the reflections were decent and not as "wavy" as you typically see on todays factory paint jobs, under direct lighting the paint's finish was fairly frightening.
Lets take a closer look at the car in its entirety:


As you can see, this was not an "isolated" infestation of swirls. No no, they had taken over! Top to bottom, this whole car was covered with buffer trails, sanding marking, rids and even some things we are not able to fix (fish eyes and solvent pops). We had, undoubtedly, quite the battle in front of us.
The first step was of course, dialing in our process. We needed a combo that would cut all this damage out but would leave the finish in decent condition to where we would not have to do an abundance of final polishing steps to try to clear up every little faint tic mark in the paint. The better our first step looked - the easier our following step(s) would be.
For this lovely, we reached for our Rupes 21's, Meguiars Burgundy cutting discs and Meguiars M205 (yup, 205). This combo actually did an extremely impressive job at cutting out all of this mess without leaving a ton of hazing:

If you look closely on the right side, in the upper left corner of that section, you can see some light hazing. This was even more evident on the hood test area:

Here you can see the middle is completely undone, the right side has been "cut" with the combo listed above and the left side has been completely finished.
Now that we knew the combo for our first line of attack, it was off to the races. A very slow, tedious, time consuming race!
As noted above, we wanted to make sure our cutting step was relatively "easy" to polish down to a perfect gloss with our final polishing step. This combo ended up being Carpro's Essence combined with a black Meguiars Finishing disc:


I think it's safe to say, we made a nice improvement...just a lil bit.
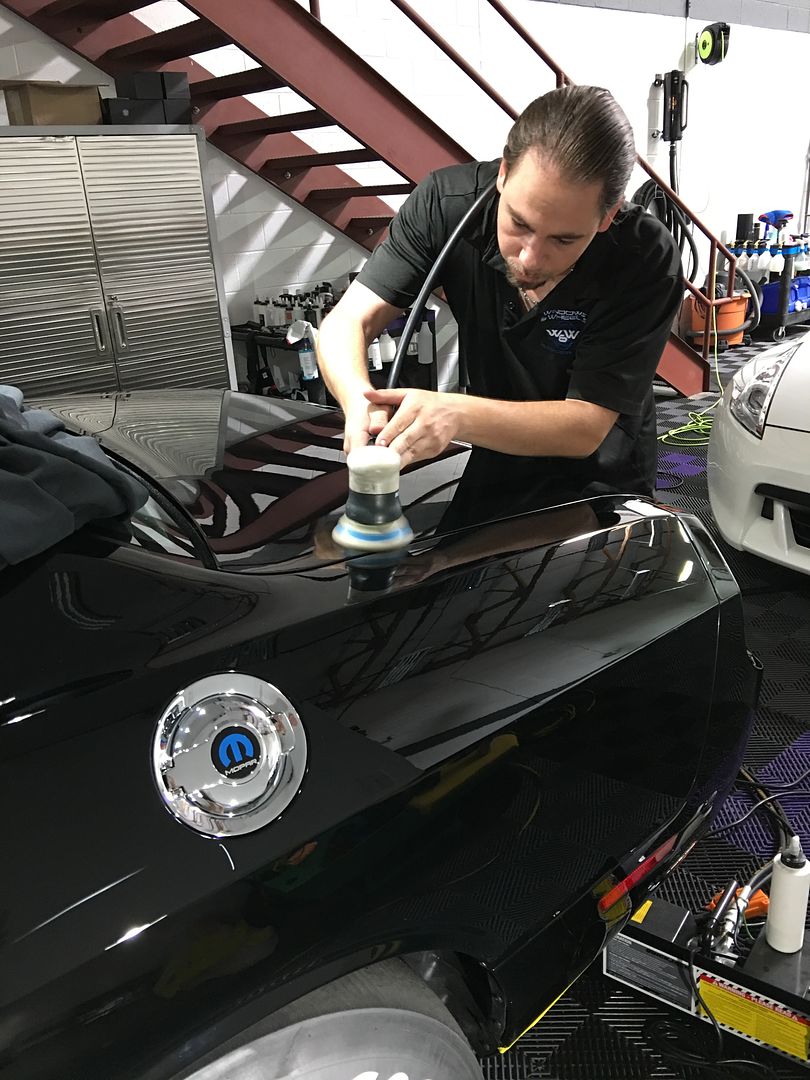
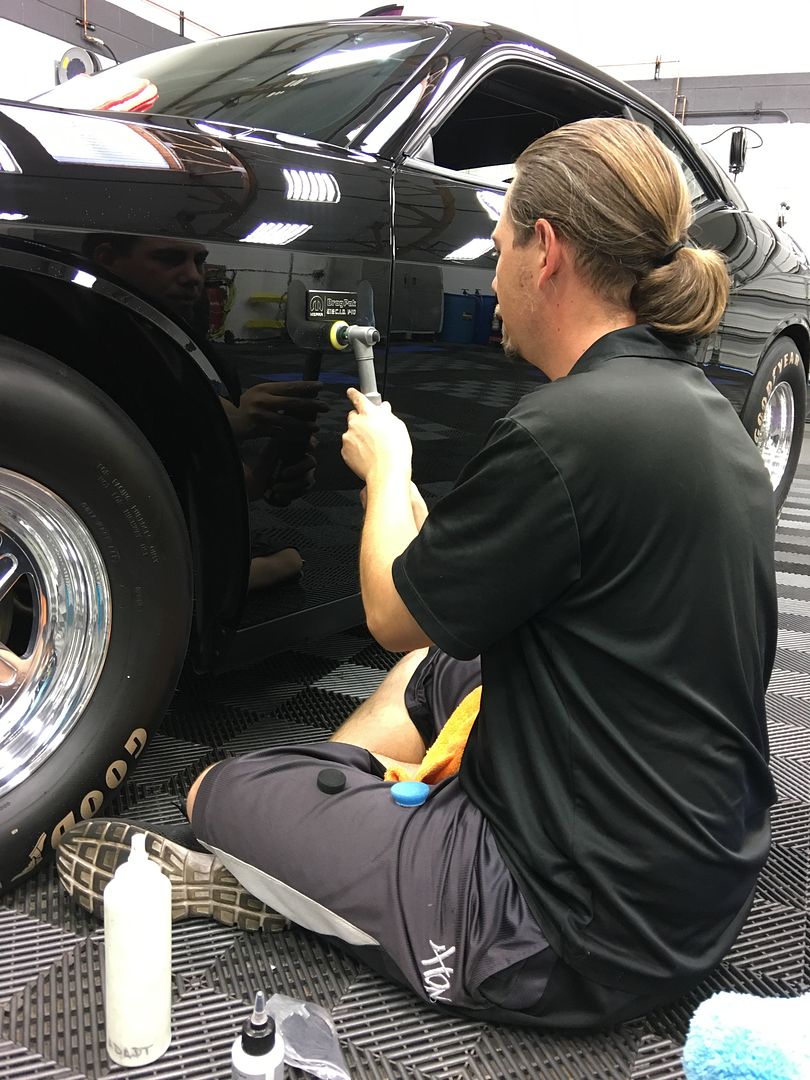
This was most definitely a team effort...everybody had hands on this guy at some point or another.
For once, it was Daniela taking the picture and showing that hey, I actually do work and not just do write ups


For the upper part of the trunk our Rupes 75 pneumatic was a dream as always. We combine it with a Carpro Gloss Pad for finishing work. It fit right into that slight curve just perfectly and left an insane amount of gloss in its wake.
Another interesting note on these cars...the owner informed us the side windows are plexi-glass. Thus much easier to scratch than standard glass. We took a little extra precaution by applying plastic over them and of course taped off ALL 1,832 miles of plastic trim as well.

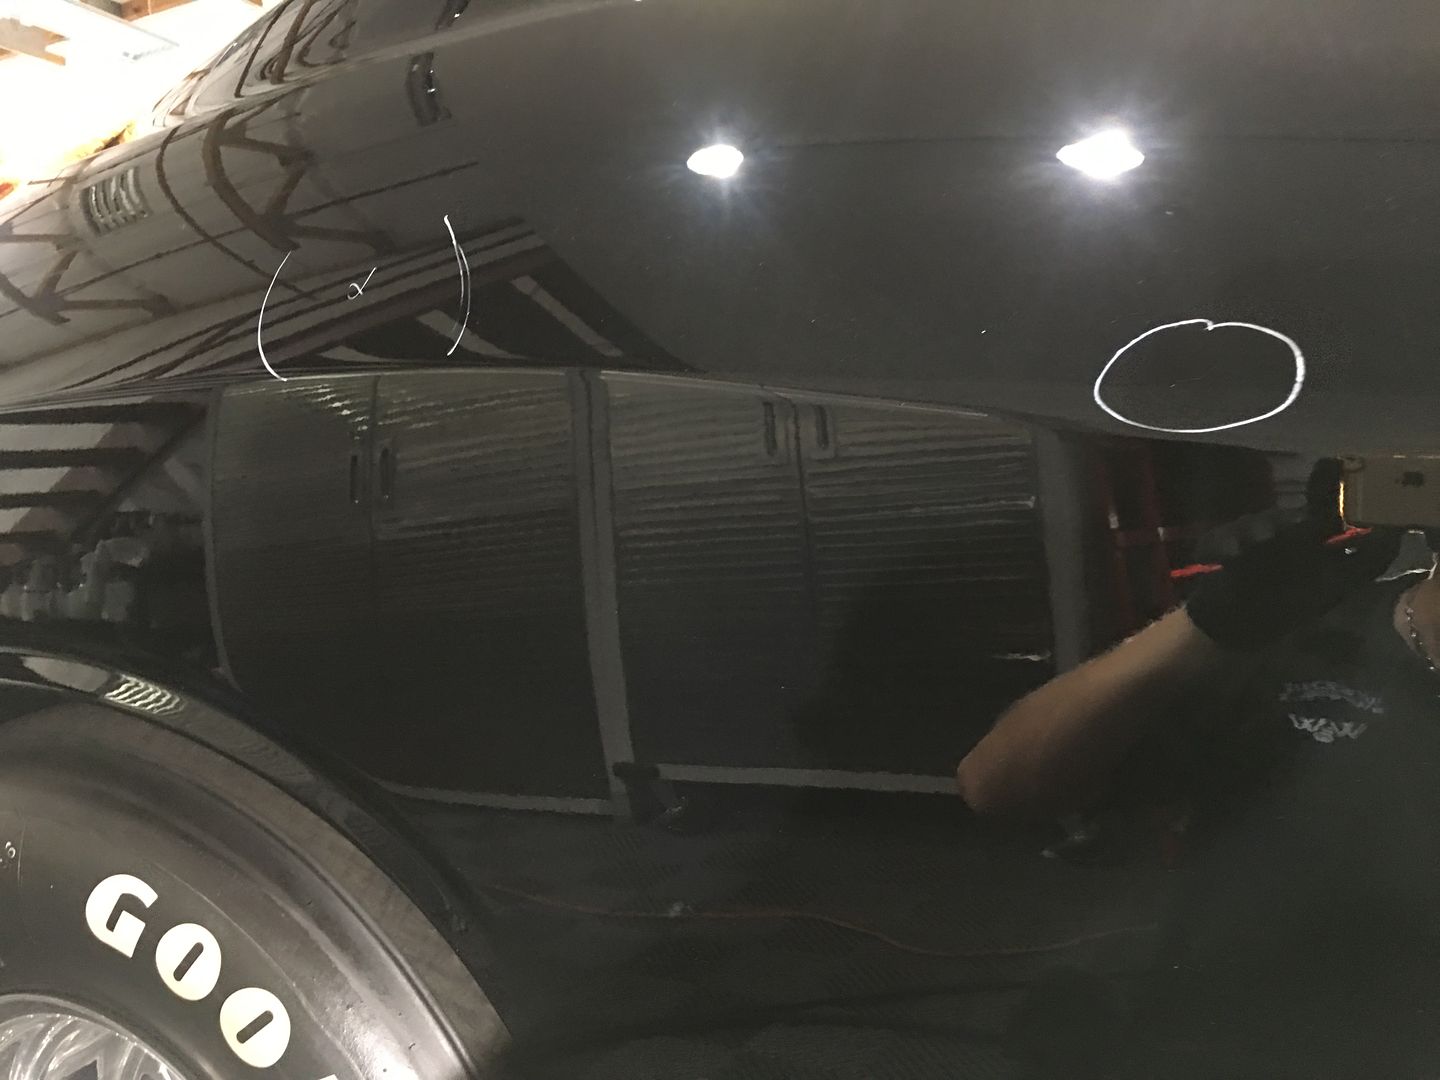
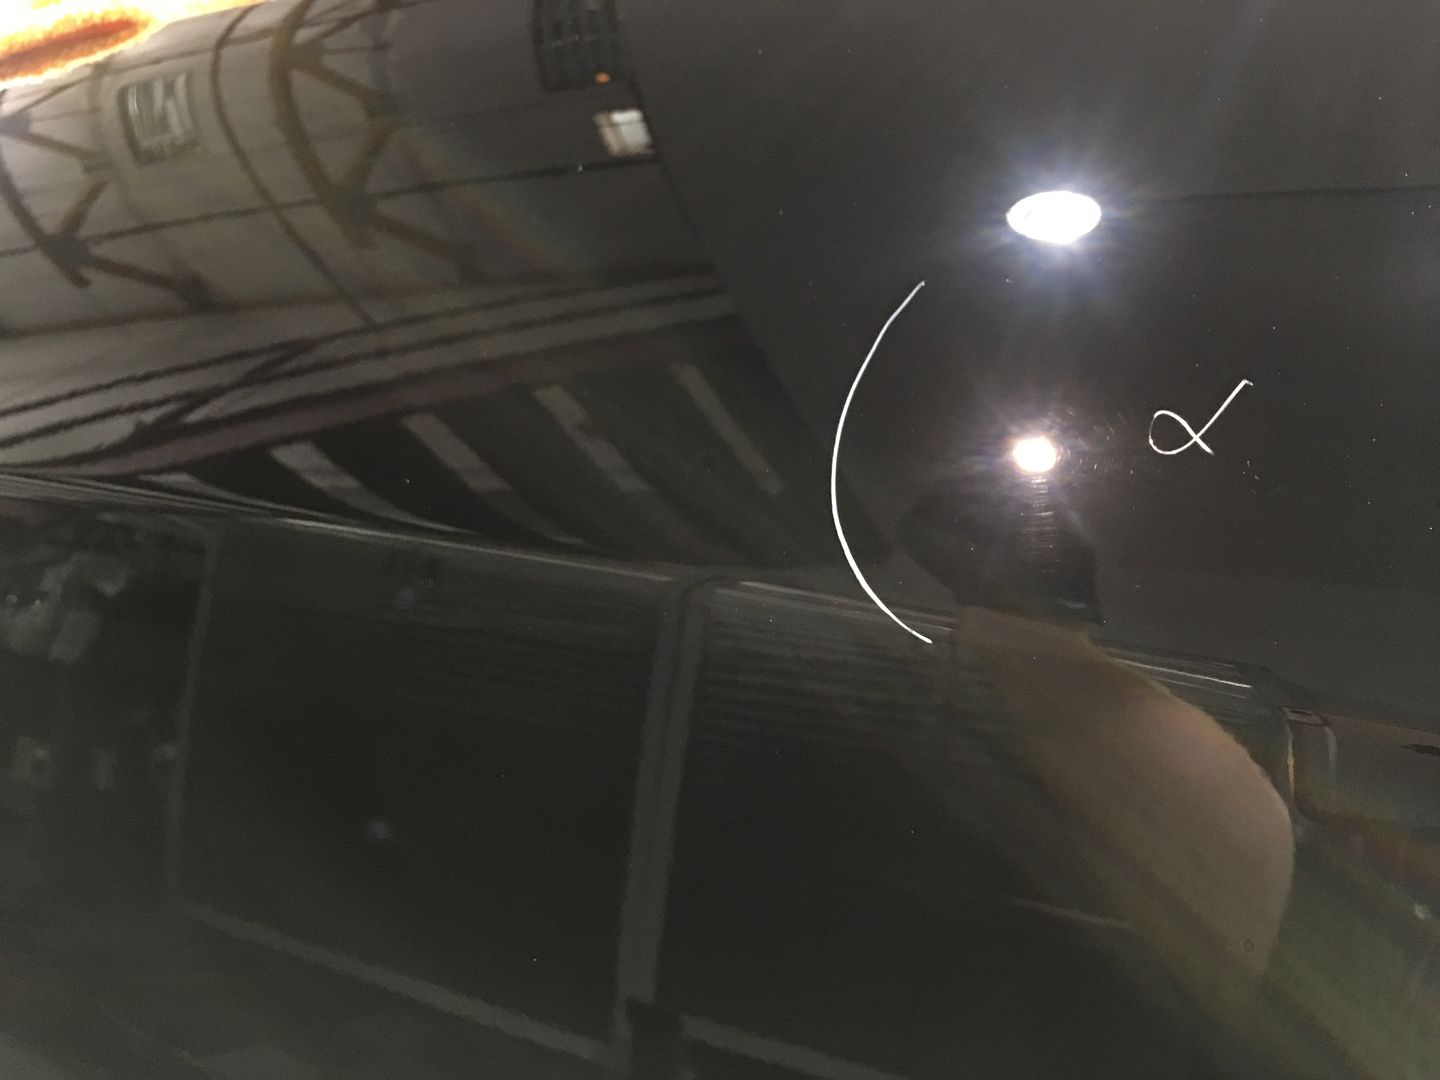
Here's a quick little detailers tip - for full correction work like this, especially with many hours and many hands on the car, its often easy to miss something. It happens. However, thats why after our final polishing step we will meticulously circle the car to see if we did in fact miss something. If we find anything, we'll then use a grease marker to mark off the area to let whoever is doing the spot polishing/correcting know "Hey, this needs attention".


It was very small, but we saw it, so we wanted it gone!
For especially deep sanding marks like what we had circled, Meguiars M100 was what we reached for to be able to give us the extra cut we needed in order to remove deeper scratches such as those.
Our little Rupes iBrid Nano also comes in extremely handy for jobs like this. Put into rotary mode, it was a great tool to trace around the badges to get as close as possible without damaging the badge itself:

I know many will tape badges off and we sometimes do as well - but in some cases we do not due to the fact that there is almost always a little bit of glue residue from the tape that gets caught in our towel or pad and ends up leaving gummy **** on the paint (which then leads to marring the paint when you try to remove it!)

Finally, after multiple days and multiple hours - the correction was complete and it was time to get to the good stuff. A super rare car deserves a super rare coating - and the new CQuartz Finest Reserve was up to bat:

After two coats, with an hour of wait time between coats - the gloss on this unique Challenger was coming to life:


You can see our infrared lamps in the reflection of the fender here. I.R lamp curing is a must when installing a high grade coating. It allows the coating to actually swell up and cure a bit thicker, harder and glossier. It also catalyzes the bonding of the product to the paint, which is most definitely what we want.


The finished product was most definitely something to behold.

One of my favorite shots:


It was a long and hard fought battle - but in the end we were able to win. Considering this was the 3rd vehicle the same owner has brought to us - I think its safe to say he's been satisfied with our work (the others were also both black, both swirled and both awesome muscle cars - GT350 and an all original 1981 Z28 Camaro w/5,000 original miles).
I hope you all enjoyed the eye candy, the process and more of the eye candy! I will be back soon with more fun paint correction and details we've been working on.
If you're curious to see what we're up to day to day - feel free to follow us on facebook. We're always doing posts, videos and live feeds to keep things fun
Thanks all!
Comment