

 Tweet
Tweet
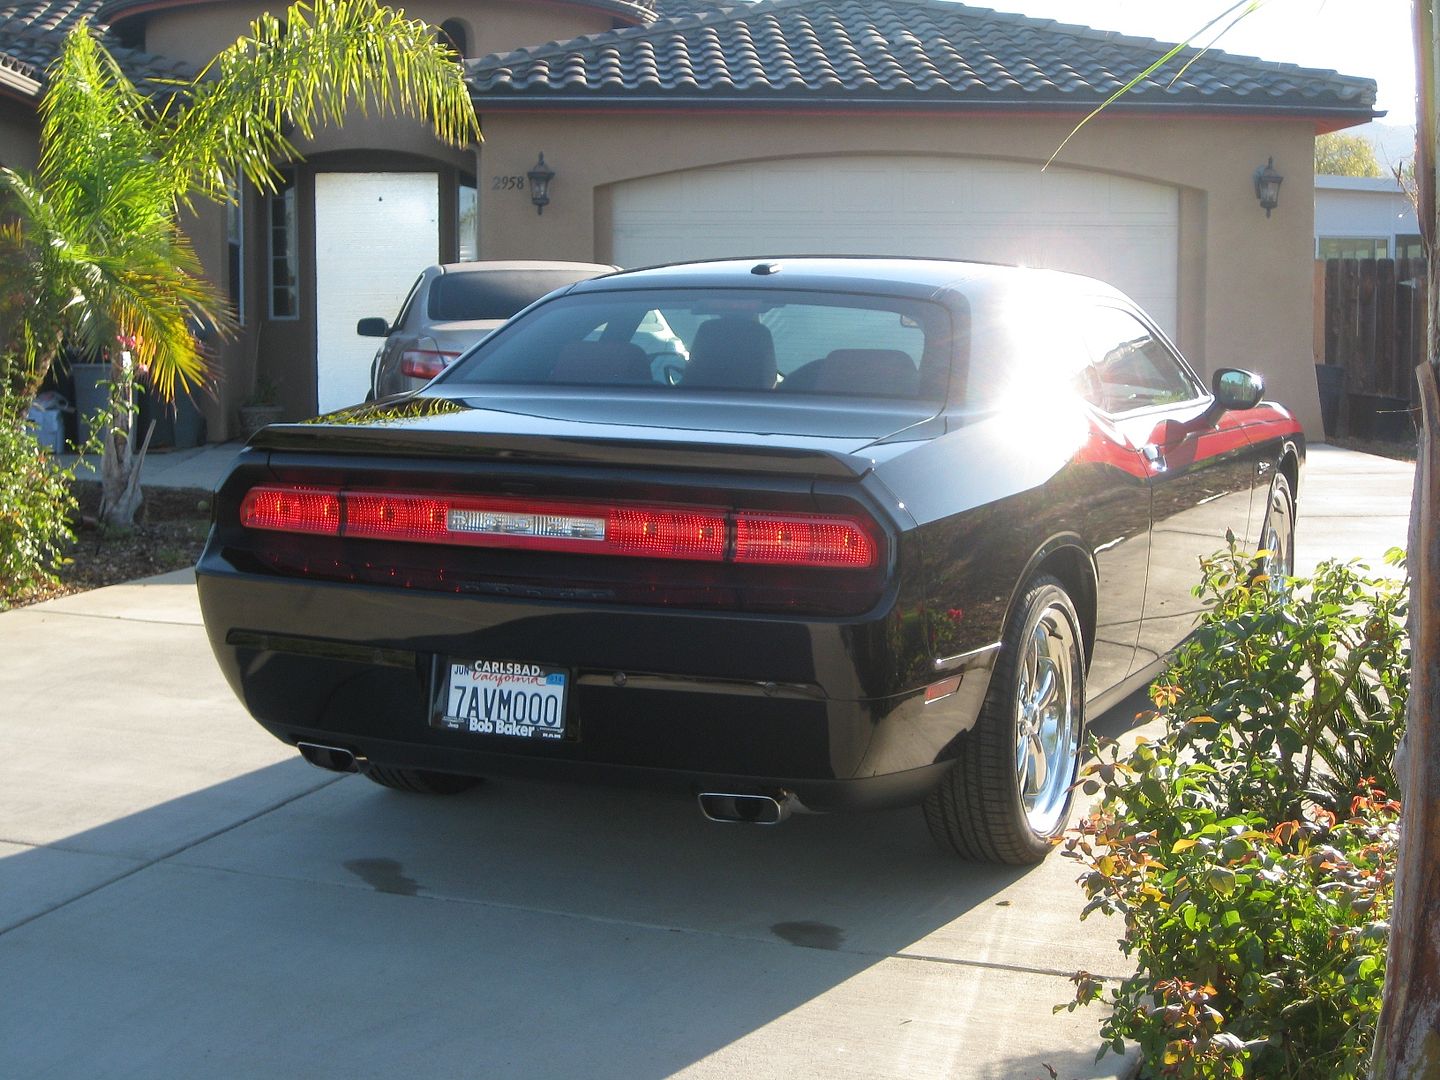
I finally kicked procrastination in the hindquarters this month and finished my first full paint correction on my Challenger R/T Classic, bought 3 months ago and nicknamed the Black Cow by my co-workers because of the unfortunate last 4 characters on my license plate. At the time I purchased my Challenger, the paint was covered with light swirls and the paint felt like sandpaper. There were also several isolated fine scratches that caught my fingernail. Surprisingly, even with those conditions the paint was in relatively good shape considering the Challenger had sat exposed in the sun for nearly 4 months and had probably undergone pressure washes every single day.
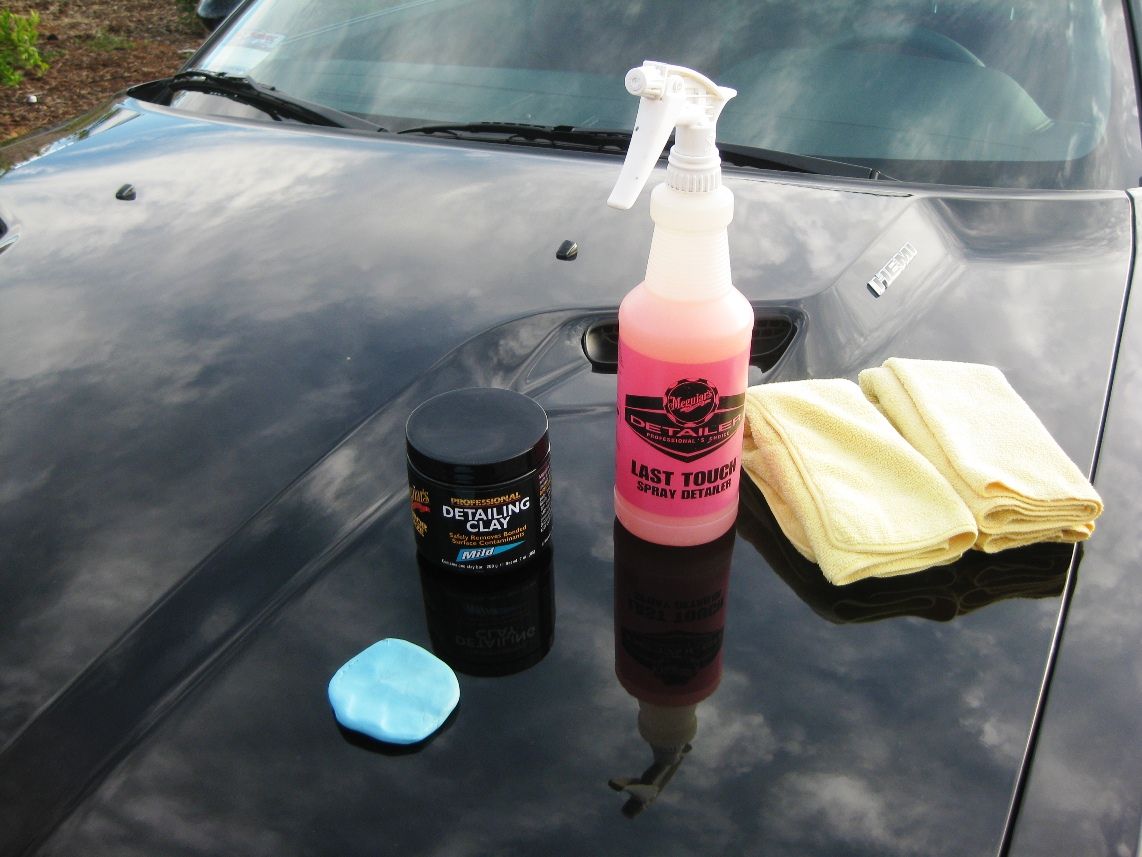
So what do bonded contaminants look like on a Challenger neglected for 100 days on the dealer's lot?

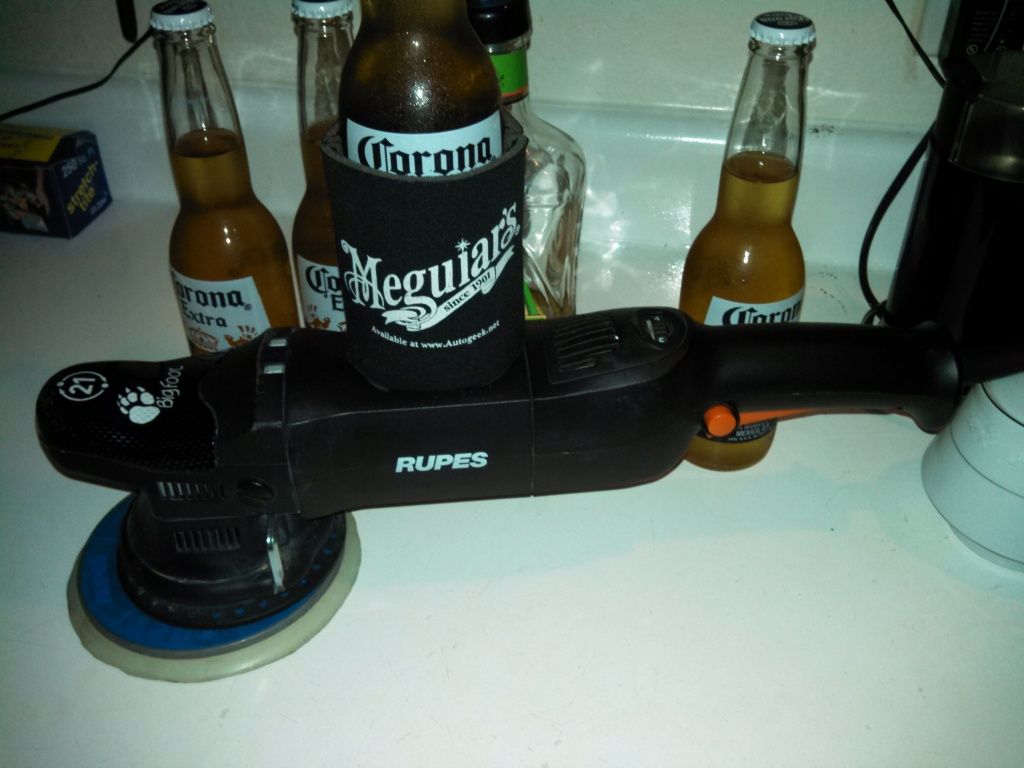
The tools and products I used. Microfiber polishing pads were employed for the compounding stage and foam finishing pads were used for the polishing stage.

The D300 was my primary compound and had more than sufficient cut when combined with my Rupes machine polisher (in the middle) set to speed 4.5 with microfiber polishing pads for the overall light swirl removal. The M100 has a deeper cut and dusts up like a demon, but worked like crazy magic to remove the fine isolated scratches I thought I could probably only blend or diminish without wetsanding - what a pleasant surprise! Thanks Mike! I paired M205 with my Makita rotary polisher set to 900 rpm and used with a foam finishing pad for the polishing stage. NXT tech wax was applied in the final stage as the sealant.
The G110v2 polisher is my dedicated 3" polisher for narrow areas like the A pillar or the bumper cover steps, and the small polisher just above it is that hokey battery operated product that Mario told me to get rid of LOL and that Simoniz used to sell with an equally hokey scratch removal kit, but the polisher itself is surprisingly useful for small areas like inside the 'C' of the Challenger emblem. The gloves are anti-vibration gloves available from Harbor Freight for under $10. Wearing these will helped to eliminate the pins and needles sensation I sometimes felt in my hands and forearms from the oscillating vibrations from the machine polishers.
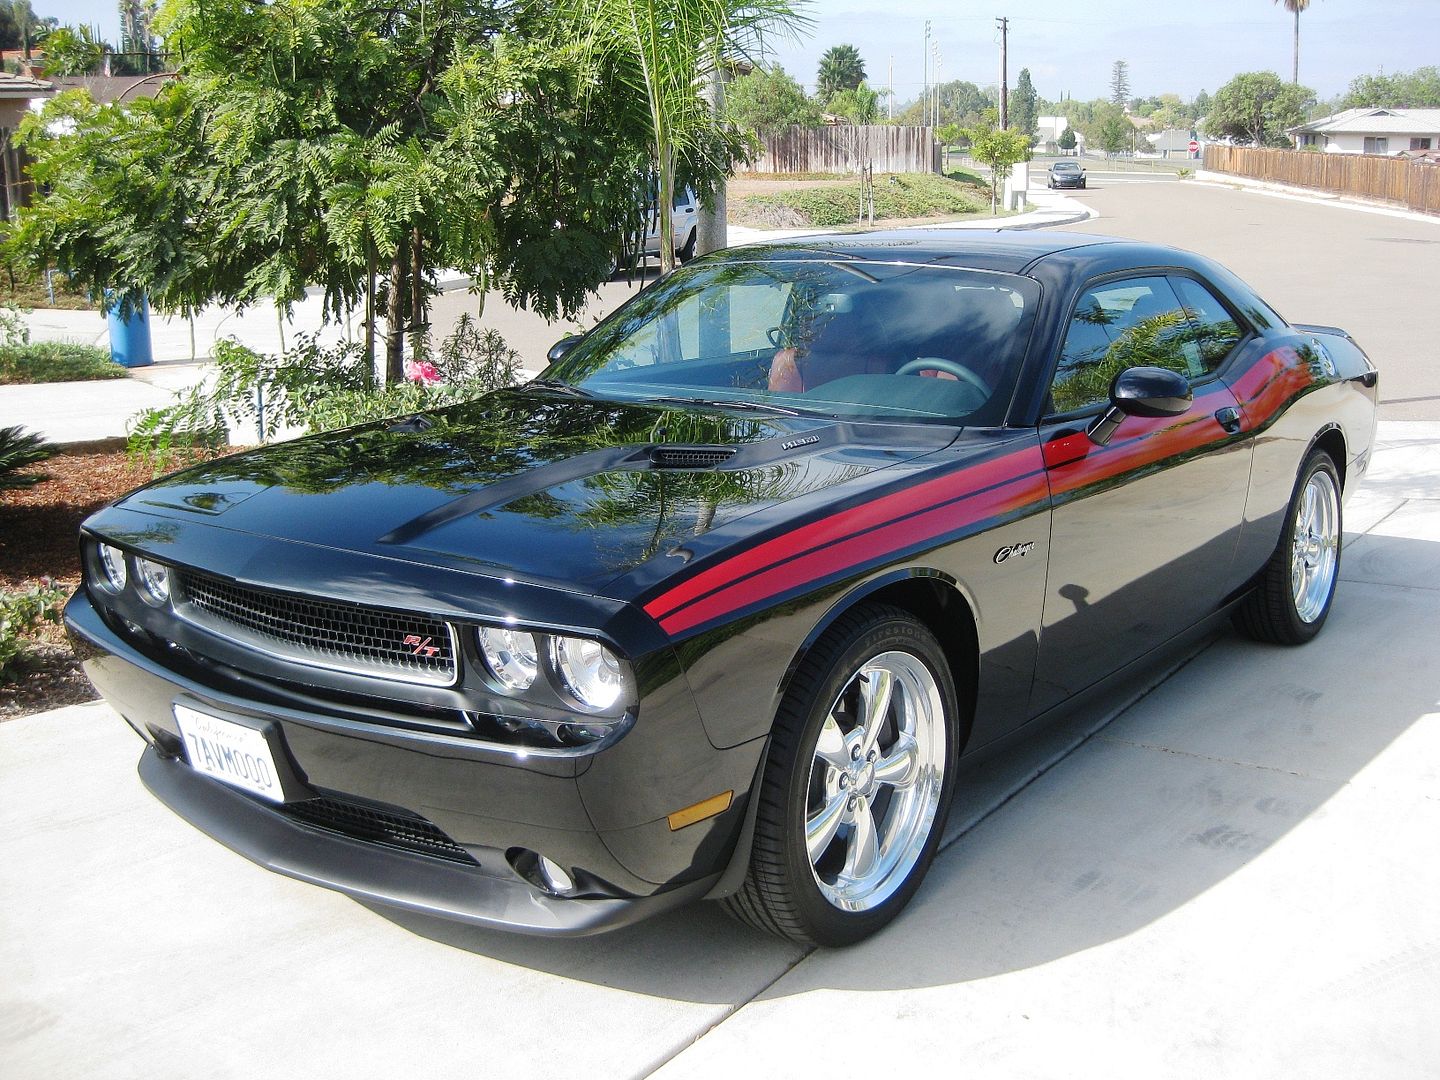
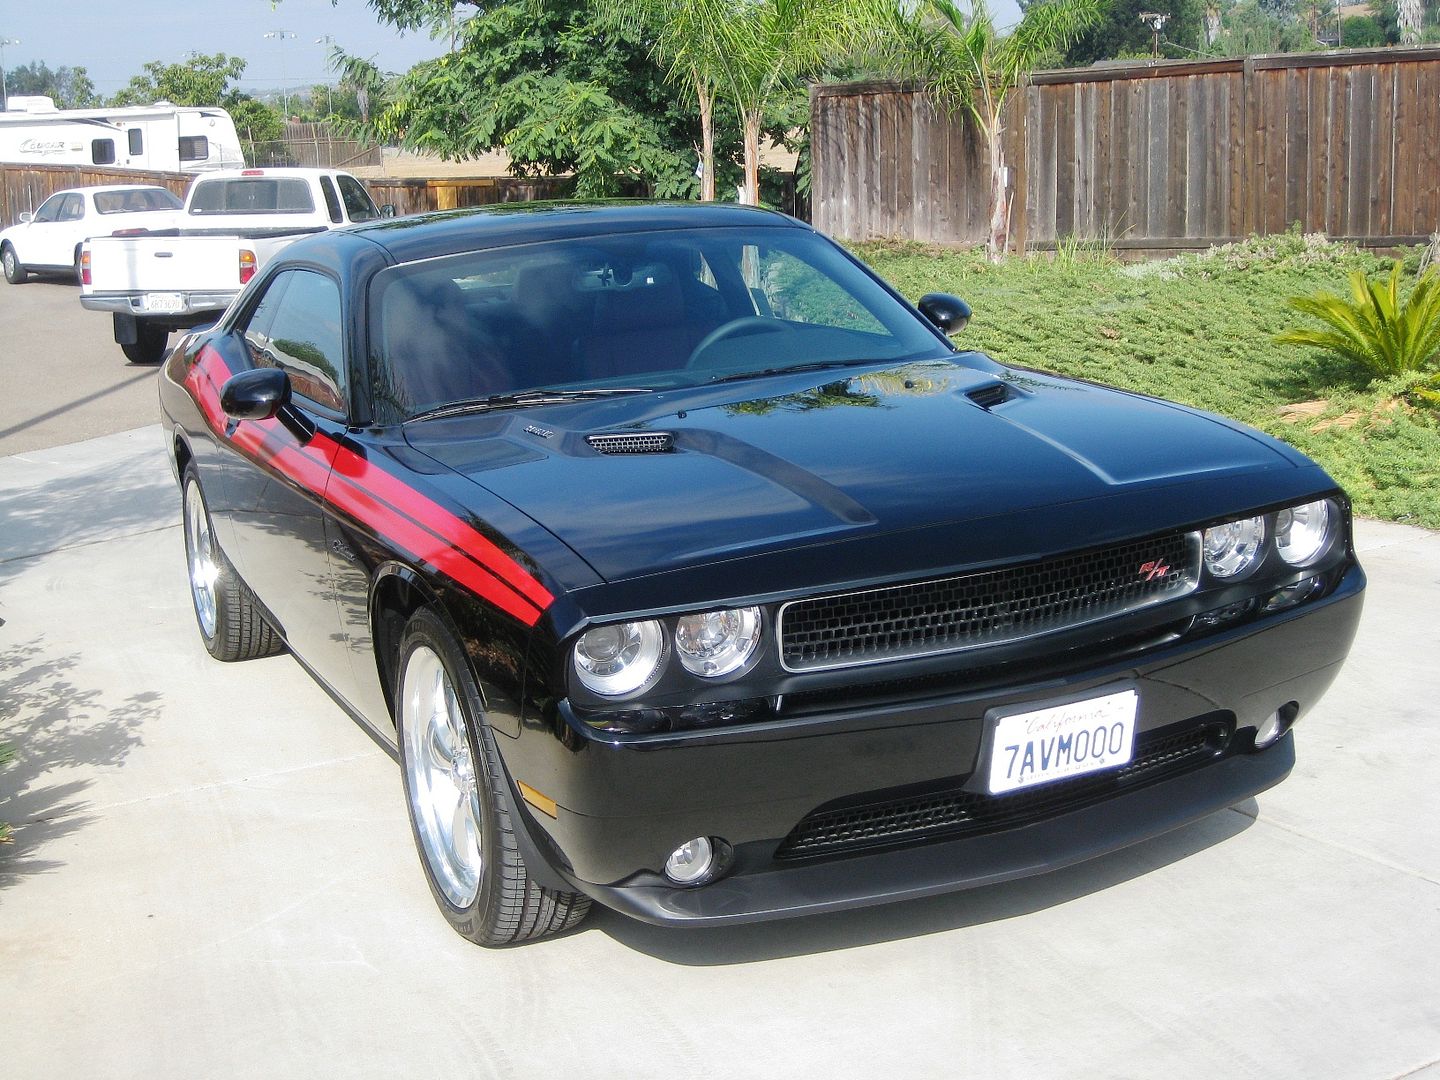
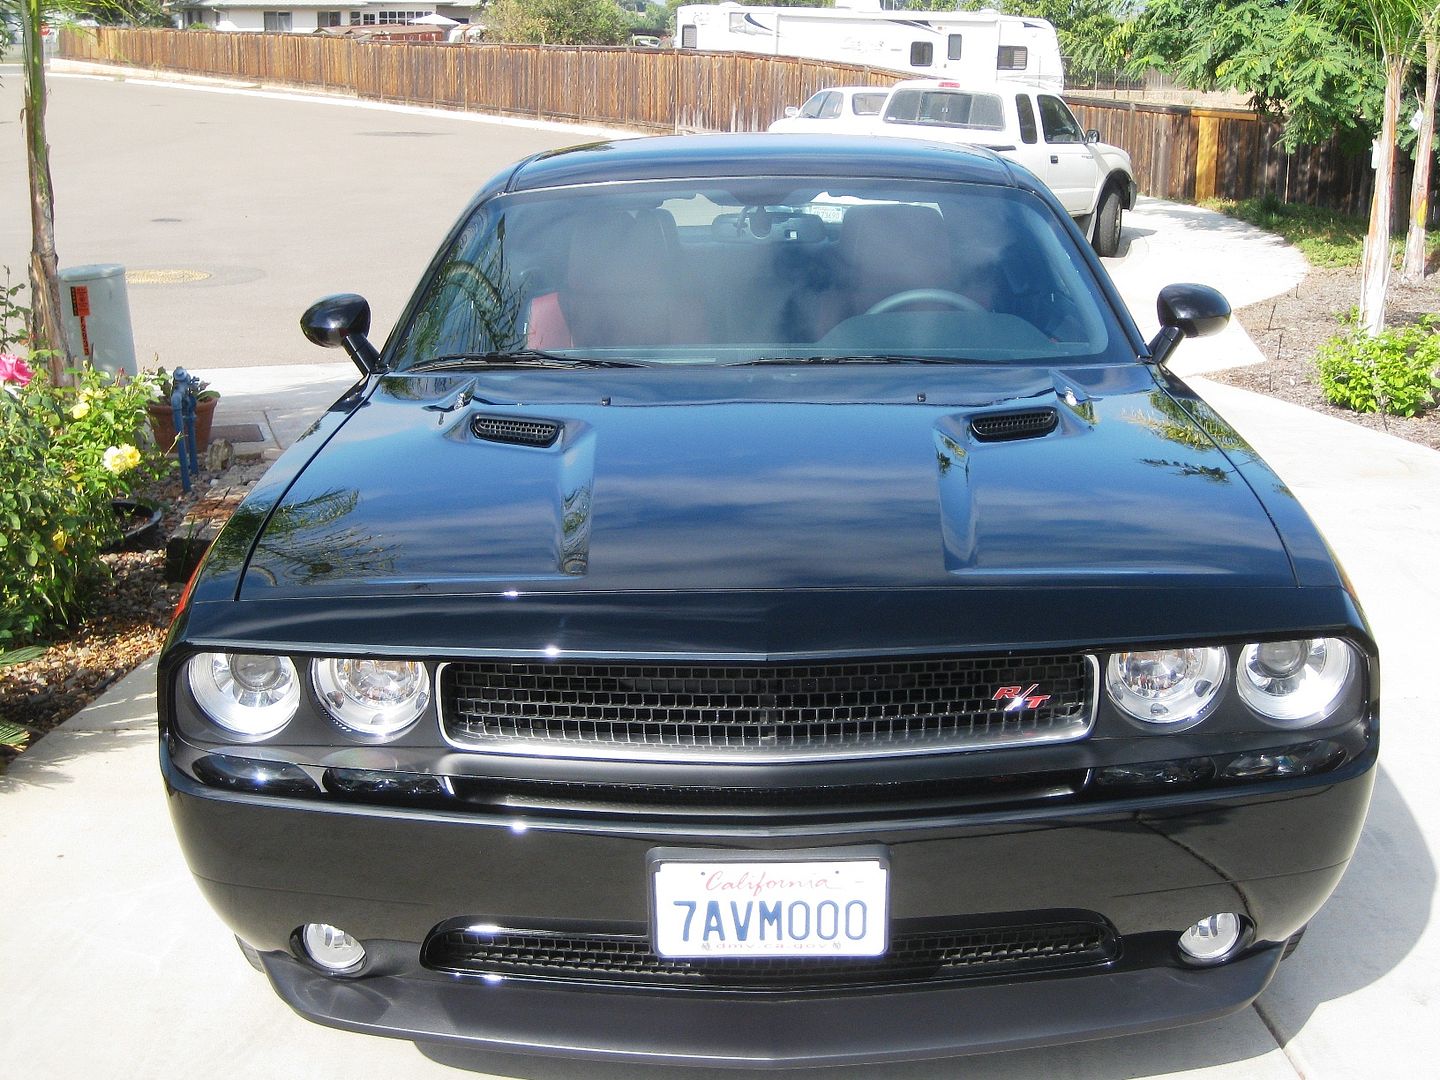
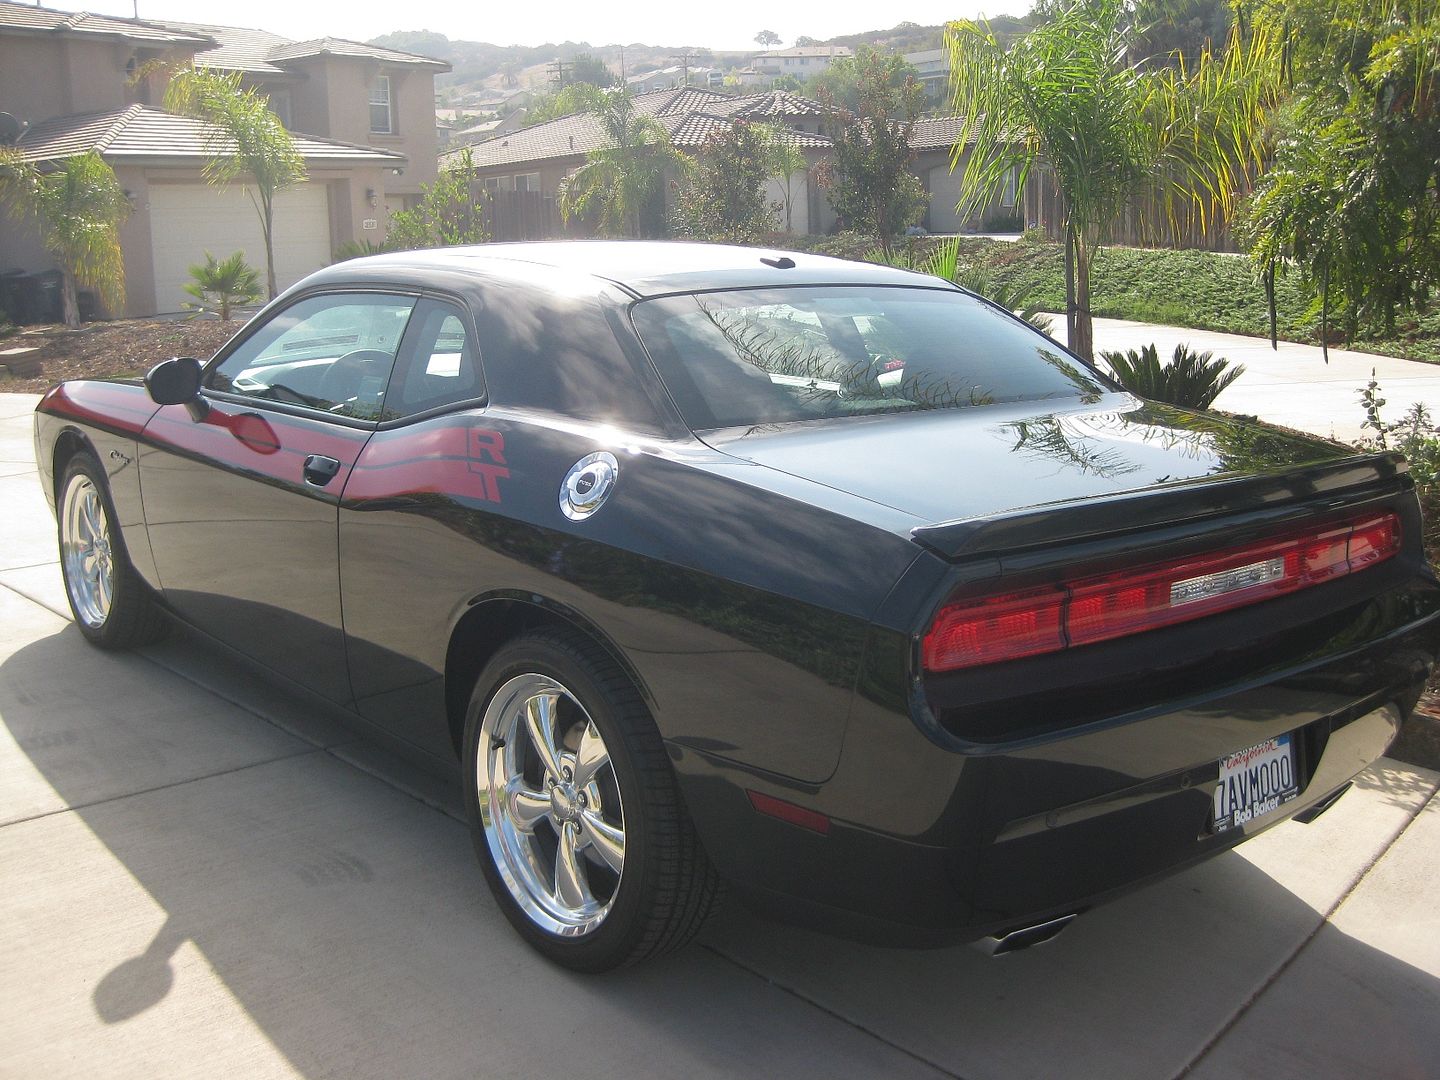
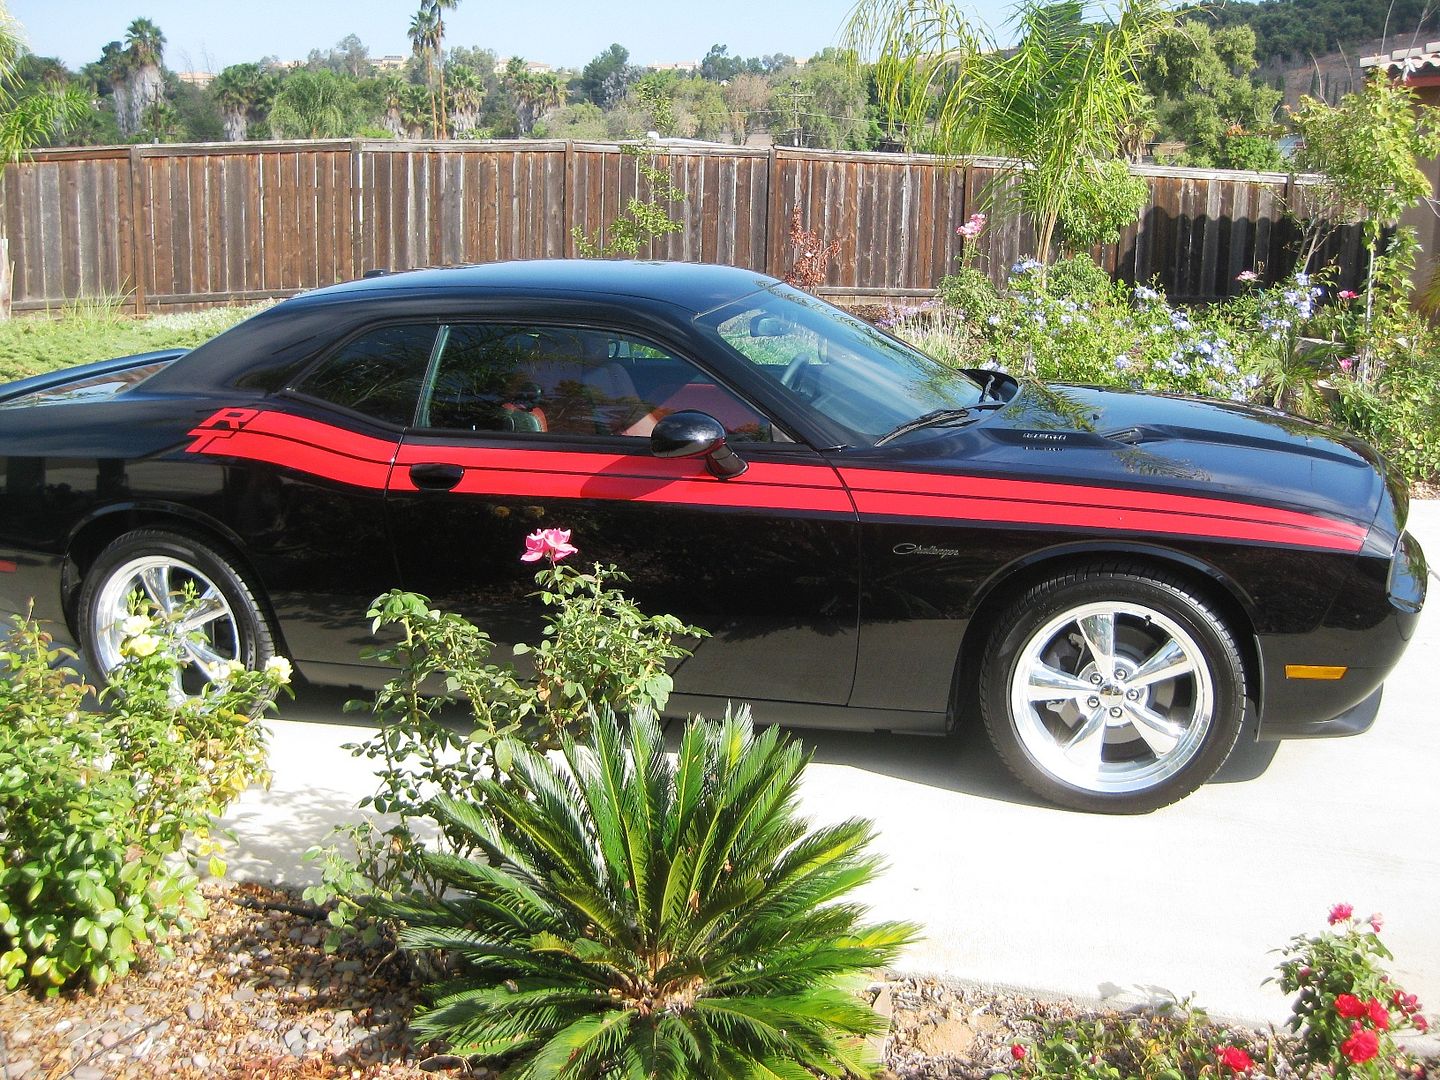
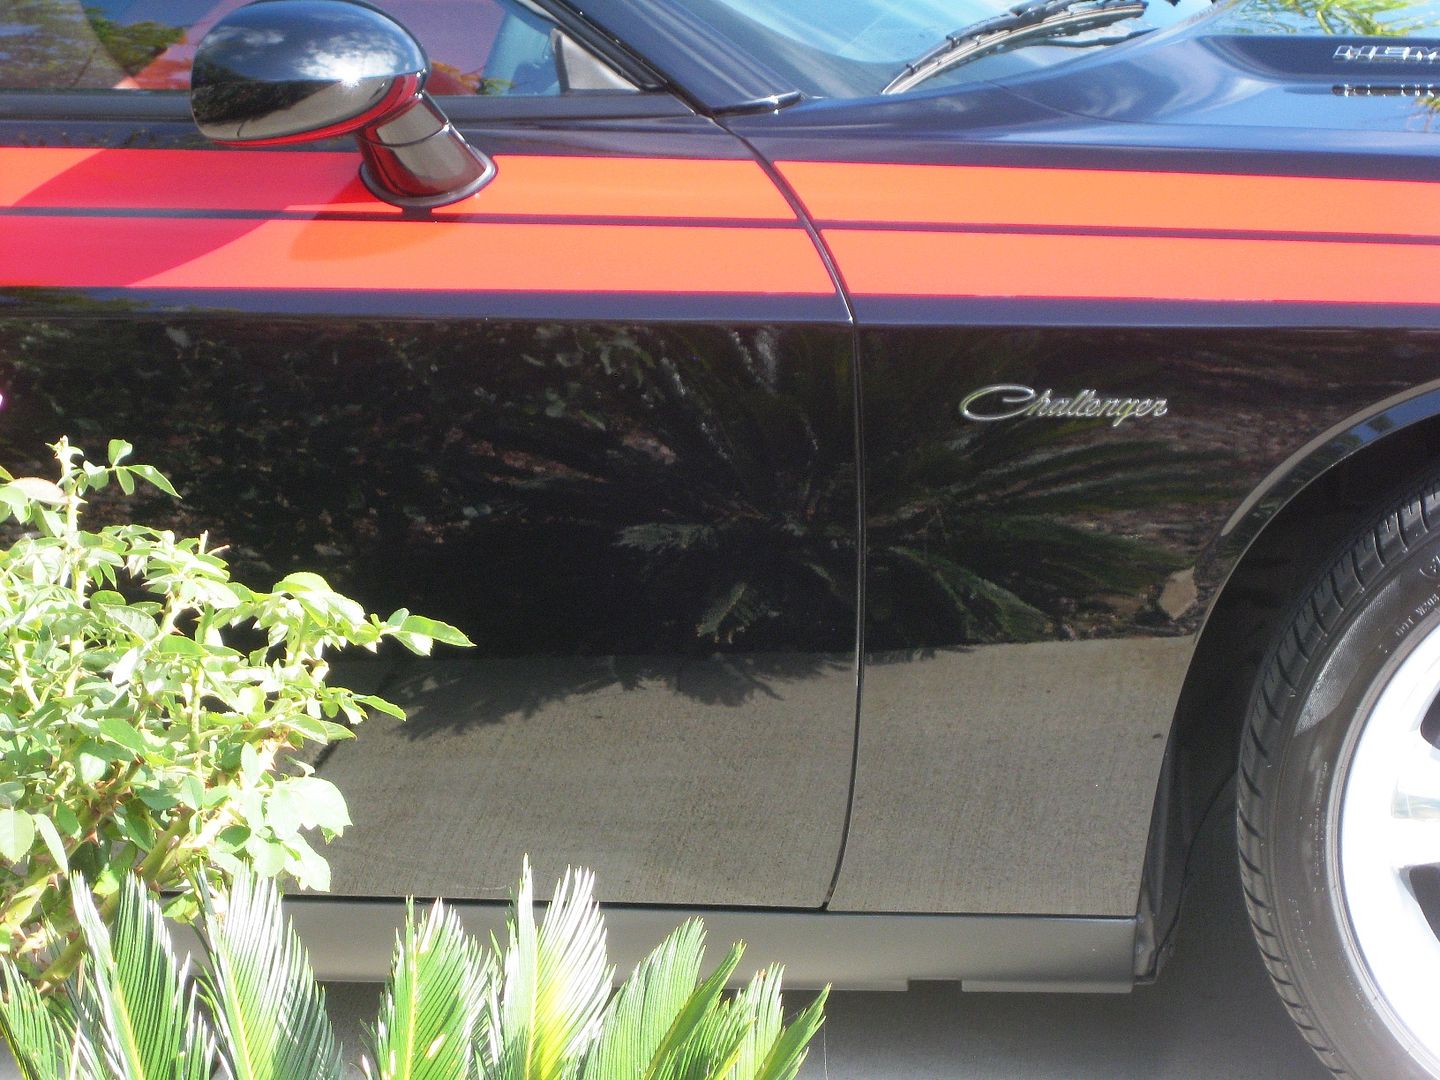
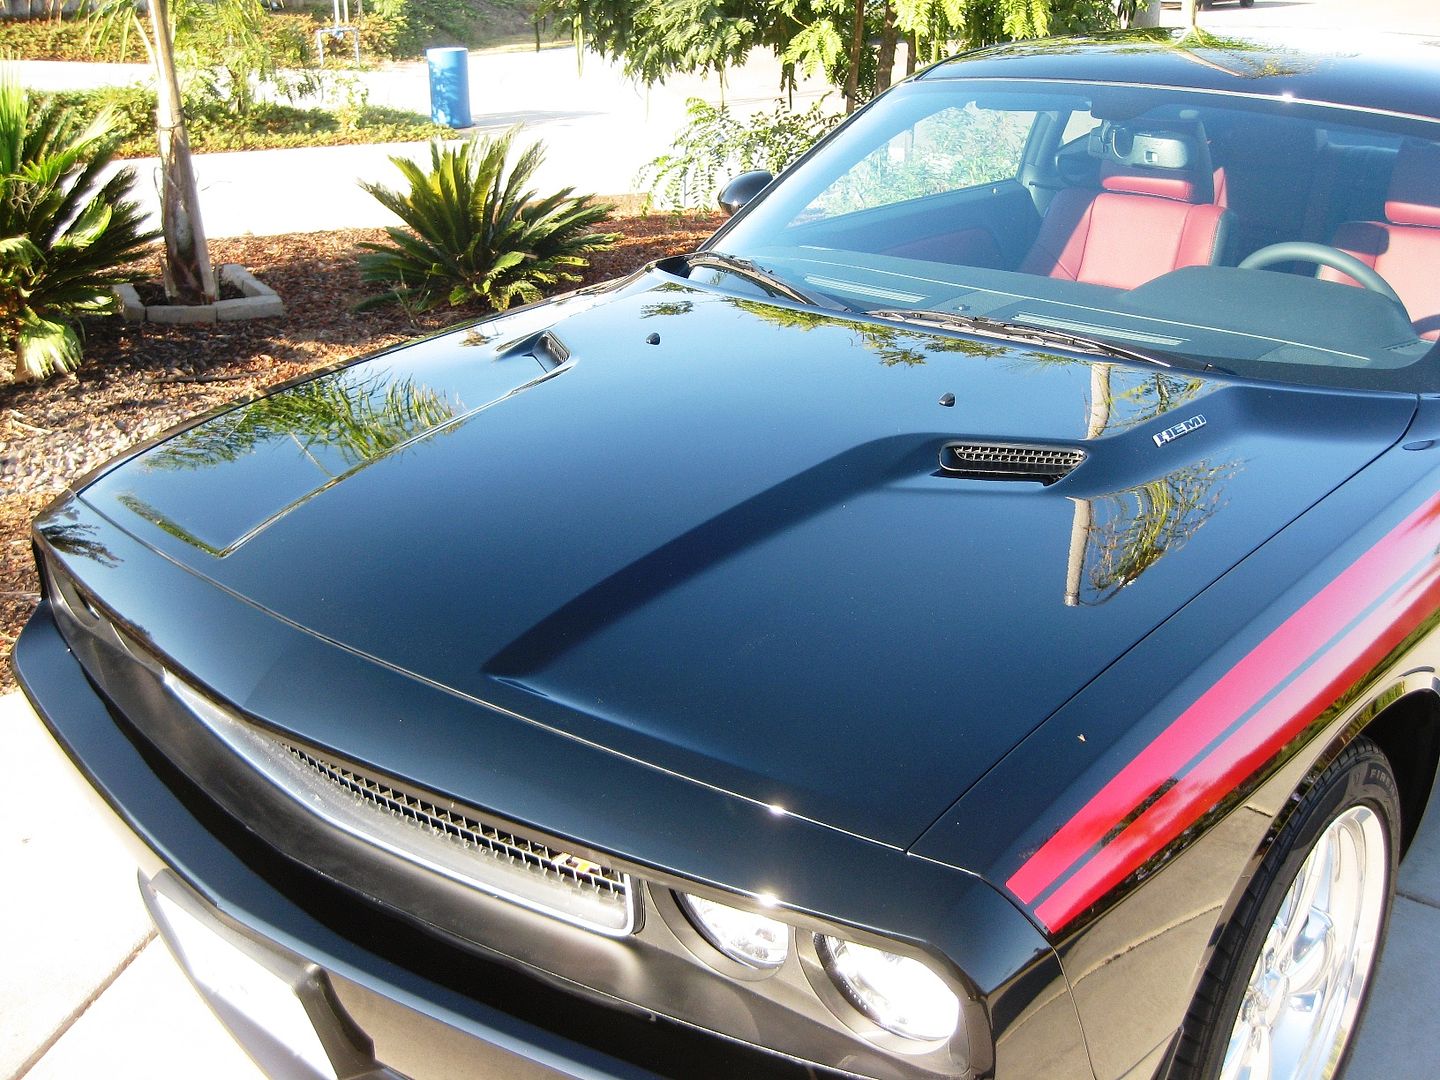
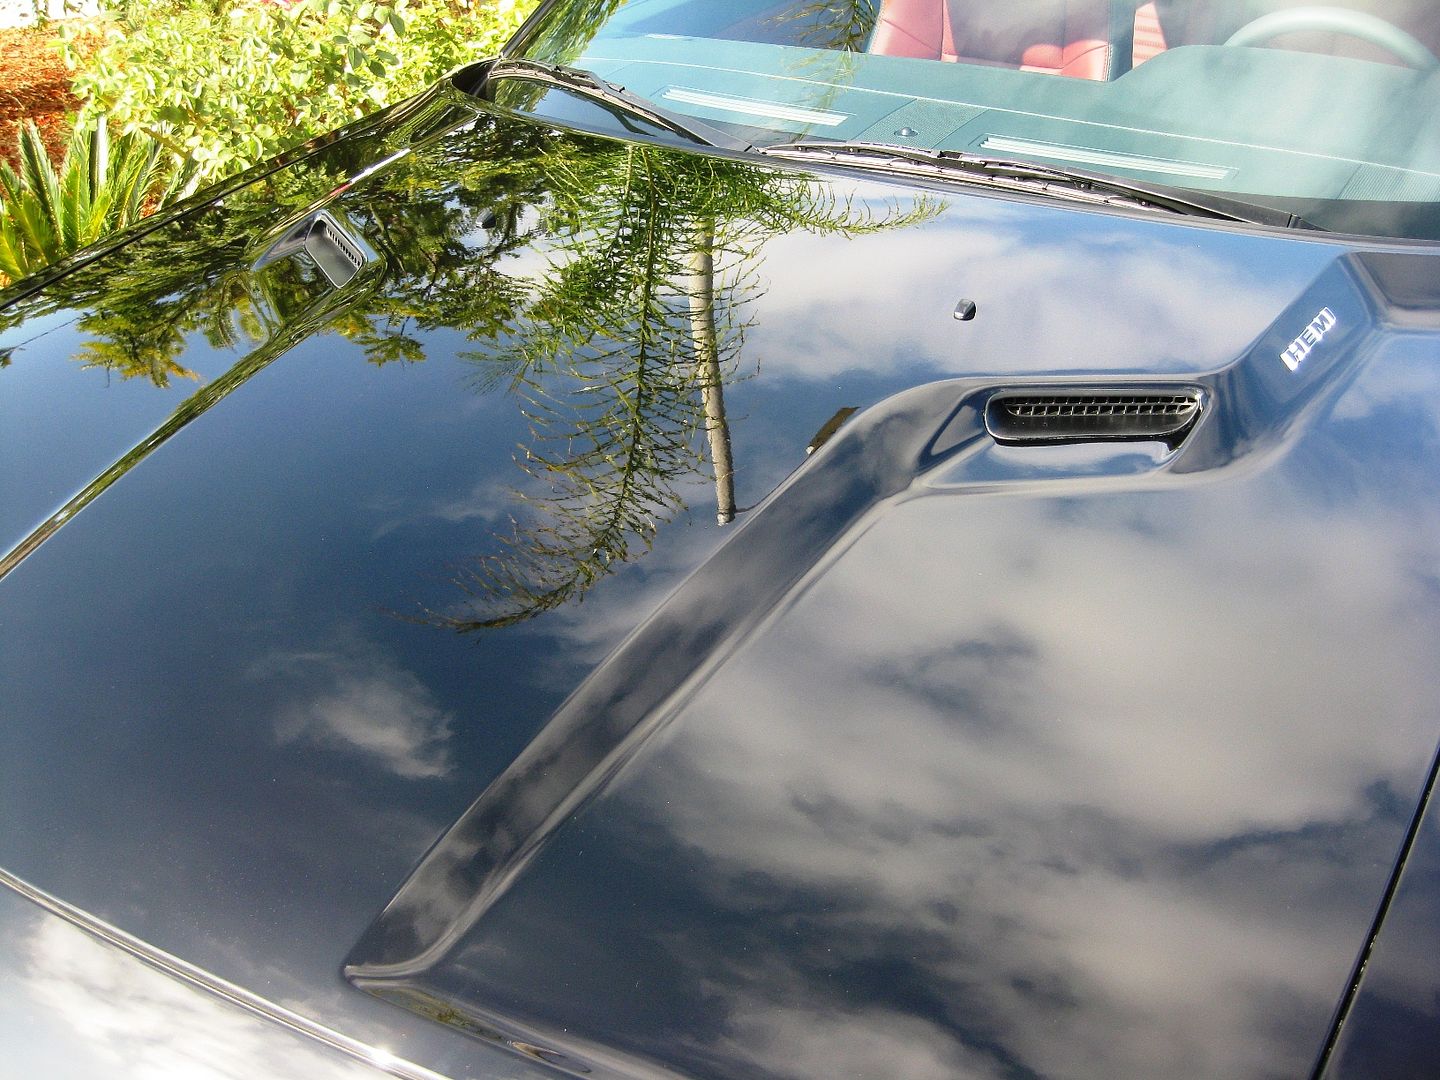
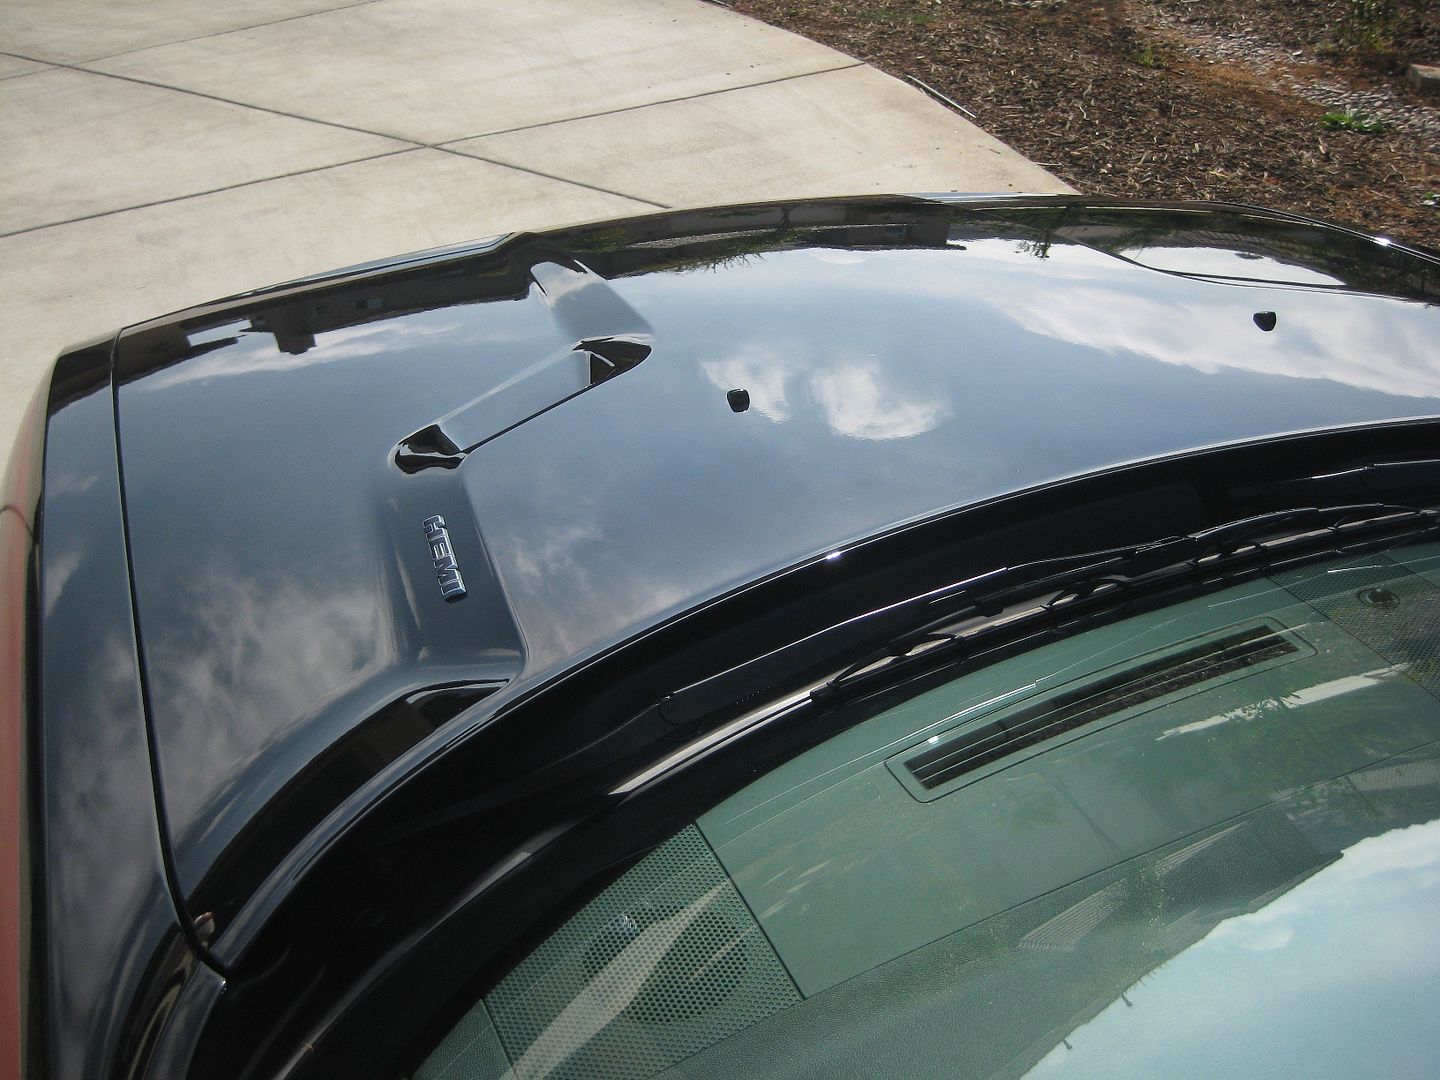
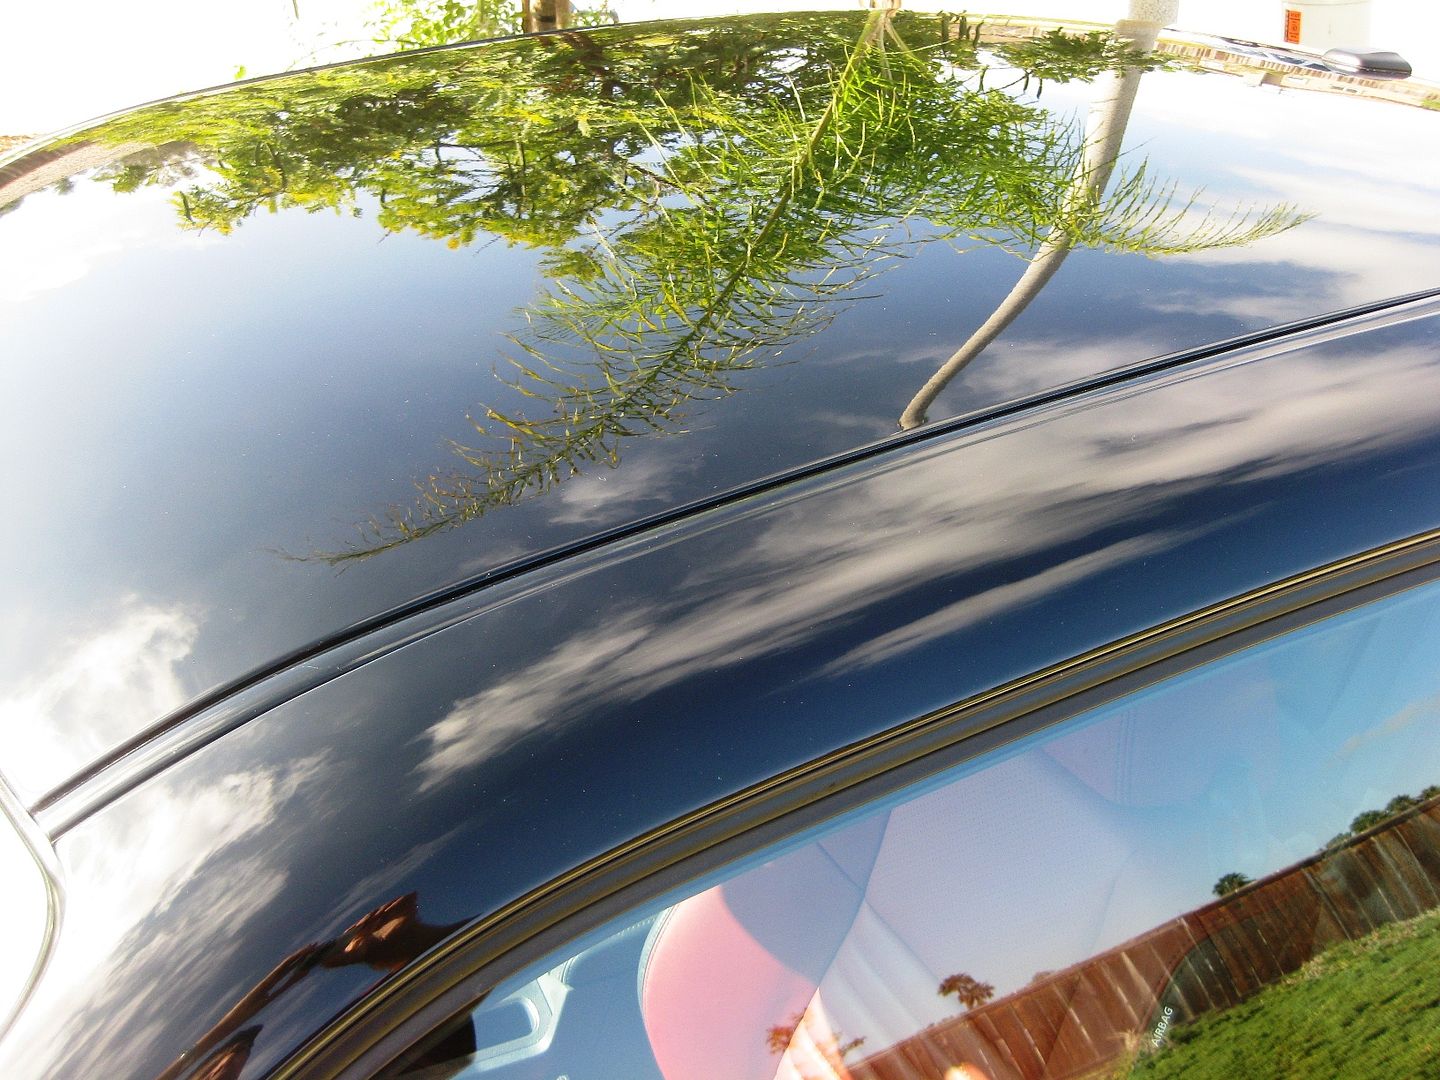
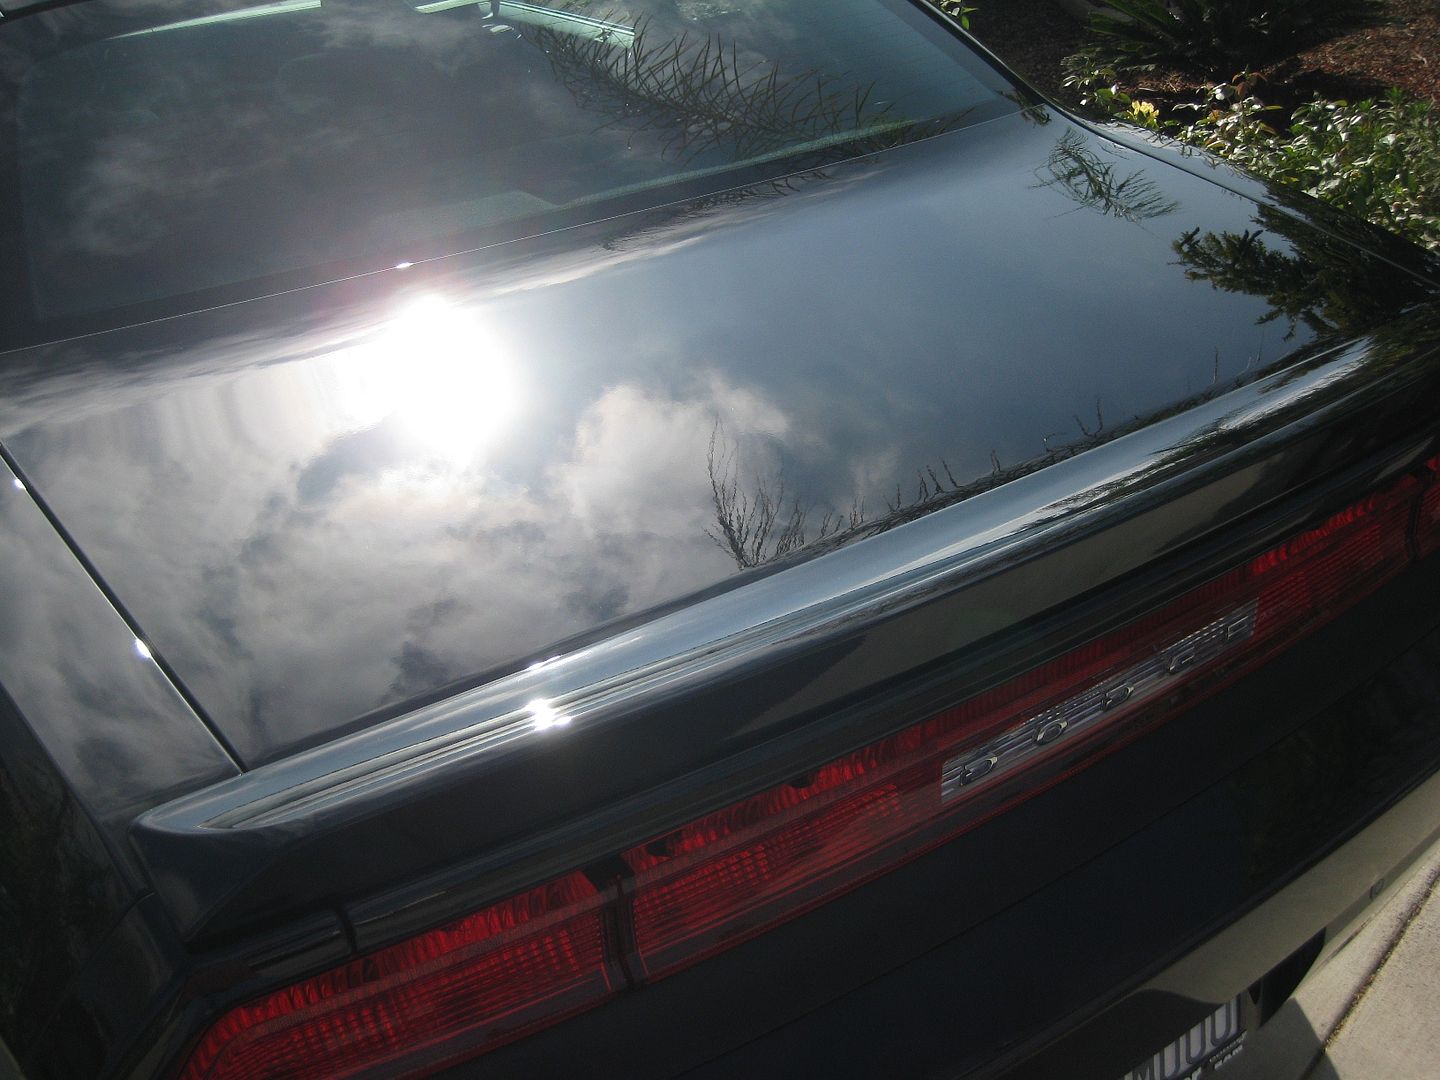
I don't have any before pictures to share with you, but there really wasn't much to capture as the swirls and other paint defects were so fine, no one here would have been impressed. But here are the after shots/money shots/reflections shots. Overall the paint responded nicely to it's initial first full correction, even though there is significant orange peel that would require significant wet-sanding to remove. But the orange peel doesn't bother me enough to undertake the process and sand the clearcoat to eliminate it. Rubber trim and seals were treated with Meguiars M40 and dark plastic trim pieces, such as the rocker panels, bumper fascia, front lip spoiler, and windshield sill were treated with Meguiars Ultimate Black. The tires were washed with APC+ (20:1) and were dressed with Endurance Tire Gel. The wheels were simply washed with leftover ONR solution.
Overall correction time was 10 hours, two hours alone for the claying.

So what do bonded contaminants look like on a Challenger neglected for 100 days on the dealer's lot?
The tools and products I used. Microfiber polishing pads were employed for the compounding stage and foam finishing pads were used for the polishing stage.
The D300 was my primary compound and had more than sufficient cut when combined with my Rupes machine polisher (in the middle) set to speed 4.5 with microfiber polishing pads for the overall light swirl removal. The M100 has a deeper cut and dusts up like a demon, but worked like crazy magic to remove the fine isolated scratches I thought I could probably only blend or diminish without wetsanding - what a pleasant surprise! Thanks Mike! I paired M205 with my Makita rotary polisher set to 900 rpm and used with a foam finishing pad for the polishing stage. NXT tech wax was applied in the final stage as the sealant.
The G110v2 polisher is my dedicated 3" polisher for narrow areas like the A pillar or the bumper cover steps, and the small polisher just above it is that hokey battery operated product that Mario told me to get rid of LOL and that Simoniz used to sell with an equally hokey scratch removal kit, but the polisher itself is surprisingly useful for small areas like inside the 'C' of the Challenger emblem. The gloves are anti-vibration gloves available from Harbor Freight for under $10. Wearing these will helped to eliminate the pins and needles sensation I sometimes felt in my hands and forearms from the oscillating vibrations from the machine polishers.
I don't have any before pictures to share with you, but there really wasn't much to capture as the swirls and other paint defects were so fine, no one here would have been impressed. But here are the after shots/money shots/reflections shots. Overall the paint responded nicely to it's initial first full correction, even though there is significant orange peel that would require significant wet-sanding to remove. But the orange peel doesn't bother me enough to undertake the process and sand the clearcoat to eliminate it. Rubber trim and seals were treated with Meguiars M40 and dark plastic trim pieces, such as the rocker panels, bumper fascia, front lip spoiler, and windshield sill were treated with Meguiars Ultimate Black. The tires were washed with APC+ (20:1) and were dressed with Endurance Tire Gel. The wheels were simply washed with leftover ONR solution.
Overall correction time was 10 hours, two hours alone for the claying.

 000 no u didn't!


Comment