

 Tweet
Tweet
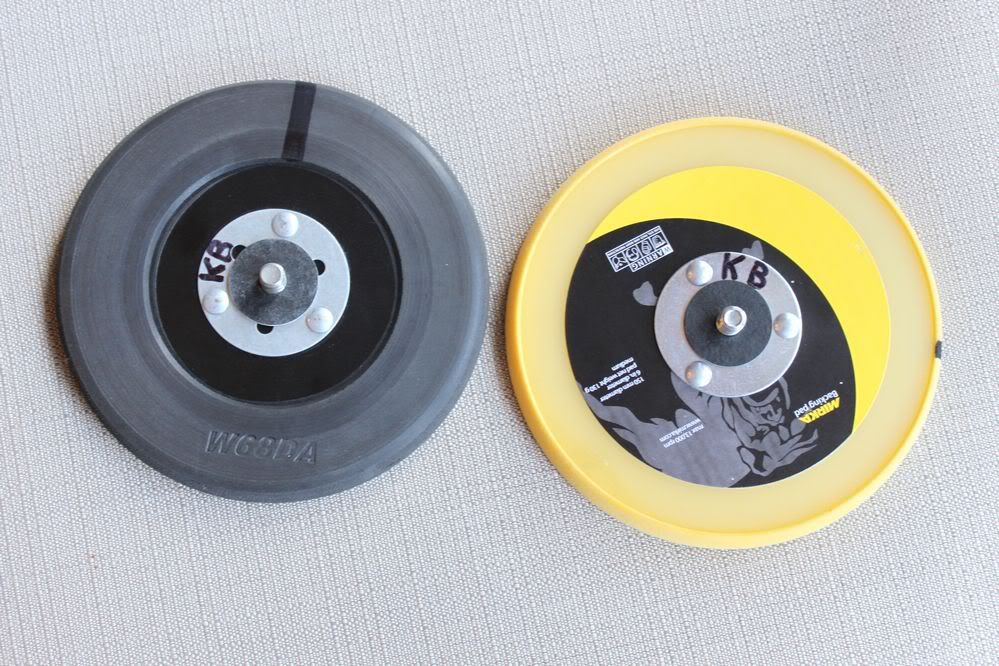
Before I get going I want to thank Kevin Brown for taking the time to work with me via phone and sending me backing plates to try out. He is a real class act and one of the most genuinely nice guys in this industry. He was always willing to help and take my calls and answer my questions. He went above and beyond anything he needed to do for me. Also I want to thank Nick Chapman for mentioning his technique and piquing my interest enough to follow up with it more. I would also like the thank Dana (Asphalt Rocket) for reading it over for me.
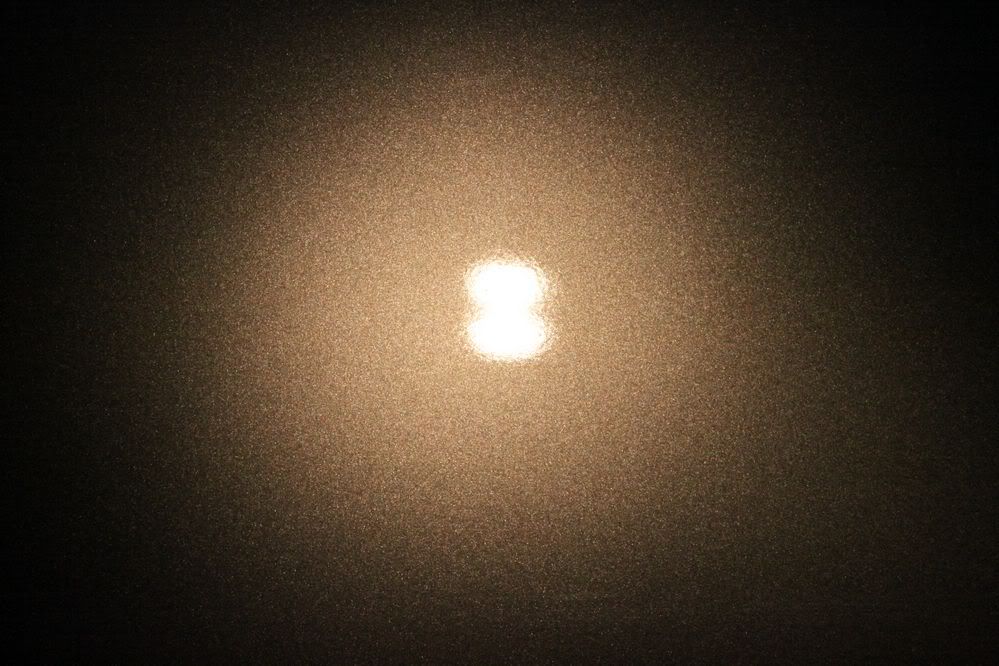
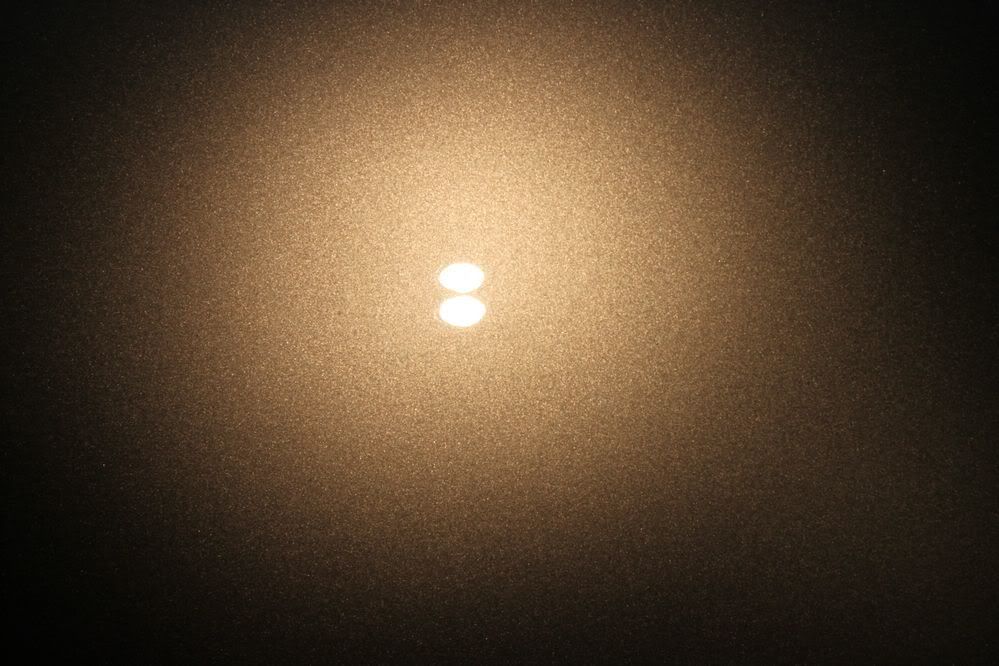
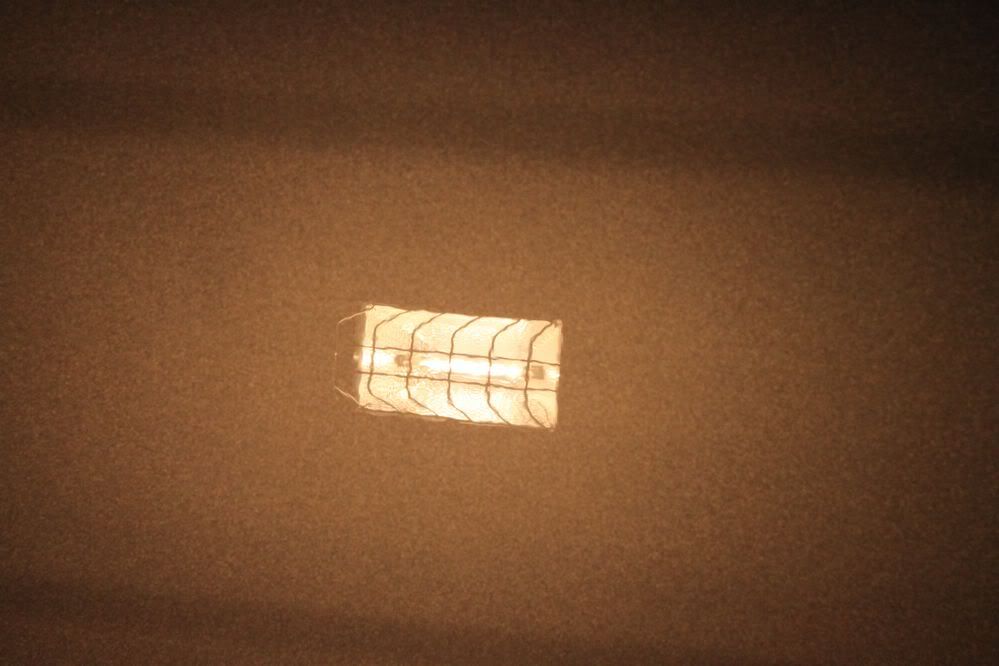
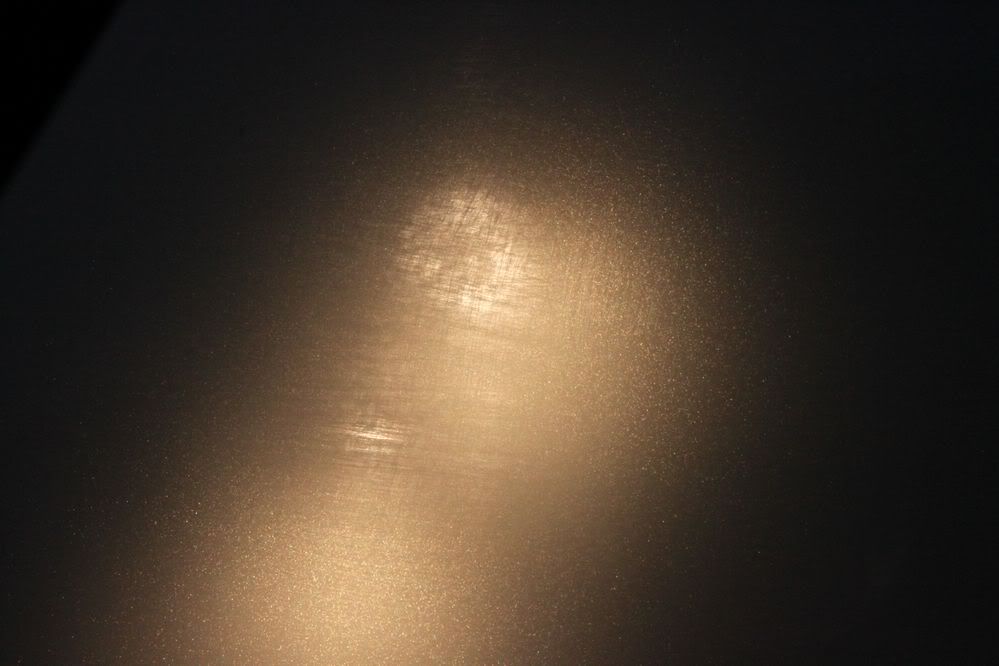
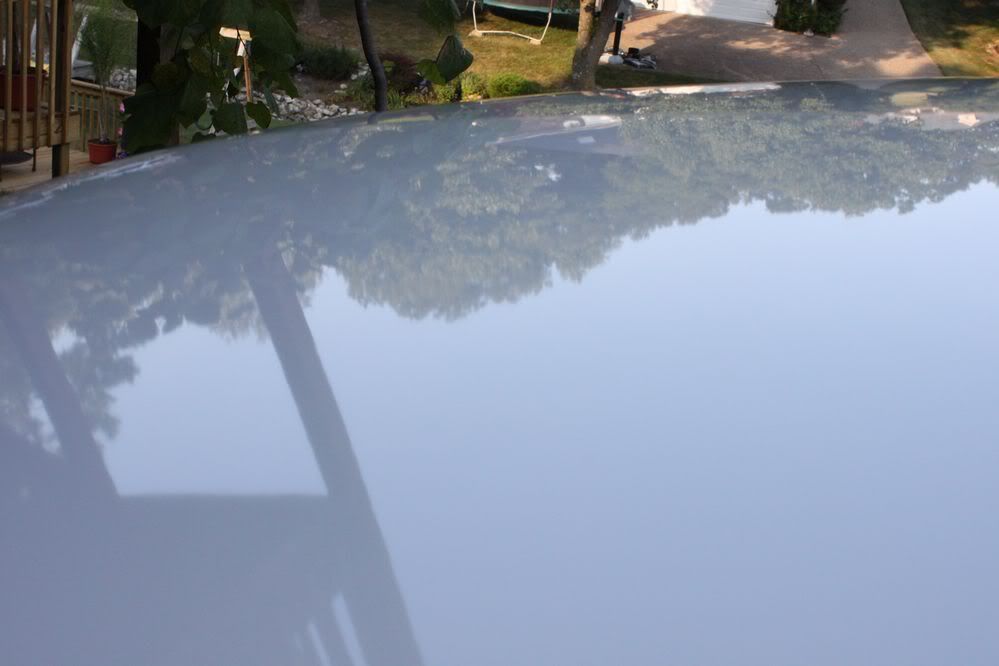
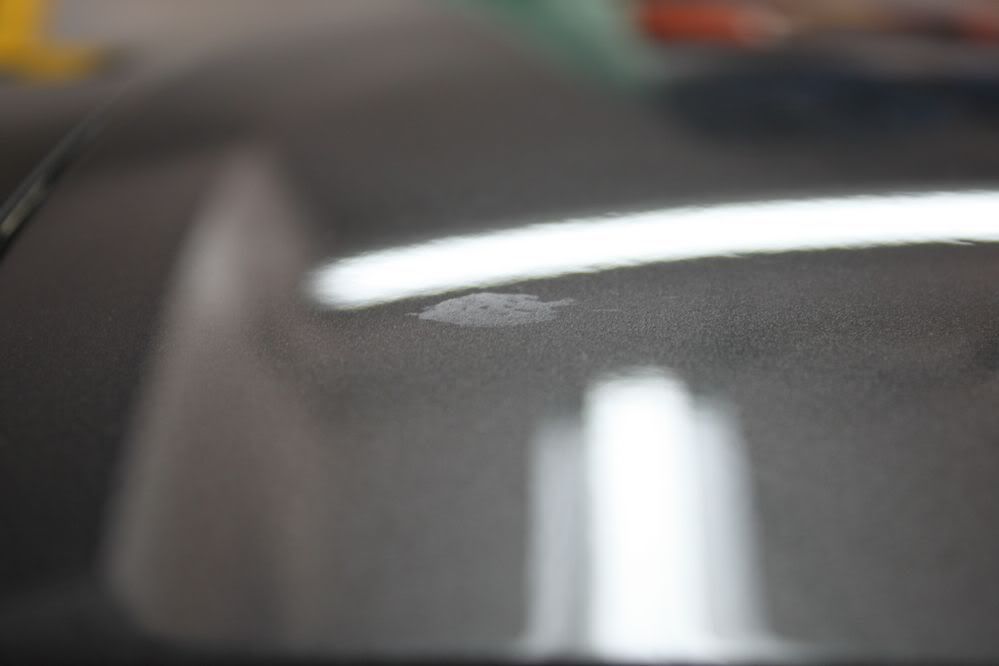
This thread has been a work in progress for a semi-long period of time. It started with reading a review of the MF system by Nick Chapman. He mentioned a special technique he used with the system to get better cut.
He said [QUOTE]
[FONT=Cambria][COLOR=#000000]
This thread has been a work in progress for a semi-long period of time. It started with reading a review of the MF system by Nick Chapman. He mentioned a special technique he used with the system to get better cut.
He said [QUOTE]
[FONT=Cambria][COLOR=#000000]


Comment