Its been a little while since I last did a detailing writeup, I've been writing my thesis over the past few weeks which hasn't left much time for writeups... But having just drilled a hole in my finger nail with a hand drill (long story, involving a Volvo door and my thumb), I felt like having a night off and a chance to catch up on some writeups as I have the pics from a few waiting to be written 
First off is this, a Ford Racing Puma in a metallic blue very similar to the Focus RS in look which is a colour I am really liking - lovely flake, seems to glow slightly purple in some lights Gordon, Davy and myself were working on this car
  , team detailing at its most enjoyable! The car on arrival:
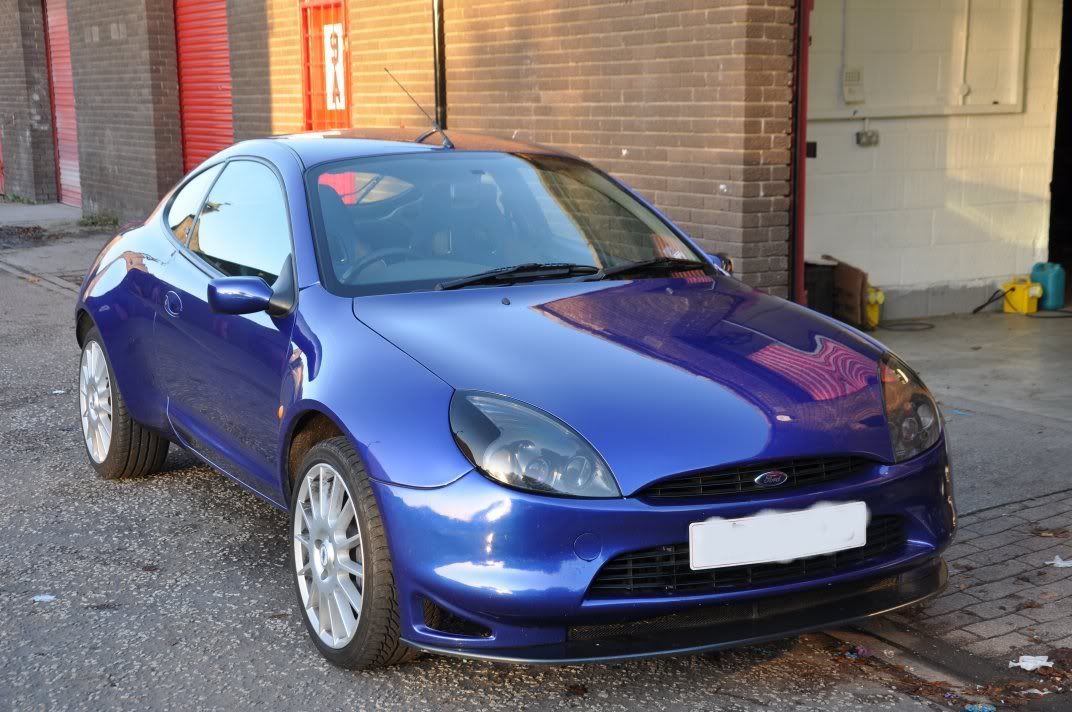

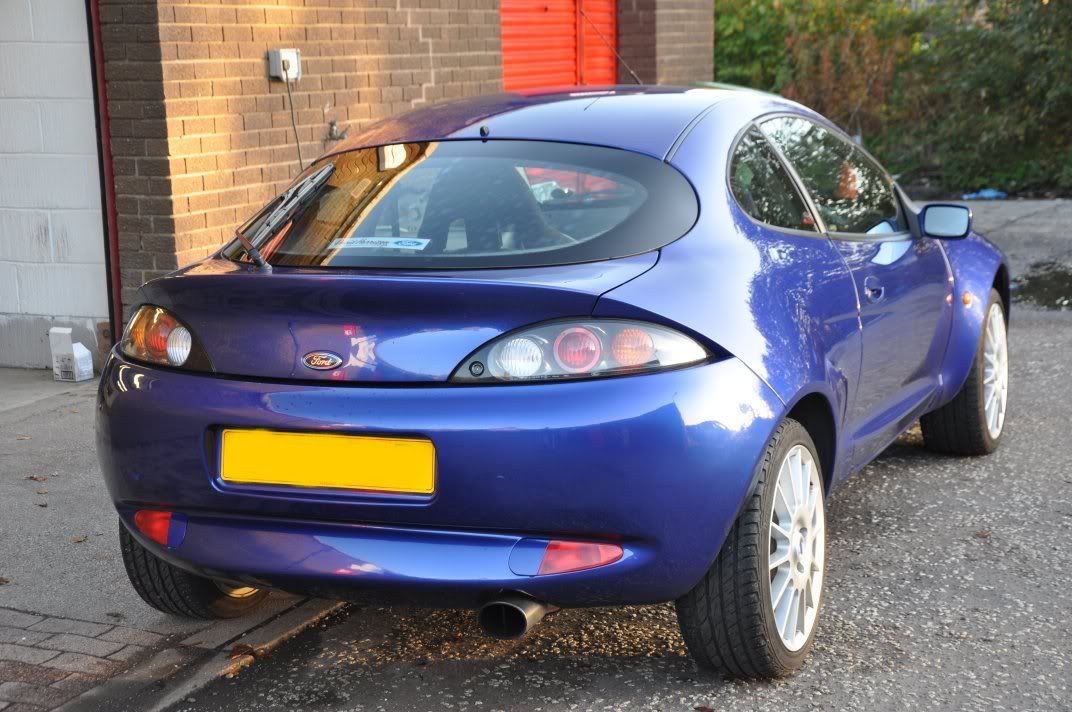
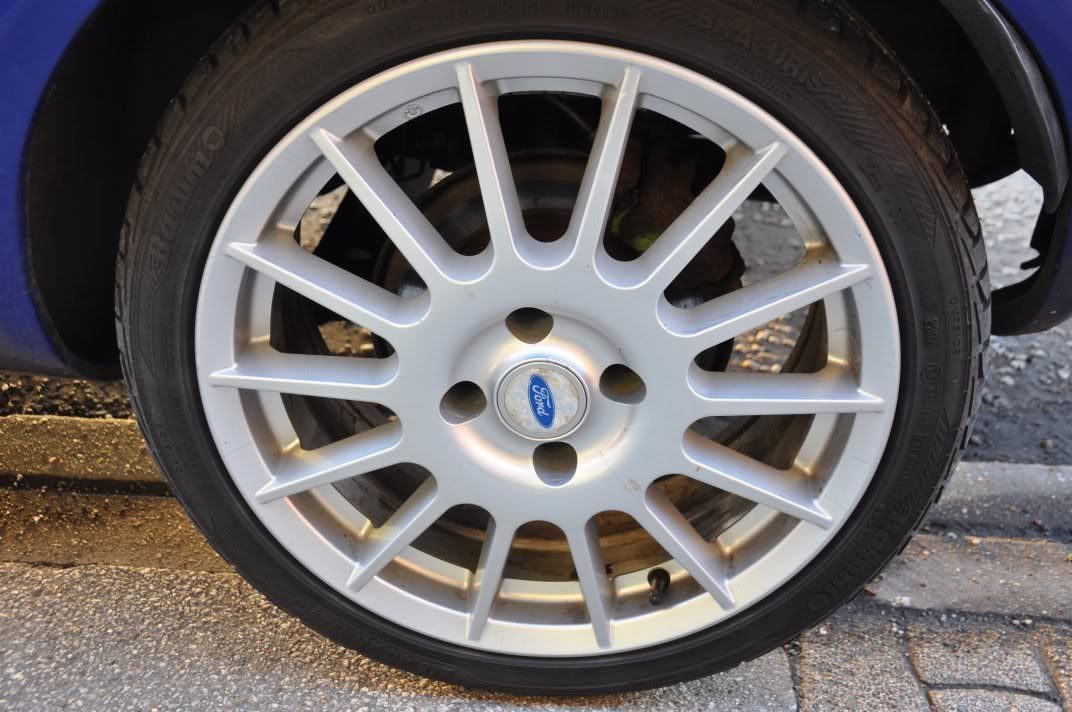
Looking very clean, and in good condition with the paintwork already showing a decent gloss in the morning light. Our traditional washing techniques were used - as this was a tuition detail, we use the washing phase to demonstrate safe washing techniques to the owner and the benefits of prefoaming for example to removing grit before a touch wash. Bilberry was used the clean the wheels, G101 on the arches and rubbers around the car. Glossworkz was used with the two bucket method. During the wash stage, the owner pointed out an issue with his car which apparently is common on Pumas - the fuel filler cap is weak, which means that high pressure from the pressure washer would have to be avoided. Additionally, the corner of the filler cap rubbed up against the bodywork, removing the paint from the hinge region - unfortunately as this was a single day detail, we were unable to repair this damage as part of the detail as this would have required layered painting, so it was simply to be masked off so as to avoid any risks of making the damage worse with the machine polisher.
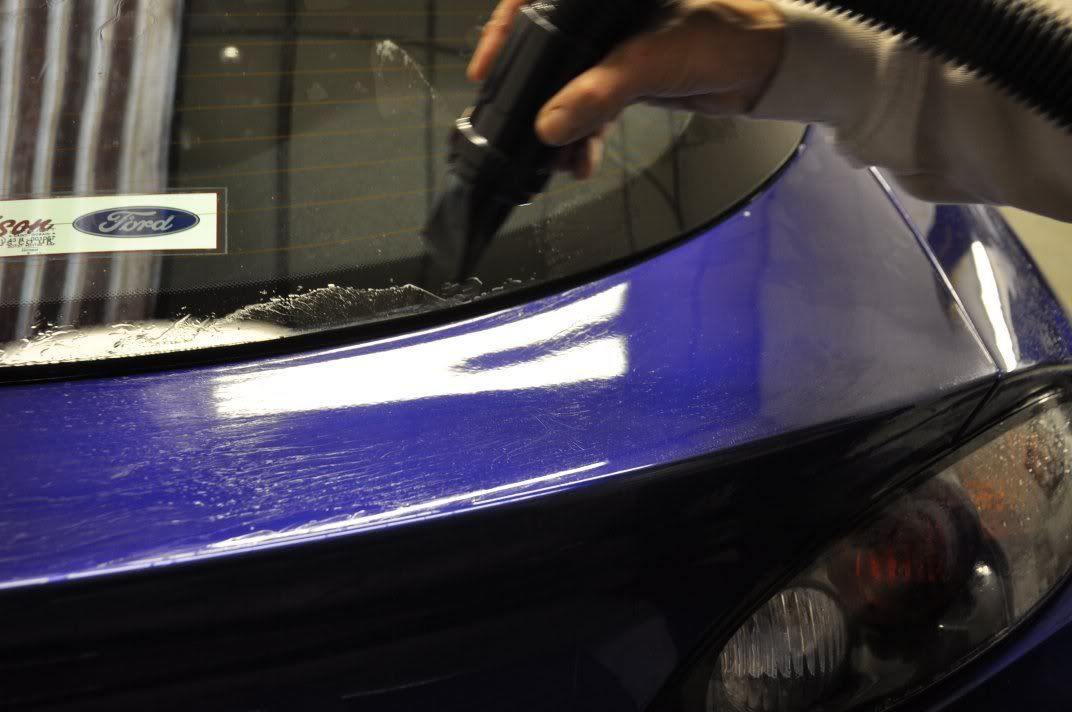
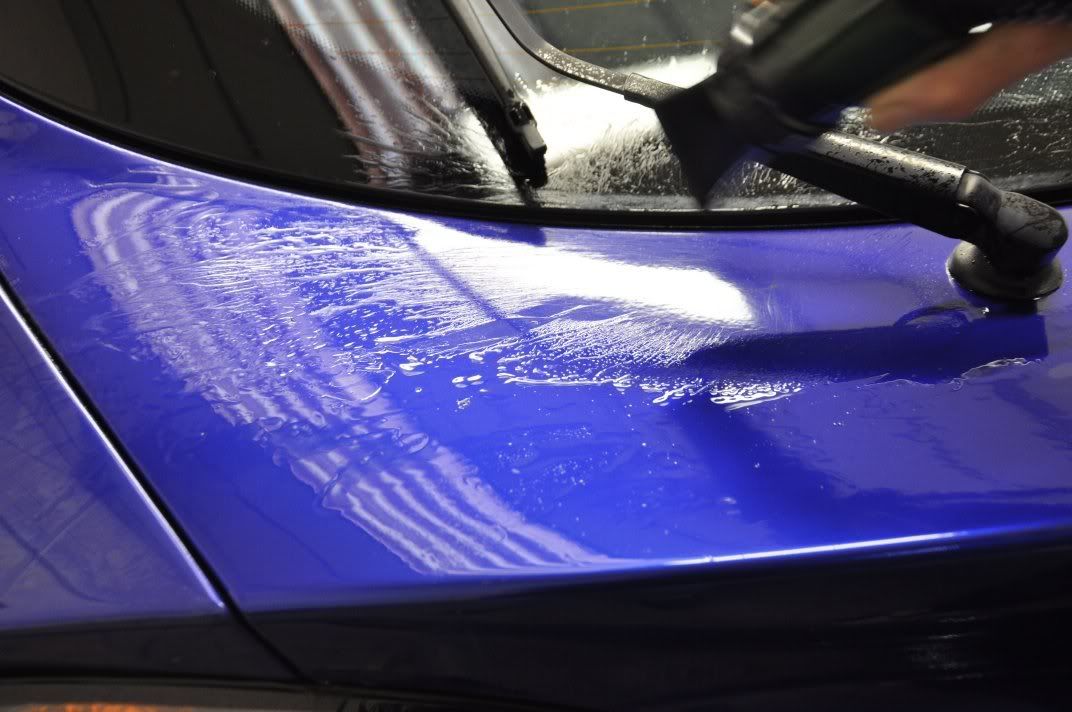
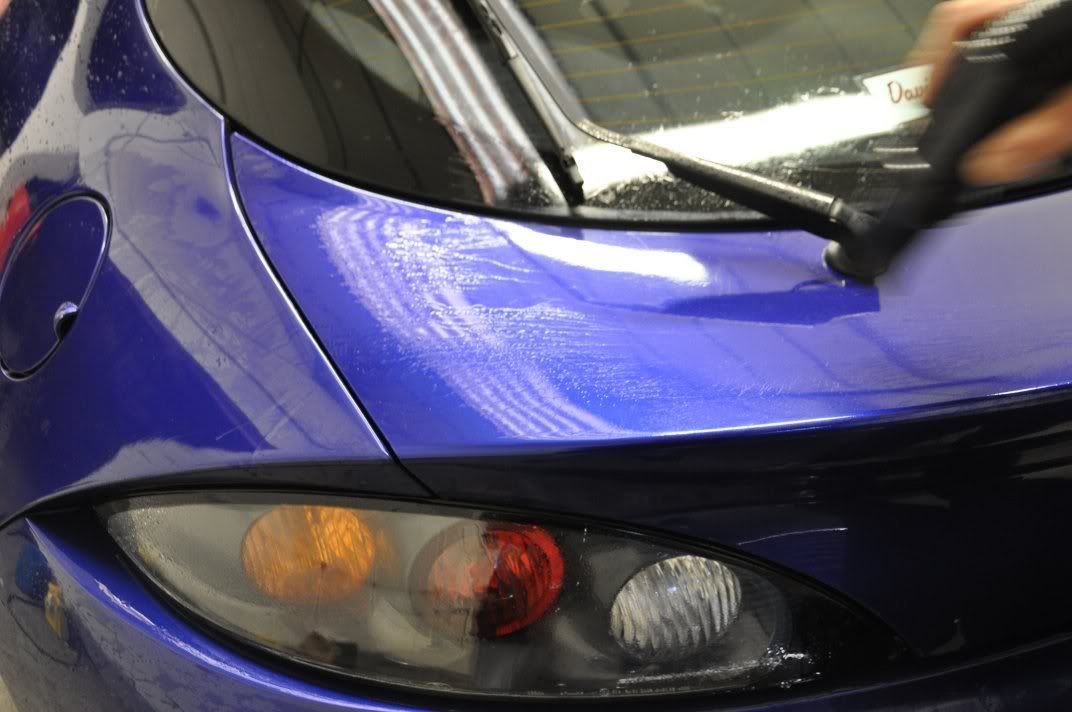
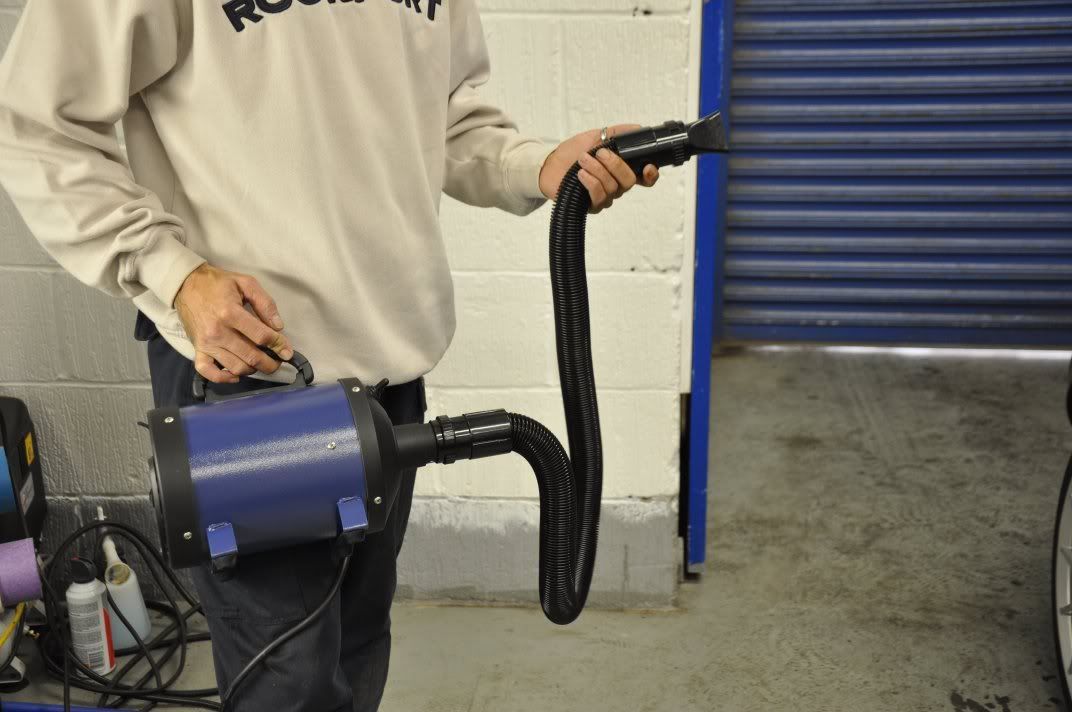
With the car washed, it was then rolled inside ready to be dried using a new product which we wanted to test out. Now the car was not protected here so we had a sheet of water across the panel, not beads. The dryer is like a small hoover, looks similar in design to the Black Barron, and can blow hot or cold air through attachments to dry the car. It seemed very effective in use, clearing the water off the panel leaving it bone dry in a surprisingly short space of time.. Some pics of the dryer in action:
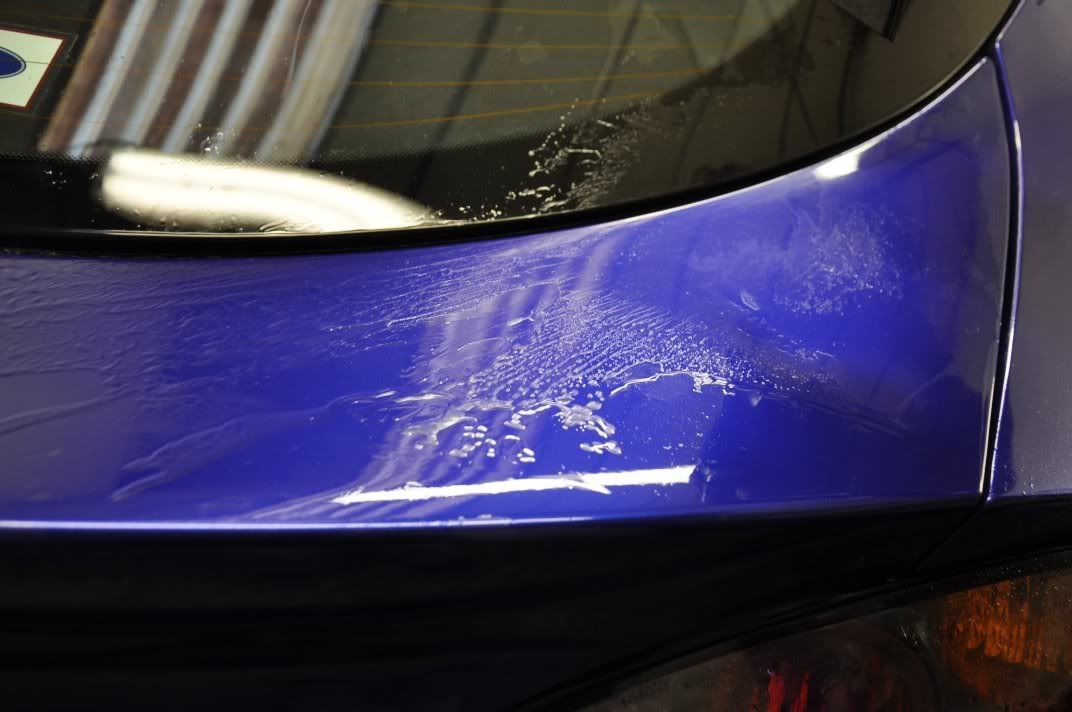
Dry...

The dryer itself, modelled by Gordon :lol::lol:
I admit that I like to use a towel to dry the car with, but I can see the advantages a product like this would present for a fully touchless wash... I have the little blue Silverline dryer but was unconvinced by it for fully drying a car - gaps fine, but a full car just took too long, where as this dryer seems to be able to speed the touchless drying process up suitably to make it a viable option.
Back to the detail, the car was then clayed in readiness for the paintwork defect removal.
Starting at the bonnet, it was clear to see the car was in need of paintwork correction - moderate to heavy swirls...
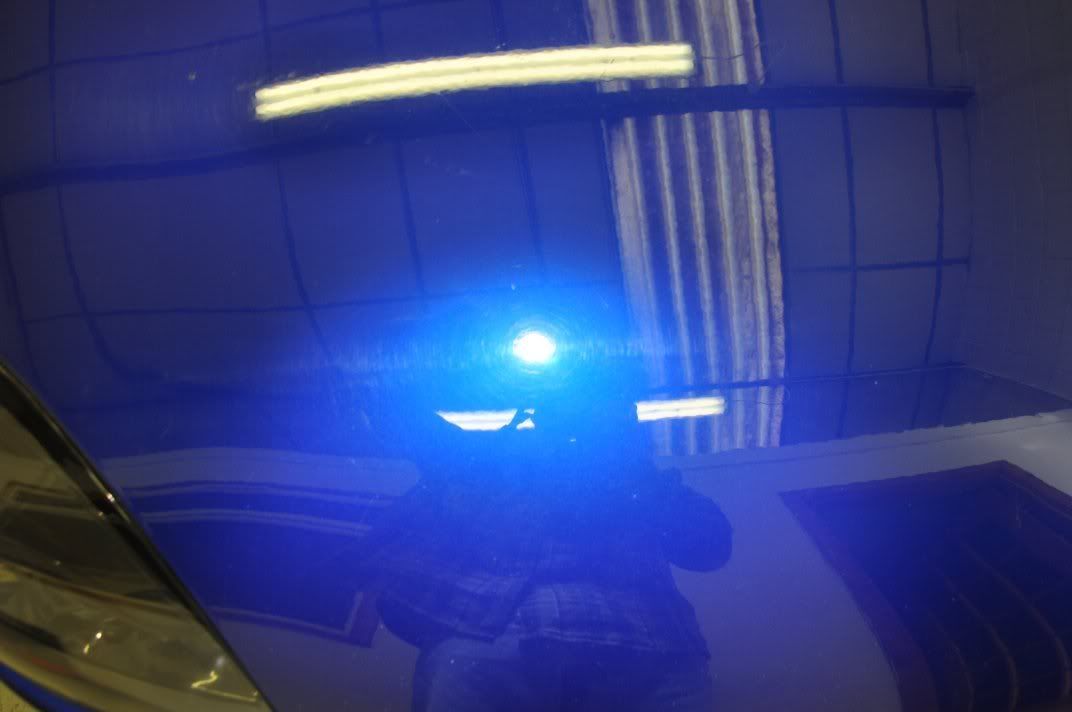
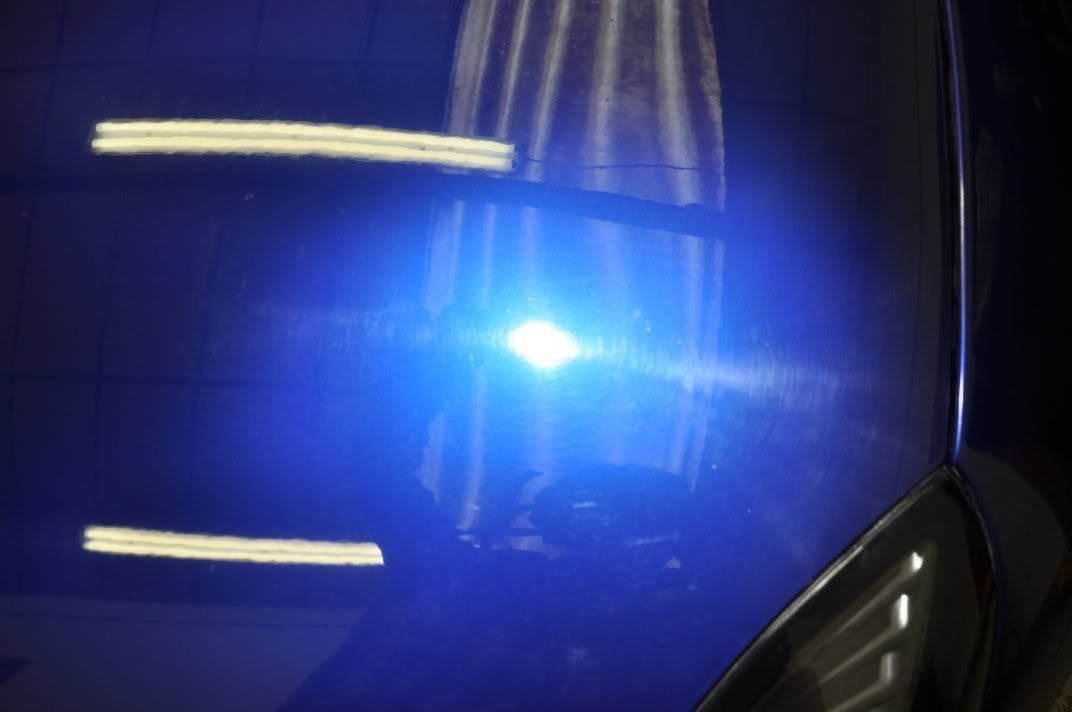
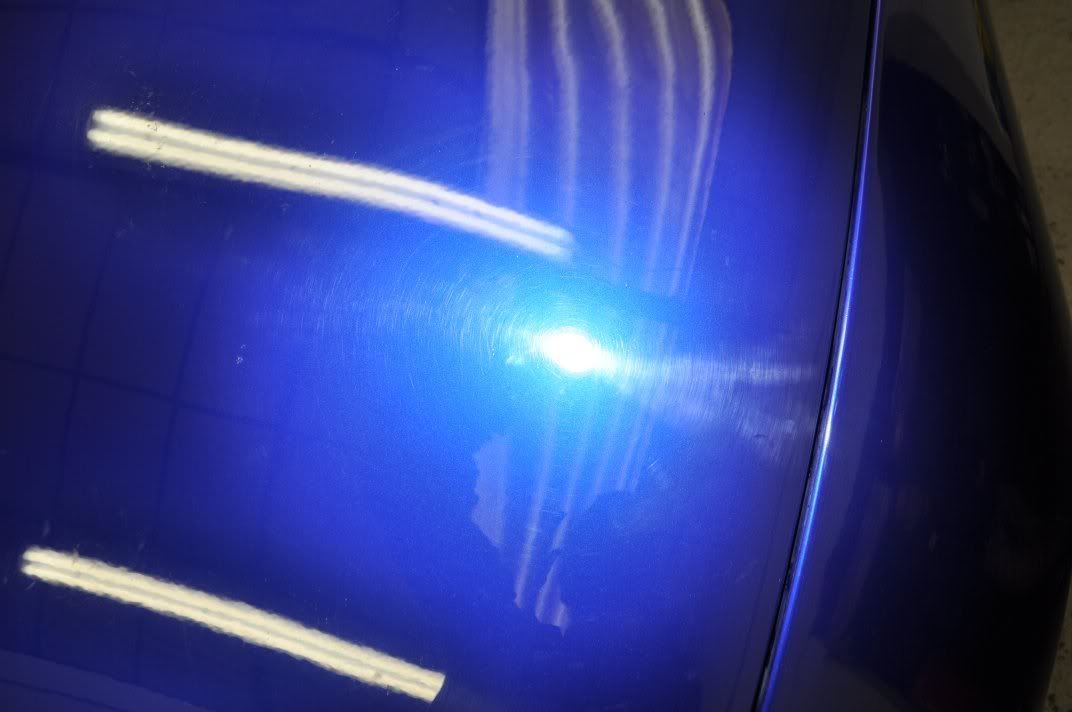
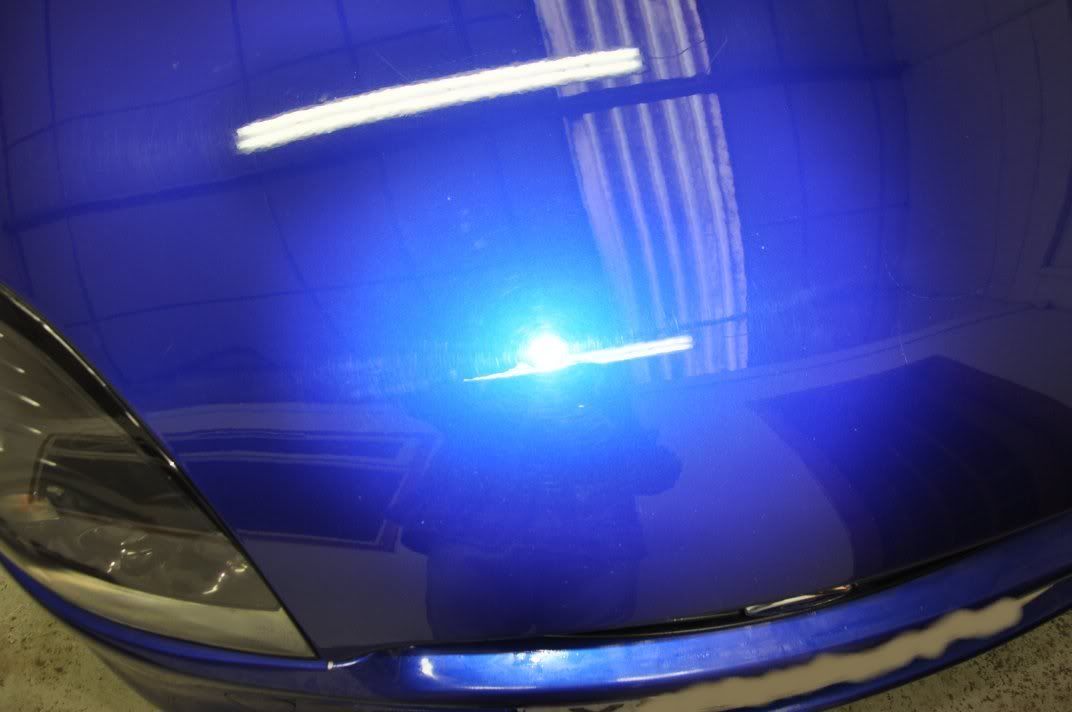
and some deeper RDS and etching too...
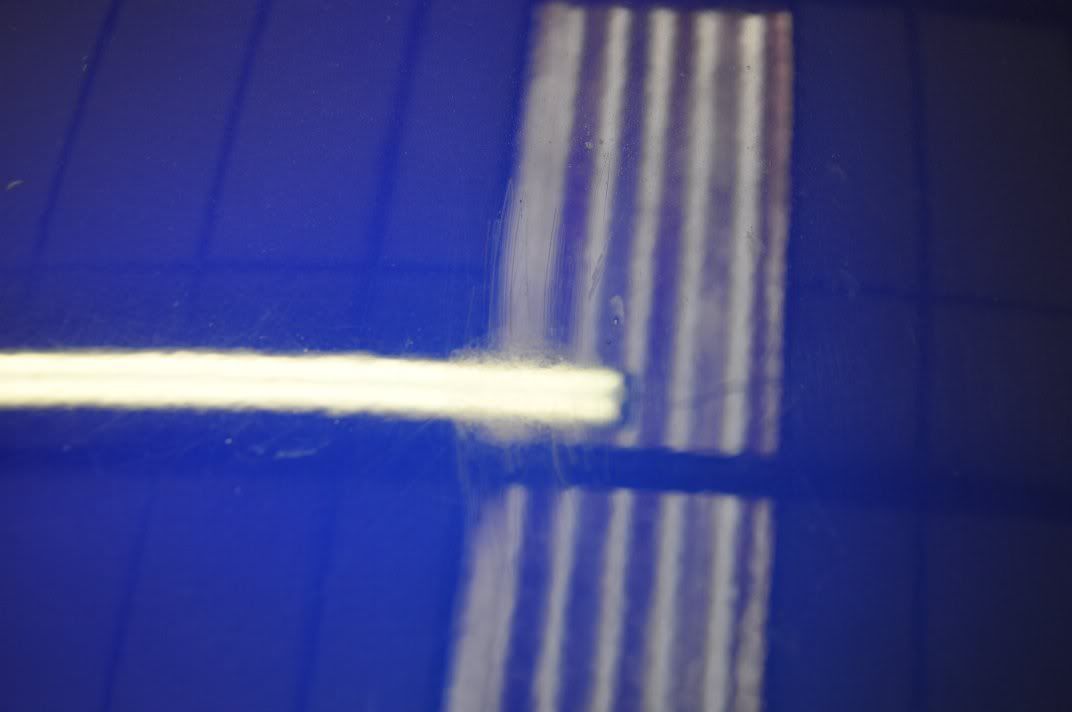
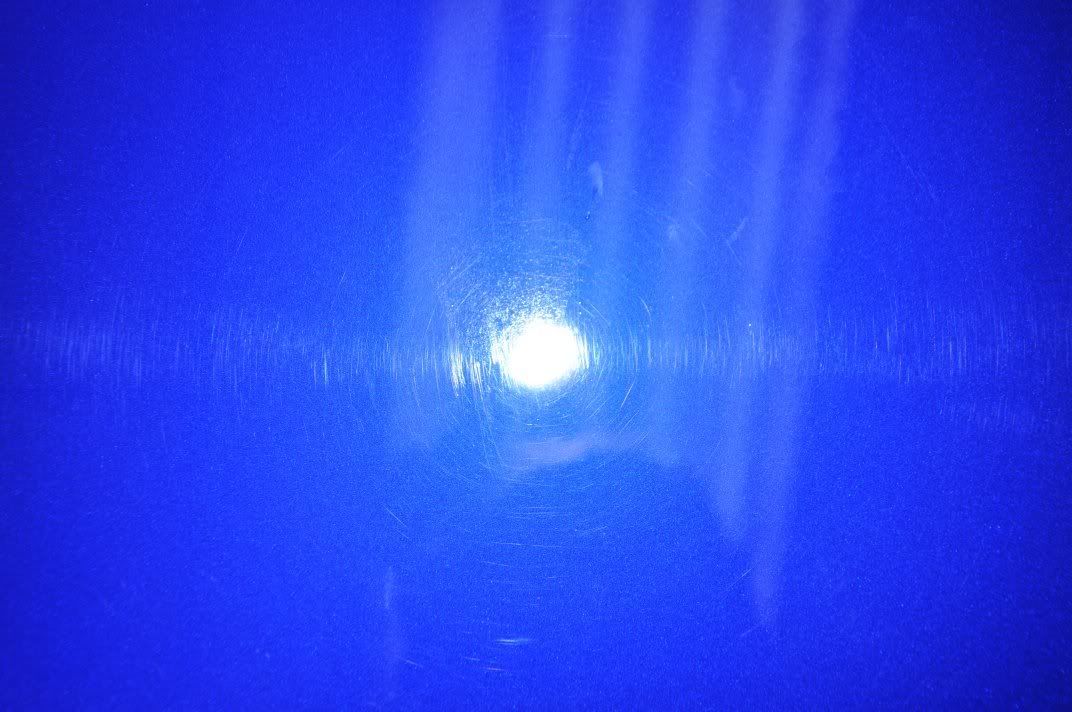
Swirls...
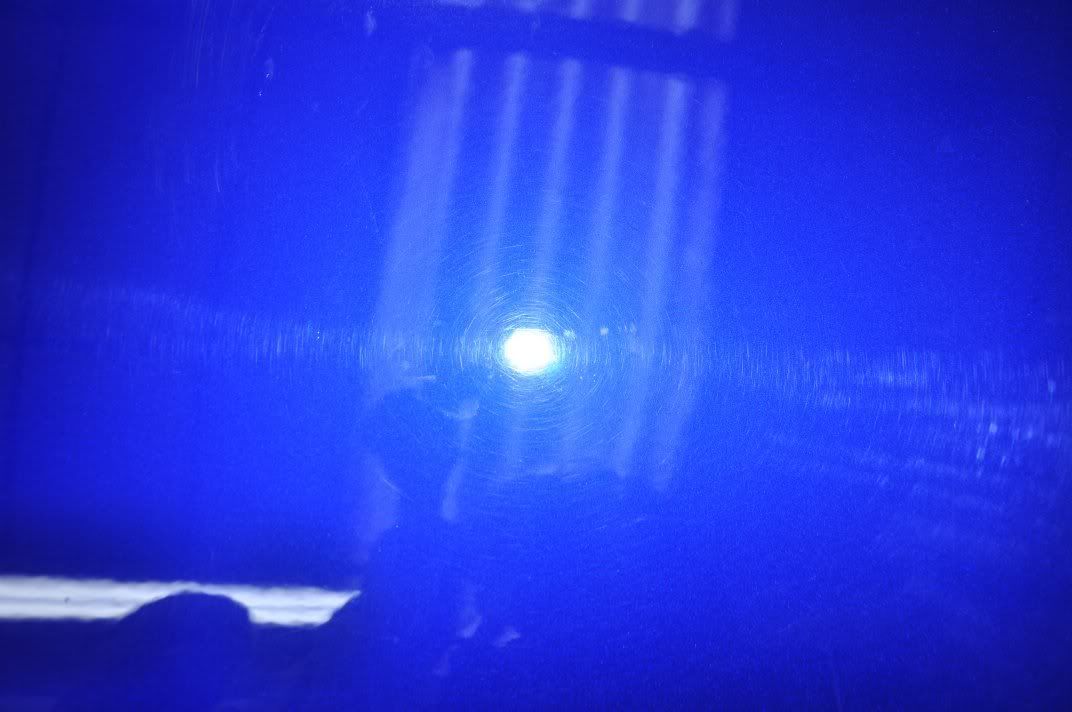
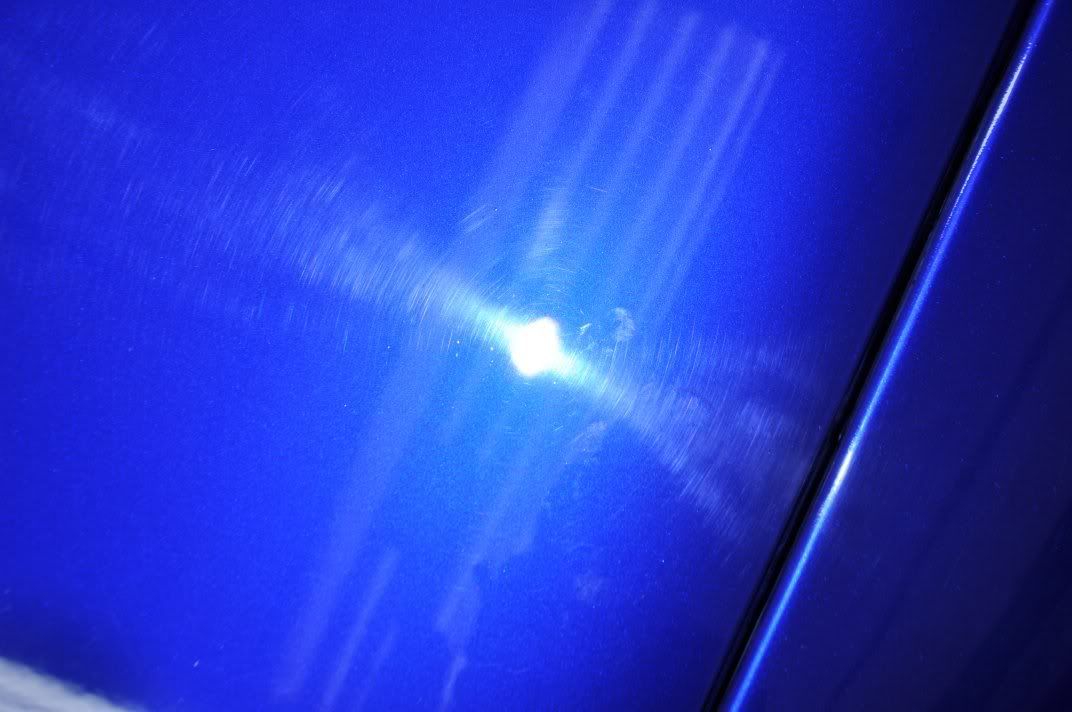
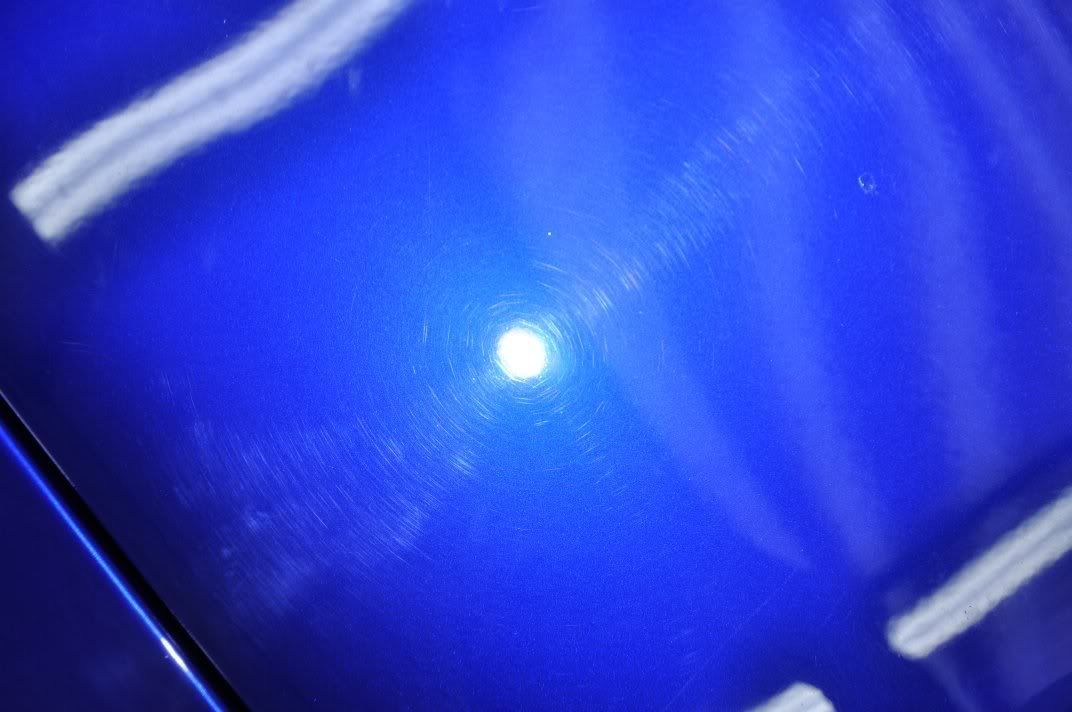
Following our traditional paintwork assessment, we decided on 3M Fast Cut Plus on a 3M Green Compounding pad for correction, with Meguiars #205 Ultafinishing Polish on a 3M blue waffle finishing pad used for refining. The paintwork was assessed by measuring the paint thicknesses initially, and then working up through the abrasive scale assessing both the correction achieved and the paint removed to find a good combination of pad and polish such the as full a correction is achieved while still maintaining a safe level of paint removal at the same time. This car, after a high initial removal (possible UV degredation of very upper paint layers) had removal rates to represent hard paint and so the use of Fast Cut for correction was deemed acceptable with the approximate removal of between 5 and 7um.
In action on the bonnet, I used the small 3" 3M pads for areas around the washer jets where the bigger pads didn't cut as easily up to the line, and when heavily compounding larger pads near edges do run the risk of strike through on an edge when you need to use pressure for deeper marks.. smaller pads allowed for far more flexibility...

Around 3 hours was spent by me on the bonnet alone (and its a small bonnet! :lol , using Fast Cut, in places in multiple hits, and Meguiars #205 for refining. Application processes were as follows:
3M Fast Cut - Correction Only
Meguiars #205 - Double Zenith Technique
The results of correction and refining on the bonnet...

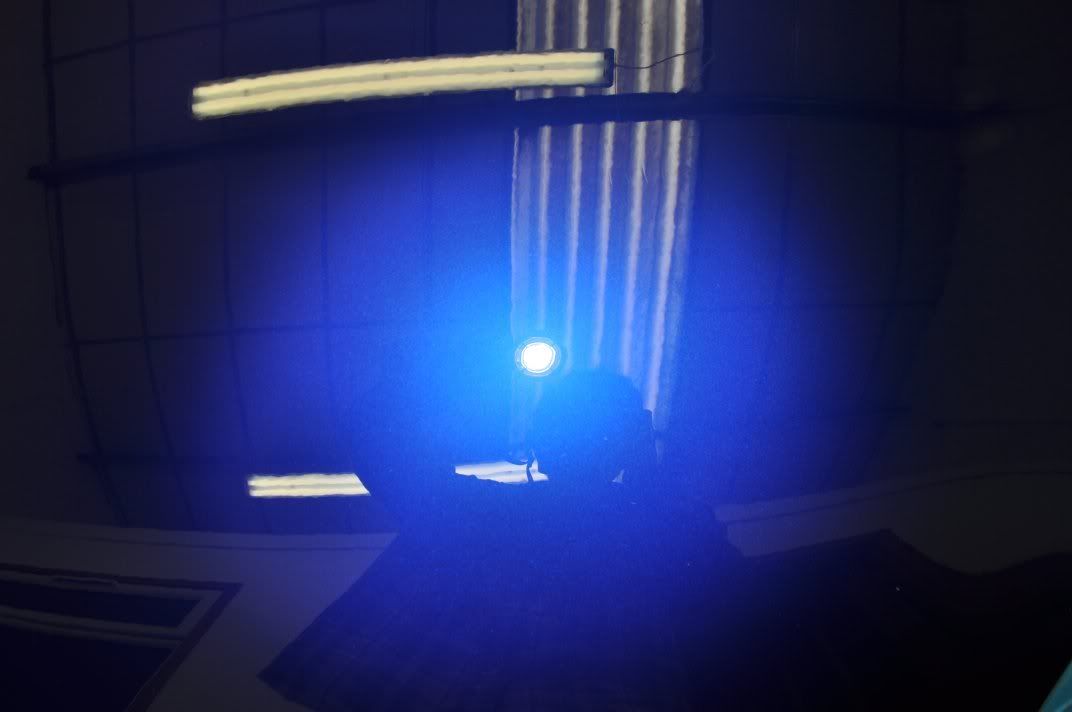
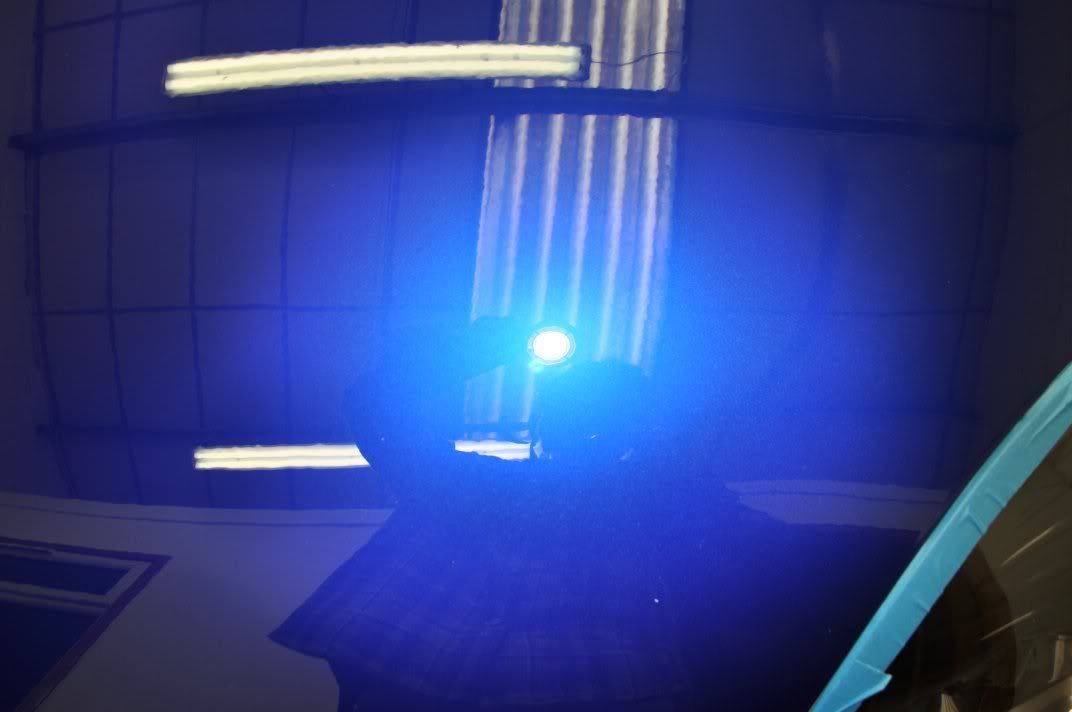
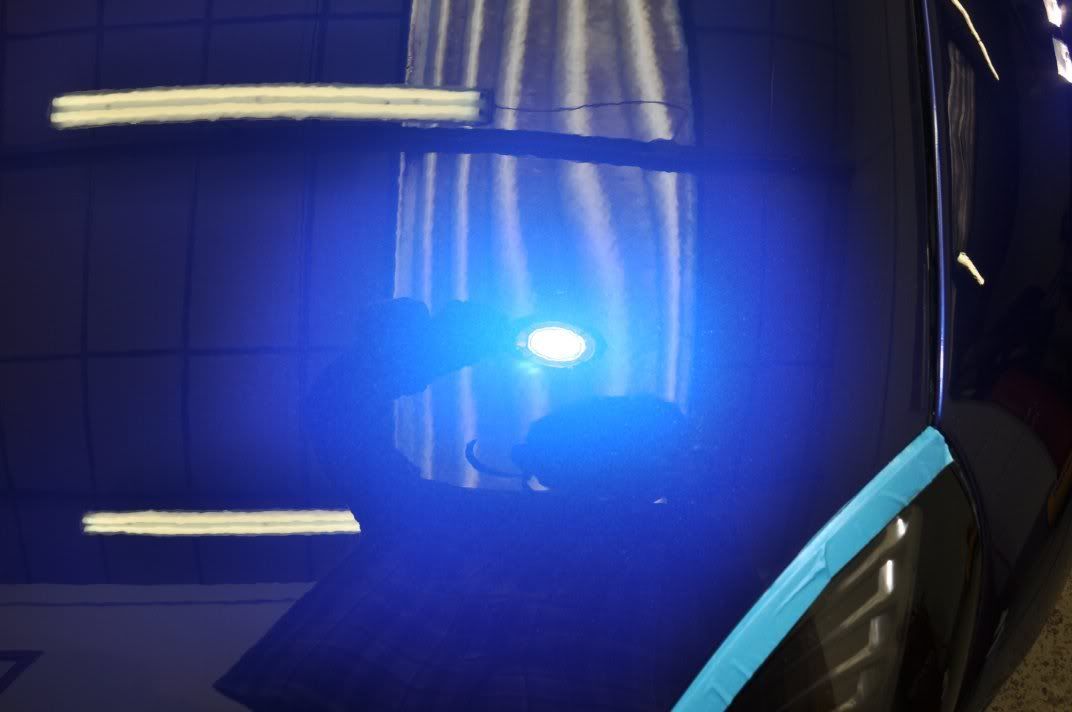
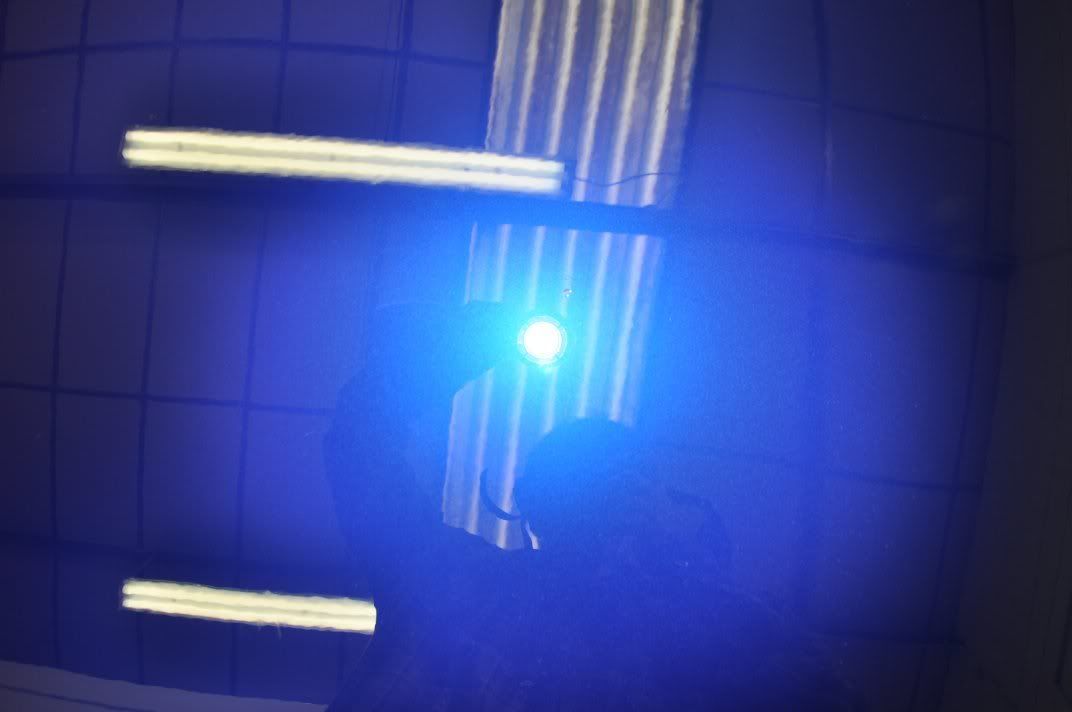
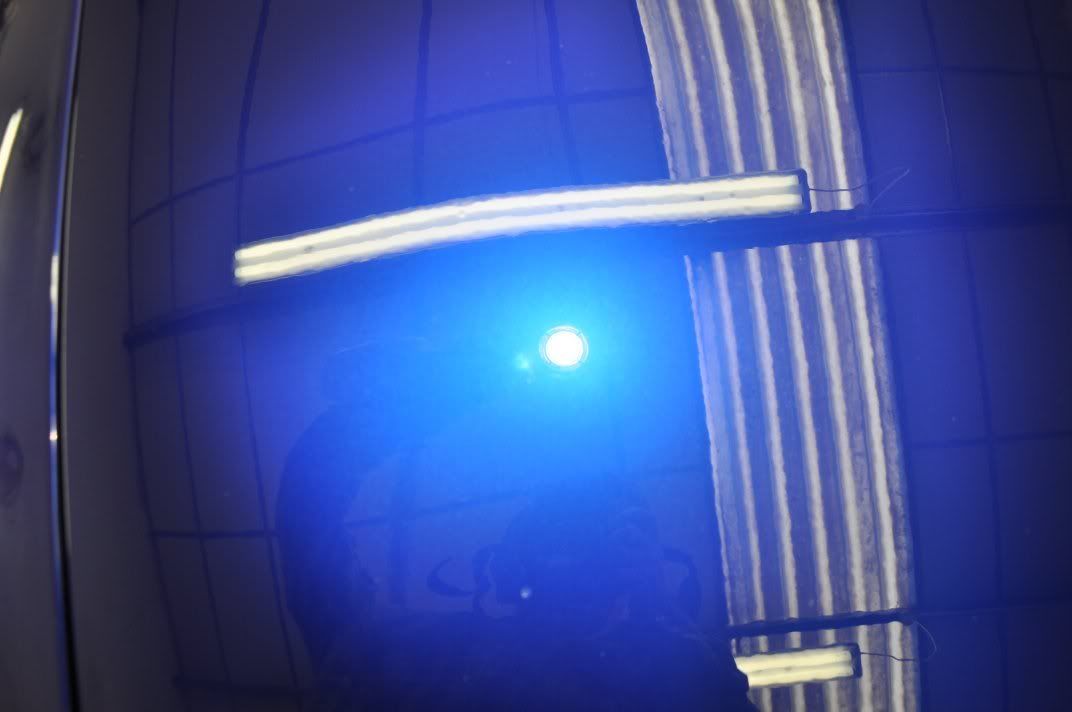
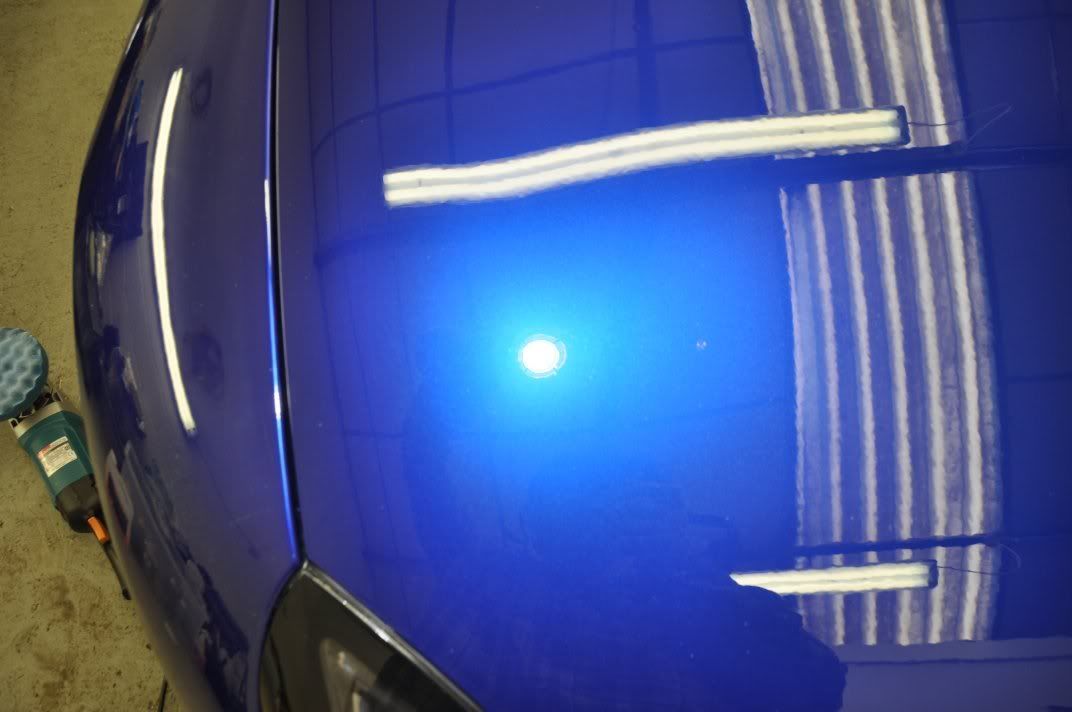
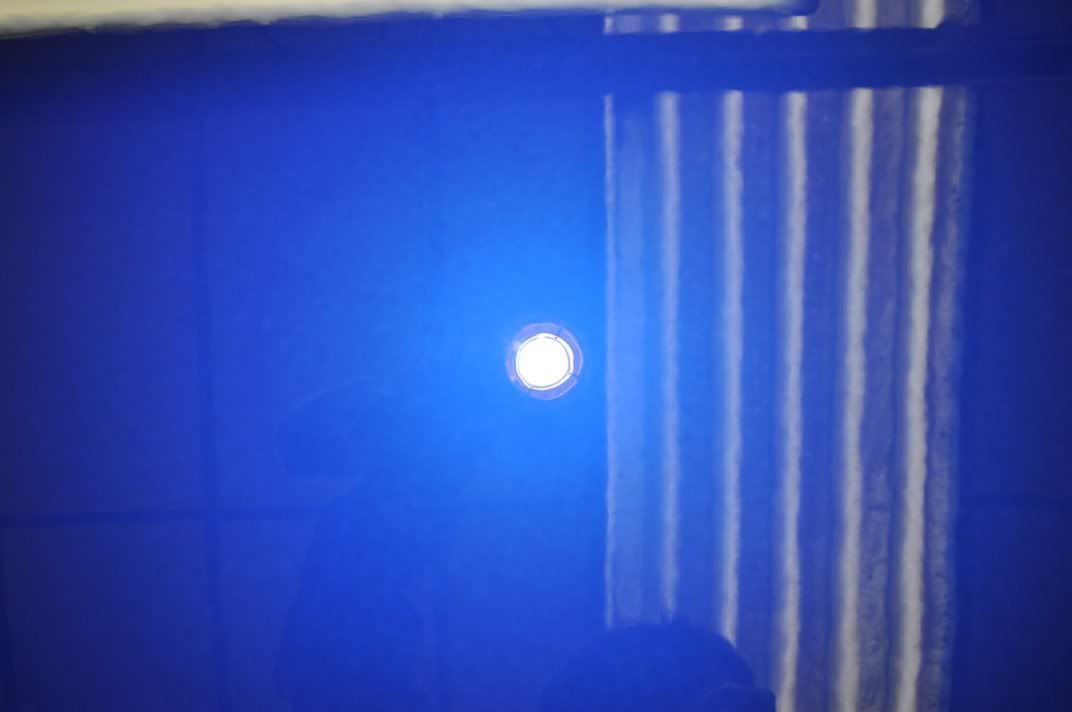
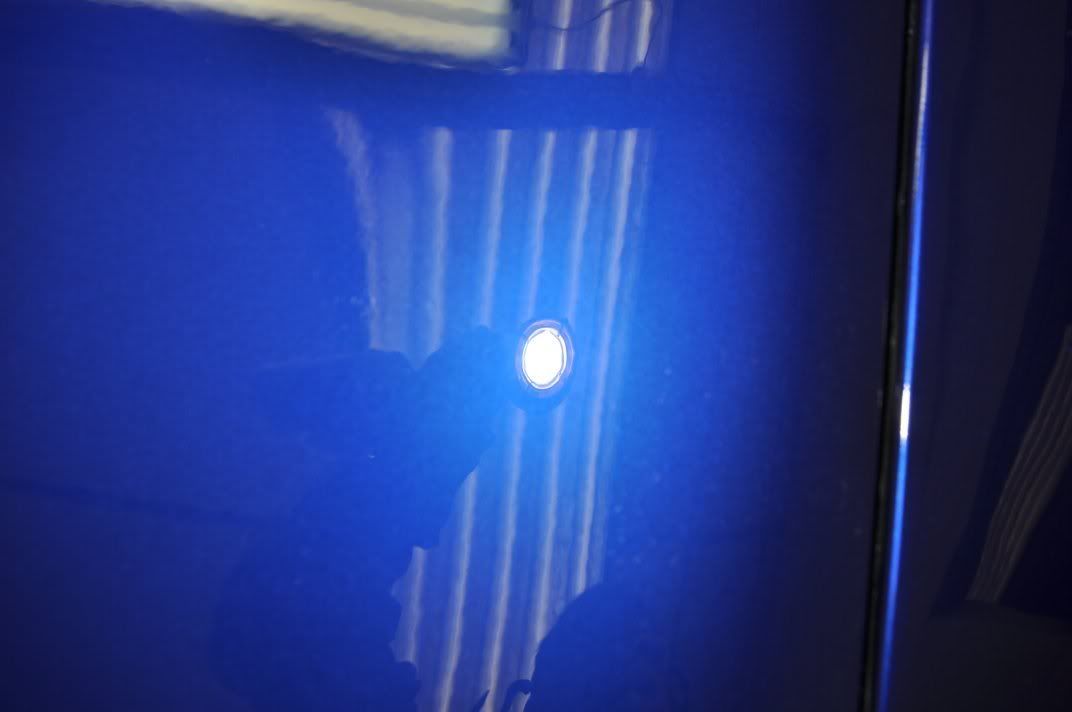
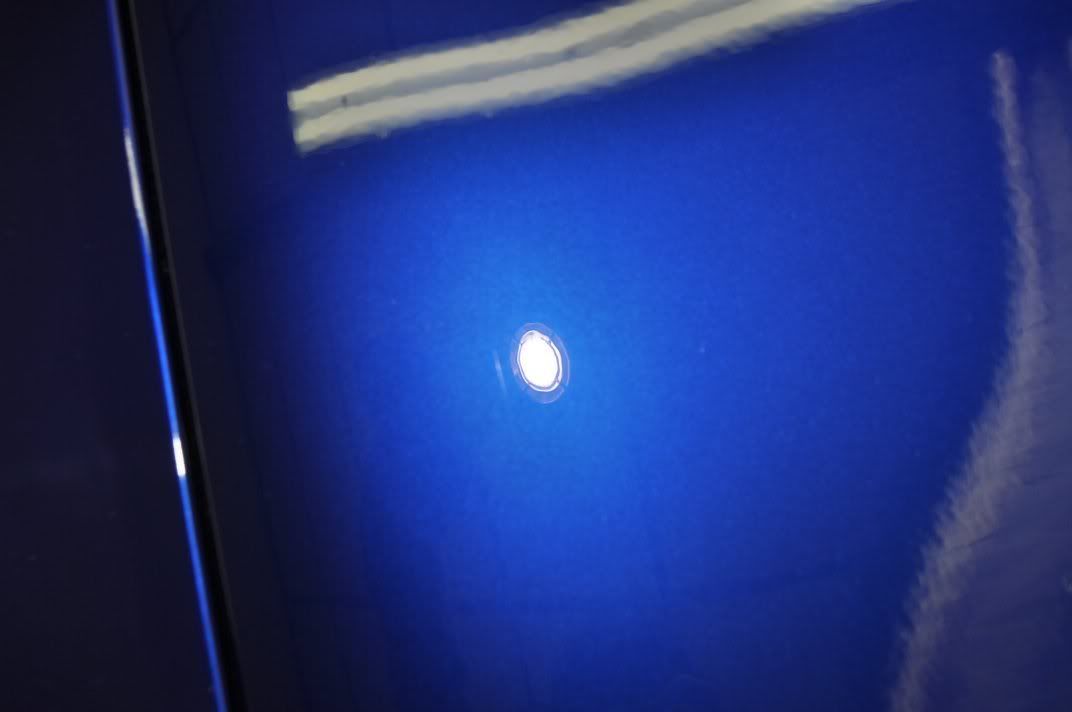
On to the rest of the car - before pictures (apollogies, it would appear that I cannot hold the camera straight on this day! :lol :
:
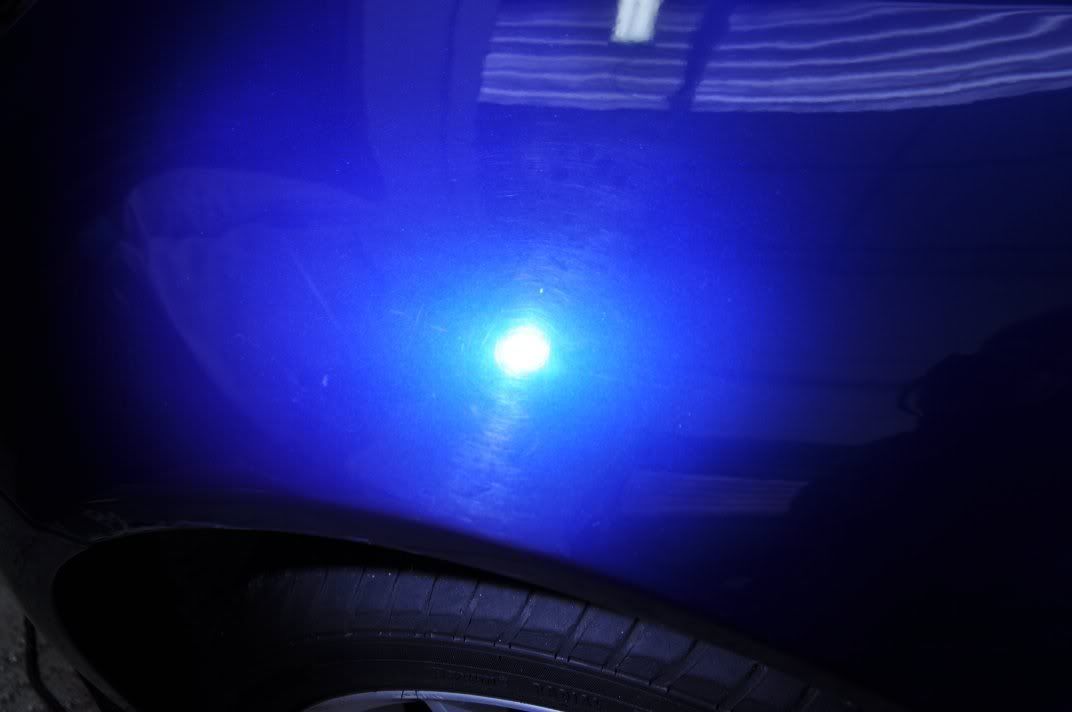
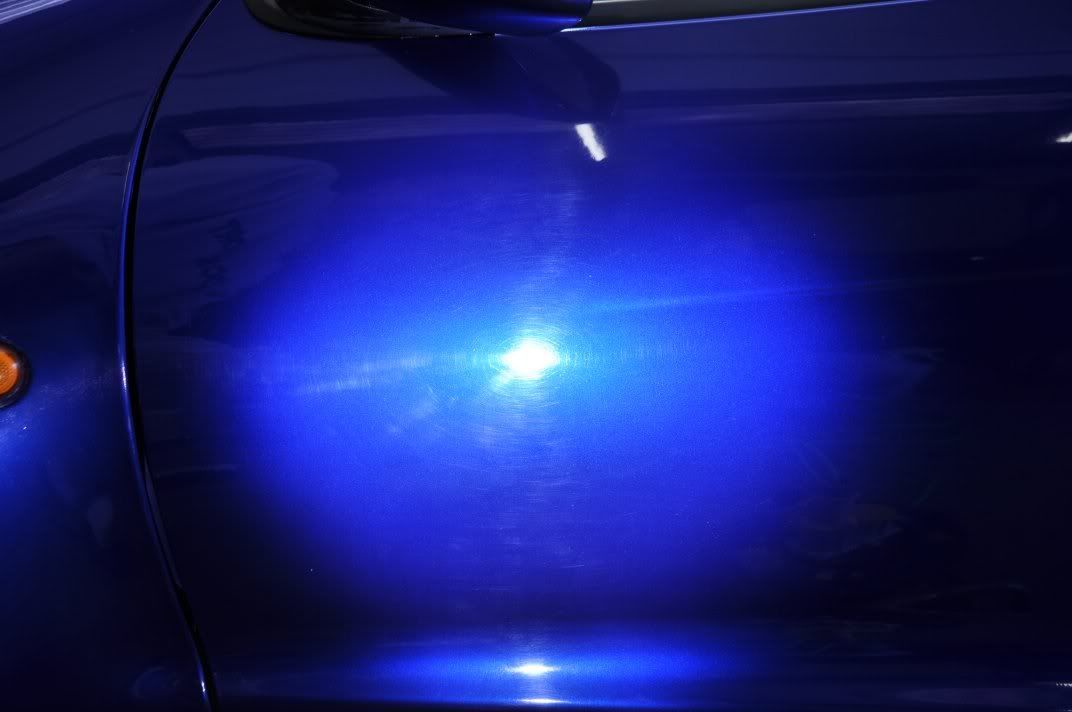
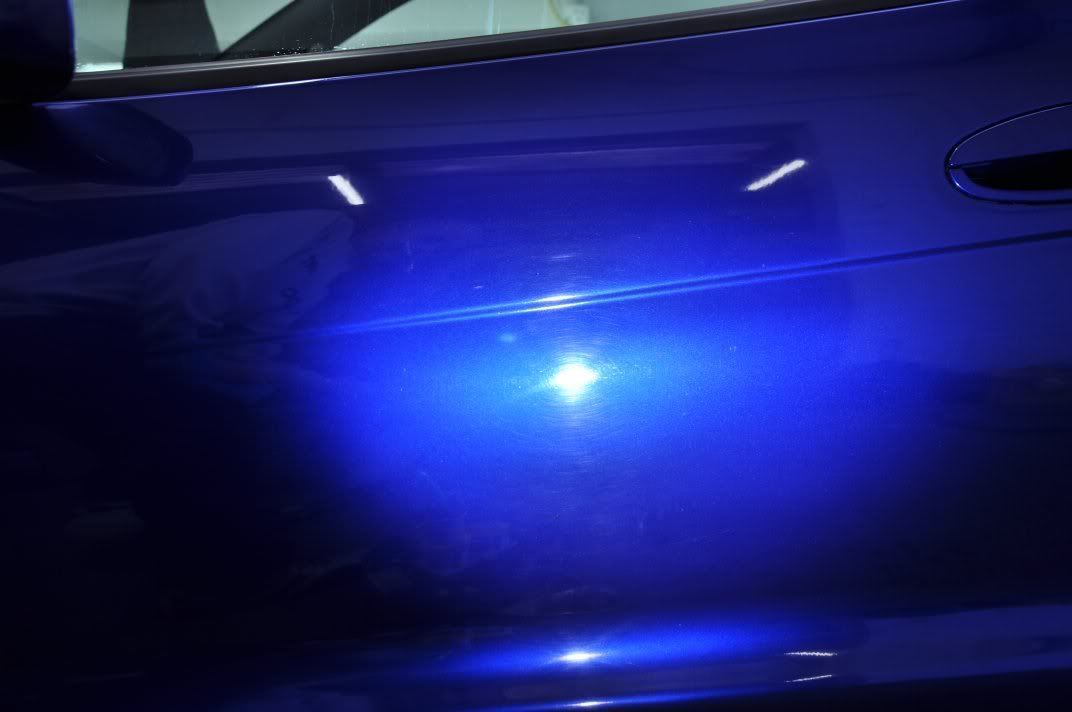
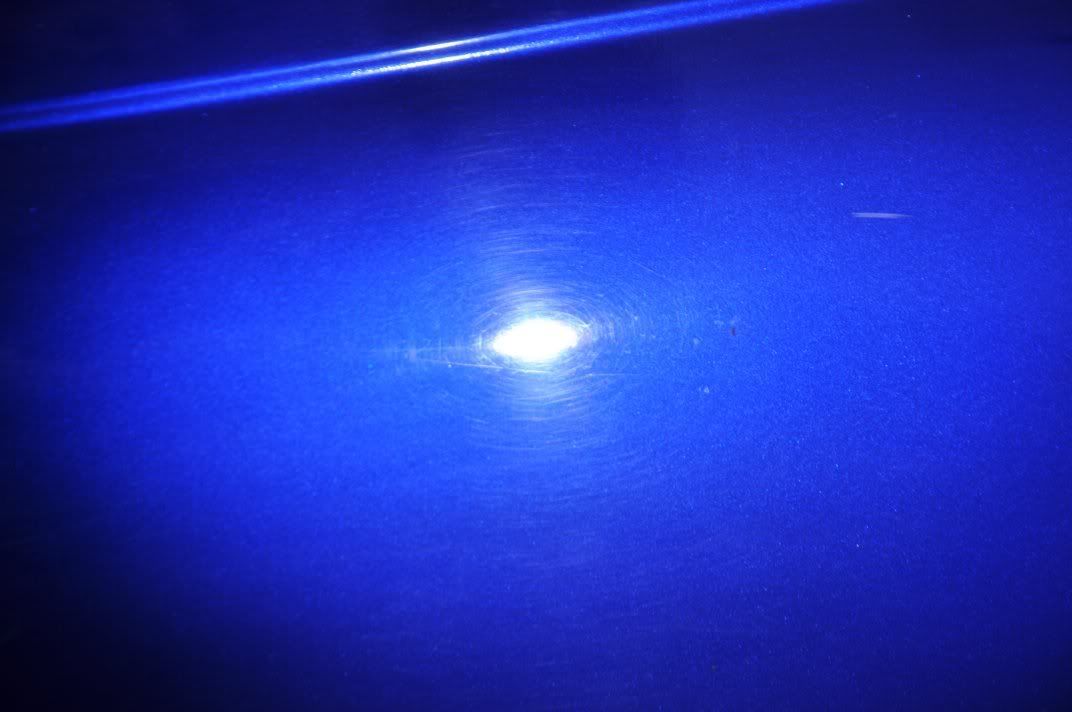

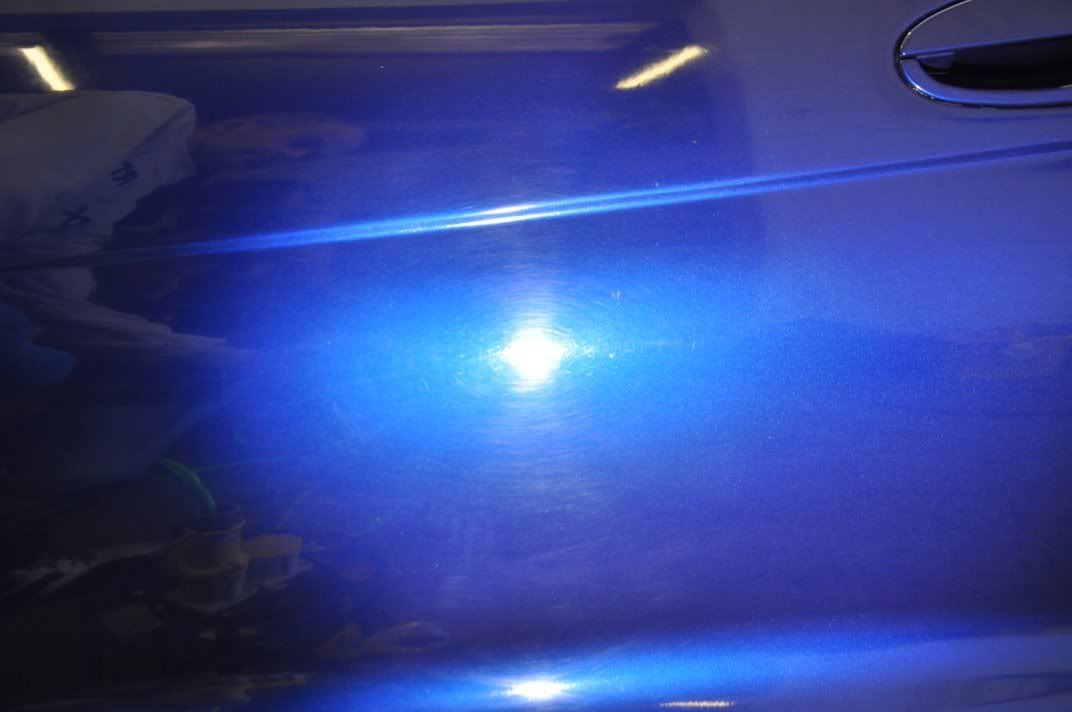
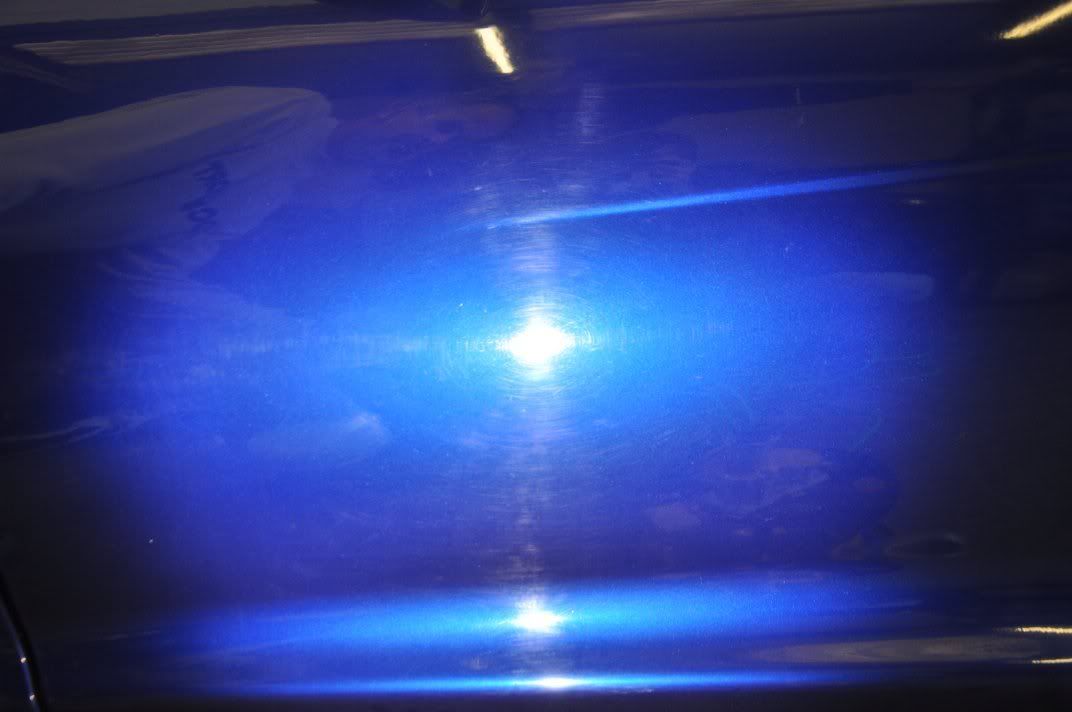
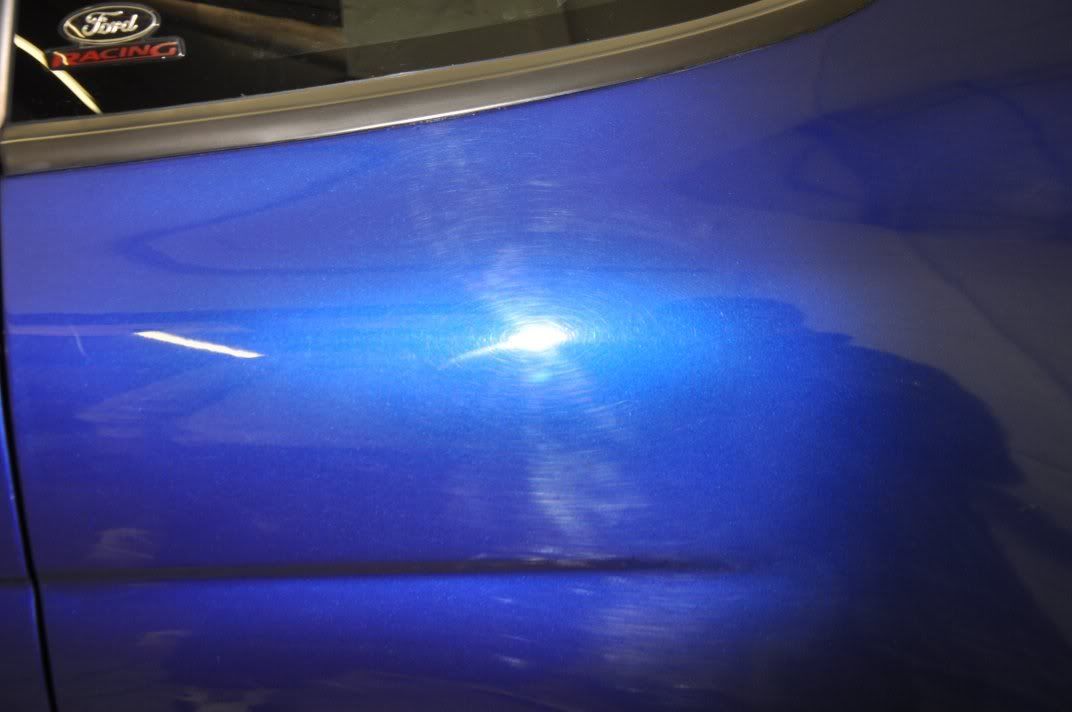
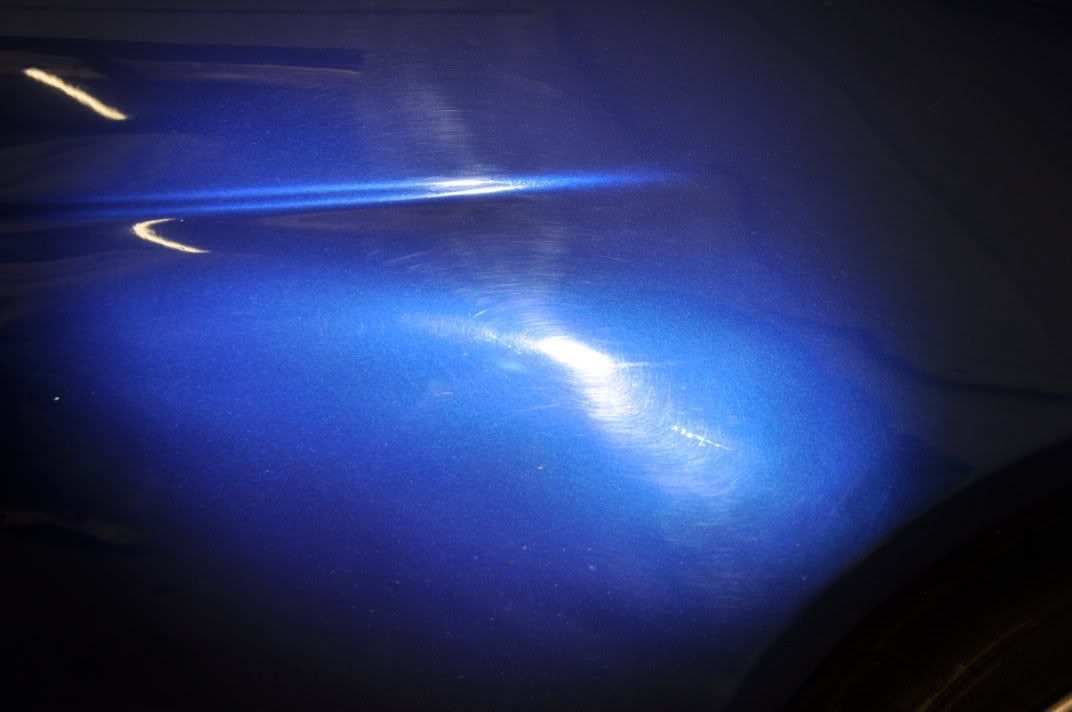
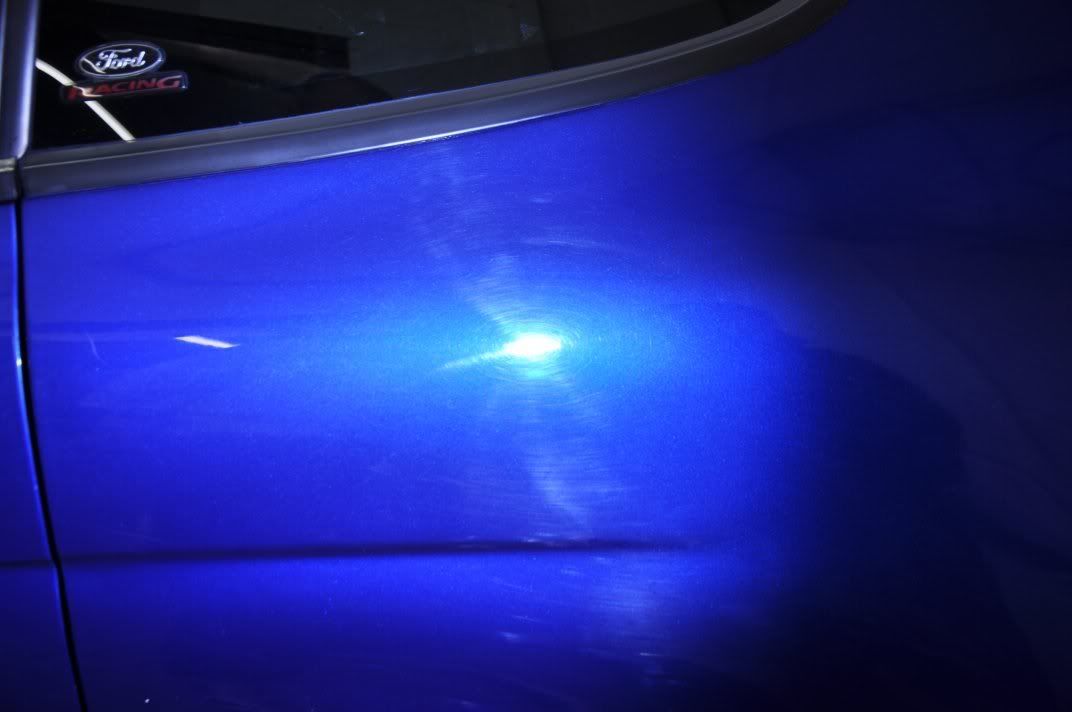
Note the paint damage on the hinge region of the filler cap here...
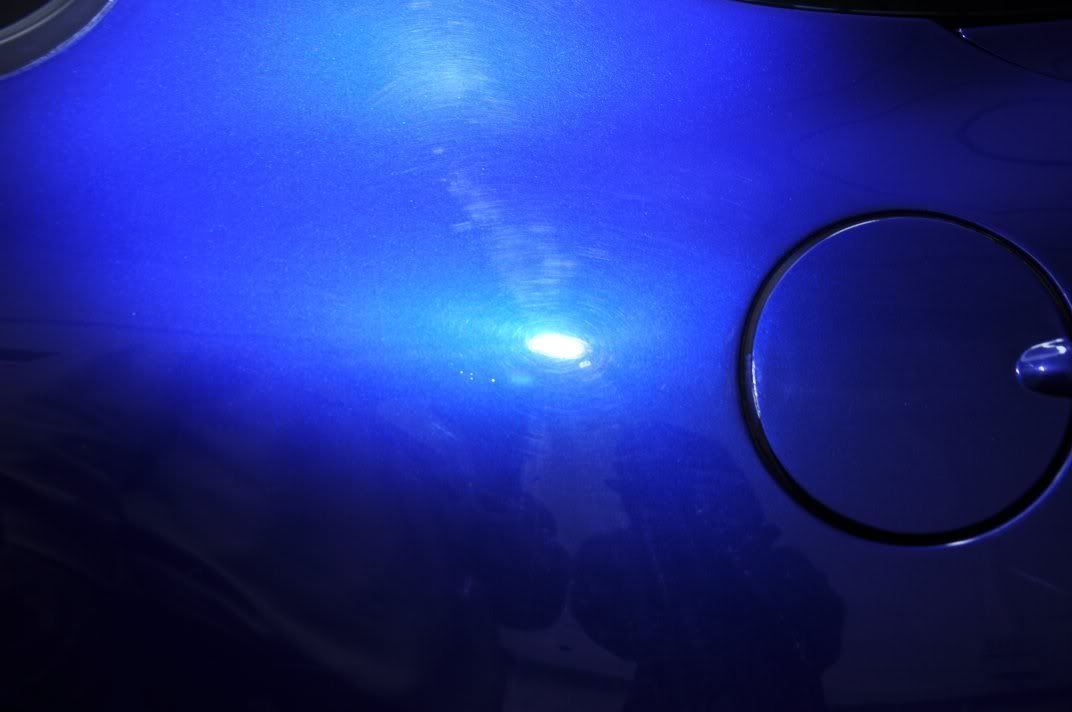
Unfortunately we were unable to attempt a repair on this during the single day detail.
More befores...
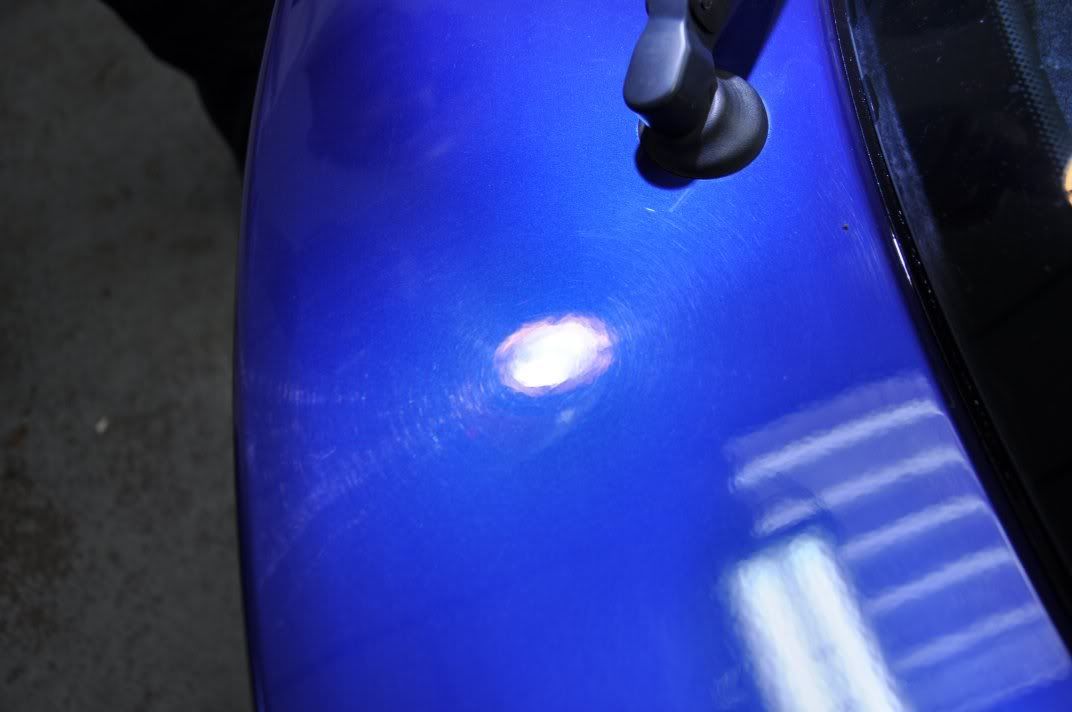
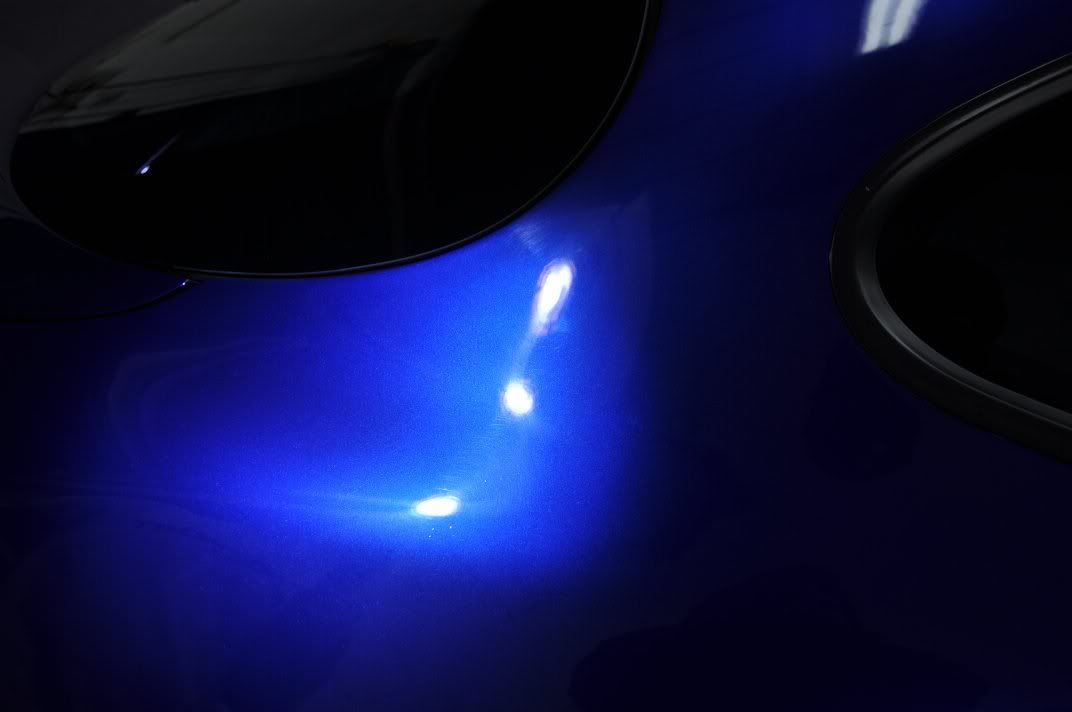
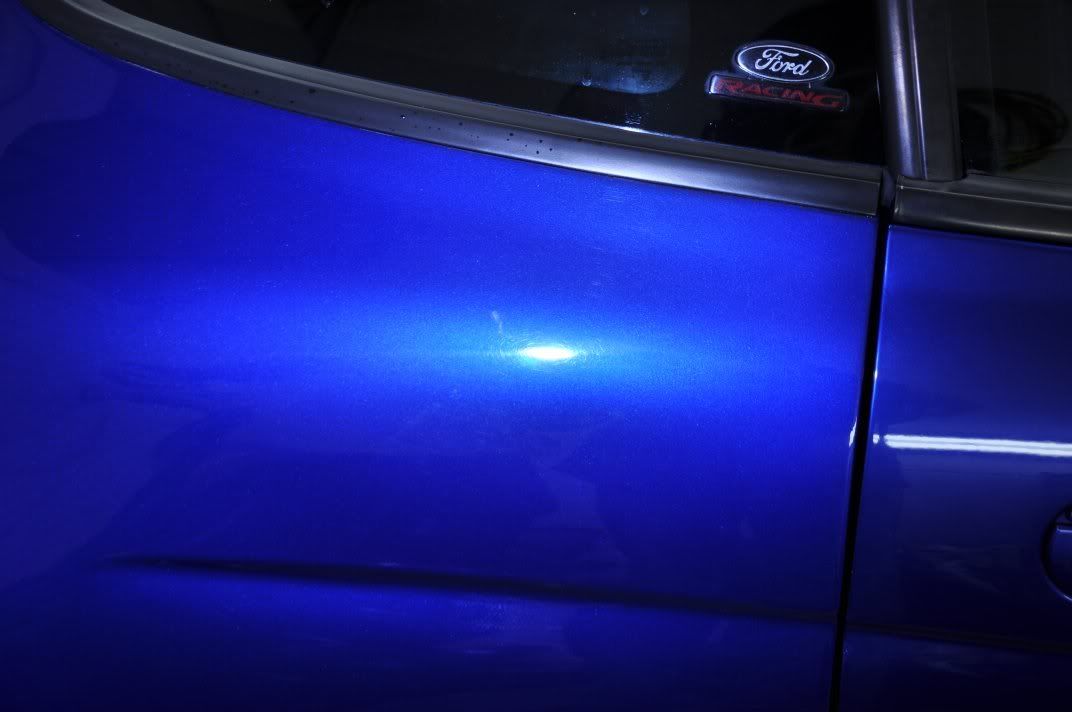
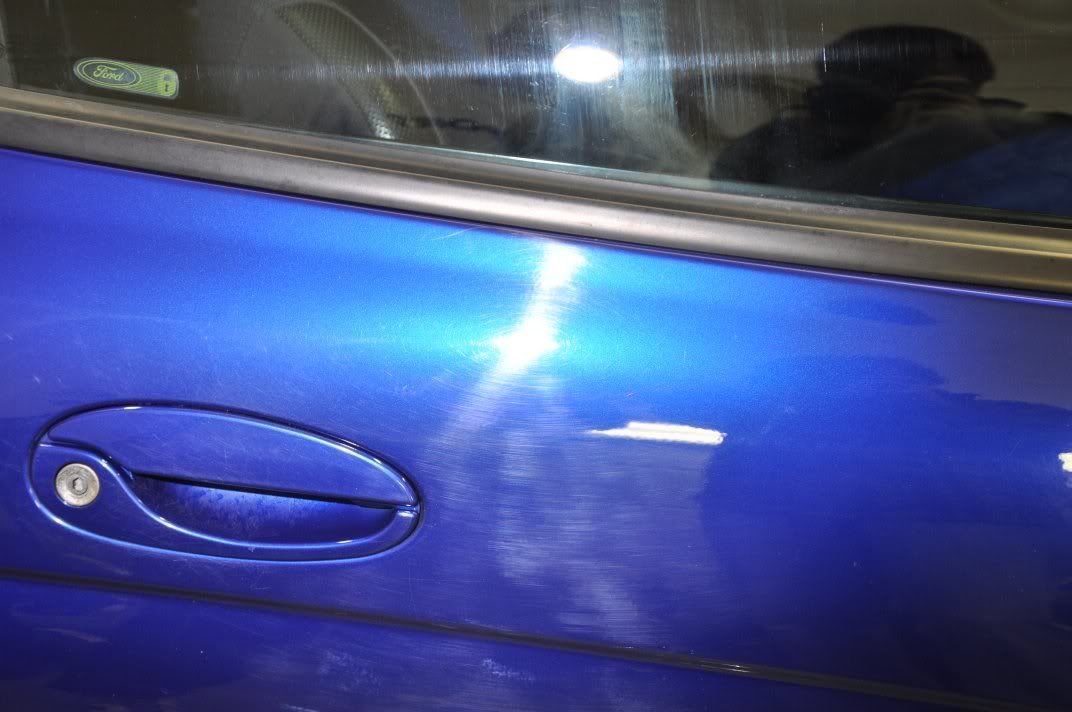
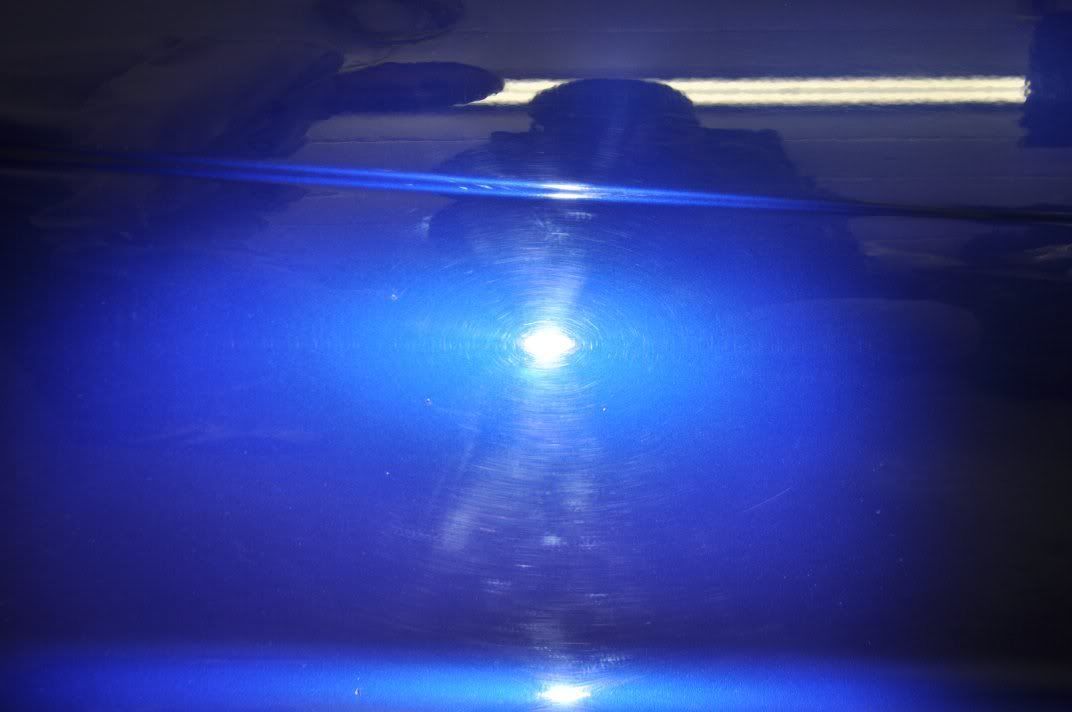
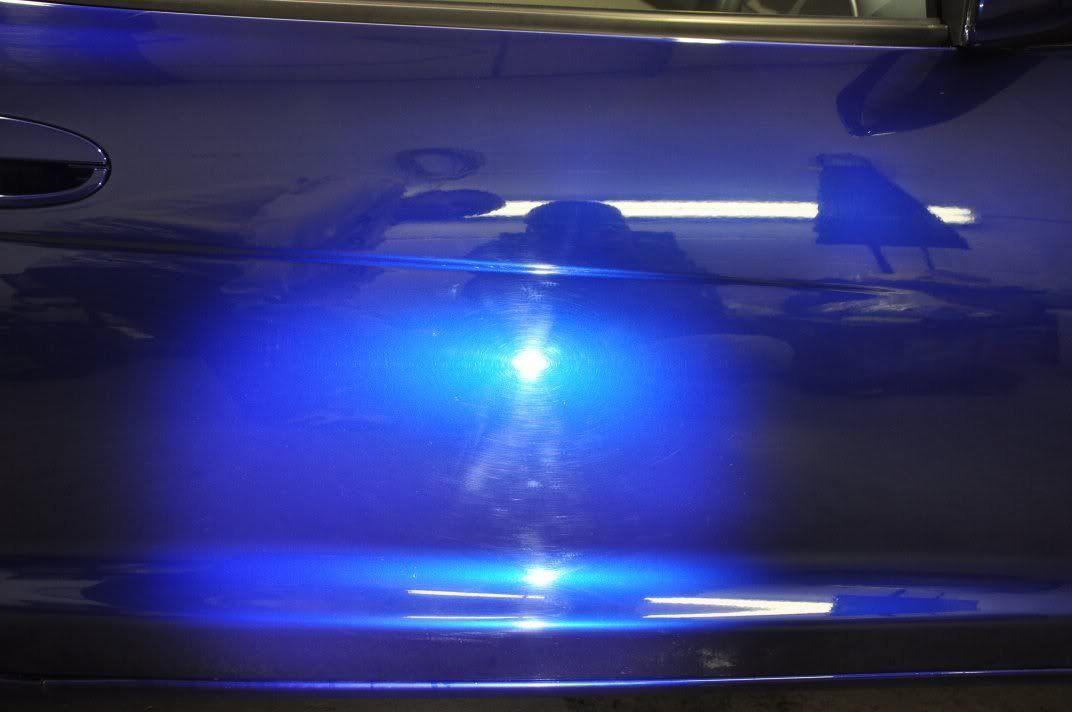
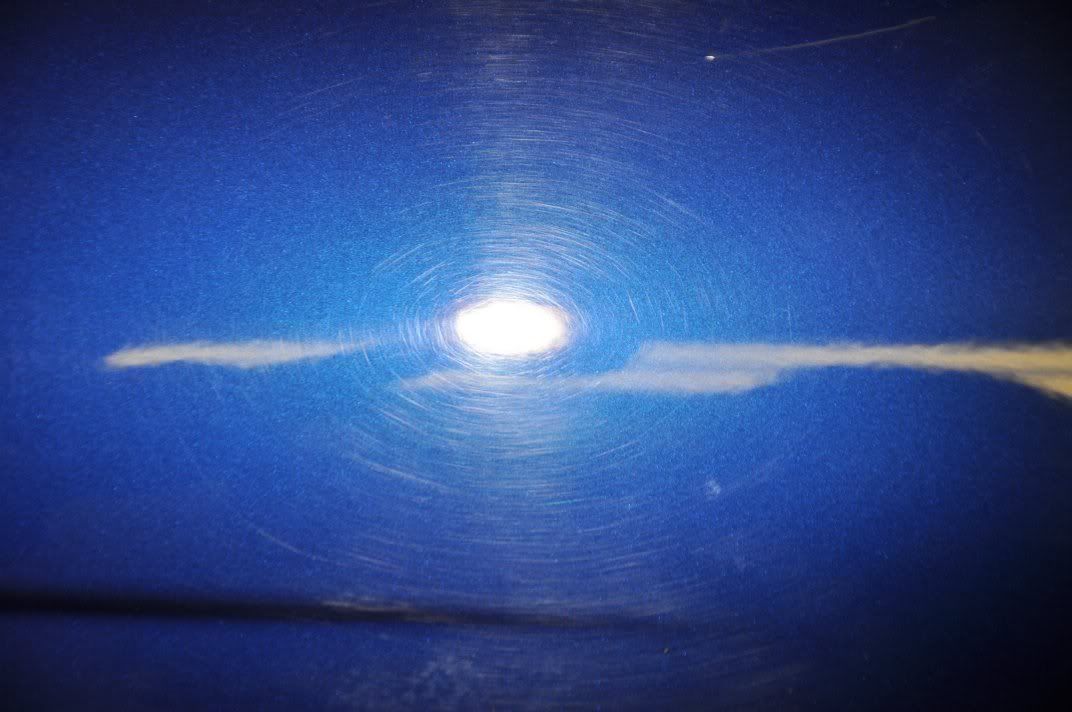
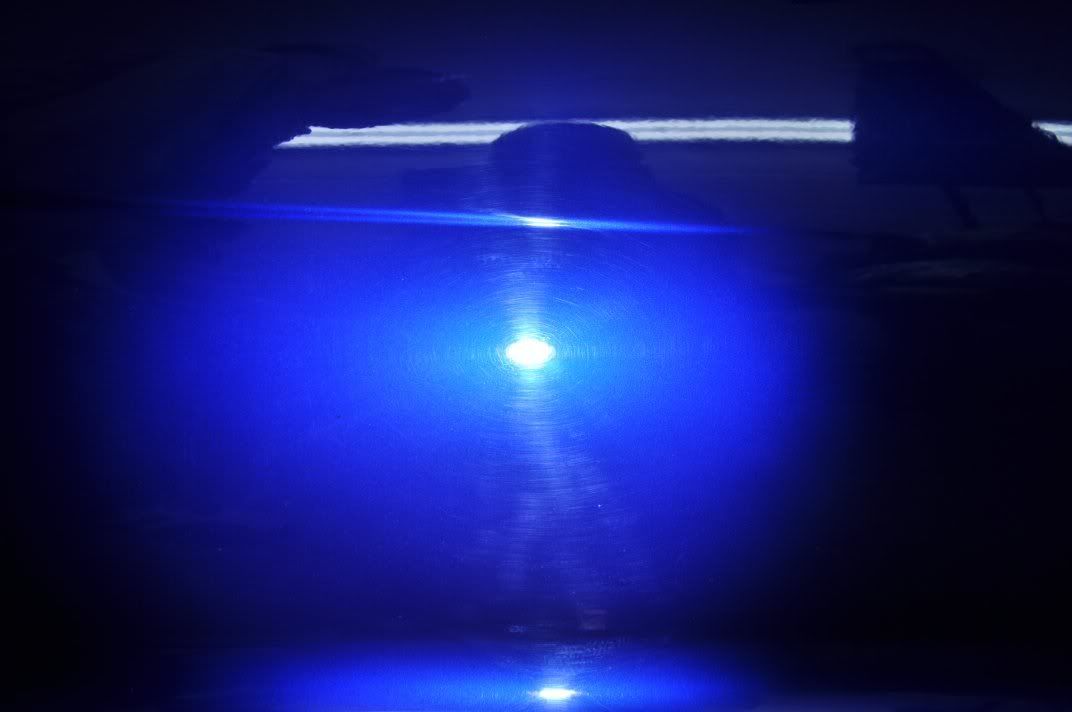
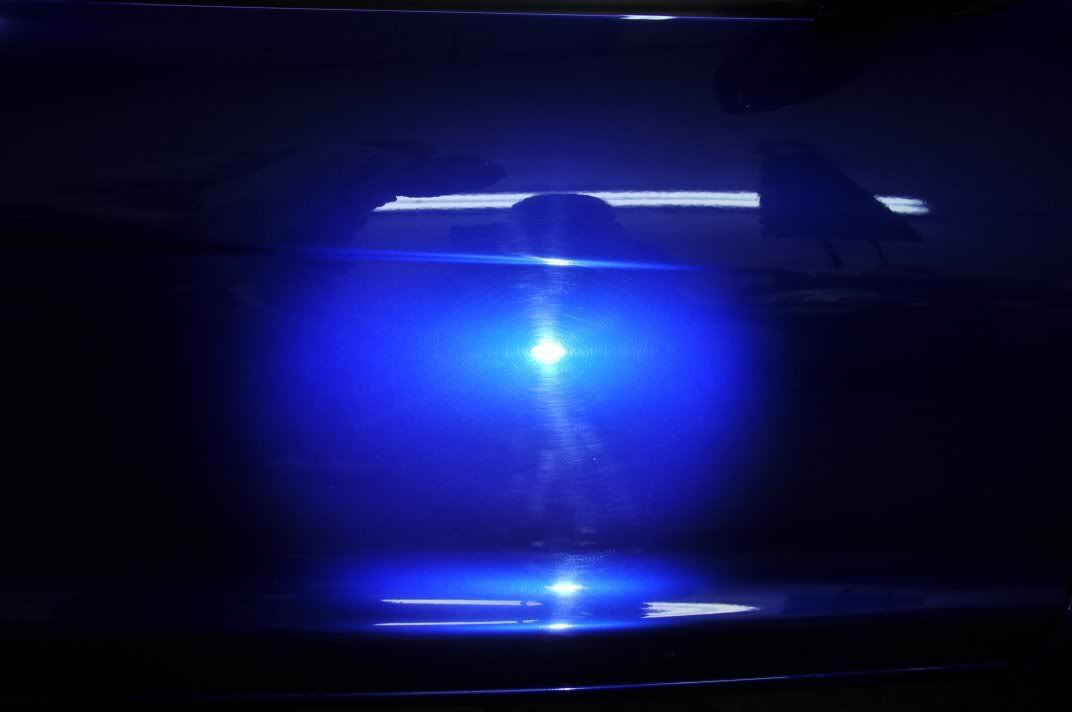
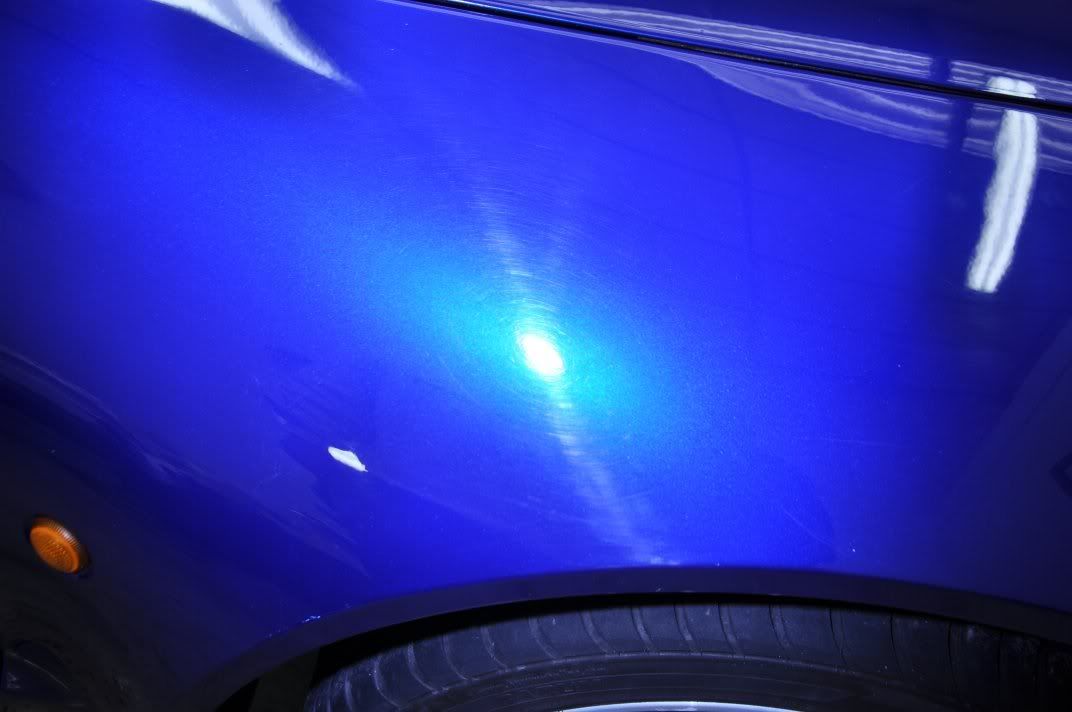
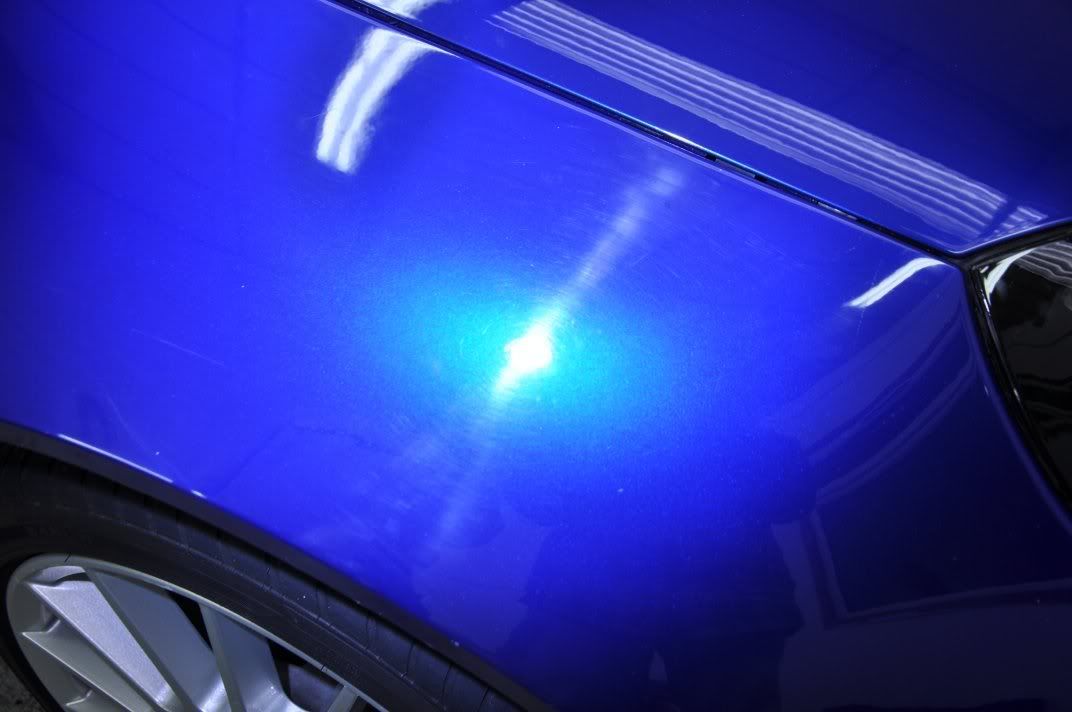
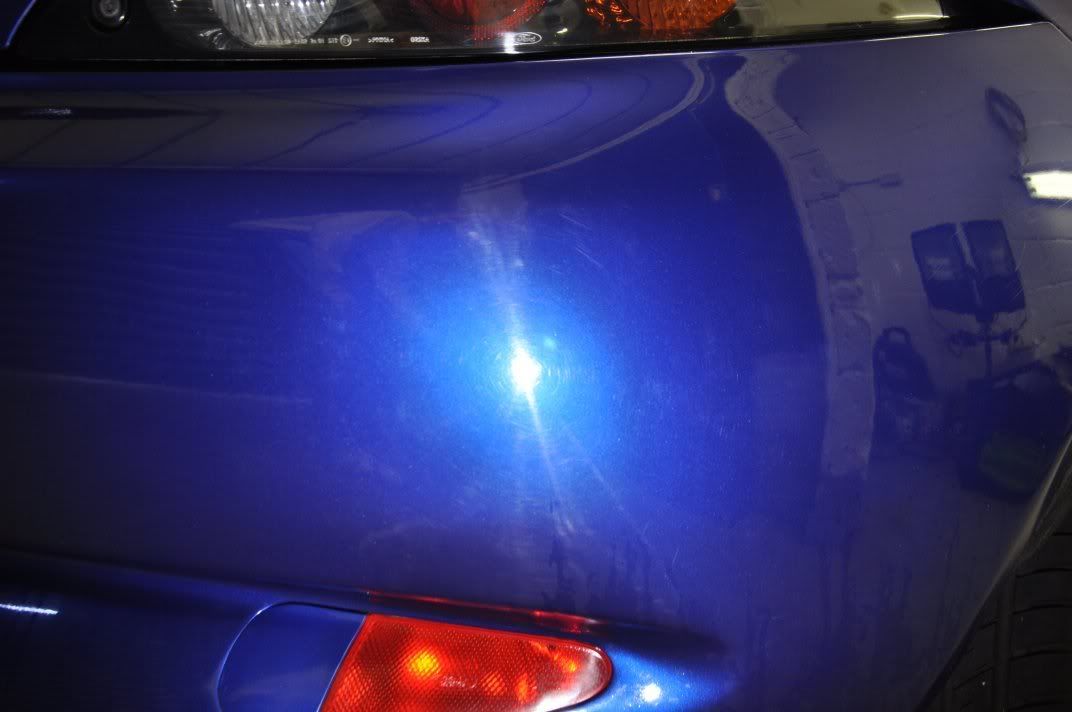
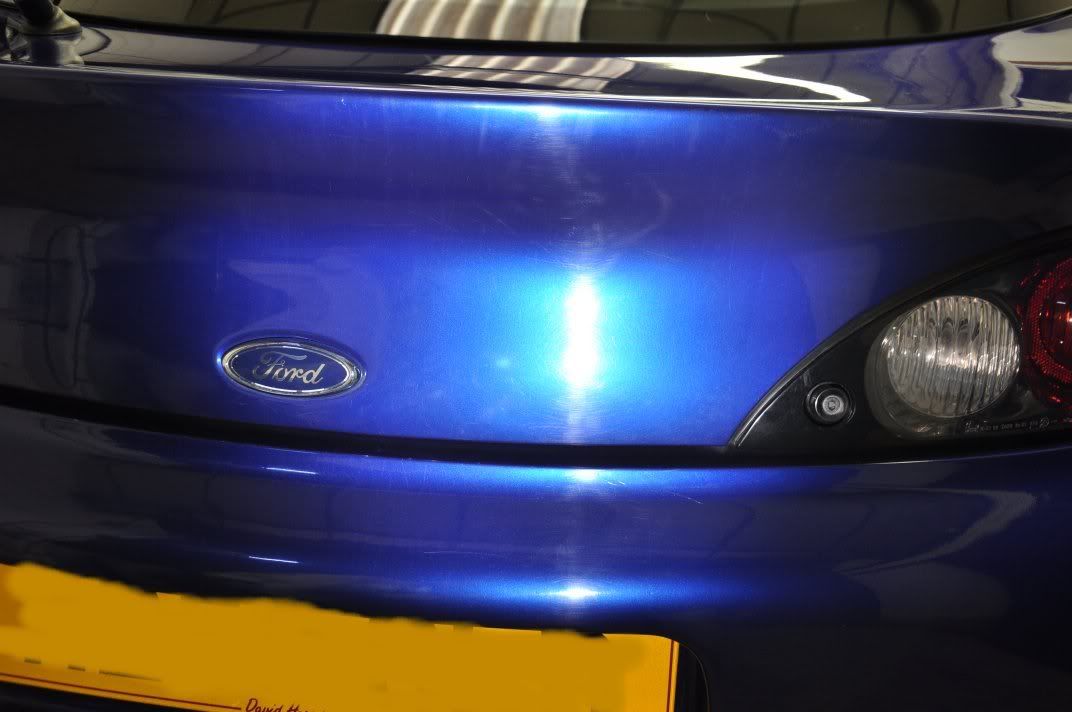
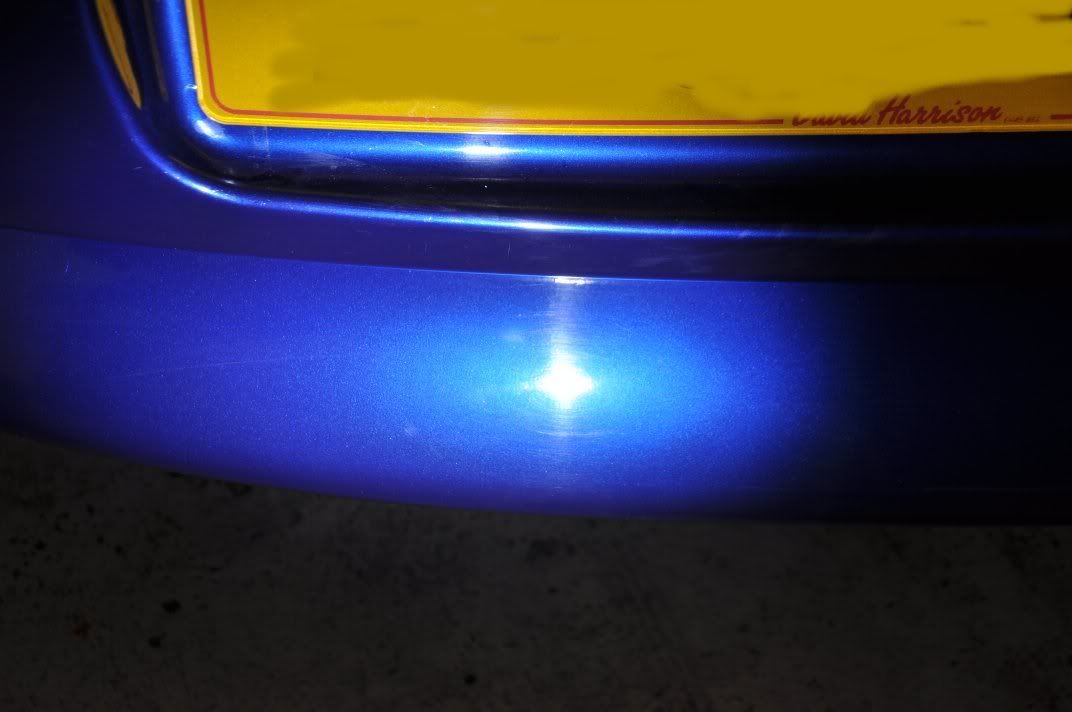
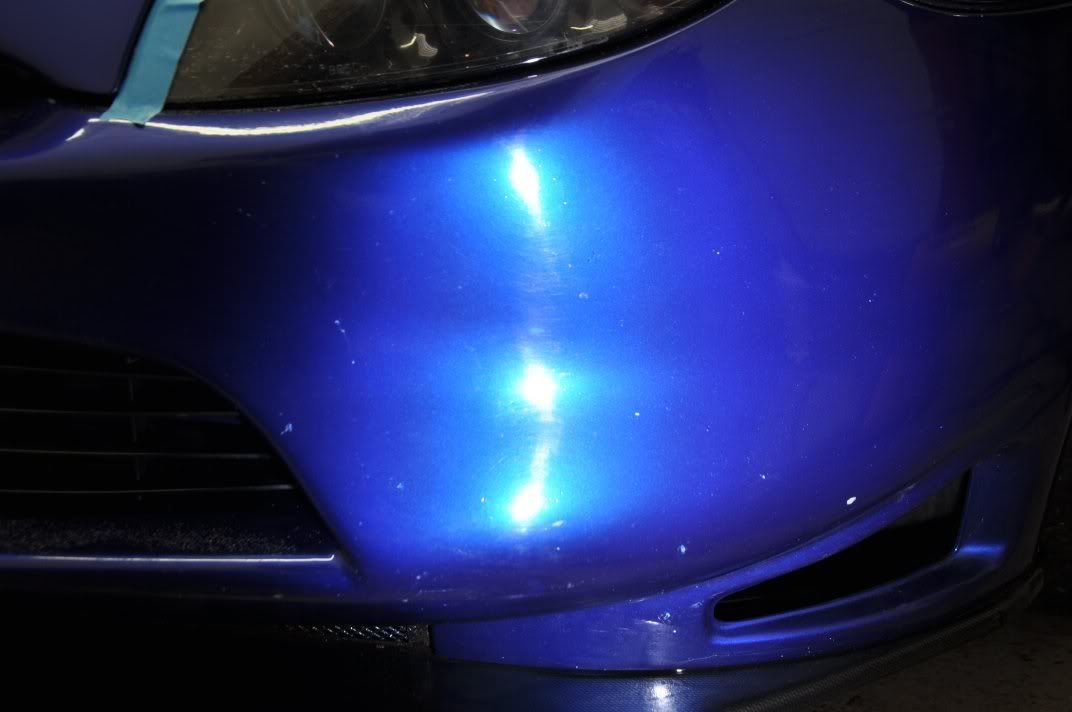
On some regions of the car, the paint was responding differently and a less aggressive approach was required for the correction phase where instead Menzerna PO85RD3.02 Intensive Polish applied on either a 3M Yellow Waffle pad, or Chemical Guys Green Hexlogic Pad was used as follows:
All refinement still carried out with Meguiars #205 as described above.
During pictures, showing results of correction and refining as we worked around the car and the polishing in action...
50/50 on passenger door (showing correction right down the door, a 3" pad was used as found easiest to get right into the tight contour on door base):
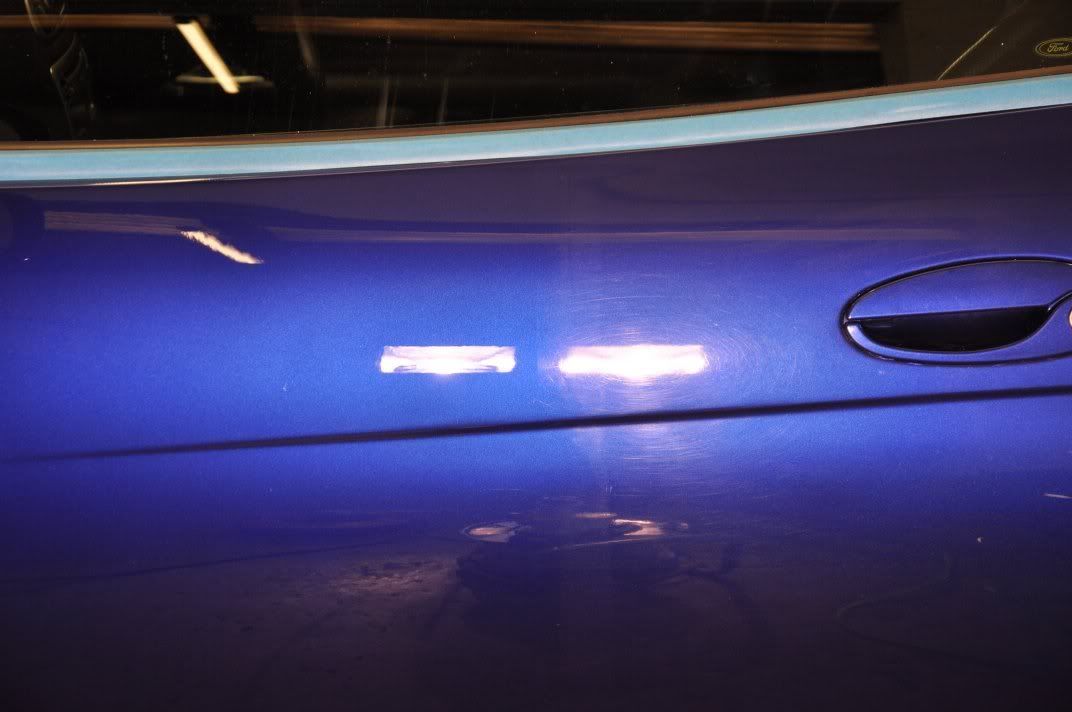
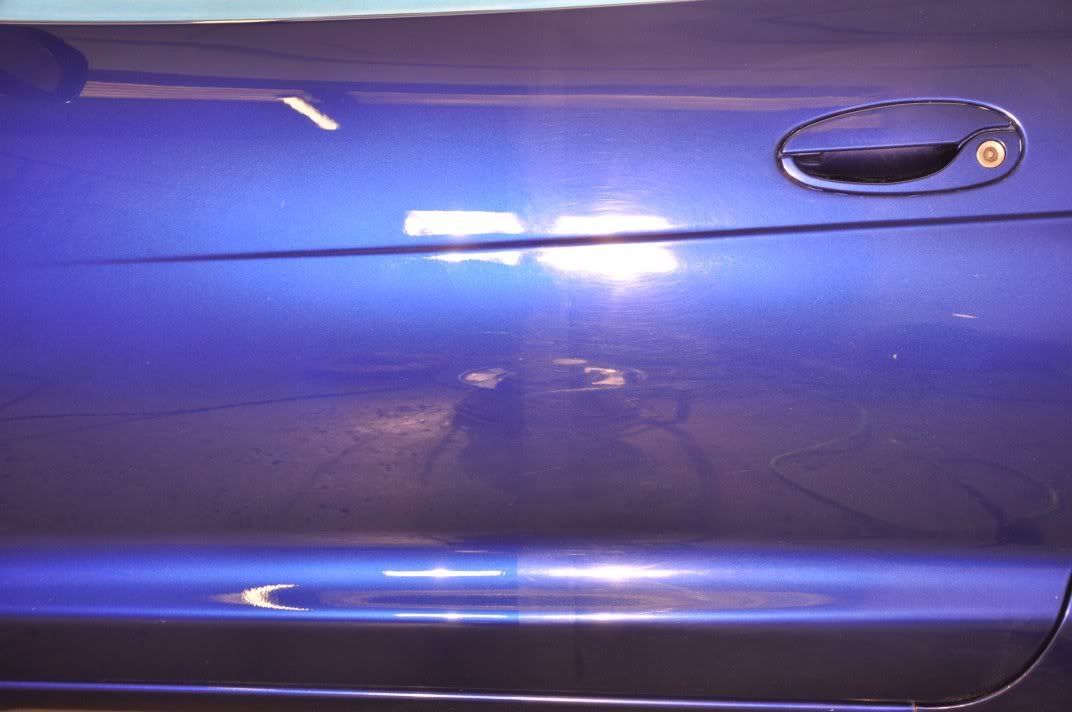
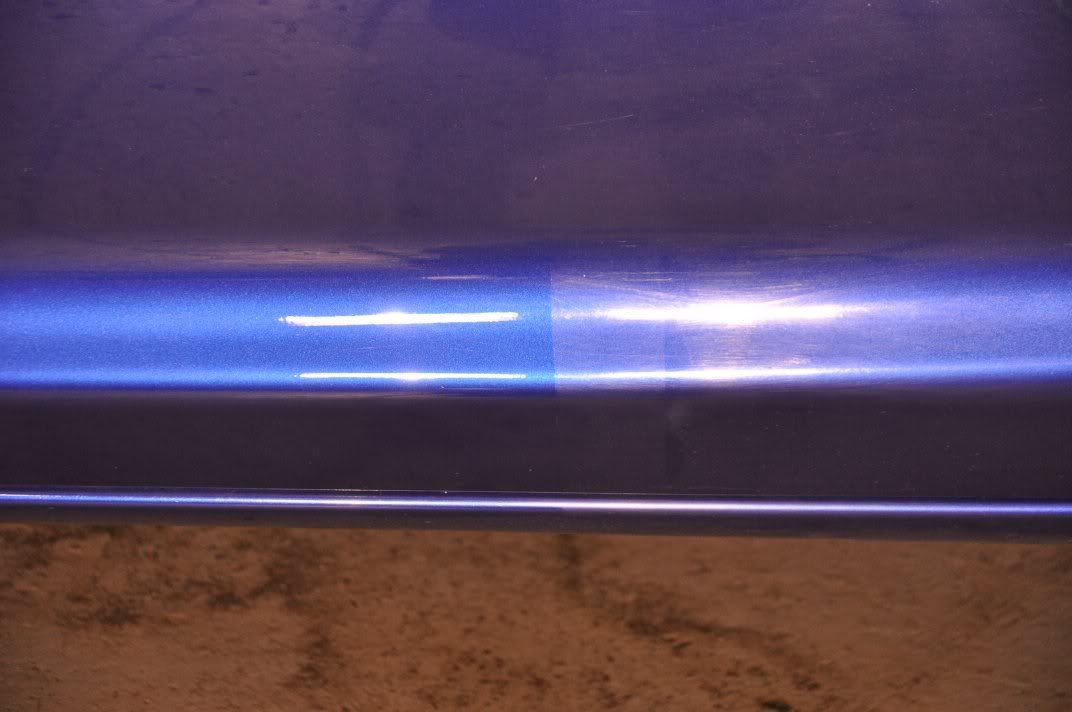
The driver's wing was very thin on paint, reading in the 60um region in places, and none notably above 80um. For this reason #205 was used solely for correction and refining, stepping to a polishing pad for a little extra bite, but deeper RDS remained here owing to the thicknesses on the panel (PTG showing its value again :thumb :
:
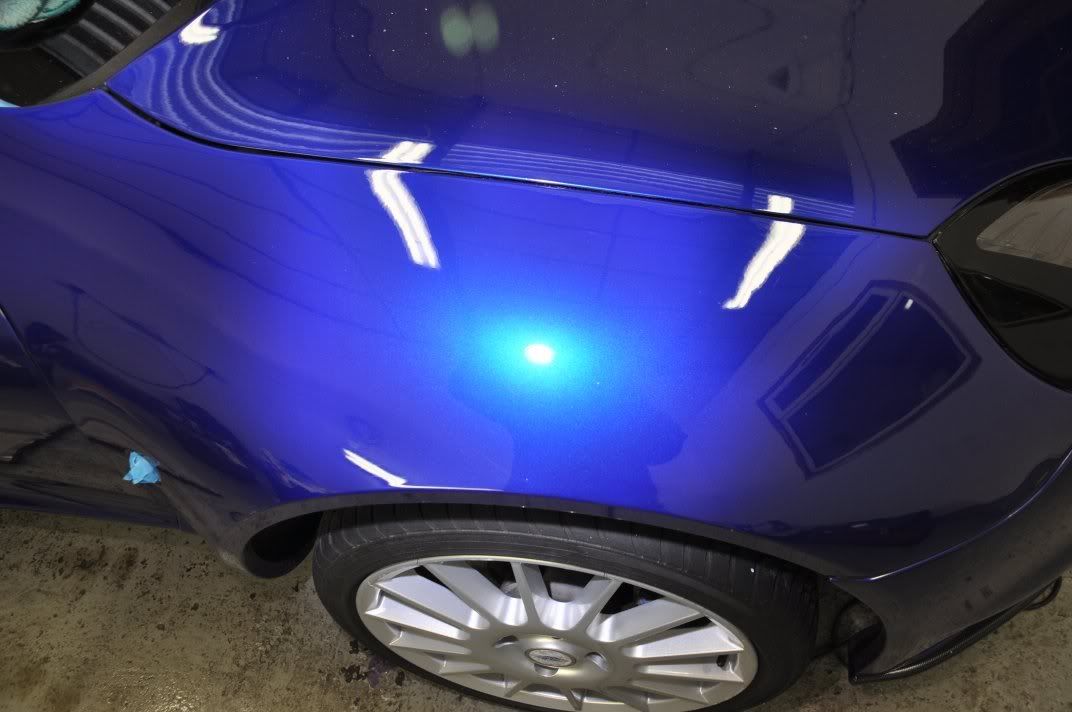

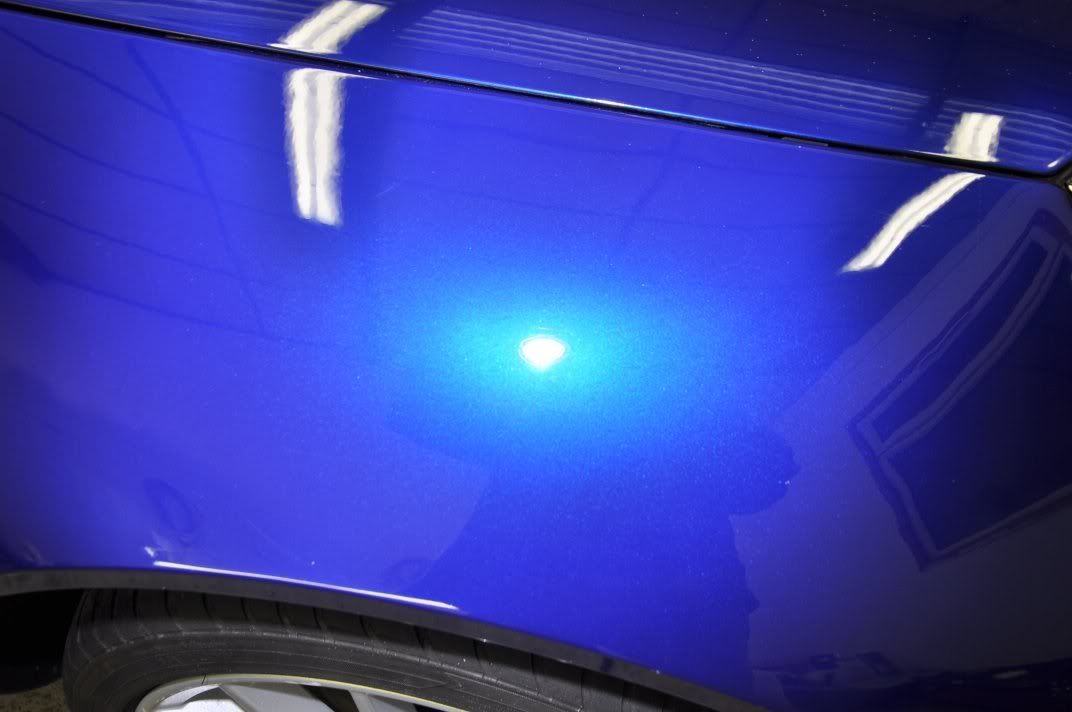
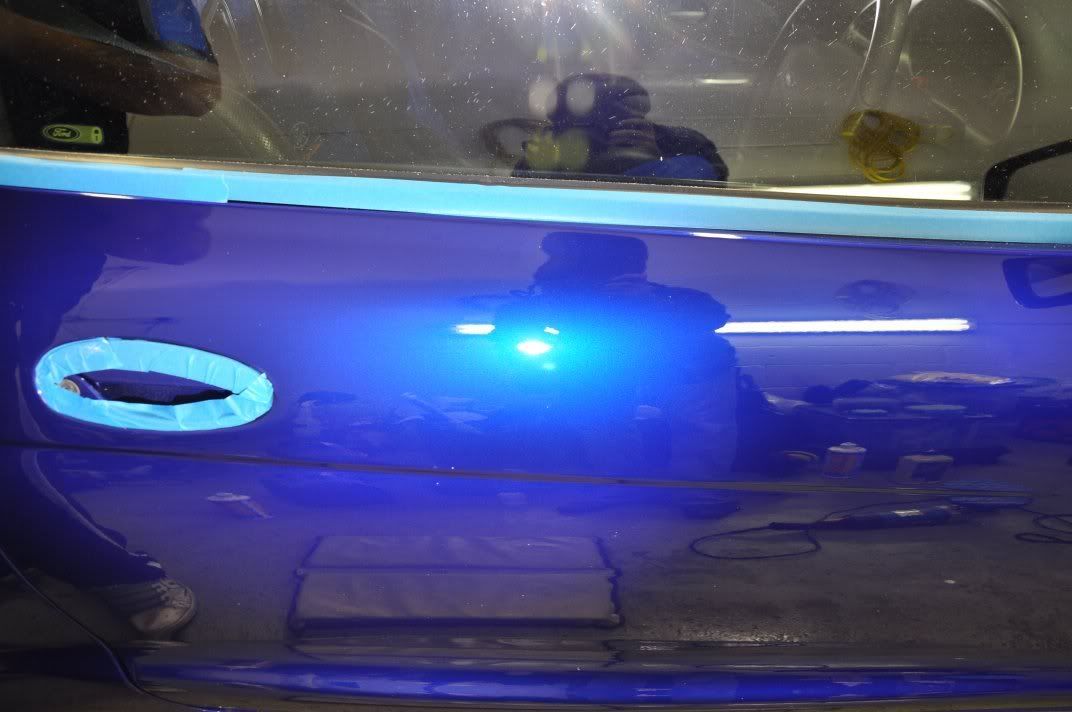
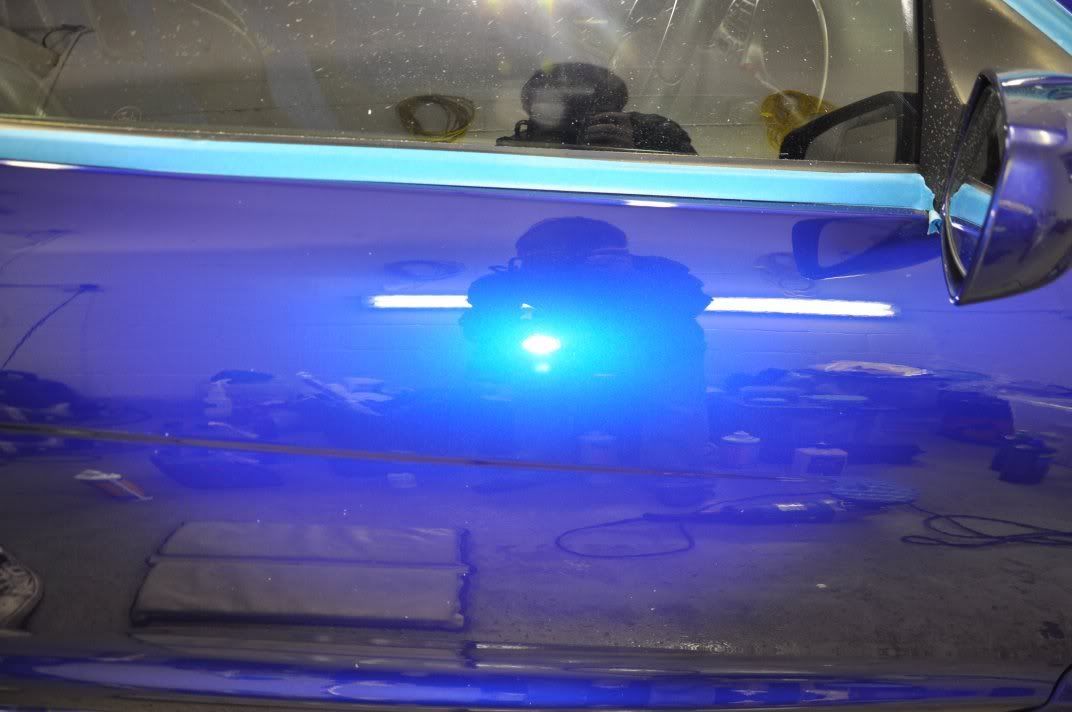
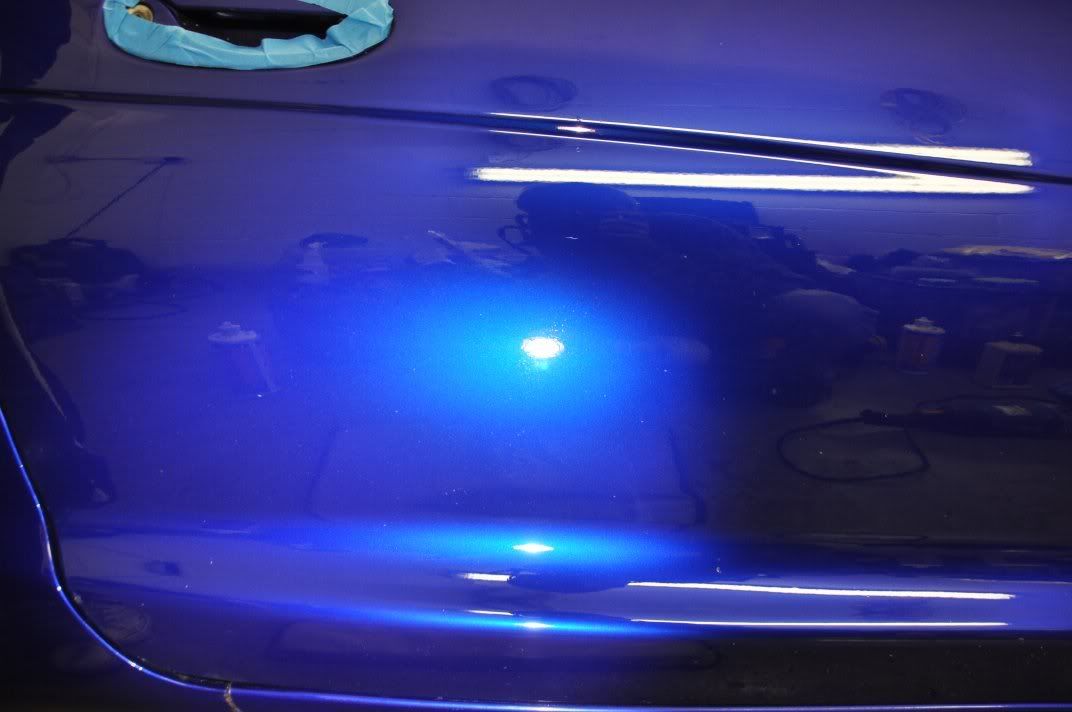
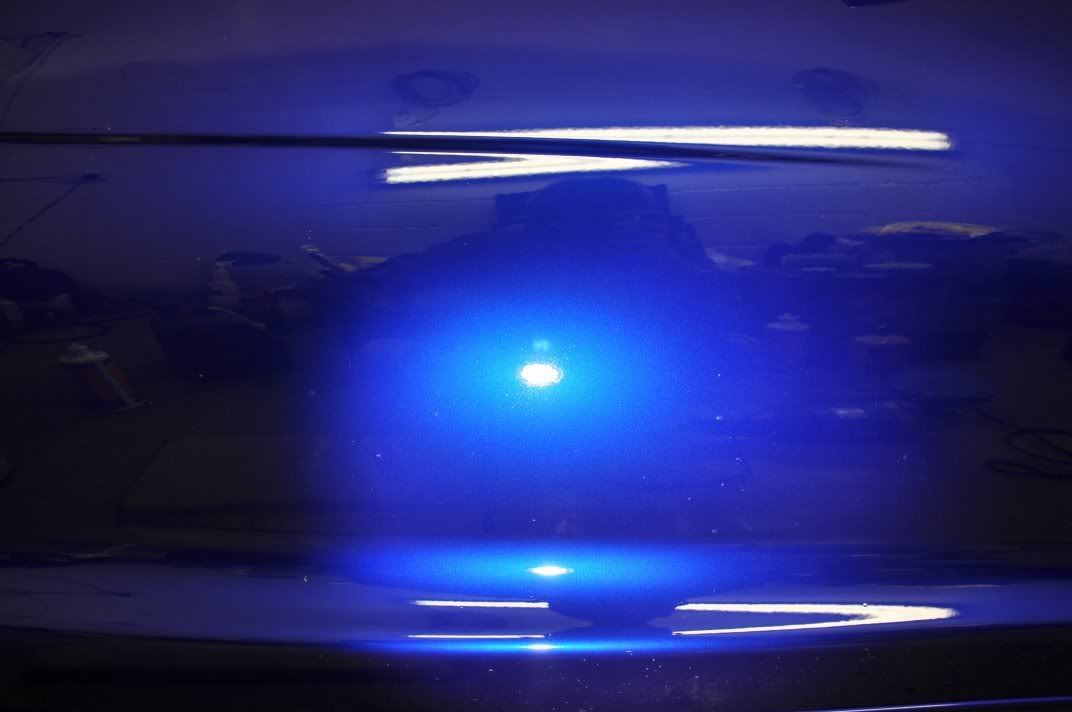
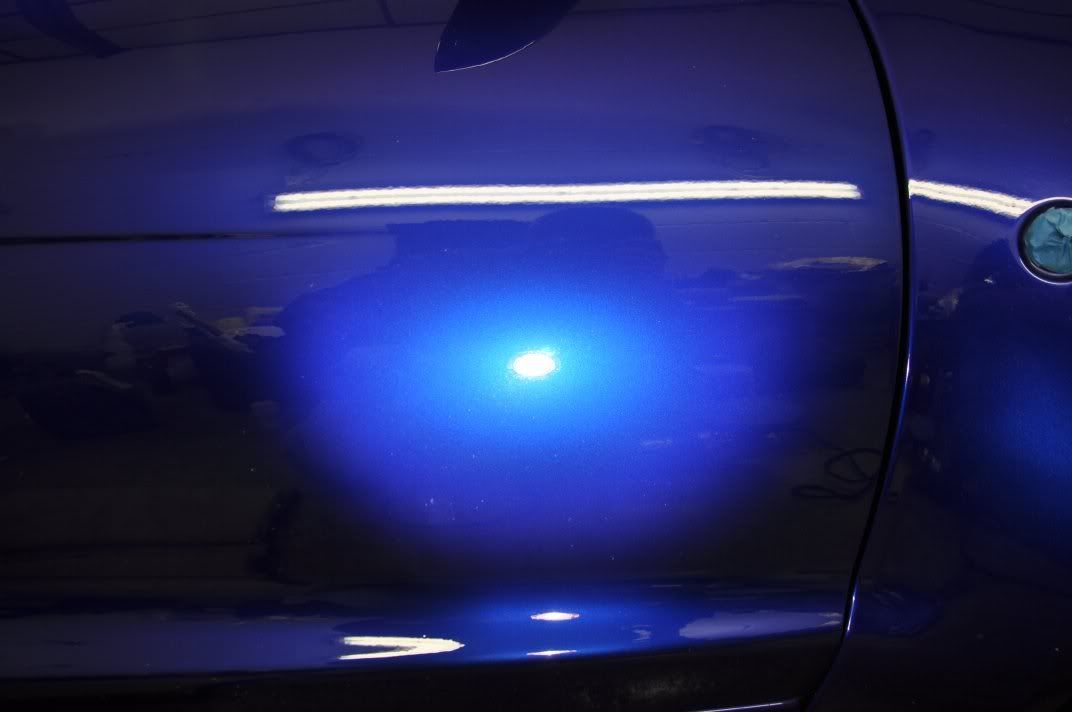
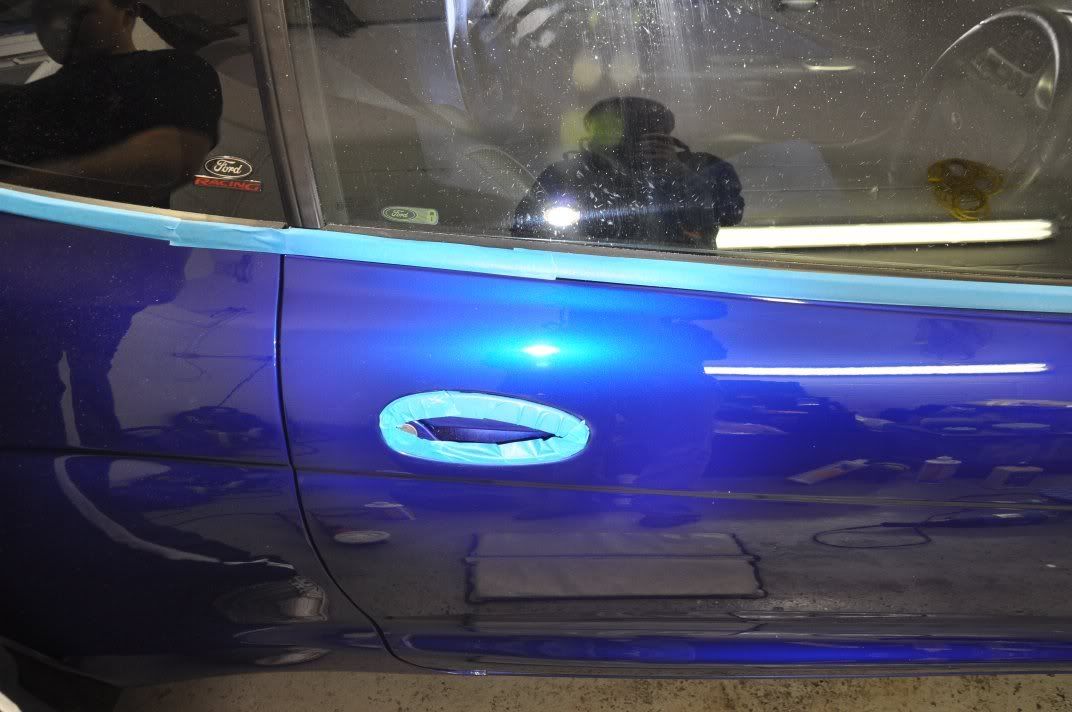
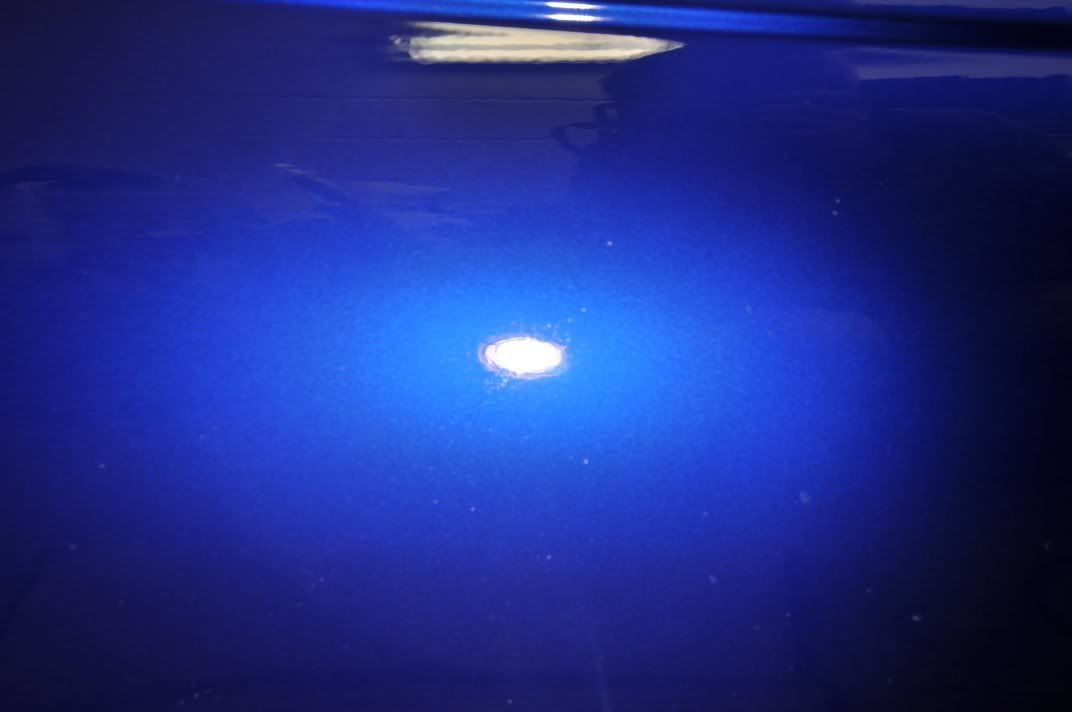
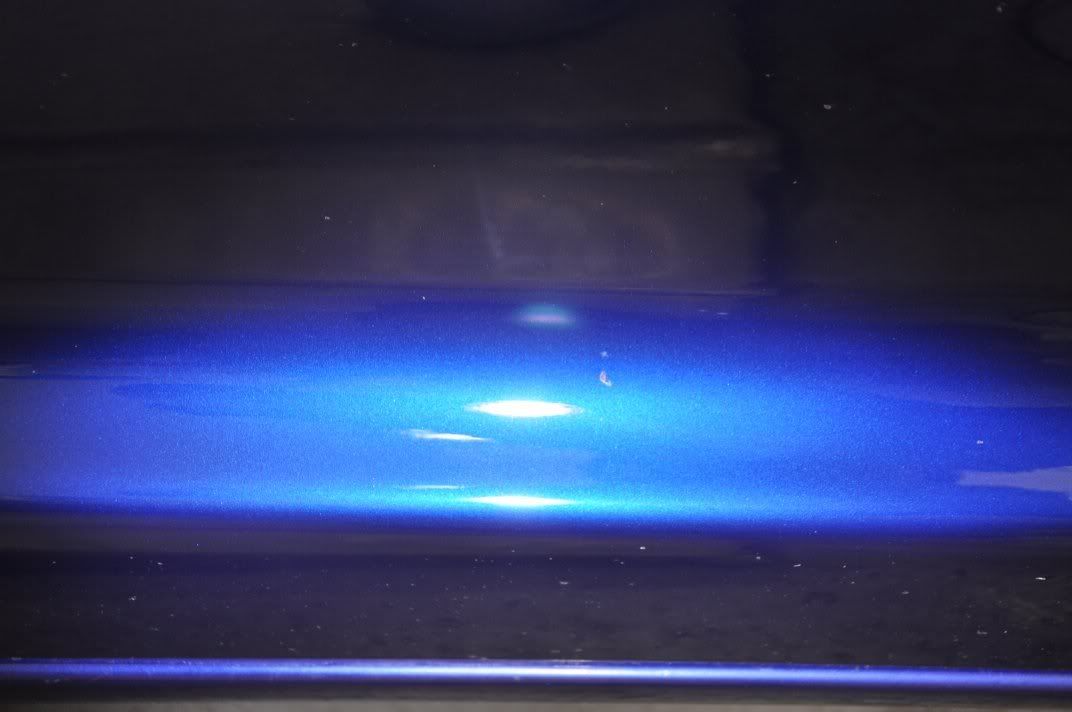
Correction and refining on driver's door...
Rear 3/4...
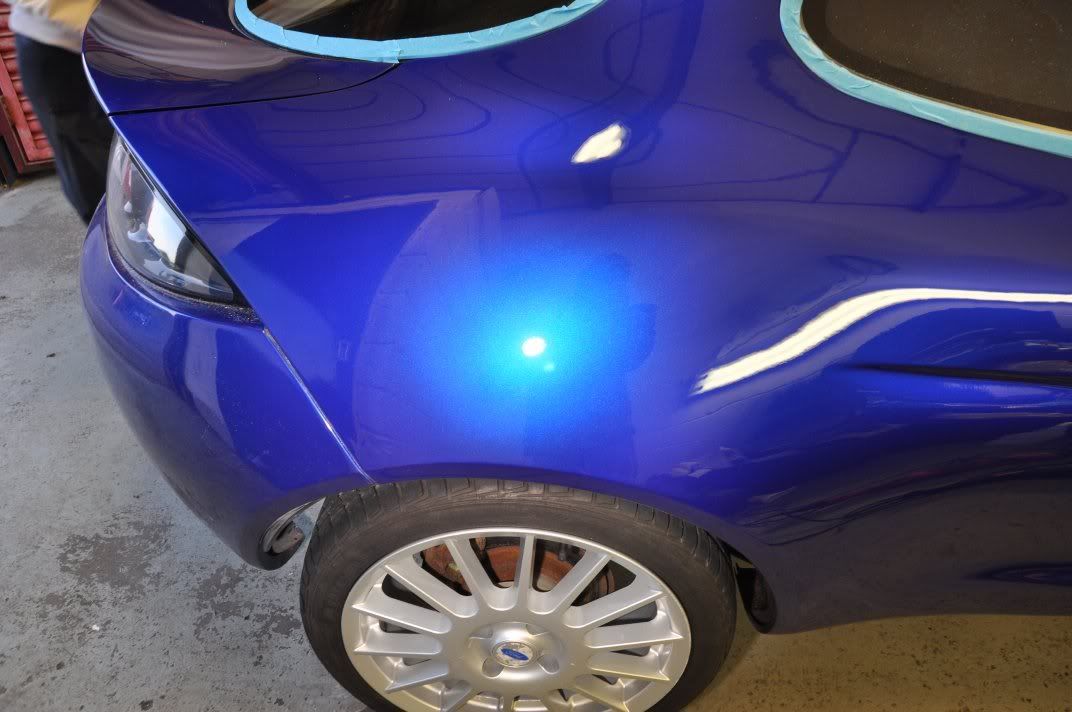
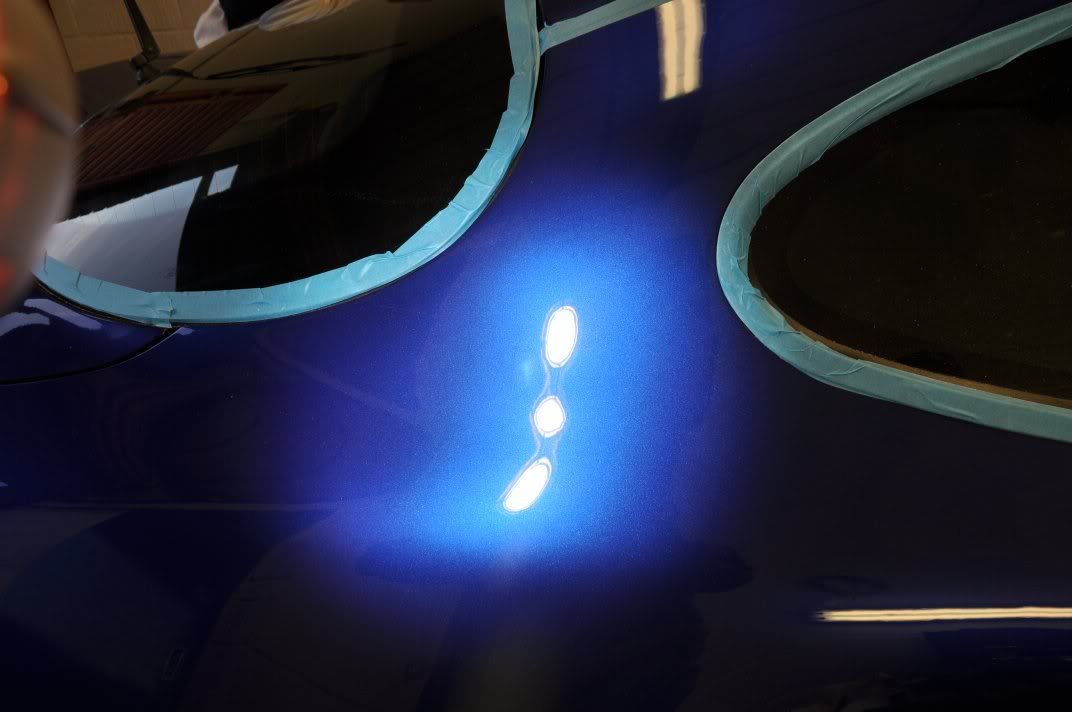
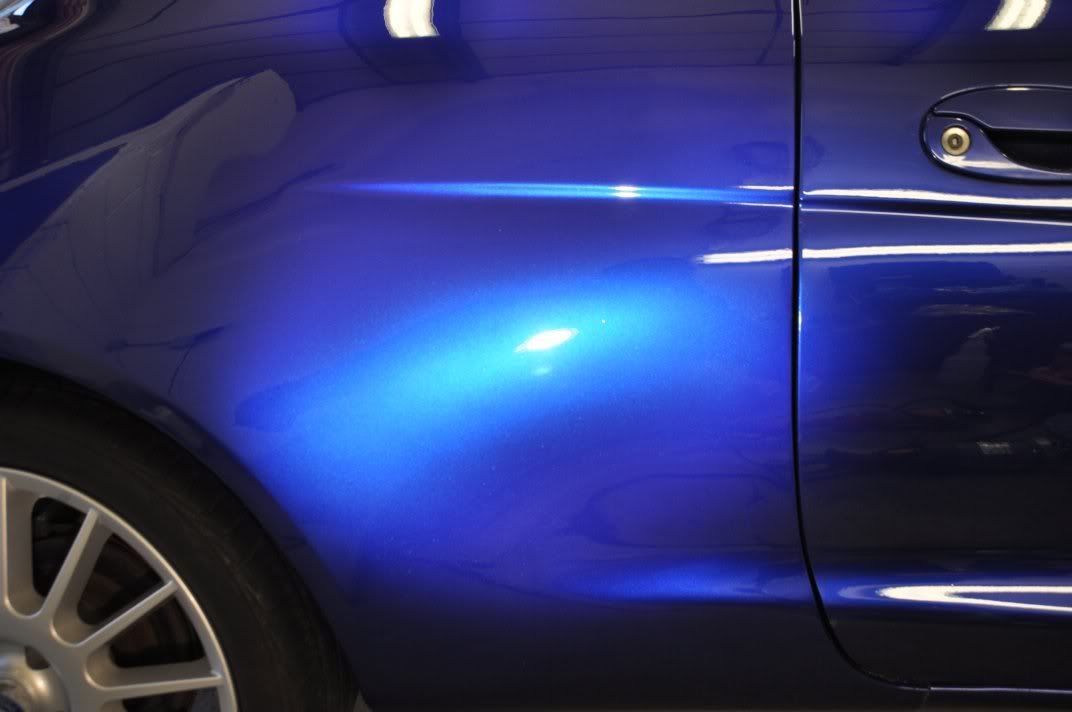
Pillar...
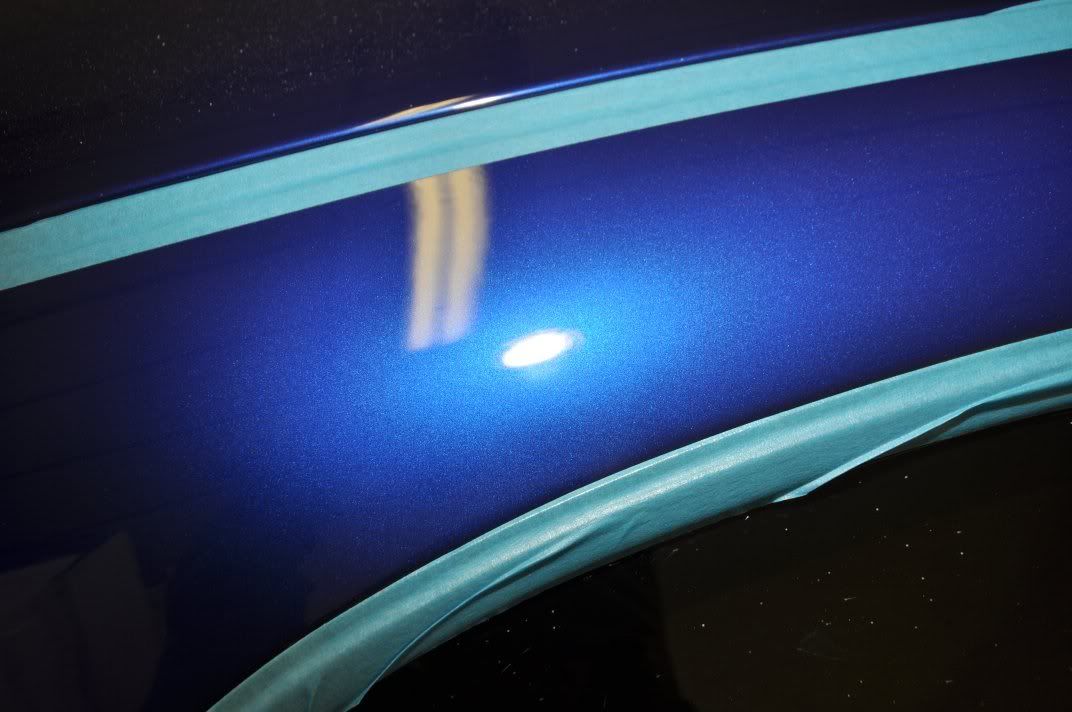
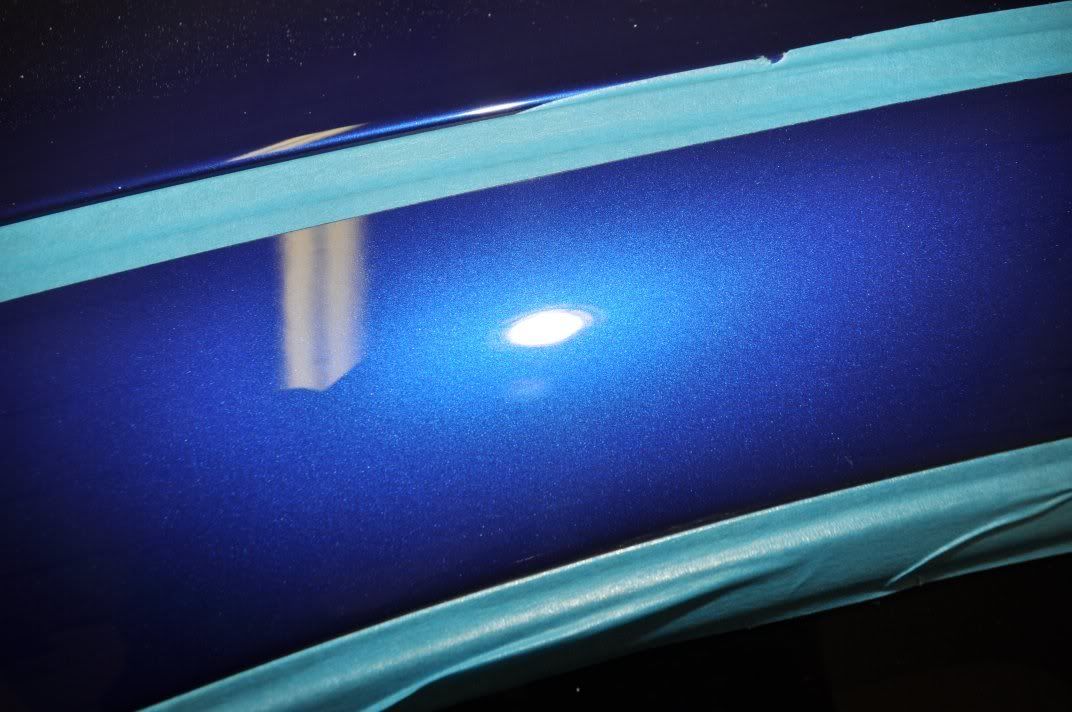
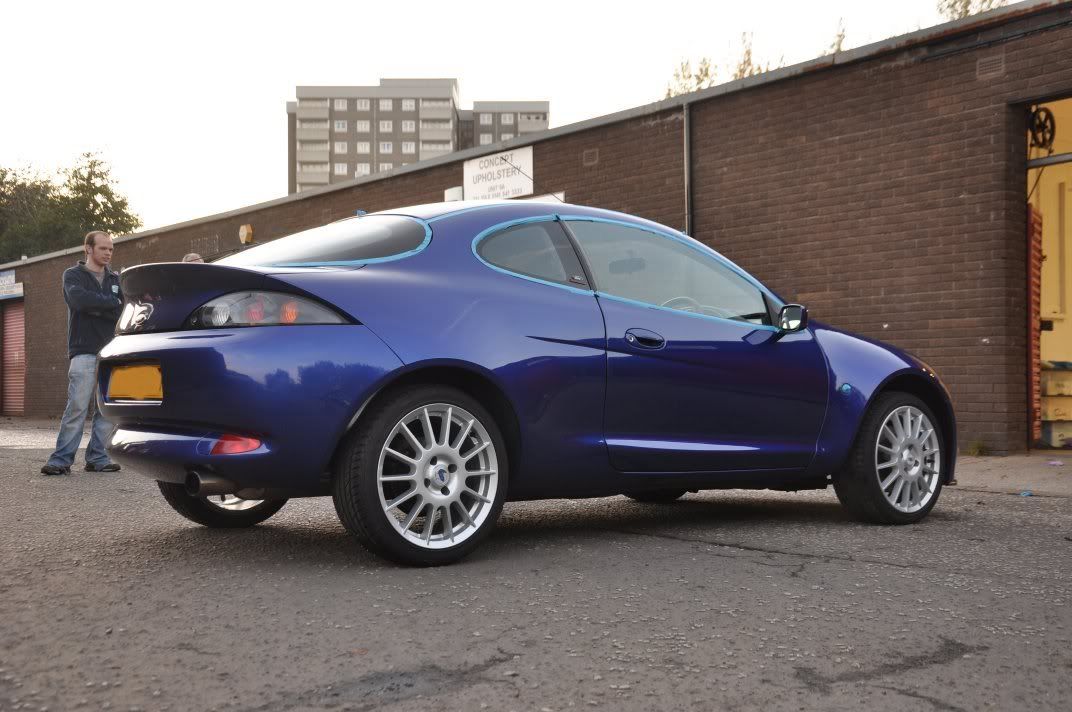
Realising that the daylight was fading fast and there was no way we would have completed detail shots of the car (we never finish until around midnight! :lol , we decided to roll the car out into evening daylight for some pics to give you an idea of the machine finish achieved - excuse the tape and some dust in these pics, but there are still regions to be machined (bumpers, tailgagte) when these outdoor pics were taken:

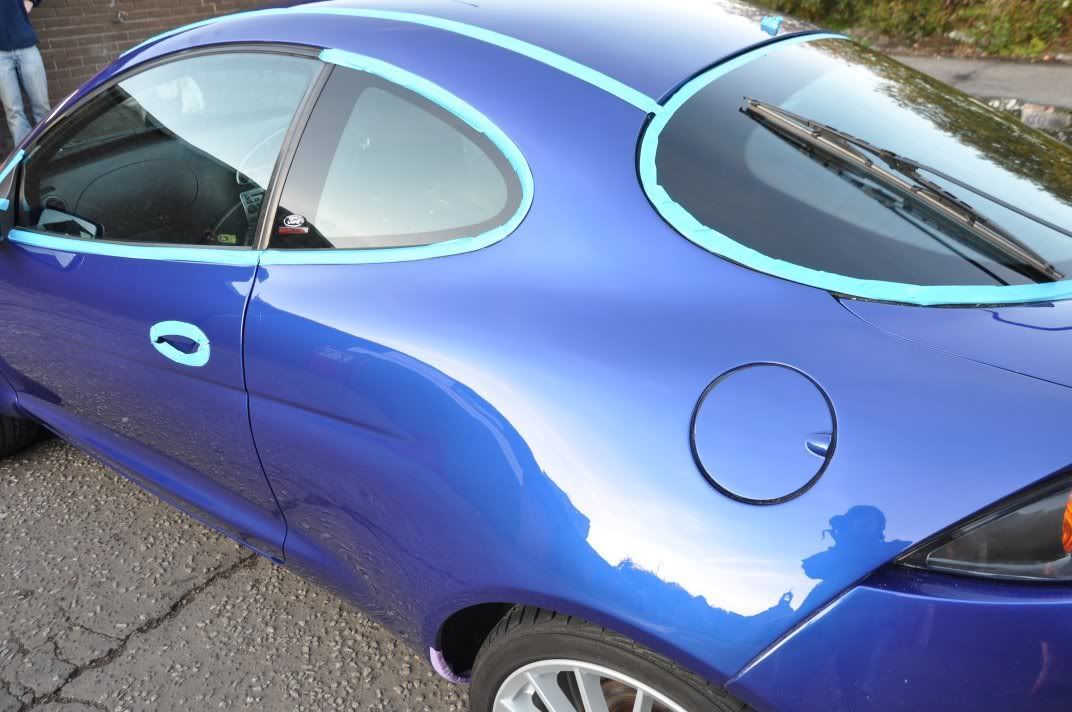
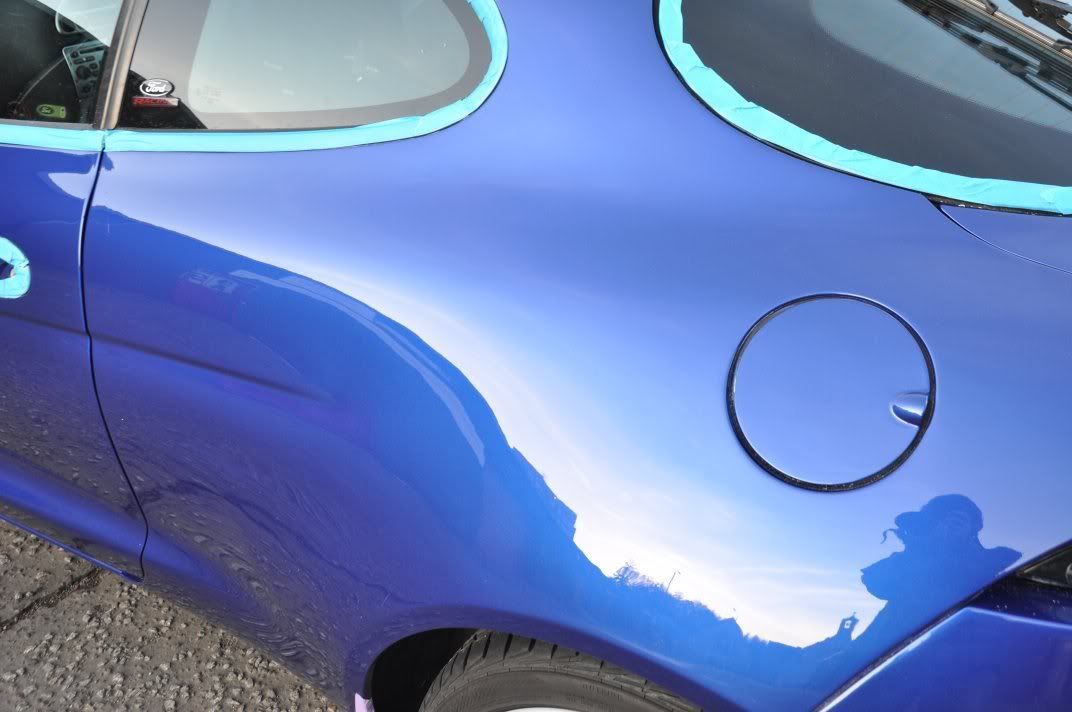
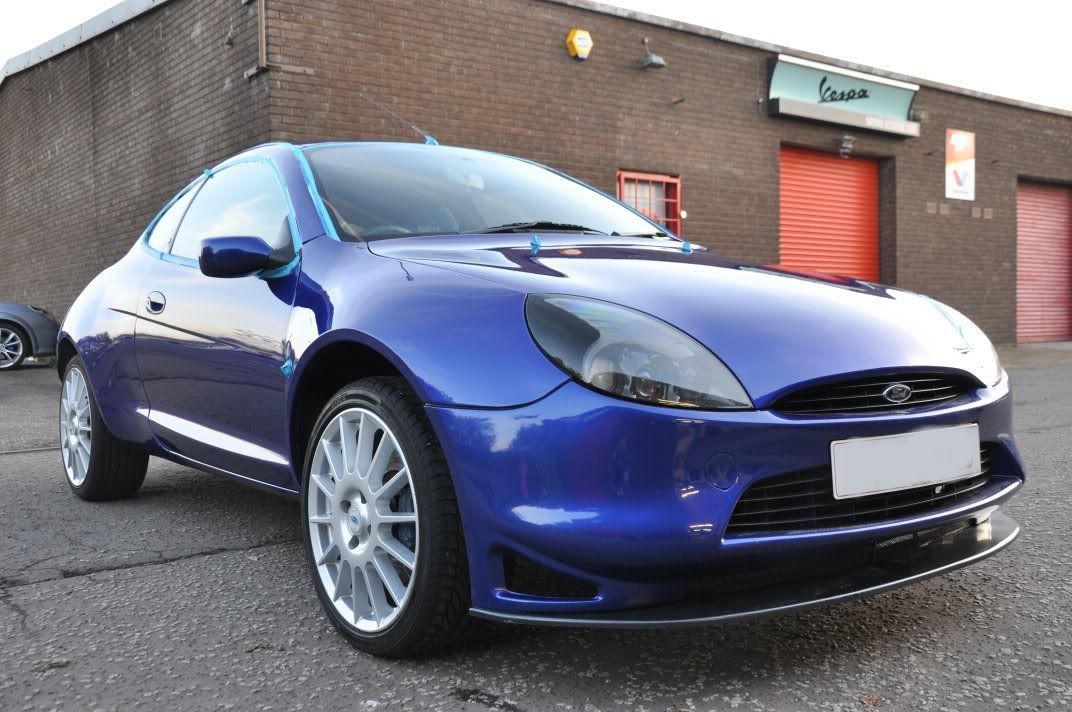
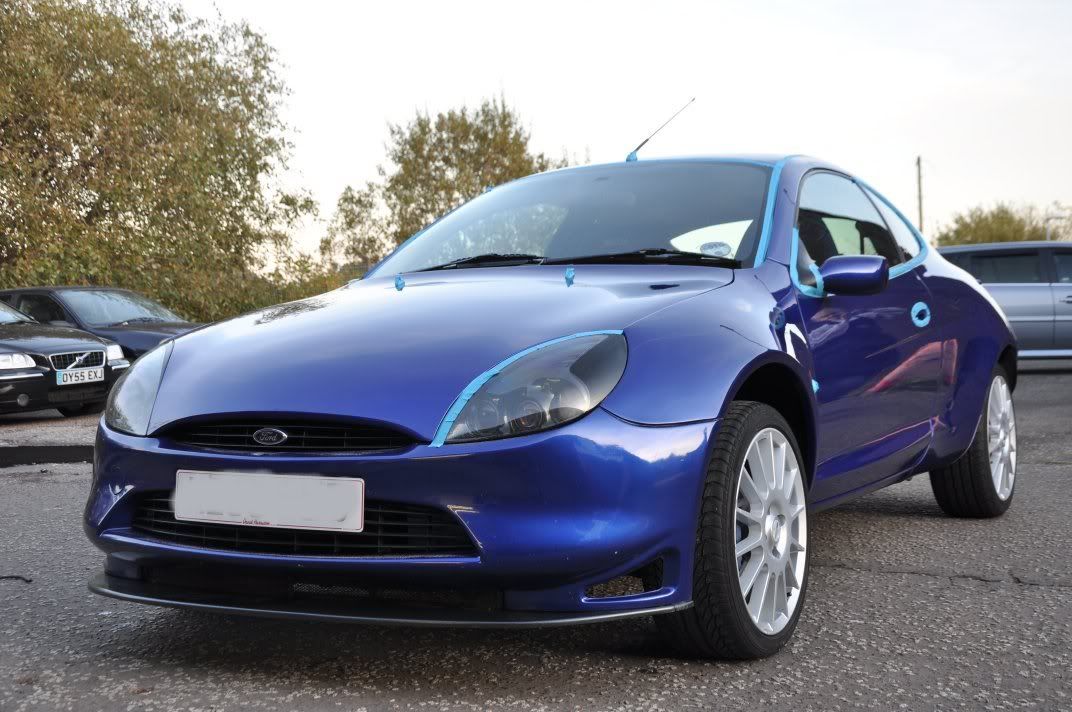
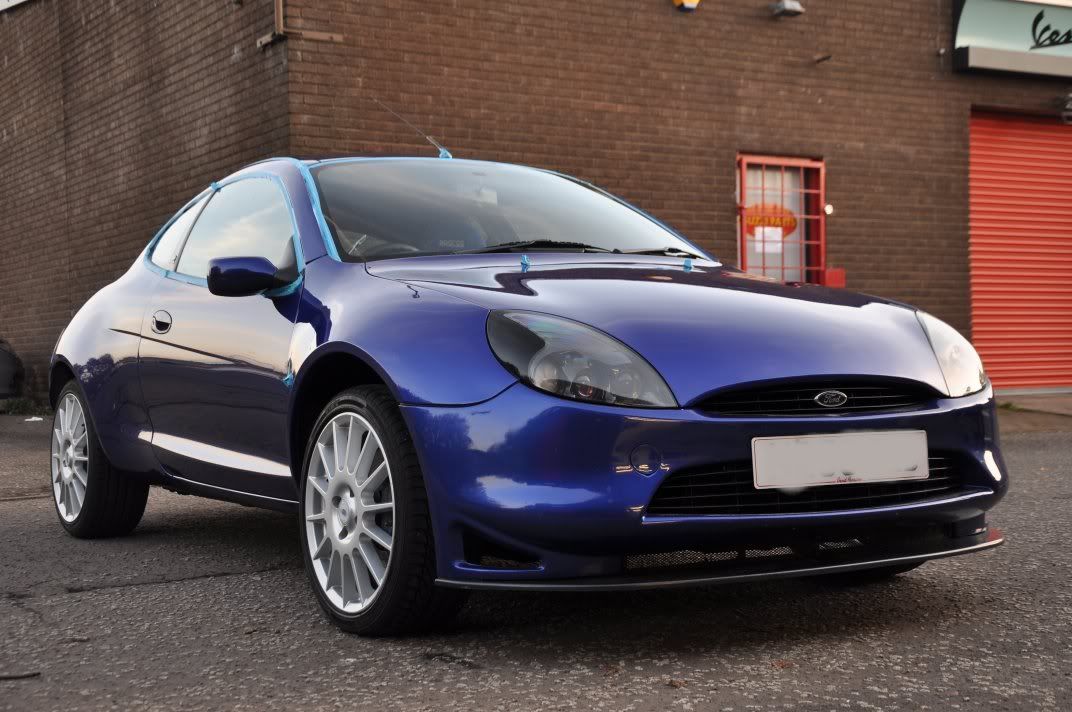
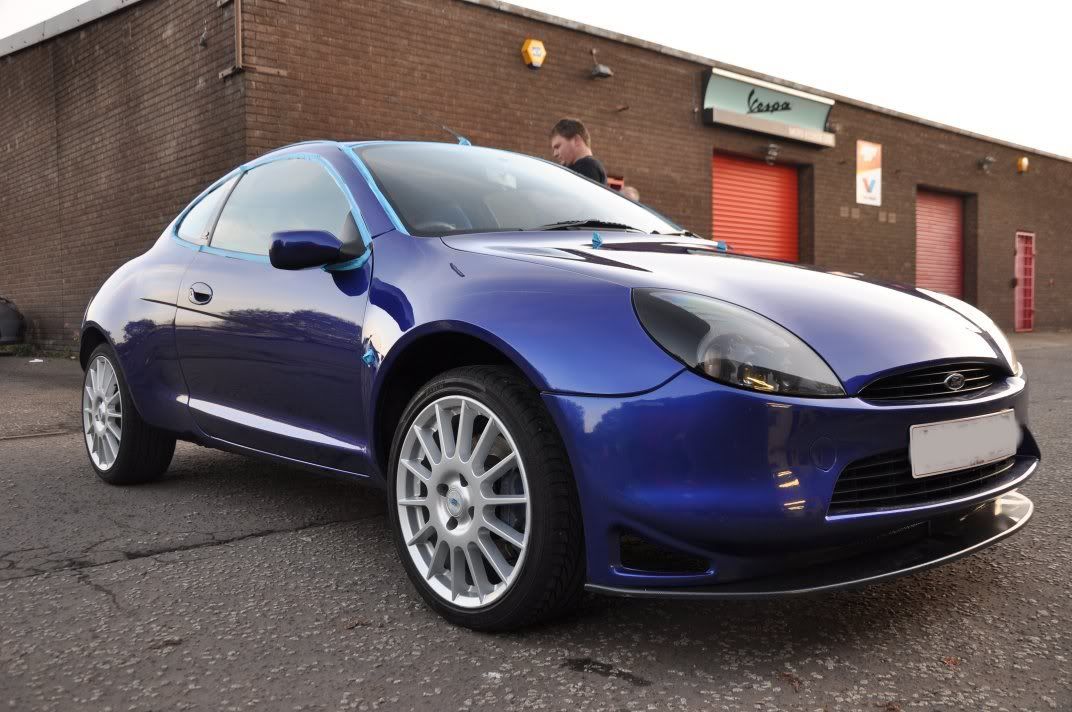
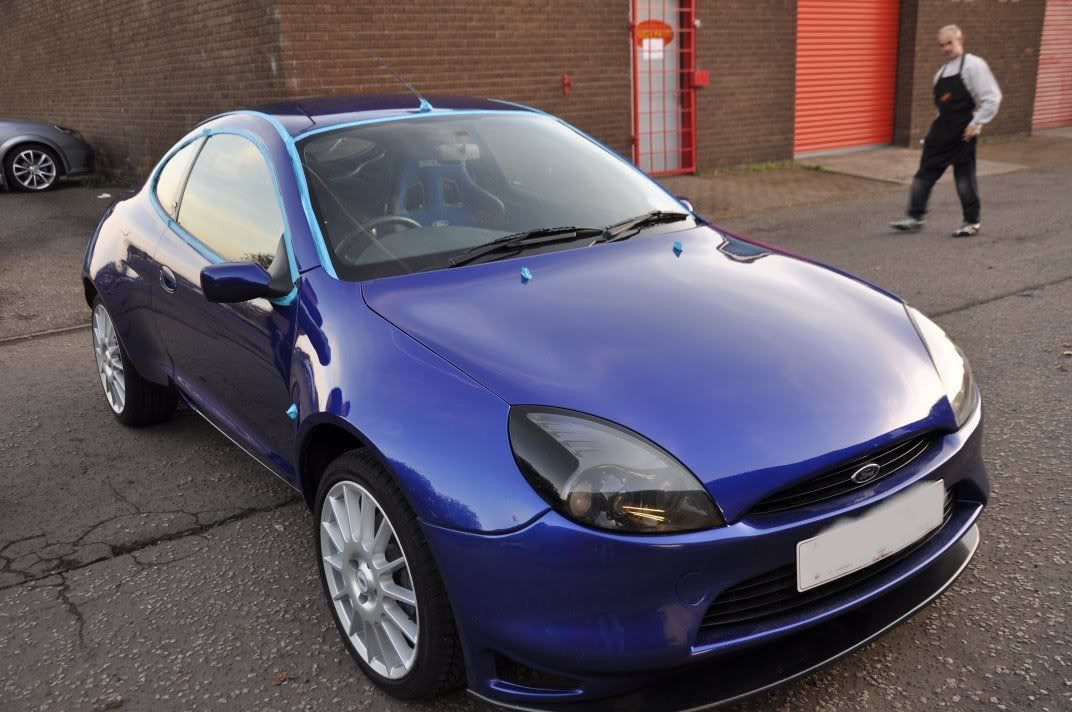

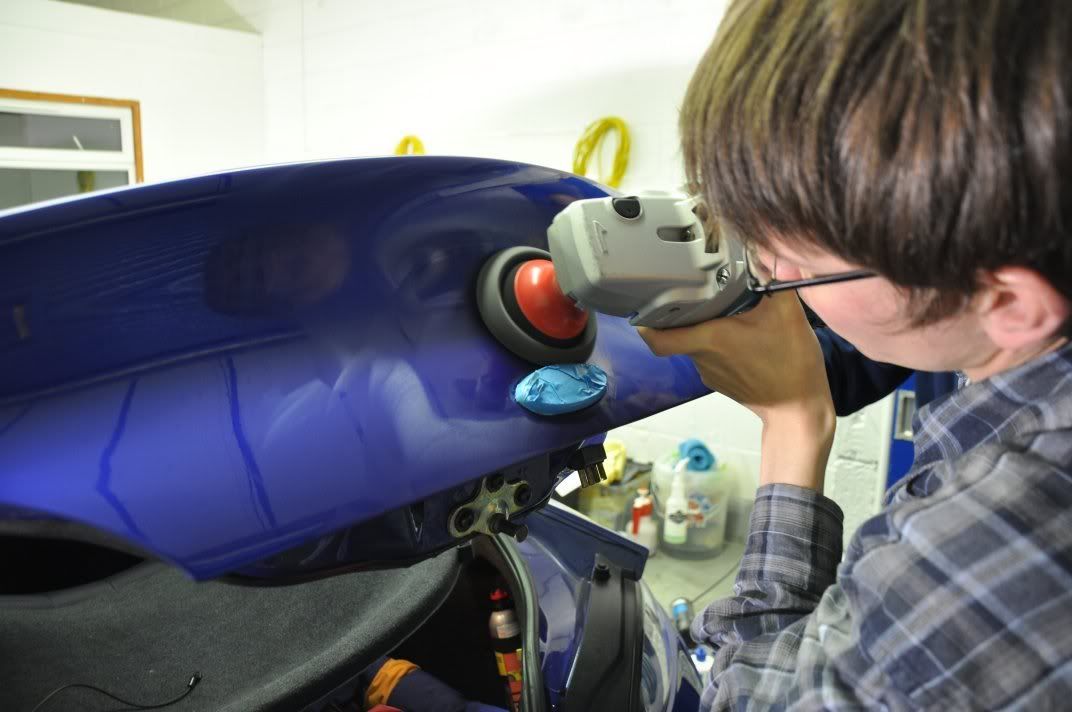
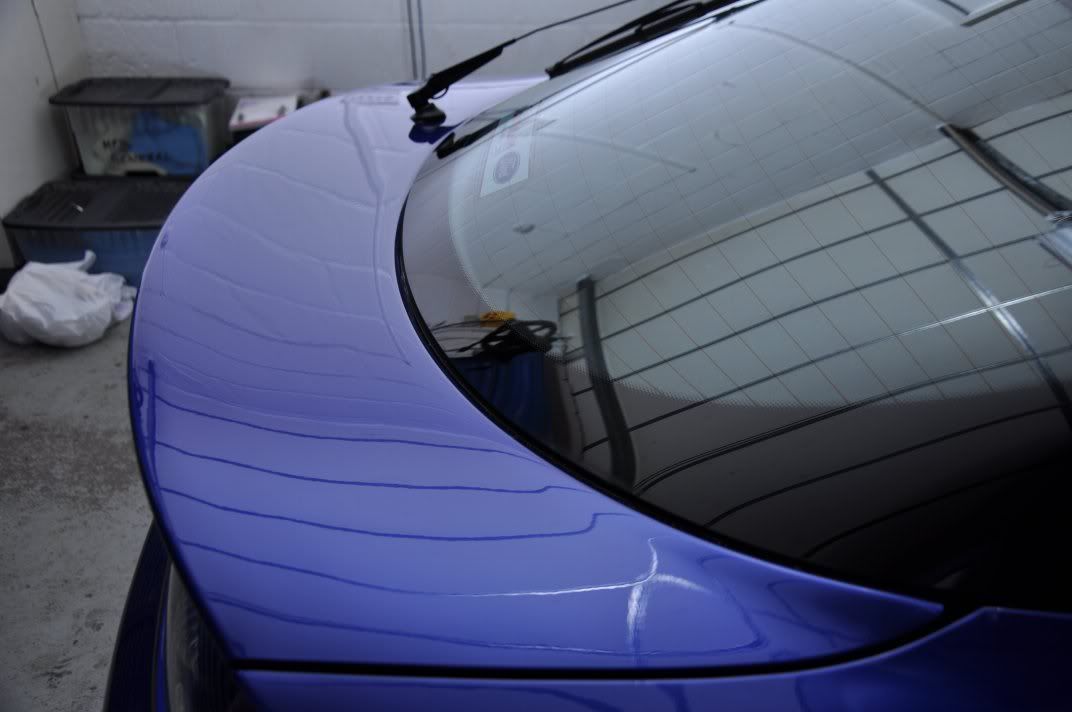
Back inside and back to polishing ... Onto the tailgate, I was finding that the 4" Hexlogic pads were working very effectively, here the black finishing pad being used with Meguiars #205 to get around the countors and up close to all the edges and around the badge...

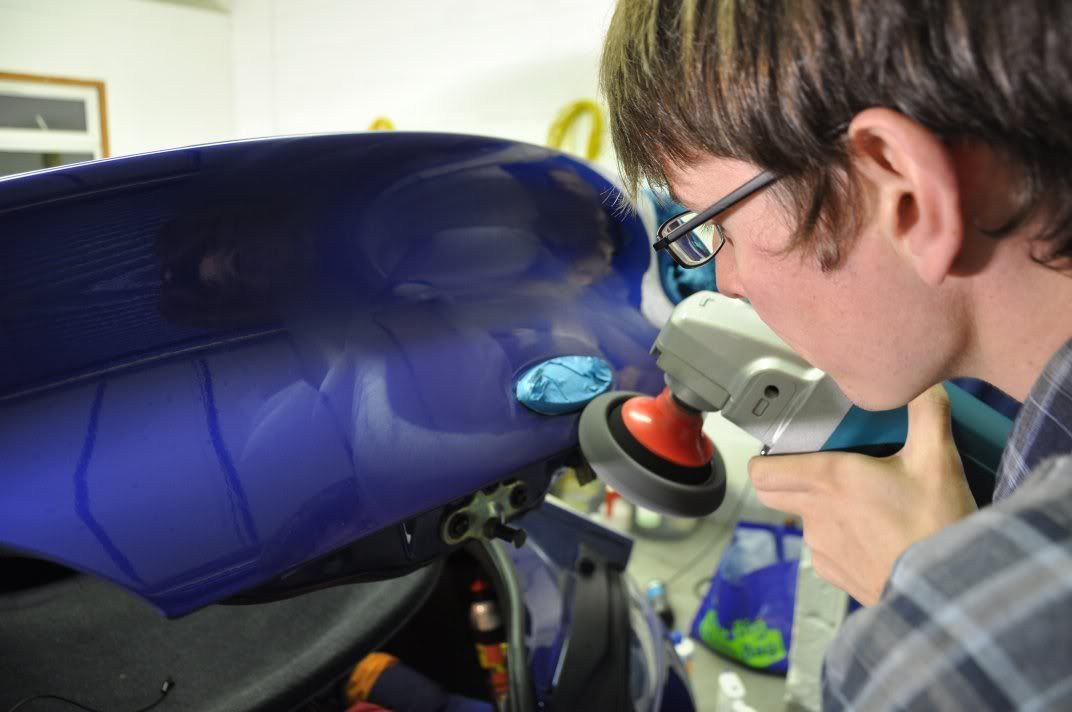
Corrected and refined...
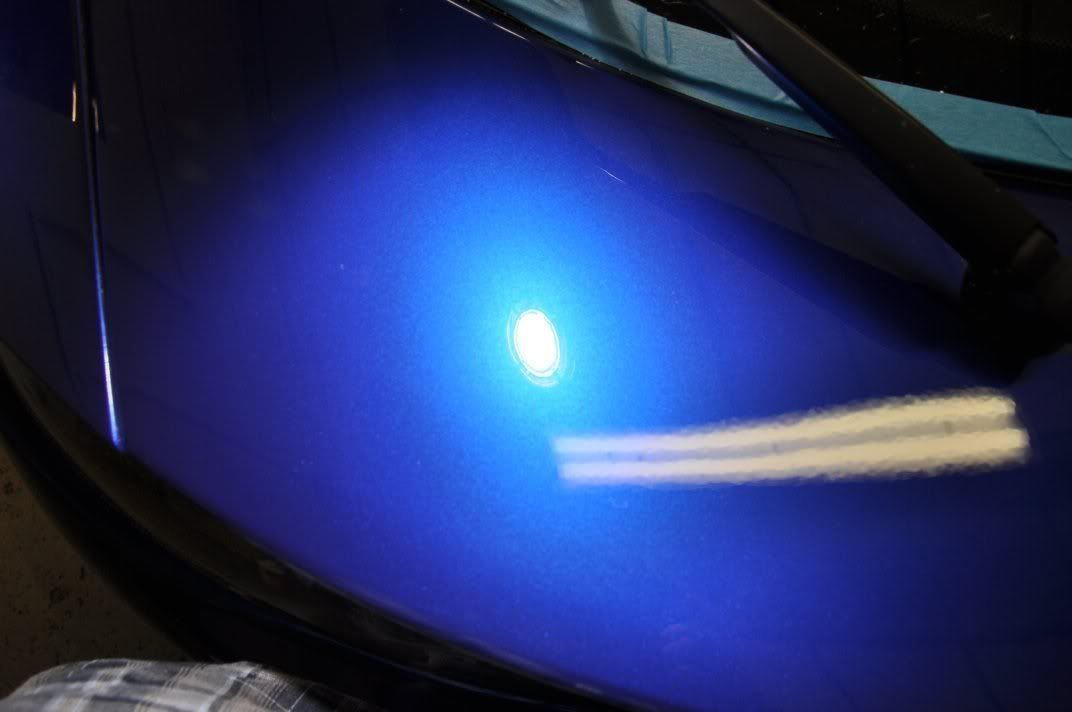
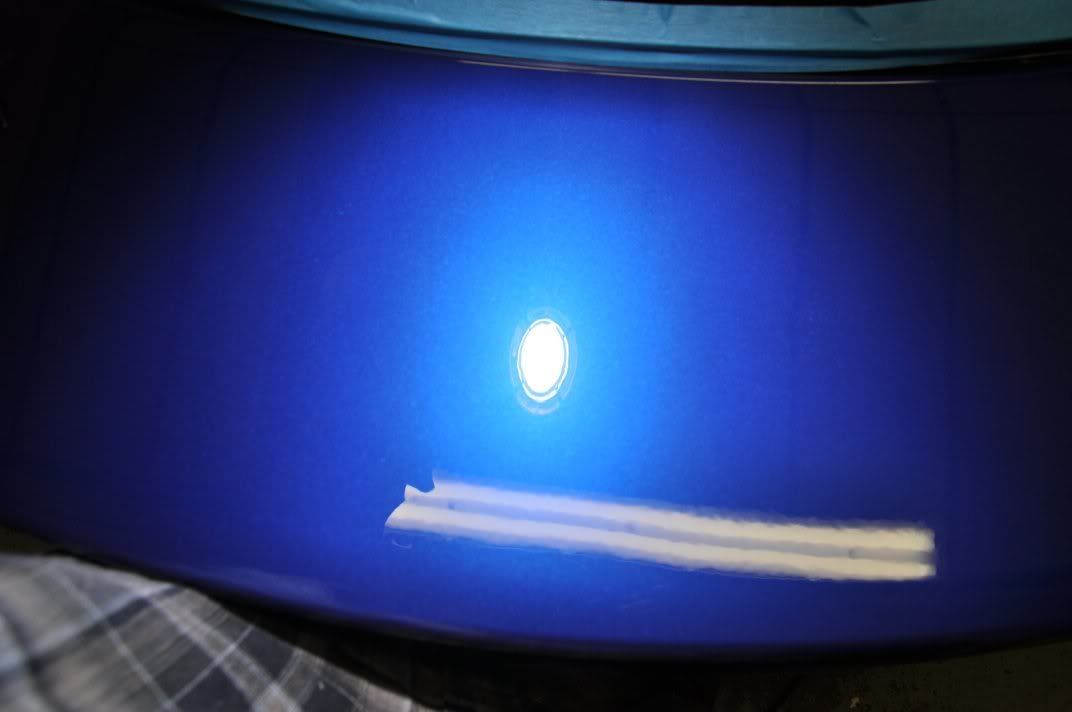
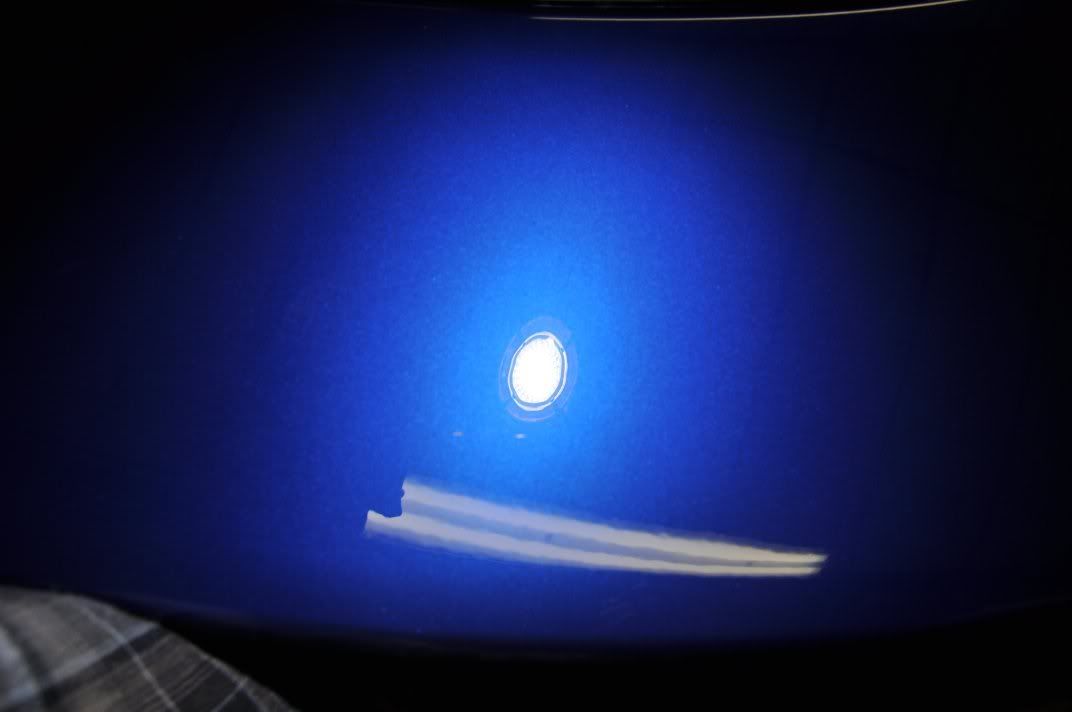
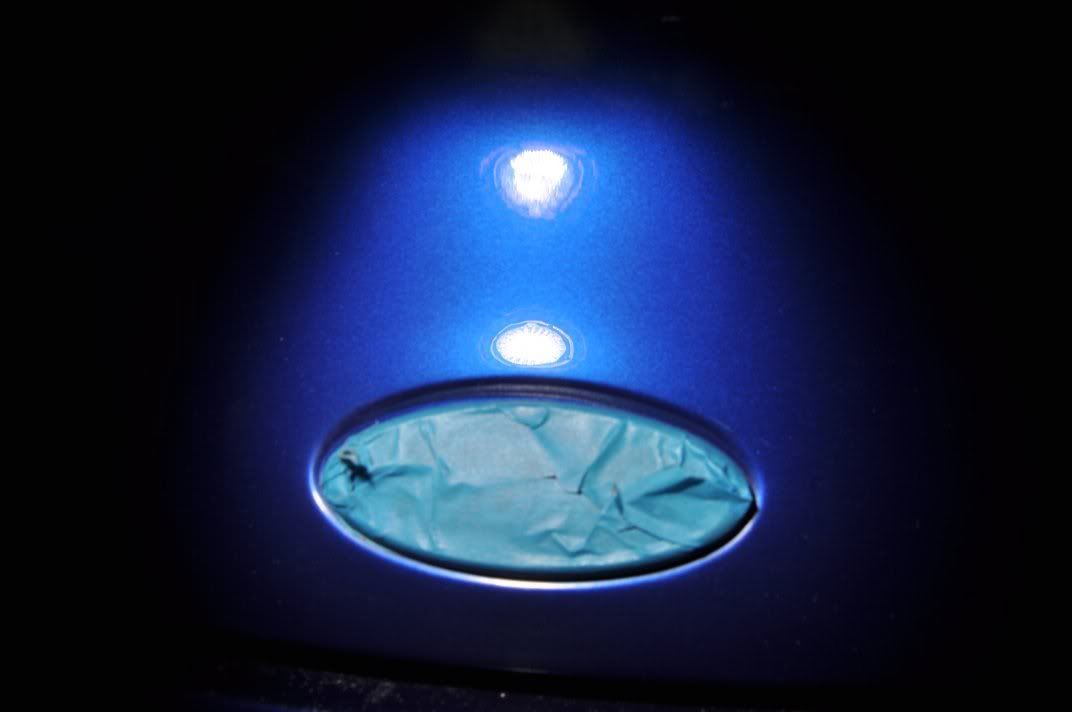
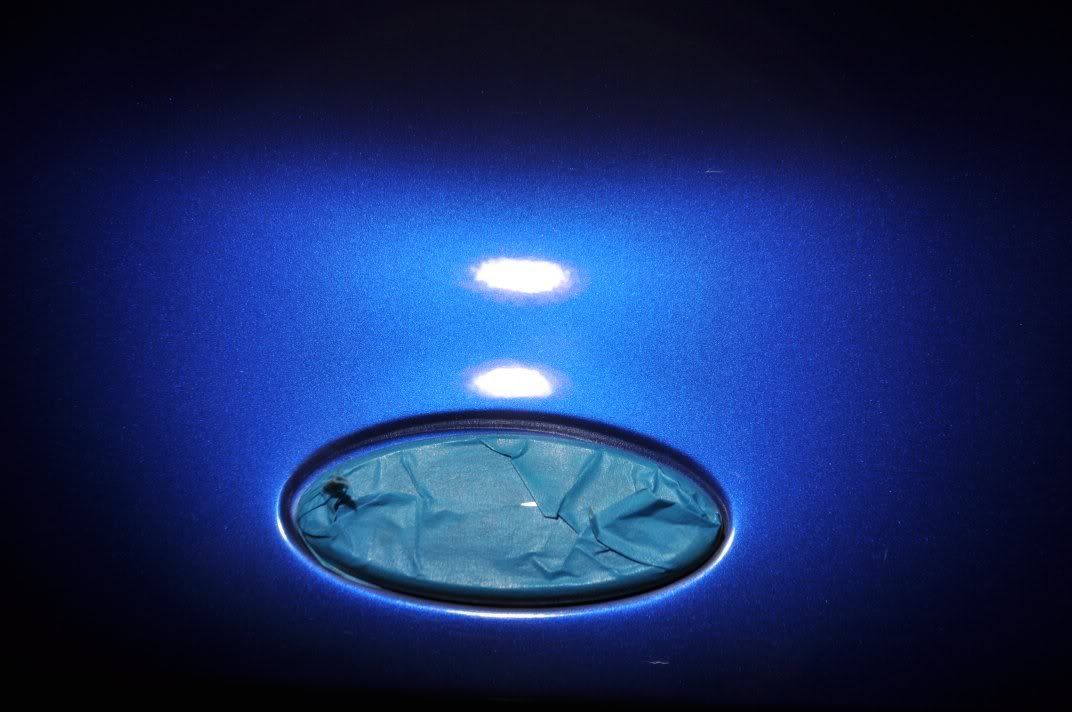
If you are detailing, you might think that when you say "only the bumpers to go...", that you are nearly there - but in actual fact, we find the bumpers are amongst the most time consuming panels, yet also hugely rewarding.. Cutting and refining in every little contour to ensure the quality machine finish is continued everywhere... Takes time with the little pads though
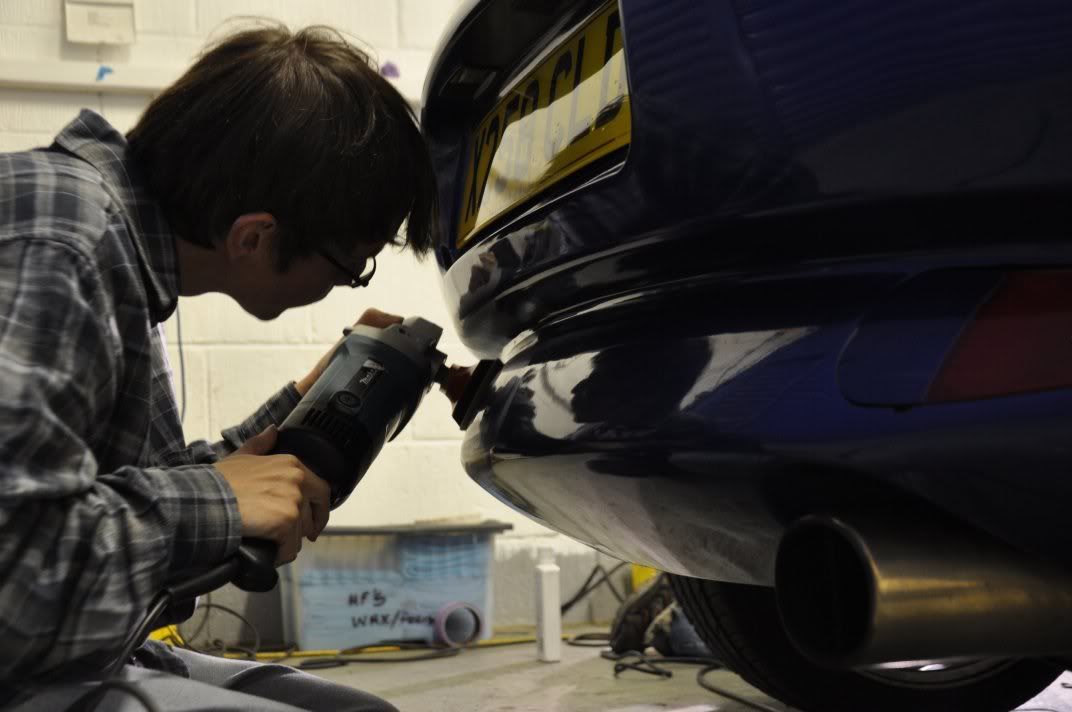
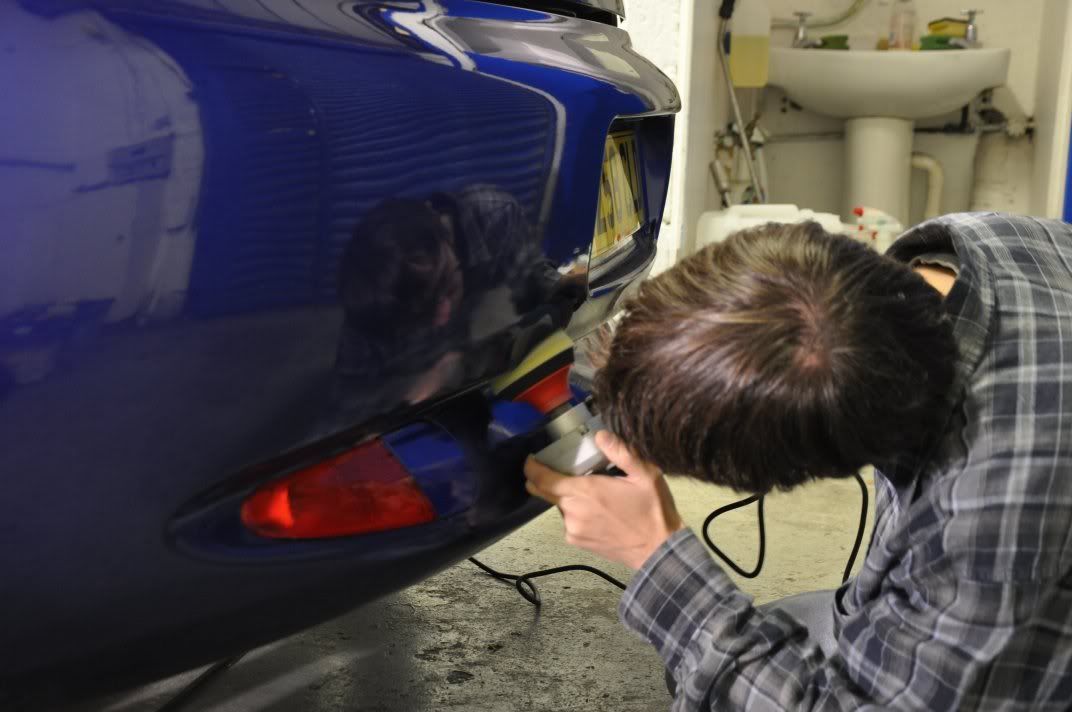
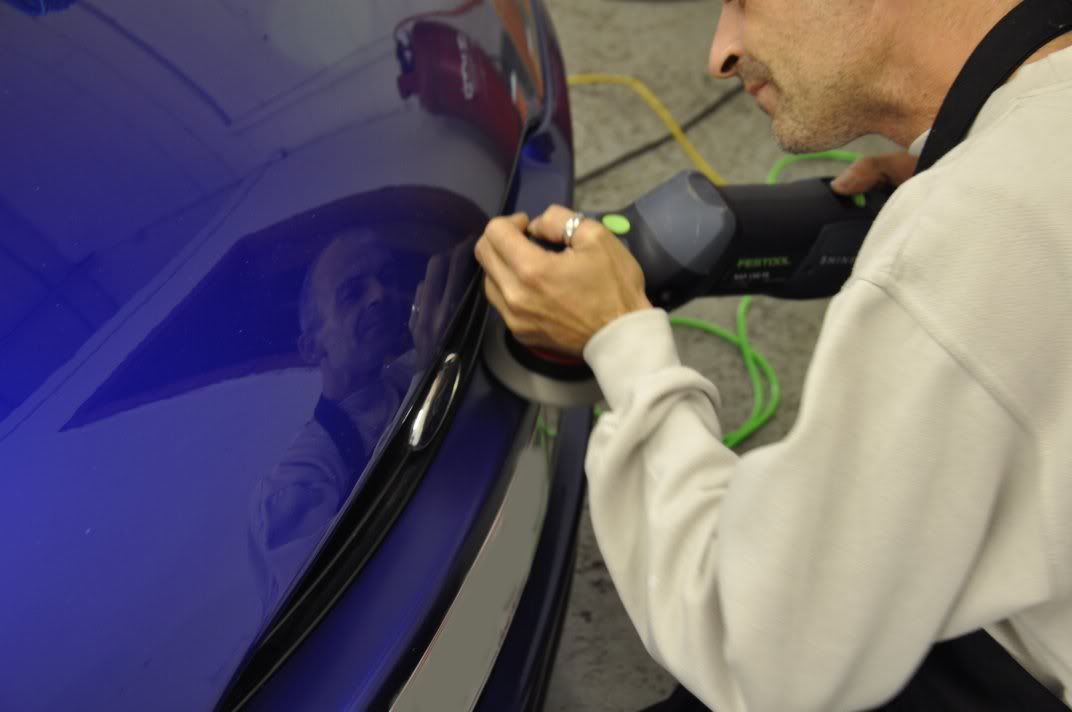
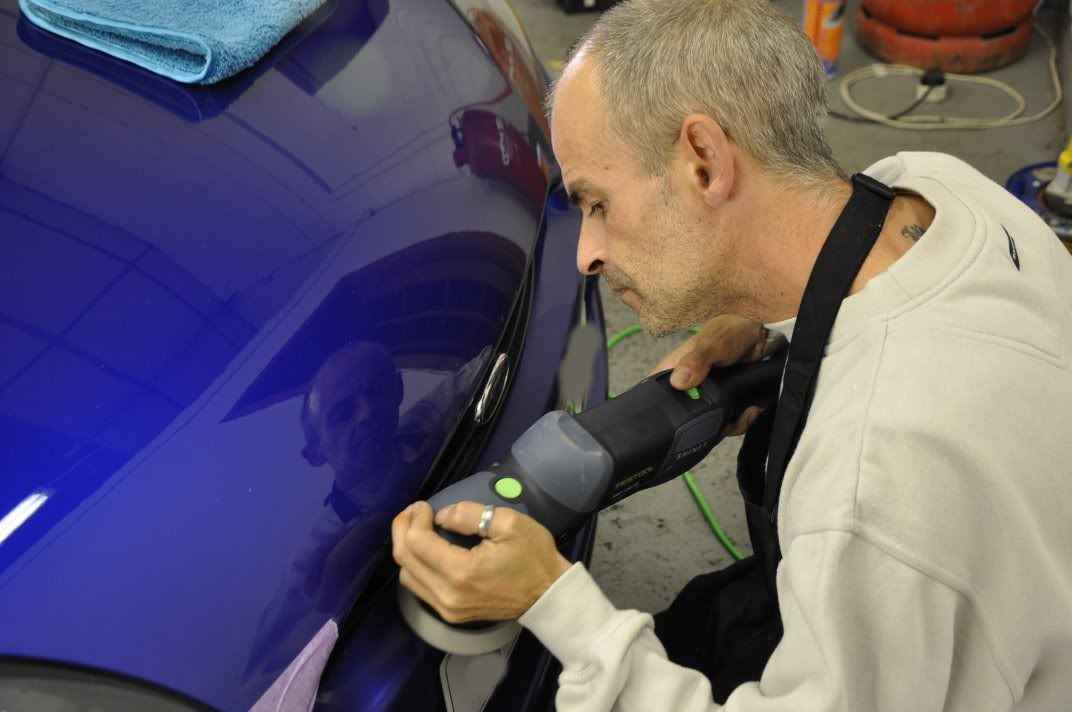
Corrected and refined...
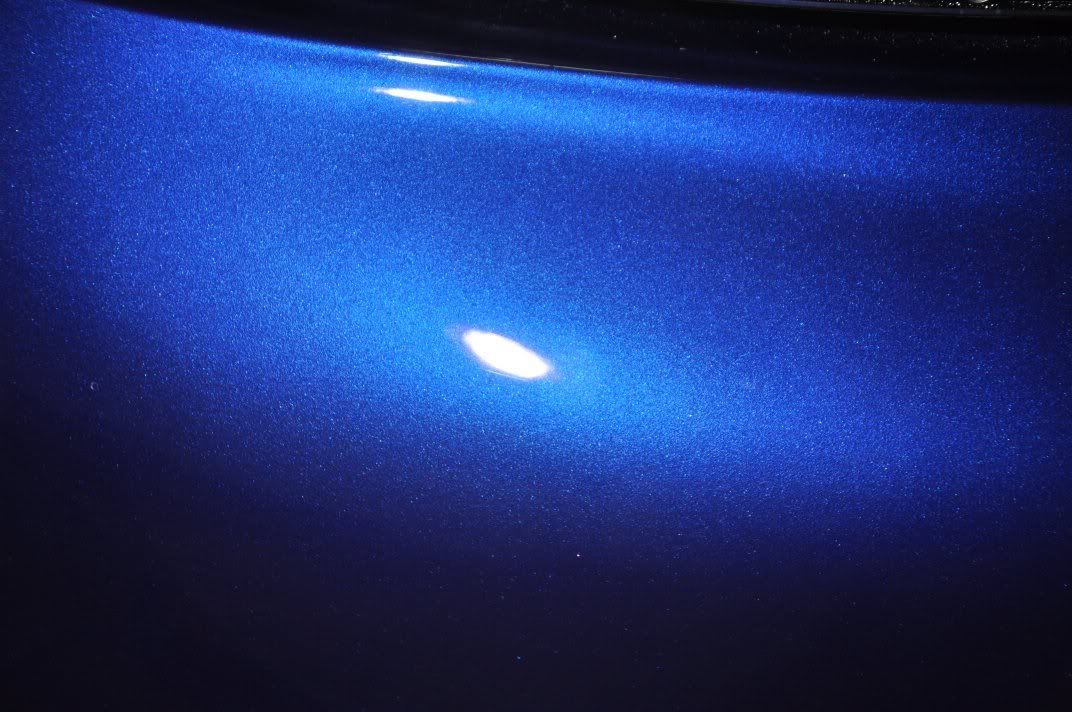
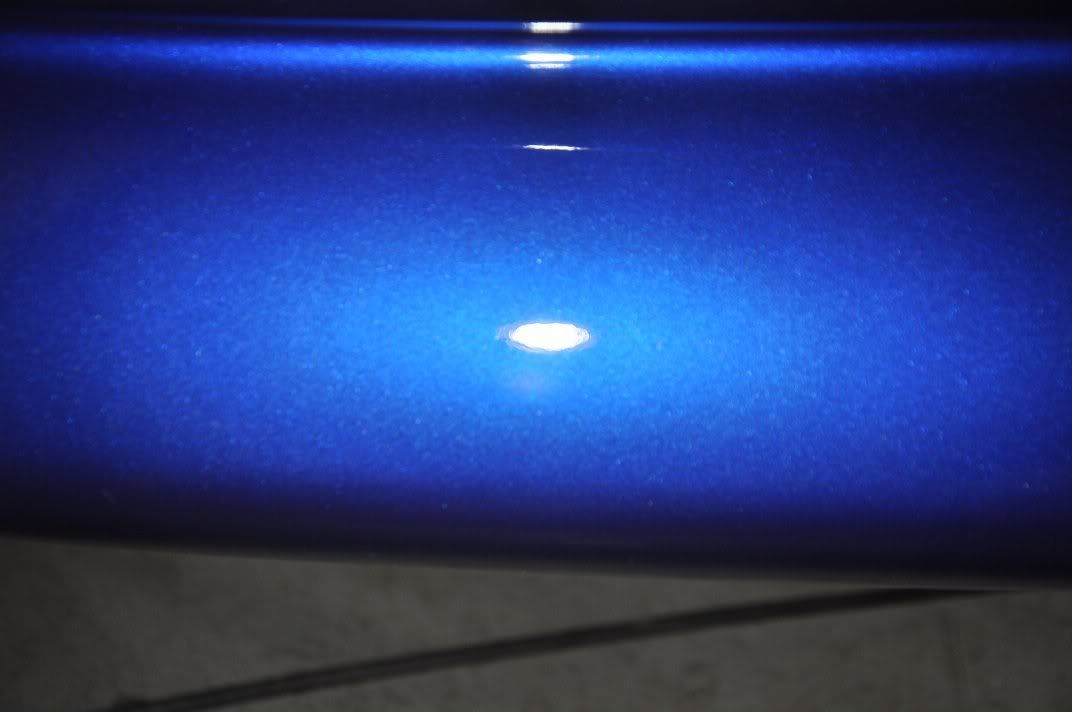
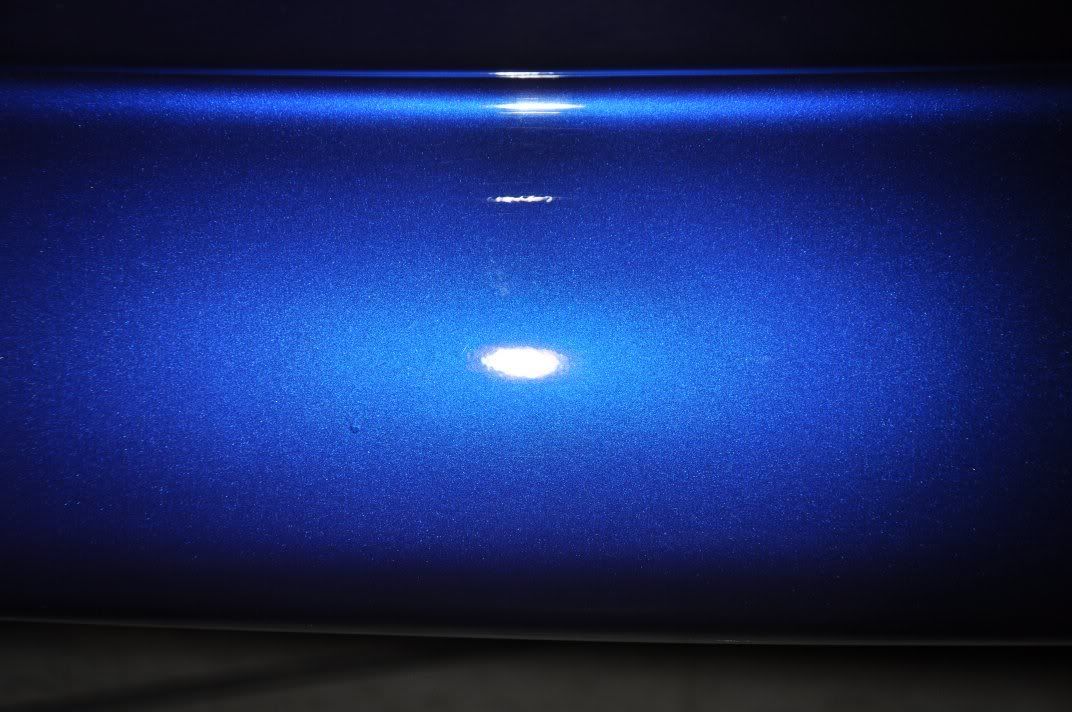
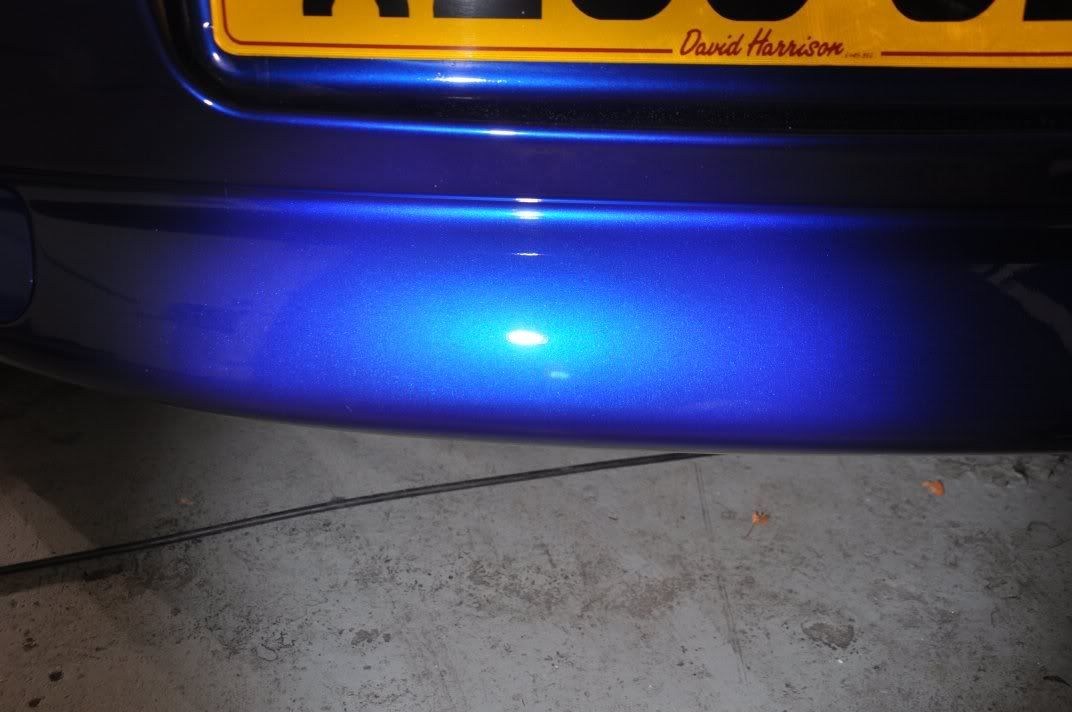
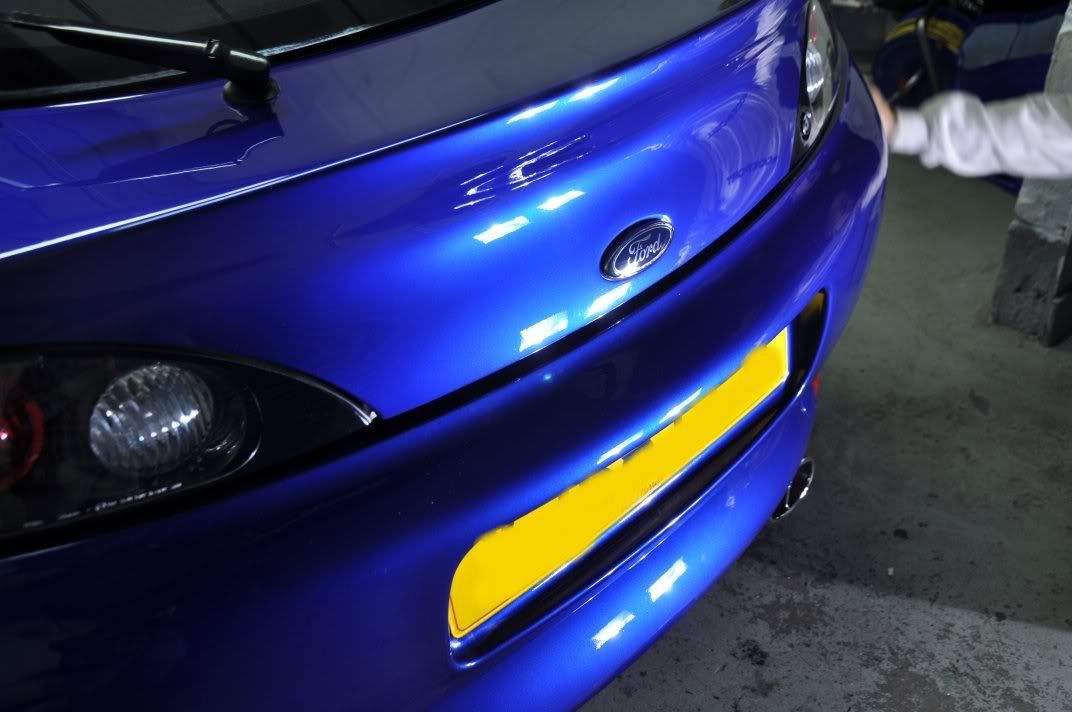
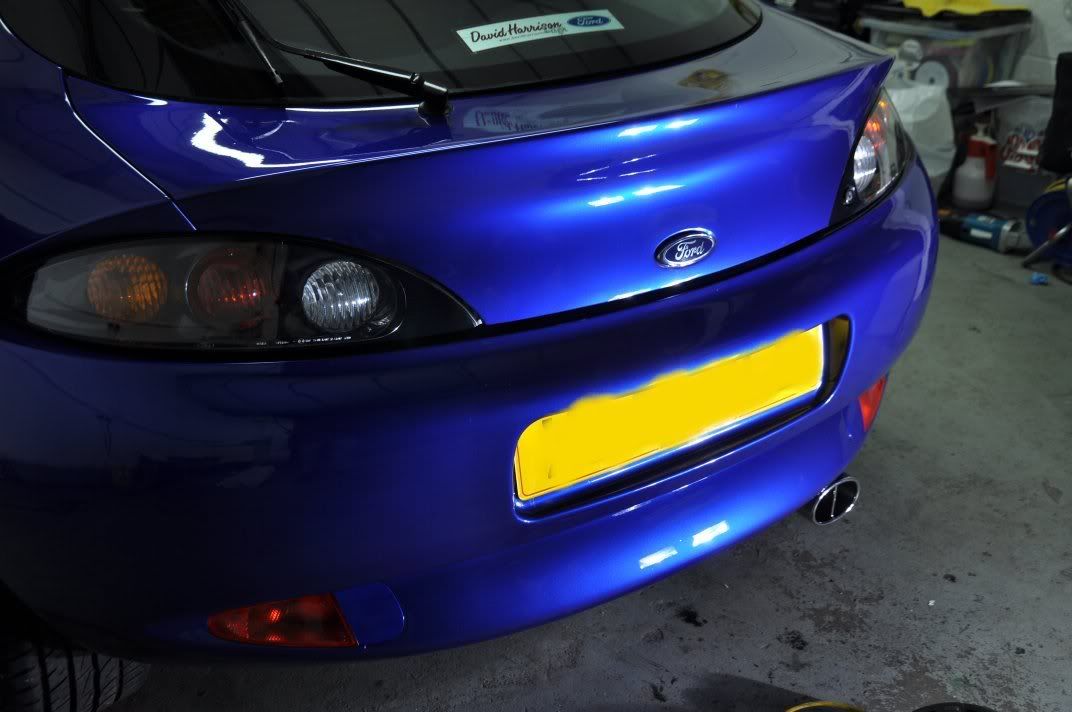
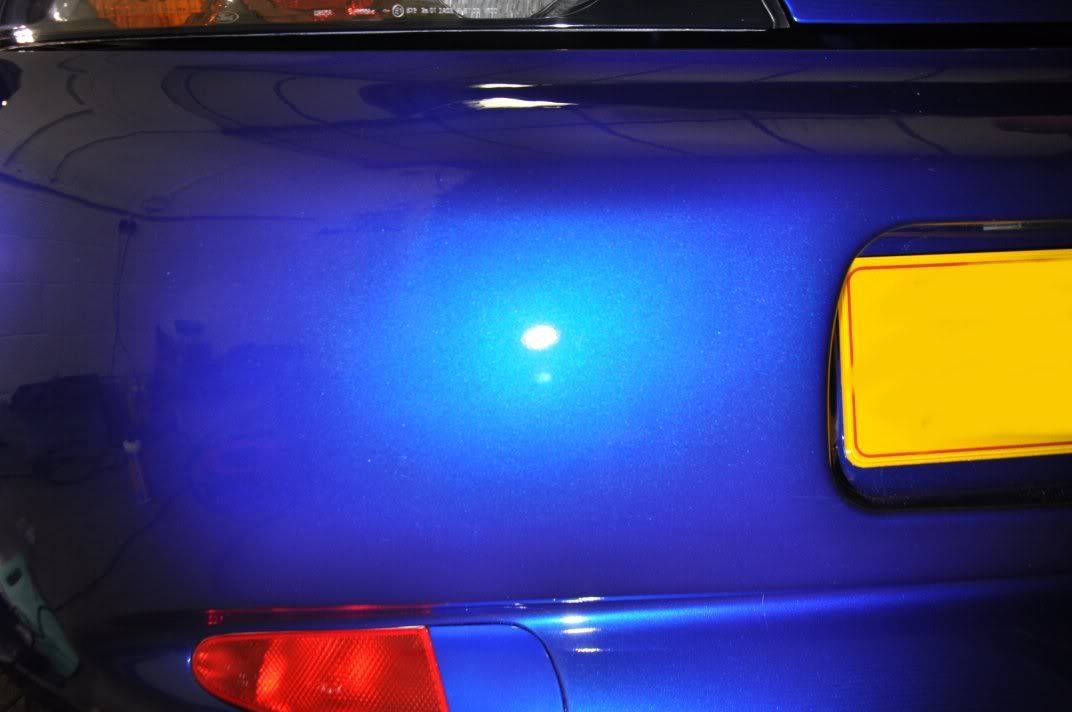
With the car fully corrected, it was wiped down gently with IPA (which I actually prefer to Top Inspection, as it is faster evaporating and for me this results in easier cleaning of the polish oils with only gently cloth passes). After shots from around the car, fully corrected and wiped down to assess the true finish achieved:

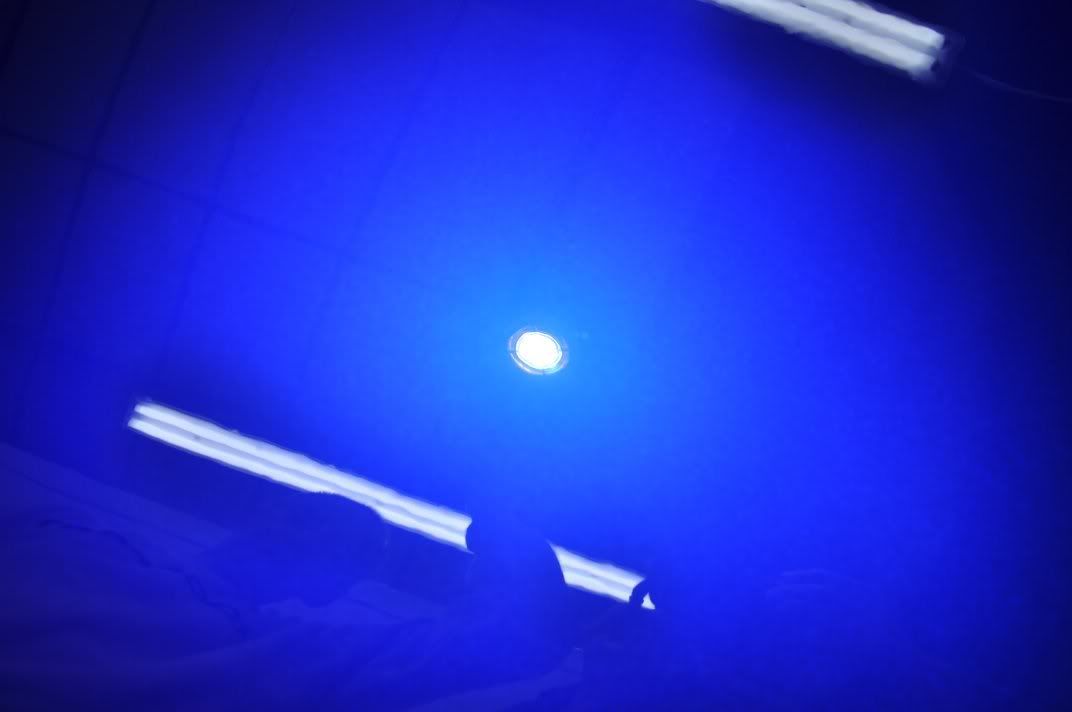
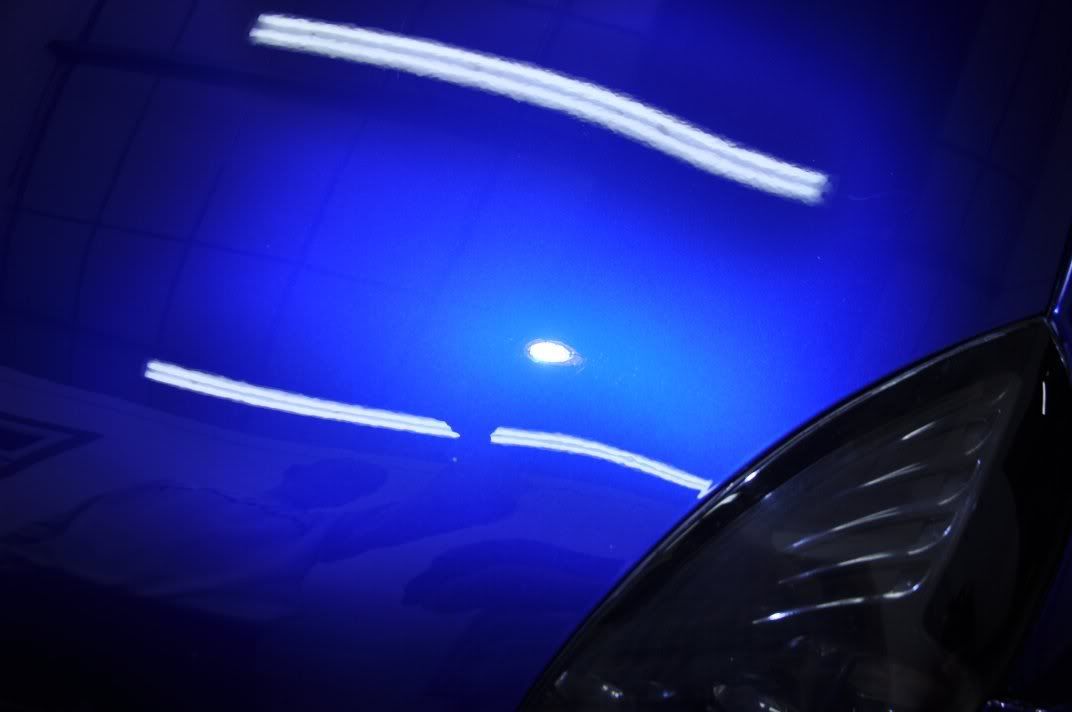
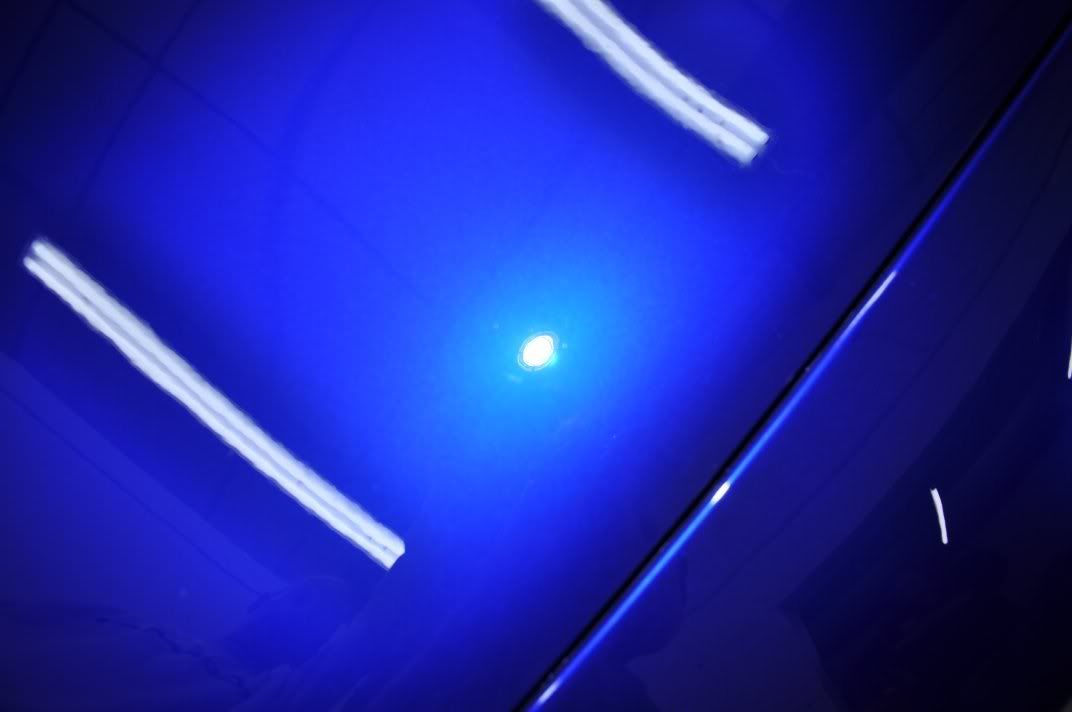
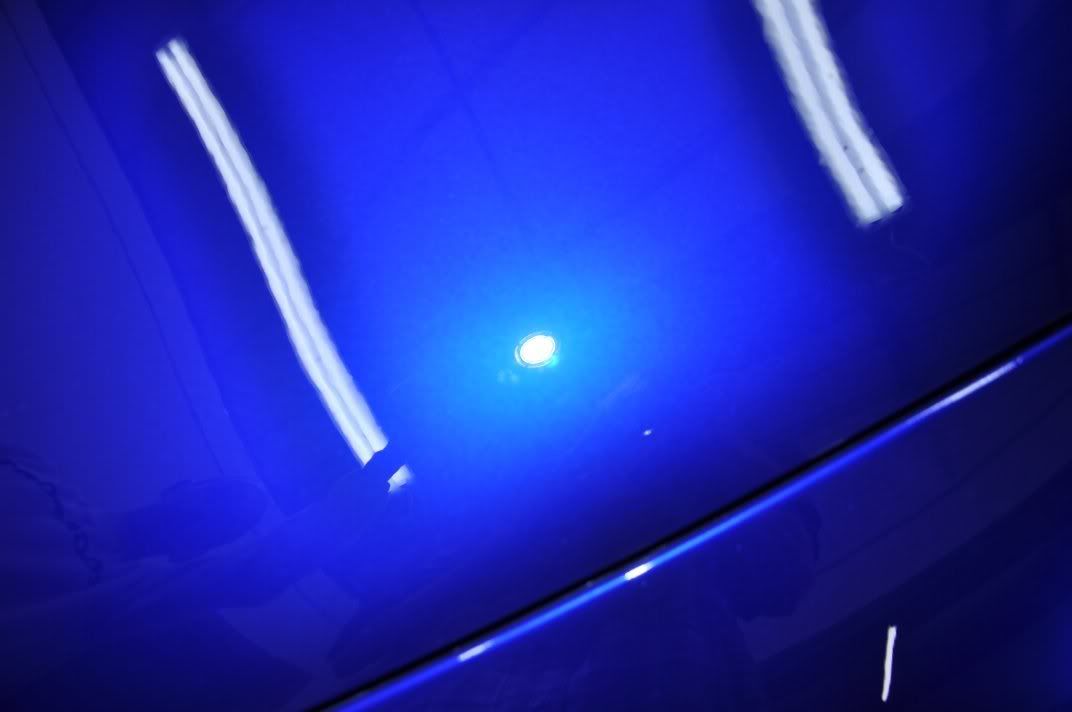
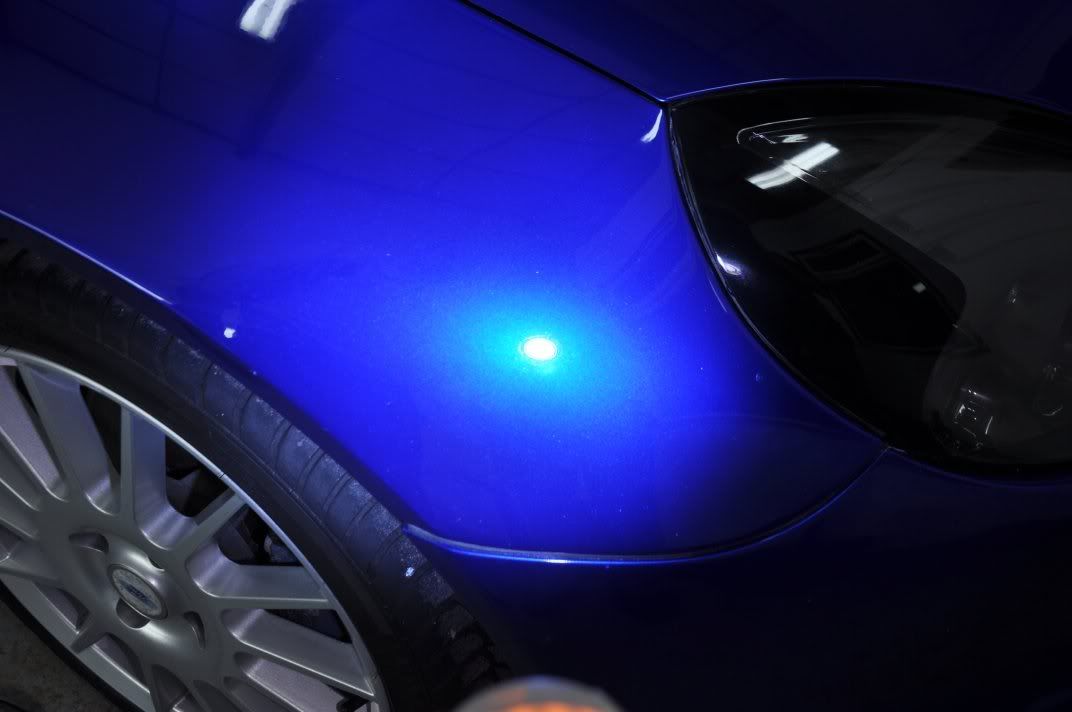
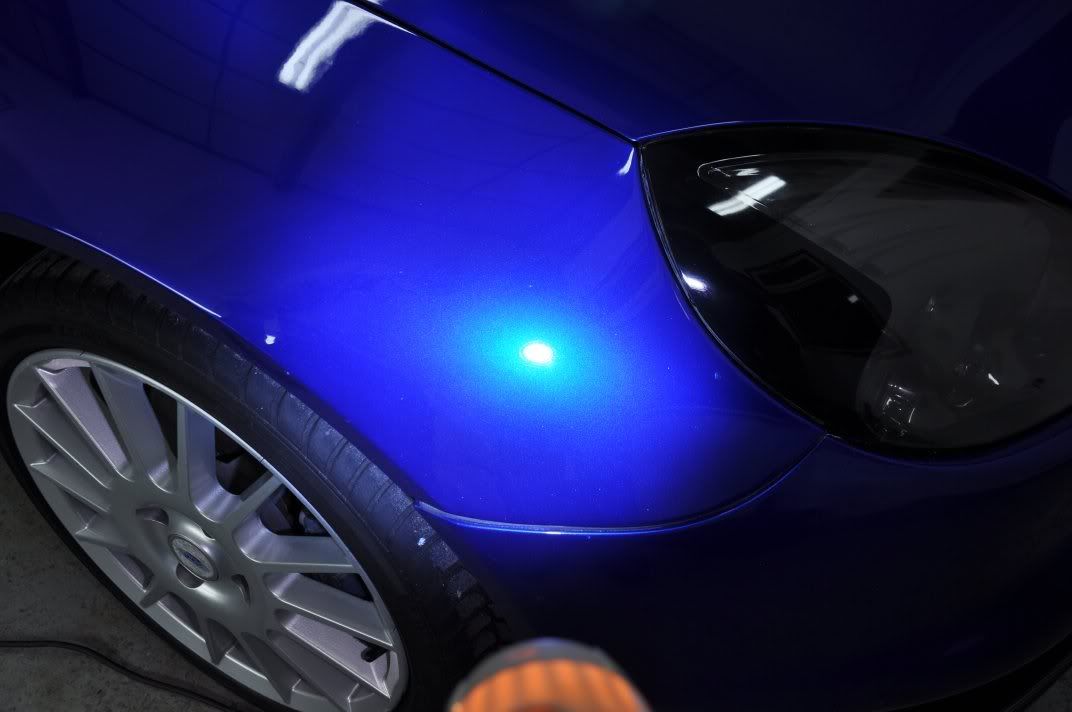
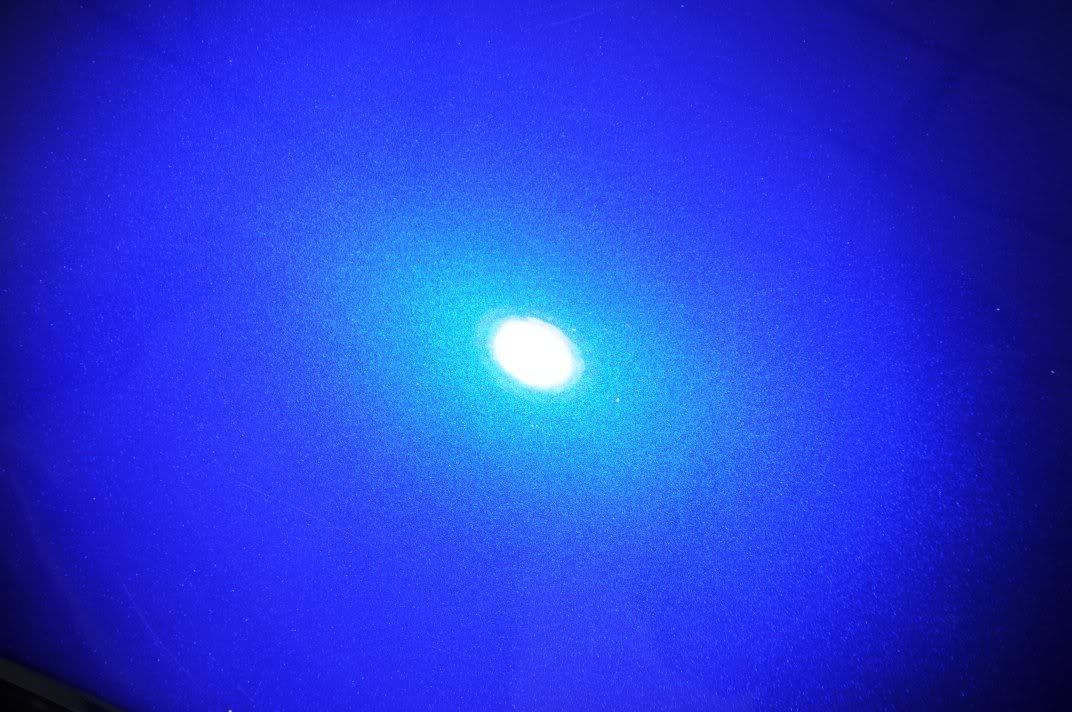
Still some RDS on the wing...

but with ~60um of paint, not a lot you can do!
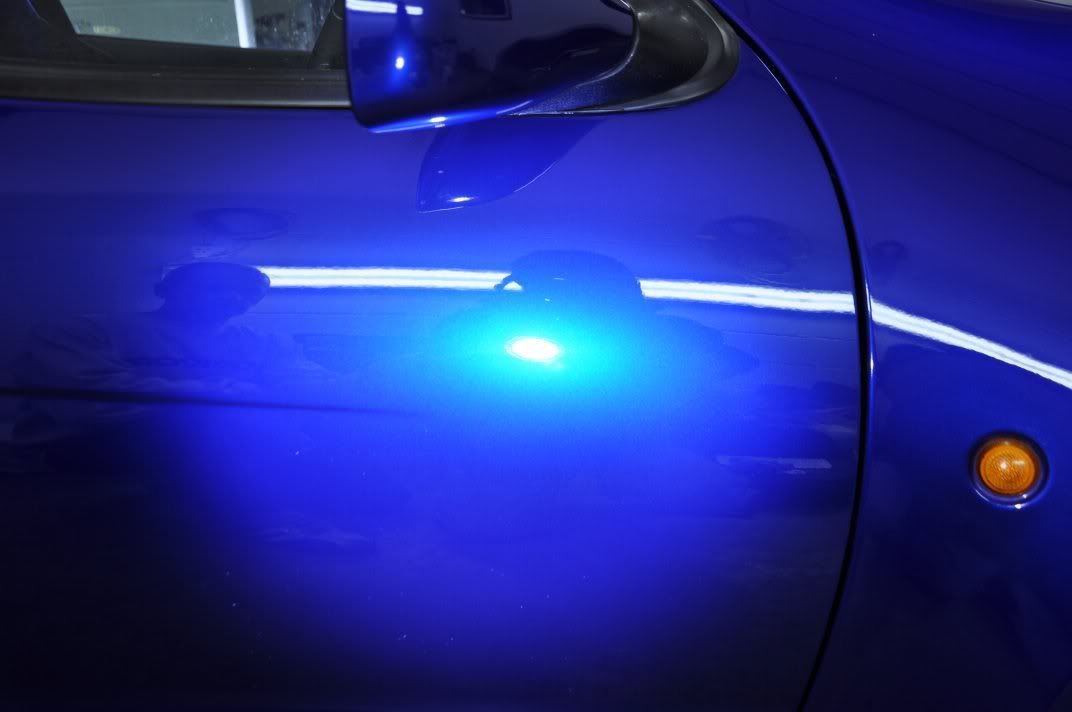
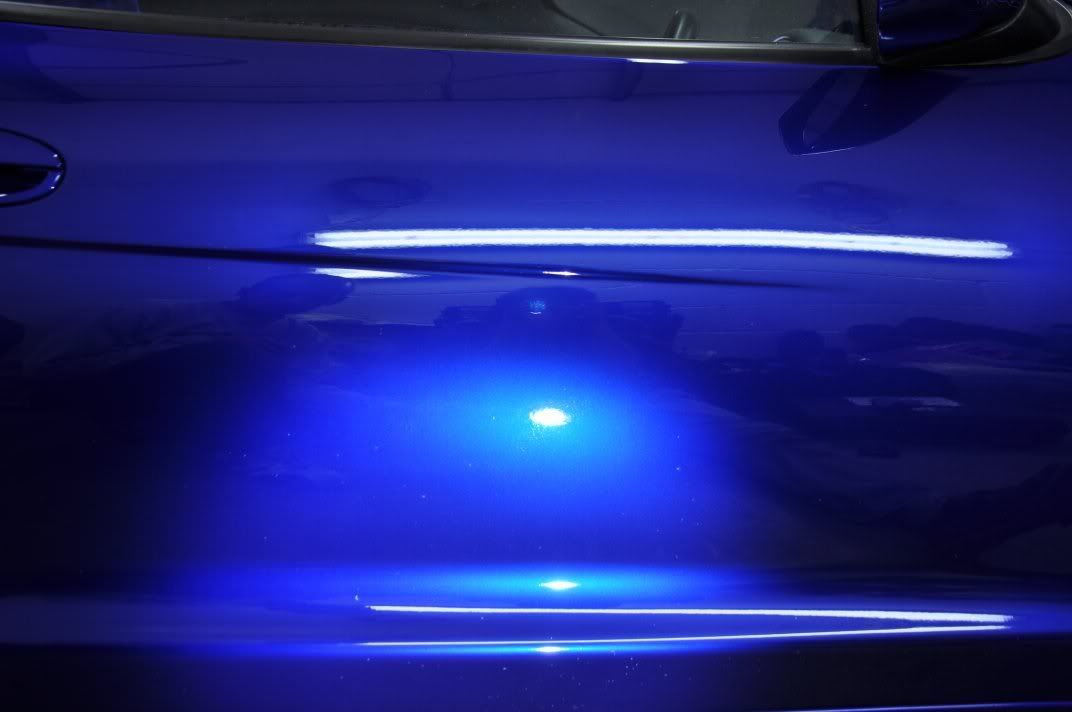
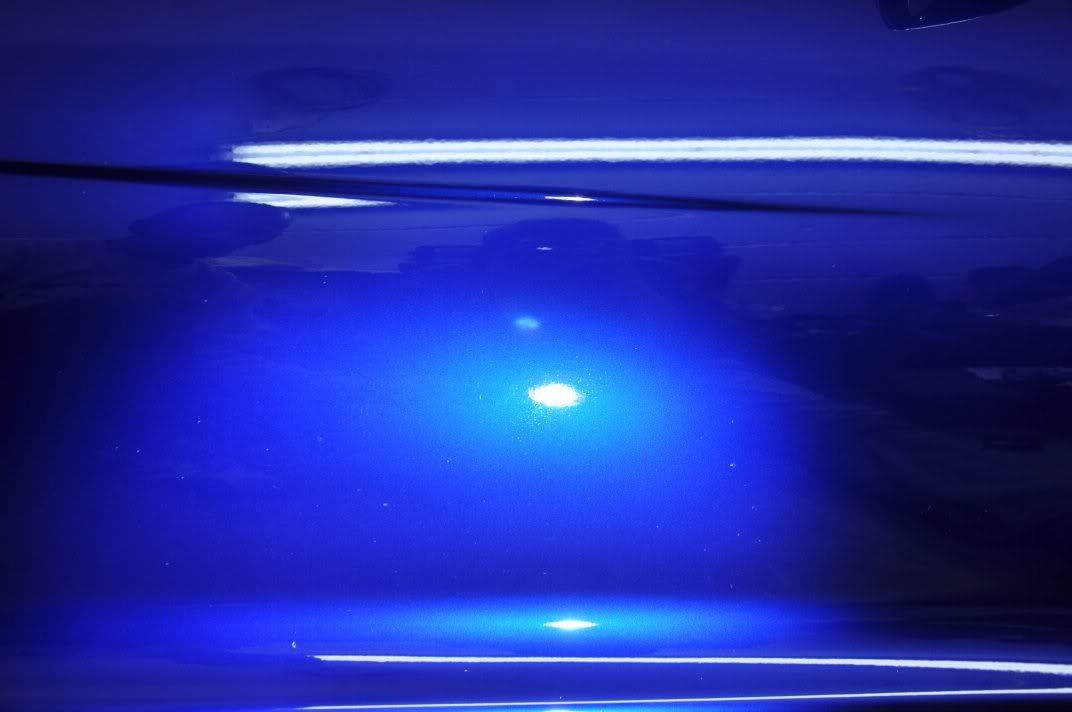
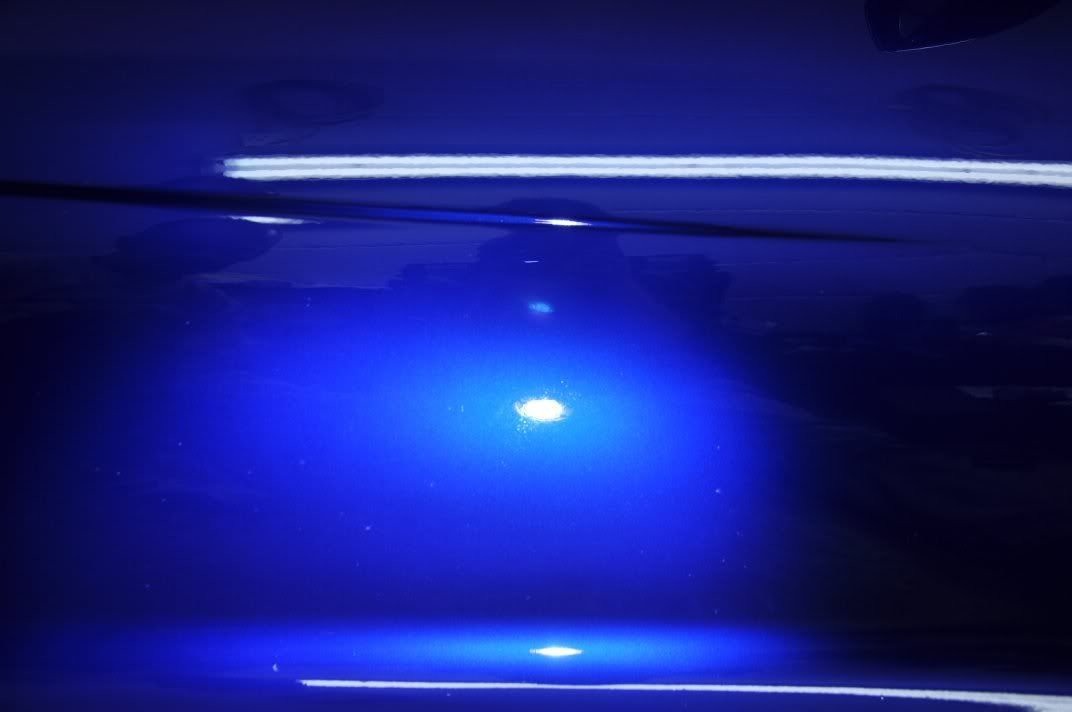
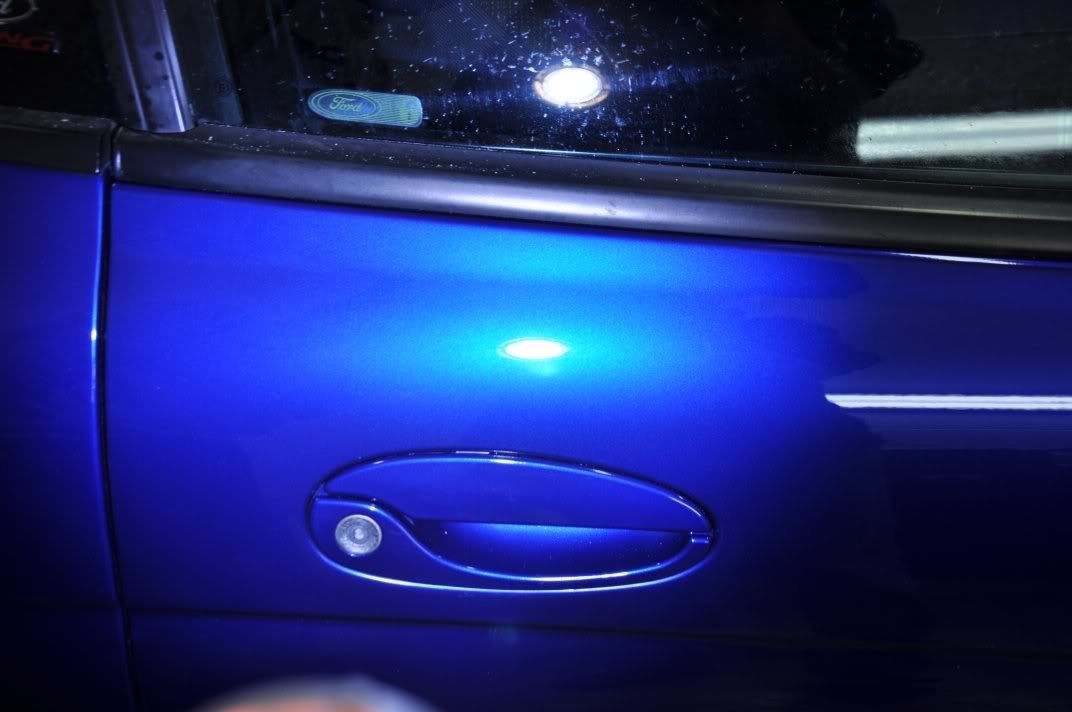
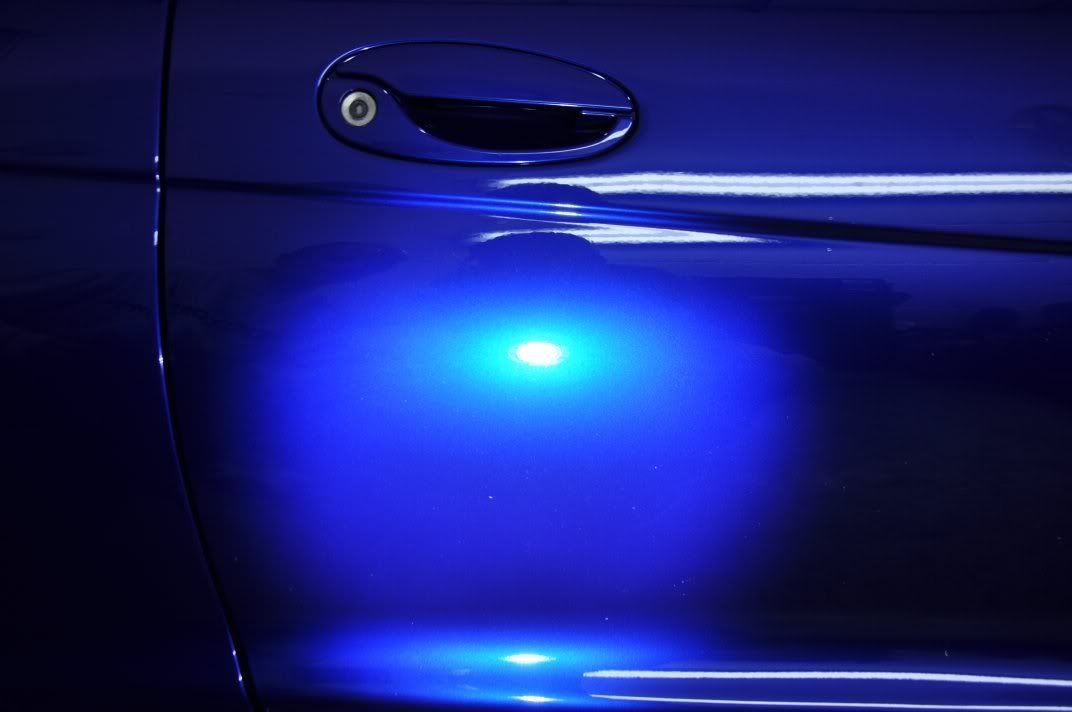
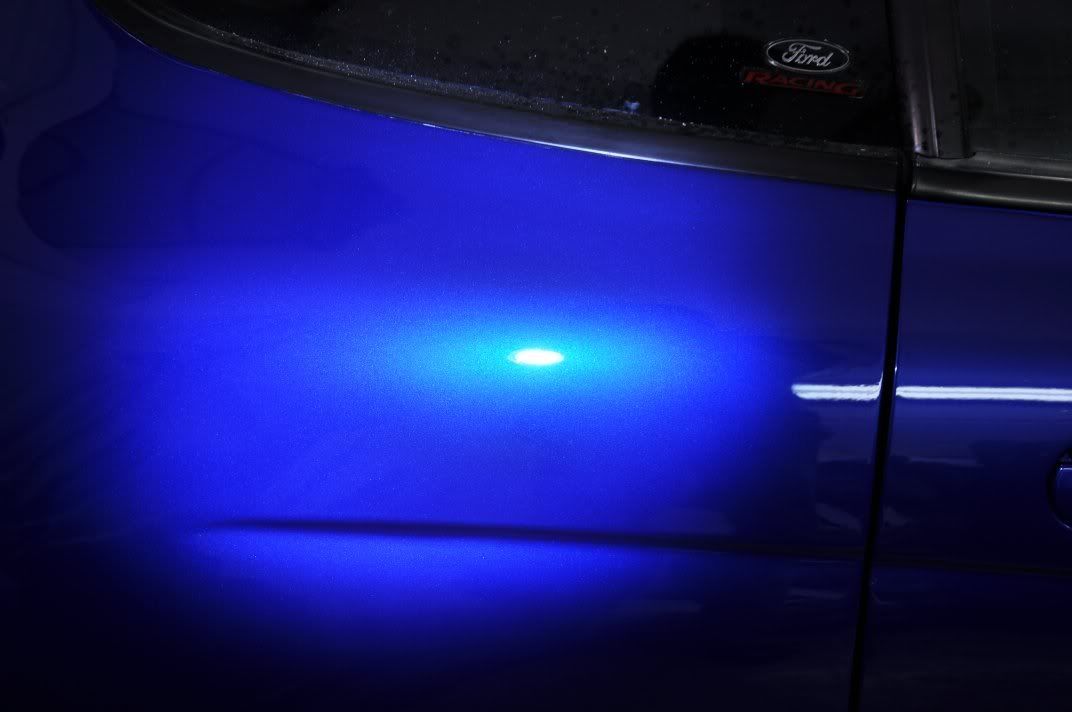
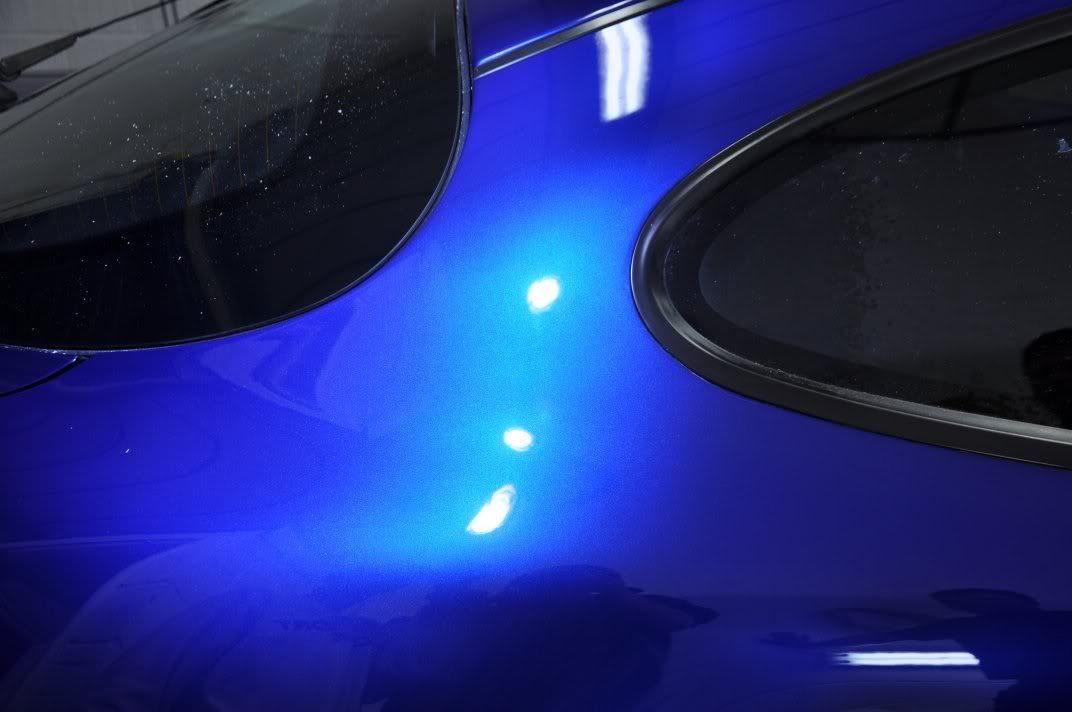
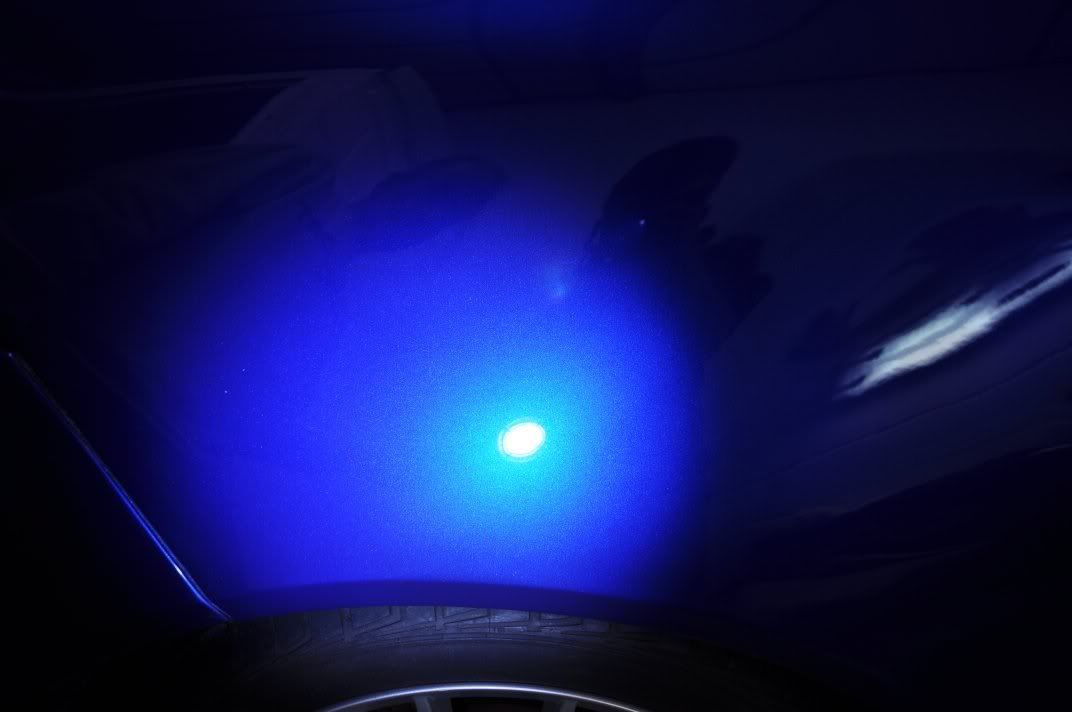
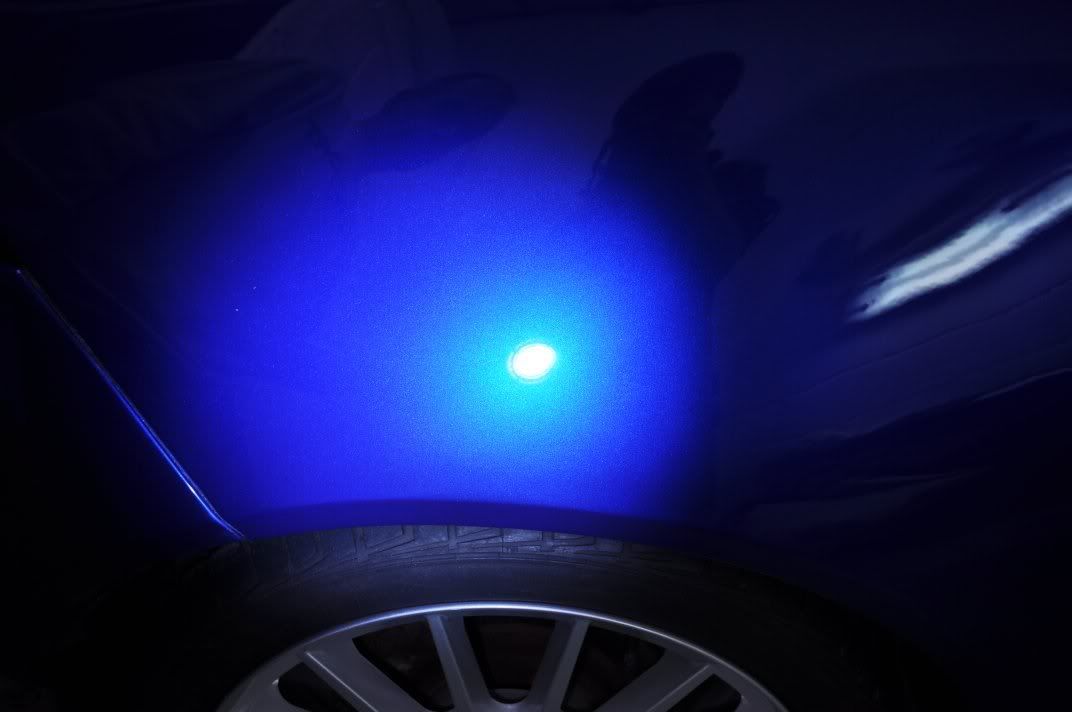

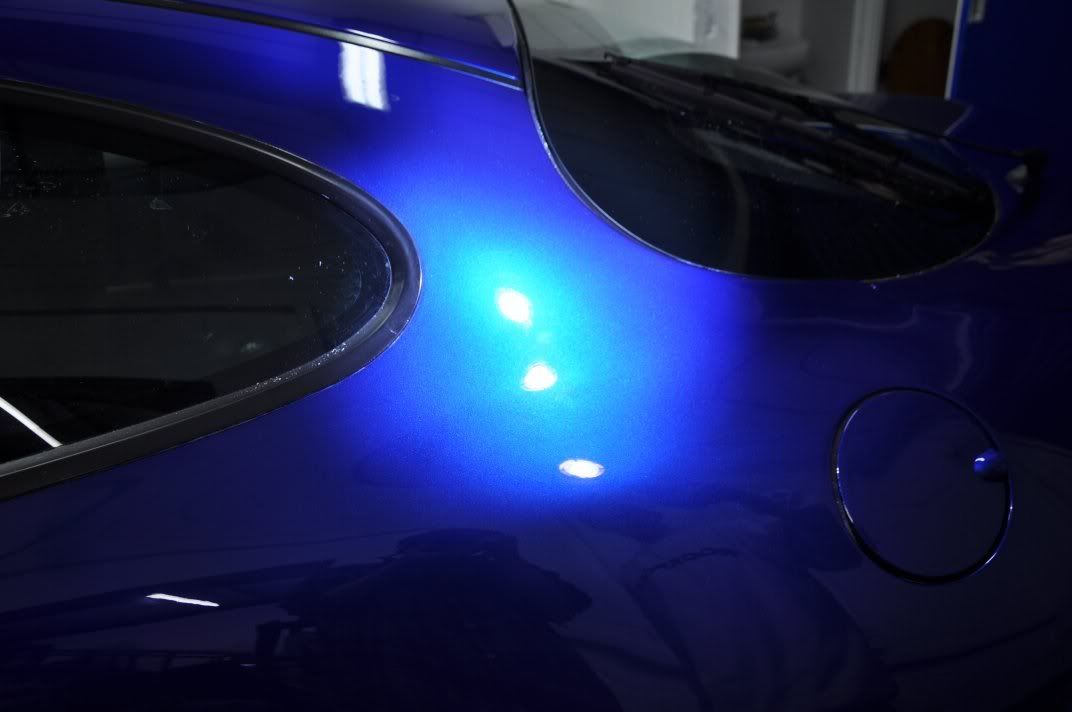
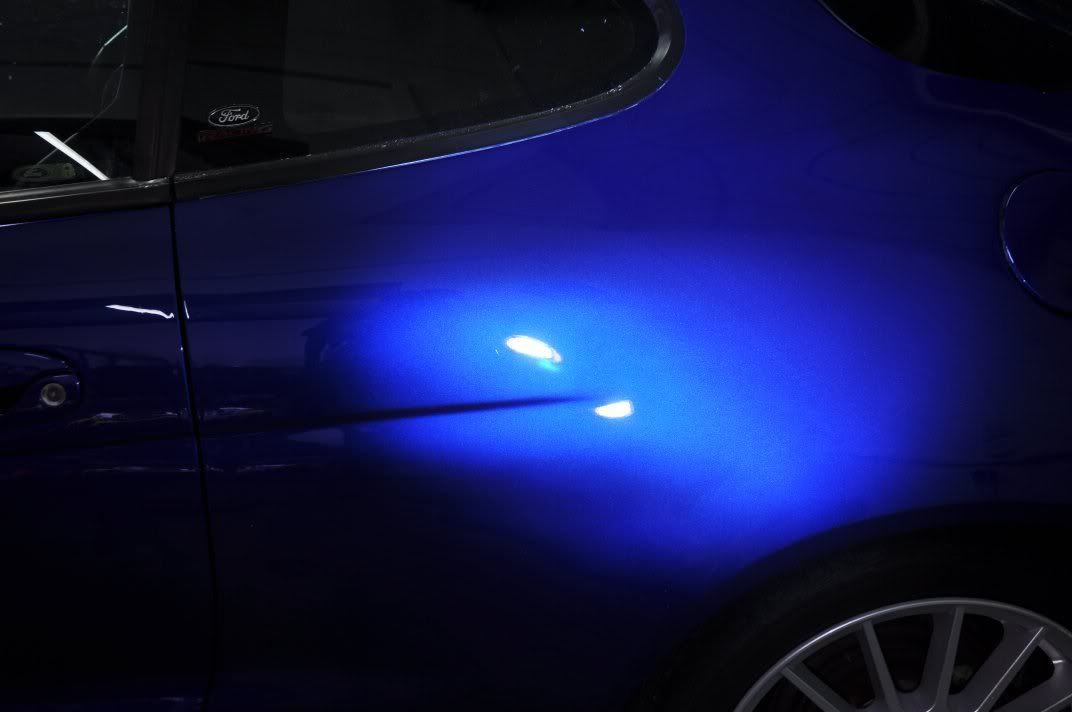

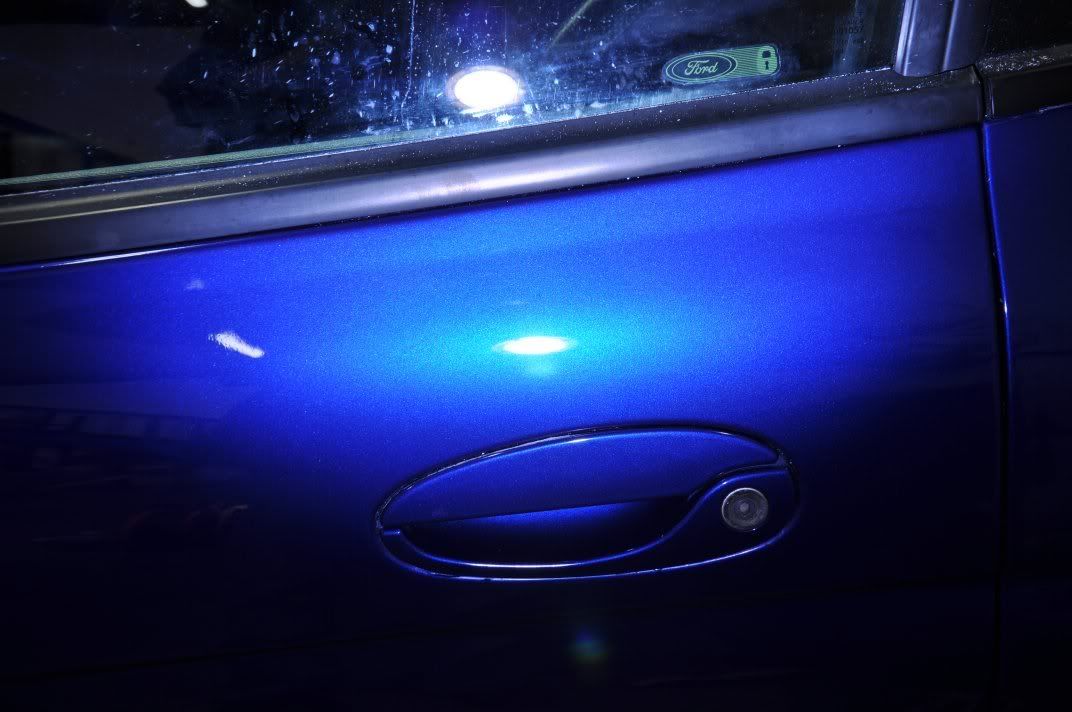
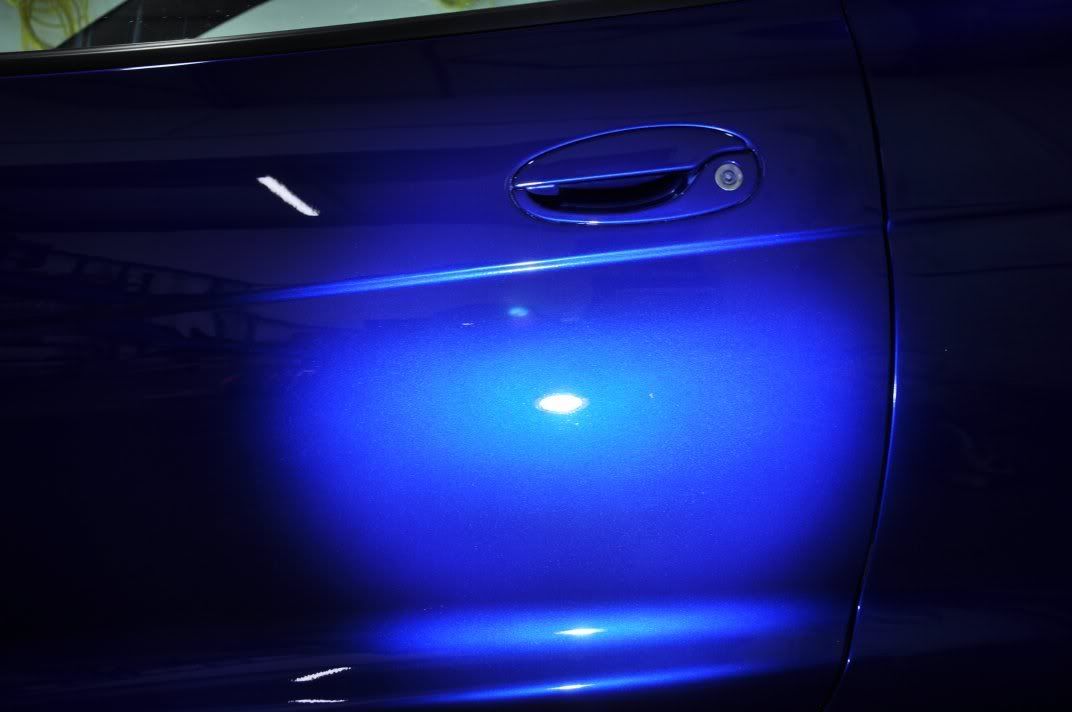
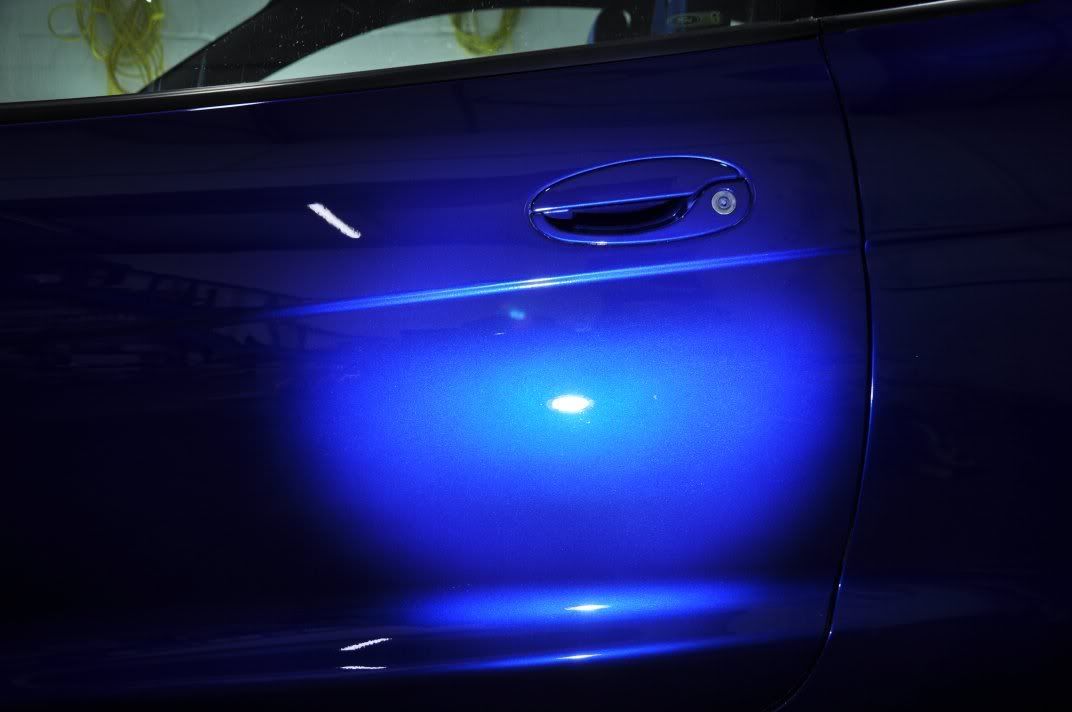
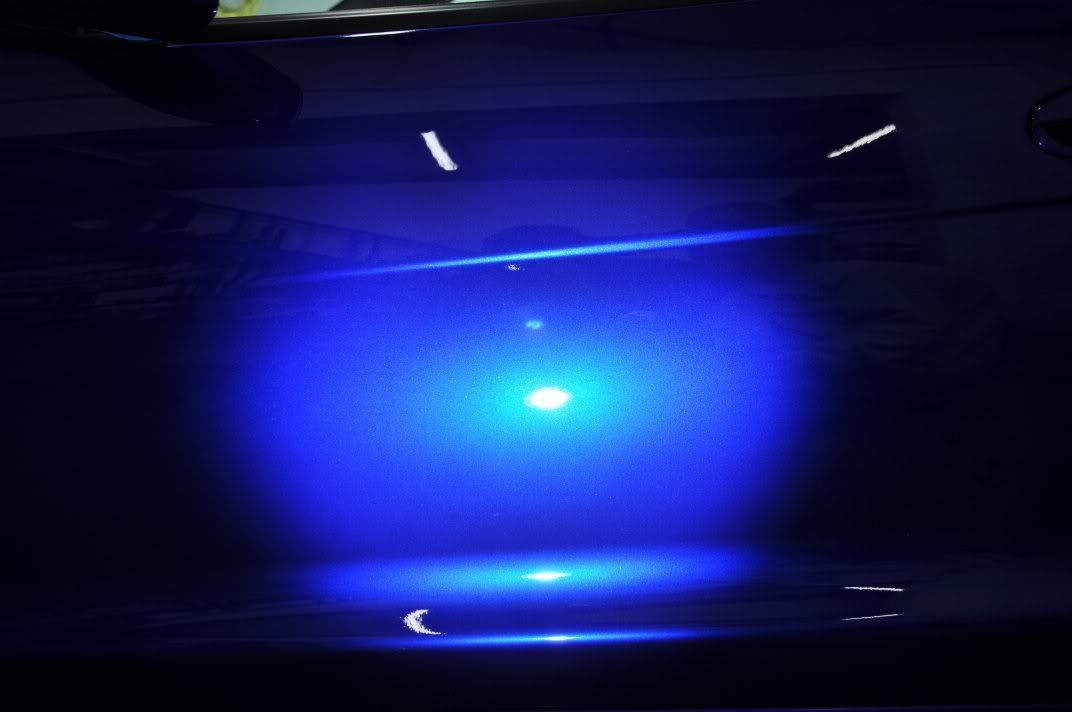
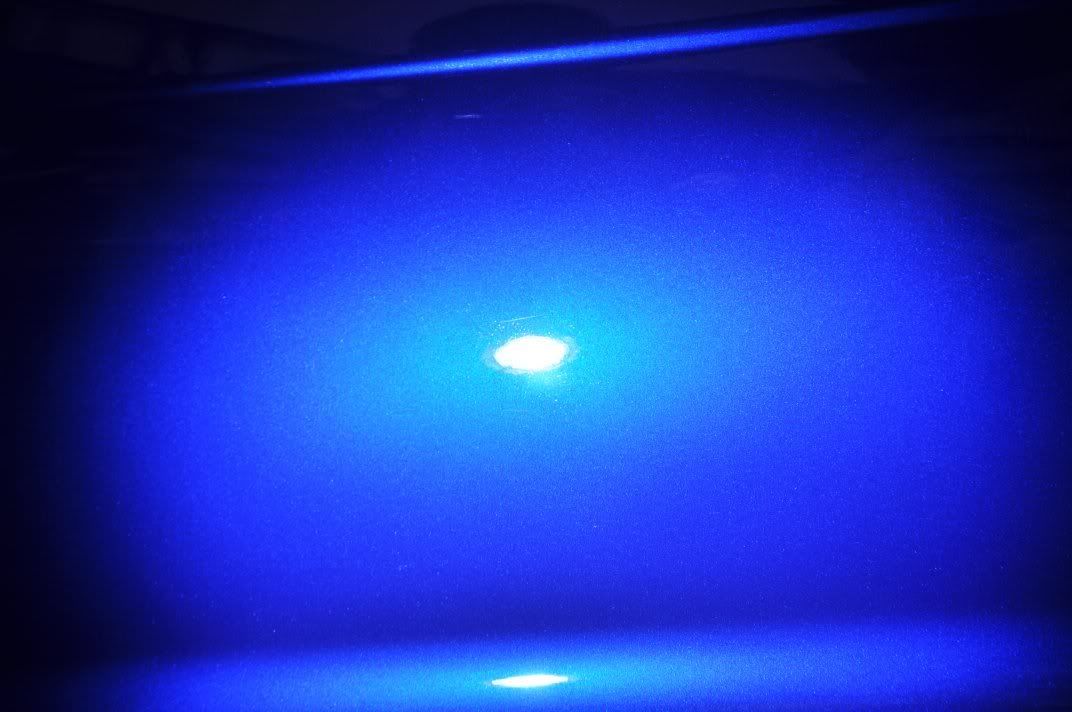
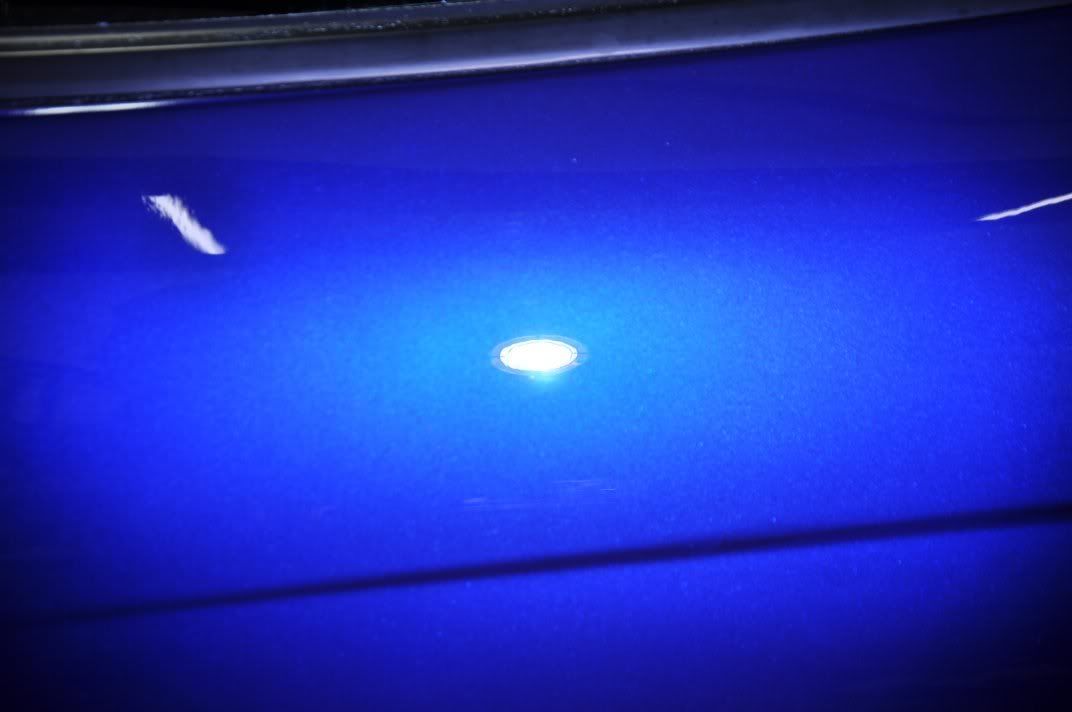
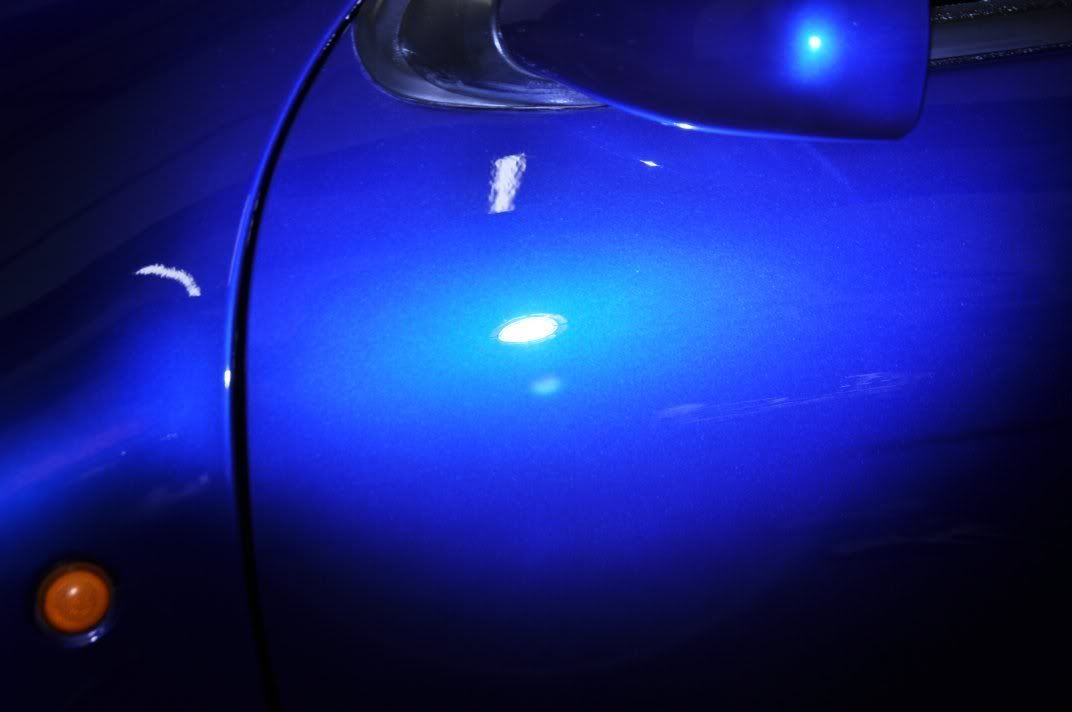
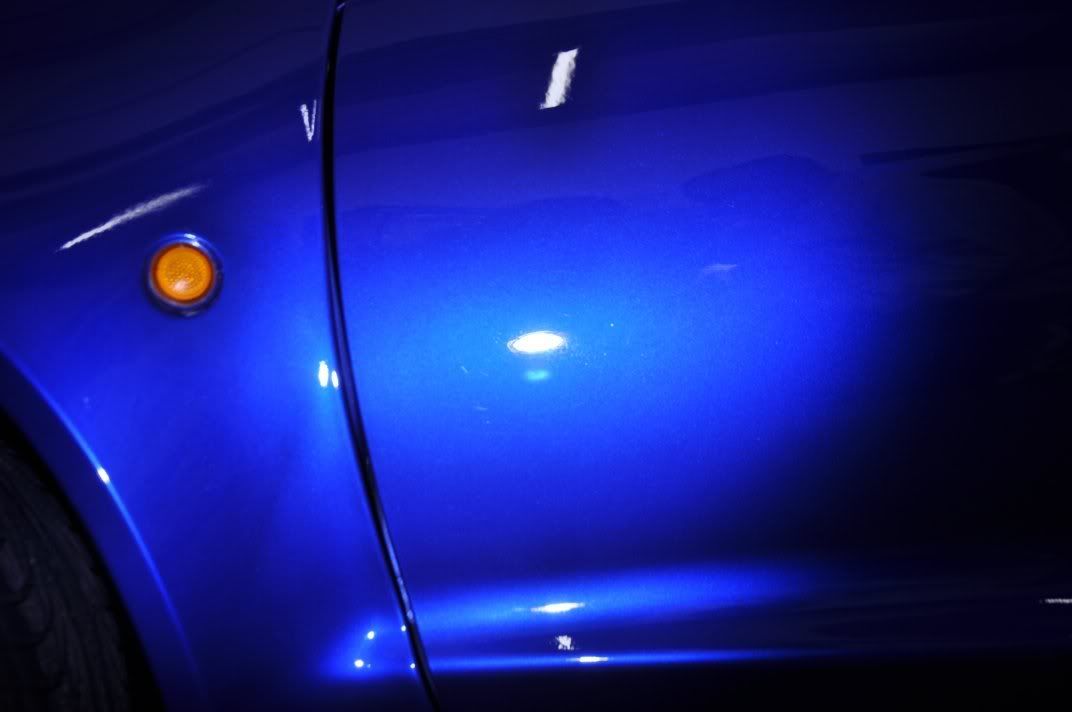
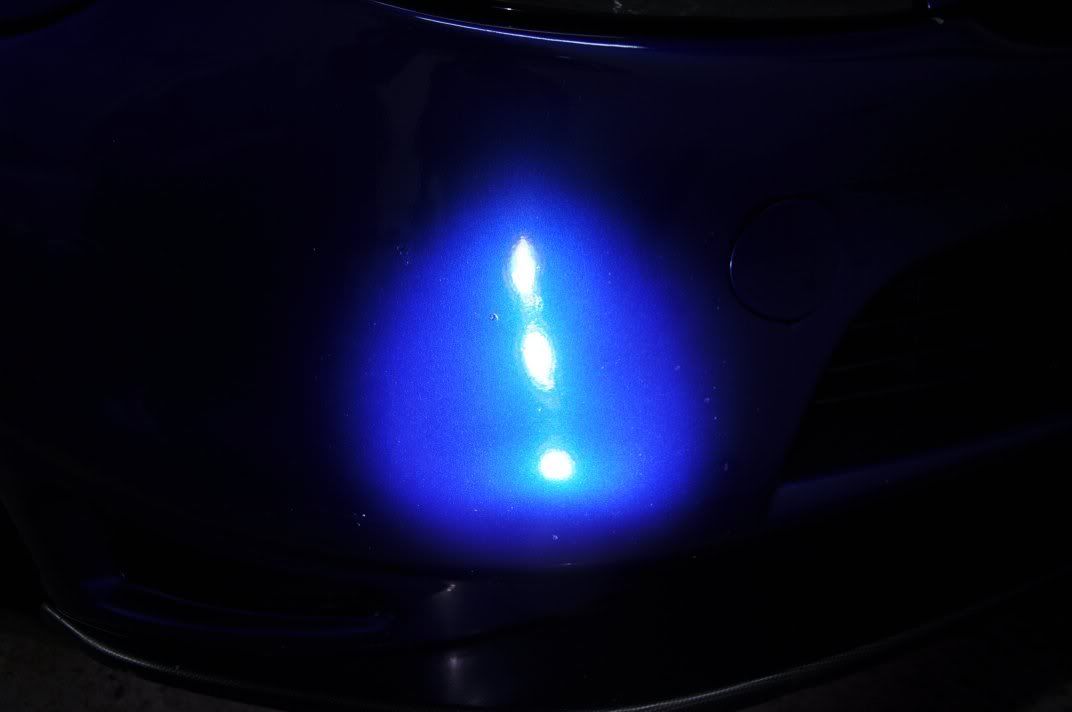
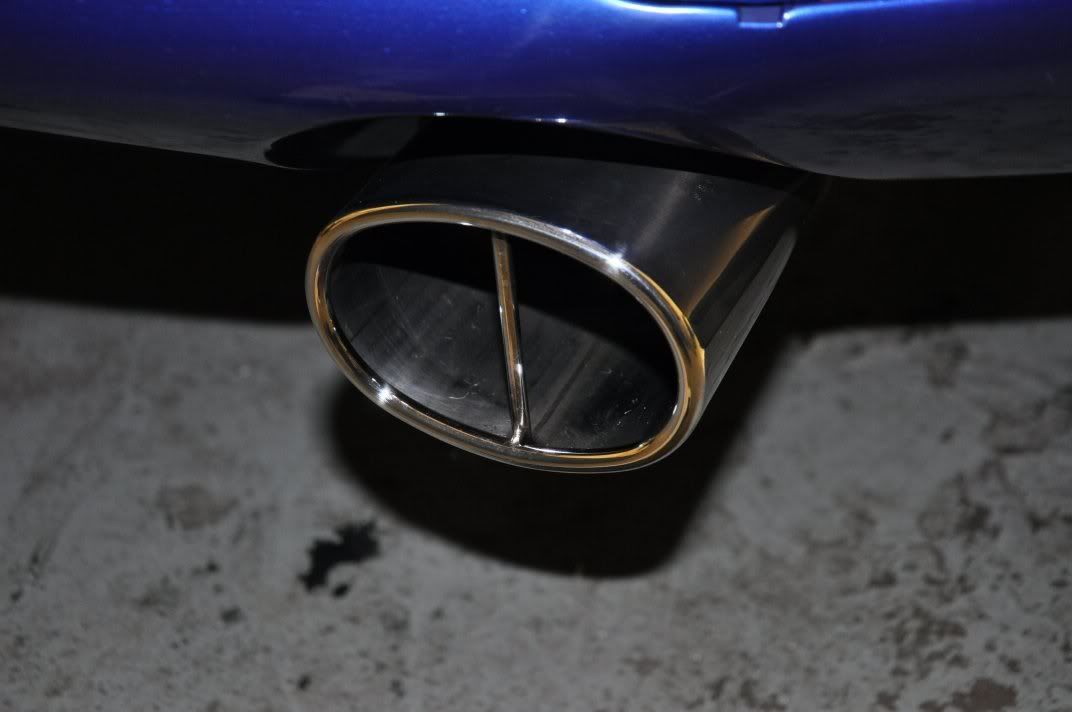
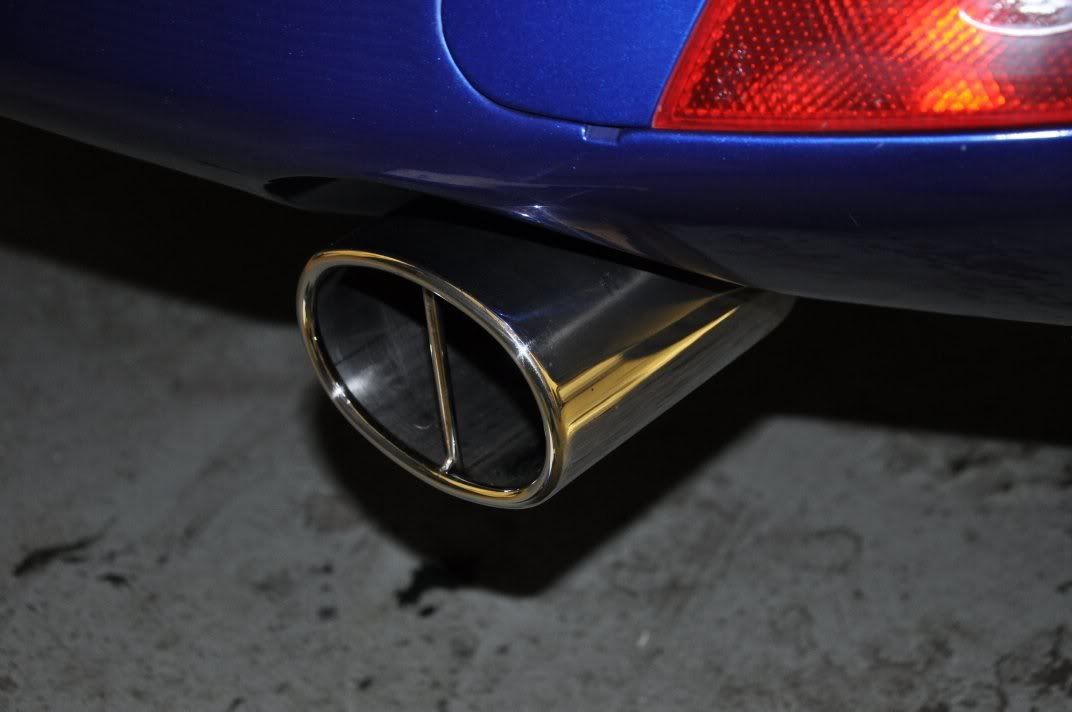
While I set about the paintwork protection, using Meguiars #16 wax, Gordon protected the wheels using FK1000P. Davy set about the exhaust:
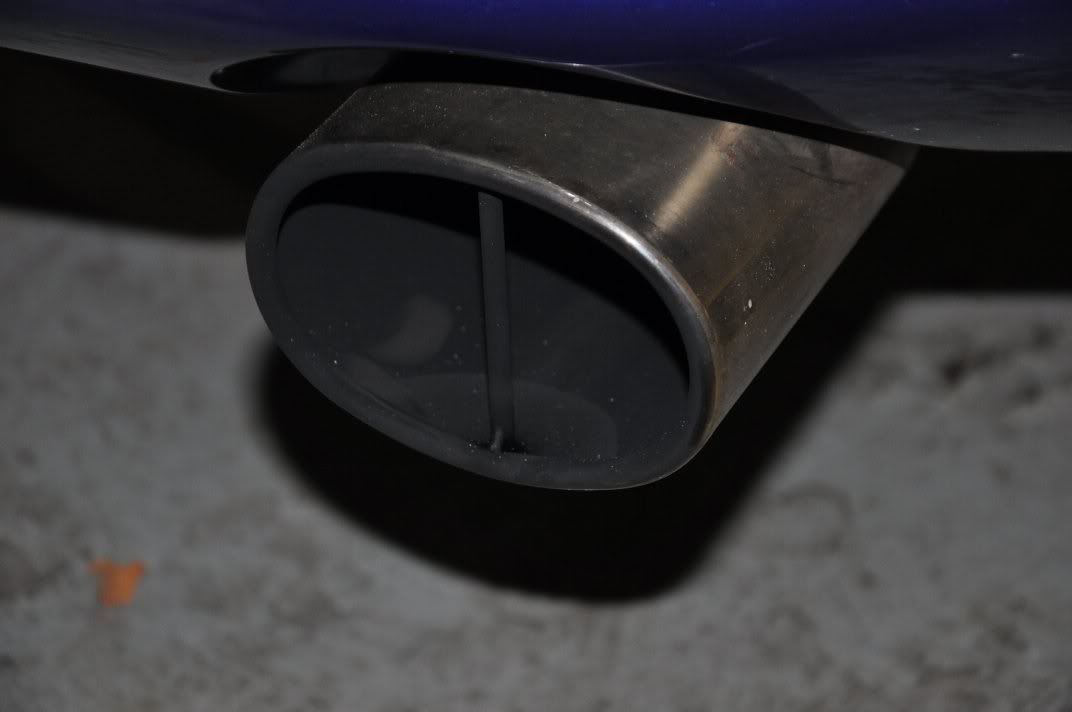
#00 Wire Wool and Briliant #1, followed by Briliant #2 applied by hand using a microfibre cloth here, just a hand enhancement of the tail pipe on this detail but certainly cheered it up, with the owner commenting that it had never looked so clean - good to have Davy, the tea boy, around for these little jobs :p:lol::lol::lol: (and of course, all of the other things Davy does on the detail :thumb ...
...
Glass was cleaned using Stoner Invisible Glass, trim protected with Chemical Guys New Look Trim Gel. Plastic arches with Meguiars All Seasons Dressing sprayed, tyres with Espuma RD50.
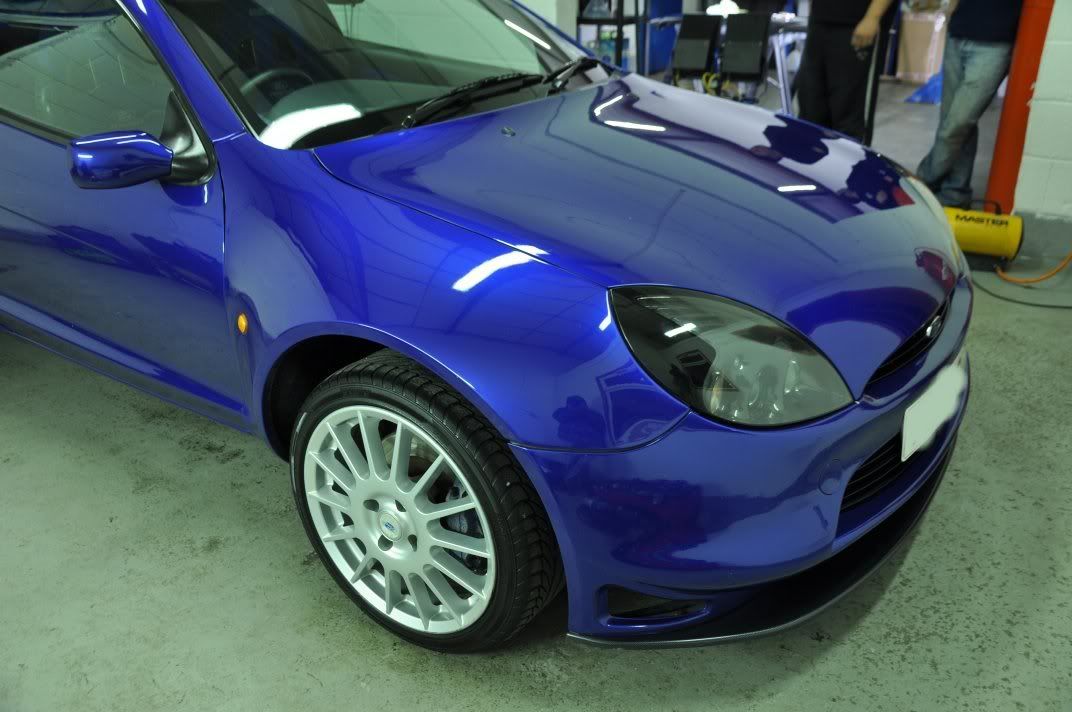
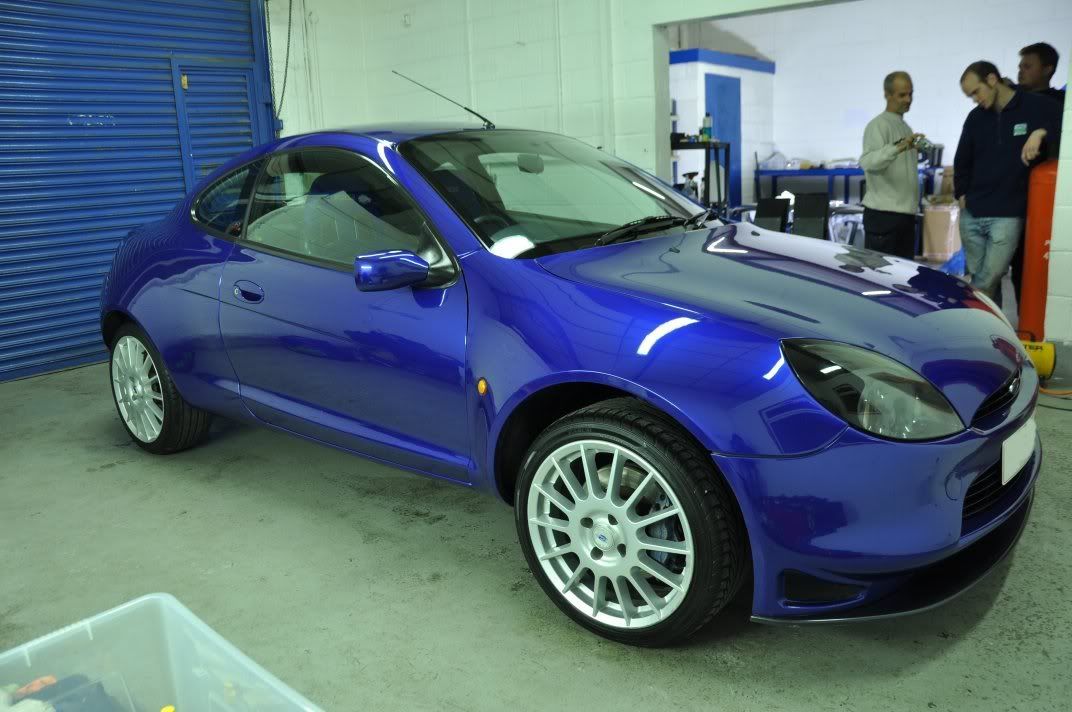
Onto the afters :
:
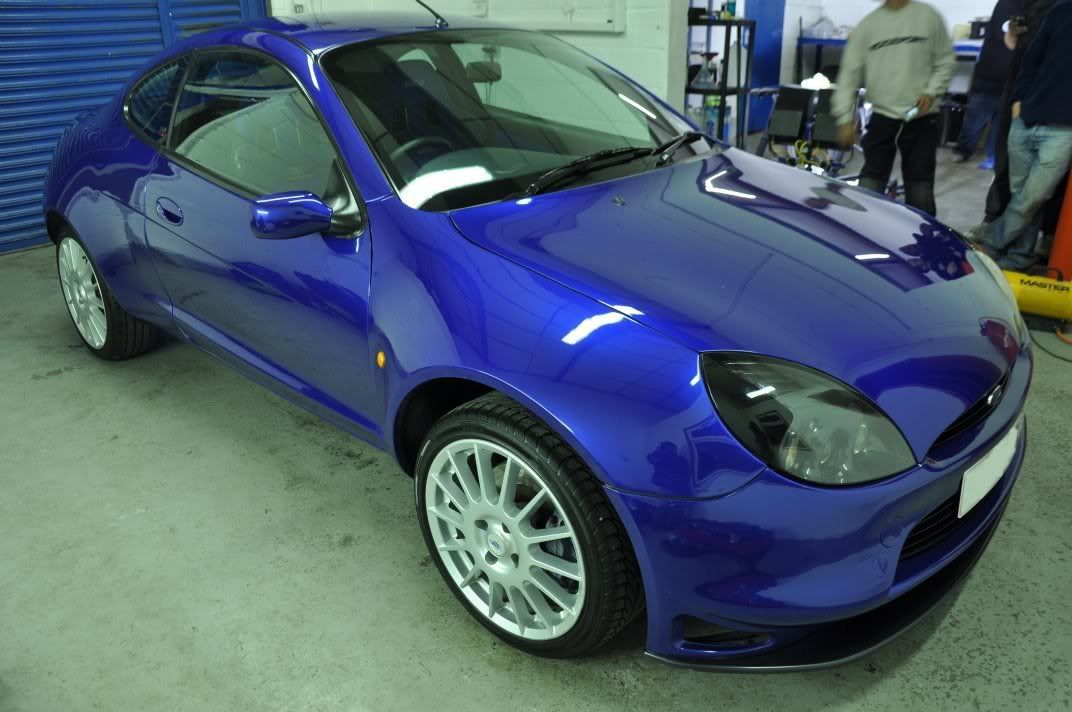
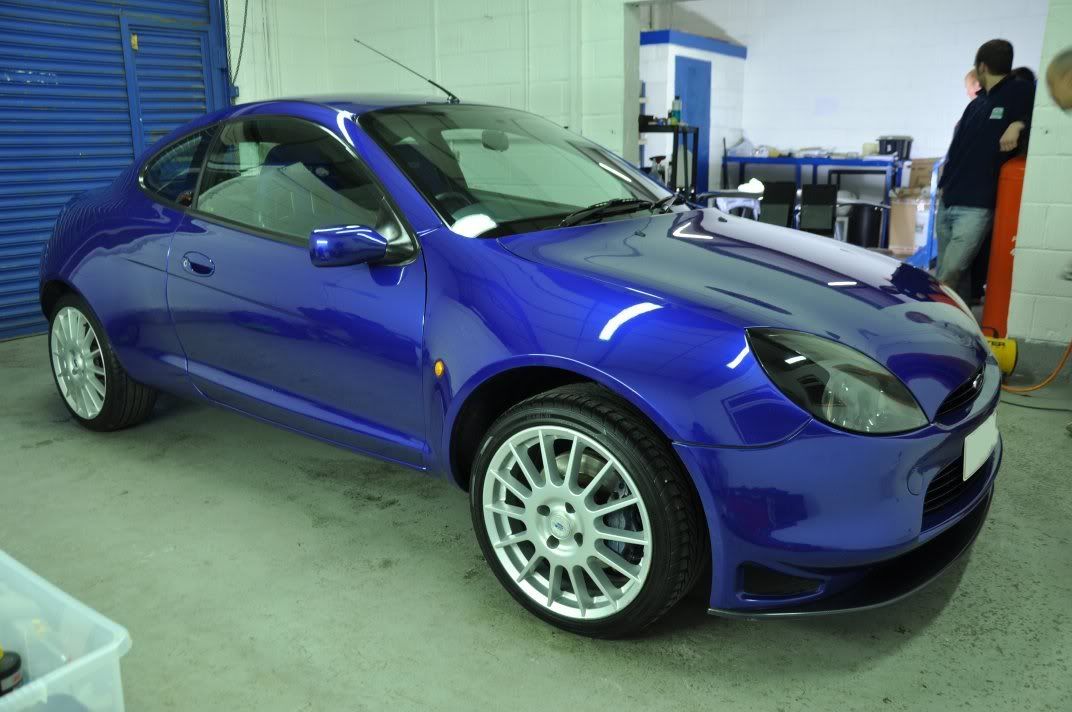
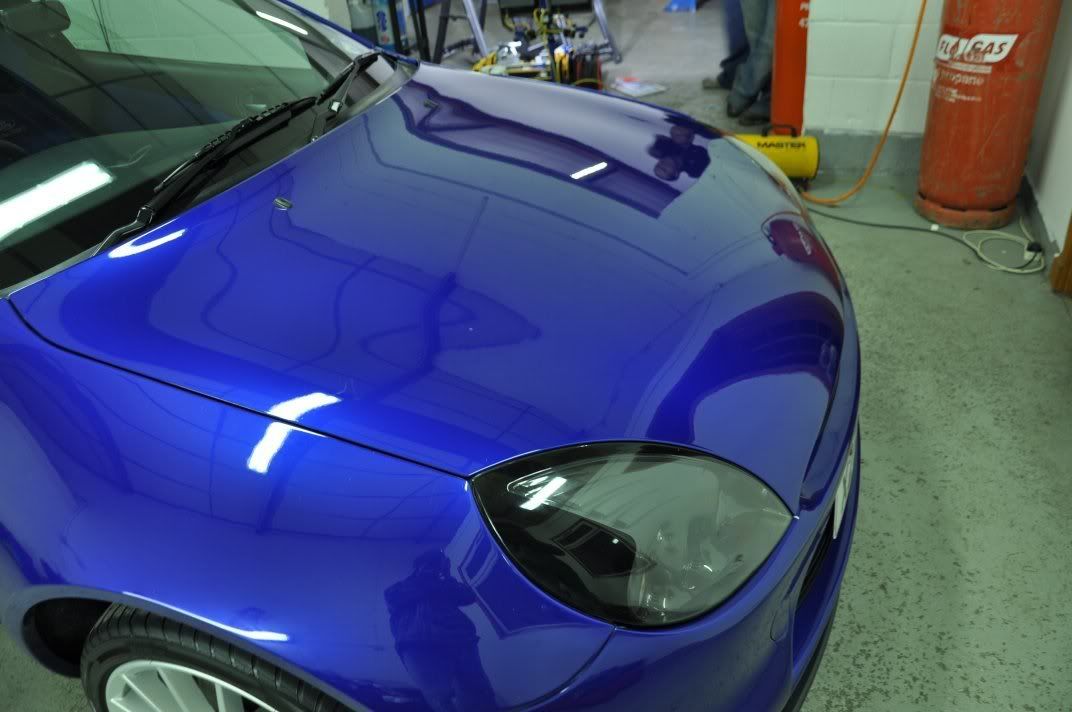
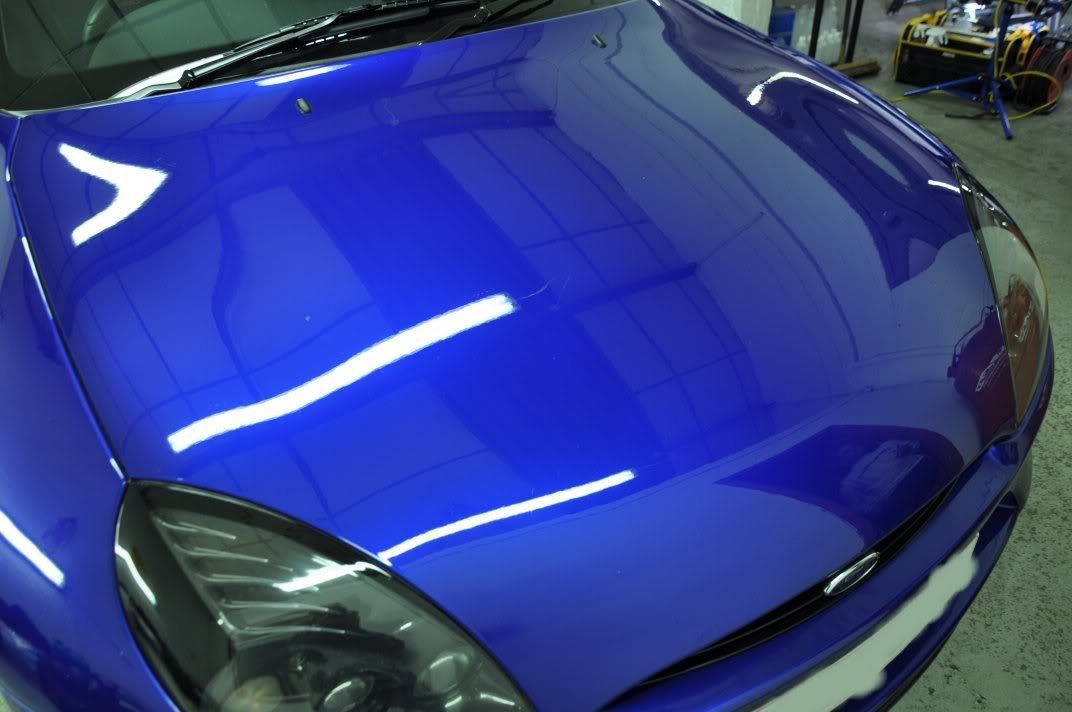
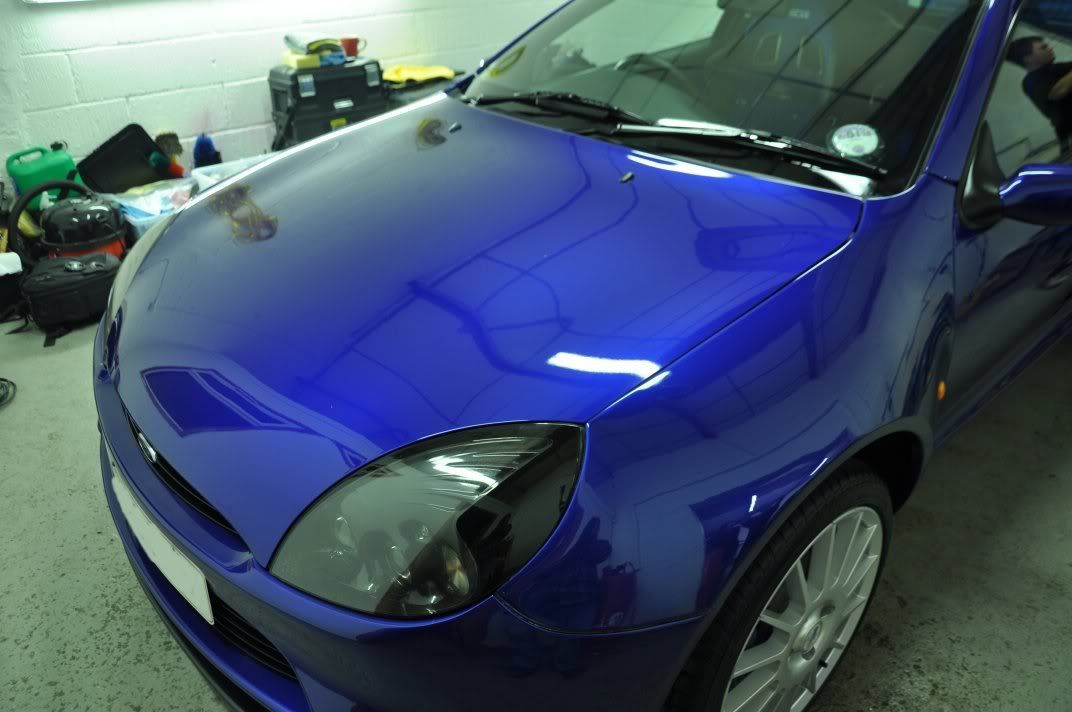
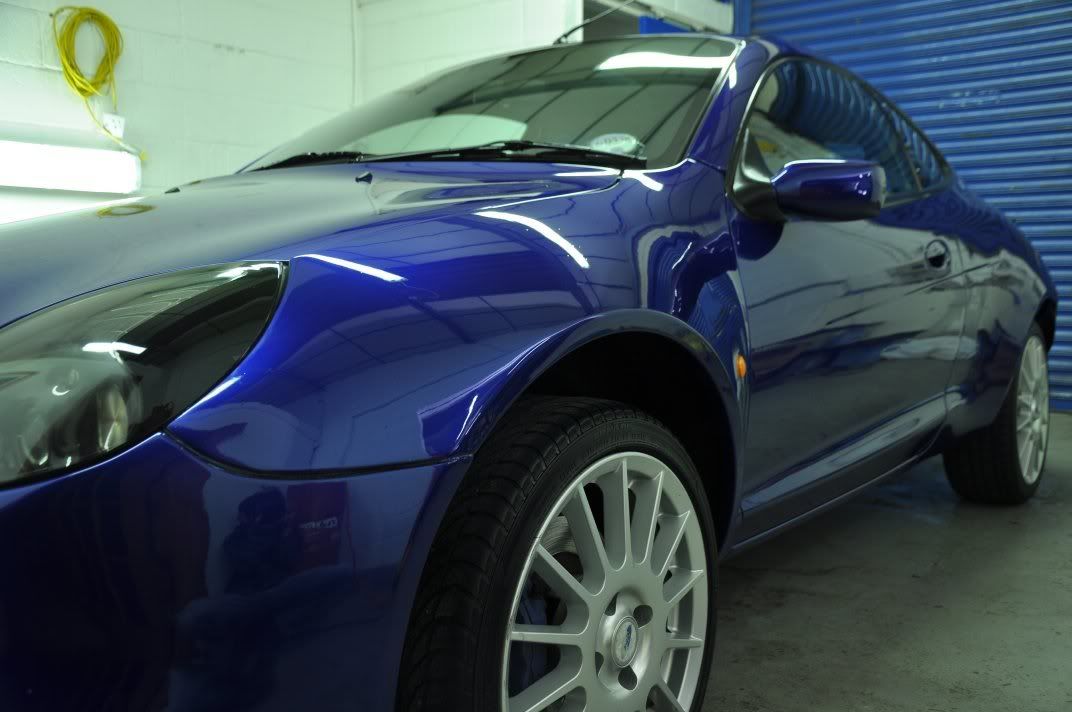
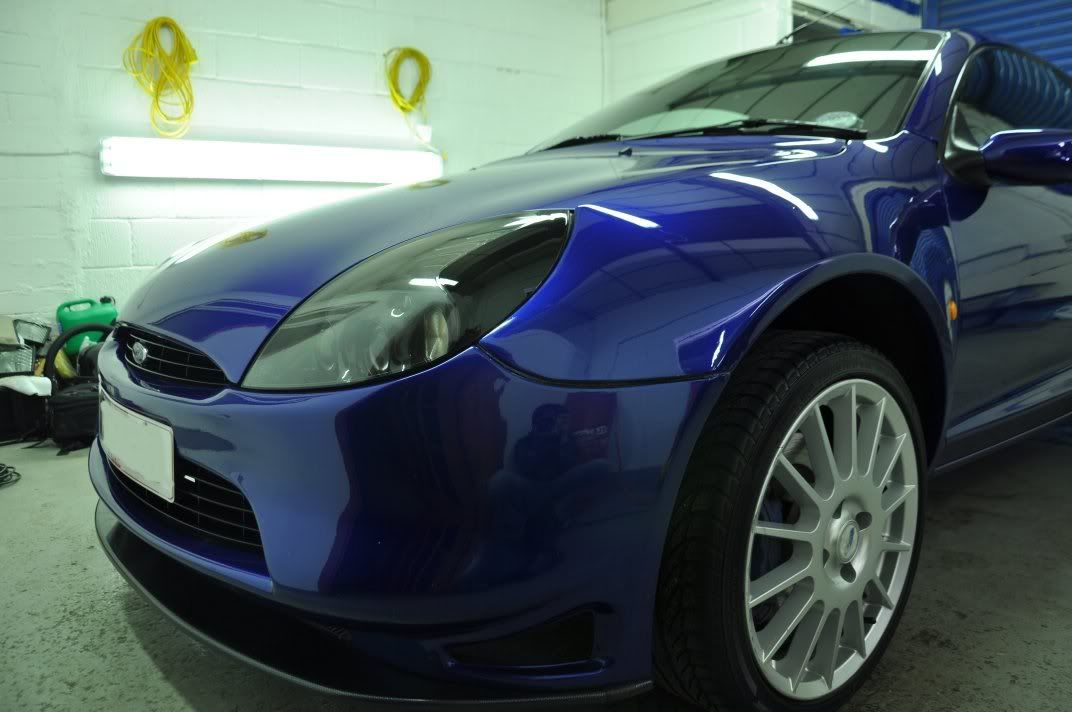
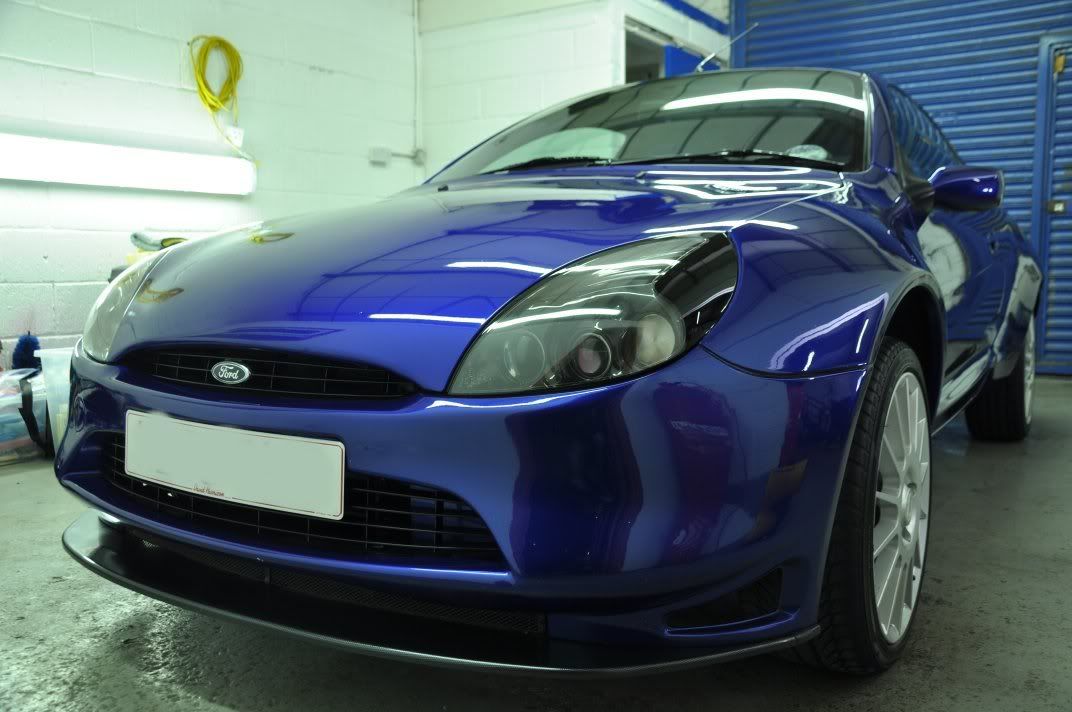
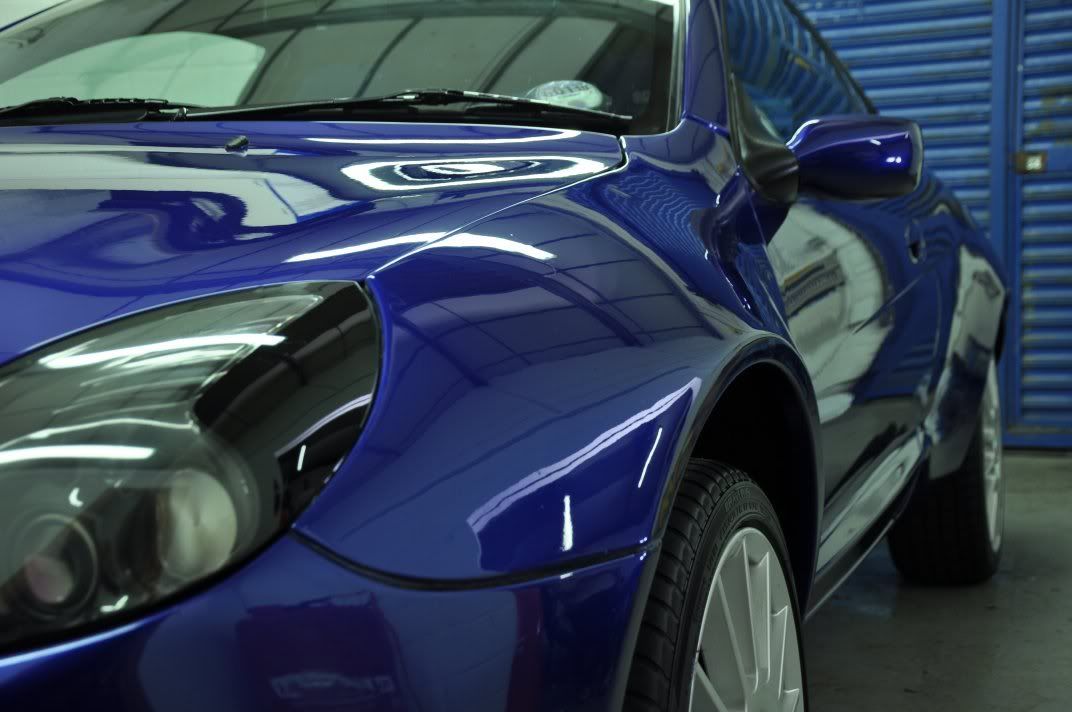
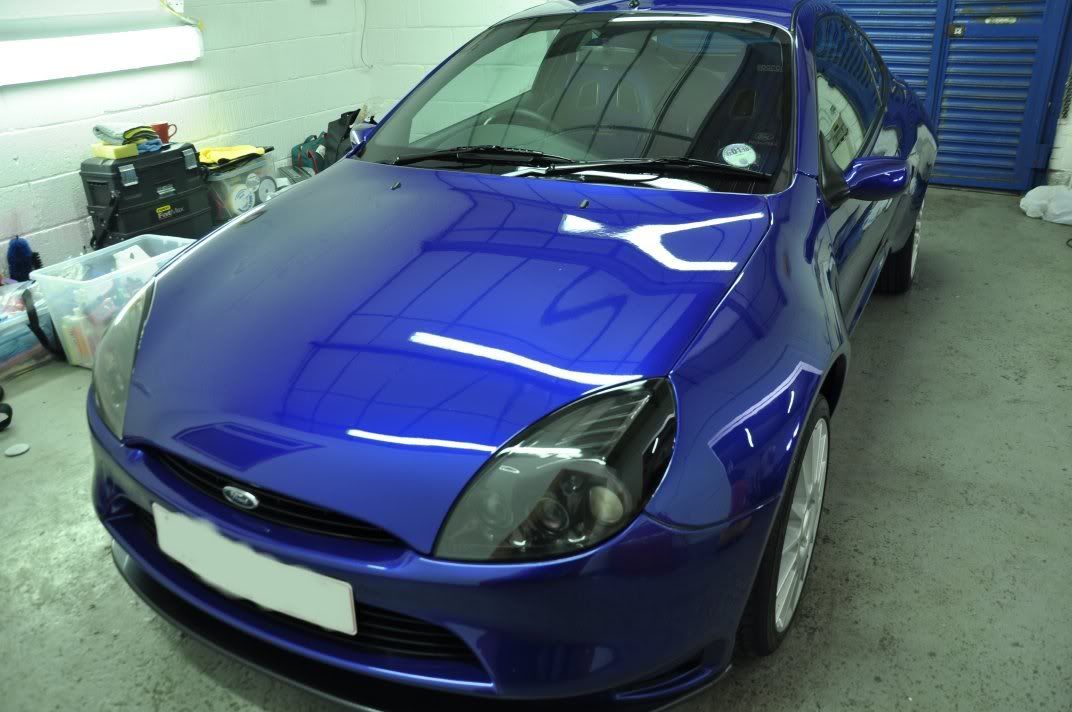
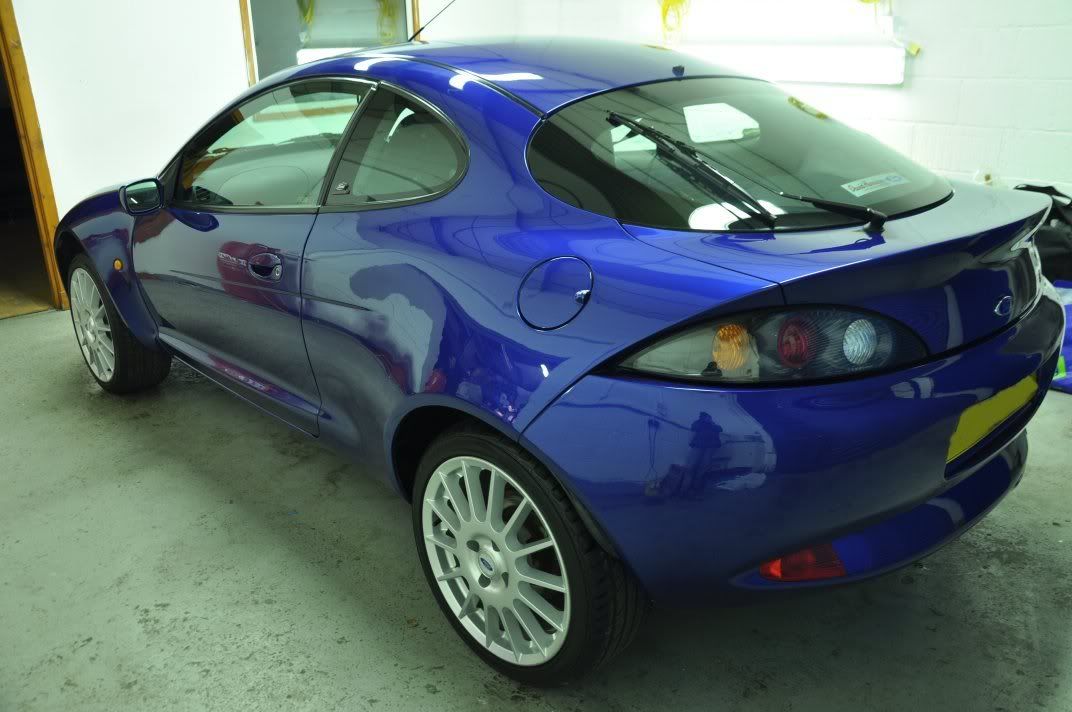
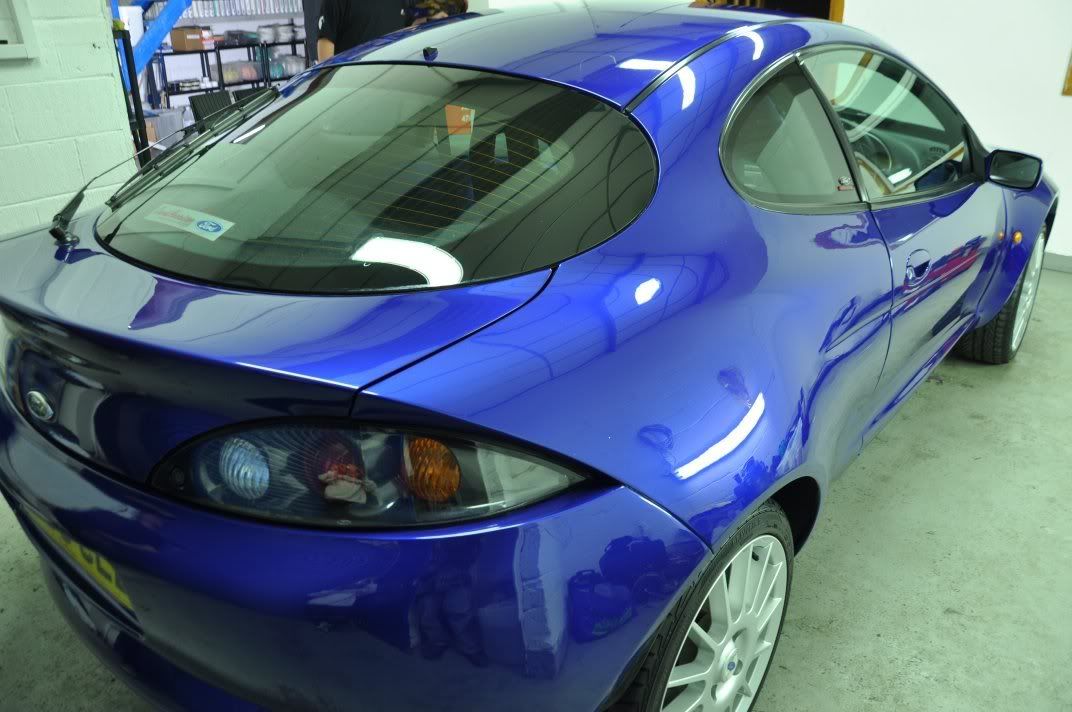
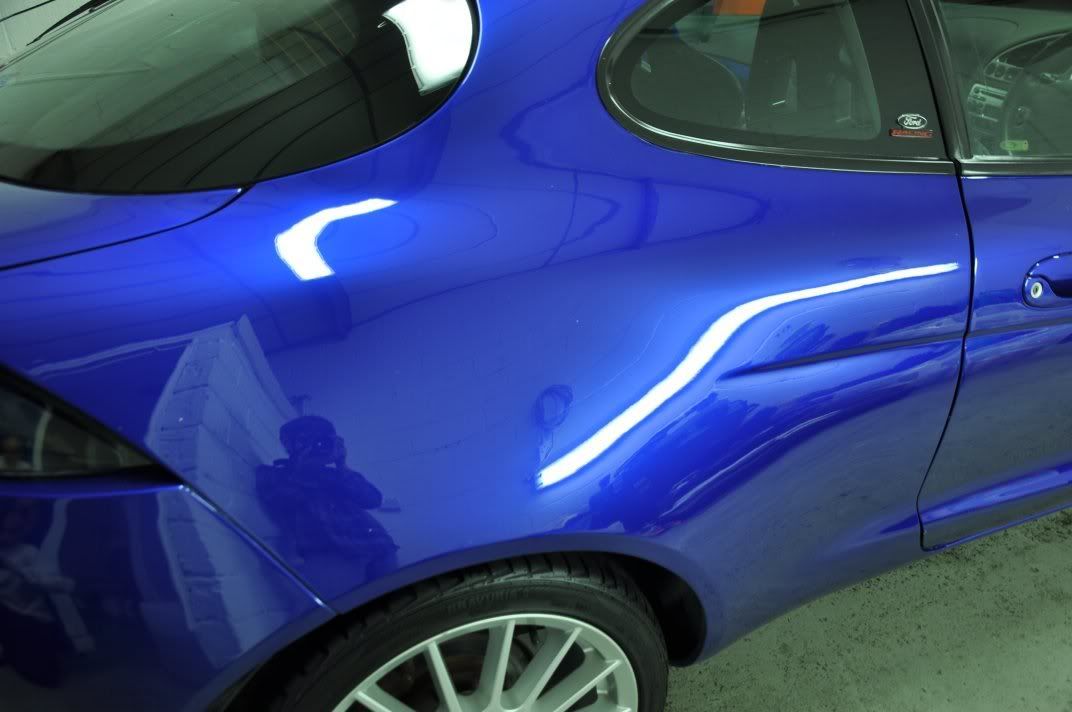
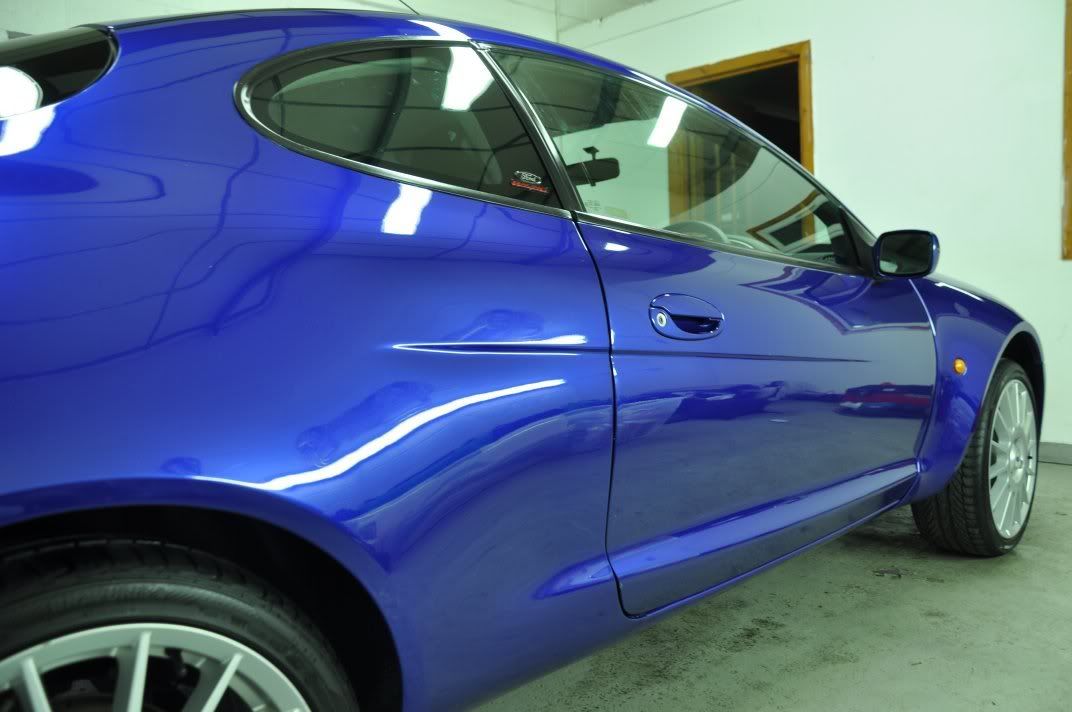
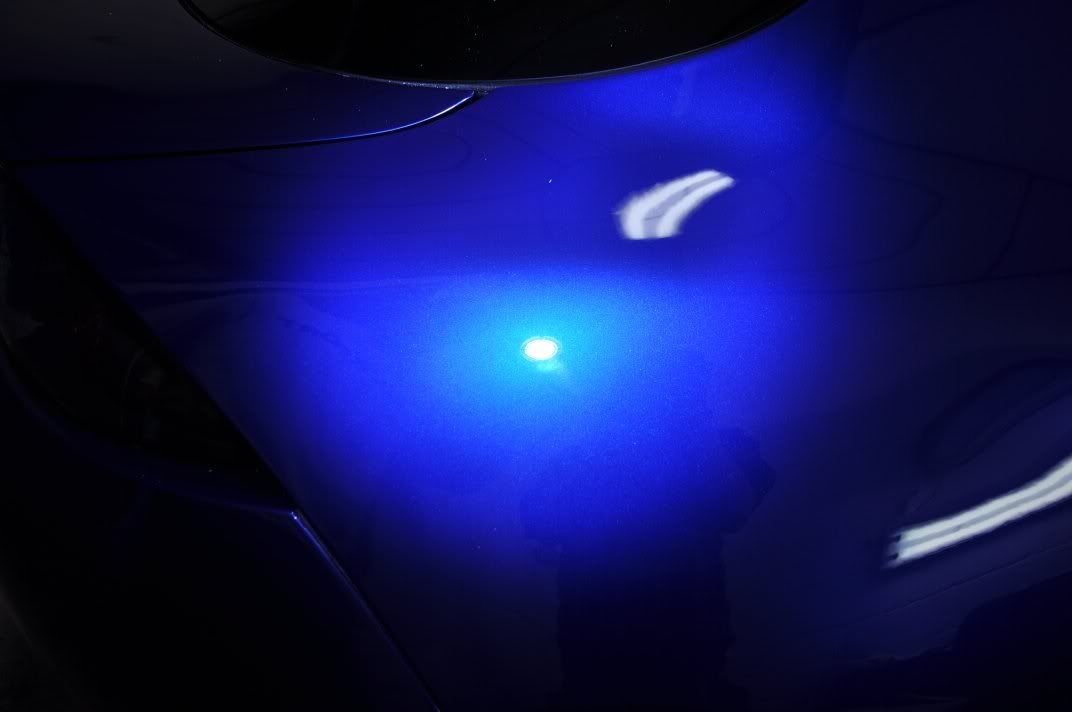
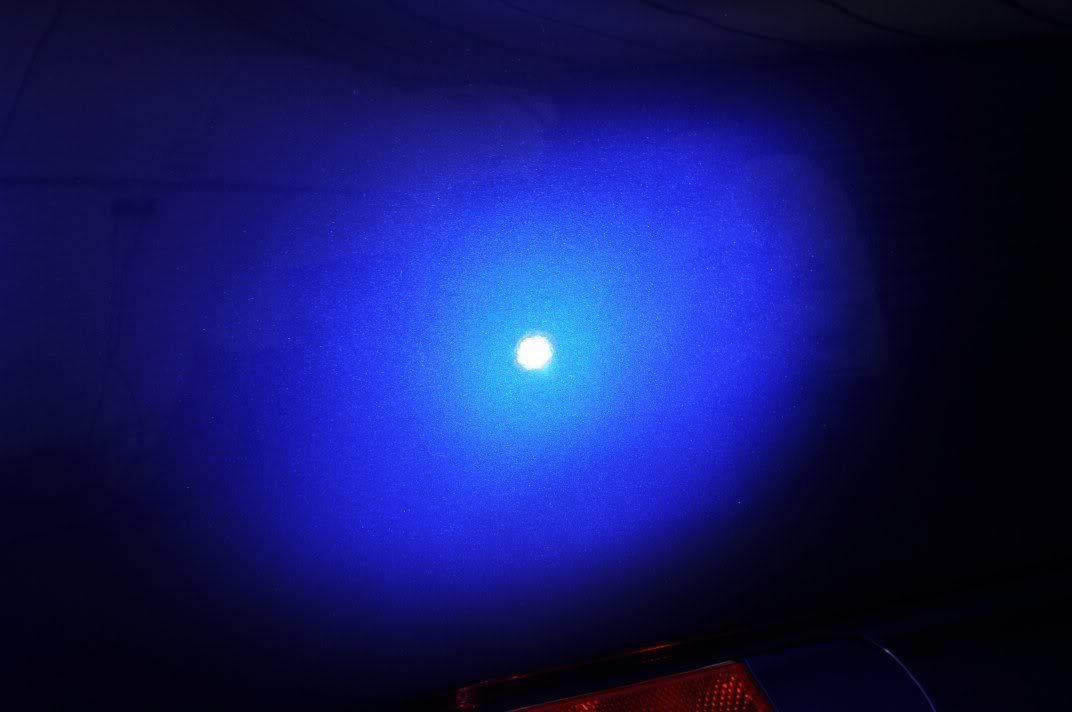
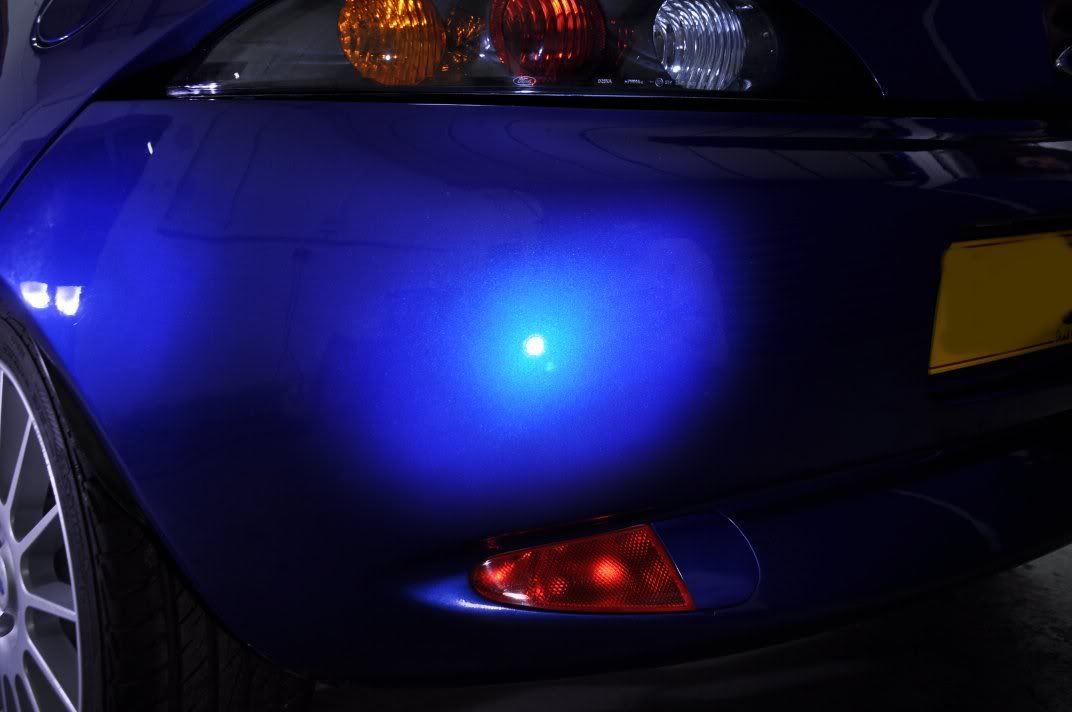
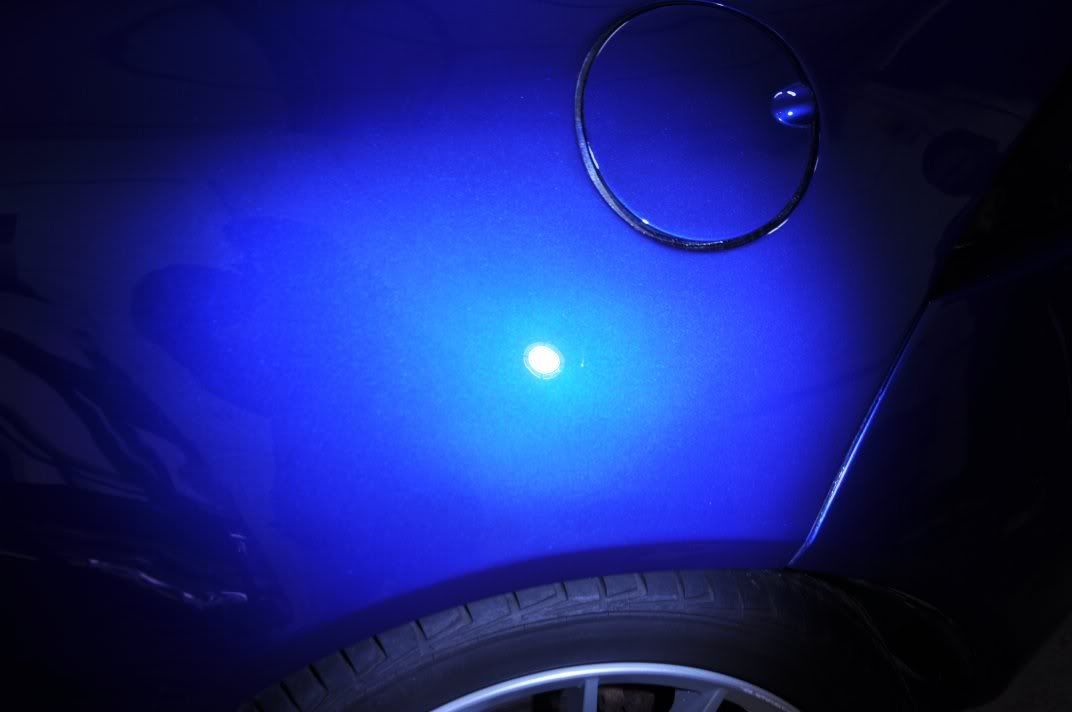
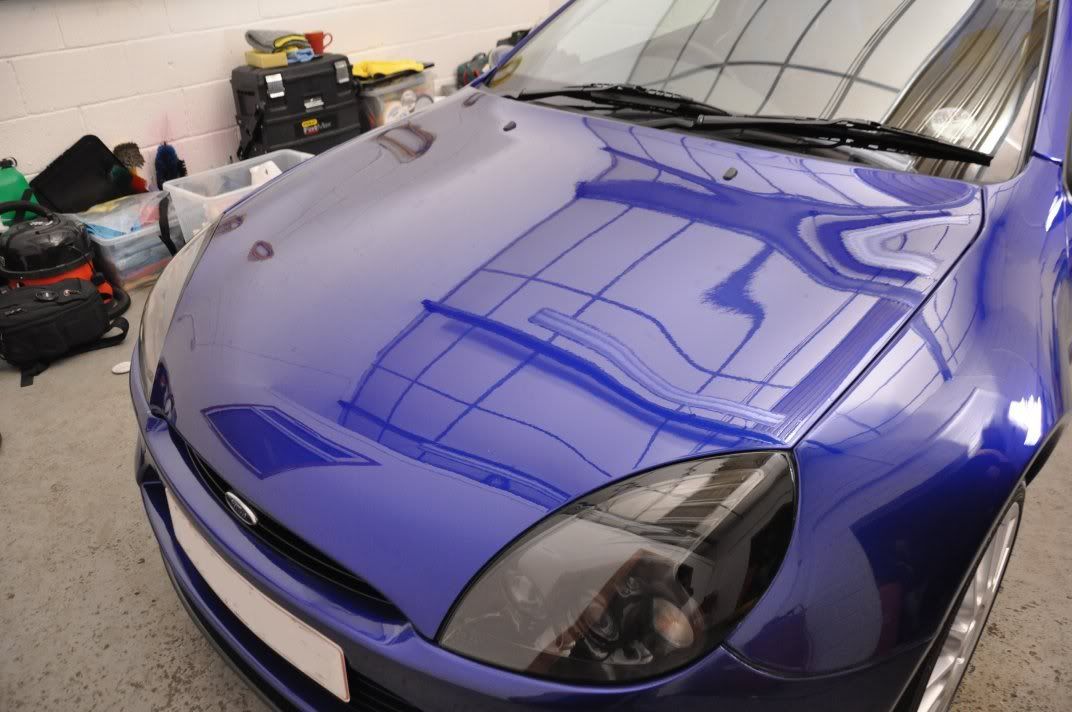
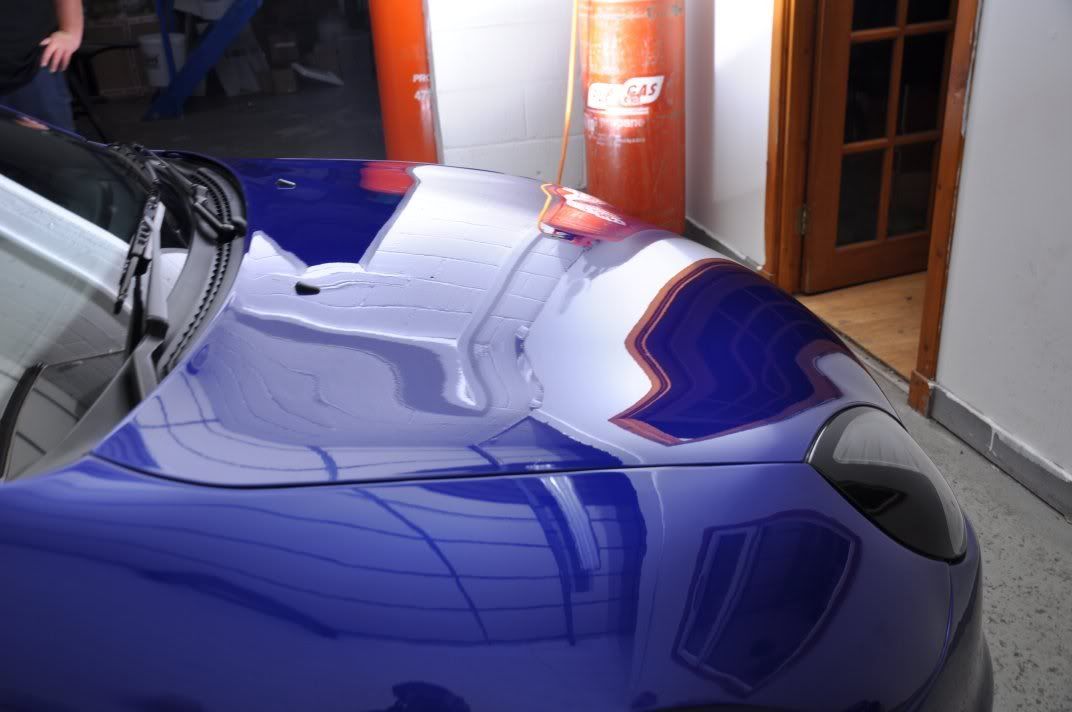
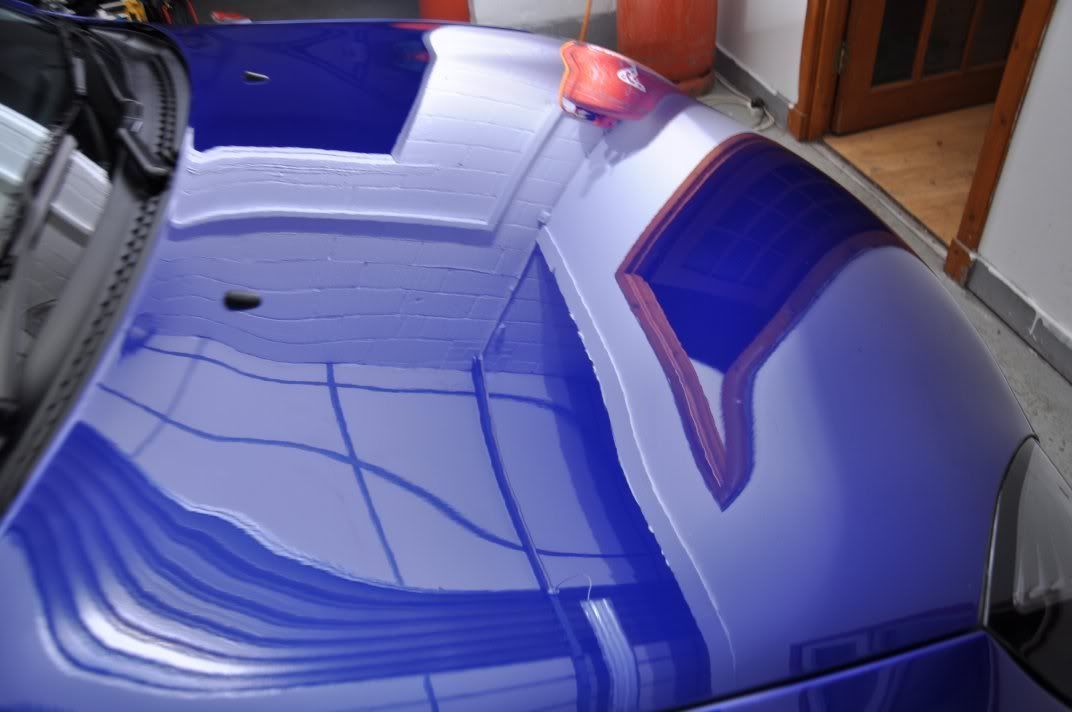
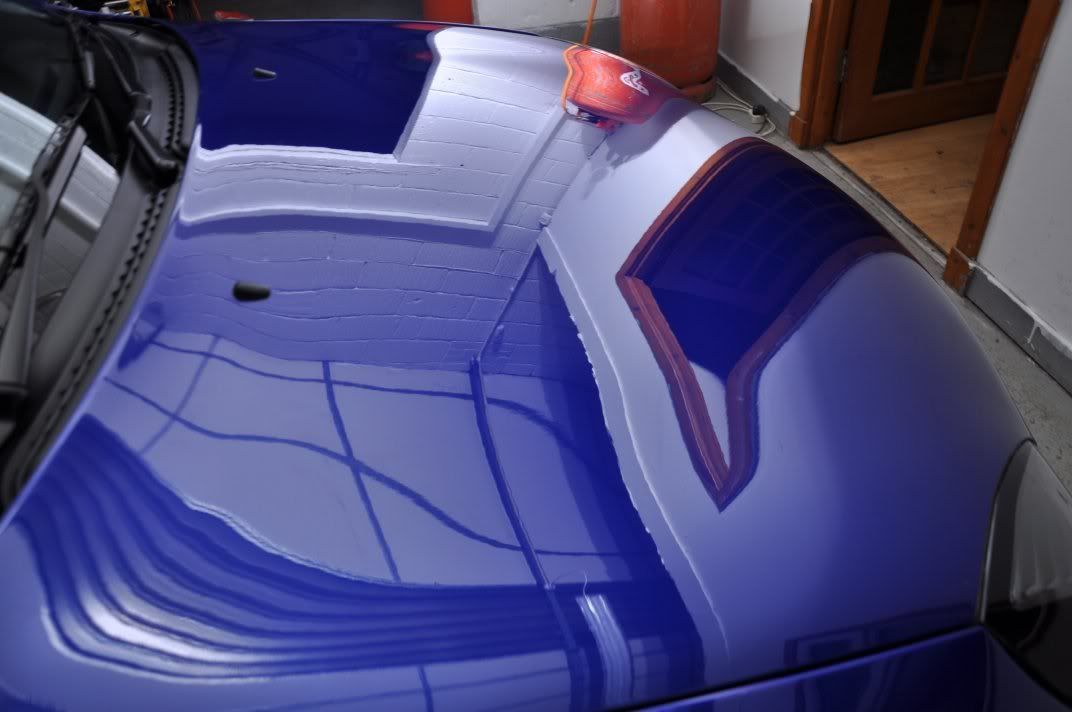
And just for fun at the end, we played around with the Metal Halide lighting at the end for some more artistic afters...
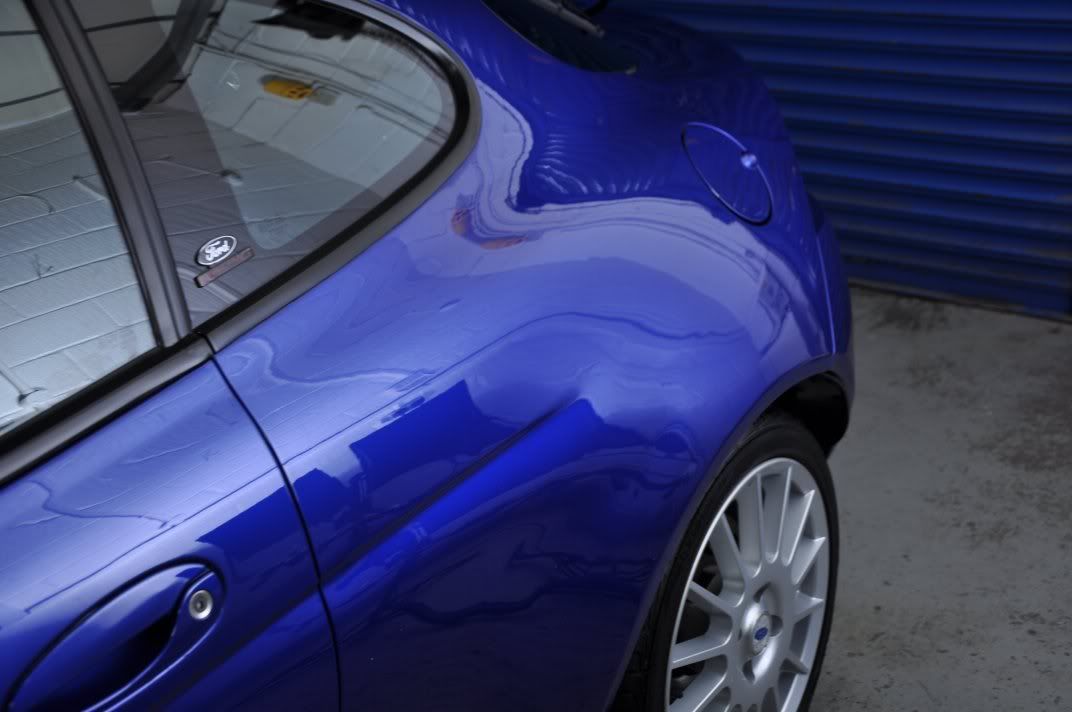
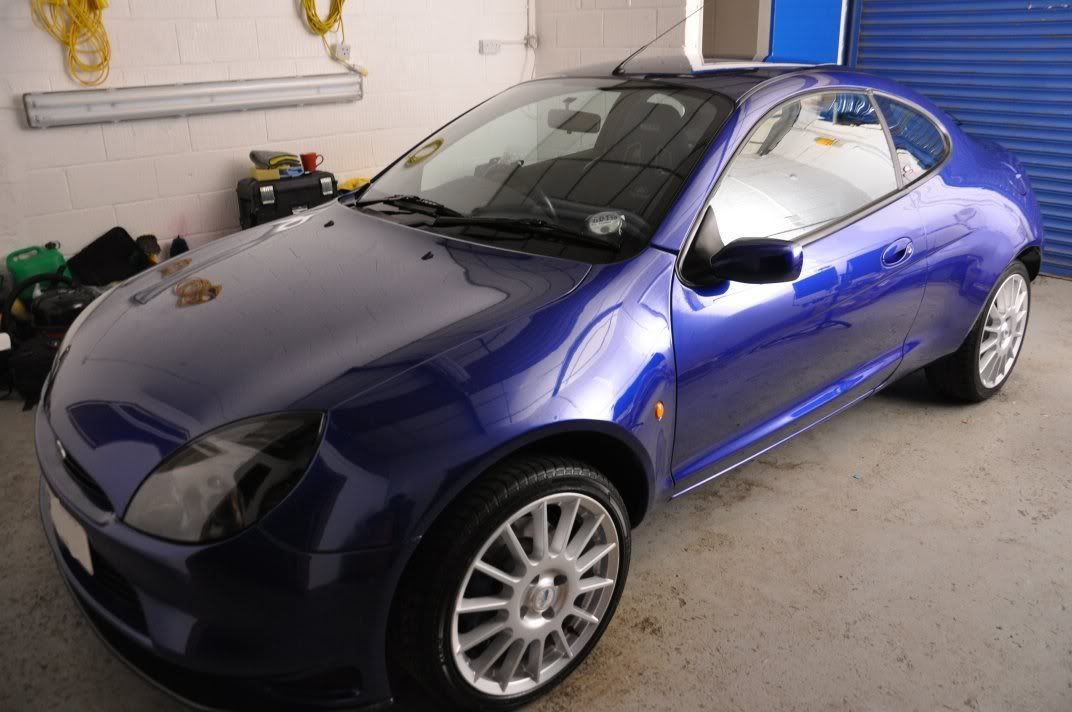
Another really enjoyable detail from the team - Gordon, Davy and myself :thumb:

First off is this, a Ford Racing Puma in a metallic blue very similar to the Focus RS in look which is a colour I am really liking - lovely flake, seems to glow slightly purple in some lights
 Gordon, Davy and myself were working on this car
  , team detailing at its most enjoyable! The car on arrival:


Looking very clean, and in good condition with the paintwork already showing a decent gloss in the morning light. Our traditional washing techniques were used - as this was a tuition detail, we use the washing phase to demonstrate safe washing techniques to the owner and the benefits of prefoaming for example to removing grit before a touch wash. Bilberry was used the clean the wheels, G101 on the arches and rubbers around the car. Glossworkz was used with the two bucket method. During the wash stage, the owner pointed out an issue with his car which apparently is common on Pumas - the fuel filler cap is weak, which means that high pressure from the pressure washer would have to be avoided. Additionally, the corner of the filler cap rubbed up against the bodywork, removing the paint from the hinge region - unfortunately as this was a single day detail, we were unable to repair this damage as part of the detail as this would have required layered painting, so it was simply to be masked off so as to avoid any risks of making the damage worse with the machine polisher.
With the car washed, it was then rolled inside ready to be dried using a new product which we wanted to test out. Now the car was not protected here so we had a sheet of water across the panel, not beads. The dryer is like a small hoover, looks similar in design to the Black Barron, and can blow hot or cold air through attachments to dry the car. It seemed very effective in use, clearing the water off the panel leaving it bone dry in a surprisingly short space of time.. Some pics of the dryer in action:


Dry...


The dryer itself, modelled by Gordon :lol::lol:

I admit that I like to use a towel to dry the car with, but I can see the advantages a product like this would present for a fully touchless wash... I have the little blue Silverline dryer but was unconvinced by it for fully drying a car - gaps fine, but a full car just took too long, where as this dryer seems to be able to speed the touchless drying process up suitably to make it a viable option.

Back to the detail, the car was then clayed in readiness for the paintwork defect removal.
Starting at the bonnet, it was clear to see the car was in need of paintwork correction - moderate to heavy swirls...


and some deeper RDS and etching too...


Swirls...


Following our traditional paintwork assessment, we decided on 3M Fast Cut Plus on a 3M Green Compounding pad for correction, with Meguiars #205 Ultafinishing Polish on a 3M blue waffle finishing pad used for refining. The paintwork was assessed by measuring the paint thicknesses initially, and then working up through the abrasive scale assessing both the correction achieved and the paint removed to find a good combination of pad and polish such the as full a correction is achieved while still maintaining a safe level of paint removal at the same time. This car, after a high initial removal (possible UV degredation of very upper paint layers) had removal rates to represent hard paint and so the use of Fast Cut for correction was deemed acceptable with the approximate removal of between 5 and 7um.
In action on the bonnet, I used the small 3" 3M pads for areas around the washer jets where the bigger pads didn't cut as easily up to the line, and when heavily compounding larger pads near edges do run the risk of strike through on an edge when you need to use pressure for deeper marks.. smaller pads allowed for far more flexibility...

Around 3 hours was spent by me on the bonnet alone (and its a small bonnet! :lol
 , using Fast Cut, in places in multiple hits, and Meguiars #205 for refining. Application processes were as follows:
3M Fast Cut - Correction Only
- Spread at 600rpm
- Begin working at 1200rpm, light pressure and steady machine movement to get residue evenly spread ready for main working
- Work at 2000rpm, moderate machine movements, and medium pressure working up to heavy pressure towards the end of the set
- As residue begain to go clear, reduce pressure for a couple of final passes at 2000rpm
Meguiars #205 - Double Zenith Technique
- Spread at 600rpm
- Begin working at 1200rpm, light pressure and slow machine movements to get the polish evenly spread
- Work at 1500rpm, medium pressure over the machine head and steady machine movements
- Reduce the pressure, and speed the machine movements up, maintaining speed at 1500rpm
- Refine at 1200rpm, light pressure and slow to medium machine movement speed
- Burnish at 900rpm, slow machine movements, supporting the weight of the rotary for very light pressure
The results of correction and refining on the bonnet...


On to the rest of the car - before pictures (apollogies, it would appear that I cannot hold the camera straight on this day! :lol
 :
:


Note the paint damage on the hinge region of the filler cap here...

Unfortunately we were unable to attempt a repair on this during the single day detail.
More befores...


On some regions of the car, the paint was responding differently and a less aggressive approach was required for the correction phase where instead Menzerna PO85RD3.02 Intensive Polish applied on either a 3M Yellow Waffle pad, or Chemical Guys Green Hexlogic Pad was used as follows:
- Spread at 600rpm
- Begin working at 1200rpm, light pressure and steady machine movements to warm the panel an polish and get it evenly spread and ready to work
- Work at 1800rpm, moderate pressure over the head of the machine until residue goes clear, lightening the pressure at the end of the set.
All refinement still carried out with Meguiars #205 as described above.
During pictures, showing results of correction and refining as we worked around the car and the polishing in action...
50/50 on passenger door (showing correction right down the door, a 3" pad was used as found easiest to get right into the tight contour on door base):


The driver's wing was very thin on paint, reading in the 60um region in places, and none notably above 80um. For this reason #205 was used solely for correction and refining, stepping to a polishing pad for a little extra bite, but deeper RDS remained here owing to the thicknesses on the panel (PTG showing its value again :thumb
 :
:


Correction and refining on driver's door...


Rear 3/4...


Pillar...


Realising that the daylight was fading fast and there was no way we would have completed detail shots of the car (we never finish until around midnight! :lol
 , we decided to roll the car out into evening daylight for some pics to give you an idea of the machine finish achieved - excuse the tape and some dust in these pics, but there are still regions to be machined (bumpers, tailgagte) when these outdoor pics were taken:


Back inside and back to polishing
 ... Onto the tailgate, I was finding that the 4" Hexlogic pads were working very effectively, here the black finishing pad being used with Meguiars #205 to get around the countors and up close to all the edges and around the badge...


Corrected and refined...


If you are detailing, you might think that when you say "only the bumpers to go...", that you are nearly there - but in actual fact, we find the bumpers are amongst the most time consuming panels, yet also hugely rewarding.. Cutting and refining in every little contour to ensure the quality machine finish is continued everywhere... Takes time with the little pads though


Corrected and refined...


With the car fully corrected, it was wiped down gently with IPA (which I actually prefer to Top Inspection, as it is faster evaporating and for me this results in easier cleaning of the polish oils with only gently cloth passes). After shots from around the car, fully corrected and wiped down to assess the true finish achieved:


Still some RDS on the wing...

but with ~60um of paint, not a lot you can do!


While I set about the paintwork protection, using Meguiars #16 wax, Gordon protected the wheels using FK1000P. Davy set about the exhaust:

#00 Wire Wool and Briliant #1, followed by Briliant #2 applied by hand using a microfibre cloth here, just a hand enhancement of the tail pipe on this detail but certainly cheered it up, with the owner commenting that it had never looked so clean - good to have Davy, the tea boy, around for these little jobs :p:lol::lol::lol: (and of course, all of the other things Davy does on the detail :thumb
 ...
...

Glass was cleaned using Stoner Invisible Glass, trim protected with Chemical Guys New Look Trim Gel. Plastic arches with Meguiars All Seasons Dressing sprayed, tyres with Espuma RD50.
Onto the afters
 :
:


And just for fun at the end, we played around with the Metal Halide lighting at the end for some more artistic afters...


Another really enjoyable detail from the team - Gordon, Davy and myself :thumb:


Comment