

 Tweet
Tweet
Advanced Watermarking- Adobe Photoshop
This is going to be a less detailed, but a quicker and more advanced write up on how to add a watermark using the Adobe Photoshop CS3 Extended program. Even though this is the newest and highest version, all of these options should be available in earlier versions as well. I'm assuming that those who will be using this guide are moderately computer literate since Adobe Photoshop is an advanced program.
If you need help with a more detailed, beginner write up for adding watermarks with a free program, please refer to this thread: How to add a watermark to your pictures
Alright, on with the show.
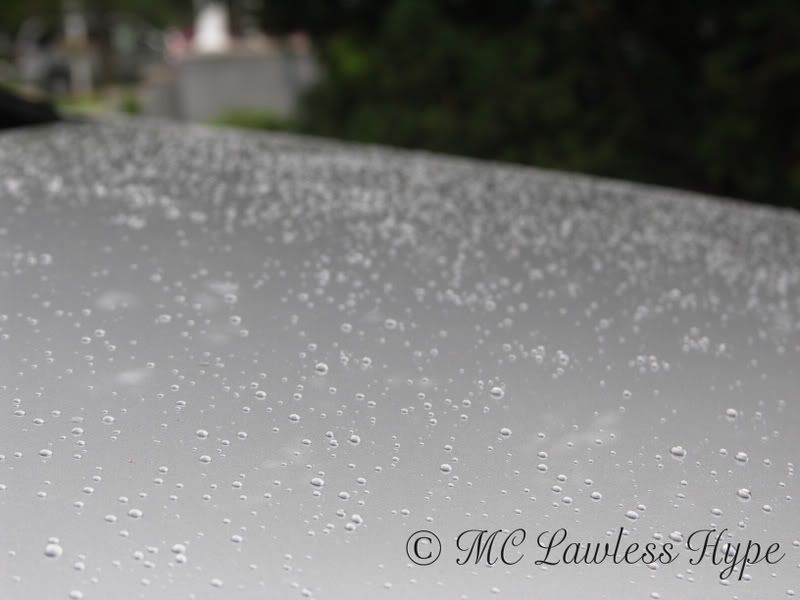
Here is the photo I will be using in this demonstration, taken by yours truly of course. What, did you think I stole it?

Open up your photo in Photoshop under the File tab or using the "Ctrl + O" shortcut.
Opened Photo (Shortcut is "Ctrl + O")

First thing you want to do, is make sure your Layers window is visible, available under the Window tab.
Layers Window Option (Shortcut Key is F7)

Next, you need to add a new layer so you can freely edit your text without worrying about "adjusting" your photo along with the text. Once you click on this option, it will bring up a layer properties window. Here you can rename the layer, change your color, mode, and opacity as well. Best bet is just to leave this at the default options.
Add New Layer (Shortcut Keys "Shift + Ctrl + N)

In your Layers box, you can now see the new layer above the Background layer, default named Layer 1. Now we need to add the text to the picture. Go ahead and click on the Text button (the "T" in your Tools box on the left) or use the shortcut button "T". This will bring up your text toolbar above your photo.
Text Toolbar

Next, click where you want your text to start. Go ahead and type what you would like and then select your Move tool (Shortcut key "V"). Move the text to where you would like it. To adjust the opacity, make sure you have your text layer selected, and use the Opacity option in the Layer box to adjust it as you see fit.

From here, you can either skip ahead to the part about flattening your image, or look here for information about "transforming" your text. Using the Transform option in Photoshop allows you to further edit your text. Here you can scale, rotate, skew, flip, and warp your text. You can also use the Free Transform option (Shortcut "Ctrl+T) to freely rotate and scale your text. Remeber, hold shift when scaling to have the program automatically keep your text in proportion. Once you are finished, you have to accept the changes. To do this, click on something like the Move tool to show the program you are finished, and it will ask you if you want to accept the changes or not.
Transform Options

Here you can see I moved it, rotated and scaled it to fit along the lower door area of the car.
Transformed Text

Now all that is left is to flatten the image, which merges all layers into one. The flatten option is available under the Layer tab at the bottom.
Flatten Image Option

Here is your completed, watermarked image.
Finished

If you want to resize the image here, that option is available under the Image tab --> Image Size (Shortcut "Alt + Ctrl + I). The resize box that pops up is very similar to the Paint.NET one in the basic write up.
Remember: Make sure when you go to save the file, use the "Save As..." option to rename your picture. This will prevent you from saving over your original copy of the picture. If you do, there is no fixing it. Here's a tip: When I edit a picture, I like to copy the original and edit the copy so if something like that does happen, I did not ruin the original picture!
The final, saved and watermarked image

Written by Tyler Clegg (roushtage2) for Meguiar's Online Forums. If you find any errors, please let me know so that I can get them fixed! Thanks!
This is going to be a less detailed, but a quicker and more advanced write up on how to add a watermark using the Adobe Photoshop CS3 Extended program. Even though this is the newest and highest version, all of these options should be available in earlier versions as well. I'm assuming that those who will be using this guide are moderately computer literate since Adobe Photoshop is an advanced program.
If you need help with a more detailed, beginner write up for adding watermarks with a free program, please refer to this thread: How to add a watermark to your pictures
Alright, on with the show.
Here is the photo I will be using in this demonstration, taken by yours truly of course. What, did you think I stole it?
Open up your photo in Photoshop under the File tab or using the "Ctrl + O" shortcut.
Opened Photo (Shortcut is "Ctrl + O")
First thing you want to do, is make sure your Layers window is visible, available under the Window tab.
Layers Window Option (Shortcut Key is F7)
Next, you need to add a new layer so you can freely edit your text without worrying about "adjusting" your photo along with the text. Once you click on this option, it will bring up a layer properties window. Here you can rename the layer, change your color, mode, and opacity as well. Best bet is just to leave this at the default options.
Add New Layer (Shortcut Keys "Shift + Ctrl + N)
In your Layers box, you can now see the new layer above the Background layer, default named Layer 1. Now we need to add the text to the picture. Go ahead and click on the Text button (the "T" in your Tools box on the left) or use the shortcut button "T". This will bring up your text toolbar above your photo.
Text Toolbar
Next, click where you want your text to start. Go ahead and type what you would like and then select your Move tool (Shortcut key "V"). Move the text to where you would like it. To adjust the opacity, make sure you have your text layer selected, and use the Opacity option in the Layer box to adjust it as you see fit.
Just to insert an aside here, you can use the alignment options to make your watermark more "professional" looking by selecting either the left or right align options if you are going to be using multiple lines. Unlike Paint.NET (the free program used in the basic watermark write up), Photoshop also allows you to go back and edit the text by using the Text tool and clicking on the text.
Text PlacedFrom here, you can either skip ahead to the part about flattening your image, or look here for information about "transforming" your text. Using the Transform option in Photoshop allows you to further edit your text. Here you can scale, rotate, skew, flip, and warp your text. You can also use the Free Transform option (Shortcut "Ctrl+T) to freely rotate and scale your text. Remeber, hold shift when scaling to have the program automatically keep your text in proportion. Once you are finished, you have to accept the changes. To do this, click on something like the Move tool to show the program you are finished, and it will ask you if you want to accept the changes or not.
Transform Options
Here you can see I moved it, rotated and scaled it to fit along the lower door area of the car.
Transformed Text
Now all that is left is to flatten the image, which merges all layers into one. The flatten option is available under the Layer tab at the bottom.
Flatten Image Option
Here is your completed, watermarked image.
Finished
If you want to resize the image here, that option is available under the Image tab --> Image Size (Shortcut "Alt + Ctrl + I). The resize box that pops up is very similar to the Paint.NET one in the basic write up.
Remember: Make sure when you go to save the file, use the "Save As..." option to rename your picture. This will prevent you from saving over your original copy of the picture. If you do, there is no fixing it. Here's a tip: When I edit a picture, I like to copy the original and edit the copy so if something like that does happen, I did not ruin the original picture!
The final, saved and watermarked image
Written by Tyler Clegg (roushtage2) for Meguiar's Online Forums. If you find any errors, please let me know so that I can get them fixed! Thanks!
 You the man!


Comment