• If this is your first visit, be sure to check out the FAQ by clicking the link above. You may have to register before you can post: click the register link above to proceed. To start viewing messages, select the forum that you want to visit from the selection below.

Announcement

Collapse
No announcement yet.

How To: PlastX Headlight Restoration (Step by w/ Pics)

Collapse
X
 
  • Filter
  • Time
  • Show
Clear All
new posts

  • #31
    Re: How To: PlastX Headlight Restoration (Step by w/ Pics)

    Originally posted by Mike Phillips View Post
    Great tip... maybe start a dedicated thread with some links to these products along with your testimony...
    I'll try and do that tonight when I get home.
    2005 Subaru Impreza WRX
    2005 Suzuki GSX-R1000
    2007 Ducati Monster 695 Dark

    ############################
    R-KIVE Studios :: Bringing Visions to Life

    Comment


    • #32
      Re: How To: PlastX Headlight Restoration (Step by w/ Pics)

      great writeup, I'd never have thought to use my hand
      2004 Mustang GT - Sonic Blue

      Comment


      • #33
        Re: How To: PlastX Headlight Restoration (Step by w/ Pics)

        Very nice write-up with great pictures!

        But I'm still wondering why apply the plastX by hand?

        I'm waiting to get the new headlight kit and maybe do a write-up using my G100 & rotary on my badly yellowed and nasty looking headlight lenses on my ranger.
        ''USE THE LEAST AGGRESSIVE PRODUCT TO GET THE JOB DONE RIGHT''
        You Don't Know What You Can Do Until You Try '' TECHNIQUE IS EVERYTHING''
        Test Hoods Are Cheap And Most Of The Time Free

        Comment


        • #34
          Re: How To: PlastX Headlight Restoration (Step by w/ Pics)

          What an excellent write up!!! I must admit, using even the lowest grit paper with water (e.g. 2000) looks very scary to me, and it would take me some courage, and a couple deep breaths to start!!!! However, seeing close-up photos of every step along the way is very reassuring, and helpful, even for the faint-hearted. Obviously with the right technique, it works.

          Wow, those lights came out great!!!! Kudos.
          2006 Dodge Charger Daytona R/T Go ManGo Limited Edition # 3675 of 4000!
          Mods: Mopar CAI, BT Oil Catch Can, silver steel braided lines, 35/50% window tint, windshield decal, Whelen amber/amber Slim Miser lights in rear window. More pics on Blog: gohemi.blogspot.com

          Comment


          • #35
            Re: How To: PlastX Headlight Restoration (Step by w/ Pics)

            turned out great what about clearing the lens?

            Comment


            • #36
              Re: How To: PlastX Headlight Restoration (Step by w/ Pics)

              Sorry for the late reply.

              That was using 2000 grit to finish it off. You don't have to go all out crazy with grit, 2000 worked just fine. As long as you rub PlastX in real good, your in the get-go. And always make sure to wax them after or it'll fade away.

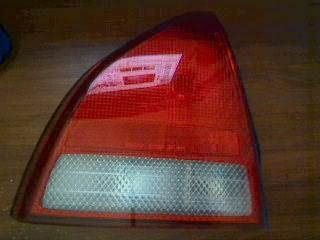
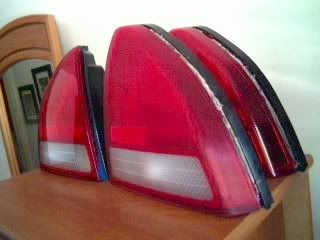
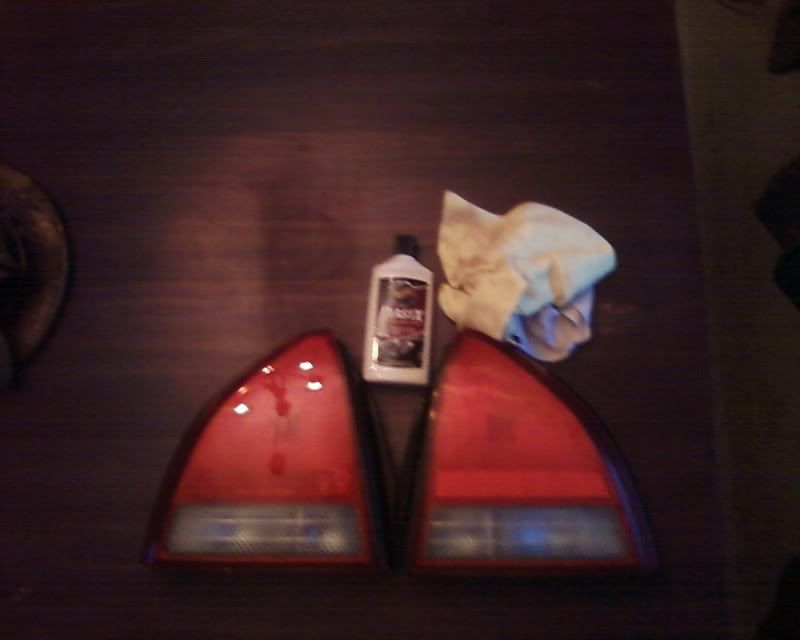
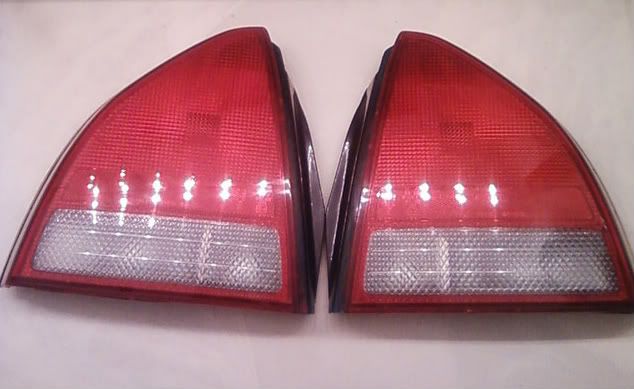
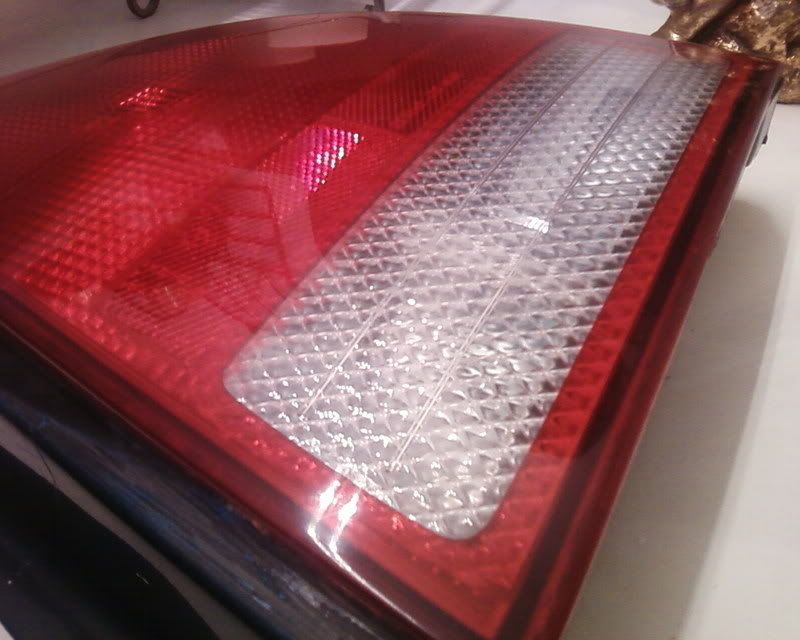
              I make custom taillights for the Preludes and on every set, I wetsand and PlastX em so here are some pic's of my custom tails:

              Here's a taillight I just finished with the polish (looks brand new):


              This is a sealed polished light compared to an unsealed unpolished light:


              The set I have is polished to perfection and is the cleanest taillight I've ever seen in my life


              Polished one on the right and unpolished on the left. As you can see, it brought the shine back and doesn't look all dull and faded.


              Sorry for the bad pics..

              Comment


              • #37
                Re: How To: PlastX Headlight Restoration (Step by w/ Pics)

                Originally posted by importsnrice View Post
                Sorry for the late reply.
                We always appreciate the follow-up.

                Originally posted by importsnrice View Post
                Sorry for the bad pics..
                Plenty good enough, the get the point across and that is with a little work you can restore clarity and shine to faded plastics and often times without having to resort to wet-sanding, just using PlastX by hand or machine and when working by hand put a little passion behind your application material.
                Mike Phillips
                760-515-0444
                showcargarage@gmail.com

                "Find something you like and use it often"

                Comment


                • #38
                  Re: How To: PlastX Headlight Restoration (Step by w/ Pics)

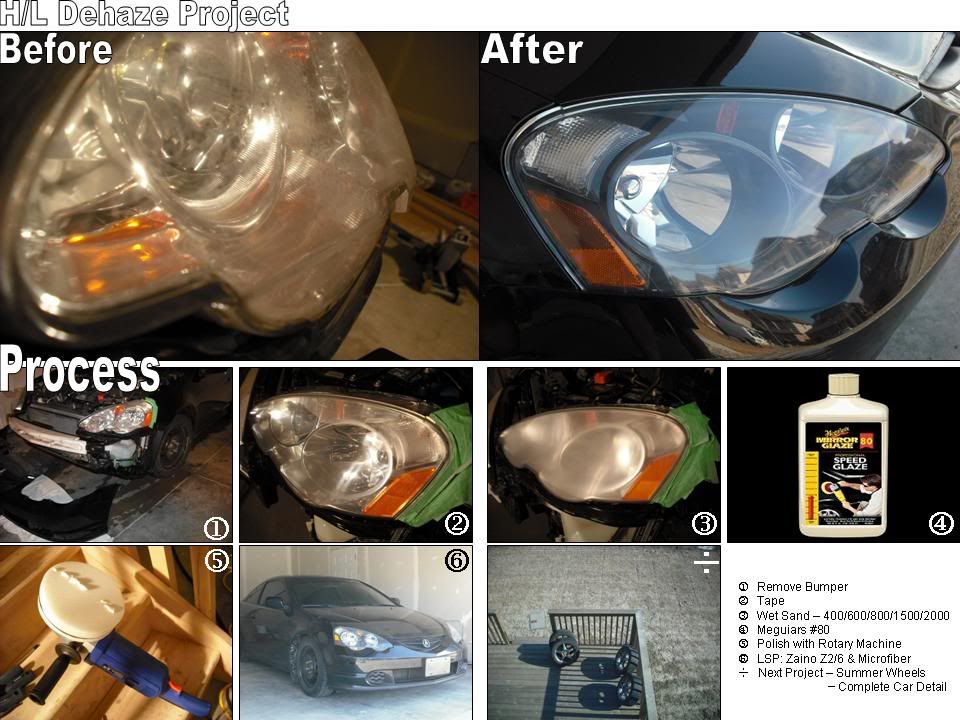
                  here's the outcome of my DIY, & got the before and after all on one page...

                  I actually took lite headlamp cluster apart to black out the housing (hence the before shows silver and after pic shows black housing)....but spend the extra time and ended up dehazing the lens as well.

                  Comment


                  • #39
                    Re: How To: PlastX Headlight Restoration (Step by w/ Pics)

                    Awesome writeup and results.

                    While looking for the Meguiar's products you mentioned, I noticed Meguiar's sells a headlight restoration kit that comes with PlastX, a buffer pad, and a microfiber cloth.

                    Do you think that's a viable option to the steps outlined above?

                    Comment


                    • #40
                      Re: How To: PlastX Headlight Restoration (Step by w/ Pics)

                      Yes, as long as you have some power behind the product. Using any product by hand is only a technique I use because I like to challenge myself. If I were to do this all over again, I would skip the wetsanding all together and use plastX on a buffer with a few different pads to remove the product and micro-scratches from the previous pad.

                      Wipe when finished with the microfiber and you should be seeing clearly!

                      Comment


                      • #41
                        Re: How To: PlastX Headlight Restoration (Step by w/ Pics)

                        hey just a quick question...what is the purpose of applying PlastX by your hands ? is there a signfigance to this method ?
                        Addicted

                        Comment


                        • #42
                          Re: How To: PlastX Headlight Restoration (Step by w/ Pics)

                          What did I do wrong? I did not get satisfactory results.

                          Here are the steps I followed:
                          - Cleaned with NXT Speed Detailer to celan
                          - Soaked 1500 grit pieces for 10 mins in soapy water
                          - Started vertical passes with 1500. Kept lens and paper wet.
                          - Wiped clean/dry with rag
                          - Soaked 2000 grit pieces for 10 mins in soapy water
                          - Started horizontal passes with 2000. Kept lens and paper wet.
                          - Wiped clean/dry with rag
                          - Applied Plastx
                          - Wiped off Plastx

                          This is what I got...


                          Could someone help me out?

                          Comment


                          • #43
                            Re: How To: PlastX Headlight Restoration (Step by w/ Pics)

                            Originally posted by lancerplayer View Post
                            What did I do wrong? I did not get satisfactory results.

                            Here are the steps I followed:
                            - Cleaned with NXT Speed Detailer to celan
                            - Soaked 1500 grit pieces for 10 mins in soapy water
                            - Started vertical passes with 1500. Kept lens and paper wet.
                            - Wiped clean/dry with rag
                            - Soaked 2000 grit pieces for 10 mins in soapy water
                            - Started horizontal passes with 2000. Kept lens and paper wet.
                            - Wiped clean/dry with rag
                            - Applied Plastx
                            - Wiped off Plastx

                            This is what I got...


                            Could someone help me out?
                            The pictures seem to be uploaded wrongly, i cant get to see them!

                            Comment

                            Working...
                            X
                            gtag('config', 'UA-161993-8');